
12 Window Reading Nook Ideas to Make Space for a Good Book
There is a particular kind of afternoon light that falls through a window and makes a chair look irresistible. A…
There is a particular kind of afternoon light that falls through a window and makes a chair look irresistible. A reading nook is simply a way to answer that light on purpose. It does not need a bay window, a window seat, or a spare room. It needs a comfortable place to sit within arm’s reach of a window, enough light to read without squinting, and a few honest pieces that keep books, tea, and blankets within reach. The twelve ideas below work in real corners, real apartments, and real houses, each one planned for real reading. If the whole room needs a rethink, our narrow living room layout guide shows how one awkward corner can still work hard.
Jump to an idea
- A basket with current books
- A low footstool
- A curtain controlling glare
- A narrow wall shelf
- A textured rug defining the corner
- A framed print in the background
- A washable cushion cover
- A lidded box for small items
- A plant near available daylight
- A compact tray for tea
- A pair of stacked books on a stool
- A soft lumbar cushion
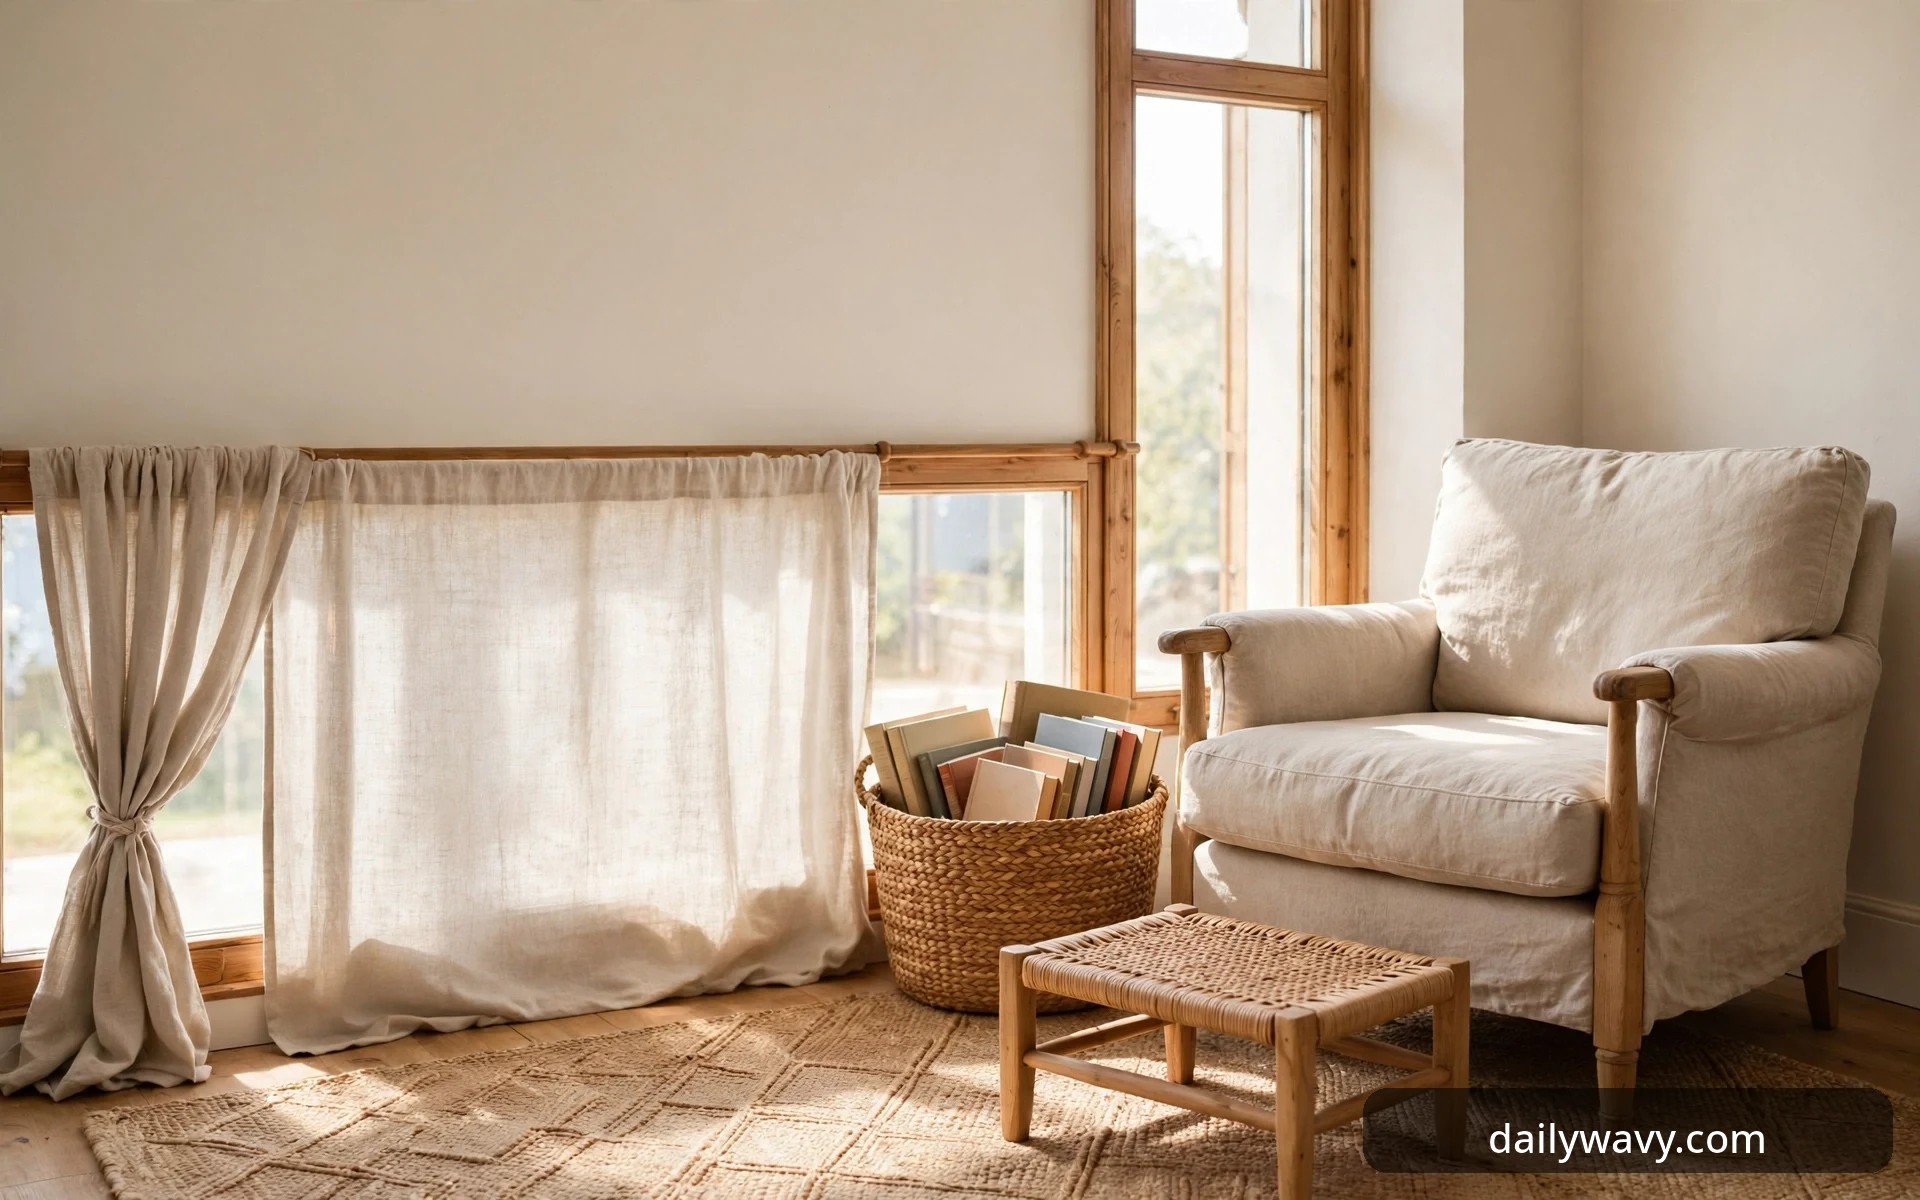
How a window nook actually works
Before the ideas, it helps to understand the three forces at play: light, glare, and seat height. The best seat sits with the window to the side rather than dead ahead, so daylight falls across the page instead of into your eyes. Face into the light and the page washes out; sit with your back to it and your own shadow lands on the words. A side-lit chair, roughly 3 to 4 feet from the glass, gives the softest reading light for most of the day.
Glare is the other half of the equation. Bare glass in a south or west window turns pages to mirrors by late afternoon. That is why one of the twelve ideas is a curtain you can adjust in seconds. Task lighting fills the gap after dark: a floor or table lamp with a shade that hides the bulb, placed on your shoulder side at about eye level when seated, keeps evening reading comfortable without glare.
Seat height matters more than people expect. A reading chair with a seat 16 to 18 inches off the floor puts most adults’ feet flat and knees at a comfortable angle. Feet dangling from a too-tall seat go numb; a too-low seat makes standing up a workout. The footstool idea below solves the rest.
1. A basket with current books
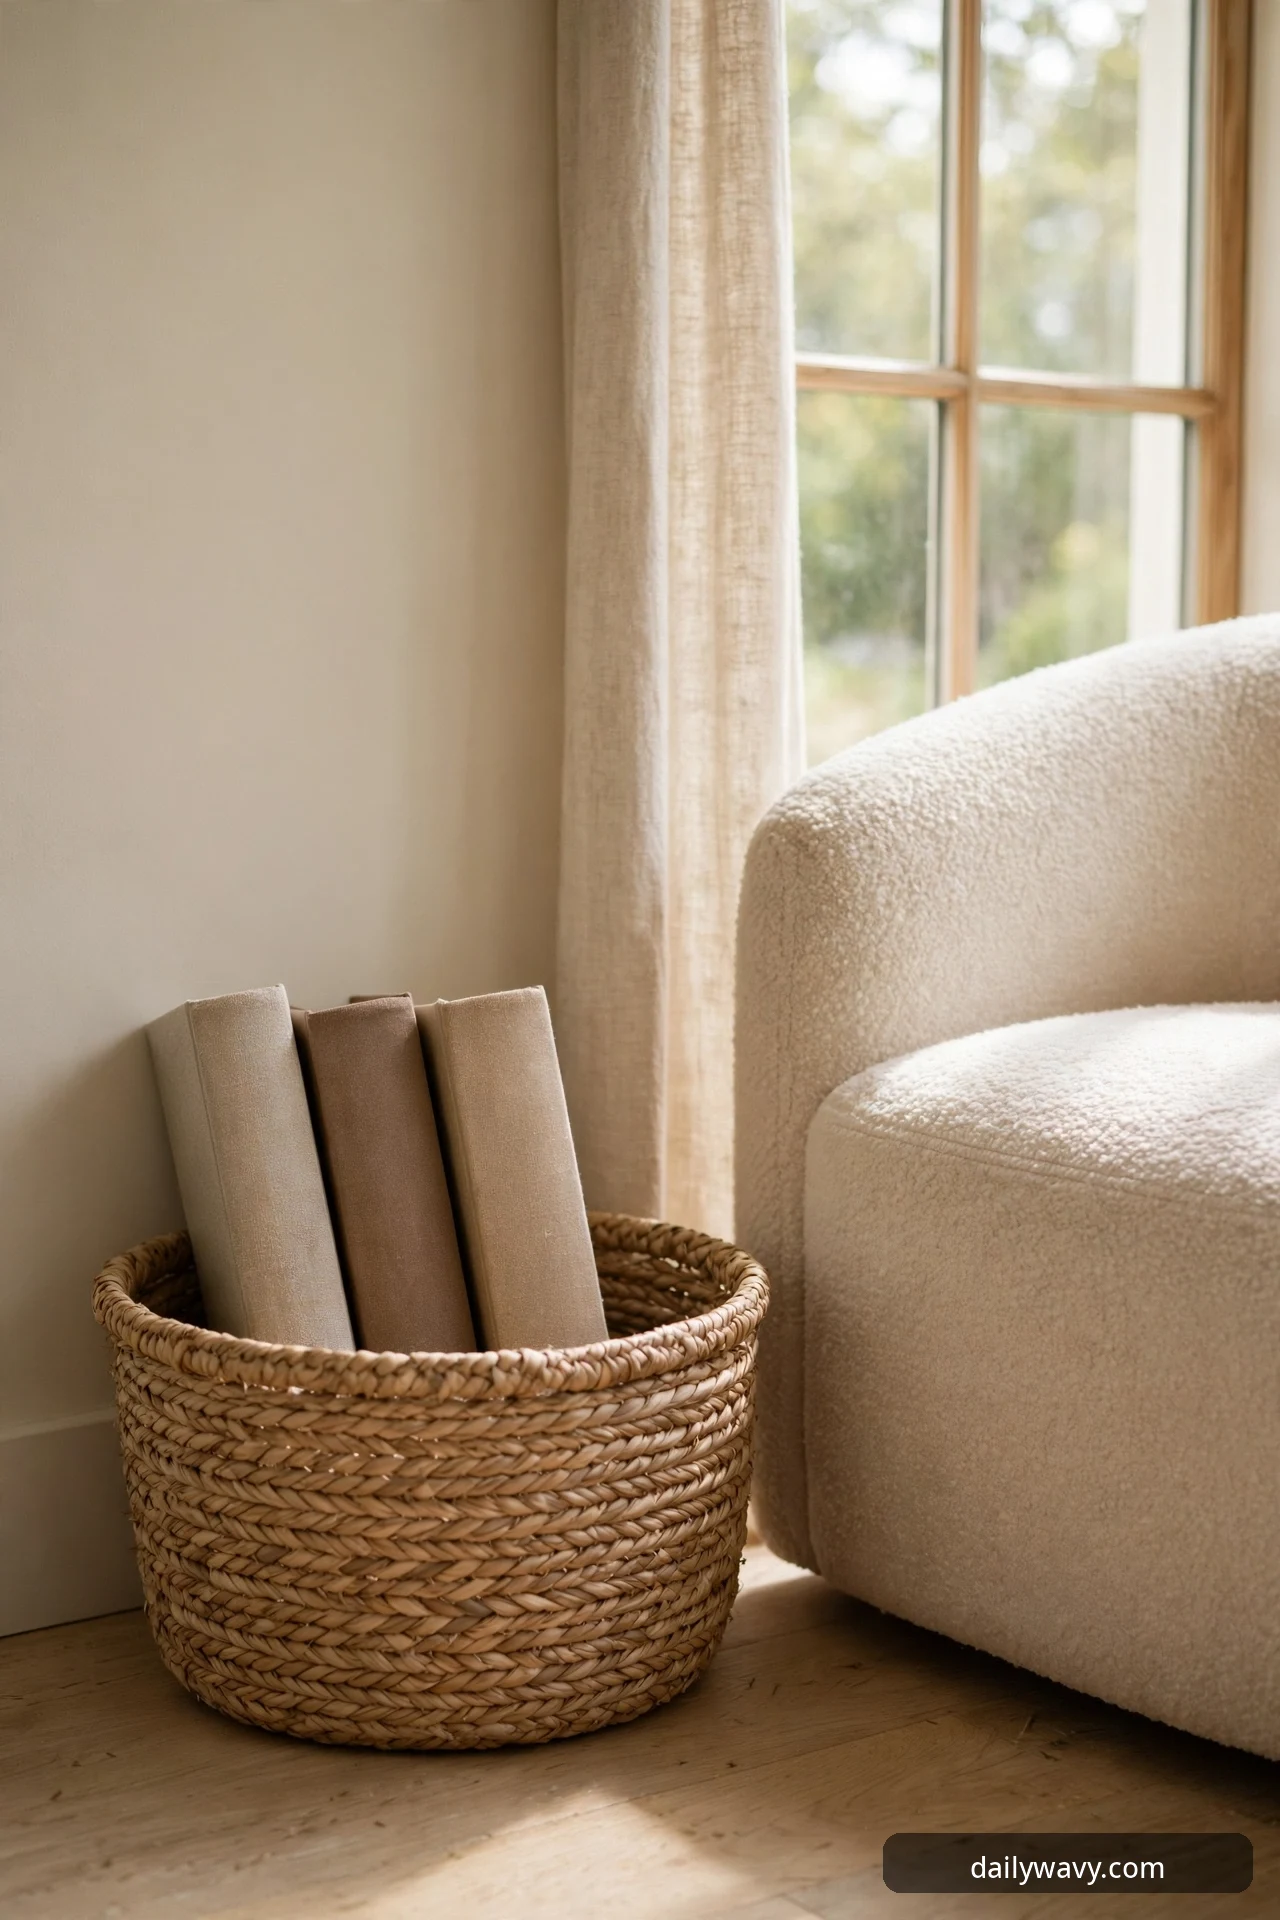
A stack of books on the floor says you read. A basket of books beside your chair says you read on purpose. The difference is small and real: when the books you are actually in the middle of sit within arm’s reach, you pick them up instead of your phone. When they live two rooms away, they gather dust. A basket is one of the cheapest pieces of reading furniture you can buy, and it does more work than its price suggests.
What to measure: Measure the floor space beside your chair, not the basket you already own. Most chairs leave 10 to 14 inches of dead floor between the armrest and the nearest wall or furniture. A basket 10 to 12 inches wide and 12 to 16 inches tall fits that gap without crowding the walkway. Keep the rim below armrest height so the top book stays reachable from a seated position.
Materials: One open-top woven basket, about 10 to 14 inches wide. Seagrass, rattan, and canvas baskets with rigid sides all work. Skip lidded hampers for this job; the friction of a lid is enough to keep you from pulling the next book. Line the bottom with a flat square of felt or cardboard so book corners do not poke through.
Placement: Set it on your dominant-hand side, close enough that your elbow clears the rim when you reach in. If the chair sits against the window, tuck the basket between chair and wall. Keep only current reads inside: the two or three books you are actually reading, one you mean to start, and a bookmark. The rest of the library belongs on the shelf.
Approximate effort and cost: About 10 minutes to sort and load, and a decent woven basket runs 15 to 30 dollars. Most big-box and home stores carry the right size in the storage aisle.
Troubleshooting tip: If books flop sideways, stand paperbacks upright with spines up and lean hardbacks against the basket wall. A small folded dish towel wedged behind the books holds them upright in a too-roomy basket.
A realistic lower-cost alternative: A sturdy shopping tote bag or a fabric grocery bag with boxed corners does the same job for free. Cut the handles down if they flop over the books.
2. A low footstool
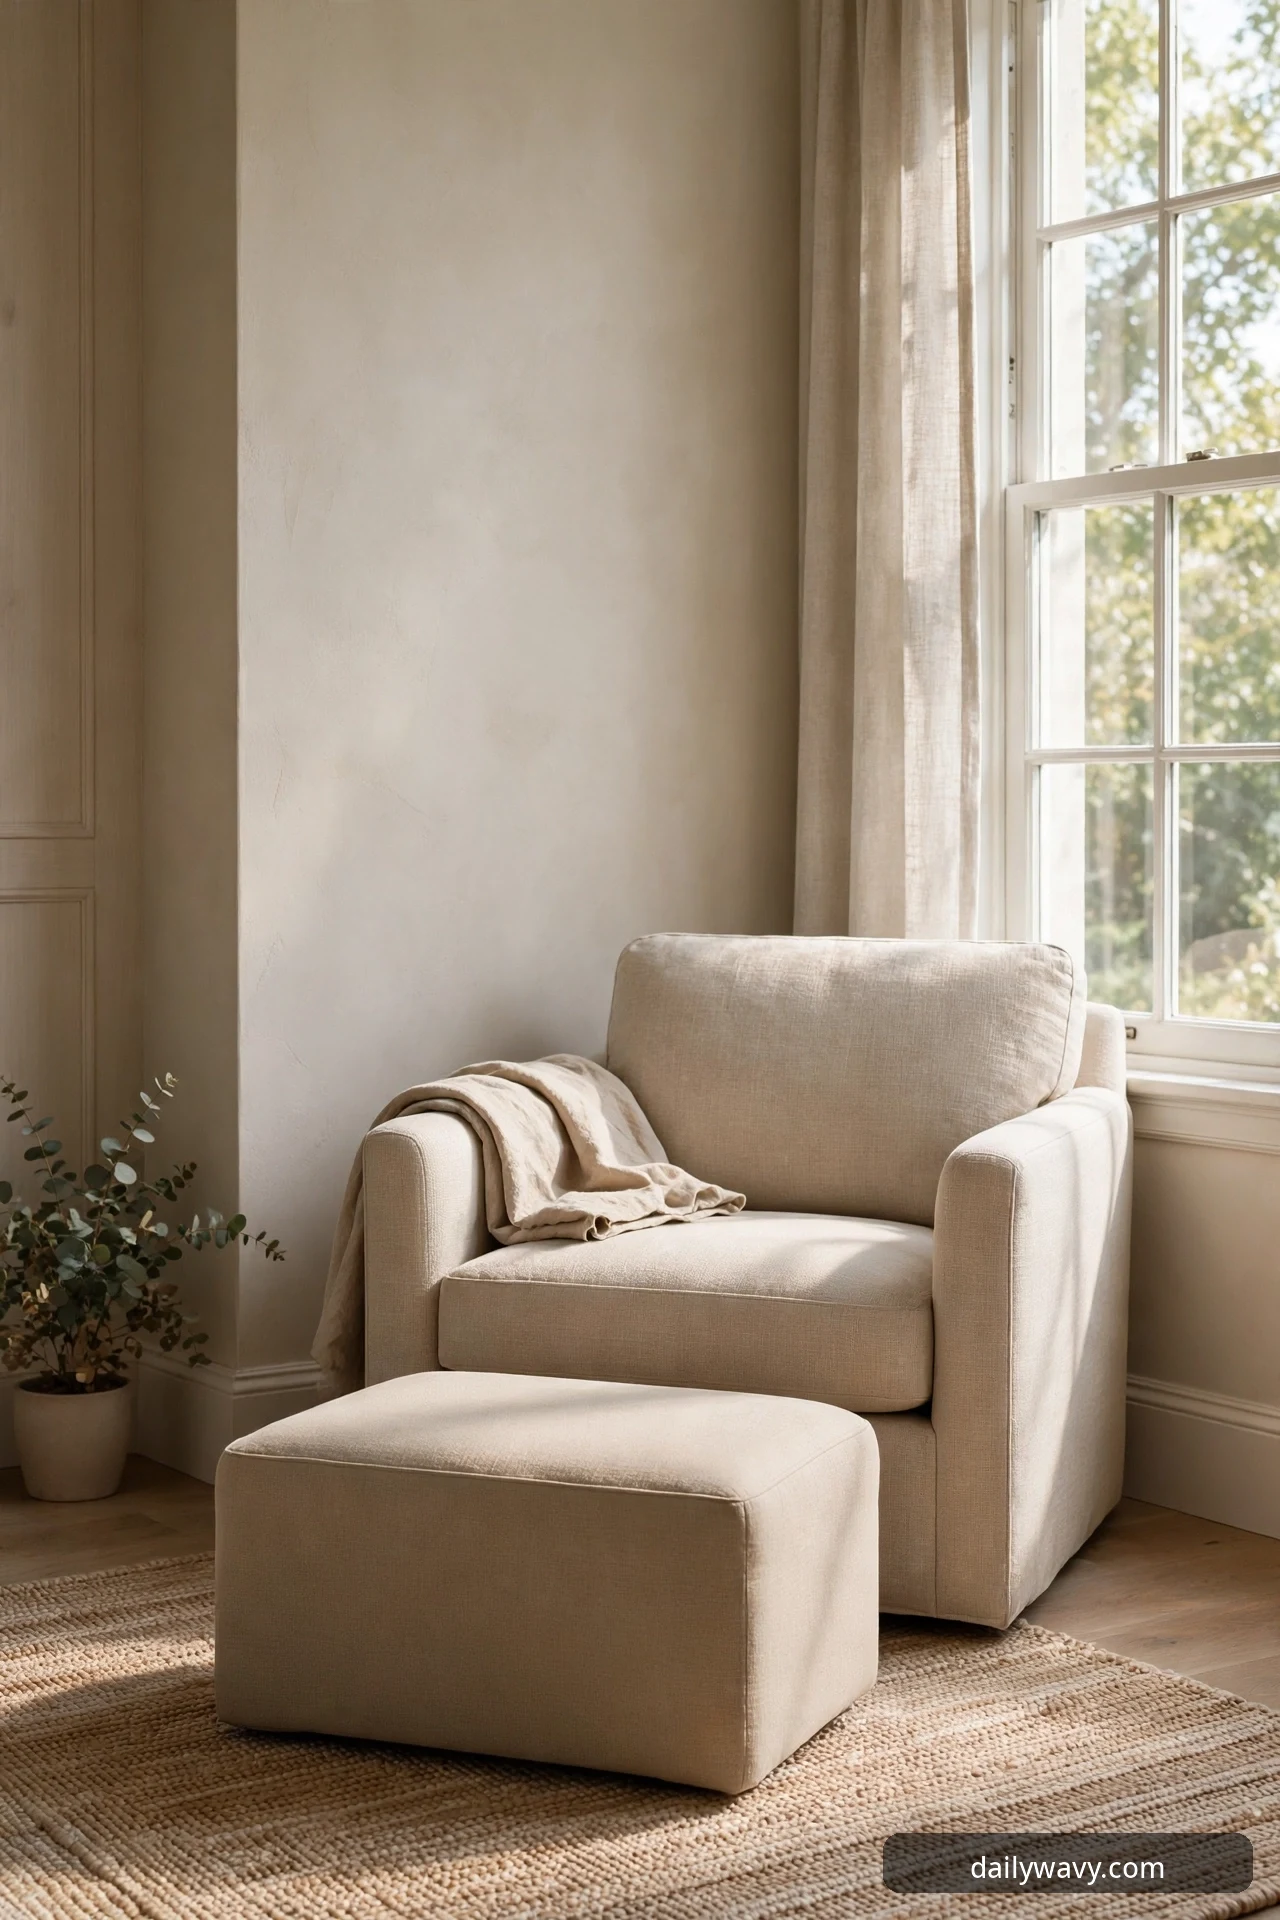
Reading is usually better with your feet up. That sounds like a luxury claim, but it is mostly about posture: raising the feet slightly takes pressure off the lower back and keeps you in the chair longer. A low footstool is the simplest comfort upgrade a reading corner can get, and it turns an ordinary armchair into a reading chair.
What to measure: Sit in the chair and measure from the floor to the underside of your thighs when your knees are slightly bent. The stool top should land within 2 inches of that height, typically 14 to 17 inches for a standard armchair. Keep the stool 10 to 16 inches away from the chair seat so you can slide your legs forward without stretching.
Materials: One low footstool, pouf, or ottoman with a firm flat top. A firm top matters: soft poufs sink and leave heels lower than toes, which defeats the purpose. Fabric or leather surfaces suit reading best because bare legs stick to bare wood in summer. If you choose a storage ottoman, the inside earns its keep for blankets.
Placement: Angle it slightly off-center toward your stronger leg side, which is where most people naturally drift. If the nook sits in a walkway, choose a stool light enough to push aside in one motion. A footstool that blocks the room when you are not reading will be banished within a week.
Approximate effort and cost: No assembly if you buy finished, and simple footstools run 30 to 80 dollars. A storage ottoman costs more, usually 60 to 120 dollars, but it replaces a separate blanket basket.
Troubleshooting tip: If the stool slides on hard floors, stick felt pads under the legs and add two rubber cup grips under the back feet. On carpet, a low-profile stool with short legs sits steadier than a tall one.
A realistic lower-cost alternative: A sturdy stack of two flat storage boxes tied together with a woven strap, topped with a folded blanket, works for under 10 dollars until you find the real thing.
3. A curtain controlling glare
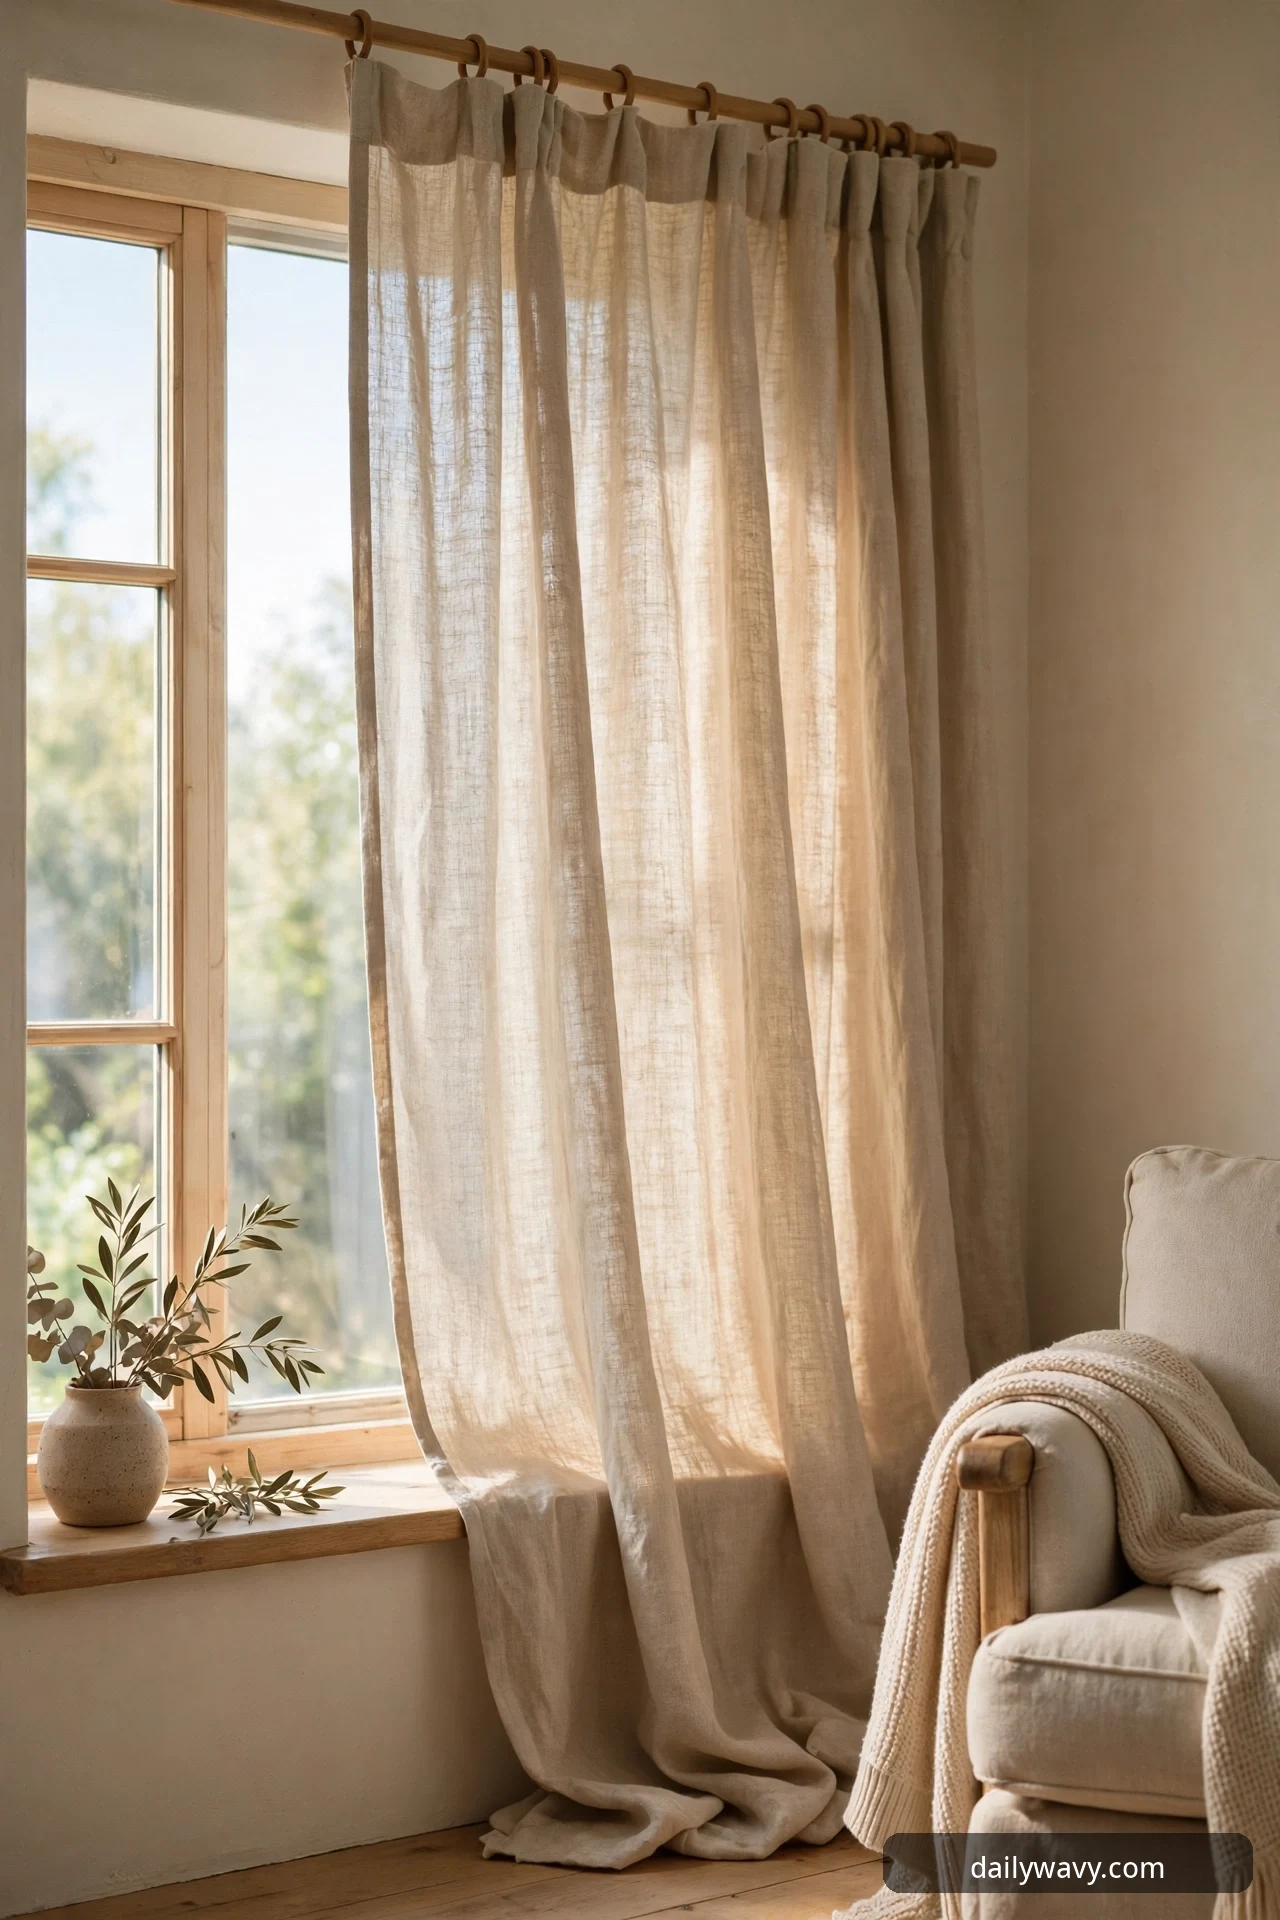
Every window nook reaches a point in the afternoon when the light stops being beautiful and starts being blinding. A curtain you can adjust in seconds is the difference between a nook you use all day and one you abandon at 3 p.m. This is not about blackout drapes. It is about one movable layer that turns hard glare into soft, diffused light.
What to measure: Measure the window width and add 6 to 10 inches on each side for the rod, then mount the rod 4 to 6 inches above the frame so the panel clears the trim when open. A single panel 40 to 50 inches wide covers most standard windows when drawn closed. The key measurement is reach: you must be able to pull it from your seated position, so keep the leading edge within arm’s length of the chair.
Materials: One linen or cotton curtain panel with a rod and rings, or a tension rod if you are renting. Light-filtering fabric in white, oatmeal, or warm gray diffuses glare without darkening the room. Rings glide easier than rod pockets, which matters when you adjust it daily. Add a simple tieback or hook so the panel stays put when open.
Placement: Hang the curtain on the glare side of the window, which is the side the afternoon sun hits hardest. If the nook sits in a double window, one panel on the western half often does the job. Keep the panel above the seat cushion line so it never drapes onto the reader’s head.
Approximate effort and cost: About 30 minutes to mount a rod, and a single decent panel runs 20 to 45 dollars. A tension rod setup takes only a few minutes and costs under 25 dollars total.
Troubleshooting tip: If the curtain blocks too much light when drawn, gather it in a loose swag rather than pulling it flat. A flat panel darkens; a swagged panel diffuses. If the rod sags, add a center bracket, especially on spans wider than 48 inches.
A realistic lower-cost alternative: A roll of static-cling frosted window film on the lower half of the glass kills glare permanently for about 12 dollars and peels off when you move.
4. A narrow wall shelf
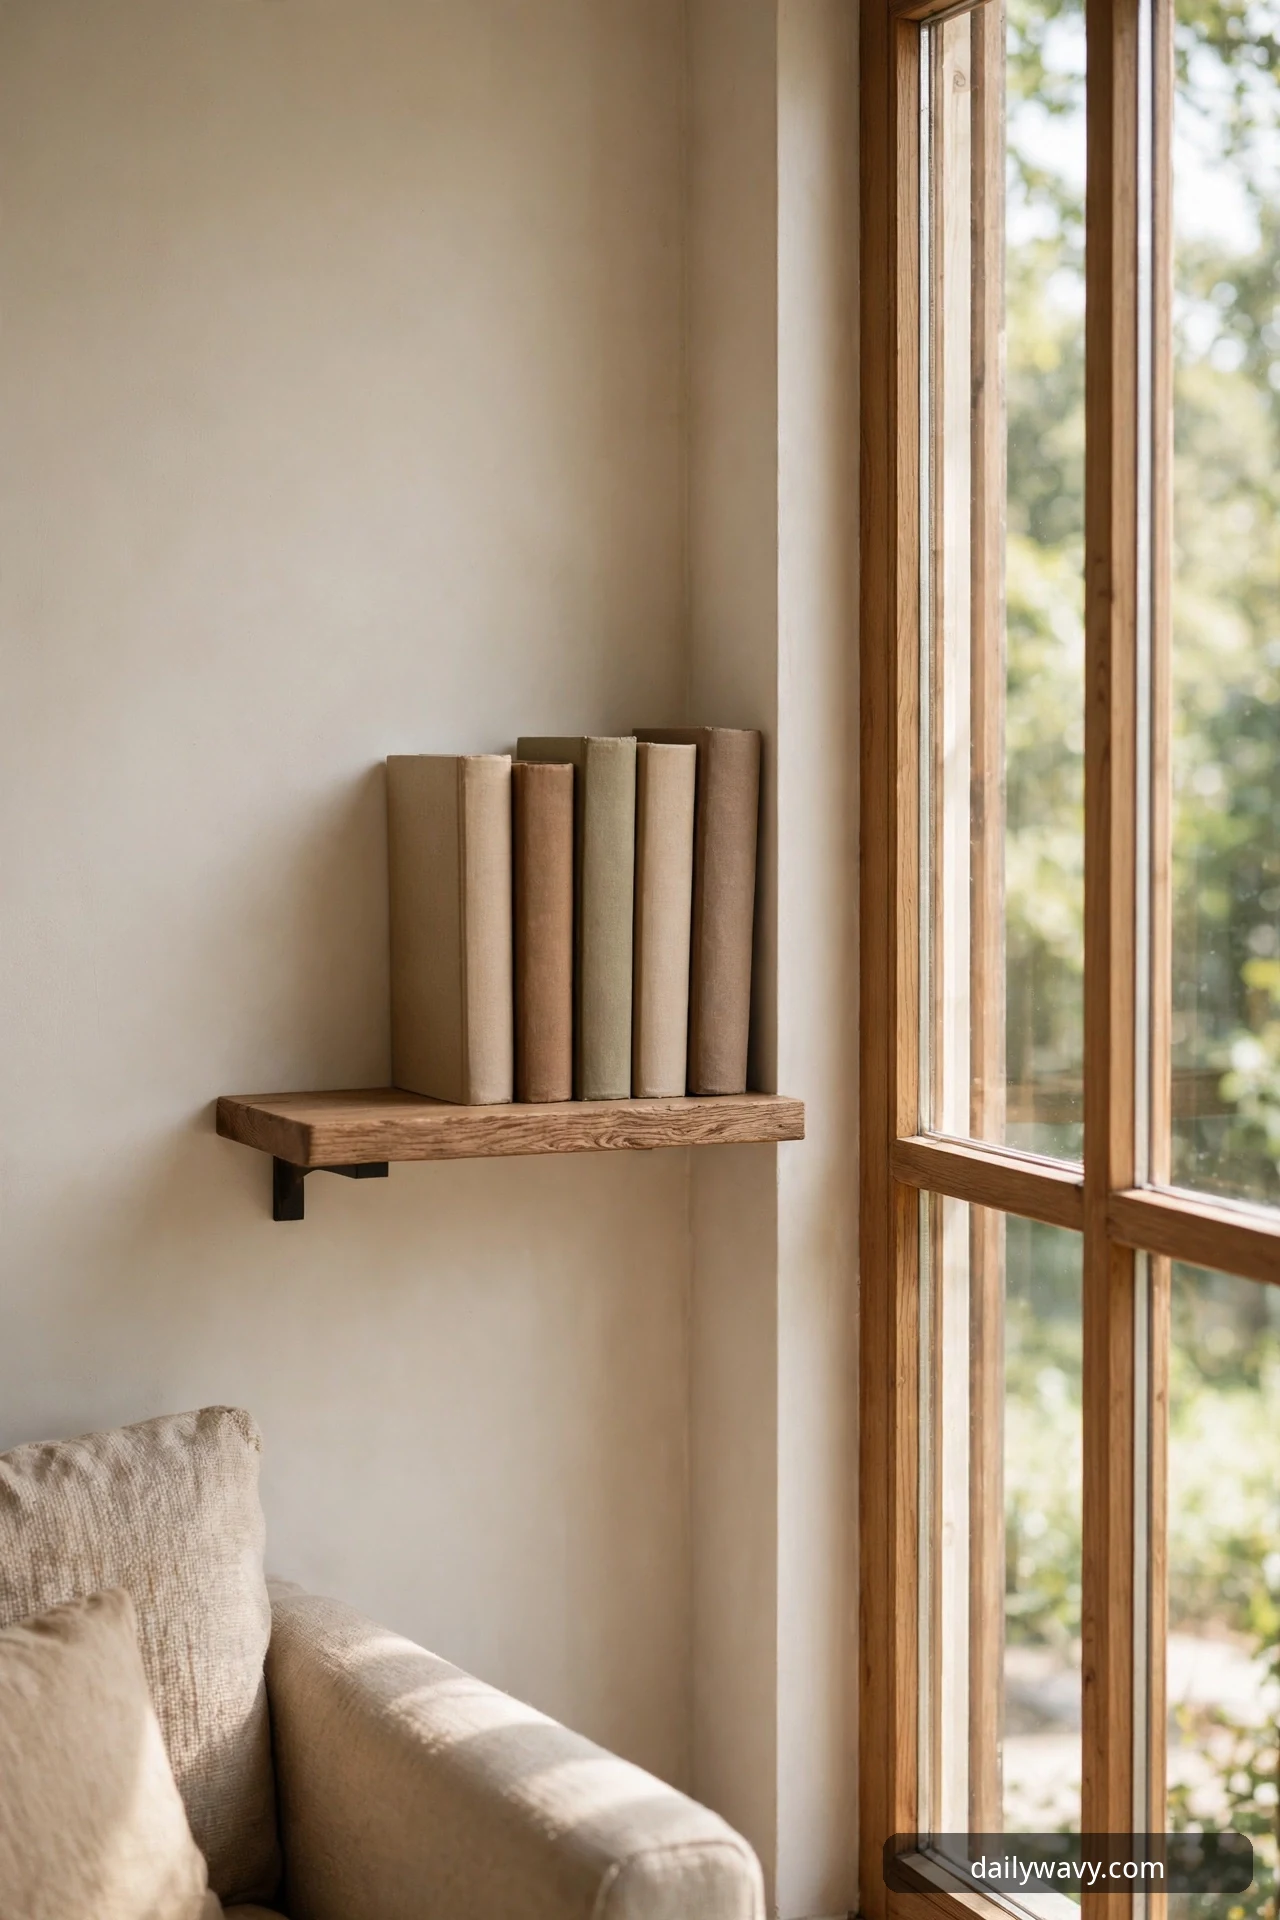
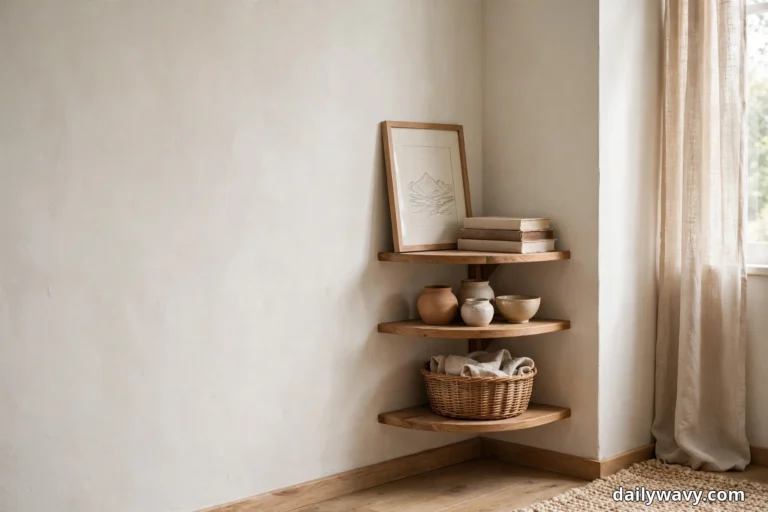
A basket handles the books you are reading now. A narrow wall shelf handles the books you are reading next. Mounted within reach of the chair, it keeps a short rotation of books visible and off the floor, and it gives the nook a finished, intentional look that one floating shelf often delivers.
What to measure: Measure the wall space beside or above the chair at sitting eye level, about 42 to 48 inches off the floor. A shelf 6 to 8 inches deep and 24 to 36 inches long holds a tidy row of books without sticking out into the room. Check the wall type first: drywall needs anchors or a stud, plaster needs careful pilot holes, and brick needs masonry anchors.
Materials: One narrow floating shelf or a simple board with two brackets, plus the right anchors for your wall. Solid wood boards look best against warm neutrals; painted MDF matches painted trim. Keep shelf depth under 8 inches so books sit single file. A small lip or bookend at each end stops the row from avalanching.
Placement: Mount it on the window-adjacent wall within arm’s reach of the seated reader, roughly 12 to 18 inches from the chair. Do not mount it directly above the chair back; books at head height in a reading seat are a falling-object problem. Side walls are safer and easier to reach.
Approximate effort and cost: About 45 minutes including finding studs and leveling, and a shelf with brackets runs 20 to 50 dollars. A basic board-and-bracket pair can be assembled for under 20 dollars.
Troubleshooting tip: If the shelf bows under the books, you overloaded it. A 36-inch span holds roughly 15 to 20 paperbacks safely; beyond that, add a center bracket. Keep the heaviest books nearest the brackets.
A realistic lower-cost alternative: A length of picture ledge, the kind sold for displaying framed photos, is only 2 to 3 inches deep but holds books beautifully and costs about 12 dollars.
5. A textured rug defining the corner
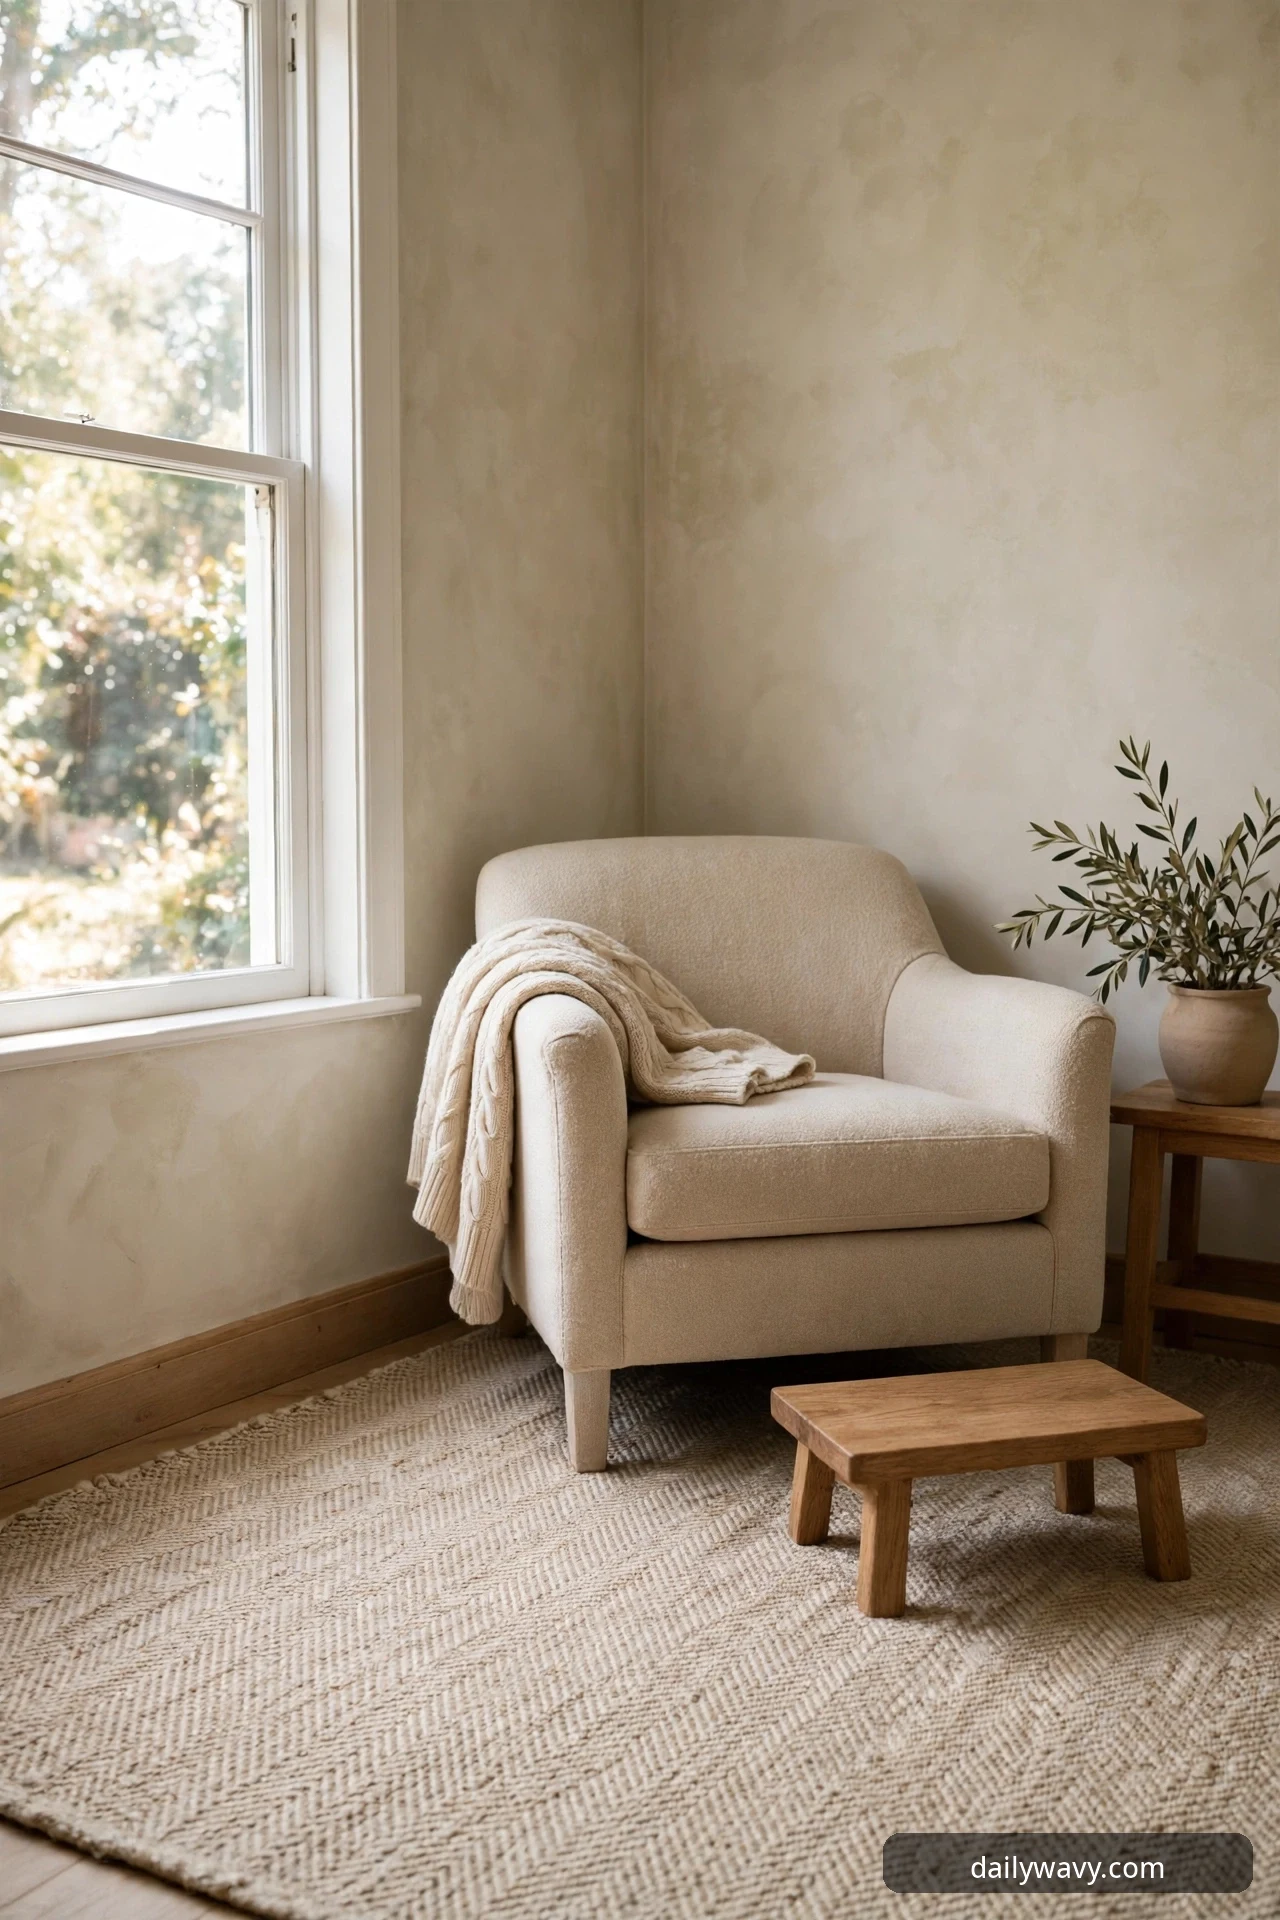
A rug does two quiet jobs in a reading nook. It marks the corner as its own place, so the chair stops looking like furniture that drifted, and it warms the floor under your feet, which matters when you read barefoot. Texture is the point: a flat-weave rug with real pile underfoot signals comfort in a way a flat surface rarely does.
What to measure: Measure the floor area the chair, stool, and basket actually occupy, then add 6 to 12 inches on every exposed side. Most reading nooks land on a rug between 3 by 5 feet and 4 by 6 feet. The chair’s front legs should sit fully on the rug; back legs can sit off it. Leave at least 18 inches of hard floor or walkway beyond the rug edge so it never becomes a trip strip.
Materials: One low-pile or flat-weave rug in a texture you like under bare feet: wool, cotton, jute, or a wool blend. Low pile matters in a reading corner because thick rugs catch chair legs and make the stool drag. Restrained warm neutrals keep the corner calm. Add a thin rug pad if the rug slides or the floor is cold; a pad also cushions the feet.
Placement: Center the rug under the reading chair so the texture runs beneath both the seat and the footstool. If the window wall has a radiator or baseboard heat, keep the rug at least 6 inches clear of it. In a room corner, let the rug define the nook’s boundary against the rest of the room.
Approximate effort and cost: About 20 minutes to lay and adjust, and a 3-by-5-foot flat-weave rug runs 40 to 120 dollars depending on material. A simple cotton rug at the low end still does the full job.
Troubleshooting tip: If the rug creeps toward the window, a rug pad with grip backing solves it in most cases. If chair legs still drag, swap the front glides for felt pads, which slide smoothly even on wool.
A realistic lower-cost alternative: Two smaller matching bath mats or runner offcuts, laid side by side, cover a chair-and-stool footprint for under 25 dollars.
6. A framed print in the background
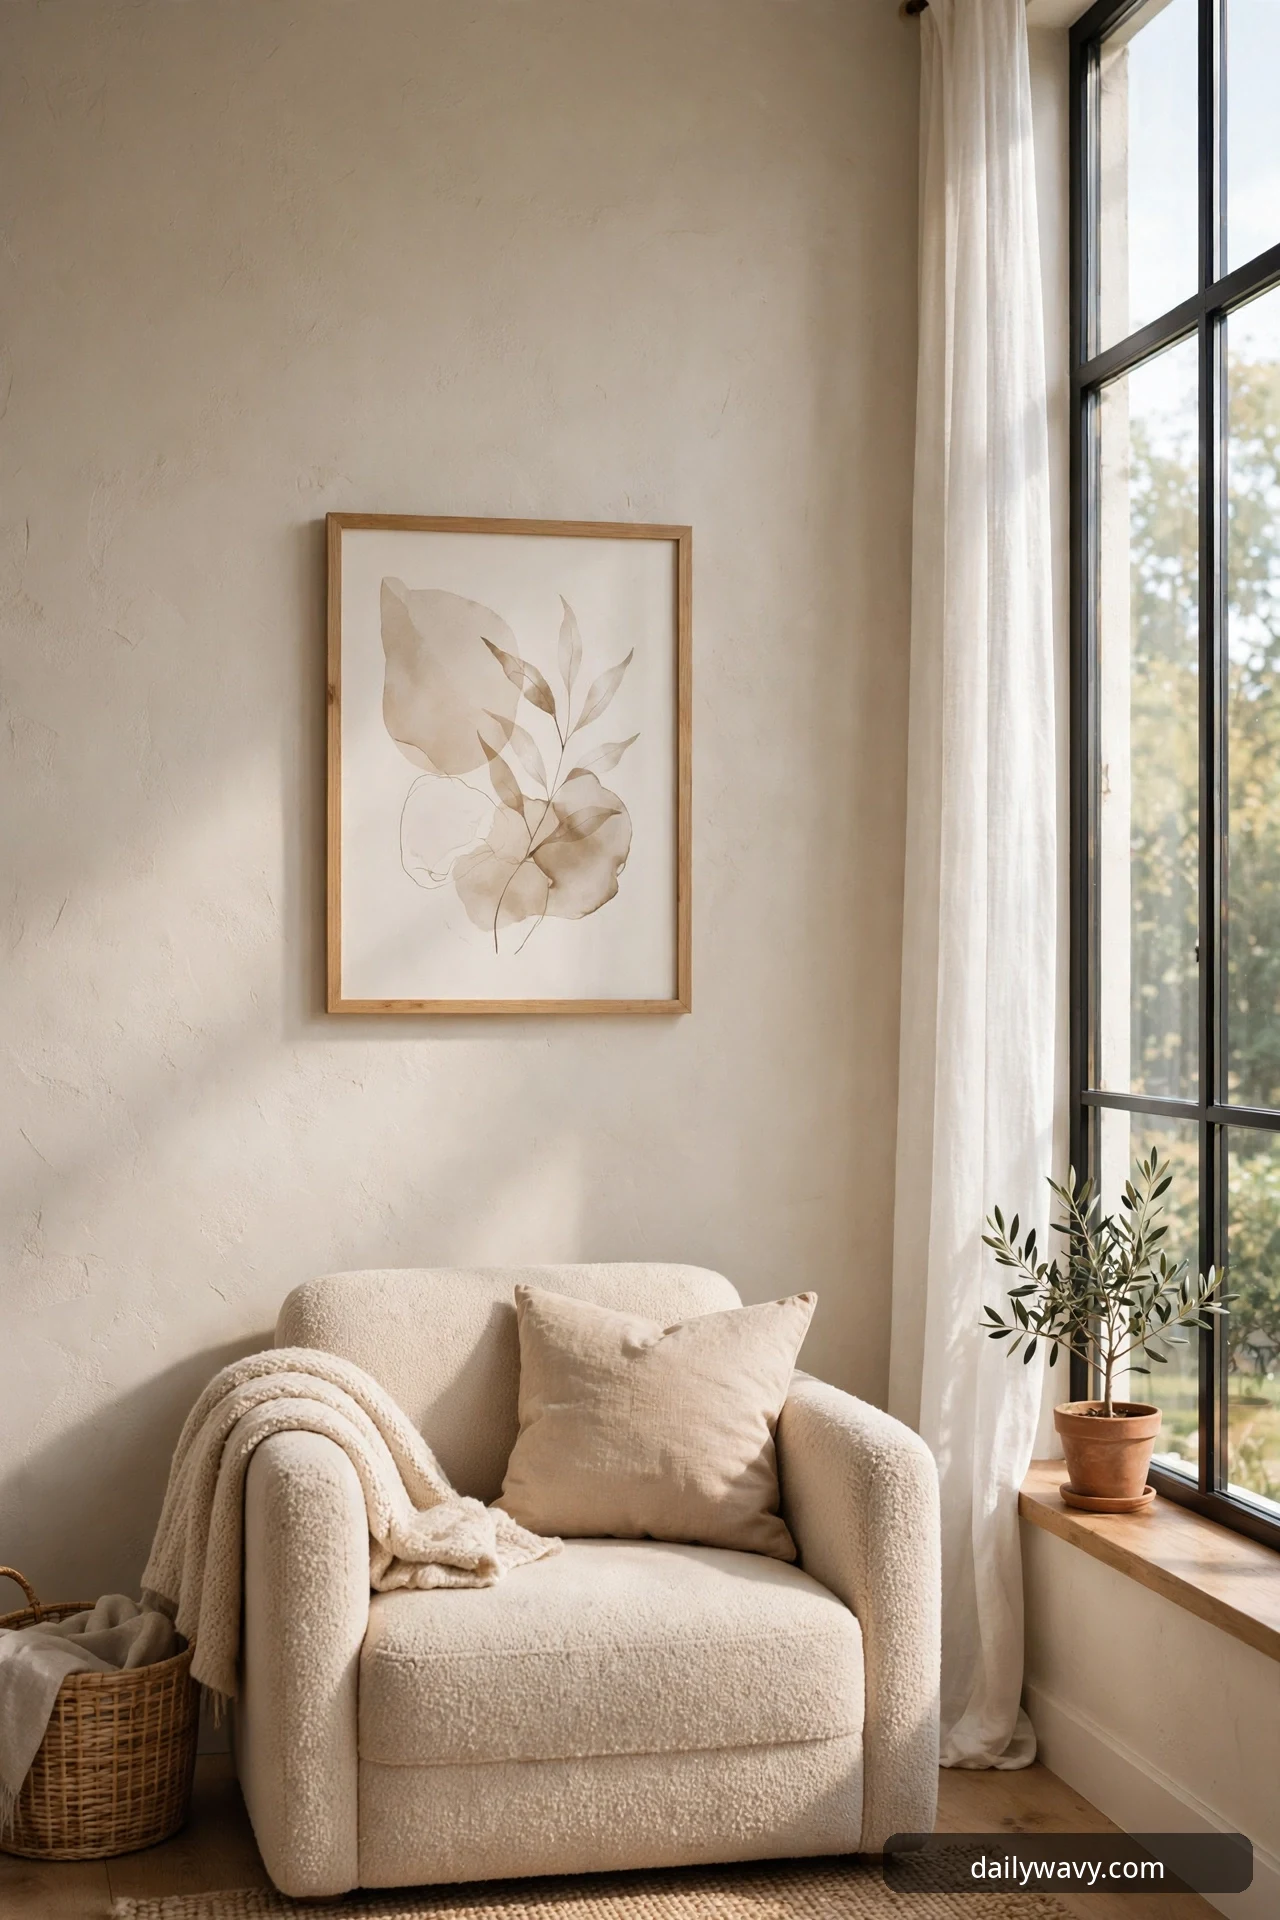
A reading nook needs one thing that is not furniture. A framed print on the wall behind or beside the chair gives the corner a point of view, and it is often the piece guests notice first. It does not need to be art-world significant. It needs to be something you like looking at while you think about what you just read.
What to measure: Measure the wall space above or beside the chair. A single print between 16 by 20 inches and 24 by 36 inches suits a reading corner; smaller reads as decoration, larger starts to dominate. Hang the center of the frame at about 57 to 60 inches off the floor, which is gallery height and works whether you are standing or seated.
Materials: One framed print, poster, or photograph that holds up to daily looking. Wooden or black frames in simple profiles suit warm neutrals best. Use proper hanging hardware: a single picture hook rated for the frame’s weight in drywall, or two hooks for anything wider than 24 inches to keep it level.
Placement: Hang it where you see it while seated, which is usually the wall opposite or beside the window rather than above the chair. A print you only see standing up does nothing for the reader. Keep it clear of the curtain swing so the frame never gets knocked.
Approximate effort and cost: About 20 minutes to hang, and a framed print runs 25 to 80 dollars depending on size. Printing a photo you already love at a local print shop and framing it yourself often lands under 40 dollars.
Troubleshooting tip: If the frame tilts over time, the wire is too loose or the hooks are too close together. Re-hang with the wire taut and the hooks spaced at least half the frame width apart. A small piece of museum putty behind the bottom corners stops swing in drafty rooms.
A realistic lower-cost alternative: A calendar page, book illustration, or map in a simple clip frame costs under 10 dollars and looks intentional when the subject means something to you.
7. A washable cushion cover
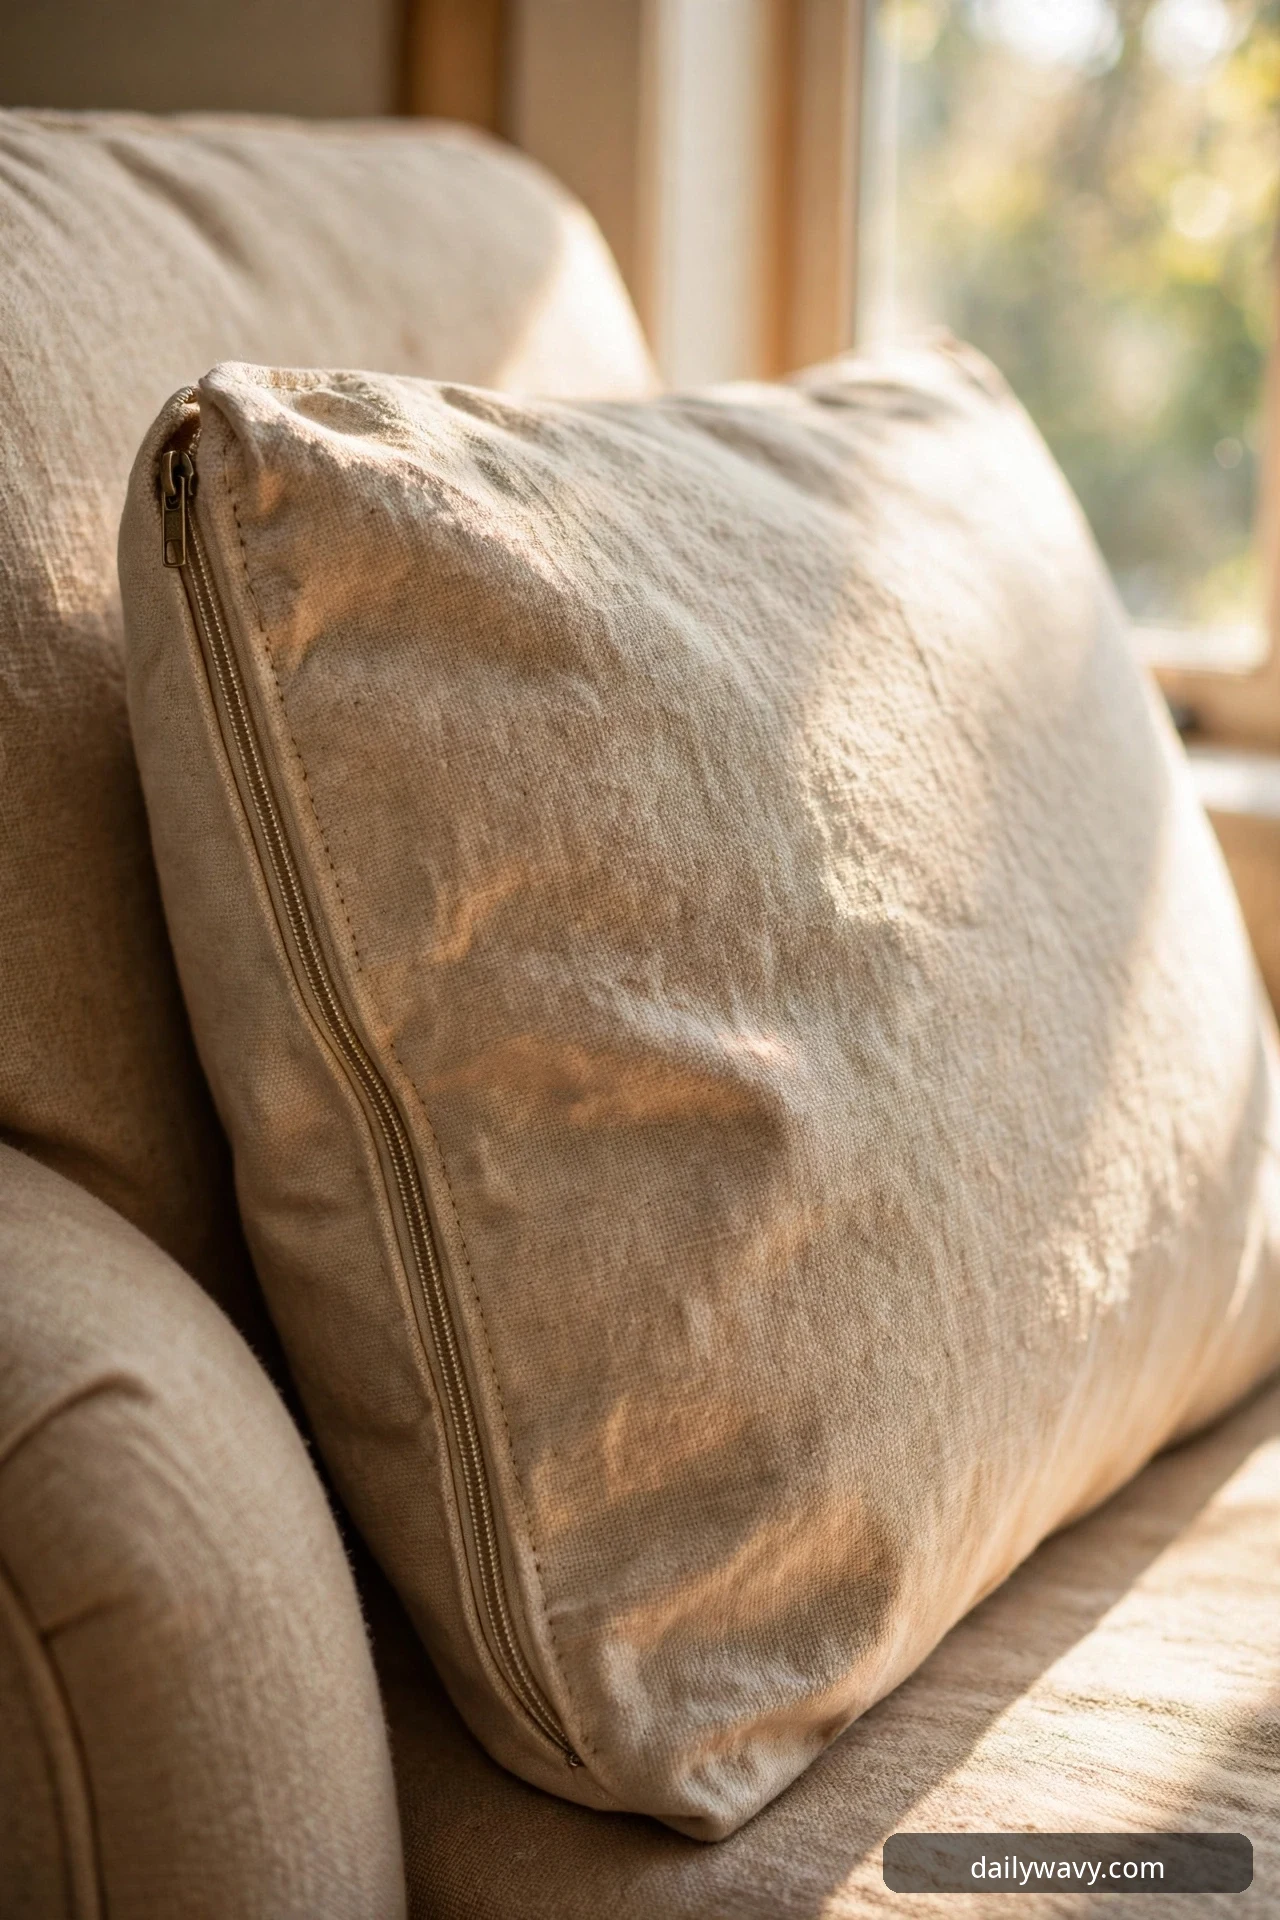
A reading chair gets used hard: tea spills, biscuit crumbs, dog paws, sunscreen on an arm. A washable cushion cover is the difference between a chair that stays inviting for years and one that looks tired by spring. It is maintenance, but it is the kind of maintenance that keeps the nook from quietly dying.
What to measure: Measure the existing cushion’s width, depth, and thickness, then buy a cover one to two inches smaller than the cushion in each dimension so the fit stays snug. Standard throw pillow covers run 18 by 18 or 20 by 20 inches; seat cushions vary, so measure twice. Check the closure type: hidden zippers survive washing best, envelope closures shift.
Materials: One or two cushion covers in a washable fabric with a zipper: cotton canvas, cotton-linen blend, or a performance fabric if the chair faces heavy use. Light neutrals show wear; mid-tone warm grays, oatmeals, and soft greens hide it. Keep a spare cover in a closet so the chair never sits bare on laundry day.
Placement: This one needs no placement decision beyond putting it on the cushion. Rotate the cushion monthly if the chair gets daily use so wear spreads evenly. In summer, switch to a lighter fabric cover; winter weight covers on the same cushion change the feel of the whole corner.
Approximate effort and cost: About 5 minutes to swap, and washable covers run 12 to 35 dollars each. Buying two at once means one is always clean and ready.
Troubleshooting tip: If the cover bunches, the insert is too small for the cover. Size down the cover or size up the insert. If the zipper snags, rub a dry bar of soap along the teeth; it glides for months.
A realistic lower-cost alternative: A pillowcase from a matching bedding set fits most standard throw pillows and costs nothing if you already own it.
8. A lidded box for small items
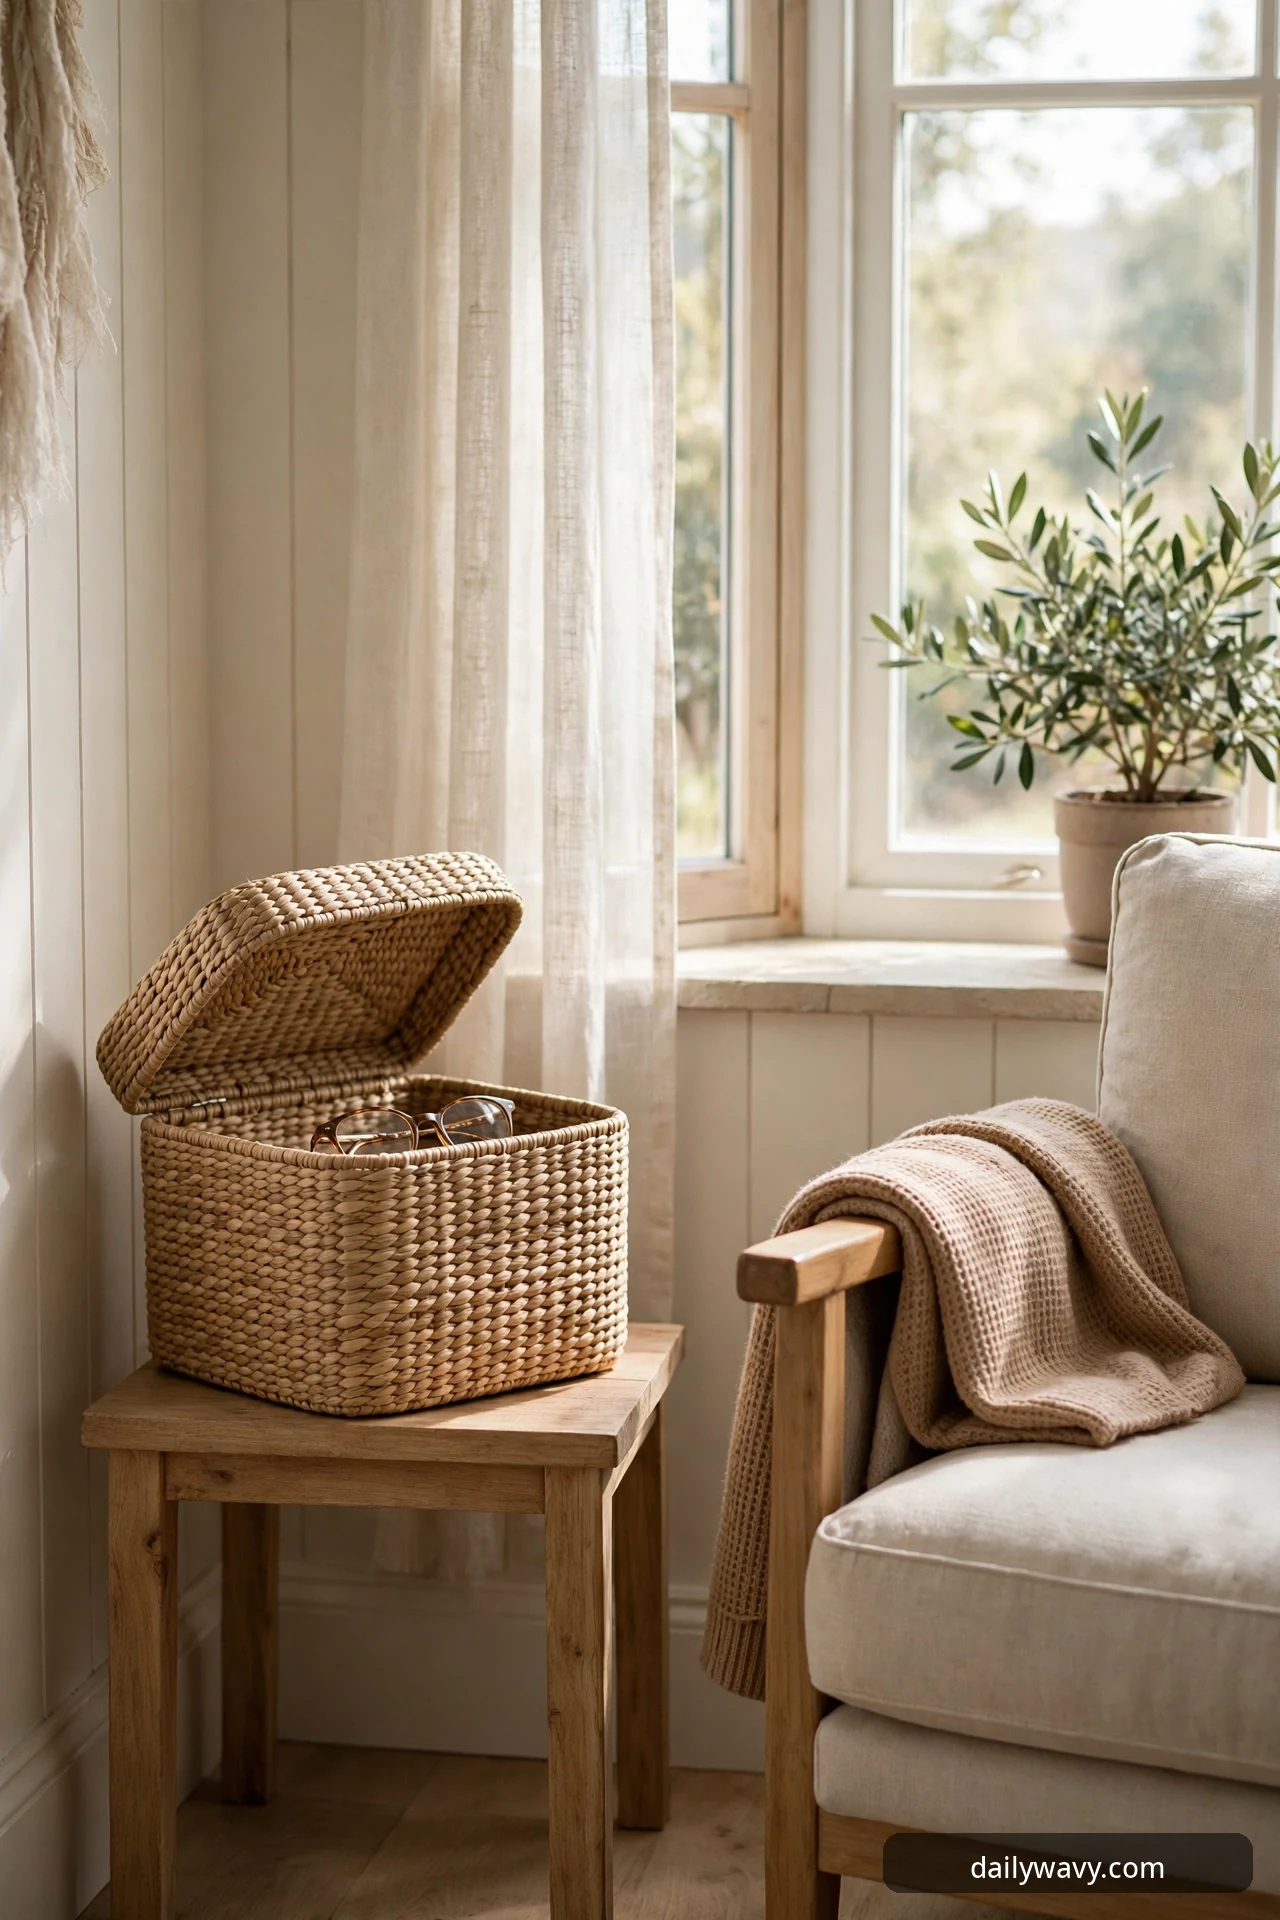
Every reading nook accumulates the same small clutter: reading glasses, a pencil, lip balm, the remote you swear you did not bring in here, and the bookmark that keeps escaping. A lidded box swallows all of it in one motion and keeps the side table honest. It is the tidiness shortcut that actually lasts, because putting things in a box is easier than putting them away.
What to measure: Measure the surface it will live on, whether that is a side table, the window sill, or the narrow wall shelf from idea four. A box 8 to 12 inches long and 5 to 7 inches wide fits most side tables without crowding a tea tray. Keep the height under 6 inches so it never blocks the light or the view.
Materials: One lidded box in a material that suits the corner: woven seagrass, lidded wood, lacquered cardboard, or fabric-covered board. The lid is the whole point, so test that it lifts and closes with one hand. A divided interior is a bonus for glasses and small items that scratch.
Placement: Set it on the non-dominant-hand side, opposite the book basket, so both hands have a job. If the nook has no side table, the box can live on the window sill or the wall shelf, as long as you can reach it seated. Keep it closed when not in use; an open box becomes a junk drawer.
Approximate effort and cost: No assembly, and lidded boxes run 12 to 35 dollars. Decorative storage boxes from the craft store’s home section are often the best value.
Troubleshooting tip: If the box fills with things that do not belong, empty it monthly and return strays to their rooms. A box that holds everything eventually holds nothing useful.
A realistic lower-cost alternative: A shoebox wrapped in kraft paper with a matching lid, finished with a simple label, costs nothing and looks deliberately plain in the best way.
9. A plant near available daylight
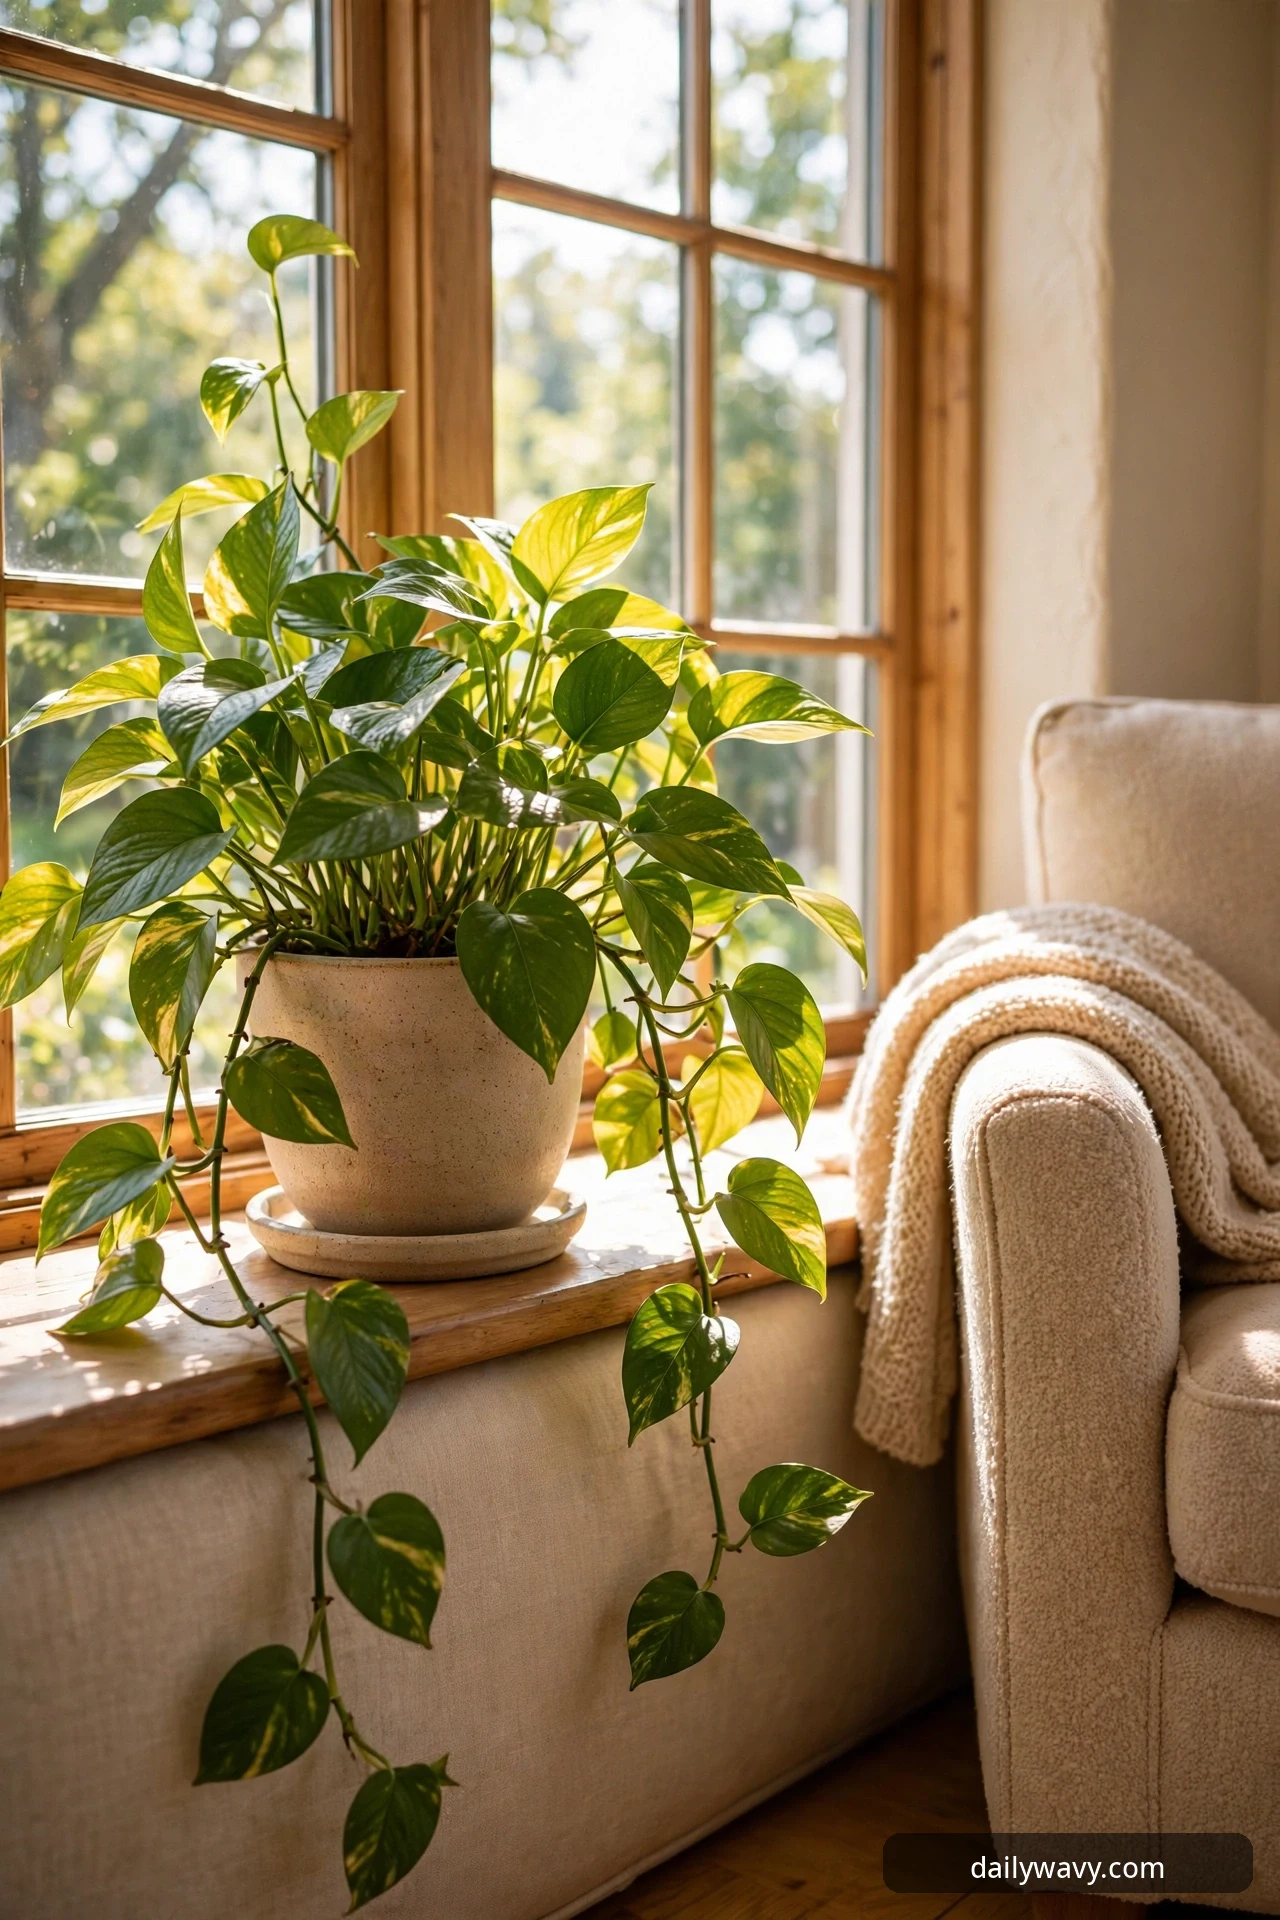
A plant does something in a reading corner that furniture cannot: it moves, very slowly, and it makes the corner feel alive between reading sessions. Placed near the window, it gets the daylight it wants and softens the hard lines of chair, shelf, and sill. It is also an inexpensive way to make a nook look good in photos, which matters if you are the kind of person who pins rooms.
What to measure: Measure the light before you buy the plant. A south or west window gives most common houseplants enough light within 3 to 5 feet of the glass; a north window needs low-light plants. Measure the floor or sill space you can spare: a 6 to 8 inch pot fits most sills and side tables, and a floor plant needs a footprint of about 12 to 16 inches square.
Materials: One houseplant suited to your window’s light and your watering habits, plus a pot with drainage and a saucer. Pothos, snake plants, and ZZ plants tolerate the bright-to-medium light of most reading windows and forgive missed waterings. If pets chew your plants, keep these out of reach, since they can upset a pet’s stomach if eaten. Add a saucer or waterproof mat under every indoor pot, no exceptions; water damage on a wood sill is permanent.
Placement: Set it near the daylight but not blocking it: the side of the window opposite the chair, the end of the sill, or the floor beside the chair all work. Keep leaves at least 6 inches clear of the curtain so fabric does not wick moisture. If the plant sits on the sill, check that the sill is level and wide enough that the pot cannot tip with a bump.
Approximate effort and cost: About 15 minutes to pot and place, and a healthy starter plant with pot runs 15 to 40 dollars. Cuttings from a friend’s pothos cost nothing and root in a glass of water in a few weeks.
Troubleshooting tip: If leaves yellow, you are almost certainly overwatering, not underwatering. Let the top inch of soil dry out between waterings, and empty the saucer so the pot never sits in standing water.
A realistic lower-cost alternative: A jar of water with pothos or philodendron cuttings on the sill gives the green effect for free and roots into a real plant over a month or two.
10. A compact tray for tea
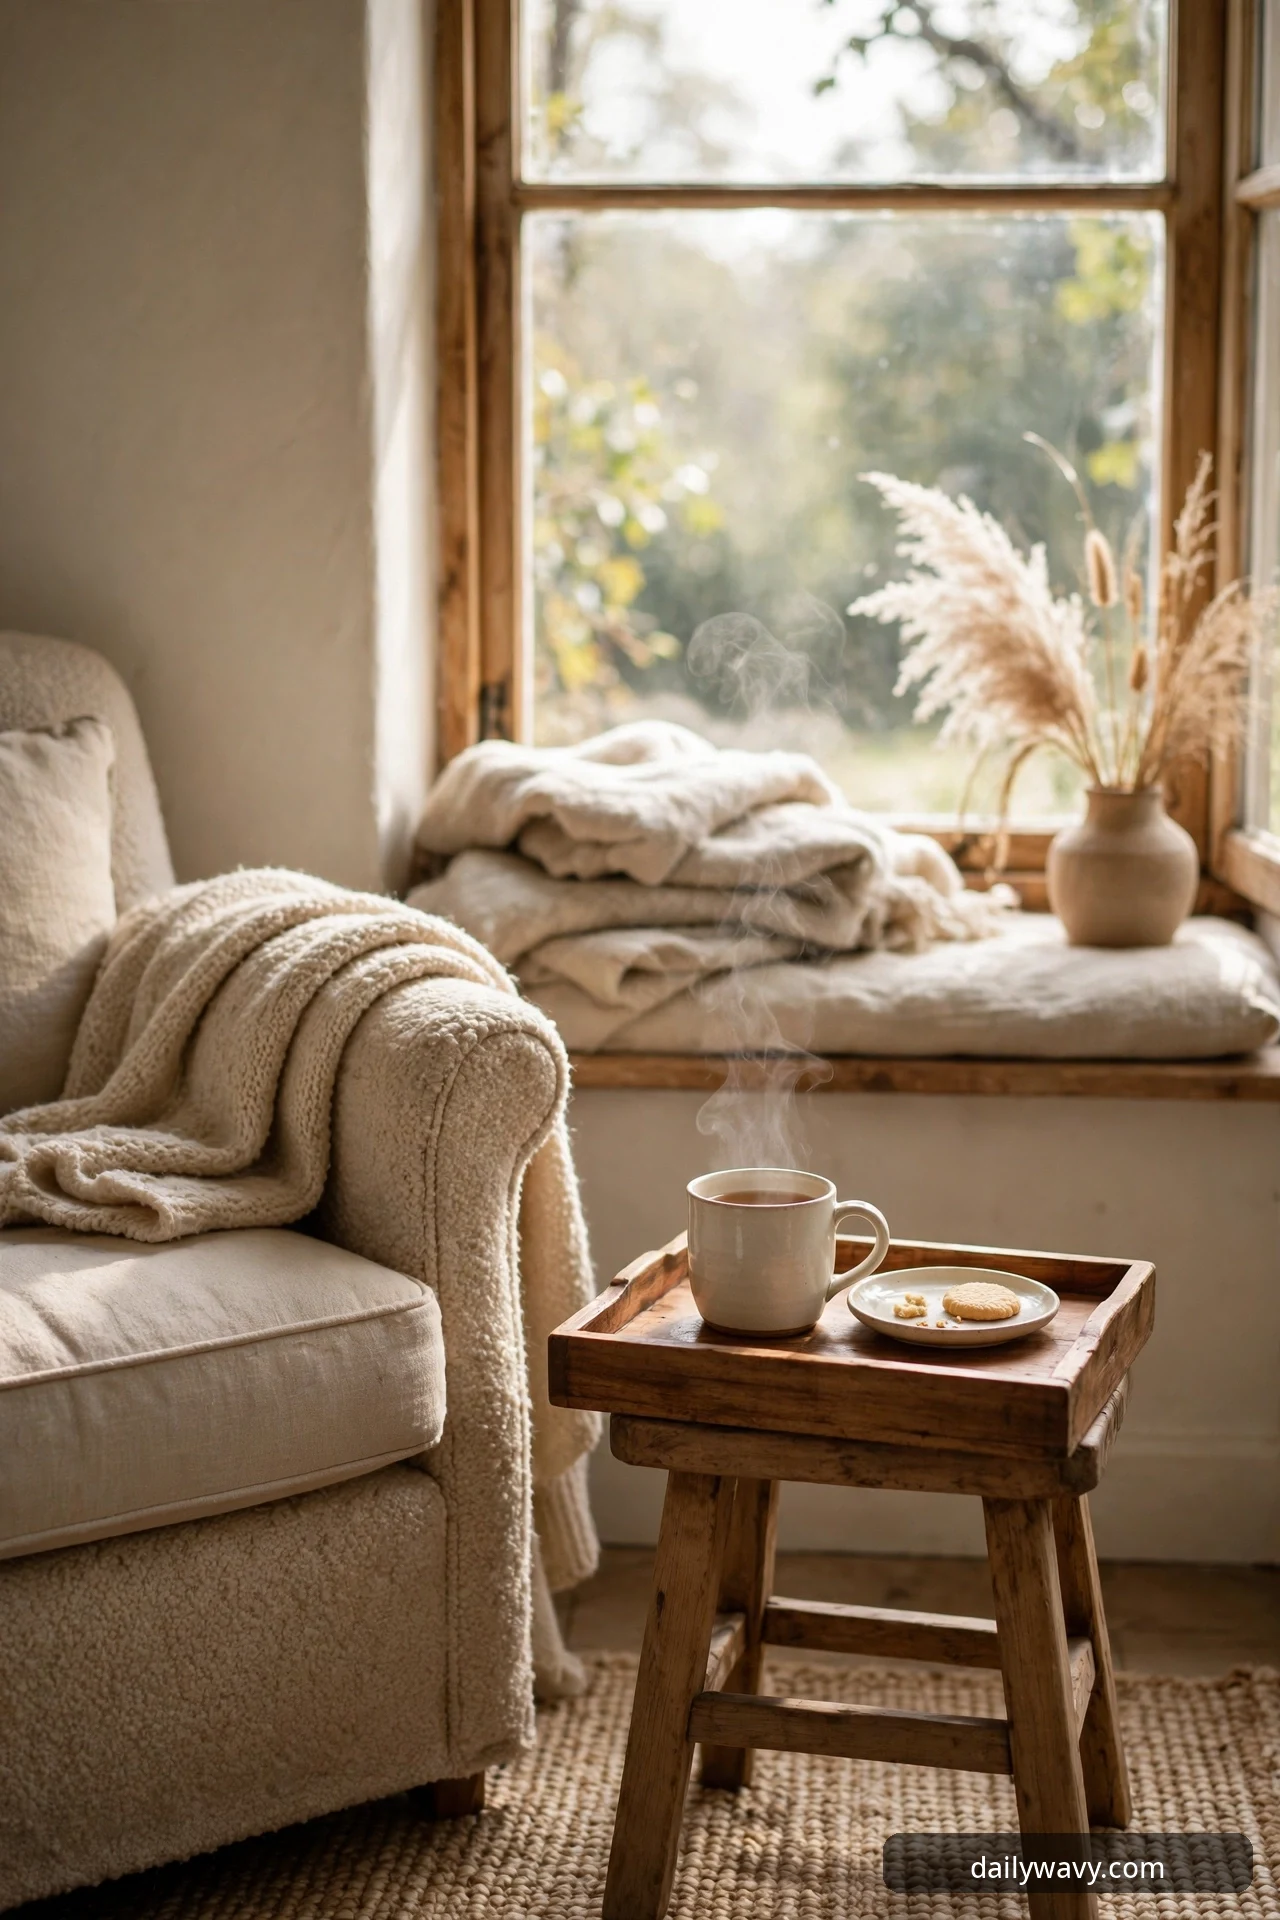
Reading and tea belong together, and a compact tray is what keeps them together without disaster. It corrals the mug, the spoon, and the biscuit plate into one stable unit that you can lift in a single motion, which means hot tea never travels unprotected across the room. It is a small piece that genuinely prevents spills.
What to measure: Measure the surface it will live on: side table, stool, or window sill. The tray should be at least 2 inches smaller than the surface on every side so it never overhangs. A tray 10 to 14 inches long and 8 to 10 inches wide holds a mug, a small plate, and a spoon comfortably. Keep the rim at least 1 inch high so a sliding mug stops instead of sailing.
Materials: One compact tray with a raised rim and handles: wood, bamboo, lacquered board, or metal. Wood and bamboo absorb a little condensation without showing it; metal trays need a coaster or cloth under the mug. If the tray has handles, test that you can carry it loaded with one hand.
Placement: Keep the tray on your dominant-hand side within easy reach of the seat, on the side table or the stacked-books stool from idea eleven. When you stand up, the whole tea setup travels with you in one trip. Never place a tray on the curtain side of the sill where a pull could send it over.
Approximate effort and cost: No assembly, and compact trays run 15 to 40 dollars. Bamboo trays at the low end are light, sturdy, and washable.
Troubleshooting tip: If the tray slides on a slick table, add four small silicone bumpers underneath. If the mug still wanders, the tray is too big; a snugger tray holds everything in place better than a roomy one.
A realistic lower-cost alternative: A rimmed baking sheet you already own, lined with a folded tea towel, is exactly as functional until you find a tray you love.
11. A pair of stacked books on a stool
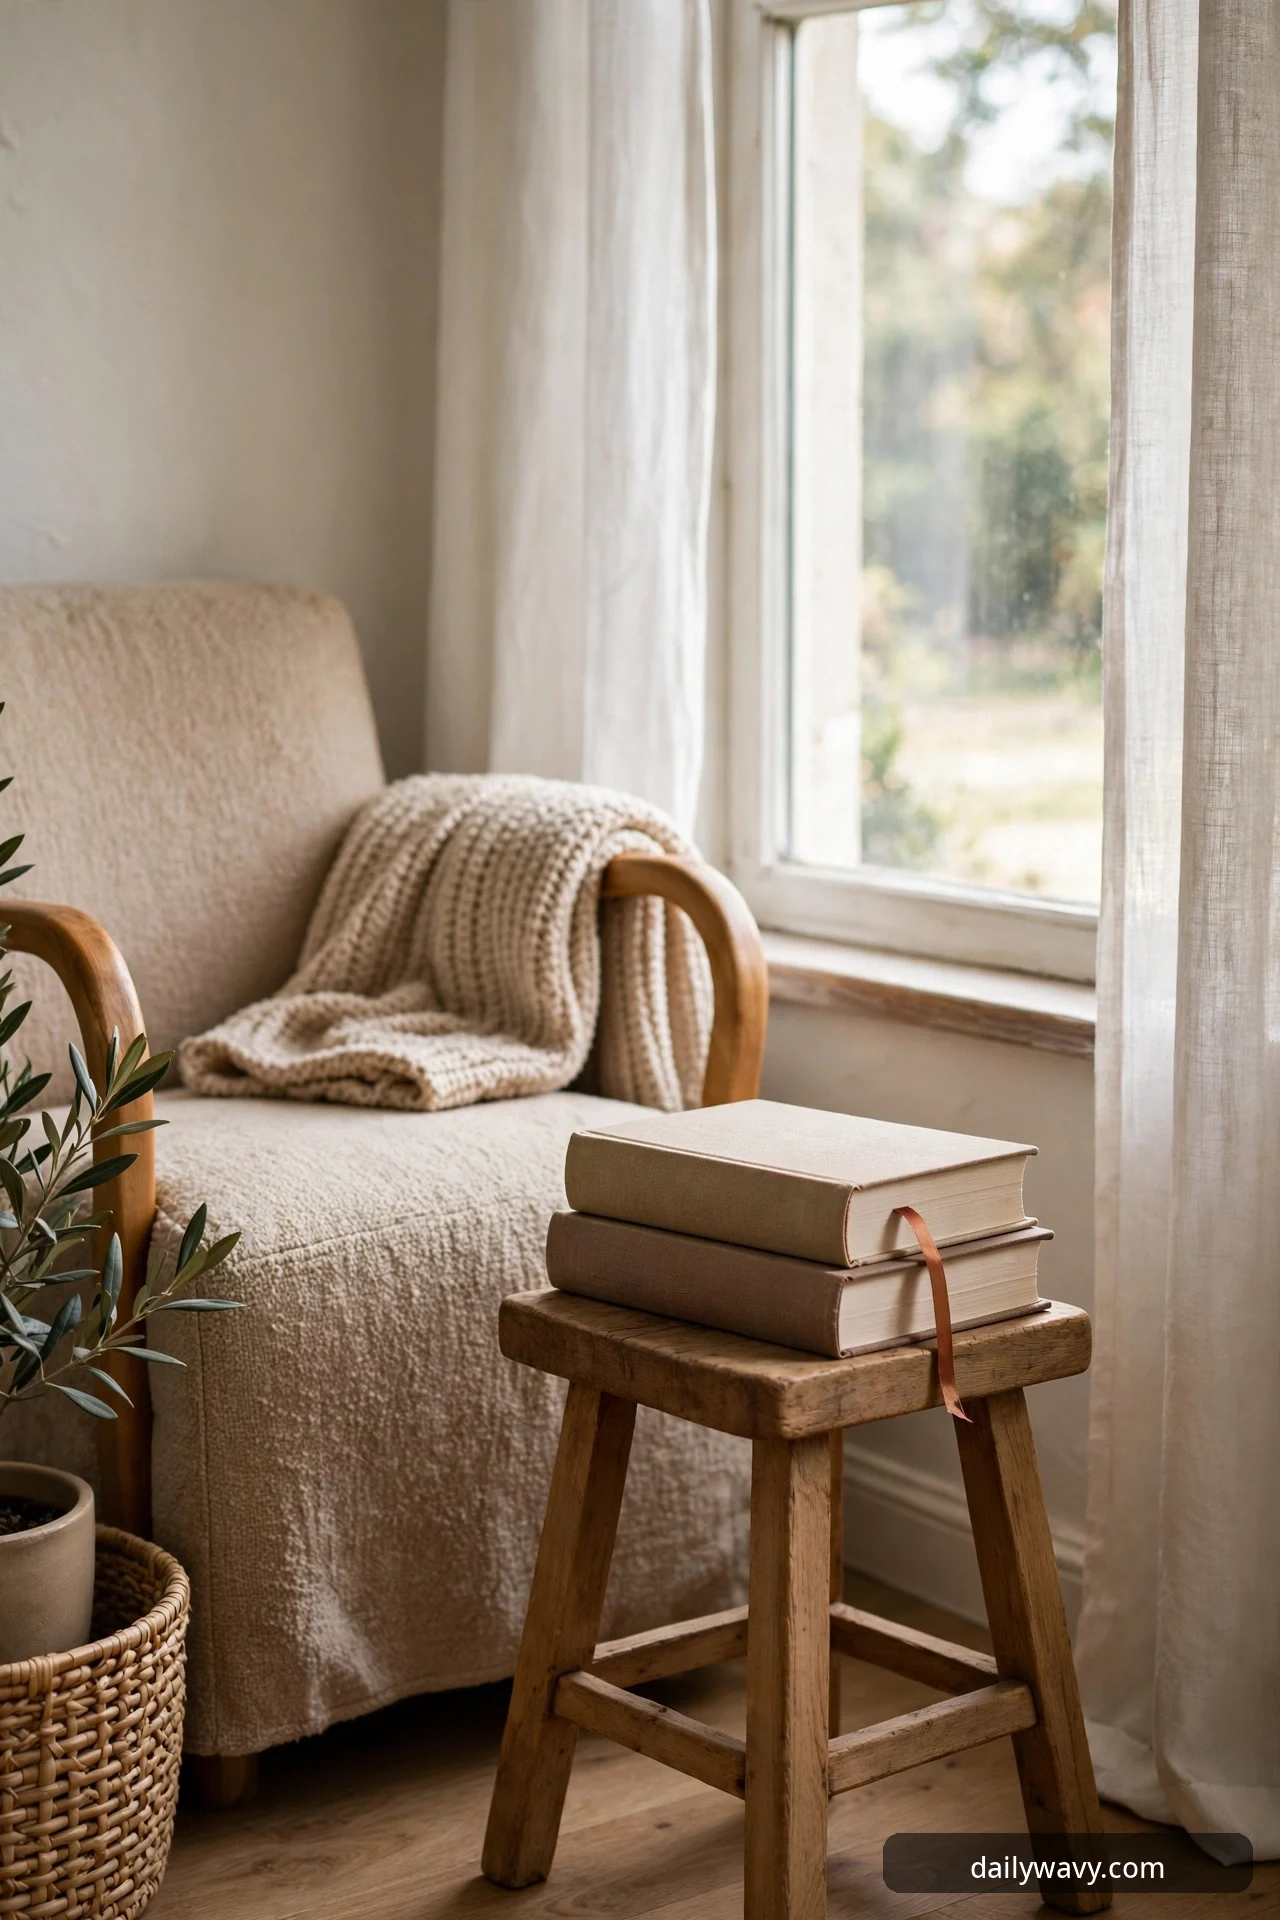
Not every nook has room for a side table, and not every reader needs one. A small stool with two or three stacked books on top does the work of a side table in a footprint half the size: the top book marks your place in the current read, the stool holds the tea tray, and the whole thing moves wherever you need it. It is one of the most flexible surfaces a reading corner can have.
What to measure: Measure the height you need: the stool top should land within 4 inches of the chair’s armrest height so reaching is natural. Most reading setups want a stool 18 to 24 inches tall. Keep the footprint under 14 inches square so it tucks beside the chair without blocking the walkway.
Materials: One small sturdy stool: wood, metal, or a lidded storage cube that doubles as extra storage. It must hold a full mug and a book without wobbling, so test it loaded before committing. The stacked books on top should be hardcovers you have already read, since they will collect ring marks; paperbacks dent under mugs.
Placement: Set it on your dominant-hand side at armrest height, close enough to set down a mug without leaning. If the nook is tight, angle the stool diagonally so its corner faces the chair; diagonal placement reads smaller in a small room. Keep it clear of the curtain pull.
Approximate effort and cost: About 10 minutes to position and style, and small stools run 20 to 60 dollars. A folding step stool from the hardware aisle works for under 20 dollars and stores flat.
Troubleshooting tip: If the stool wobbles on the rug, move it to the hard floor or add adjustable feet. If the books slide, a square of non-slip shelf liner between the top book and the stool fixes it instantly.
A realistic lower-cost alternative: An overturned sturdy storage crate or a stack of two thick hardcover coffee-table books you already own makes a perfectly good side surface for free.
12. A soft lumbar cushion
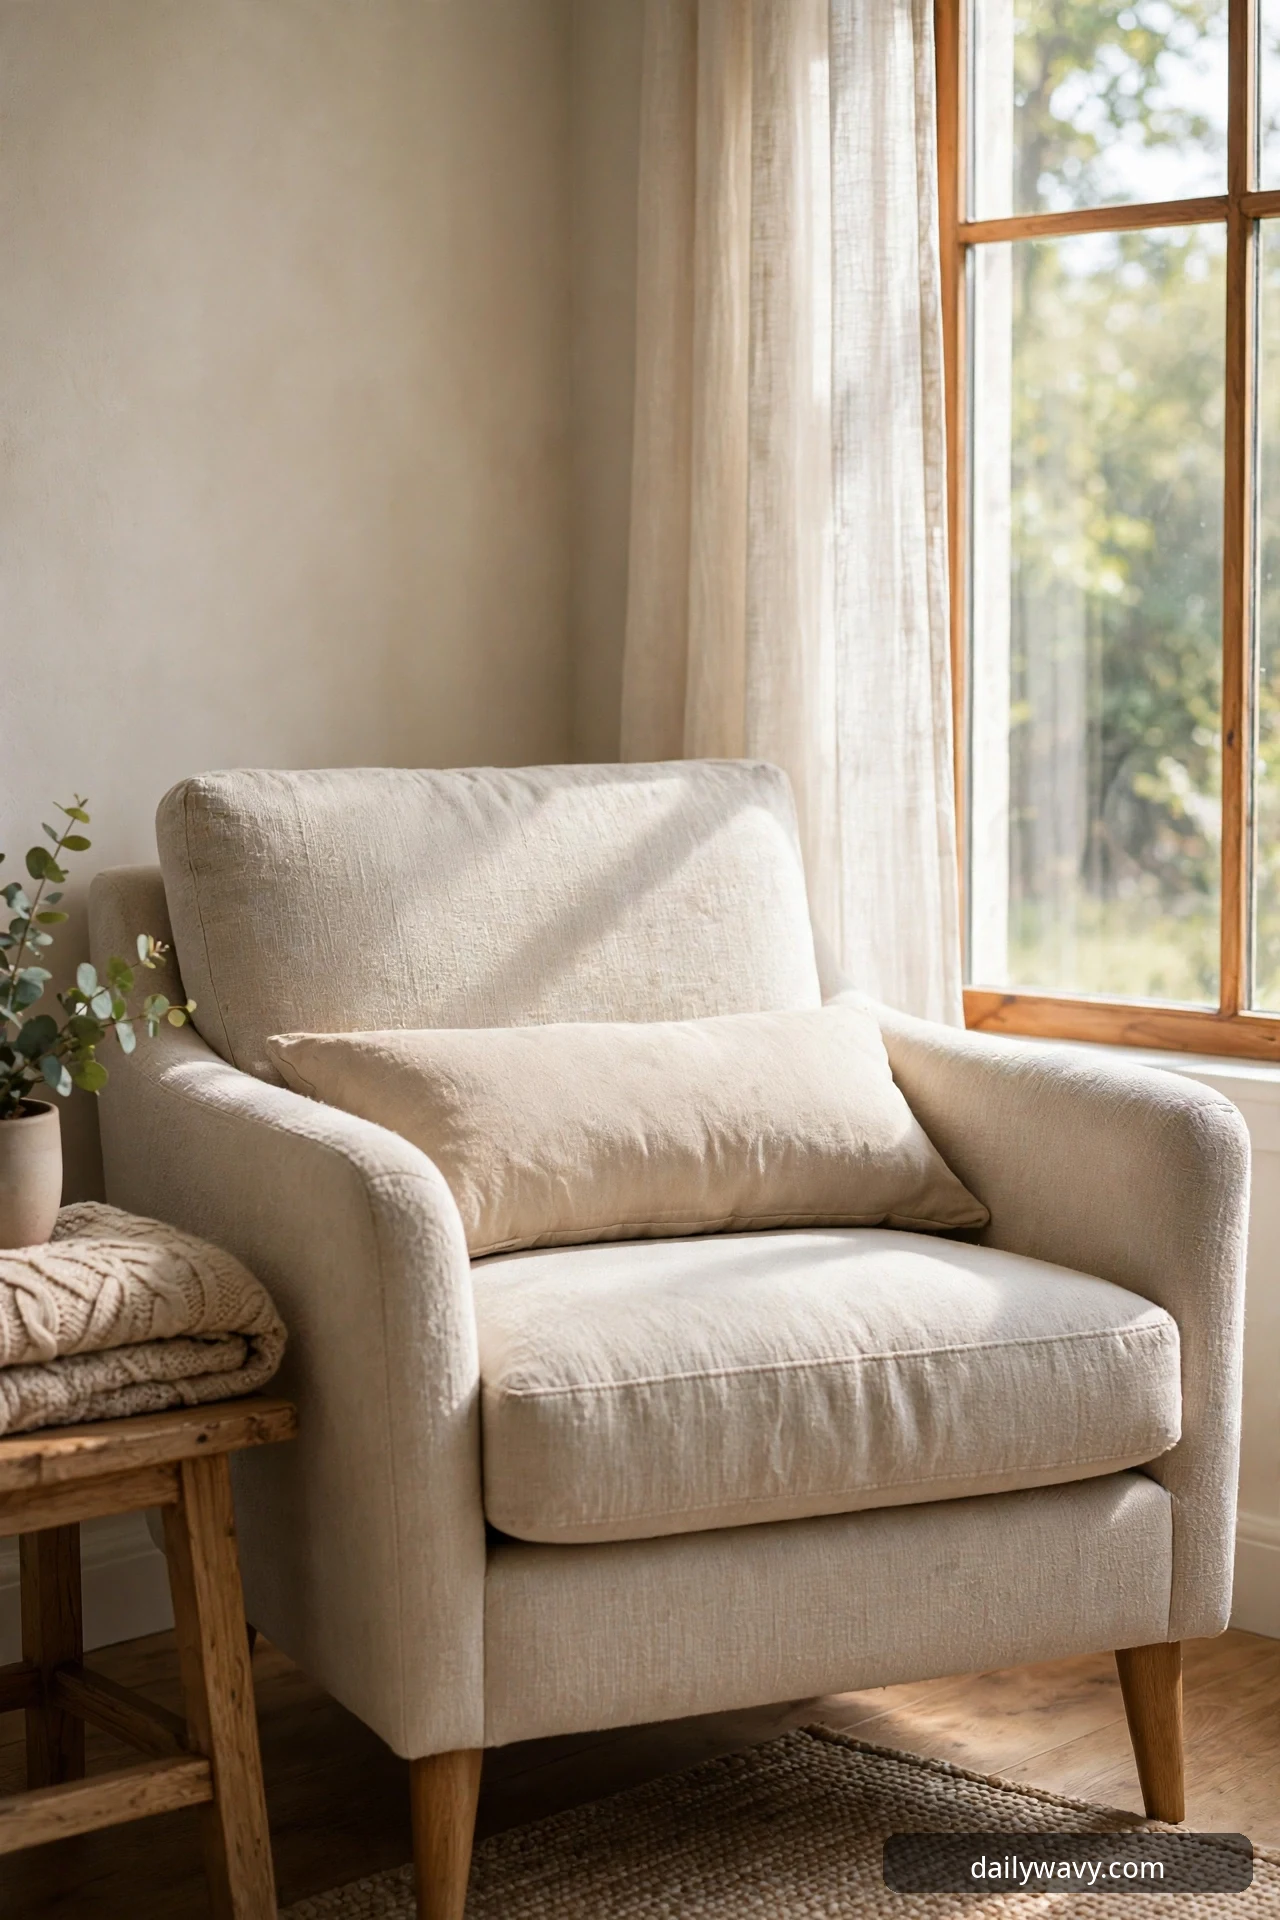
The chair is comfortable for the first hour. The lumbar cushion is what makes the third hour comfortable. Placed low against the chair back, it fills the gap between your lower spine and the seat and keeps you from slowly collapsing into a C-shape that your back will bill you for later. It is the least visible idea on this list, and one you will likely reach for daily.
What to measure: Sit in the chair and find the hollow at the small of your back. The cushion should be 12 to 16 inches wide and 6 to 8 inches tall when placed there; larger cushions push you forward instead of supporting you. If the chair back is deep, you may need a thicker cushion, about 4 to 5 inches of loft, to bridge the gap.
Materials: One lumbar cushion with a removable washable cover, filled with foam, memory foam, or a firm fiberfill. Foam holds its shape longest; feather fills need daily fluffing. A cotton or performance-fabric cover in a washable weave matters here because lumbar cushions absorb more wear than they look like they do.
Placement: Set it low on the chair back, centered on your spine, not up at the shoulders. The bottom edge should roughly meet the seat cushion. If it rides up during reading, the cover is too slick; a cotton cover grips better than a silky one.
Approximate effort and cost: About 2 minutes to place, and lumbar cushions run 15 to 40 dollars. Memory foam versions at the higher end keep their shape for years.
Troubleshooting tip: If the cushion makes you feel pushed forward, it is too thick or too high. Move it down an inch and try a thinner one. Support should feel like the chair is holding you, not shoving you.
A realistic lower-cost alternative: A rolled bath towel inside a pillowcase, tied at the ends with ribbon, gives adjustable lumbar support for free and lets you tune the thickness.
Frequently asked questions
How much space does a window reading nook actually need?
Less than you think. A comfortable chair, a small surface, and a footstool fit in a footprint roughly 4 feet by 4 feet beside a window. The ideas above are built for real corners, so even a chair angled into one window wall with a basket and a stool beside it counts as a complete nook.
What is the best window direction for a reading nook?
Side light beats direct light. An east window gives gentle morning light that flatters pages all day, while a south or west window needs the curtain from idea three to tame afternoon glare. North light is the softest of all but the dimmest, so north-window nooks benefit most from a good reading lamp after dark.
Do I need a window seat to have a reading nook?
No. A comfortable armchair pulled within a few feet of any window works just as well, and it is more forgiving than a built-in seat because you can adjust the angle and distance until the light feels right. Window seats are lovely but permanent; a chair is a decision you can revise.
What kind of light do I need for evening reading?
A shaded lamp placed on your shoulder side, with the bottom of the shade roughly at your eye level when seated, gives even light across the page without glare. Warm white bulbs around 2700K feel restful; a bulb you can dim lets one lamp serve both bright task reading and soft evening wind-down.
How do I keep a reading nook from becoming a clutter magnet?
Give everything a home the day you set up the nook: the basket for current books, the lidded box for small items, the shelf for the next reads. When something lands in the nook that has no home, that is the signal to re-home it the same day. A nook that collects random household drift stops feeling like a retreat within a month.
Can I build a reading nook in a rented apartment?
Yes, and every idea above is renter-friendly except the wall shelf, which has a picture-ledge alternative that hangs on a single nail or adhesive strips rated for the weight. Curtains go on tension rods, rugs and baskets need no permission, and nothing here alters the walls permanently.
If your nook sits in a bedroom corner, our small bedroom with a queen bed ideas show how a reading spot and a full-size bed can share one room without fighting. And when the entryway is the only spare corner you have, the small entryway decor ideas prove that small spaces can still feel intentional. Browse the full Home & Decor collection for more rooms planned the same careful way.
For a smaller corner without a window, see our small reading nook ideas.


One Comment