12 Rustic Table Setting Ideas with Simple Styling Details
A rustic table setting has a way of making an ordinary weeknight dinner feel like something worth sitting down for….
A rustic table setting has a way of making an ordinary weeknight dinner feel like something worth sitting down for. The look is built from honest materials: weathered wood, sturdy linen, stoneware with a handmade feel, and whatever is green or in season. Nothing here needs to be perfect or expensive. The twelve ideas below each center on one simple styling detail, from a single wide bowl to a folded strip of fabric under each plate, and every one of them keeps the table fully usable. Pick one, set it down, and dinner feels different tonight.
In This Guide
- A Single Wide Shallow Bowl
- Patterned Napkins With Solid Dinnerware
- A Subtle Contrasting Charger Plate
- A Small Bread Board As A Shared Focal Point
- Clear Bottles Holding Green Cuttings
- A Compact Dried-Stem Arrangement
- A Handwritten Place Card
- A Bowl Of Citrus And Leaves
- A Folded Fabric Strip Beneath Each Setting
- A Low Grouping Of Stoneware
- A Platter Of Seasonal Produce
- Single Stems In Low Bud Vases
The Rustic Table Rules Before You Start
A few ground rules make every idea below easier to pull off, whether it is Tuesday soup or a holiday table for twelve.
Measure first. Give each place setting about 24 inches of width and 15 inches of depth from the table edge. If the settings feel crowded on paper, they will feel crowded in person, and no styling detail fixes that.
Keep the center low. Nothing at the middle of the table should rise above about 12 inches. Guests should be able to see each other across it. Every arrangement in this guide is built to stay under that line.
Keep settings usable. The classic placement still works best: forks to the left of the plate, knife to the right with the blade facing the plate, spoon to the right of the knife. Leave enough clear plate space that a full dinner plate sits comfortably without sliding onto a runner.
Protect weathered wood. Bare and weathered wood looks wonderful and stains easily. Put felt pads or cork under anything damp, and wipe up rings the same day.
Know your occasion. An everyday rustic table is simpler, washable, and quick to clear. A holiday rustic table can be fuller and more layered, but the place settings themselves should work exactly the same way. Most of the ideas below note which end of that spectrum they suit.
This guide is candle-free. Every look here relies on natural daylight and your normal overhead light. You get all the warmth with none of the drips, smoke marks, or fire worries, which also makes every idea here safe around kids and pets.
If your serving pieces live in a jumble, a quick sort helps: the organization ideas in our small pantry organization guide make it easy to find the stoneware and boards you already own before you buy anything new.
1. A Single Wide Shallow Bowl

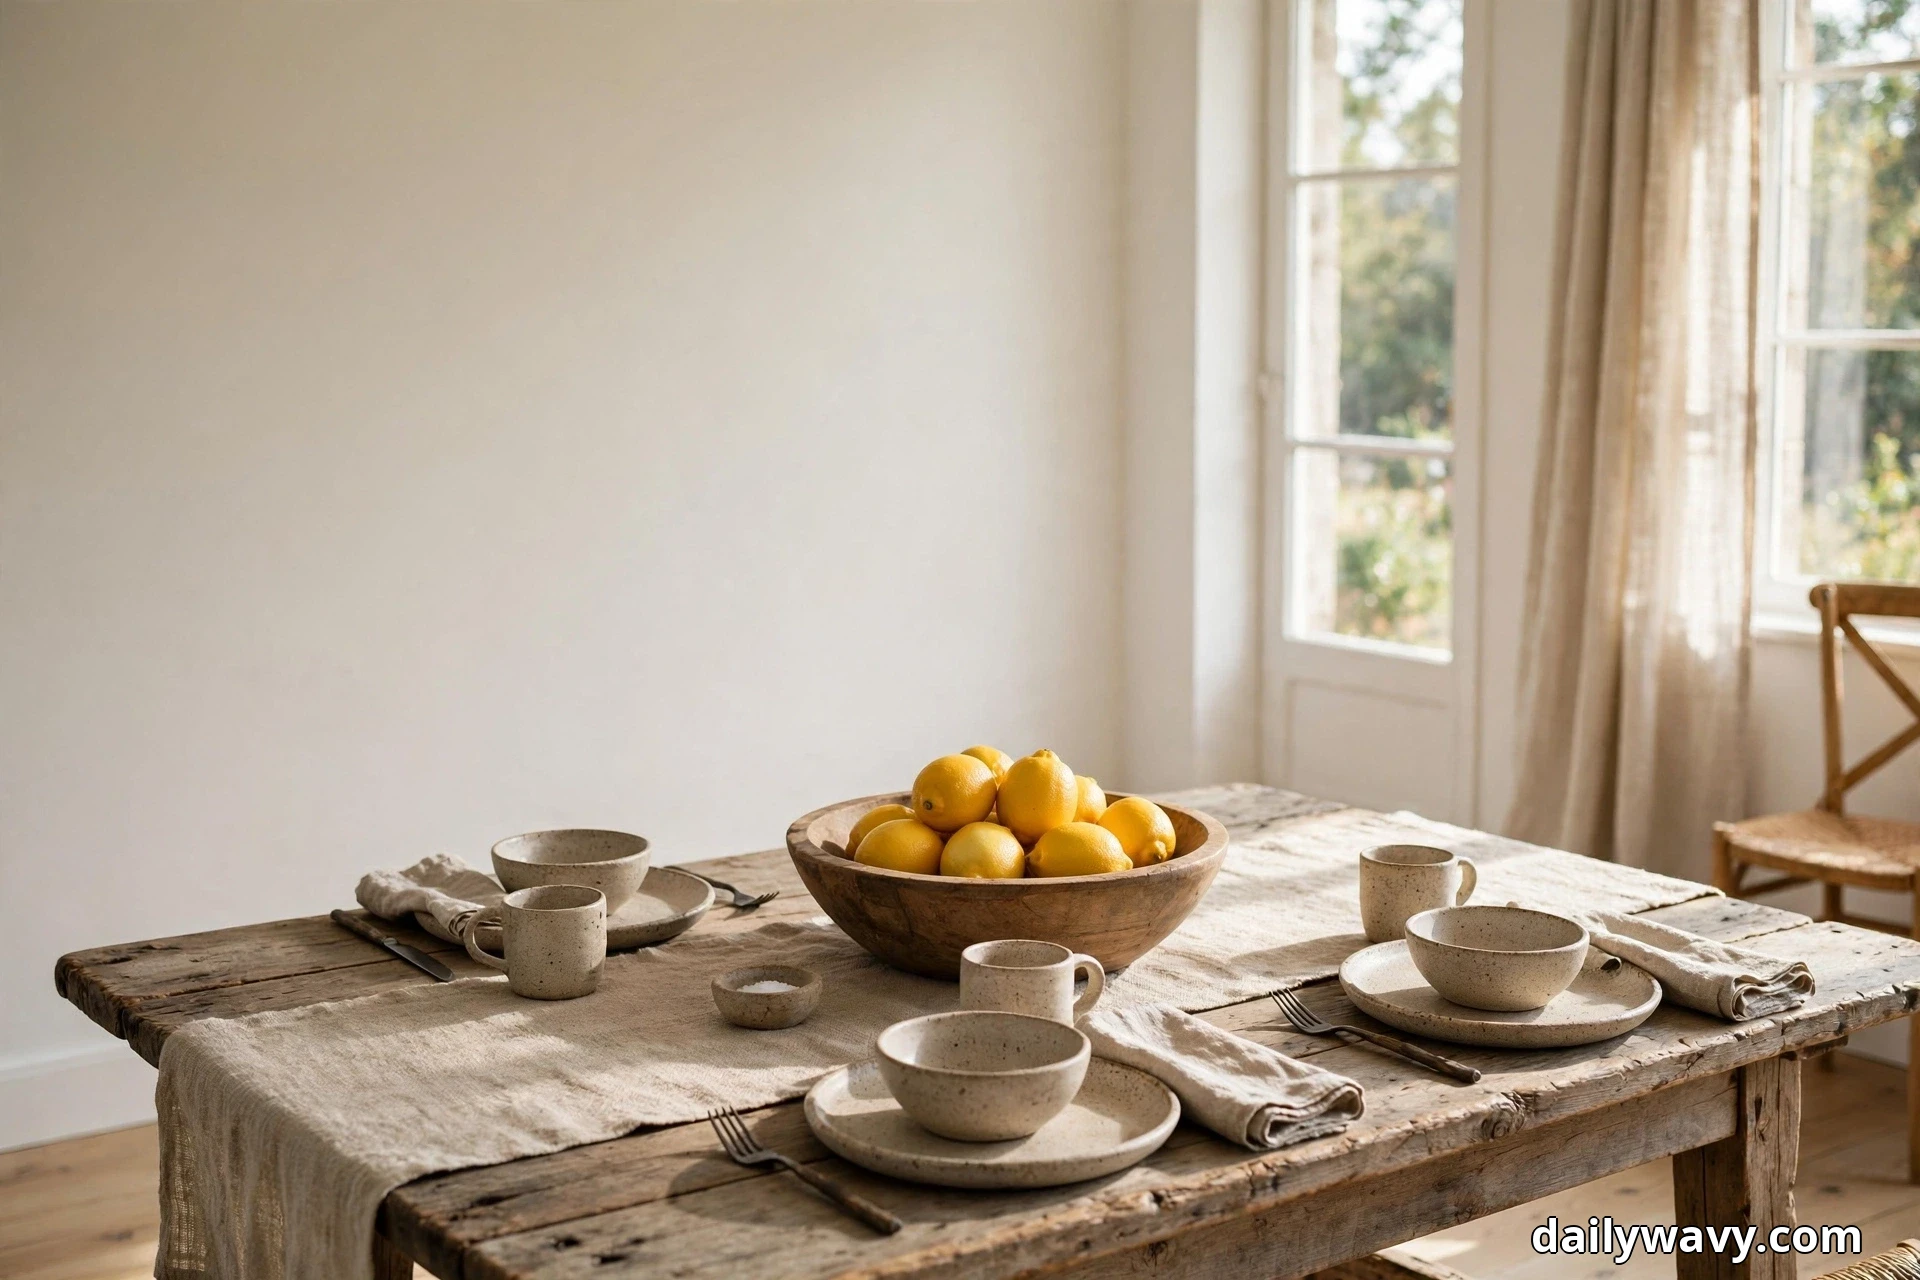
There is a particular confidence to a table with just one thing in the middle of it. A wide, shallow bowl, maybe fourteen inches across and barely four deep, filled with whatever looks good that week: lemons, apples, a tangle of olive branches, or nothing at all. The eye lands, rests, and moves on to the people. It reads styled without reading staged, which is the whole trick of rustic decorating.
The look. A turned wood bowl with visible grain, or a stoneware bowl in oatmeal or warm gray with a matte glaze. The bowl should look like it gets used, not like it arrived from a showroom. Fill it loosely, never mounded above the rim, so it stays low and the table still feels open.
How to recreate it. Measure the middle third of your table; the bowl should span no more than half the table’s width, leaving at least a foot of clear table on each side for dishes. Set the bowl on a folded linen cloth or a round woven trivet to protect the wood and give it a finished base. Fill with one material only, fruit or greenery, not both. Effort: five minutes. Lower-cost alternative: a thrifted wooden salad bowl with a light sanding and a coat of food-safe mineral oil.
Try this. Swap the filling with the seasons. Citrus in winter, green apples in spring, figs in late summer. The bowl stays, the table always feels current.
2. Patterned Napkins With Solid Dinnerware
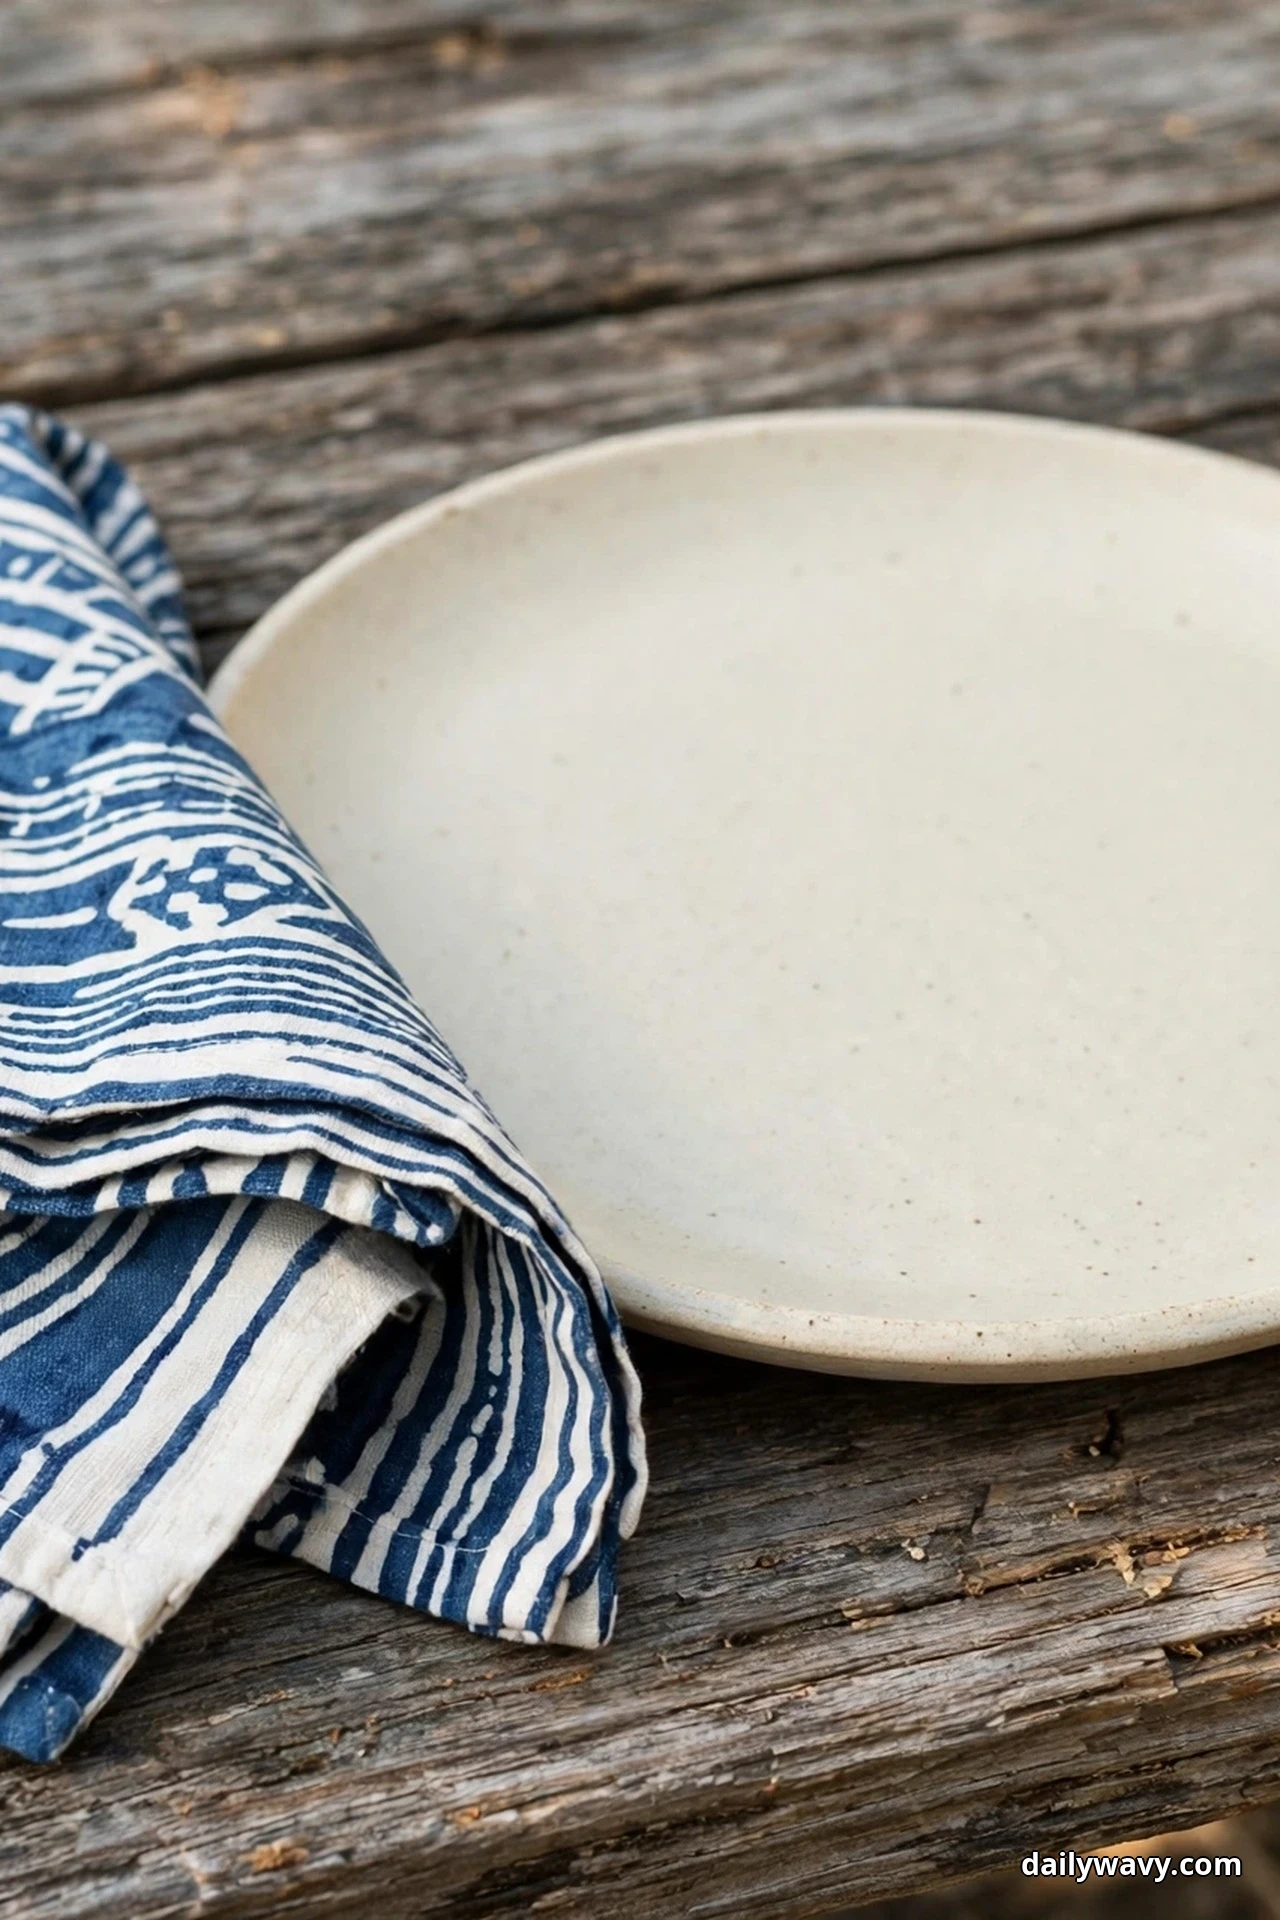
Pattern is the fastest way to make a rustic table feel considered, and napkins are the safest place to put it. A block-printed stripe or a small tossed floral in indigo, rust, or sage, folded simply next to solid stoneware plates, gives the whole table a designed feel without a single fussy element. The solid dinnerware does the calming; the napkins do the talking.
The look. Cloth napkins 18 to 20 inches square in a small-scale pattern, paired with plain dinnerware in cream, white, or warm gray. Keep the pattern to one design per table. Mixing three napkin patterns looks eclectic in a catalog and chaotic in a dining room.
How to recreate it. Fold each napkin in a simple rectangle and lay it to the left of the fork, or drape it over the plate if the table is narrow. Iron or steam them once; linen and cotton hold a fold for hours. Choose patterns with some white or natural ground so they read light against a dark wood table. Effort: ten minutes including the ironing. Lower-cost alternative: cut napkins from a yard of quilting cotton, hem the edges, and you have a set of four for the price of one store-bought napkin.
Try this. Everyday tables get machine-washable cotton in a simple stripe. Holiday tables get the good linen in a block print. Same fold, same placement, completely different register.
3. A Subtle Contrasting Charger Plate
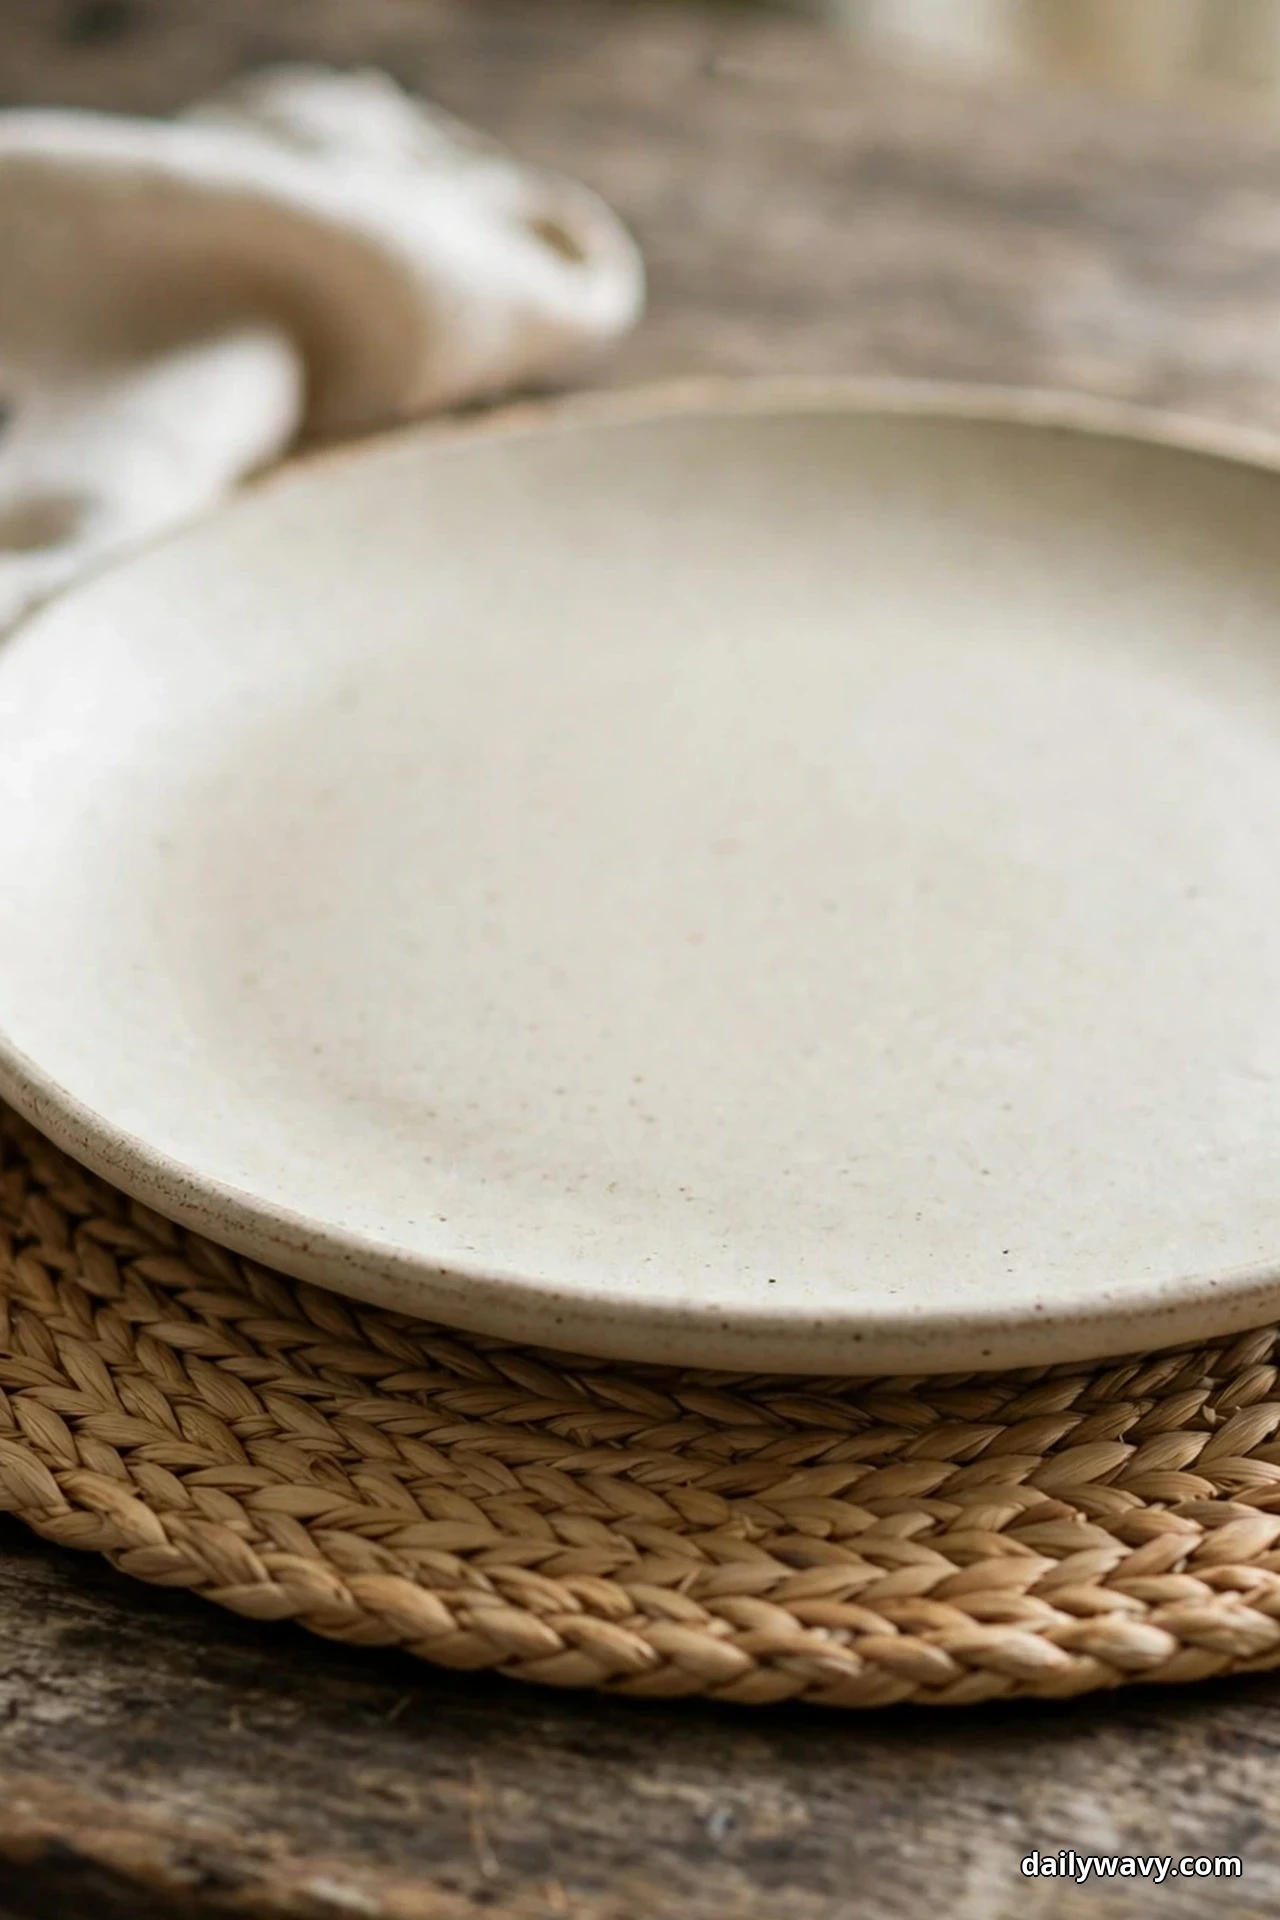
A charger is the frame around the picture, and in a rustic setting the frame should whisper. A woven seagrass charger under a cream stoneware dinner plate, or a dark walnut charger under white ironstone, adds one quiet layer of contrast that makes the whole place setting look finished. It never touches food, so it can be as textured and imperfect as you like.
The look. Chargers about 13 inches across, dinner plates 10 to 11 inches, so a one-inch ring of the charger shows all around. Woven, wooden, or hammered metal finishes work; glossy or ornate does not. The contrast should be subtle: texture against smooth, or a tone darker or lighter than the plate, never a competing color.
How to recreate it. Place the charger first, centered on the setting’s 24-inch width, then the dinner plate on top. If you are using woven chargers on a wood table, add a thin felt pad beneath to stop sliding. Chargers stay on the table through the main course and come off with the dinner plate. Effort: two minutes per setting. Lower-cost alternative: round woven placemats from a home store read as chargers at a third of the price.
Try this. For everyday meals, skip the charger and let the dinner plate sit directly on the fabric strip in idea 9. Bring chargers out when the table needs to feel like an occasion.
4. A Small Bread Board As A Shared Focal Point
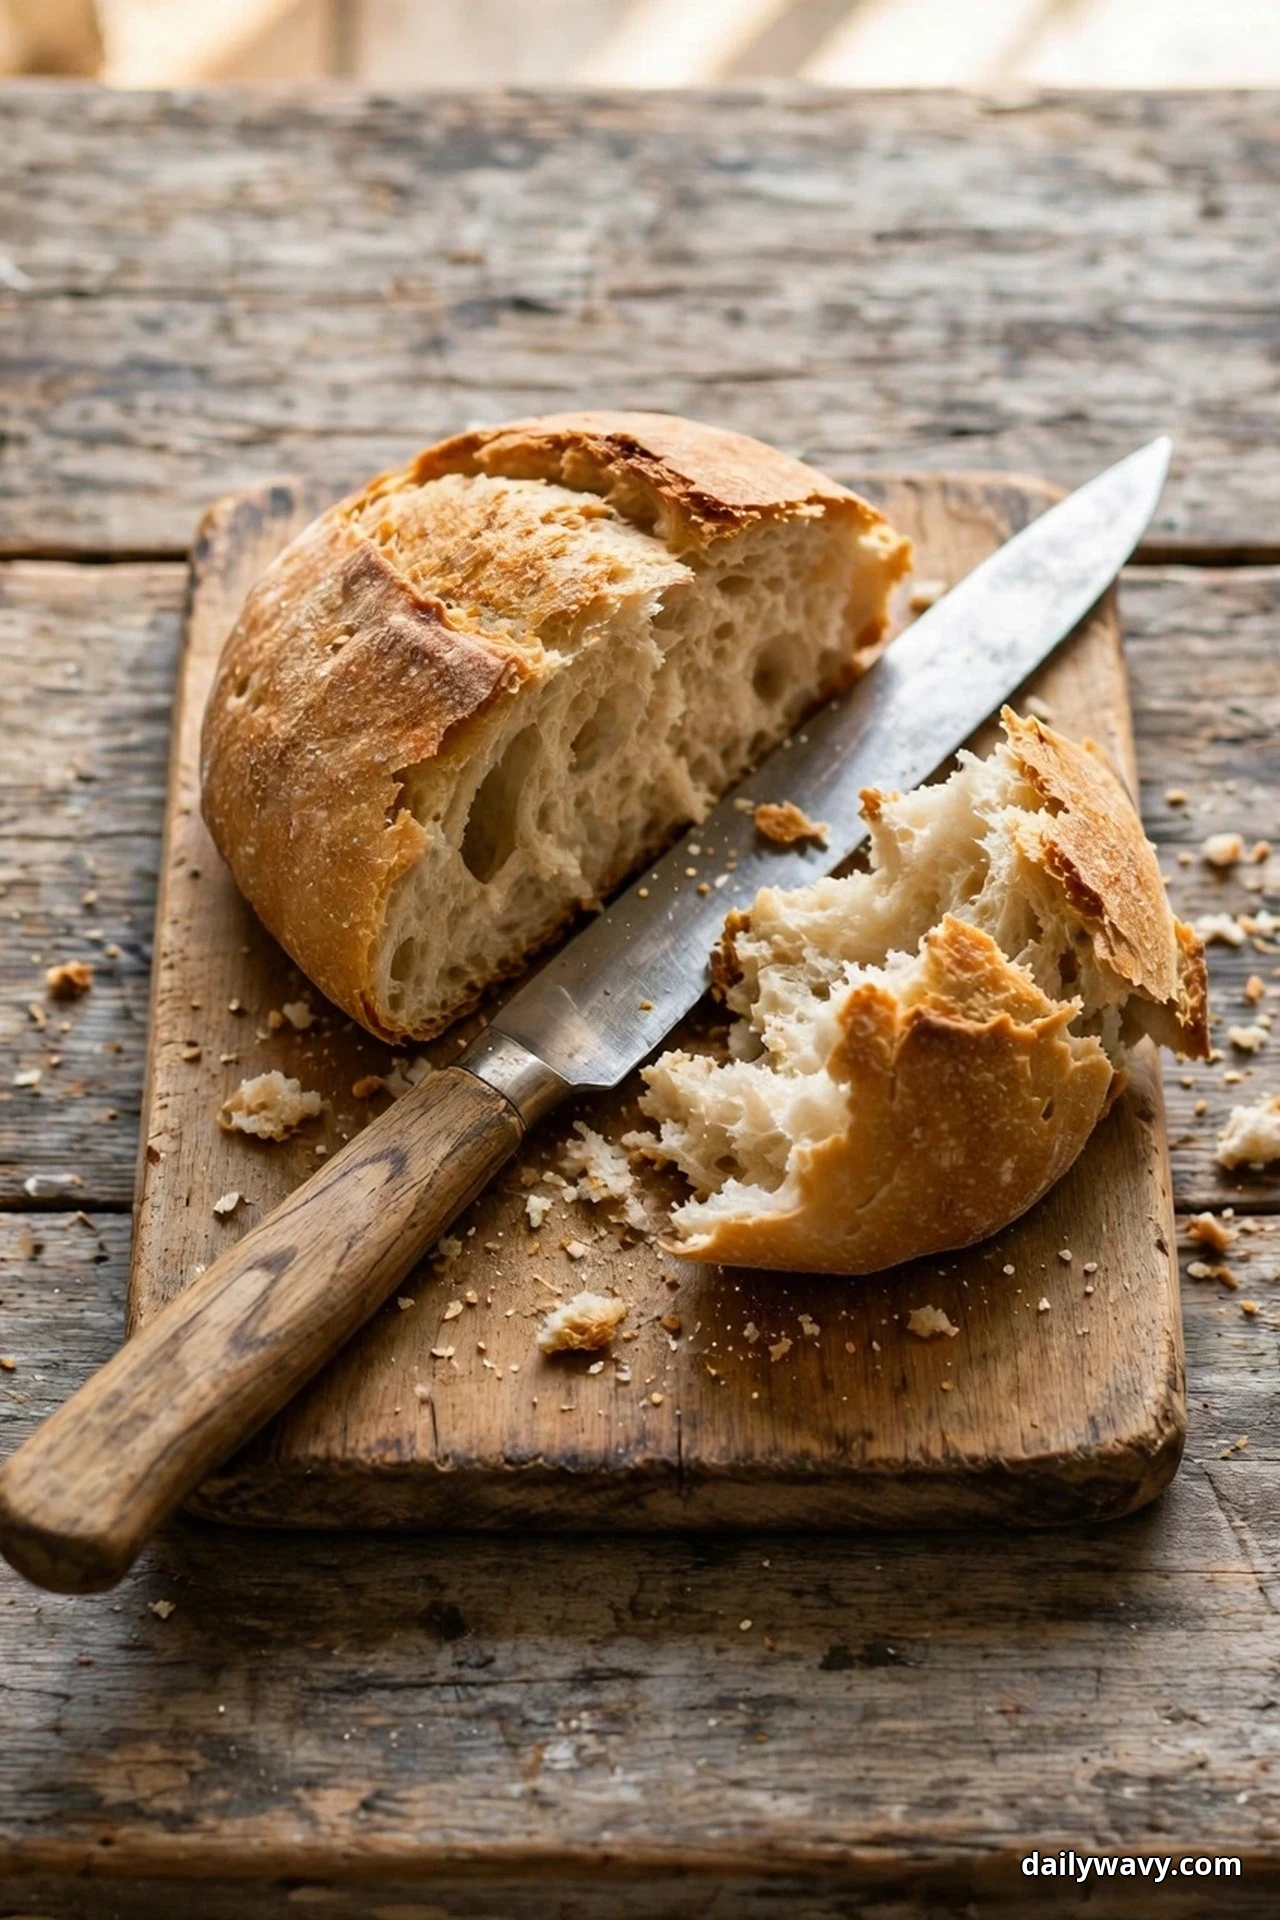
Few things say rustic like bread on a board. A small wooden bread board, roughly 12 by 8 inches, set at the center of the table with a torn loaf and a bread knife, becomes a shared focal point that is also dinner. It is decoration you can eat, which is the most practical kind. Guests reach, tear, pass, and the table instantly feels convivial.
The look. A solid wood board with rounded corners and a handle, or a simple rectangular paddle board. Acacia, olive wood, and reclaimed oak all fit. The bread should look real: a rustic loaf, torn or thickly sliced, never plastic-wrapped sandwich slices. Add a small dish of olive oil or a butter crock if you like.
How to recreate it. Center the board on the table’s midline, within easy reach of every seat. If the table is long, use two smaller boards instead of one large one so nobody has to stretch. Keep the board clear of the 15-inch setting depth at each place. Effort: five minutes plus the bread run. Lower-cost alternative: a clean, unfinished wood cutting board from a kitchen store, rubbed with food-safe mineral oil.
Try this. This idea scales beautifully for small dining spaces. If your table also serves as a workspace, the tips in our narrow living room layout guide help carve out a dining zone that still leaves room for a centerpiece like this.
5. Clear Bottles Holding Green Cuttings

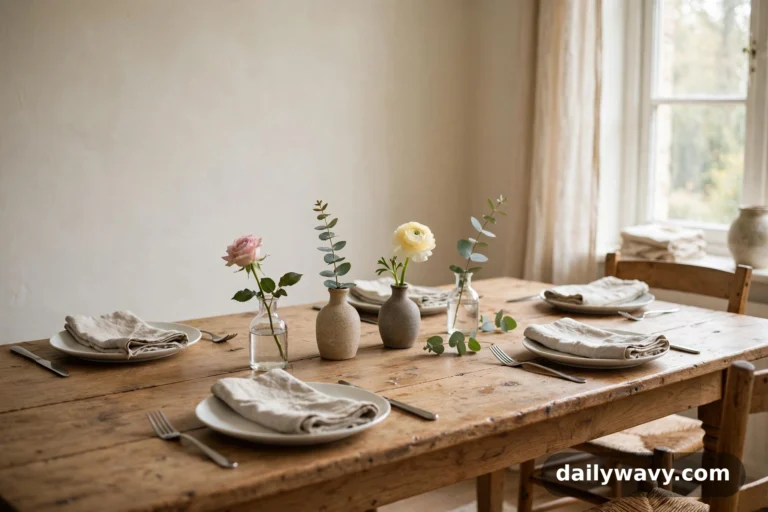
There is something deeply appealing about the plainness of this one. A few clear glass bottles, the kind that held sparkling water or olive oil, each holding two or three green cuttings: olive branches, eucalyptus, rosemary, even long grass from the yard. Grouped down the center of the table, they make a living runner that costs almost nothing and never looks overdone.
The look. Clear glass in mixed heights, 6 to 10 inches tall, with labels fully removed (soak in warm soapy water, then rub with baking soda for residue). One type of greenery per bottle, or one bottle with a small mixed bunch. The water line should be visible; it is part of the charm.
How to recreate it. Space three to five bottles down the center, alternating heights, keeping every bottle under the 12-inch sightline. Snip stems at an angle and change the water every two days; most cuttings last a week. Forage the yard first, buy eucalyptus at the grocery store second. Effort: fifteen minutes. Lower-cost alternative: there is almost none needed; the whole point is that the vessels are free and the greens are foraged or cheap.
Try this. For a holiday table, add one bottle with a stem of dried wheat or berries at each end of the row. The structure stays the same, the table just feels a shade more dressed.
6. A Compact Dried-Stem Arrangement

Dried stems are the workhorse of rustic tablescaping. A compact bunch of wheat, dried lavender, bunny tail grass, or bleached ruscus, arranged in a low stoneware crock or a short glass vase, gives you height and texture with zero maintenance. No water to change, no wilting by dessert, and it can live on the table for weeks between occasions.
The look. Stems cut to 8 to 10 inches total so the arrangement stays well under the sightline. One variety per vessel reads calm; two mixed varieties read abundant. Keep the vessel low and heavy, a crock or a short cylinder vase, so the arrangement cannot tip when someone reaches across.
How to recreate it. Fill the vessel about two-thirds with stems, fanning them slightly rather than packing them tight. Trim from the bottom until the tallest stem sits at least 6 inches below eye level for a seated guest. Shake dried stems outdoors before bringing them in to lose the loose bits. Effort: ten minutes. Lower-cost alternative: a bundle of wheat from a craft store costs a few dollars and fills two or three small vessels; grocery-store dried lavender bunches work the same way.
Try this. Because it needs no water and never wilts, this is the ideal everyday centerpiece. Set it once and leave it; refresh only when dust settles, with a quick outdoor shake.
7. A Handwritten Place Card
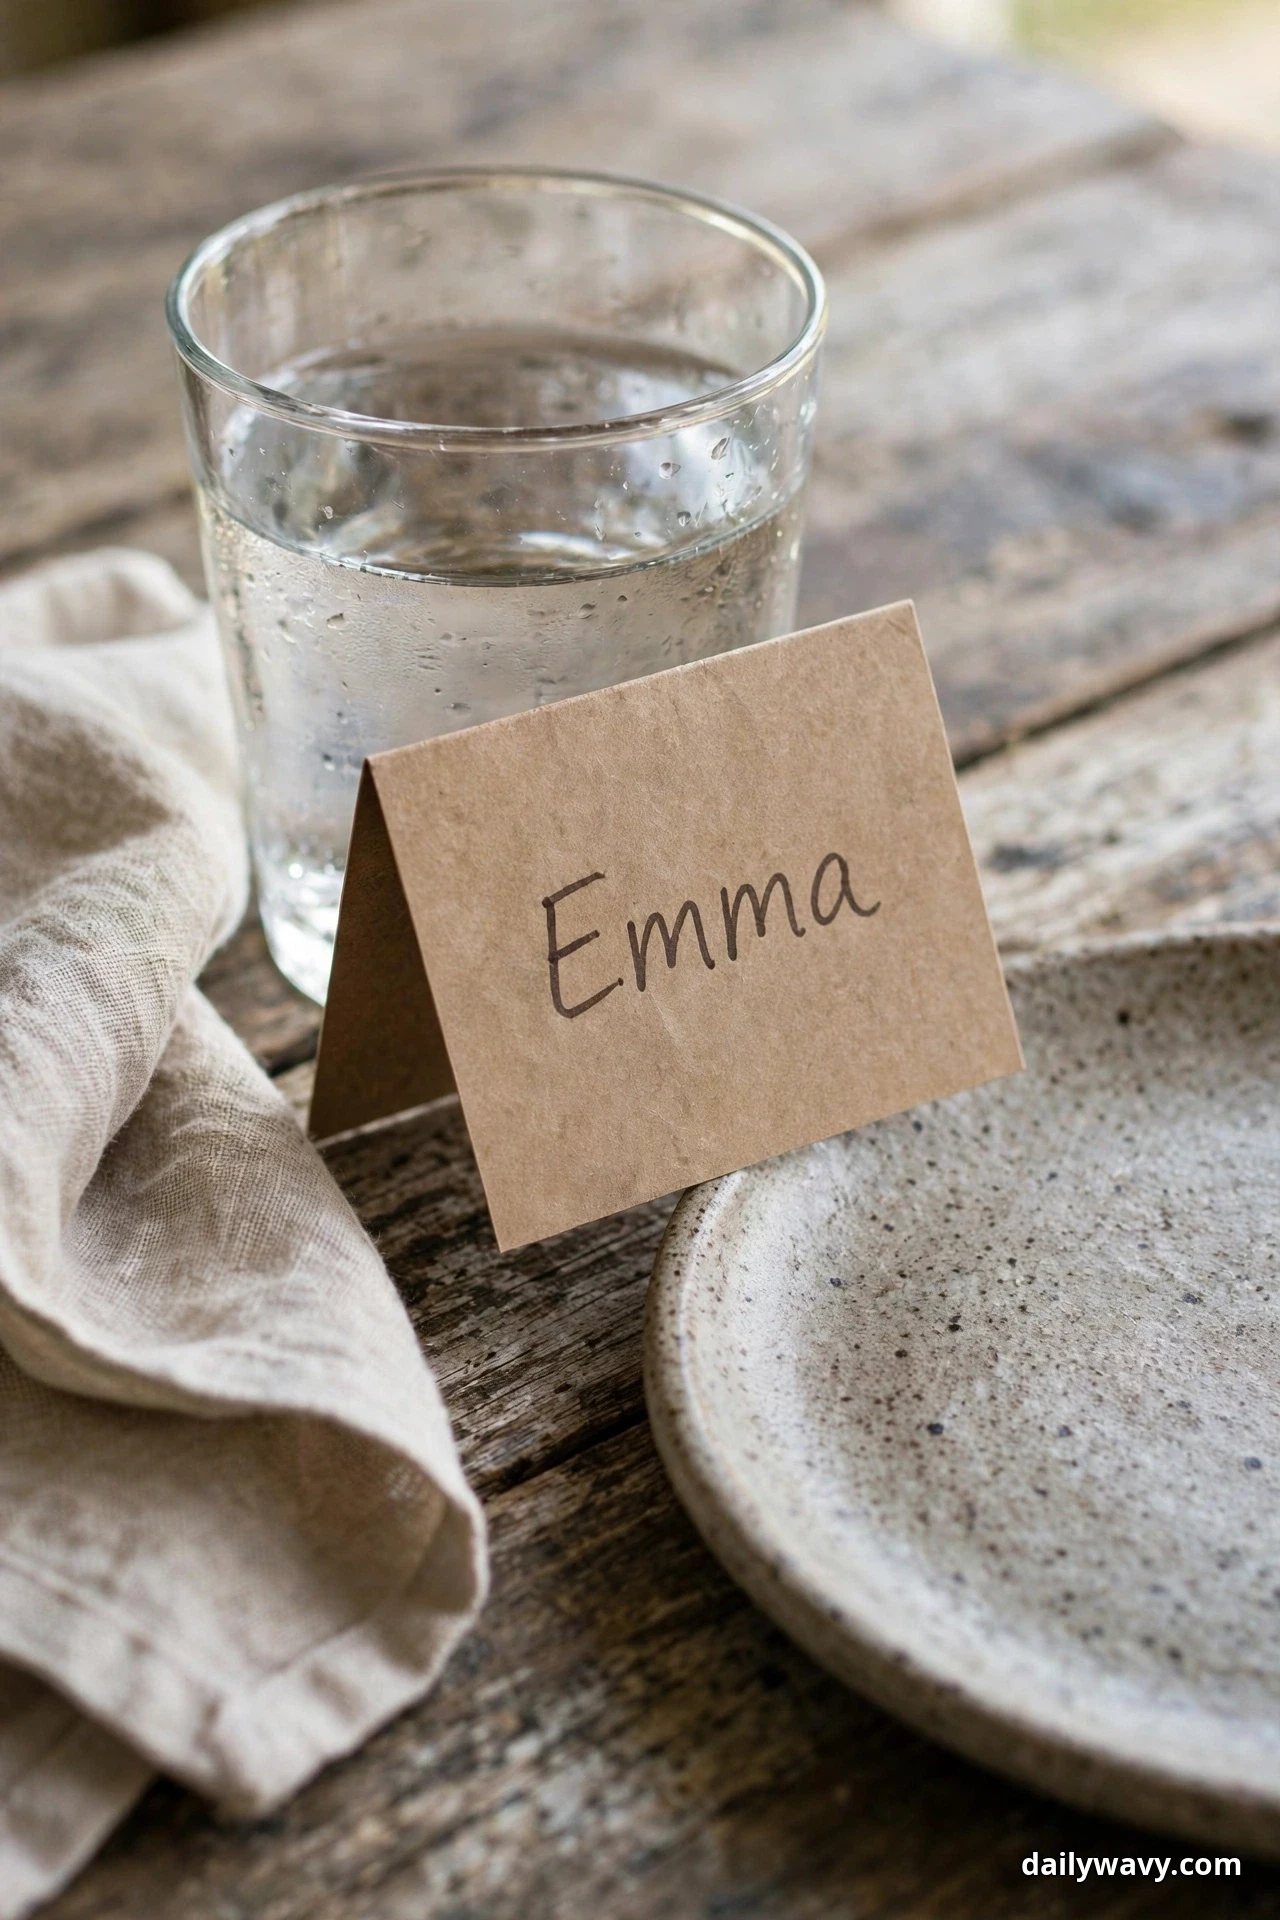
A handwritten name on a small card is a tiny gesture that changes how a table feels. It says someone thought about who would sit where, which is the essence of hospitality. On a rustic table, the card should be as unpretentious as everything else: kraft paper, a dark pen, your normal handwriting. Calligraphy is optional and honestly unnecessary.
The look. Cards about 3 by 2 inches, folded like a tent so they stand, in kraft, cream, or recycled card stock. Write first names only, in pen, not marker. Prop each card against a glass or lay it across the napkin.
How to recreate it. Cut a sheet of card stock into twelve cards in under five minutes, fold each in half, and write the names the morning of the meal. Place one at each setting after the plates are down. If your handwriting bothers you, print names in a simple serif font and trim; from two feet away, nobody can tell. Effort: fifteen minutes for eight cards. Lower-cost alternative: the back of any stiff paper you have, a grocery bag cut flat works perfectly.
Try this. This is a holiday-table move. For everyday dinners the family knows where they sit, but for Thanksgiving or a dinner party, place cards quietly organize the chaos and make guests feel expected.
8. A Bowl Of Citrus And Leaves
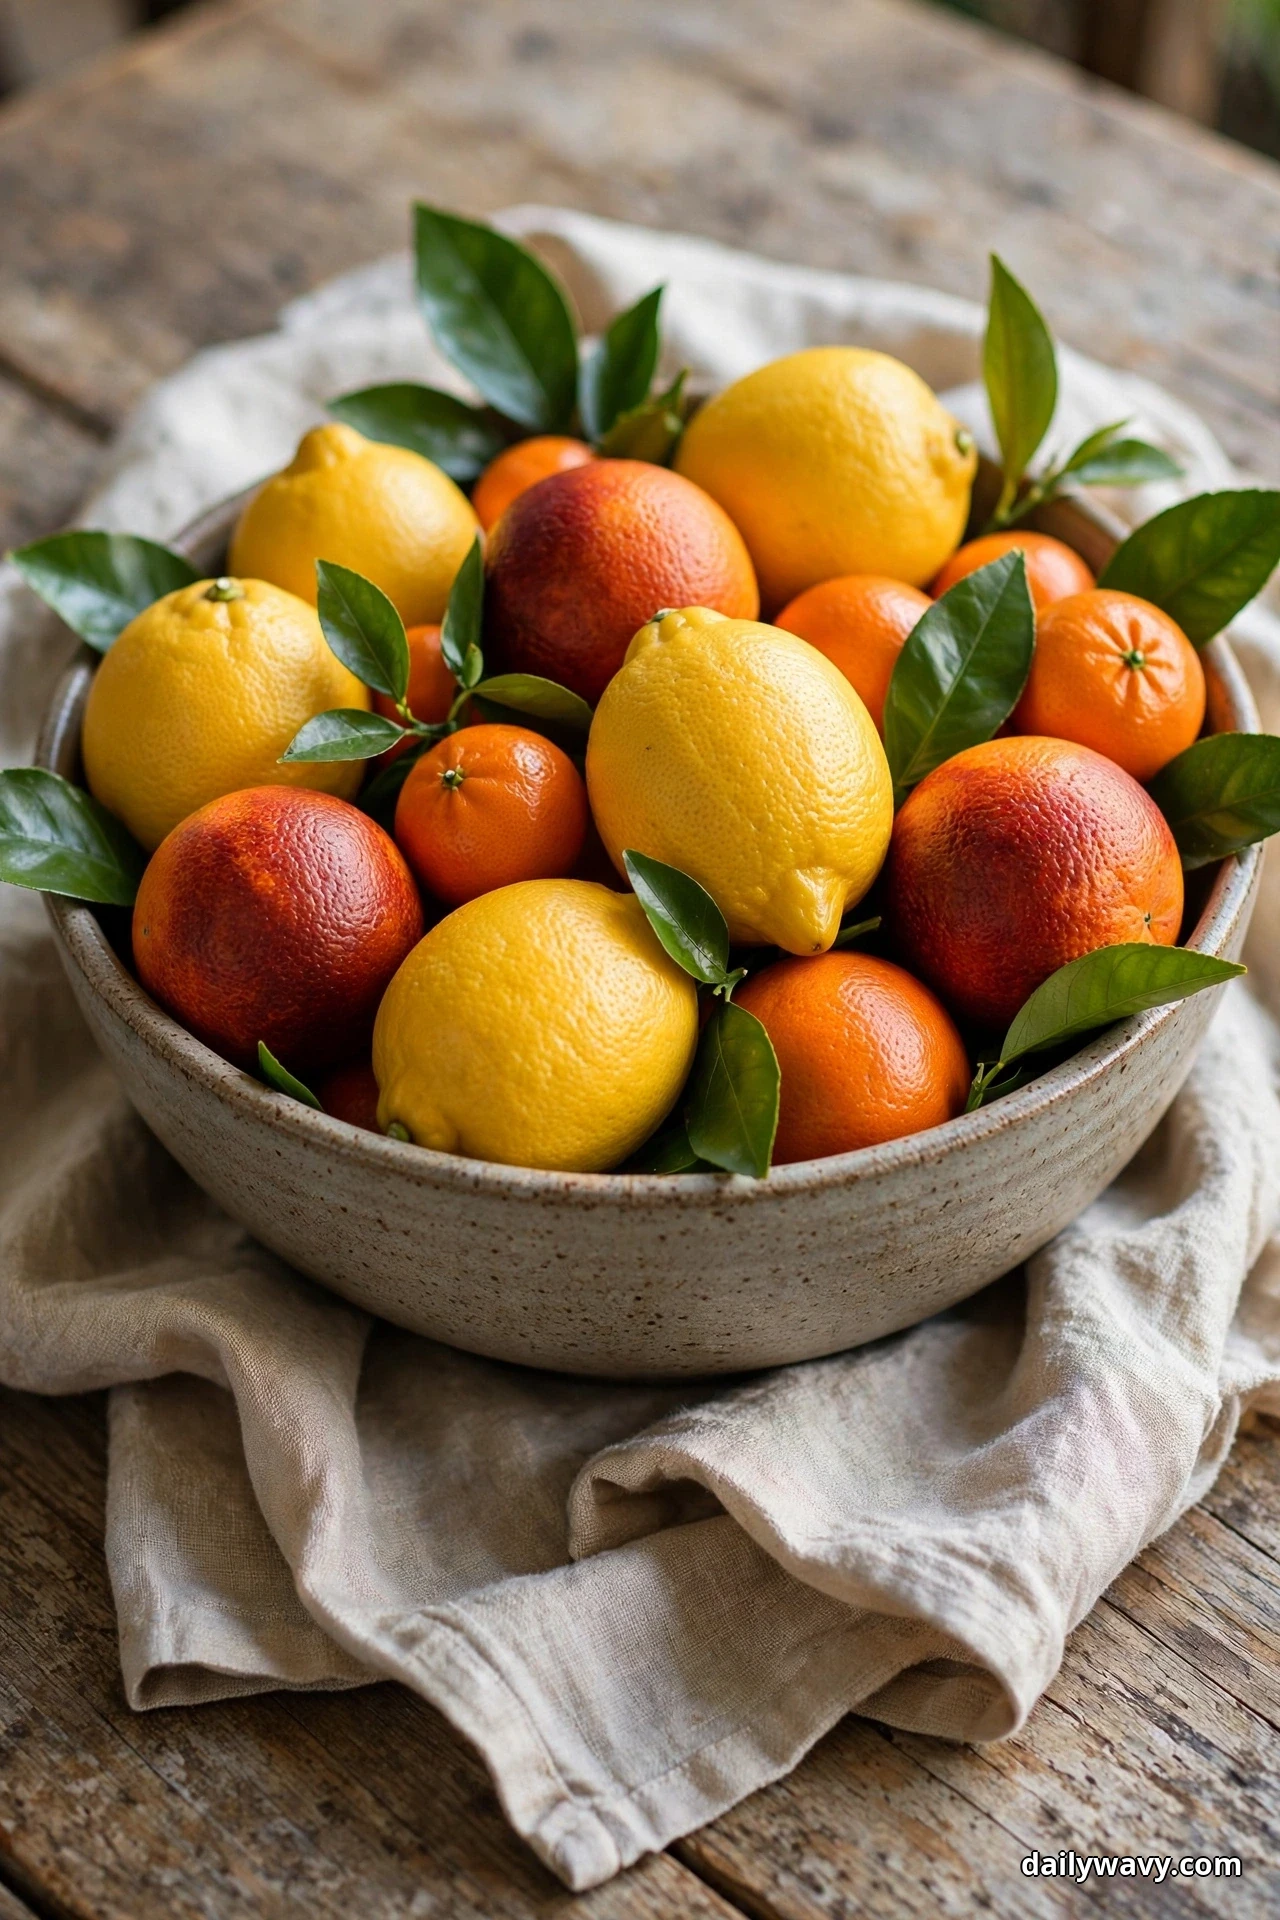
If idea 1 was the wide shallow bowl as pure form, this is the same bowl put to work. A generous bowl of citrus, lemons, blood oranges, clementines, tumbled with a few glossy leaves, brings color and scent to the center of a rustic table. It is edible, fragrant, and impossibly simple, and the bright fruit against weathered wood is one of the prettiest contrasts in decorating.
The look. A medium bowl, 10 to 12 inches across, filled with whole citrus in mixed varieties. Tuck in a few leaves, citrus leaves if you can get them, bay or olive branches if you cannot. The fruit should look abundant but not piled; one layer with a few pieces on top is enough.
How to recreate it. Choose firm, unblemished fruit and wash it well, since guests will handle it. Fill the bowl the day of the meal and set it in the center on a folded cloth. Eat from it through the week, then refill. Effort: five minutes. Lower-cost alternative: whatever citrus is cheapest that week; a bowl of all lemons looks just as good as a mixed bowl.
Try this. In winter, when citrus is at its peak and cheapest, this doubles as seasonal decor for the whole house. Move the bowl to the entryway between meals.
9. A Folded Fabric Strip Beneath Each Setting
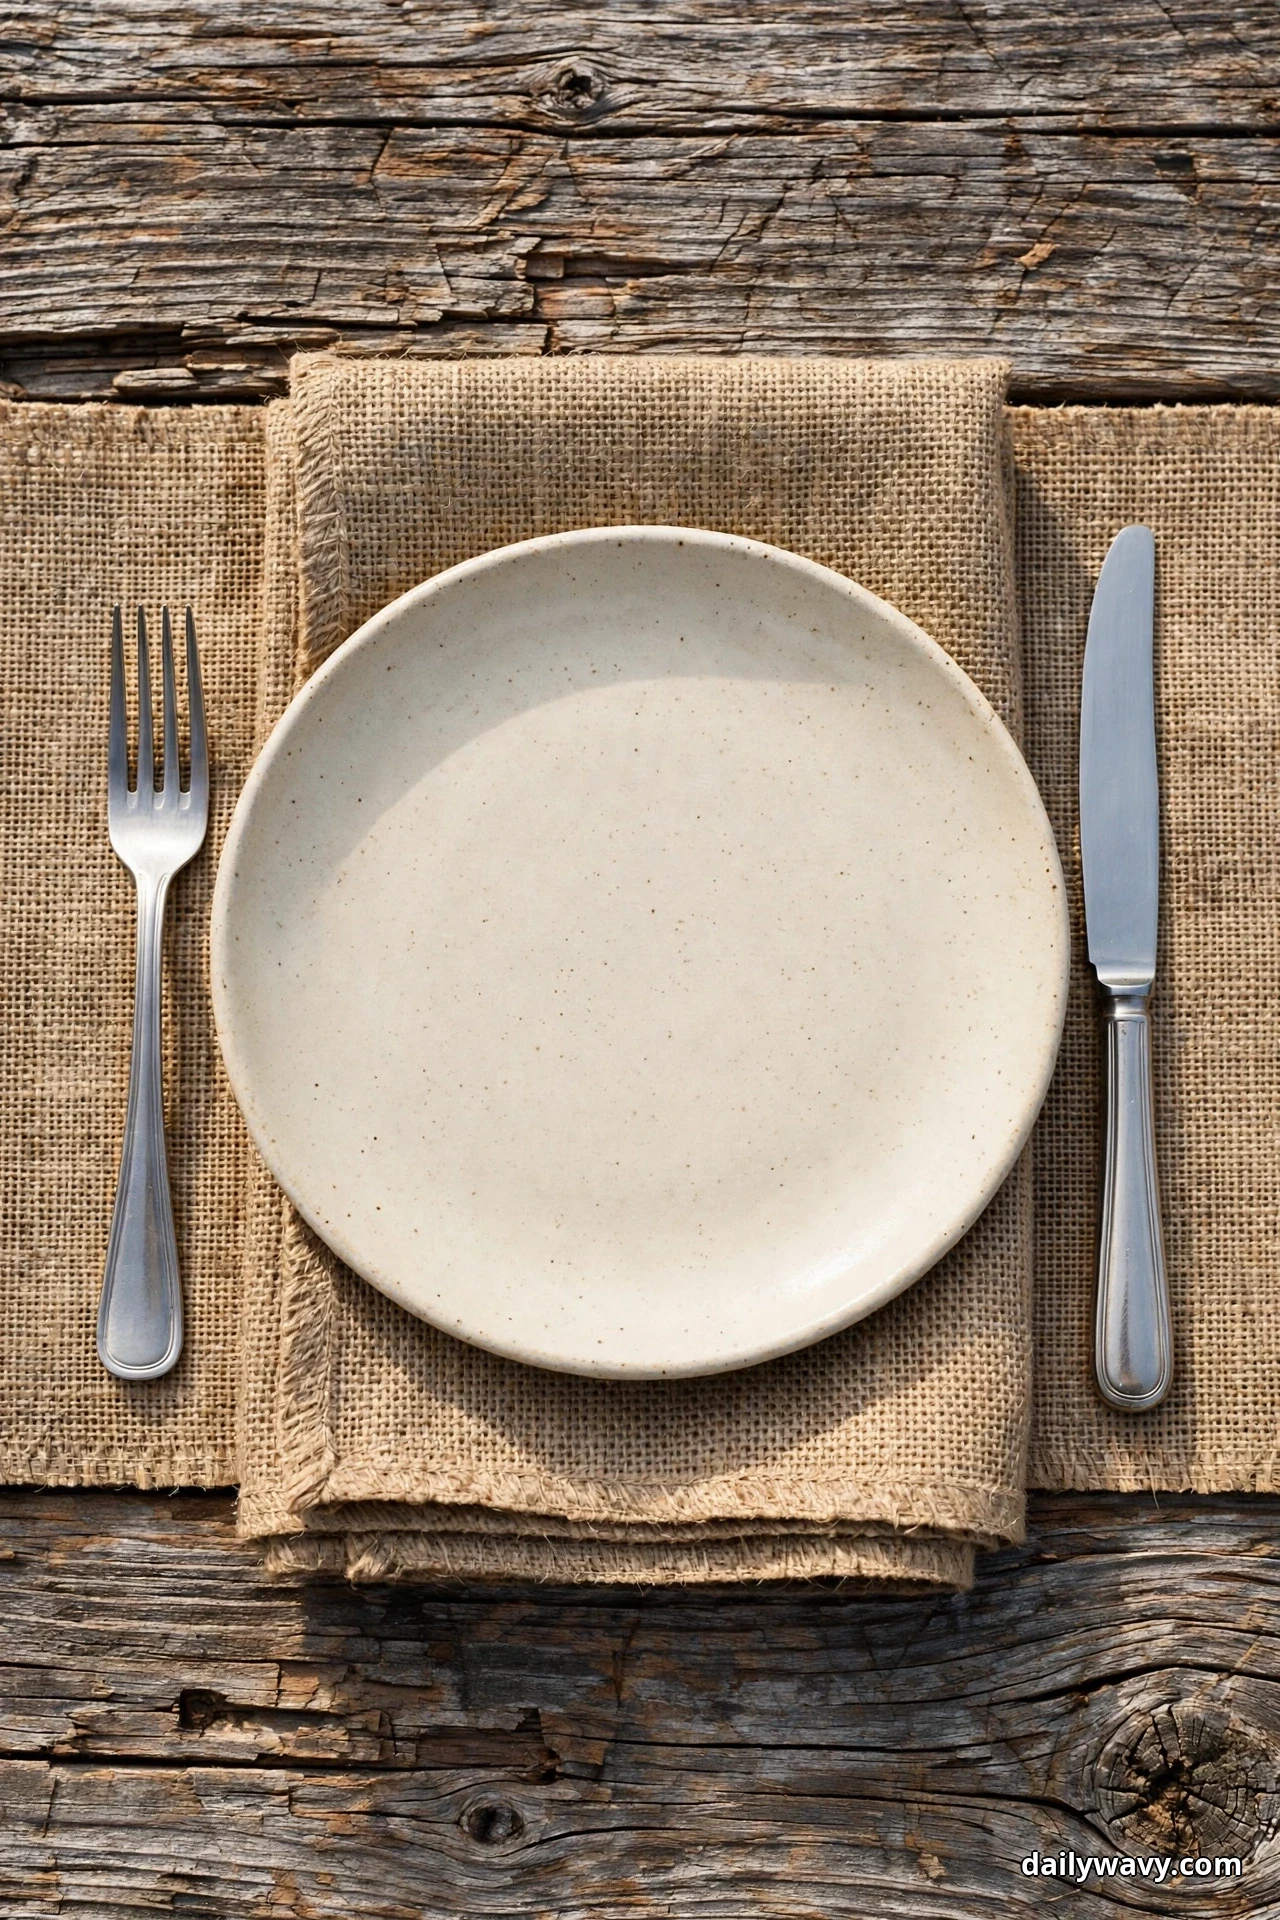
Not every rustic table needs a full runner. A folded strip of fabric under each plate, about 14 by 20 inches, gives every setting its own defined patch of texture without committing to a runner down the middle. Grain sack stripes, washed linen, even a folded tea towel: the strip softens the wood, frames the plate, and washes easily.
The look. One strip per setting, folded to a clean rectangle with the fold facing the table edge. The fabric should extend about 2 inches beyond the plate on each side. Keep all strips the same fabric for a calm table, or alternate two coordinating fabrics for a collected feel.
How to recreate it. Cut or tear fabric to size; a torn edge suits the rustic look and will not fray badly in the wash if you run a quick zigzag stitch. Press once, fold in thirds lengthwise, and center each under its plate. The strips also protect the table from hot plates, which is doing double duty. Effort: twenty minutes to cut and press a set of six. Lower-cost alternative: flour-sack towels from a restaurant supply store, already hemmed and nearly indestructible.
Try this. This is an everyday hero. The strips take thirty seconds to lay out, they go straight in the laundry, and the table looks styled on a random Wednesday.
10. A Low Grouping Of Stoneware
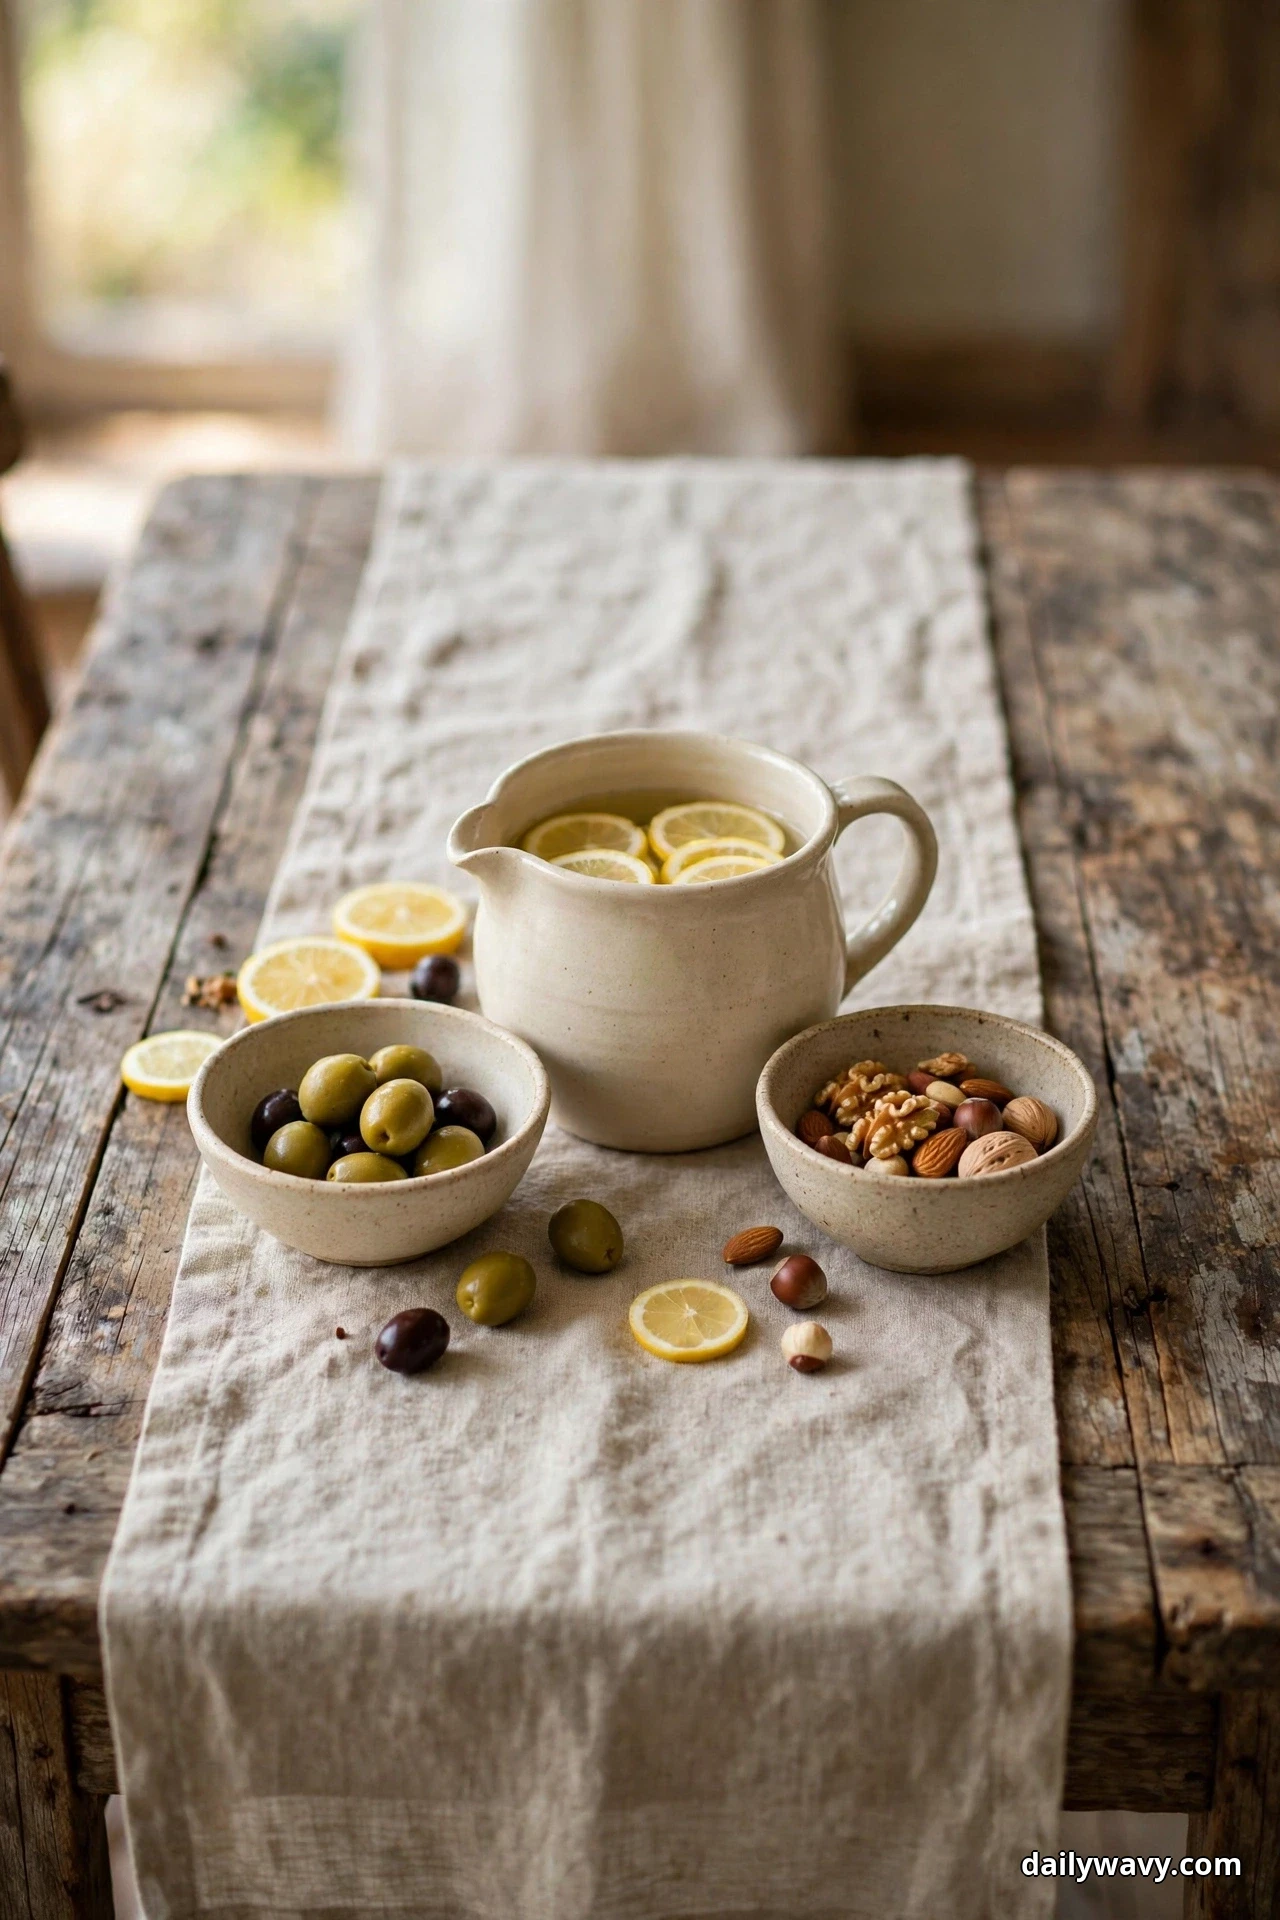
Your serving pieces are decoration if you let them be. A low grouping of stoneware, a pitcher, a small crock of utensils, two or three little bowls, clustered at the center of the table, looks like a still life and works like a serving station. Guests help themselves, the table stays beautiful through the meal, and nothing needs to be cleared to make room for food.
The look. Three to five stoneware pieces in related tones, cream, oatmeal, warm gray, soft white, at staggered heights but all under 10 inches. Odd numbers look natural. Leave breathing room between pieces; the group should read as a cluster, not a crowd.
How to recreate it. Start with the tallest piece slightly off-center, then build around it with lower pieces. Fill the pitcher with water and lemon slices, put olives or nuts in one bowl, leave one bowl empty for used olive pits or shells. Keep the whole grouping within the middle third of the table. Effort: ten minutes. Lower-cost alternative: thrift stores are full of orphaned stoneware; mismatched pieces in the same color family look intentionally collected.
Try this. This idea shines at casual gatherings where the meal is family-style. Set the food in the stoneware before guests arrive and the table is already set.
11. A Platter Of Seasonal Produce

A large platter of seasonal produce at the center of the table is rustic styling at its most generous. Roasted vegetables on a wooden board in autumn, a tumble of tomatoes and basil in summer, sliced pears and cheese in winter: the food is the decoration, and the decoration gets eaten. No other centerpiece earns its place quite so completely.
The look. One large platter or board, 16 to 20 inches long, arranged with a single seasonal theme. Keep it low and spread wide rather than piled high. Fresh herbs scattered over the top add the finished touch.
How to recreate it. Choose produce that looks good at room temperature for the length of the meal. Arrange in loose rows or clusters, leaving some of the board visible. Set the platter in the center with serving utensils, and keep individual place settings clear. Effort: the cooking time, plus five minutes of arranging. Lower-cost alternative: shop the marked-down produce rack; slightly imperfect vegetables arrange just as beautifully.
Try this. Match the platter to the meal and the season, everyday or holiday. A Tuesday roasted-vegetable platter and a holiday antipasto board are the same idea at different volumes.
12. Single Stems In Low Bud Vases

When you want flowers but the table is doing the talking, single stems in low bud vases are the answer. A row of small vases, each 3 to 4 inches tall with one stem, spaced down the center of the table, gives you the life and color of flowers without a single tall arrangement blocking anyone’s view. It is delicate, unfussy, and quietly luxurious.
The look. Bud vases in clear glass, stoneware, or amber glass, each holding one stem: a ranunculus, a sprig of blossom, a wildflower, a herb stem. Vary the stems but keep the vases in one material family. Space them 8 to 10 inches apart down the table’s center.
How to recreate it. Fill each vase two-thirds with water and trim stems to stand 4 to 6 inches above the vase mouth. Odd numbers of vases, three, five, or seven, look best. For a long table, run two shorter rows flanking the center rather than one long line. Effort: fifteen minutes. Lower-cost alternative: small glass yogurt jars or spice jars with the labels removed work perfectly as bud vases.
Try this. This is the prettiest holiday-table idea in the guide, but it works for everyday too. Three bud vases with grocery-store stems make a Tuesday table feel like a small celebration.
Frequently Asked Questions
How do I keep a rustic table usable during the meal?
Keep the center low and the footprint small. Every centerpiece in this guide stays under 12 inches tall and inside the middle third of the table, which leaves the full 15-inch setting depth clear at each place. Shared dishes go in the center where everyone can reach; individual settings stay uncluttered.
My table is not farmhouse wood. Will these ideas still work?
Yes. The ideas rely on the styling details, not the table itself. On a glass or dark modern table, a fabric strip under each setting (idea 9) or a runner creates the warm base the wood would have provided. The materials do the rustic work, not the furniture.
What is the real difference between an everyday rustic table and a holiday one?
Effort and layers, not different rules. Everyday means washable fabrics, one centerpiece, and pieces that stay out all week. Holiday means chargers, place cards, fuller arrangements, and a few extra details. The place settings work the same way in both.
How do I stop the table from looking messy instead of rustic?
Three habits: odd numbers of objects, breathing room between pieces, and one anchor per setting. Rustic means natural and relaxed, not crowded. If you cannot see wood between the objects at the center, remove one thing.
Which fabrics are best for a rustic table?
Linen, cotton, and grain sack weaves. They look better slightly wrinkled, they wash well, and they soften with use. Avoid anything that needs dry cleaning or shows every crumb; a rustic table should invite people to relax, not to be careful.
How tall can a centerpiece be before it blocks conversation?
About 12 inches at the center of the table, measured from the tabletop. Below that, seated guests see each other comfortably. Every arrangement in this guide is designed to stay under that line.
Setting A Table That Gets Used
The best rustic table setting is not the prettiest one in a photograph. It is the one that still looks good with a basket of bread in the middle, a spill wiped up, and people actually eating at it. Start with one idea from this guide, the bowl, the bottles, the fabric strips, and let the table evolve as you learn what your household reaches for. Rustic style rewards use; the pieces that get handled daily are the ones that look most at home.
For more ways to style the rooms around your table, browse our home decor ideas.