15 Corner Shelf Decor Ideas with Useful Styling Details
Corner shelves are the quiet corners of the house that nobody talks about, and that is exactly why they have…
Corner shelves are the quiet corners of the house that nobody talks about, and that is exactly why they have so much potential. That awkward angle where two walls meet, the deep corner of a bookshelf, the small triangular nook beside a window. Most of us leave them empty or pile them with whatever did not fit anywhere else. But a corner shelf, styled with a little intention, can carry light, texture, and personality in a way no flat wall can. Below you will find 15 complete ideas, each one photographed, each one broken down into real measurements, real materials, and a realistic budget version, so you can recreate any of them this weekend.
Jump to an idea
- A Small Lamp with A Framed Print
- A Single Sculptural Object
- A Wood Bowl and Textured Vessel
- A Restrained Color-Coded Book Section
- A Trailing Plant Along One Edge
- A Set Of Useful Jars Or Containers
- A Plate Displayed Upright
- A Trio Of Small Collectibles
- A Leaning Mirror On A Secure Ledge
- A Lidded Box and One Flower Stem
- A Small Clock Between Two Book Stacks
- A Vintage Camera As A Collected Object
- A Ceramic Pitcher Used For Stems
- A Pair Of Layered Frames
- Horizontal Book Stacks with A Ceramic Bowl

How corner shelves actually get styled
Before you buy or move a single object, there are a few practical truths about corner shelves worth knowing. First, measure the shelf. Most floating corner shelves are 8 to 12 inches deep, and a triangular corner shelf gives you roughly 14 to 18 inches of surface along each wall. Anything taller than the clearance to the next shelf or the ceiling needs to go. Second, know the weight limit. A stud-mounted bracketed corner shelf usually holds 15 to 25 pounds; a floating shelf on drywall anchors holds far less, often 5 to 10. Heavy books and ceramic vessels go on bracketed or built-in shelves only. Put the heaviest books and vessels on the lowest, sturdiest shelf you have, and never exceed the shelf’s rated load. Third, corners collect shadow. Whatever you place there will read darker than you expect, which is why small lamps, mirrors, and light-colored objects work so well in these spots.
The styling itself follows a simple rhythm that interior stylists repeat for a reason. Mix heights so the eye moves up and down, not across. Combine hard and soft textures, like ceramic next to wood next to linen. Leave breathing room. A corner shelf that is 30 to 40 percent empty air looks curated; one that is packed edge to edge looks cluttered. And think in small groups of two or three rather than scattering singles. If you are styling a corner in a tight hallway or beside a door, the same restraint that makes small entryway decor work applies here: every object earns its place.
Effort for most of these ideas runs 10 to 45 minutes, and most cost under $60 if you shop thrift stores and discount home aisles first.
1. A Small Lamp with A Framed Print
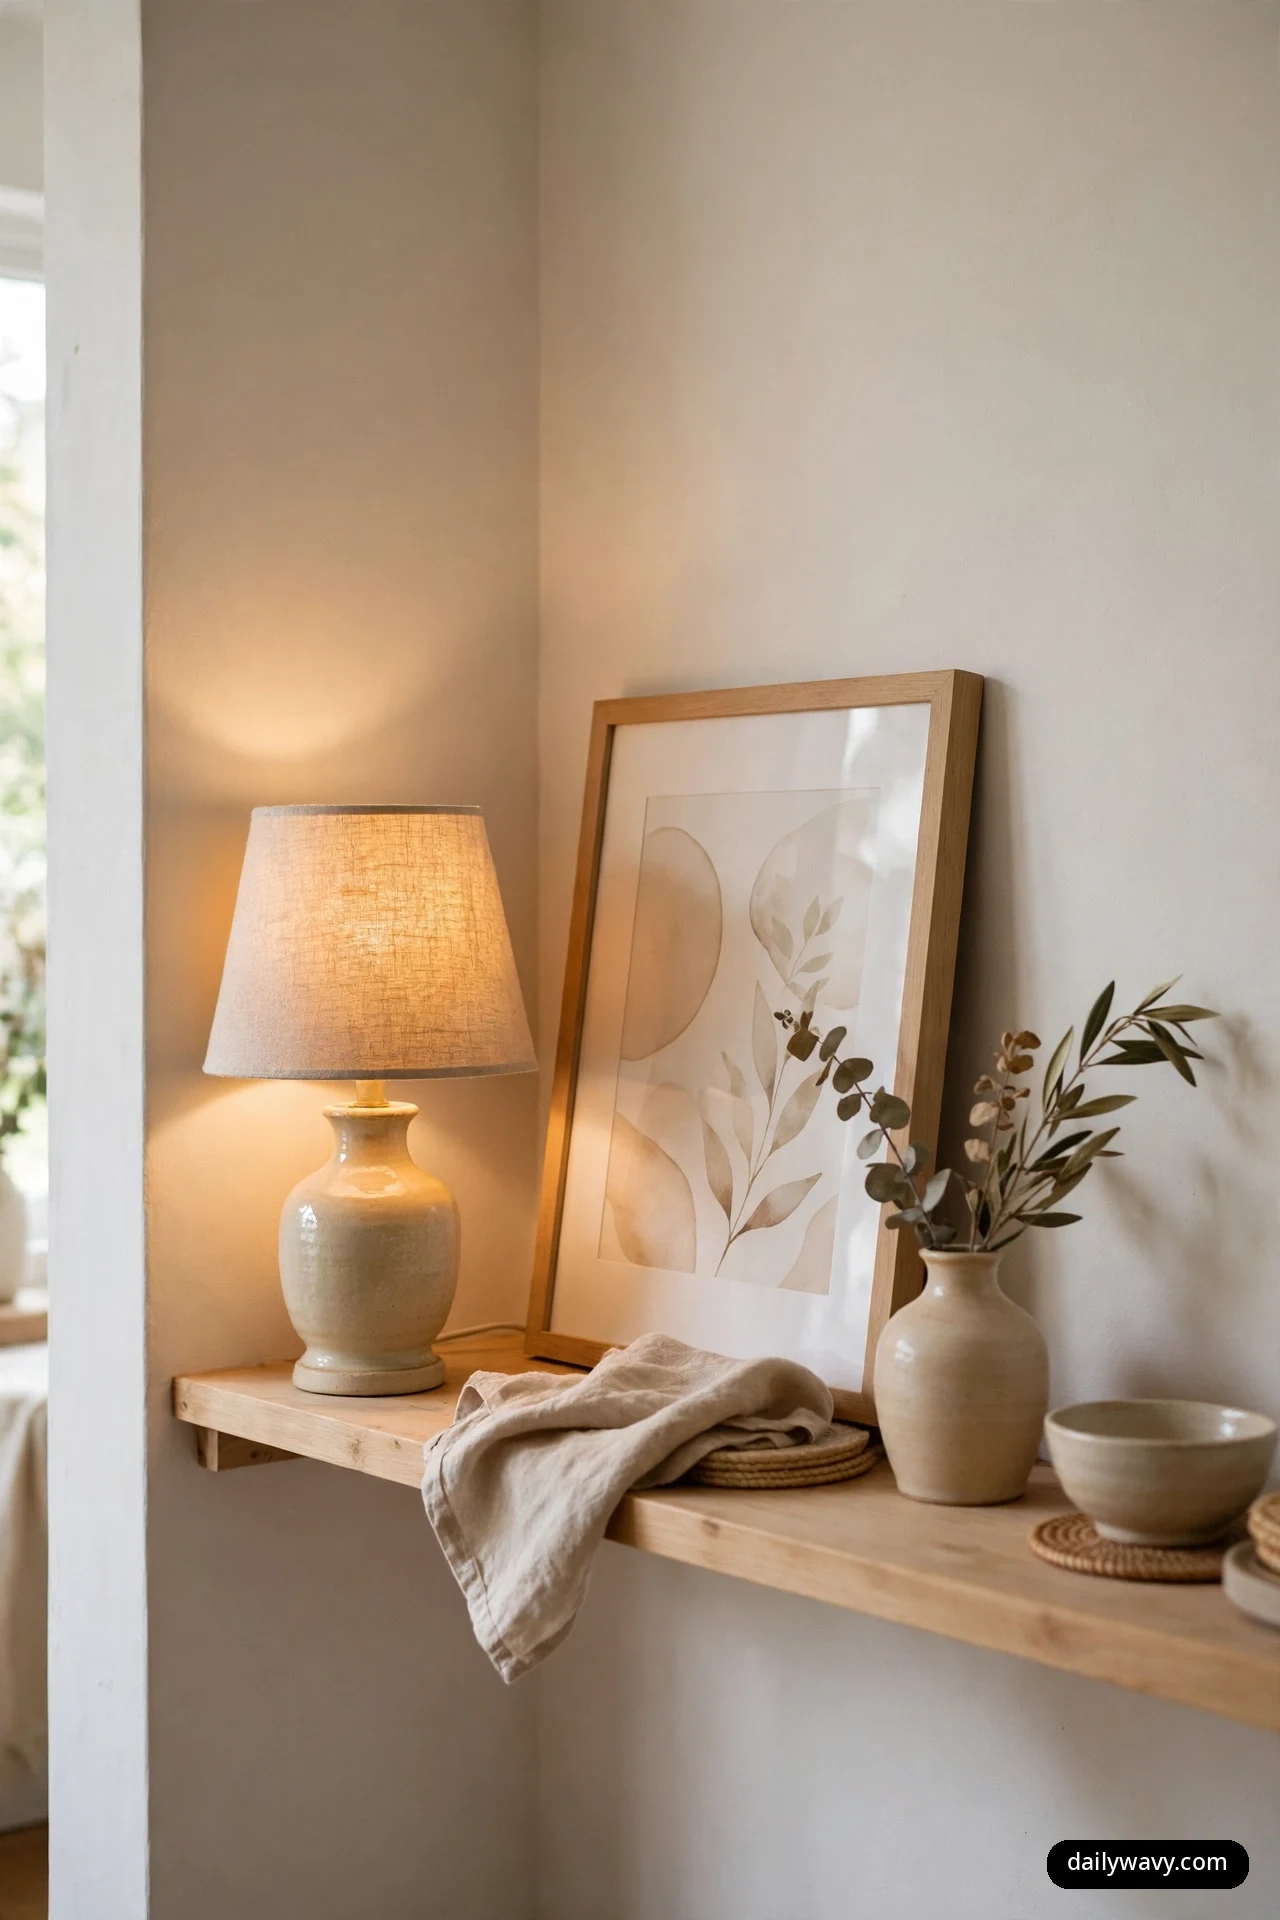
Few moves make a dead corner feel alive as quickly as light. A small lamp, something 10 to 14 inches tall with a linen or cotton shade, placed on a corner shelf turns that shadowy angle into one of the warmest spots in the room. Lean a framed print behind or beside it, roughly 8 by 10 to 11 by 14 inches, and the light will wash across the frame and the wall, giving the whole arrangement depth.
What to measure: the shelf depth must clear the lamp base plus two inches, so at least 7 to 8 inches of depth for a 5-inch-wide base. The frame should sit 2 to 3 inches behind the lamp so the shade does not touch the glass. Materials: one small table lamp (ceramic, wood, or metal base), one framed print or photograph, and a cord cover if the outlet is visible. Placement: lamp toward the outer edge of the corner for the widest light spread, frame leaned against the wall behind it at a slight angle. Effort: about 20 minutes, most of it choosing the print. Lower-cost alternative: a battery-operated puck light or a small LED lantern behind an existing framed photo you already own, which costs under $15 and needs no wiring.
This pairing works because the corner does the composition for you. Two walls meet, the lamp fills the triangle of space, and the frame gives the eye something to land on. Keep the print simple. Busy art next to a busy shade cancels both out.
2. A Single Sculptural Object

Sometimes the boldest choice is the simplest one. A single sculptural object, a twisted ceramic vase, a carved wood form, a stone abstract, sitting alone on a corner shelf reads as deliberate and confident. It tells visitors you chose this spot for this piece, and nothing else needed to be there.
What to measure: the object should be 8 to 16 inches tall and no wider than half the shelf surface, so it sits in visual balance with the empty space around it. Leave at least 4 inches of clearance above it to the next shelf. Materials: one sculptural object in a material you love (ceramic, wood, stone, or cast metal). Placement: centered on the corner shelf, or pushed slightly toward one wall so the other wall throws a soft shadow behind it, which adds dimension. Effort: five minutes, honestly. The work is in finding the right object. Lower-cost alternative: a thrifted vase, a piece of driftwood, or even a beautiful rock from a hike. Sculpture is about shape, not price.
The trick here is restraint. Do not add a small plant “just to fill the gap.” The empty space is doing the styling. Dust it occasionally, because a single object shows dust faster than a busy shelf, and let the corner breathe.
3. A Wood Bowl and Textured Vessel

Two objects, two textures, one corner. A wood bowl, hand-turned or simply well finished, next to a textured ceramic vessel creates the kind of pairing that feels collected over time rather than bought in one trip. The warm grain of the wood against the rough or ribbed surface of the ceramic gives the eye two materials to compare, which is what makes a shelf interesting from across the room.
What to measure: keep both pieces within a 12-inch-wide zone so they read as one grouping. The bowl can be 6 to 10 inches across; the vessel 6 to 12 inches tall. Materials: one wood bowl (acacia, mango wood, or olive wood are common and affordable), one textured vessel (ribbed, fluted, or raw clay ceramic). Placement: bowl in front and slightly to one side, vessel behind and toward the corner. The overlap in depth is what makes it feel natural. Effort: 15 minutes. Lower-cost alternative: a wooden salad bowl you already own paired with a thrifted ceramic vase, even one in an imperfect glaze.
Fill the bowl or leave it empty? Either works, but a bowl with nothing in it on a shelf can look unfinished. Three or four dried seed heads, a handful of smooth stones, or a small stack of linen napkins gives it purpose without clutter.
4. A Restrained Color-Coded Book Section
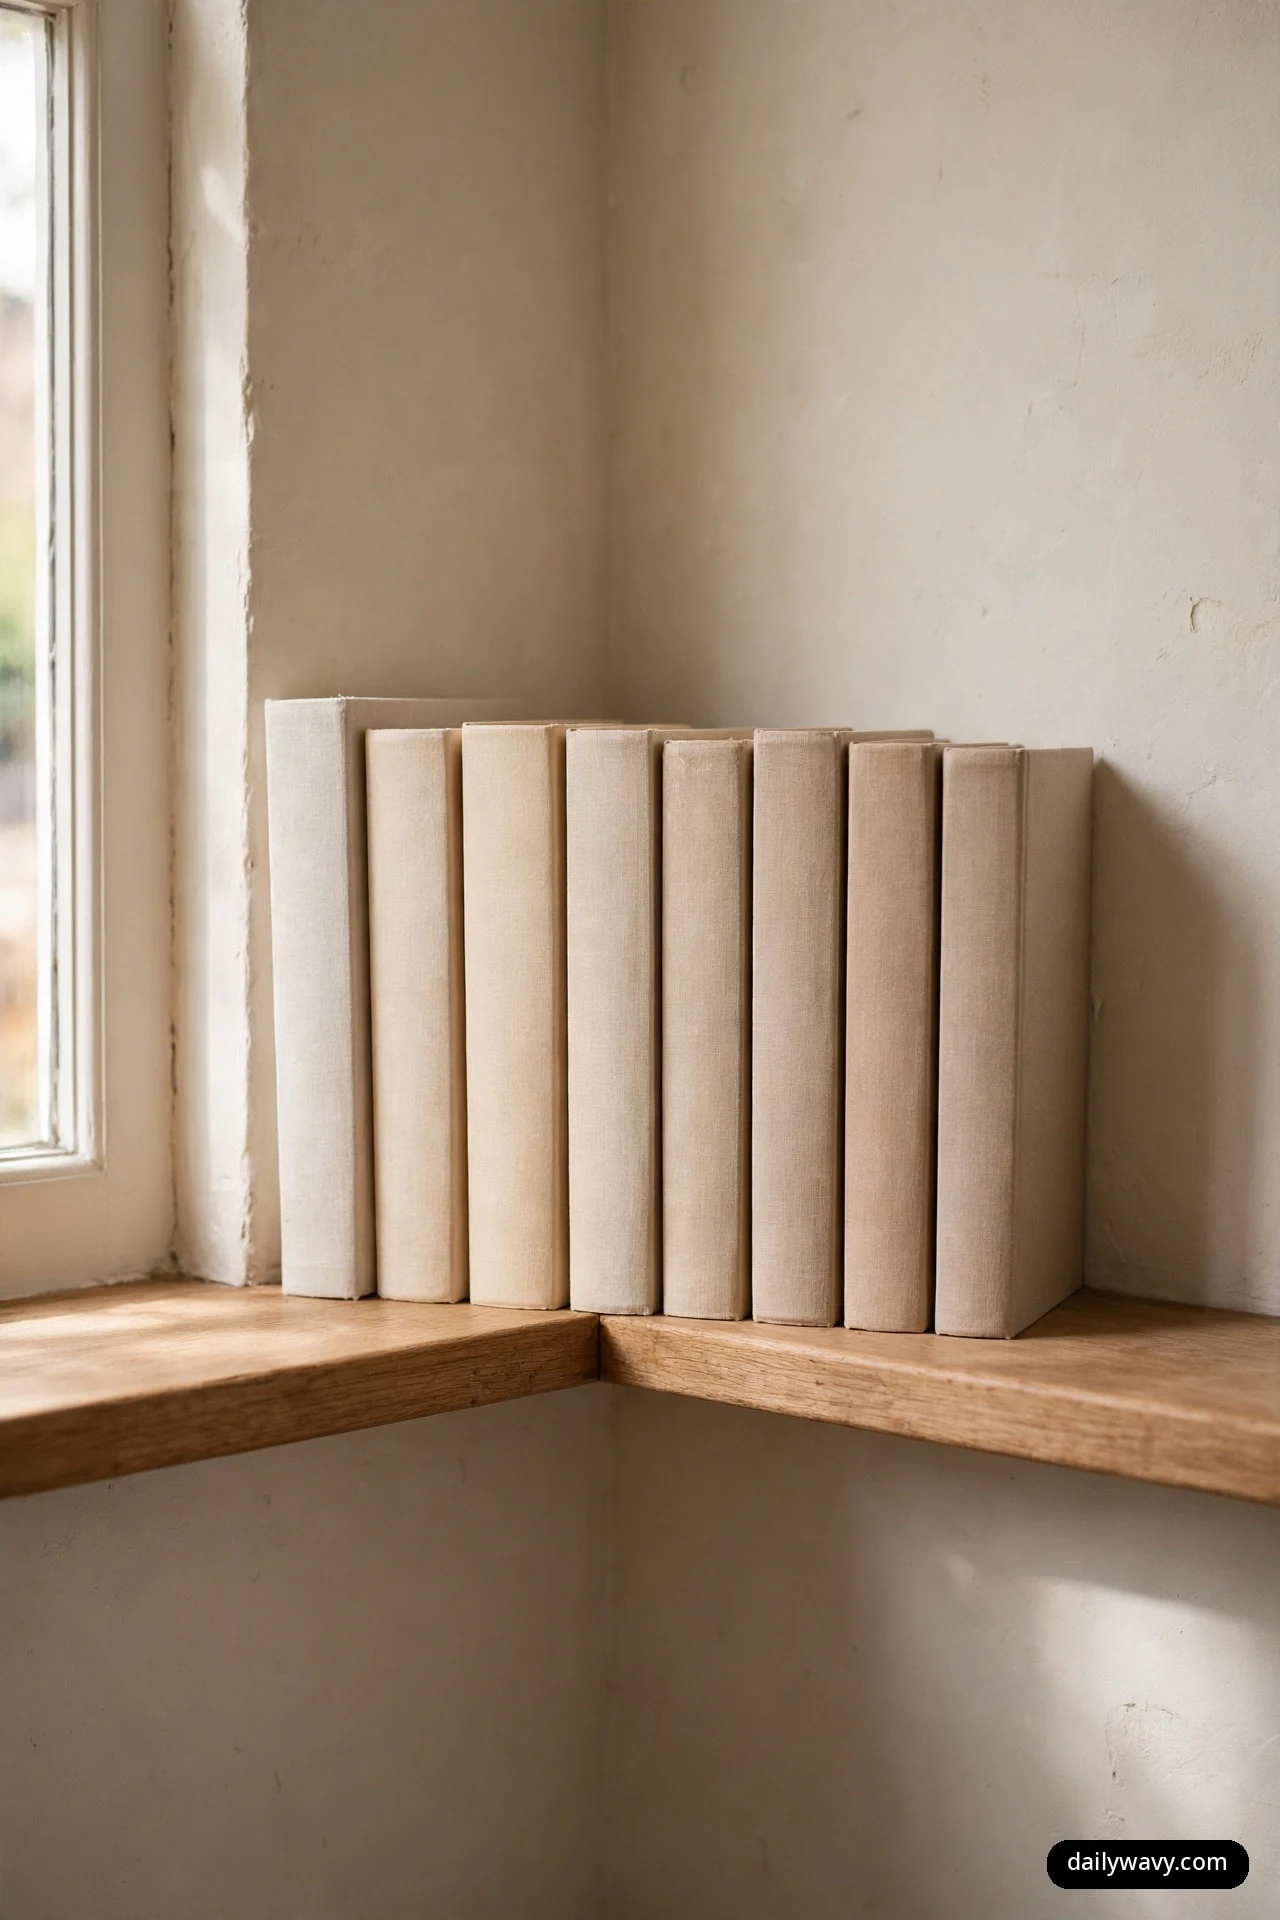
Color-coding every book you own can look fussy, but a small restrained section, one shelf, one corner, grouped in two or three neighboring tones, looks like a design decision. Think warm whites and creams together, or dusty blues and grays, or terracotta and tan. The corner contains the color story so it reads as an accent, not a rainbow.
What to measure: this works best on a shelf at least 10 inches deep with 10 to 12 inches of vertical clearance, since books need real height. Count the books first. A section of 8 to 15 books fills a corner shelf nicely. Materials: books you already own, pulled from around the house. No purchase necessary. Placement: group by spine color in a gradient, tallest in the middle or at one end, and leave a 2 to 3 inch gap at one side so the section does not touch the wall. Effort: 30 to 45 minutes of pleasant sorting. Lower-cost alternative: this one is already free. If you need a few more books in a color family, thrift stores sell hardcovers for very little money.
Keep it restrained is the whole point. Two, maybe three adjacent color families. The moment you add a fourth, the shelf starts to look like a bookstore bargain bin. If your book collection lives mostly in one place, the same calm logic behind narrow living room layout planning applies: group like with like and leave air between groups.
5. A Trailing Plant Along One Edge
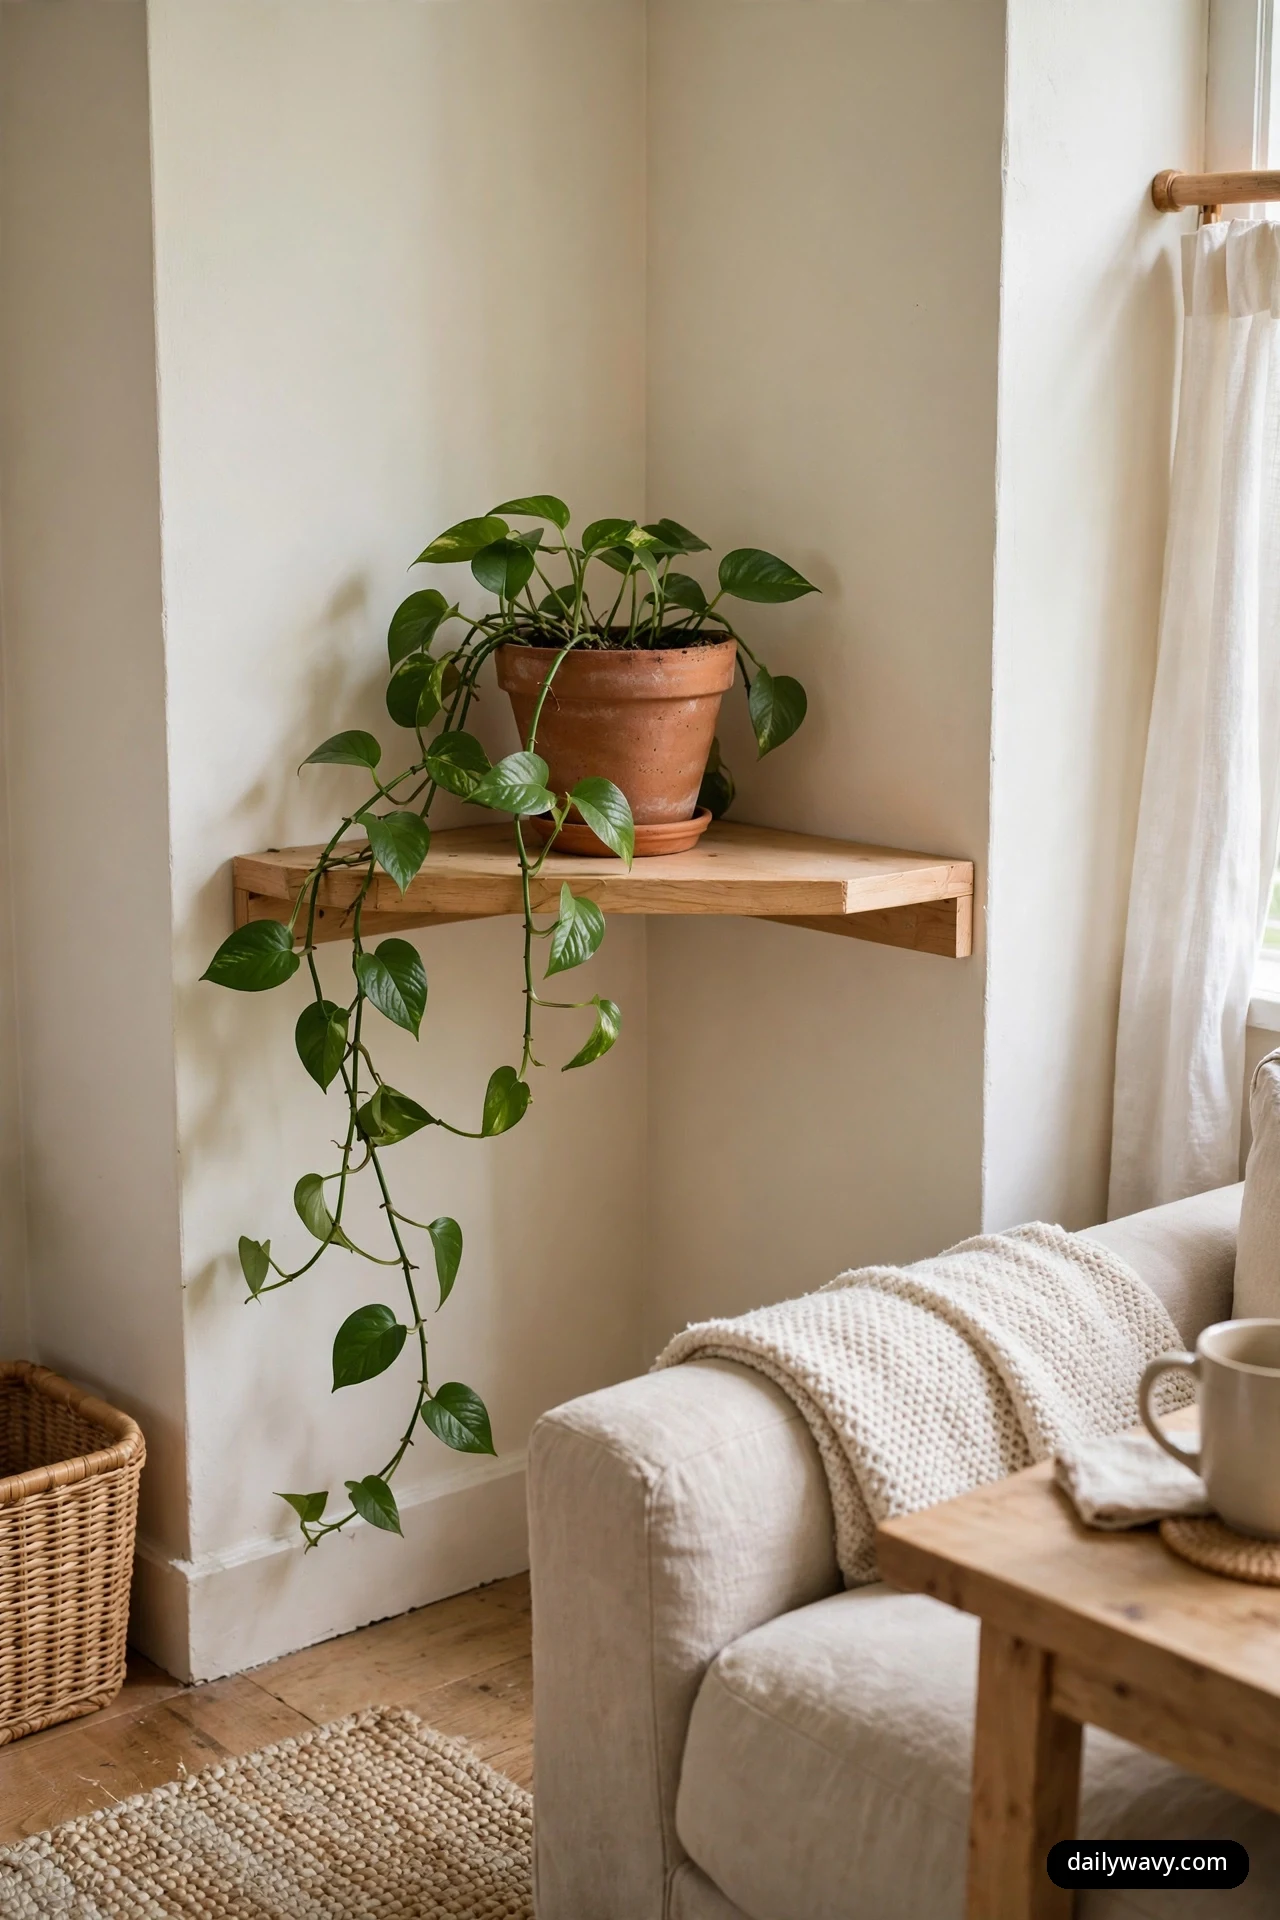
A trailing plant is one styling move that actually changes the shape of a corner shelf. Pothos, philodendron, or string of pearls spilling over the front edge softens every hard line in the angle, and the green against warm neutrals is a classic color trick in decorating. It also costs very little to start.
What to measure: the pot should be 4 to 6 inches in diameter so it sits securely, and the shelf needs 8 inches of clear depth in front of the pot for the vines to drape. Give trailing vines at least 18 inches of vertical drop before they hit anything. Materials: one trailing plant in a simple pot (terracotta, ceramic, or woven basket with a liner), a saucer or drip tray. Placement: pot pushed toward the back corner, vines trained forward over one edge, not both, so the drape reads as intentional. Effort: 20 minutes to pot and place, plus ongoing watering. Lower-cost alternative: take a cutting from a friend’s pothos and root it in water. Free plants are the best plants. One caution: pothos, philodendron, string of pearls, and ZZ plants are toxic to cats and dogs if chewed, so keep them out of pets’ reach or choose a pet-safe option like a cast iron plant.
Light is the real question. Most trailing houseplants tolerate the medium, indirect light of a corner, but if your corner is genuinely dark, choose a cast iron plant or a ZZ plant cutting instead, or accept that you will rotate the plant to a brighter window every few weeks. And water over a sink, not over the shelf. Corners and water stains are not friends.
6. A Set Of Useful Jars Or Containers
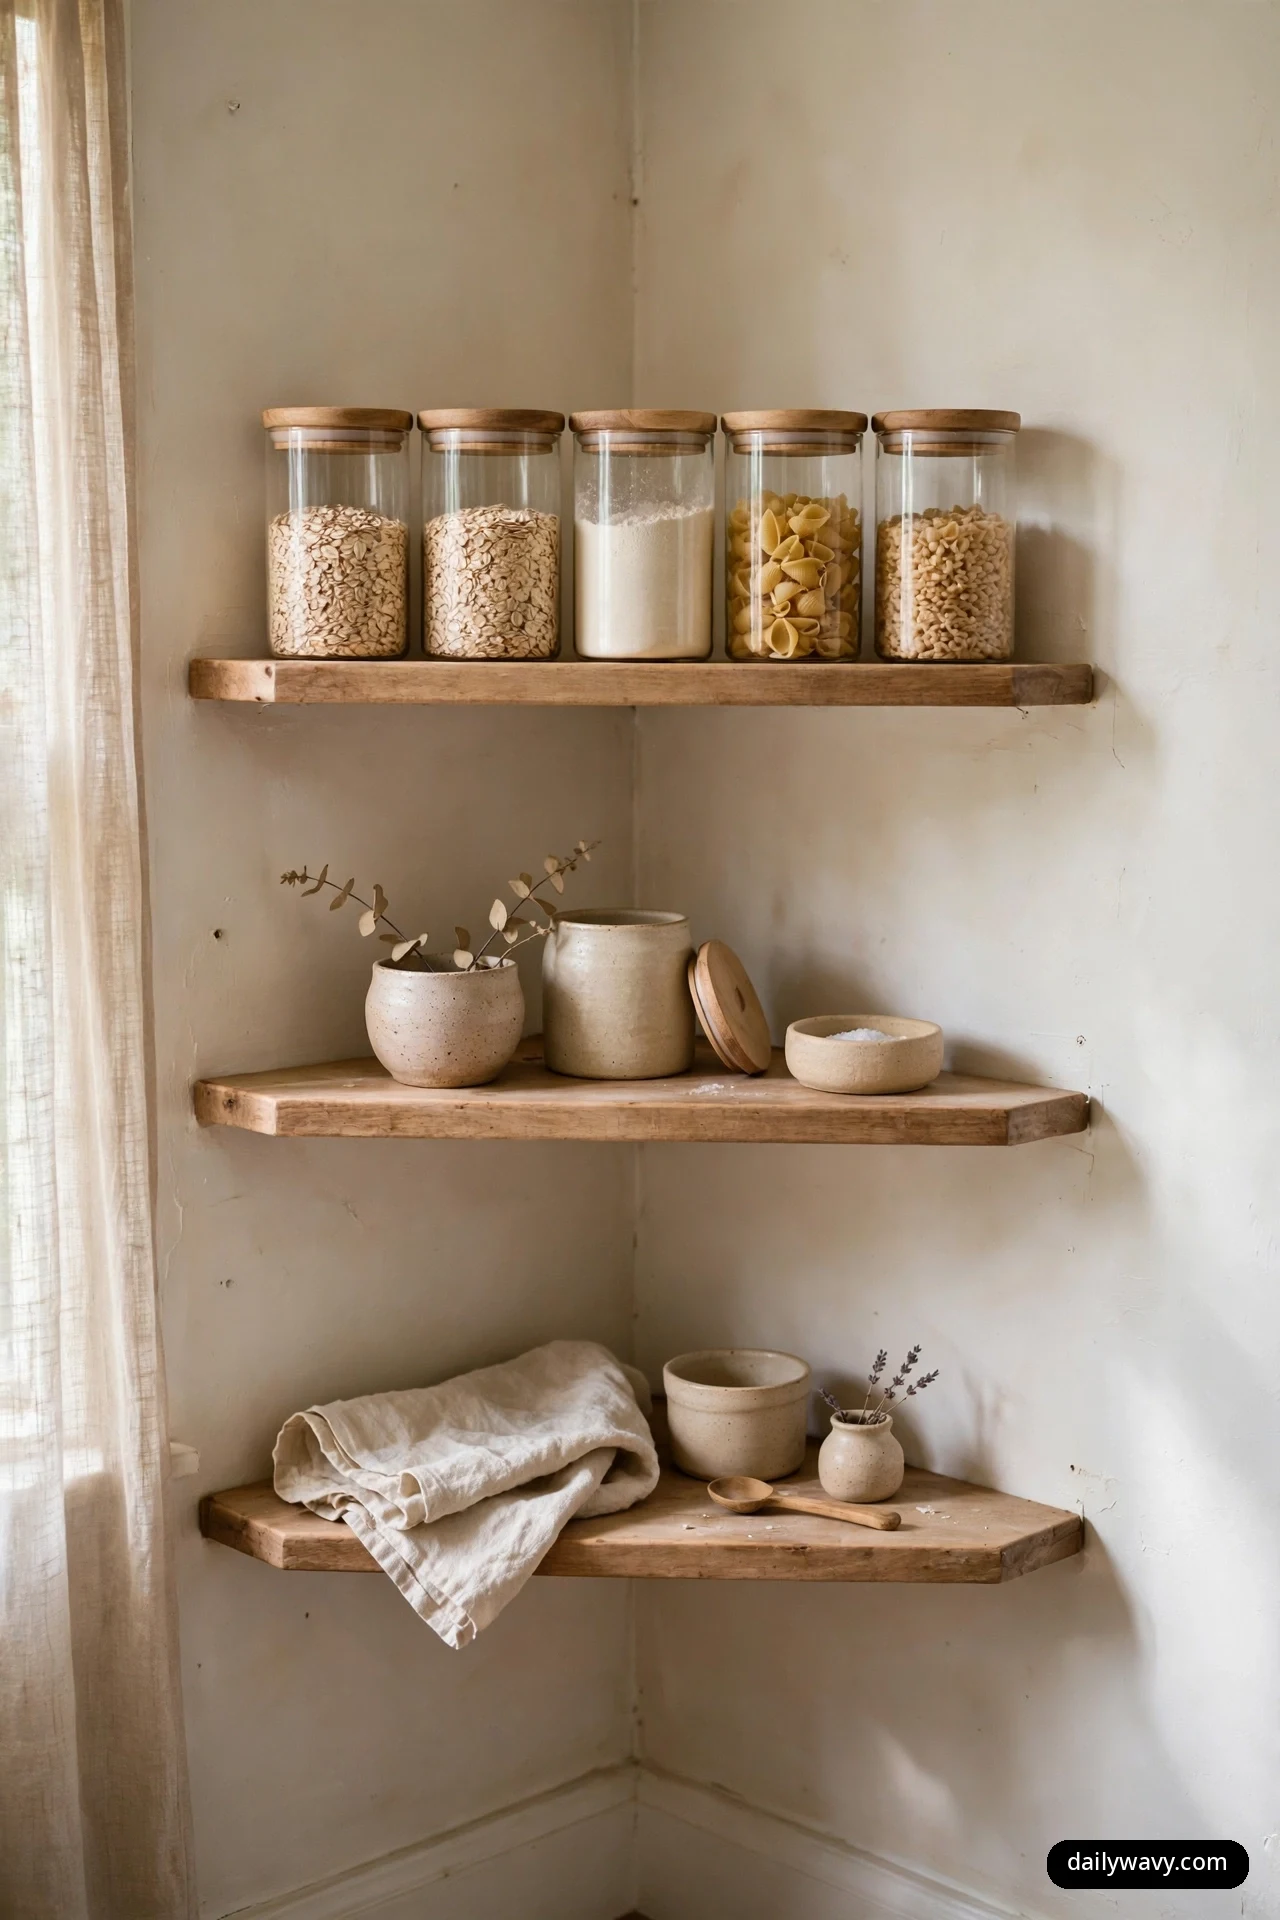
Not every corner shelf needs to be decorative. A set of matching or coordinated jars and containers turns a corner shelf into genuinely useful storage that still looks considered. Think dry goods in a kitchen corner, cotton balls and bath salts in a bathroom corner, or pens and paper clips in a home office corner. The uniformity of the containers is what makes it styling instead of clutter.
What to measure: measure the shelf height first, then buy containers at least 2 inches shorter. Standard corner shelves fit 6 to 10 inch containers. Count how many fit with a half inch between each. Materials: 3 to 5 matching jars or canisters (glass with wood lids, ceramic with cork, or simple stoneware). Labels if you like them, though uniform containers often read better unlabeled. Placement: largest at the back or in the corner, smallest toward the front, all lids at roughly the same height for a calm skyline. Effort: 30 minutes including filling. Lower-cost alternative: save and clean glass food jars, remove the labels with hot soapy water, and top them with matching lids from a craft store.
This idea earns its keep in kitchens and bathrooms especially, where closed storage is always short. Grouped containers on a corner shelf can free an entire cabinet shelf elsewhere.
7. A Plate Displayed Upright
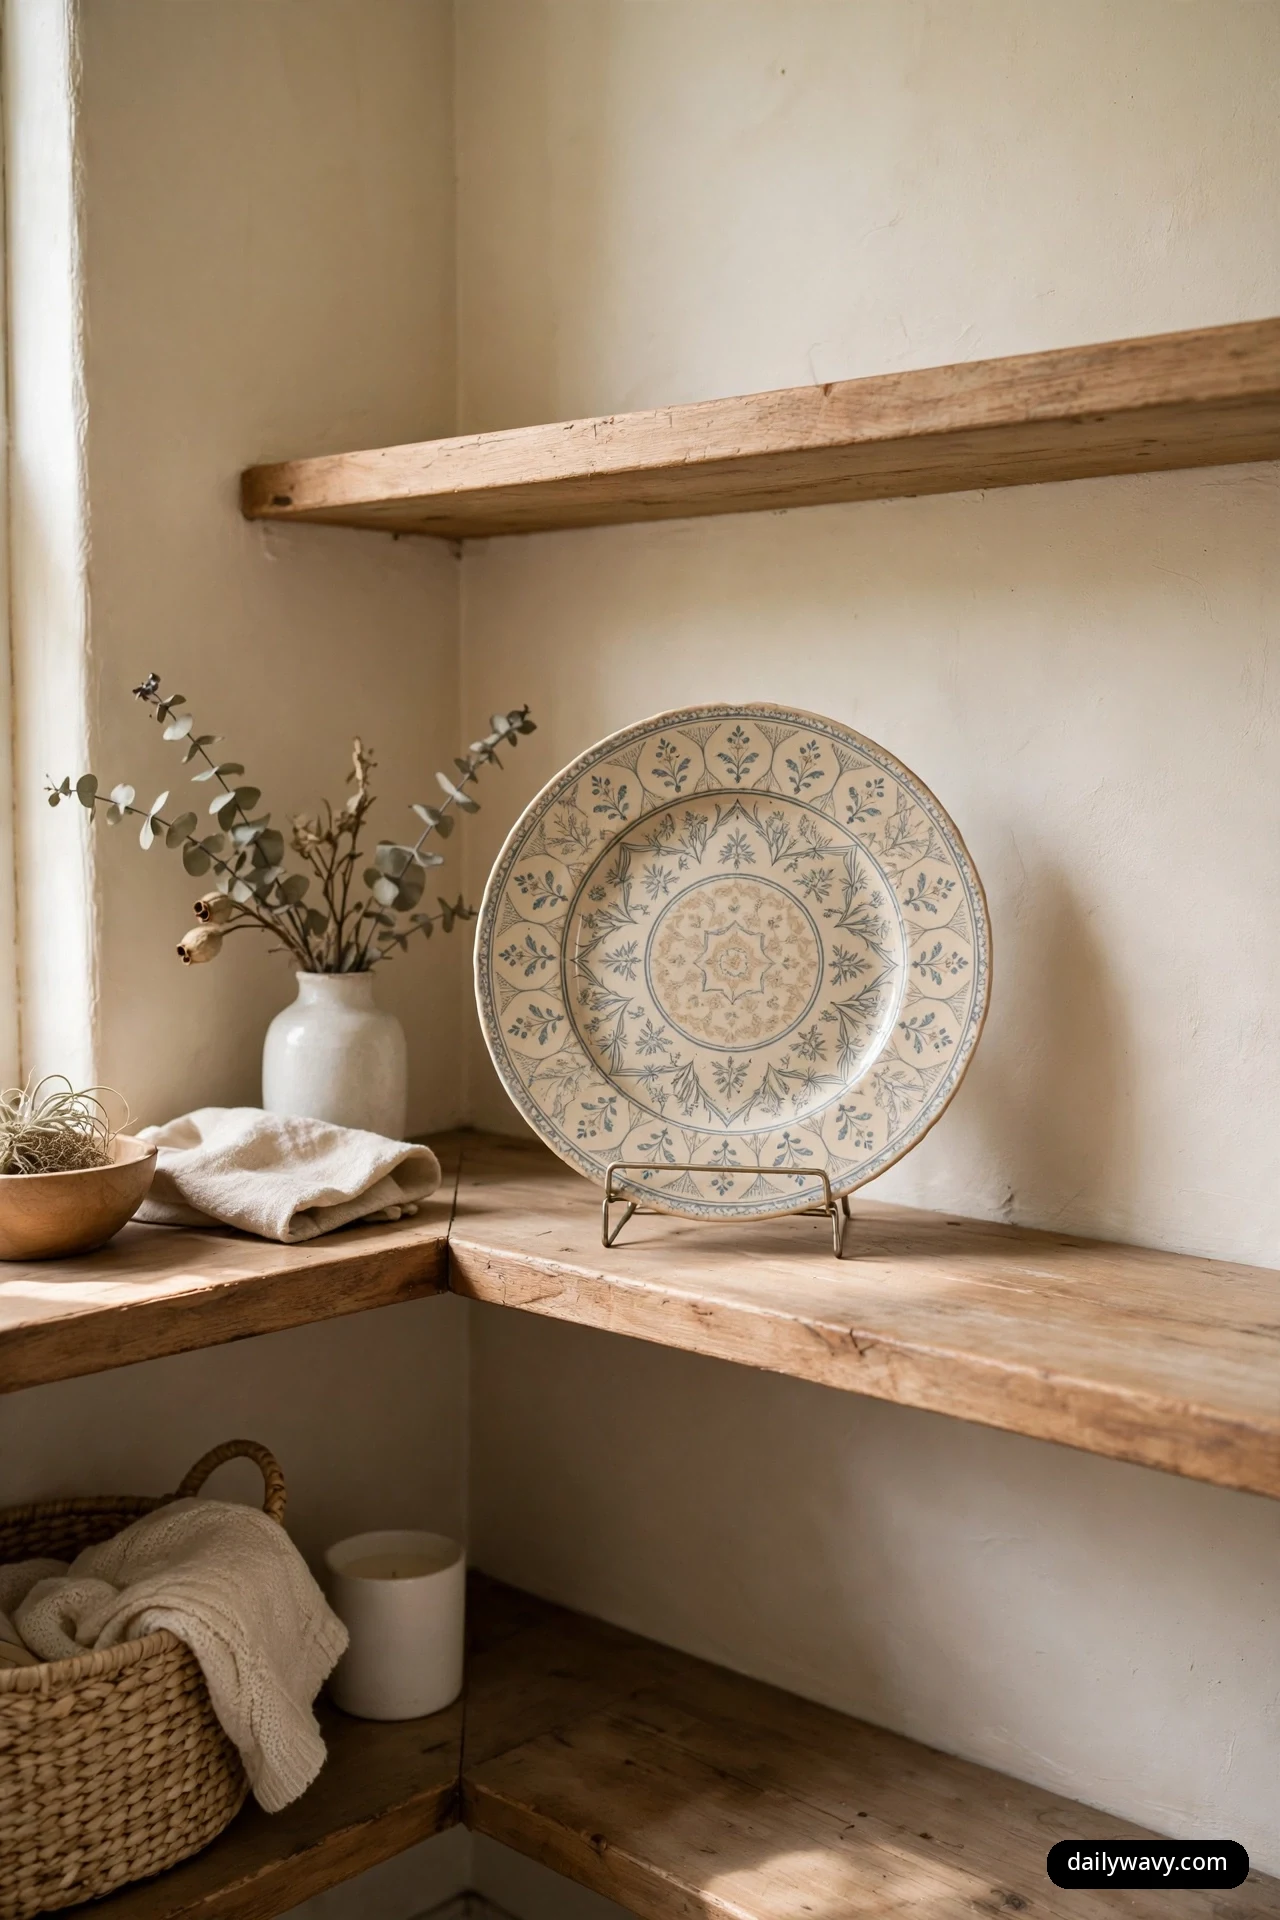
A single decorative plate, stood upright on a small plate stand, is an old-fashioned idea that looks surprisingly fresh in a corner. The round shape breaks up all the rectangles of shelves and frames, and a plate with a pattern or a handmade glaze gives you color and craft in one object. It is also nearly free if you already own a plate you love.
What to measure: the plate should be 8 to 12 inches in diameter, and the shelf needs at least 2 inches of clearance above the plate’s top edge. The plate stand adds about an inch of depth, so 8 inches of shelf depth is the minimum. Materials: one decorative plate, one plate stand (wire, wood, or acrylic, sized to the plate). Placement: plate centered on the shelf, stand feet fully on the surface, plate tilted back just slightly. In a corner, angle the plate about 15 degrees toward the room so it catches light instead of facing the wall. Effort: 10 minutes. Lower-cost alternative: a plate from your own cabinet and a wire stand from a dollar store.
Choose a plate with some visual weight, a bold rim, a hand-painted pattern, a reactive glaze. A plain white dinner plate stood upright just looks like you ran out of cabinet space. The plate should be something you would frame if it were flat.
8. A Trio Of Small Collectibles

Three small objects, grouped tight, make a corner shelf feel personal in a way nothing else does. Small brass animals, tiny framed miniatures, sea glass in a dish, vintage bottles, ticket stubs under a cloche. The rule of three is real: two objects look like a pair waiting for a third, and four start to look like a collection that needs a cabinet. Three is the sweet spot.
What to measure: keep the trio within a 10-inch-wide footprint so it reads as one moment. Heights should vary by at least 2 inches between the tallest and shortest for a pleasing stagger. Materials: three small objects you already own or thrift, ideally with something in common, material, color, origin, or story. A small tray or dish under them helps the group read as intentional. Placement: tallest at the back near the corner, smallest in front, all within touching distance of each other. Effort: 20 minutes of enjoyable arranging. Lower-cost alternative: this is a use-what-you-have idea. The only thing worth buying is a small tray if you do not own one.
Rotate these seasonally and the corner never gets stale. Shells in summer, pinecones in winter, seed packets in spring. The shelf becomes a tiny calendar.
9. A Leaning Mirror On A Secure Ledge
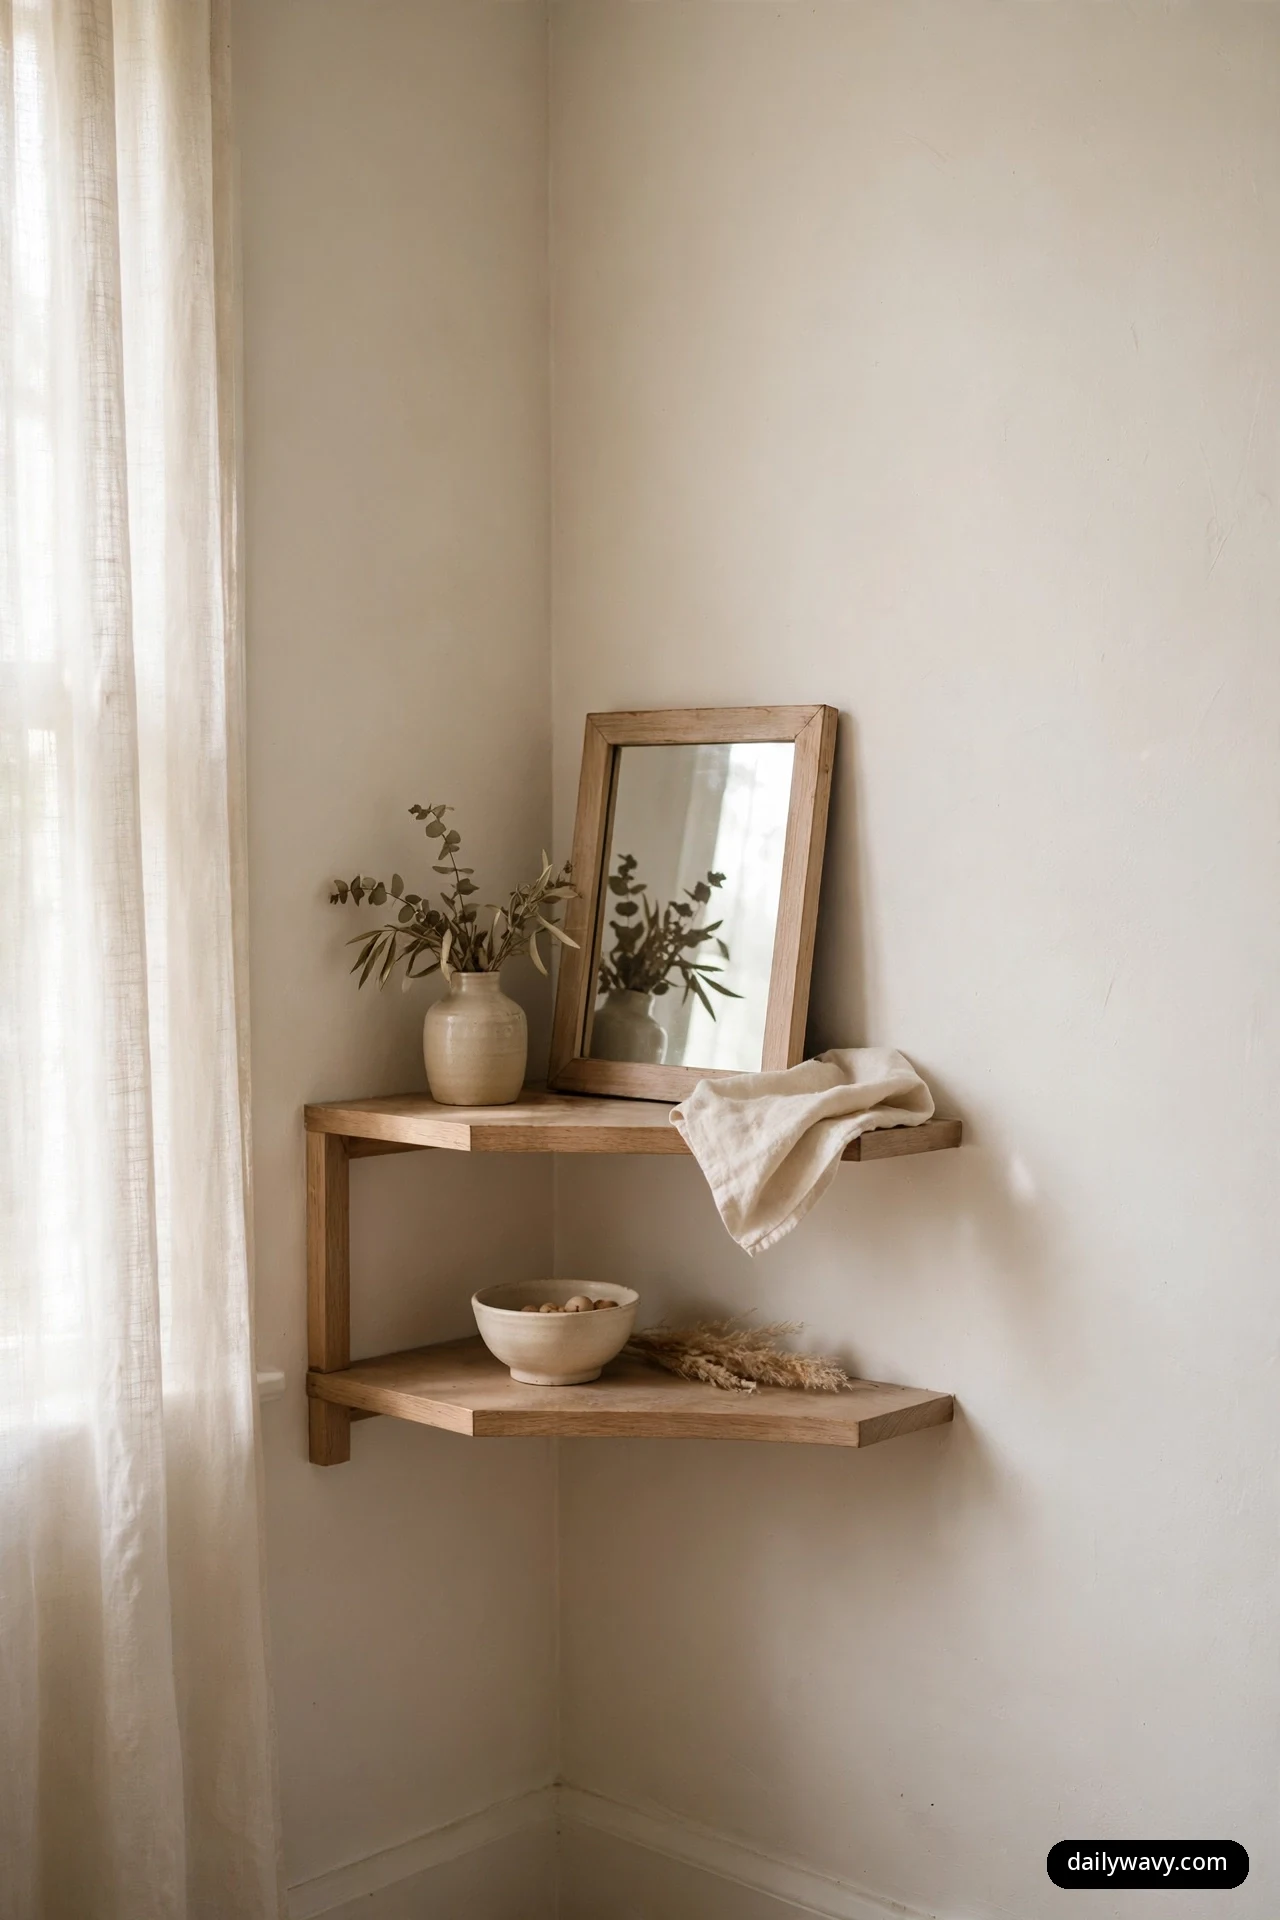
A leaning mirror does two jobs in a corner: it bounces light into the darkest angle of the room, and it visually doubles the shelf, making the corner feel larger. A small mirror, 10 to 16 inches tall, leaned against the wall on a corner shelf is one of the highest-impact moves on this list, and it takes only a few minutes.
What to measure: the mirror must be shorter than the vertical clearance by at least 3 inches, and the shelf needs a real ledge or lip, or the mirror needs a wide enough base to lean safely. Anything over 12 inches tall should be secured, not just leaned. Materials: one small mirror with a frame you like, museum putty or a small bracket for security. Placement: lean at roughly 75 to 80 degrees against the wall, base 2 to 3 inches out from the wall, in the back of the corner. Never place a leaning mirror where children or pets can knock it forward. Effort: 10 minutes plus securing. Lower-cost alternative: thrift stores often have small framed mirrors for very little money. A quick clean and they look new.
Safety matters more than style here. Museum putty under the base and a small L-bracket or picture-hanging wire into a stud turns a leaning mirror from a hazard into a fixture. If the shelf is a floating shelf on drywall anchors, keep the mirror small and light, or skip this idea for a sturdier shelf.
10. A Lidded Box and One Flower Stem

A lidded box hides the practical stuff, remotes, chargers, reading glasses, spare keys, and a single flower stem in a bud vase makes the corner feel alive. Together they are a good balance of useful and beautiful: the box does the work, the stem does the poetry. This is the idea for people who want their shelves to function, not just photograph.
What to measure: the box should be 6 to 10 inches long and no taller than 5 inches, so the flower stem rises clearly above it. The bud vase needs only 2 inches of footprint. Materials: one lidded box (wood, lacquered, woven, or fabric-covered), one bud vase, one fresh or dried stem. Placement: box toward the back corner, bud vase in front of it and slightly to one side, so the stem arcs up over the box. Effort: 15 minutes. Lower-cost alternative: any lidded box you own, even a shoe box wrapped in kraft paper or fabric, plus a stem snipped from the yard.
Swap the stem weekly and the corner stays fresh with almost no effort. Dried stems, eucalyptus, lavender, wheat, last for months if you would rather set it and forget it. Keep dried eucalyptus out of reach of pets and small children, since it is toxic if eaten. Either way, one stem is the rule. A full bouquet on a corner shelf overwhelms the scale.
11. A Small Clock Between Two Book Stacks
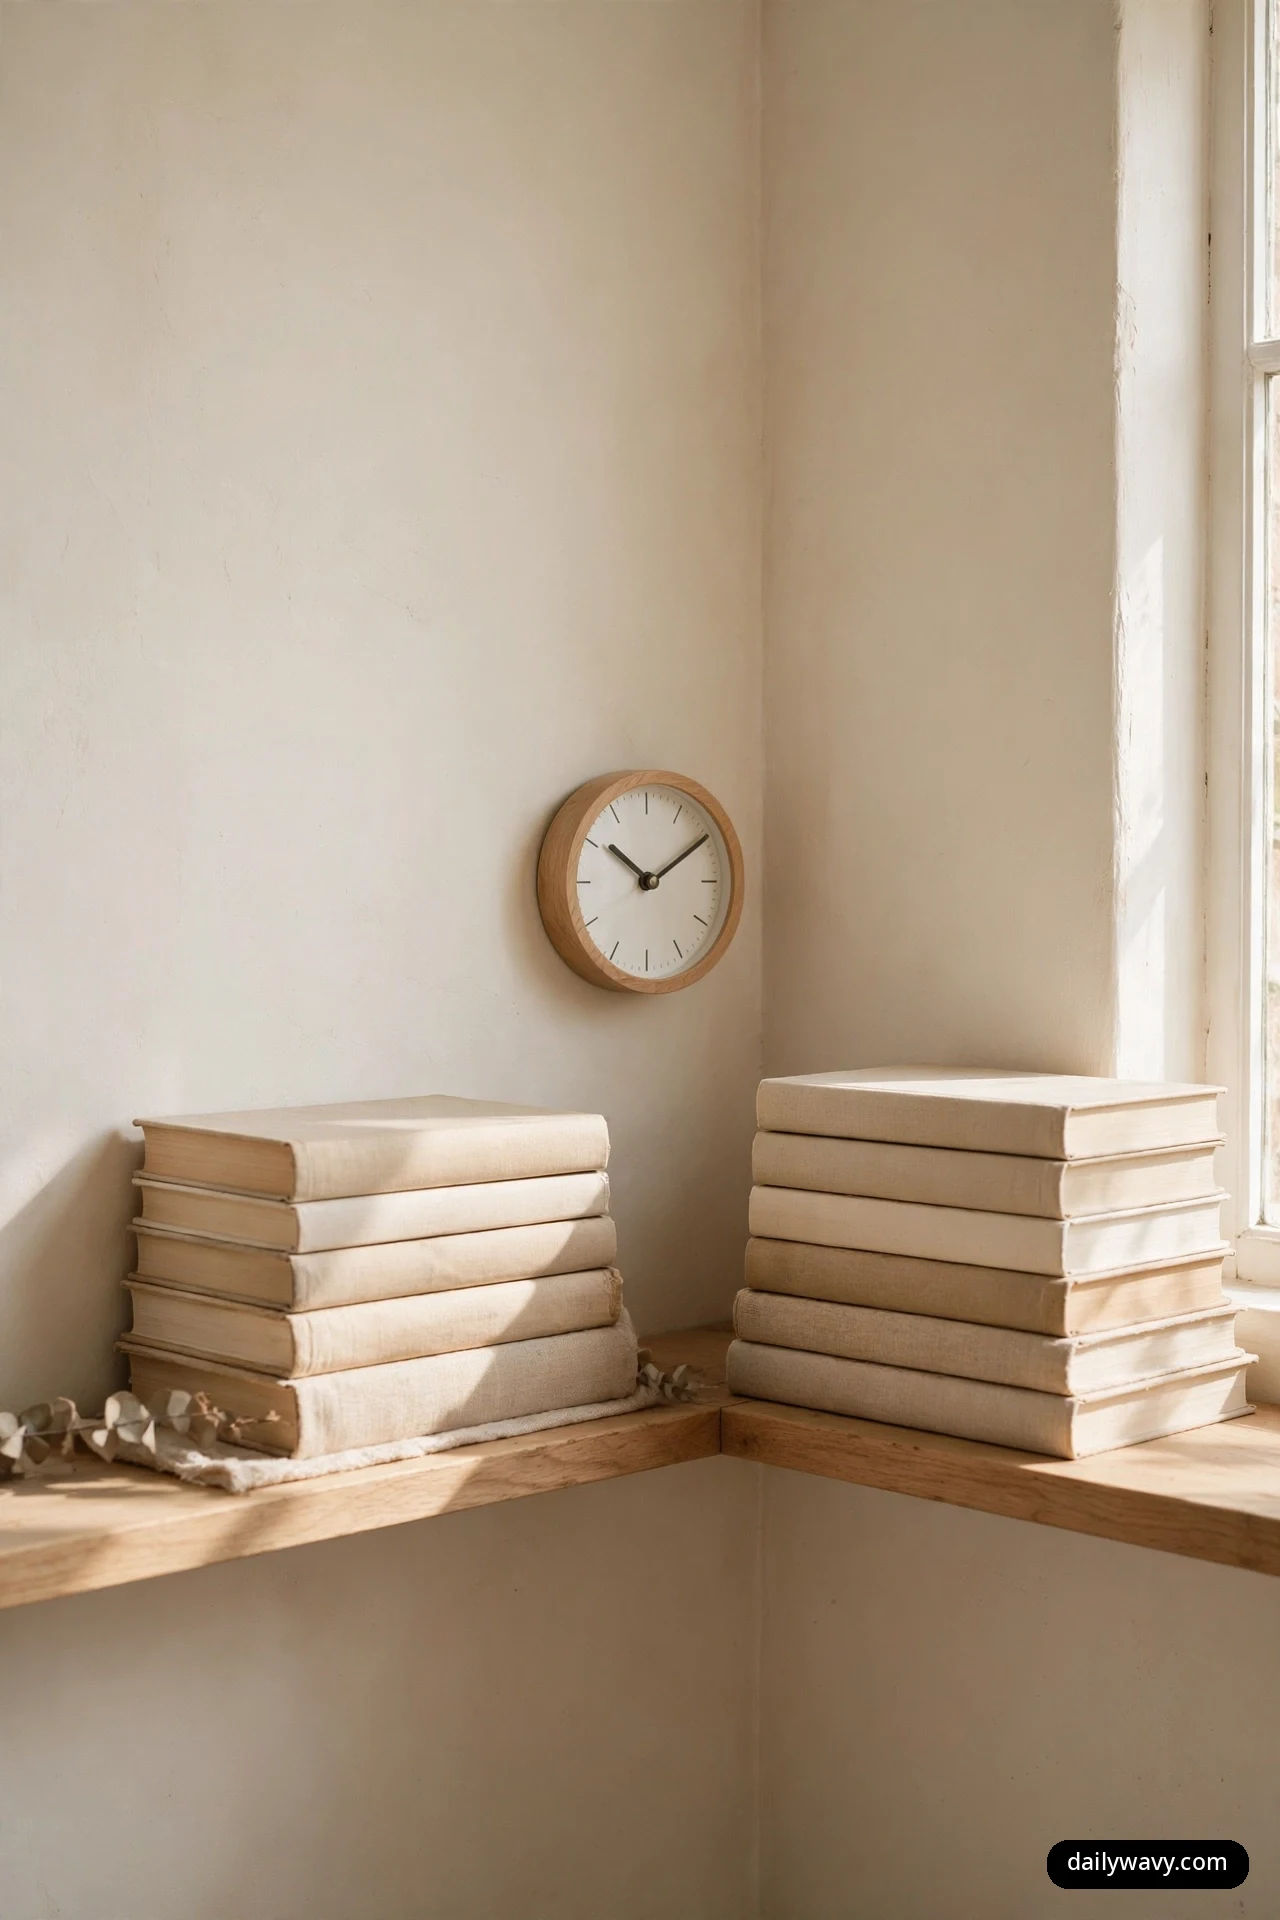
A small analog clock, flanked by two low stacks of books, gives a corner shelf symmetry, function, and a quiet sense of order. The clock becomes the centerpiece, the books become the bookends, and the whole arrangement reads as settled and intentional. It works especially well in a home office corner or a bedroom reading nook.
What to measure: each book stack should be 3 to 5 books high, roughly 4 to 6 inches tall, so the clock, ideally 4 to 6 inches in diameter, sits clearly between them at a similar height. Total width needed: 16 to 20 inches, so this suits a wider corner shelf or a corner of a long shelf. Materials: one small analog clock (not digital, the hands are part of the look), 6 to 10 books of similar size. Placement: clock centered, book stacks snug on either side with a half inch of space, spines facing out. Effort: 20 minutes. Lower-cost alternative: a thrifted clock, many work fine with a fresh battery, and books you already own.
Keep the book stacks low and even. Tall uneven stacks on either side of a small clock look like the clock is being crowded out. And choose books with spines you like looking at, since they become part of the decor. This symmetrical calm follows the same logic as a restful small bedroom with a queen bed layout, where pieces are placed for balance and surfaces stay mostly clear.
12. A Vintage Camera As A Collected Object
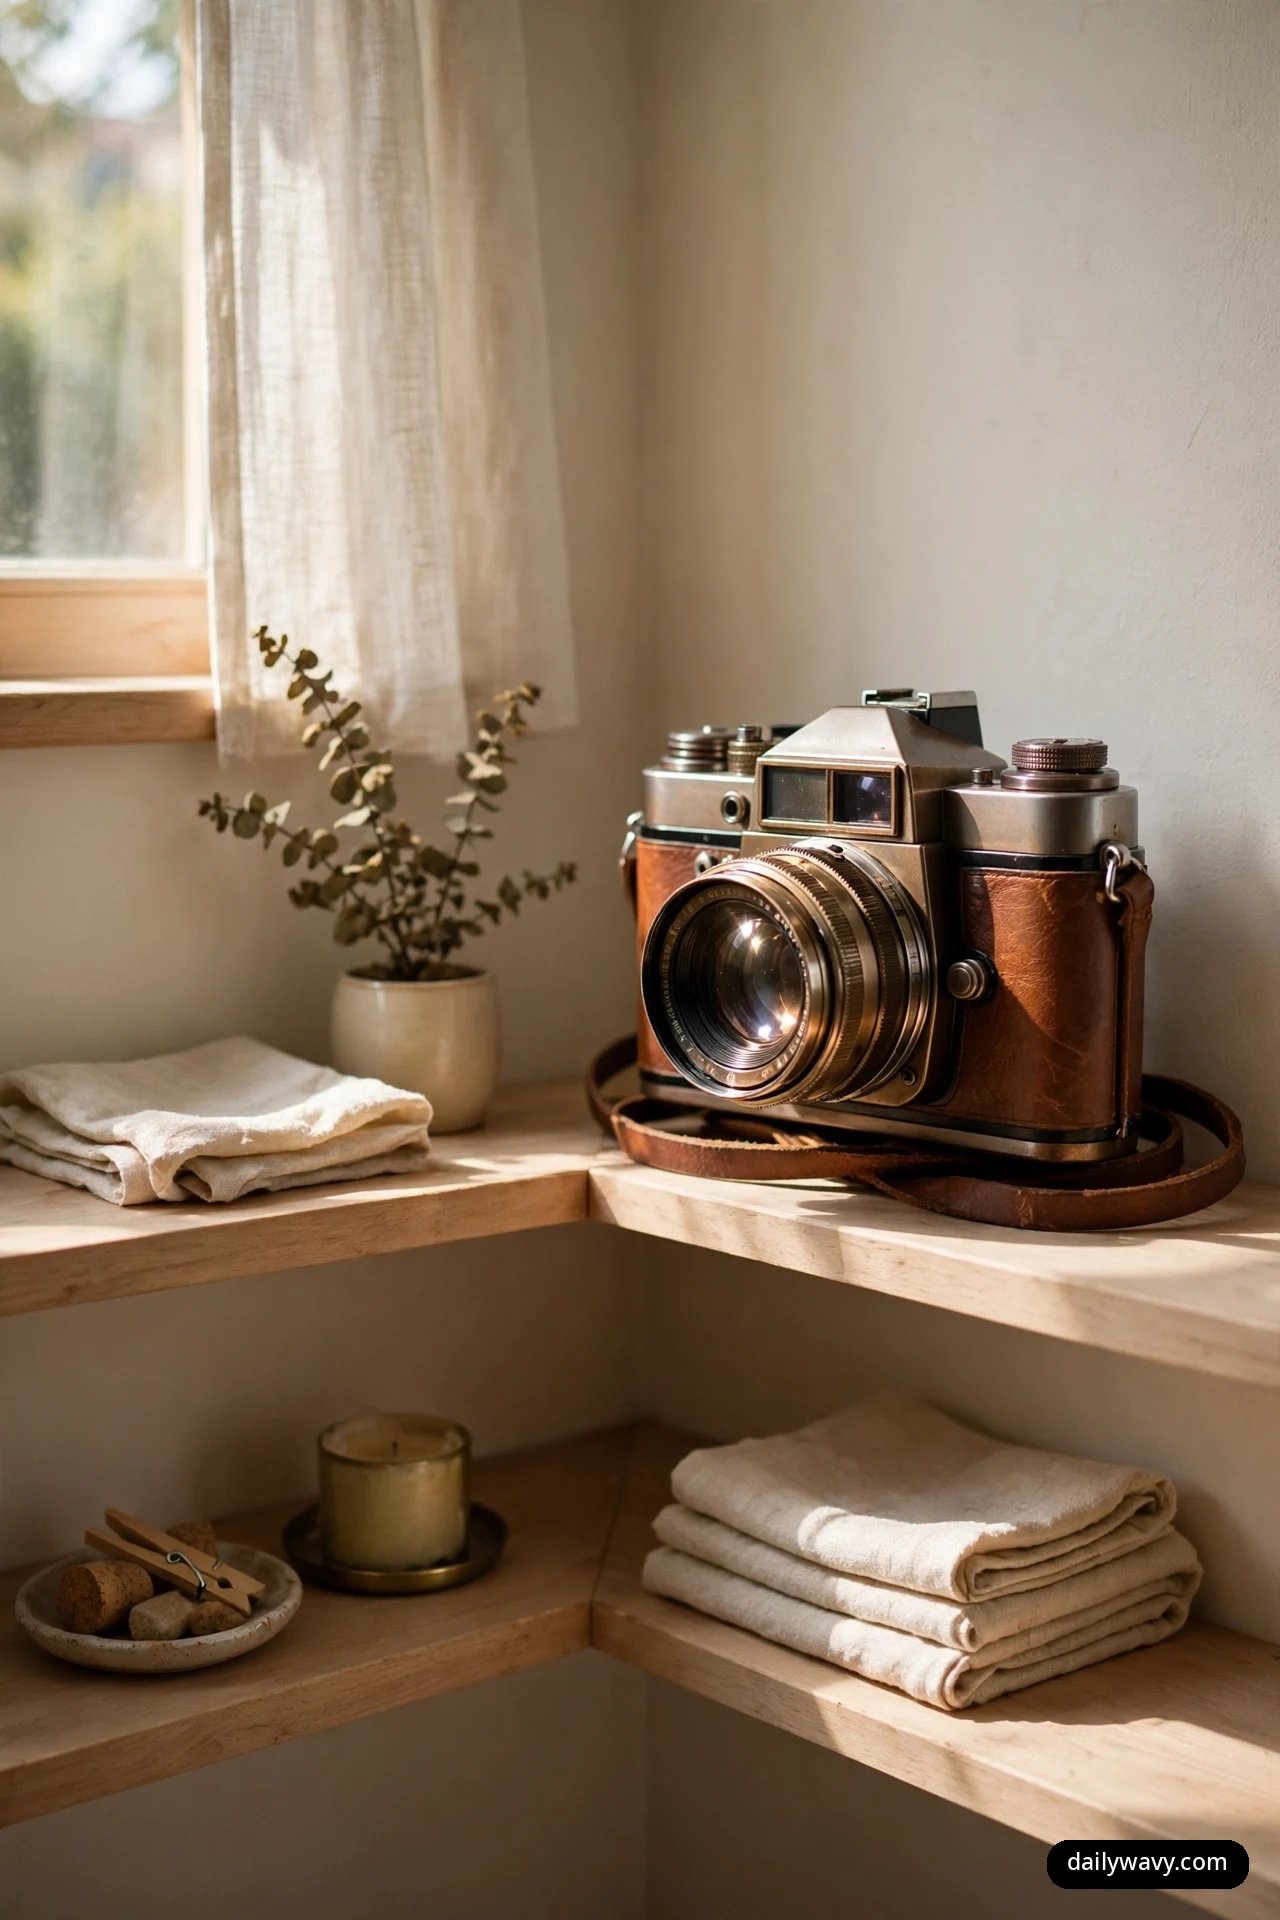
A vintage camera is a natural corner shelf object: it has interesting geometry, real materials (leather, metal, glass), a story, and it is a natural conversation piece. Whether it is a family heirloom or a $20 flea market find, it brings a collected, personal feeling that new decor cannot fake.
What to measure: most vintage cameras are 5 to 7 inches wide and 4 to 5 inches tall, fitting easily on an 8-inch-deep shelf. Give it 3 inches of clearance on each side so it does not look cramped. Materials: one vintage camera, a small stand or riser if you want to elevate it, a soft cloth for dusting. Placement: angled about 30 degrees toward the room so the lens faces out, not flat against the wall. A slight angle shows the camera’s depth and catches light on the lens. Effort: 10 minutes. Lower-cost alternative: any old camera works, even a non-functioning one. Ask relatives; many families have one tucked away in a drawer.
If the camera has a leather strap, drape it naturally rather than tucking it away. The strap is part of the object’s character. And keep it out of direct sun, which dries out old leather and fades finishes over time.
13. A Ceramic Pitcher Used For Stems
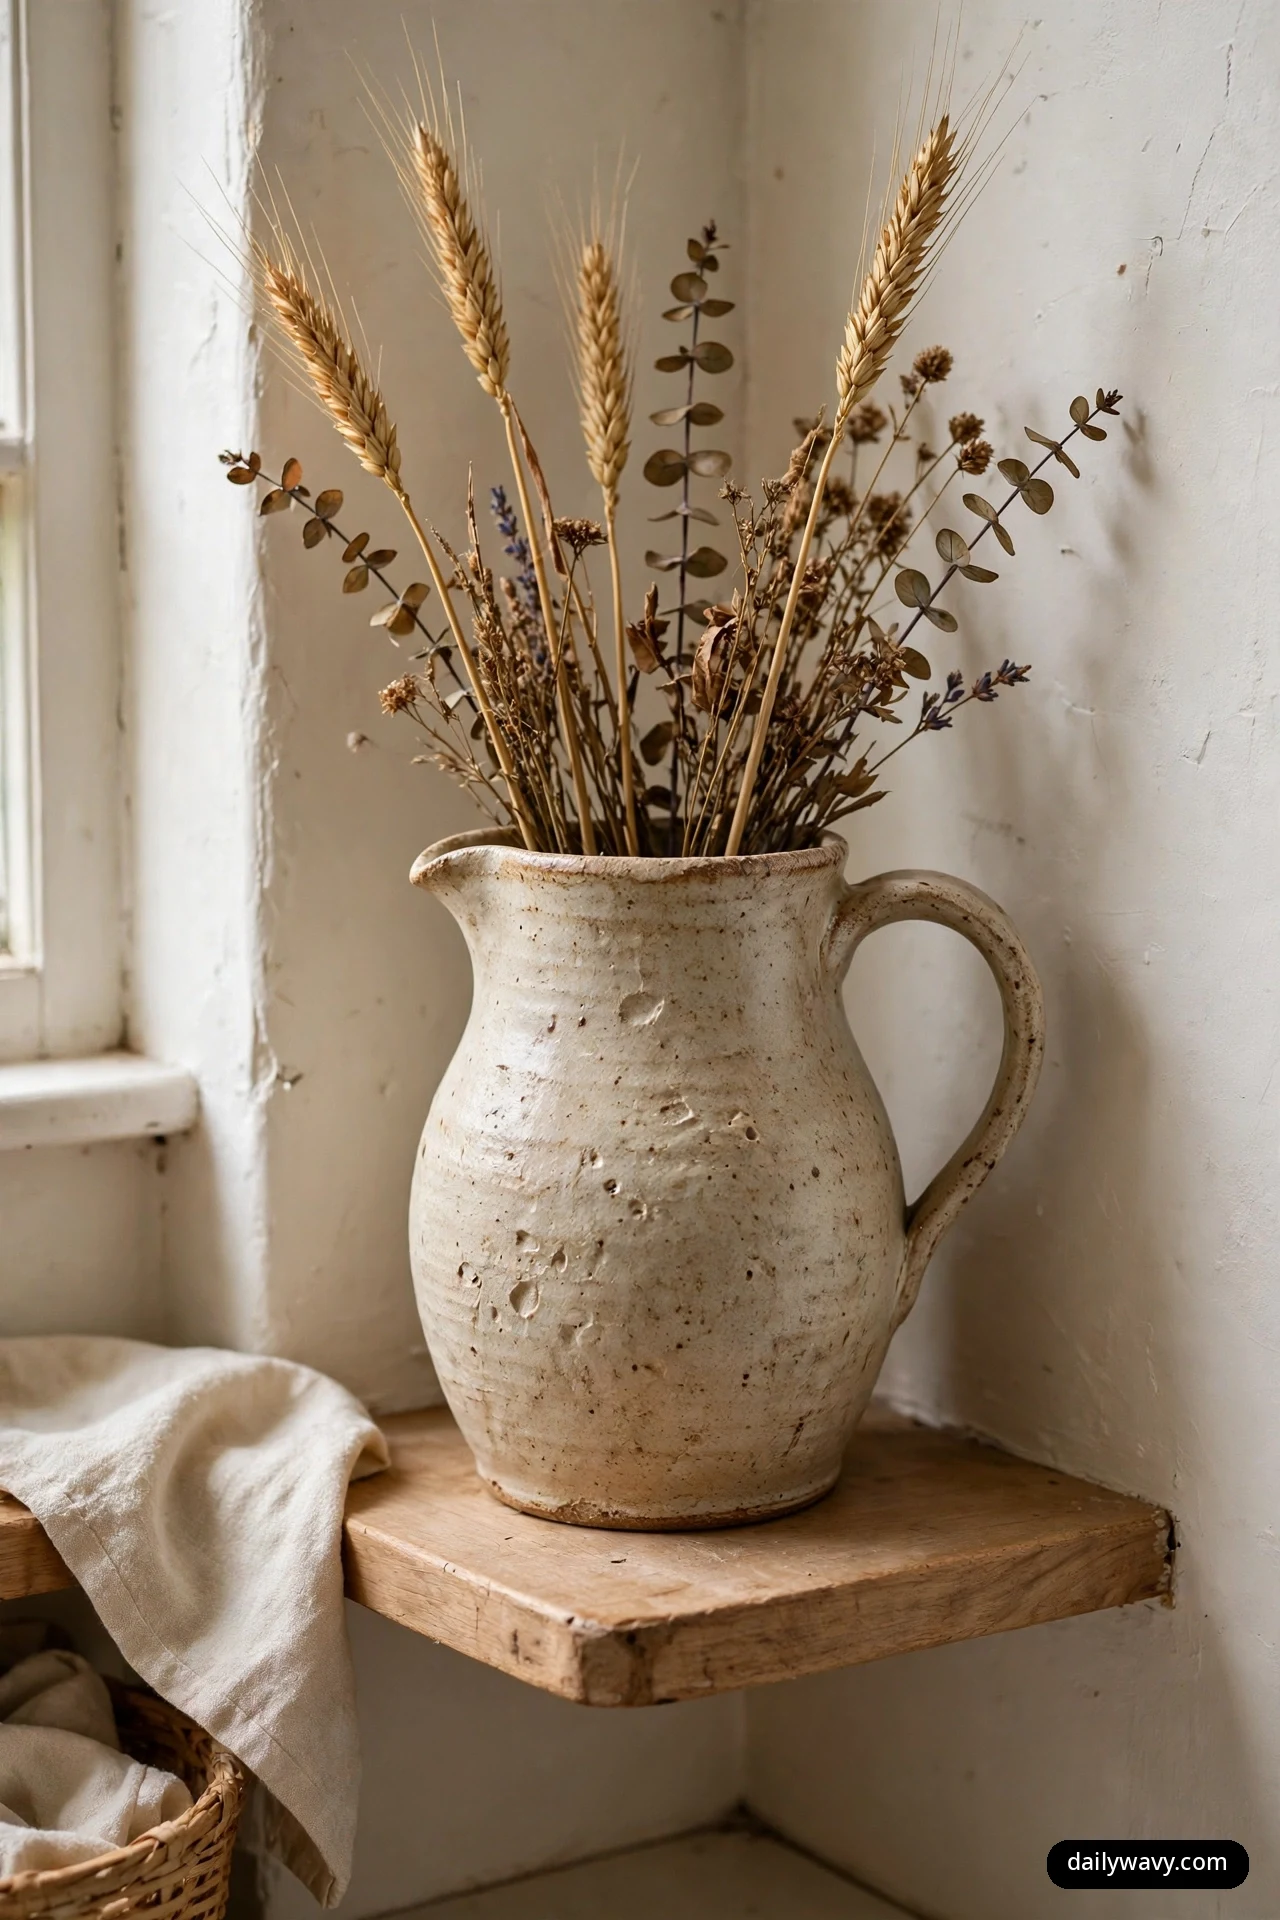
A ceramic pitcher holding a few tall stems is a corner shelf classic for a reason. The pitcher’s height fills vertical space that corners always have in abundance, the stems add life and movement, and the whole thing takes only a moment to refresh. It is one of the lowest-maintenance floral arrangements you can own.
What to measure: the pitcher should be 7 to 11 inches tall, with stems rising 6 to 12 inches above the rim. Total height runs 13 to 23 inches, so check the clearance above the shelf before you commit. Materials: one ceramic pitcher (white, cream, or a soft glaze shows stems best), 3 to 7 stems, fresh or dried, plus water if fresh. Placement: pitcher toward the back of the corner, stems fanned naturally, tallest in the middle. Keep fresh stems out of direct sun to slow wilting. Effort: 10 minutes to arrange, plus water changes. Lower-cost alternative: any pitcher you own, even a kitchen one, and branches snipped from the yard. Forced forsythia or cherry branches in spring cost nothing and look spectacular.
Scale is everything here. A tiny creamer pitcher with tall stems looks top-heavy; a big pitcher with three short stems looks empty. The stems should be roughly one to one-and-a-half times the height of the pitcher for a balanced look.
14. A Pair Of Layered Frames
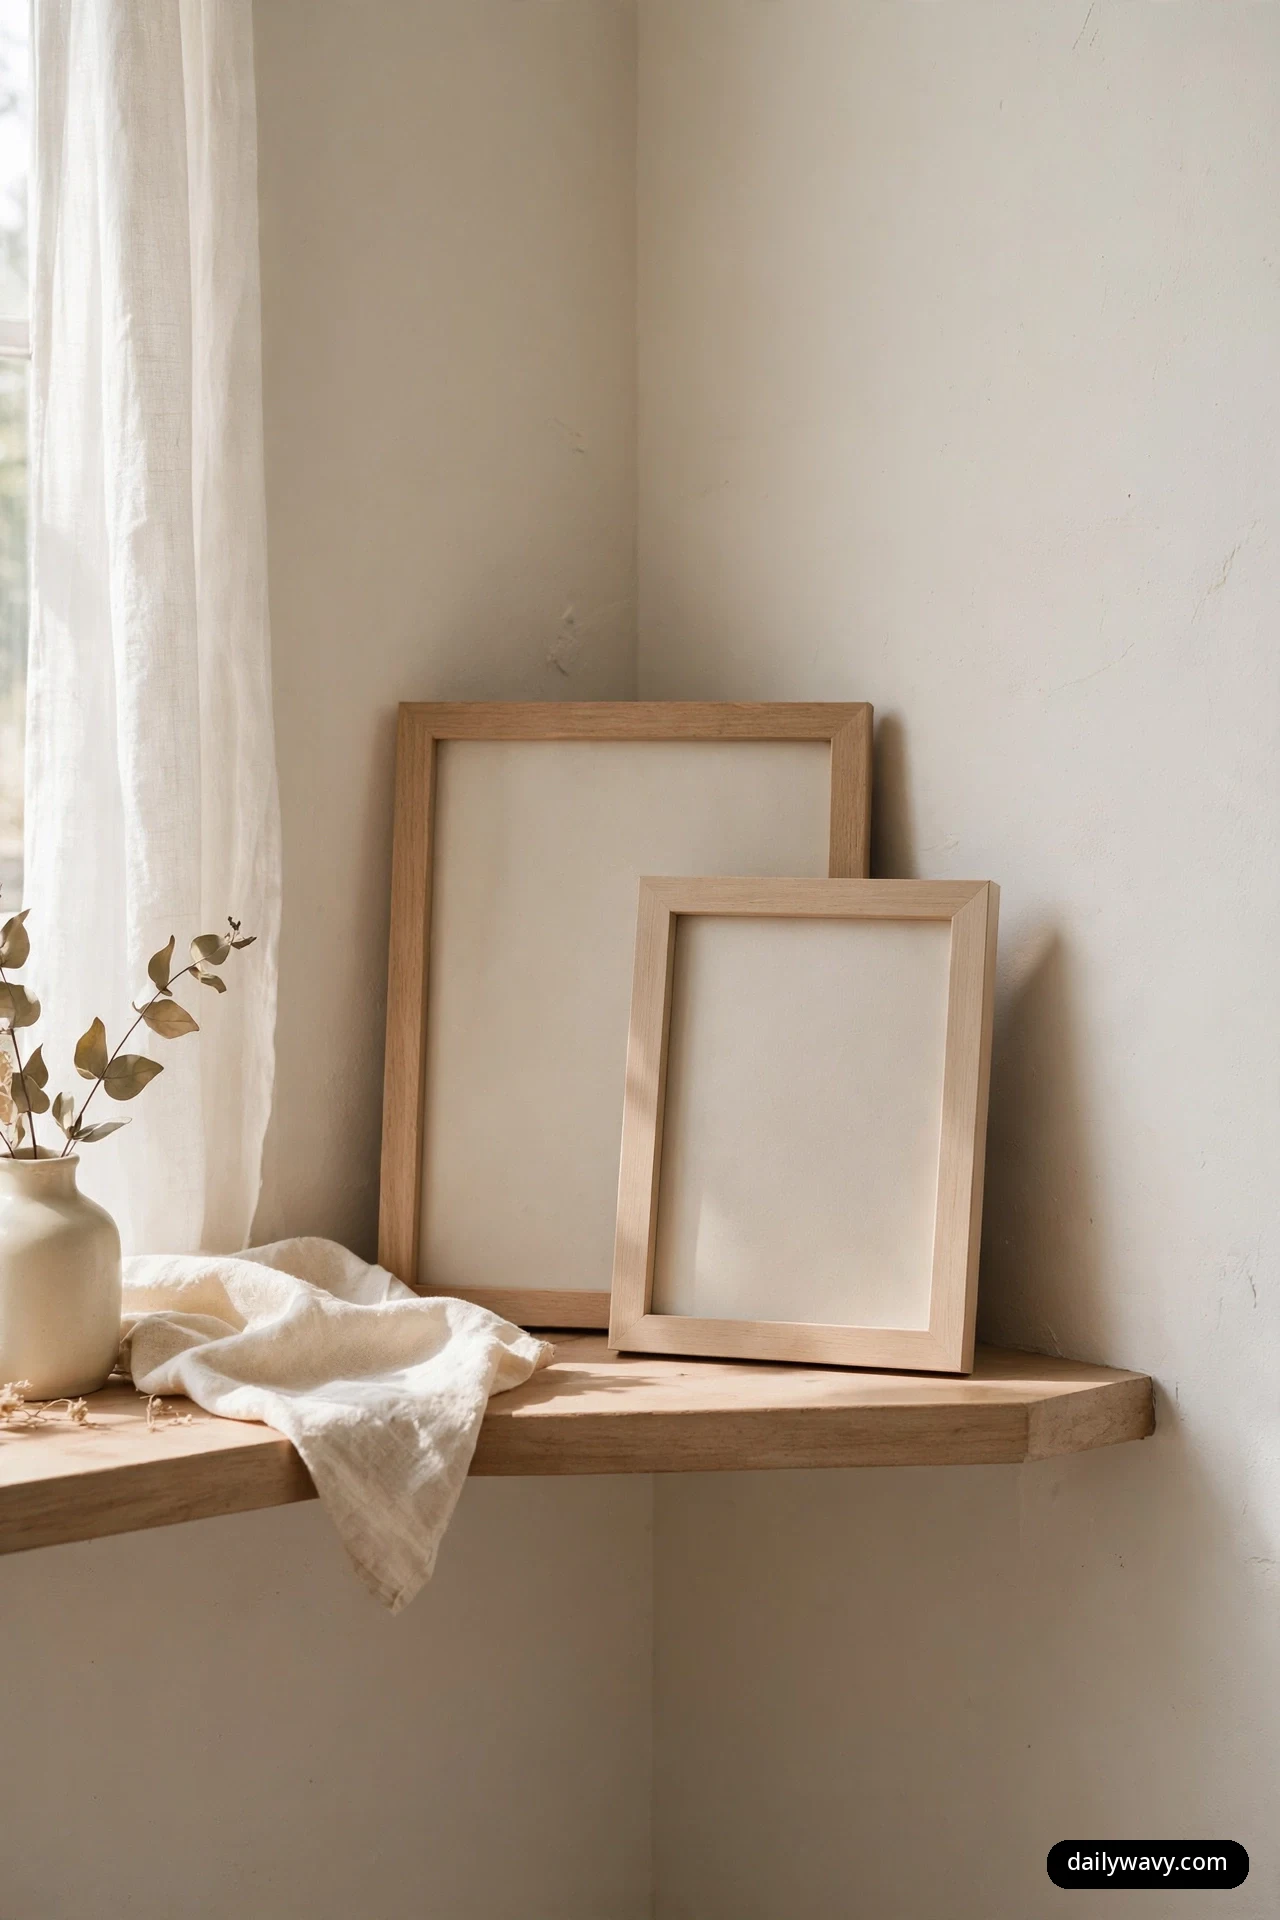
Two frames, one layered slightly in front of the other, create depth that a single frame cannot. The overlap tells the eye there is a foreground and a background, which makes even a shallow corner shelf feel dimensional. Use two prints you love, or one print and one mirror, or a print and an empty frame for a gallery-like effect.
What to measure: the back frame should be 8 by 10 to 11 by 14 inches; the front frame 5 by 7 to 8 by 10. The shelf needs at least 8 inches of depth for the overlap to sit securely. Materials: two frames in coordinating finishes (same wood tone, or black plus brass, or white plus natural wood). Prints, photos, or art for one or both. Placement: larger frame leaned against the wall in the corner, smaller frame 2 to 3 inches in front and offset to one side so both are visible. Effort: 20 minutes. Lower-cost alternative: thrifted frames with your own printed photos. A 5 by 7 print costs very little at most drugstores.
The finishes should relate but not match exactly. Two identical frames layered look like a mistake; two frames that share a tone but differ in profile look like a decision. And keep the art simple. Layered frames with busy art in both becomes visual noise.
15. Horizontal Book Stacks with A Ceramic Bowl

Horizontal book stacks change the rhythm of a shelf entirely. Where vertical books march in a row, horizontal stacks sit like little platforms, and a ceramic bowl on top turns the stack into a pedestal. Two or three stacks of 3 to 5 books each, one crowned with a bowl, fill a corner shelf with a calm, architectural feeling.
What to measure: each stack should be 4 to 7 inches tall; the bowl 5 to 8 inches across. Total width for two stacks: 16 to 22 inches. This is a wider-shelf idea. Materials: 6 to 12 books of similar footprint, one ceramic bowl (shallow works best on top of books). Placement: stacks side by side with an inch between them, bowl centered on one stack. Largest books at the bottom of each stack for stability. Effort: 25 minutes. Lower-cost alternative: books you own and any bowl from the kitchen. A simple white cereal bowl on a stack of books looks genuinely good.
Stability is the practical concern. Keep stacks under 7 inches tall, put the heaviest books at the bottom, and do not place this on a shelf that gets bumped, like one beside a door that swings. The bowl on top should be light and, ideally, hold something soft, like a few clementines or a small cloth, so nothing rattles.
Corner shelf questions, answered
How much weight can a corner shelf hold?
It depends on the mounting. A shelf bracketed into studs typically holds 15 to 25 pounds. A floating shelf on drywall anchors often holds only 5 to 10 pounds. When in doubt, keep heavy items, books, large ceramics, on bracketed or built-in shelves, and use floating shelves for light decor. If you are unsure how your shelf is mounted, treat it as light-duty.
What is the rule of three in shelf styling?
Group objects in odd numbers, usually threes. Three objects of varying heights read as a deliberate composition; two can look like a pair missing its partner, and four or more start to look like clutter unless they are a true collection. The rule is a guideline, not a law, but it works so reliably that most of the ideas above use it.
How do I keep a corner shelf from looking cluttered?
Leave 30 to 40 percent of the surface empty, group objects so they touch or nearly touch within their group, and keep a consistent color palette of two to three tones plus neutrals. One more trick: step back six feet and squint. If you cannot tell where one group ends and the next begins, remove one thing.
Should corner shelves match the rest of the room?
They should relate, not match. Pull one or two colors or materials from the room, wood tones, a metal finish, an accent color, and repeat them on the shelf. The shelf then feels connected without looking like a showroom set. A corner shelf that exactly matches everything else in the room can feel flat; a little contrast keeps it interesting.
How often should I restyle?
Seasonally is plenty for most people, and it keeps the corner feeling fresh without becoming a chore. Swap stems, rotate collectibles, change the art print. A full restyle takes under an hour once you have the objects. A quick seasonal refresh of one shelf can scratch the decorating itch for the whole room.
Can I style a corner shelf in a rental?
Absolutely. Every idea on this list sits on the shelf rather than mounting to the wall, except the shelf itself, which your landlord presumably installed or approved, and the optional mirror bracket in idea 9, which needs a stud or a wall anchor. Museum putty keeps objects stable without damage, and leaning frames and mirrors need no hardware at all. Just confirm the shelf’s weight limit before loading it with books.
Style the corner, then enjoy it
The best thing about corner shelves is how little they ask of you. Fifteen minutes, a few objects you already own, and the most ignored angle in the room becomes a small focal point in the room. Start with the idea that fits what you have: a lamp you are not using, a plant that needs a home, a stack of books with nowhere to go. Measure once, group in threes, leave some air, and let the corner do the rest. If you want to keep the calm going through the rest of the room, the same measured approach works beautifully for a full Home & Decor collection, one corner at a time.