20 Living Room With A Bay Window Ideas with Practical Furniture Placement
A bay window is the kind of feature that looks generous in listing photos and slightly confusing once the furniture…
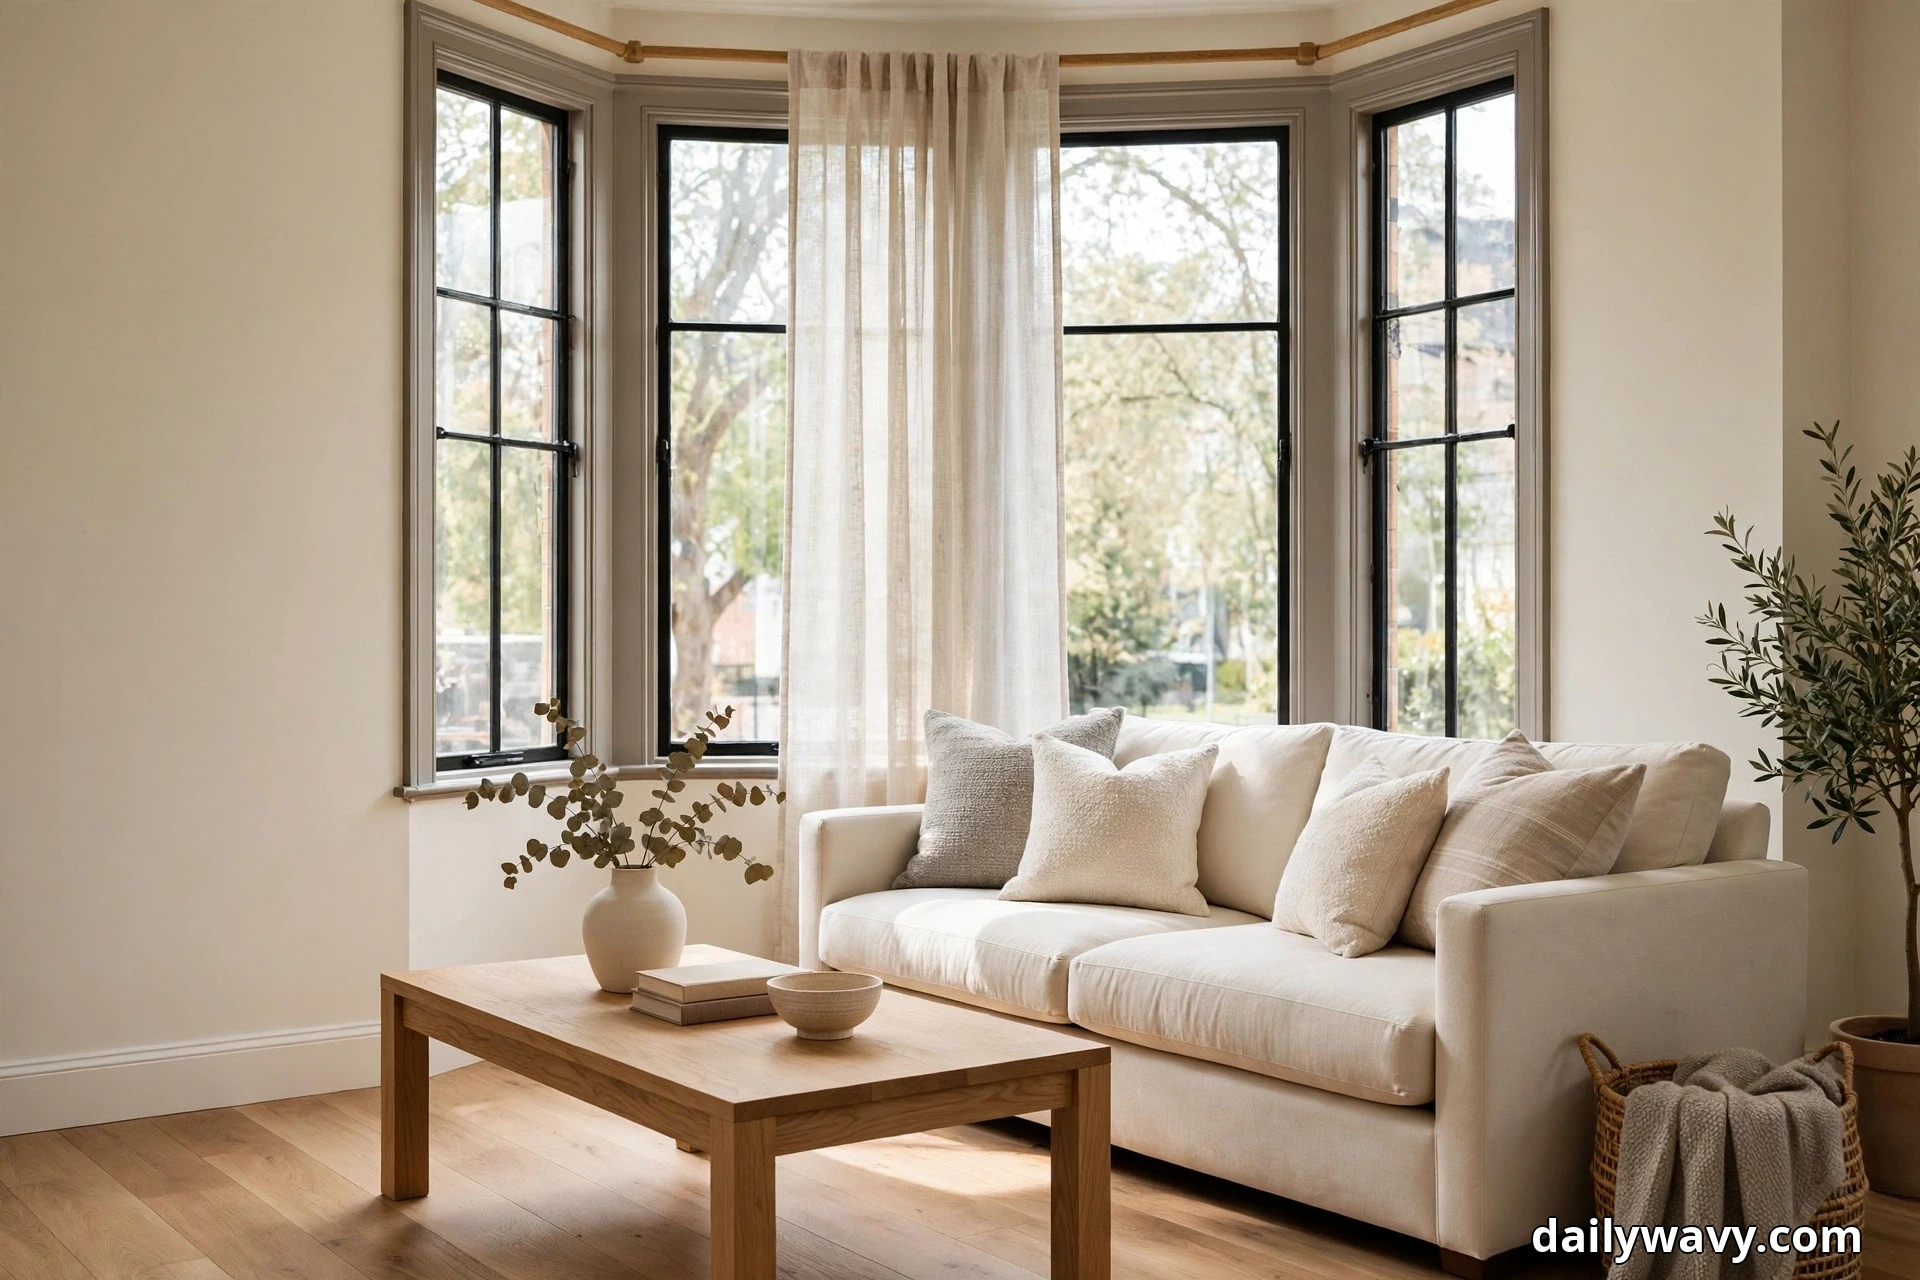
A bay window is the kind of feature that looks generous in listing photos and slightly confusing once the furniture arrives. The angled walls refuse to sit flush against anything standard, the sill sits too low for a normal console and too high for the floor cushions you imagined. These twenty living room with a bay window ideas solve the exact problem you are standing in front of: how to arrange real furniture around a curved or angled window wall so the room feels intentional, comfortable and easy to move through.
In This Guide:
- A Light Curtain Separating Two Zones
- A Narrow Storage Unit Beside Seating
- A Compact Loveseat With An Ottoman
- A Pair Of Small Stools For Guests
- A Translucent Side Table Beside Seating
- A Low Cabinet Beneath Artwork
- A Tall Shelf Using A Narrow Wall
- A Mobile Cart Tucked Beside The Sofa
- Wall-Hugging Sofa And Compact Round Table
- Two Small Chairs Around A Shared Table
- Sofa Floated Slightly From The Wall
- Nesting Tables That Tuck Under Each Other
- A Storage Ottoman As The Central Surface
- A Slim Console Defining The Walking Route
- An Armless Chair At The Open End
- A Rug Defining The Seating Zone
- A Wall-Mounted Lamp Saving Floor Space
- A Bench That Slides Under A Window
- A Fold-Away Occasional Table
- A Shallow Bookcase At A Room Boundary
The Bay Window Rules Before You Start
Measure the bay before you buy or move anything. Record the width of the bay at the sill and at the floor, the depth from the main wall to the glass, the sill height from the floor, and the angle of each side wall if you can. A standard bay sits 18 to 24 inches deep with a sill 18 to 24 inches off the floor, but older homes swing wide of both numbers, and that swing decides whether a bench fits, a console floats or nothing low works at all.
Keep walking routes honest. You need 30 to 36 inches of clear path for the route people use most, and 18 inches between a coffee table and the seat edge so legs pass without a sideways shuffle. Push the sofa a few inches off the angled bay wall rather than forcing it into the corner; the gap disappears visually once a curtain or tall plant breaks the line.
Treat the bay as a room within the room. The window end is naturally the brightest seat in the house, which makes it perfect for a reading chair, a small dining pair or a quiet working corner. Decide what the bay is for before you place a single piece, because furniture chosen for a specific job always looks more settled than furniture placed to fill space. If you are also working with a tight footprint, our narrow living room layout ideas use the same zone thinking on a rectangular plan.
1. A Light Curtain Separating Two Zones
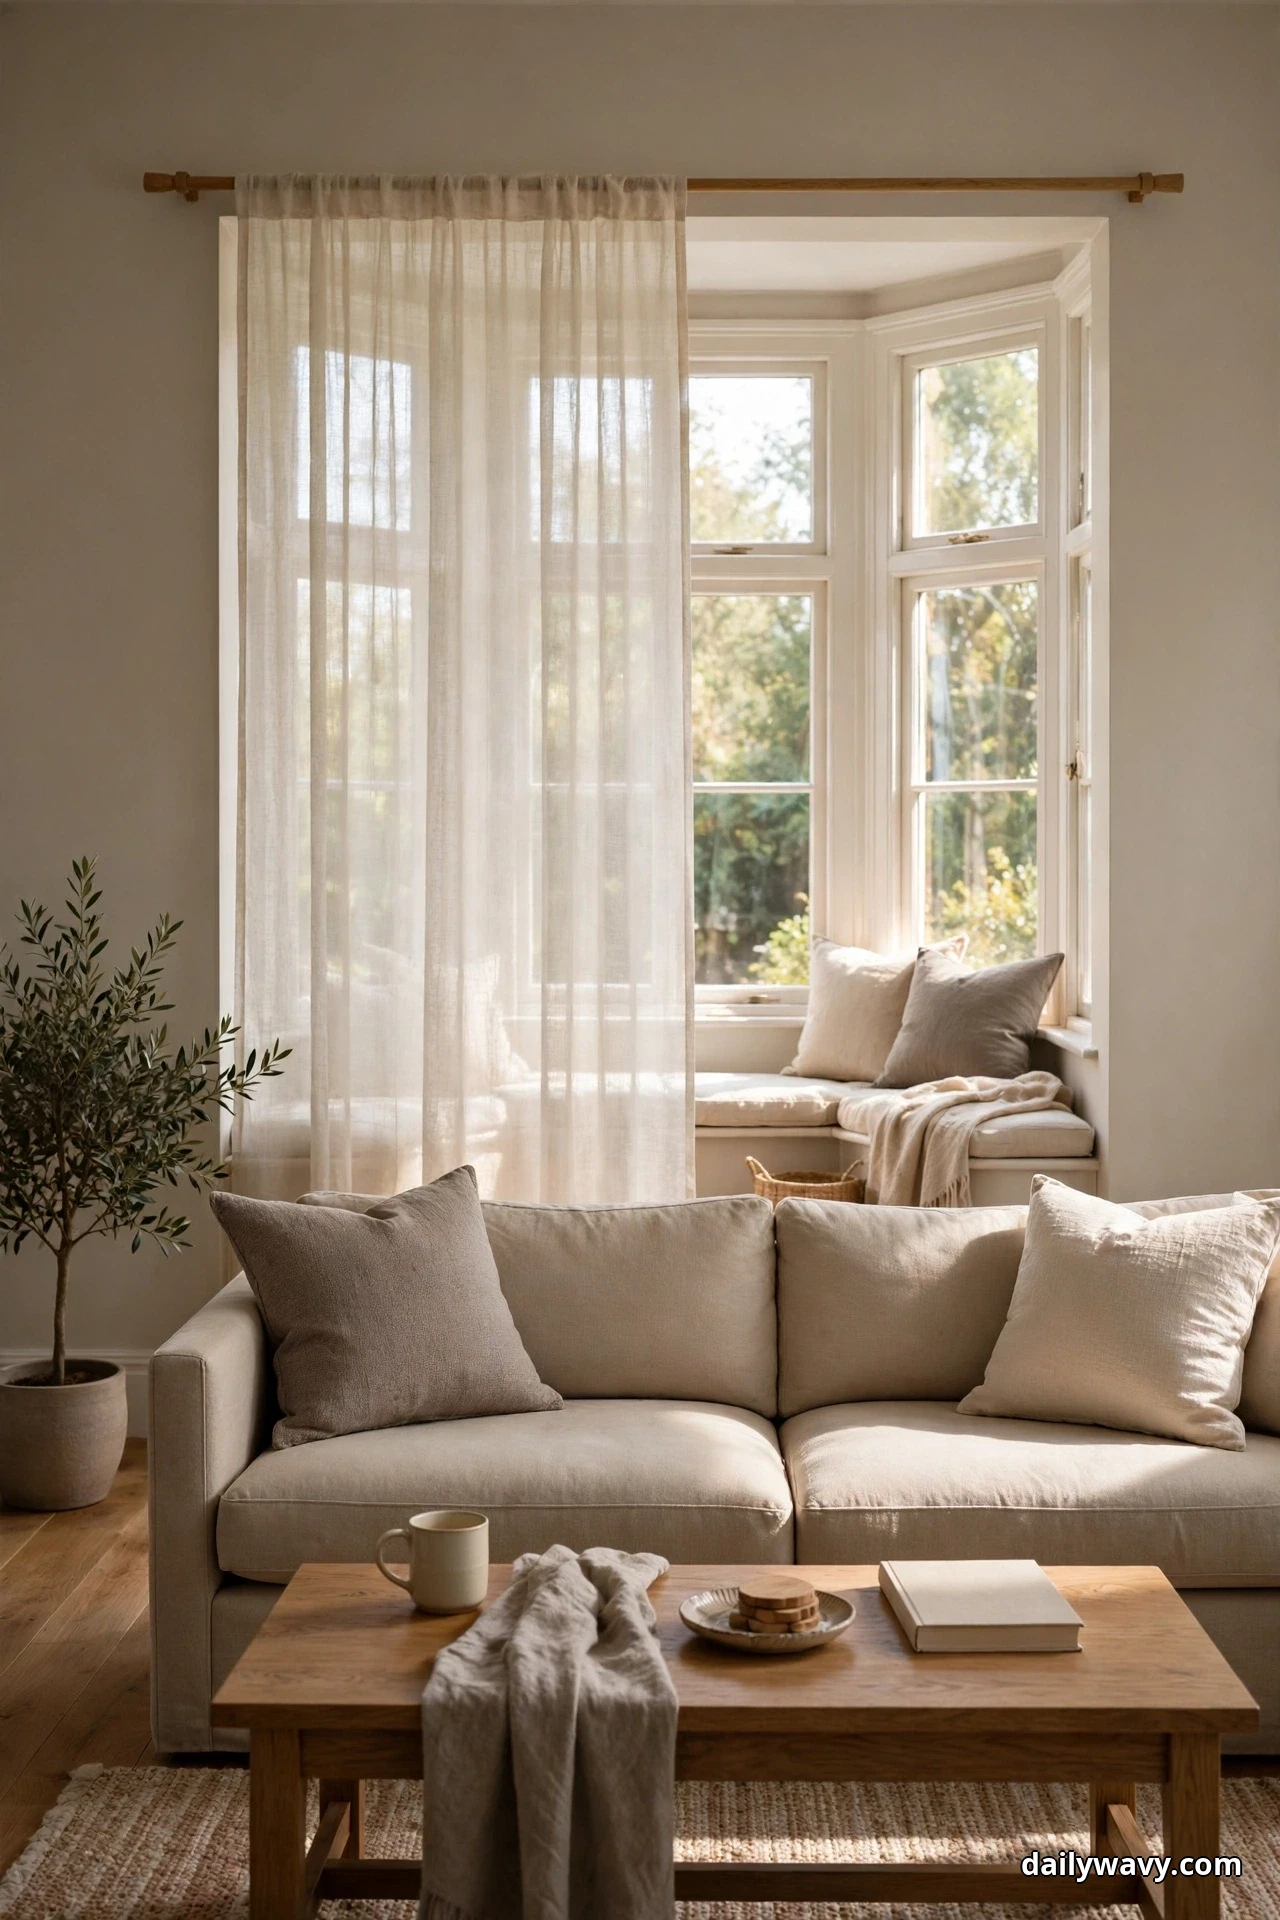
A sheer curtain hung across the mouth of the bay turns one long room into two purposeful zones without a single wall. Daylight still filters through, so the seating side never goes dark, and the soft fabric line reads as architecture rather than division.
What to measure: the width of the bay opening where it meets the main room, plus ceiling height for a tension rod or slim track. Most bays need a rod 4 to 6 feet wide. Placement: mount the track a few inches outside the bay opening, high and wide, so the curtain stacks against the main wall when open. Materials: a cotton or linen voile panel, a ceiling track or slim tension rod, and clip rings. Approximate effort: one afternoon, basic tools. Lower-cost alternative: a single curtain panel on a spring-tension shower rod inside the opening, no drilling at all.
The payoff is flexibility. Close the sheer and the bay becomes a calm reading nook or a work corner; pull it back and the whole room opens up again. Keep the fabric light in weight and color, heavy drapes make the bay feel smaller. If the curtain will hang near a radiator under the sill, choose a synthetic voile rather than real linen.
Troubleshooting: if the curtain sways in drafts from the window, a slim hem chain or a couple of hidden magnetic weights at the bottom corners keeps it hanging straight.
2. A Narrow Storage Unit Beside Seating
The angled walls beside a bay create slim pockets of dead space that a standard bookcase cannot touch. A narrow storage unit, 10 to 12 inches deep, slides into that pocket and holds the things a living room actually accumulates: throws, remotes, chargers, board games.
What to measure: the depth of the pocket between the bay angle and the nearest furniture, and the height of the window sill so the unit tucks under it if possible. Placement: push the unit against the angled wall with its top level with or below the sill. Materials: a narrow cube shelf, a slim drawer unit or a ladder shelf with a 10-inch footprint, plus small baskets for the cubes. Approximate effort: an afternoon of assembly. Lower-cost alternative: a single 10-inch-deep wall shelf stacked two high on the angled wall itself.
Style the top with restraint: one lamp or plant, one stack of books, nothing else. Because the unit is small, clutter shows fast. This is also the spot for a charging station, a power strip hidden in the bottom cube with cables routed behind keeps phone clutter off the coffee table.

Troubleshooting: if the angled wall leaves the unit wobbly, shim the back edge and anchor it to the wall with a furniture strap; the angle means gravity works against you more than on a straight wall.
3. A Compact Loveseat With An Ottoman
A full sofa swallows a bay; a loveseat under 60 inches wide fits it. Paired with a low ottoman, the loveseat turns the bright end of the room into a proper lounge seat: upright when guests come, stretched out when they leave.
What to measure: the bay floor width at seating height and the sill height, the ottoman must slide under the sill or sit fully in front of it. Placement: center the loveseat on the bay, or offset it to one side if you need the walkway clear on the other. Materials: a loveseat 52 to 60 inches wide, a square or rectangular ottoman 18 to 20 inches high, a firm throw pillow or two. Approximate effort: delivery day, no tools. Lower-cost alternative: a secondhand loveseat plus a new ottoman, the ottoman sets the tone more than the frame does.
Choose a loveseat with a low back, 30 to 34 inches tall, so it does not wall off the window. Legs that lift the base 4 to 6 inches off the floor let light travel under the piece and keep the bay feeling airy. The ottoman doubles as extra guest seating, which matters in a room shaped around angles.

Troubleshooting: if the loveseat back covers the lower window panes, swap in an apartment sofa with a 28-inch back or accept a chair and ottoman instead; blocking glass always looks like a mistake.
4. A Pair Of Small Stools For Guests
Bay windows gather people toward the light, and then everyone discovers there is nowhere to sit near it. Two small stools, 16 to 18 inches in diameter, solve the guest problem without committing floor space year round.
What to measure: the clear floor inside the bay and the sill height; stools should slide fully under the sill or tuck against the angled walls. Placement: one against each angled wall of the bay, or both along the glass when the bay is the conversational side. Materials: two stools with a stable base, upholstered or wooden, plus a tray that fits one stool top so a stool can become a side table. Approximate effort: none, they arrive ready. Lower-cost alternative: folding step stools in wood, surprisingly handsome and half the price.
The trick is picking stools that look like furniture, not afterthoughts. Upholstered cubes in the room’s palette read as intentional; a tray on top turns one into a side table when guests are not around. Avoid stools with spindly legs near a low sill, one bump and they mark the wall.

Troubleshooting: if stools keep migrating around the room, store them in the bay when unused; the angled walls act as a natural corral and the habit sticks.
5. A Translucent Side Table Beside Seating
Glass and acrylic side tables do something no other furniture can in a bay: they hold your coffee without holding back the light. Beside a chair in the window end, a translucent table keeps the bright, open feeling the bay was built for.
What to measure: arm height of the chair it serves, the table should land within 2 inches of the arm height. Placement: pull it close, within 14 inches of the chair, so it works without leaning. Materials: a tempered glass or acrylic side table, 14 to 18 inches in diameter, with a stable base. Approximate effort: none. Lower-cost alternative: a glass-top table with a secondhand metal base, or a clear acrylic tray on a small wooden stool.
Keep the surface nearly empty: one book, one small plant or a single candle. Clutter defeats the purpose of a transparent piece. Wipe the surface when you dust the windows and the table disappears into the room in the best way.

Troubleshooting: acrylic scratches, so lift objects instead of sliding them, and keep coasters under anything ceramic; glass is heavier and more forgiving if the household is rough on furniture.
6. A Low Cabinet Beneath Artwork
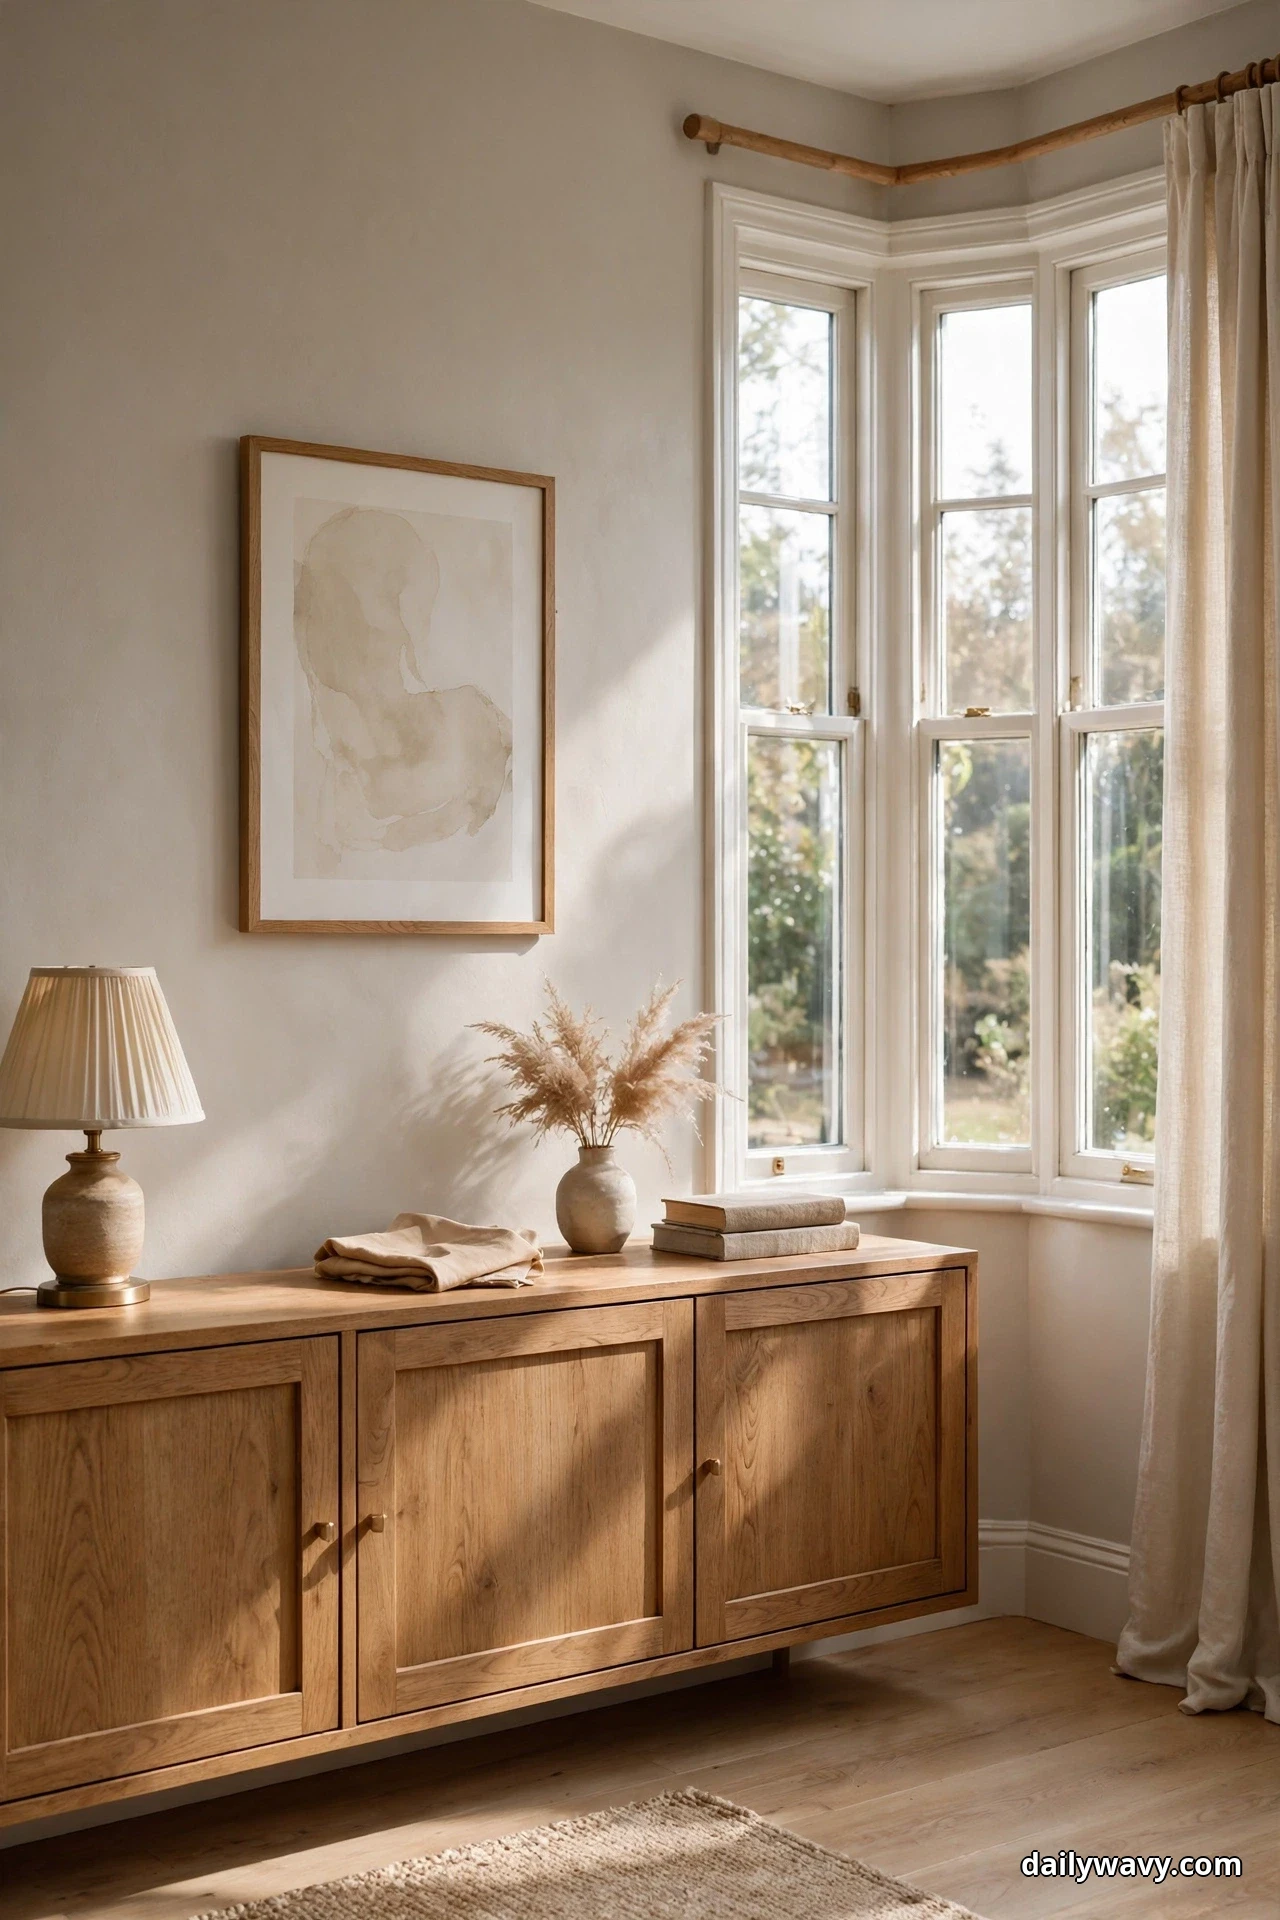
The wall beside a bay is often the room’s best art wall: close to the light, visible from the sofa, and free of window trim. A low cabinet, 28 to 32 inches high, grounds the artwork and gives the room closed storage where the bay cannot.
What to measure: the wall width beside the bay and the ceiling height; hang the art so its center sits 57 to 60 inches off the floor, then choose a cabinet that leaves 4 to 8 inches between its top and the frame’s bottom edge. Placement: center the cabinet on the wall, art centered above it. Materials: a two or three-door low cabinet, a framed print or painting at least two-thirds the cabinet’s width, and two wall anchors. Approximate effort: one afternoon including hanging. Lower-cost alternative: a secondhand dresser painted in the room’s palette under a large framed poster.
The cabinet hides the unglamorous stuff, media boxes, throws, the board games, while the art gets the light it deserves. Leave the top mostly clear: a small lamp at one end, nothing else. This pairing reads as finished in a way a bare wall never does.
Troubleshooting: if sunlight hits the artwork directly for hours, hang UV-filtering glass or choose a print you can replace; fading is the one real cost of a window-adjacent art wall.
7. A Tall Shelf Using A Narrow Wall
Every bay-window room has one narrow wall slice, between the bay angle and a doorway or corner, that feels too thin for furniture. A tall, narrow shelf turns that slice into the room’s library or display wall.
What to measure: the wall width, commonly 18 to 30 inches, and the ceiling height. Placement: anchor the shelf to the narrow wall, keeping its depth at 10 to 12 inches so it never blocks the walkway. Materials: a tall bookcase or a set of floating shelves, wall anchors rated for the load, and bookends or baskets. Approximate effort: one afternoon. Lower-cost alternative: three floating shelves staggered up the wall, a fraction of the price of a bookcase.
Style it with breathing room: books grouped by height, one object per shelf, nothing stacked in front of the spines. A tall shelf draws the eye up, which makes a low-ceilinged room feel taller, a useful trick when the bay already supplies the horizontal drama.
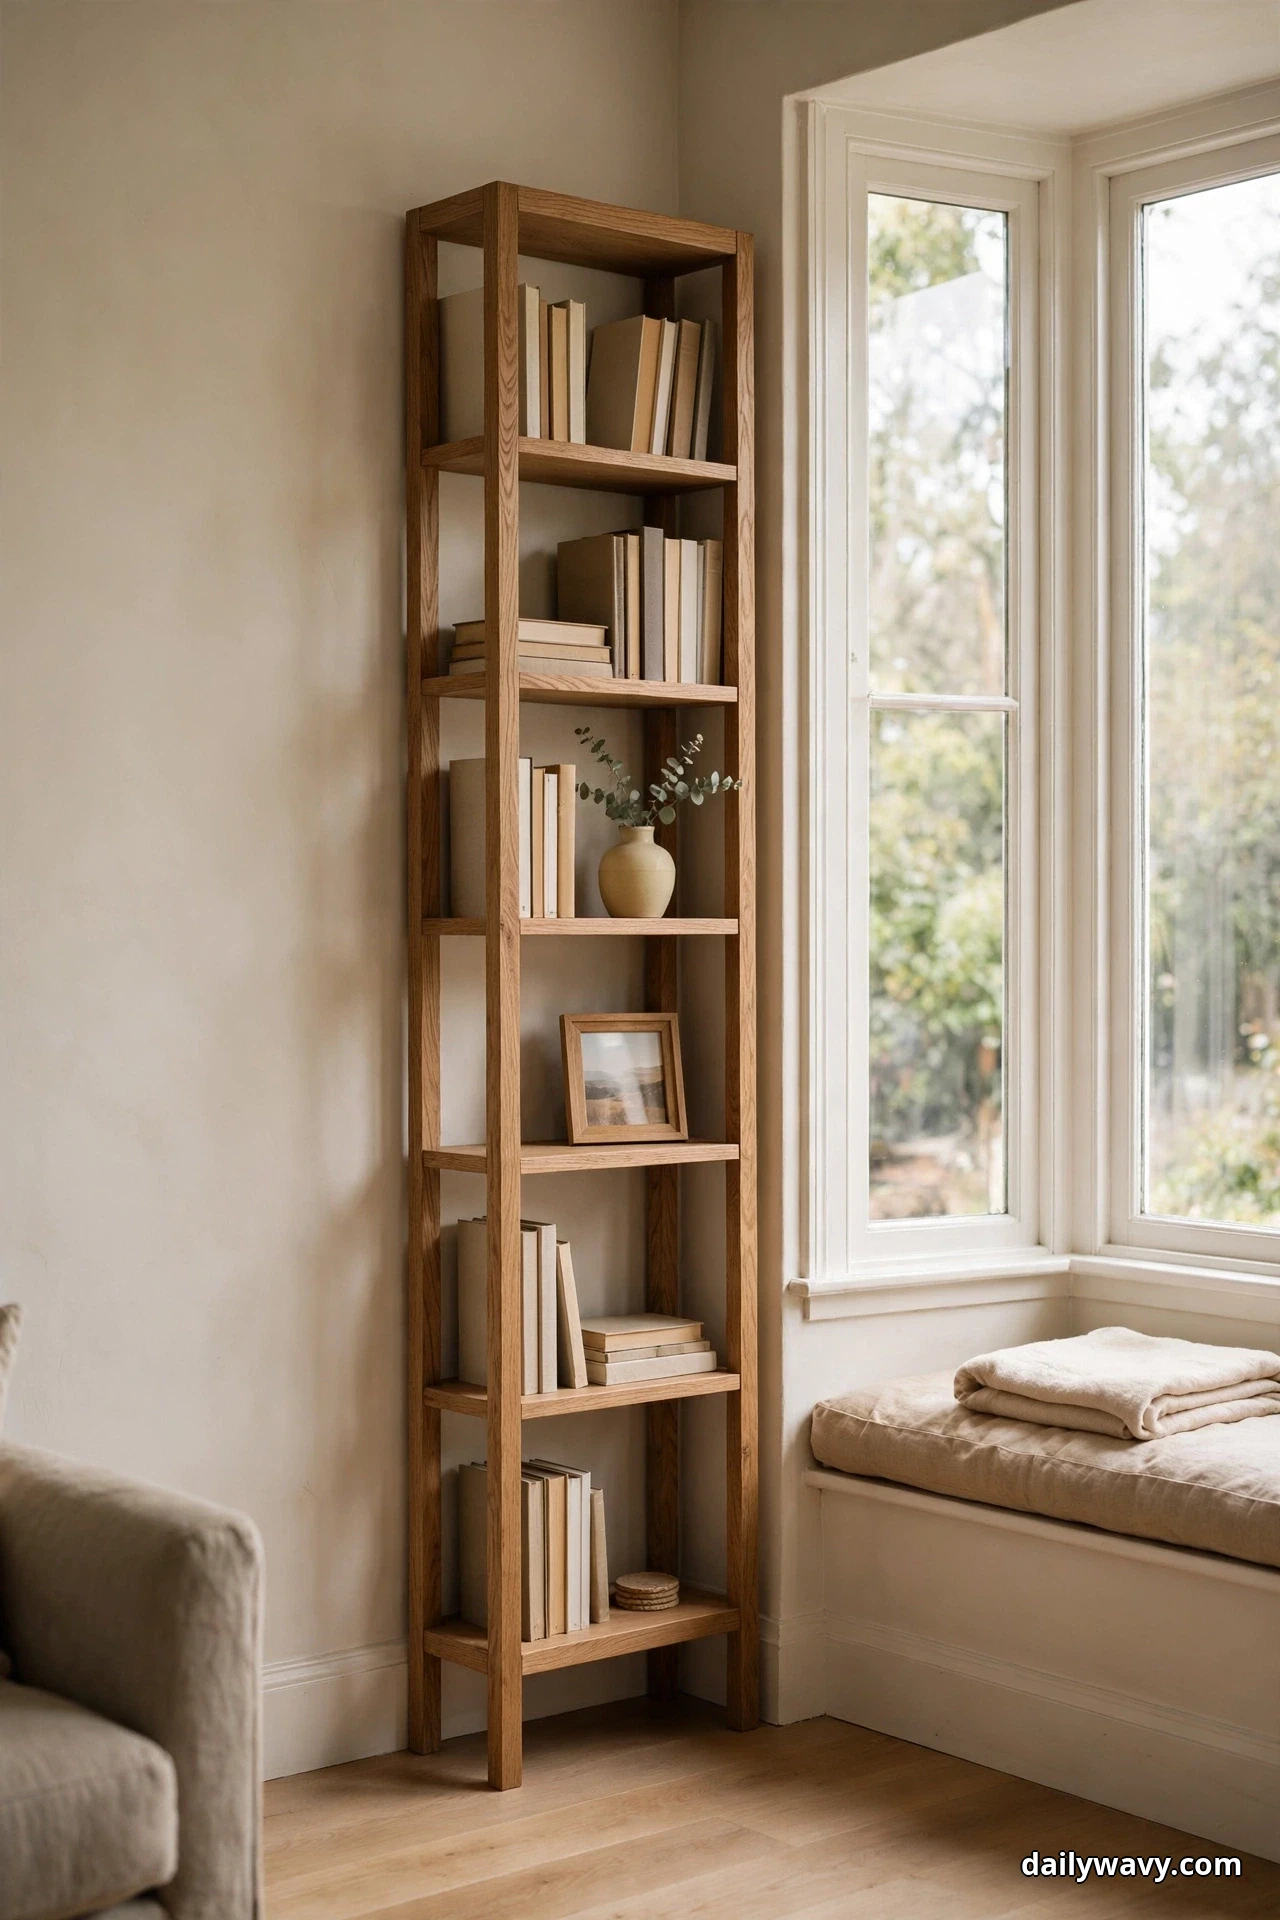
Troubleshooting: on a wall under 24 inches wide, a floor bookcase can look wedged; floating shelves handle the tightest slices more gracefully and cost less.
8. A Mobile Cart Tucked Beside The Sofa
A bar cart or utility cart on casters is the bay window’s best friend: it rolls where the light is, tucks beside the sofa when guests come, and disappears into the bay angle when the room needs space.
What to measure: the gap between the sofa arm and the bay wall, and the sill height if the cart will roll under it. Placement: park it beside the sofa arm as a side table, roll it into the bay for serving. Materials: a two or three-tier cart with locking casters, 16 to 20 inches wide. Approximate effort: under an hour of assembly. Lower-cost alternative: a kitchen utility cart in a finish that matches the room; the form matters more than the label.
Style the top tier for the room’s current job: drinks and glasses for a gathering, tea things on a quiet weekend, craft supplies on a rainy afternoon. Lock the casters when it is parked beside seating; a rolling side table is a spilled-drink accident waiting to happen.
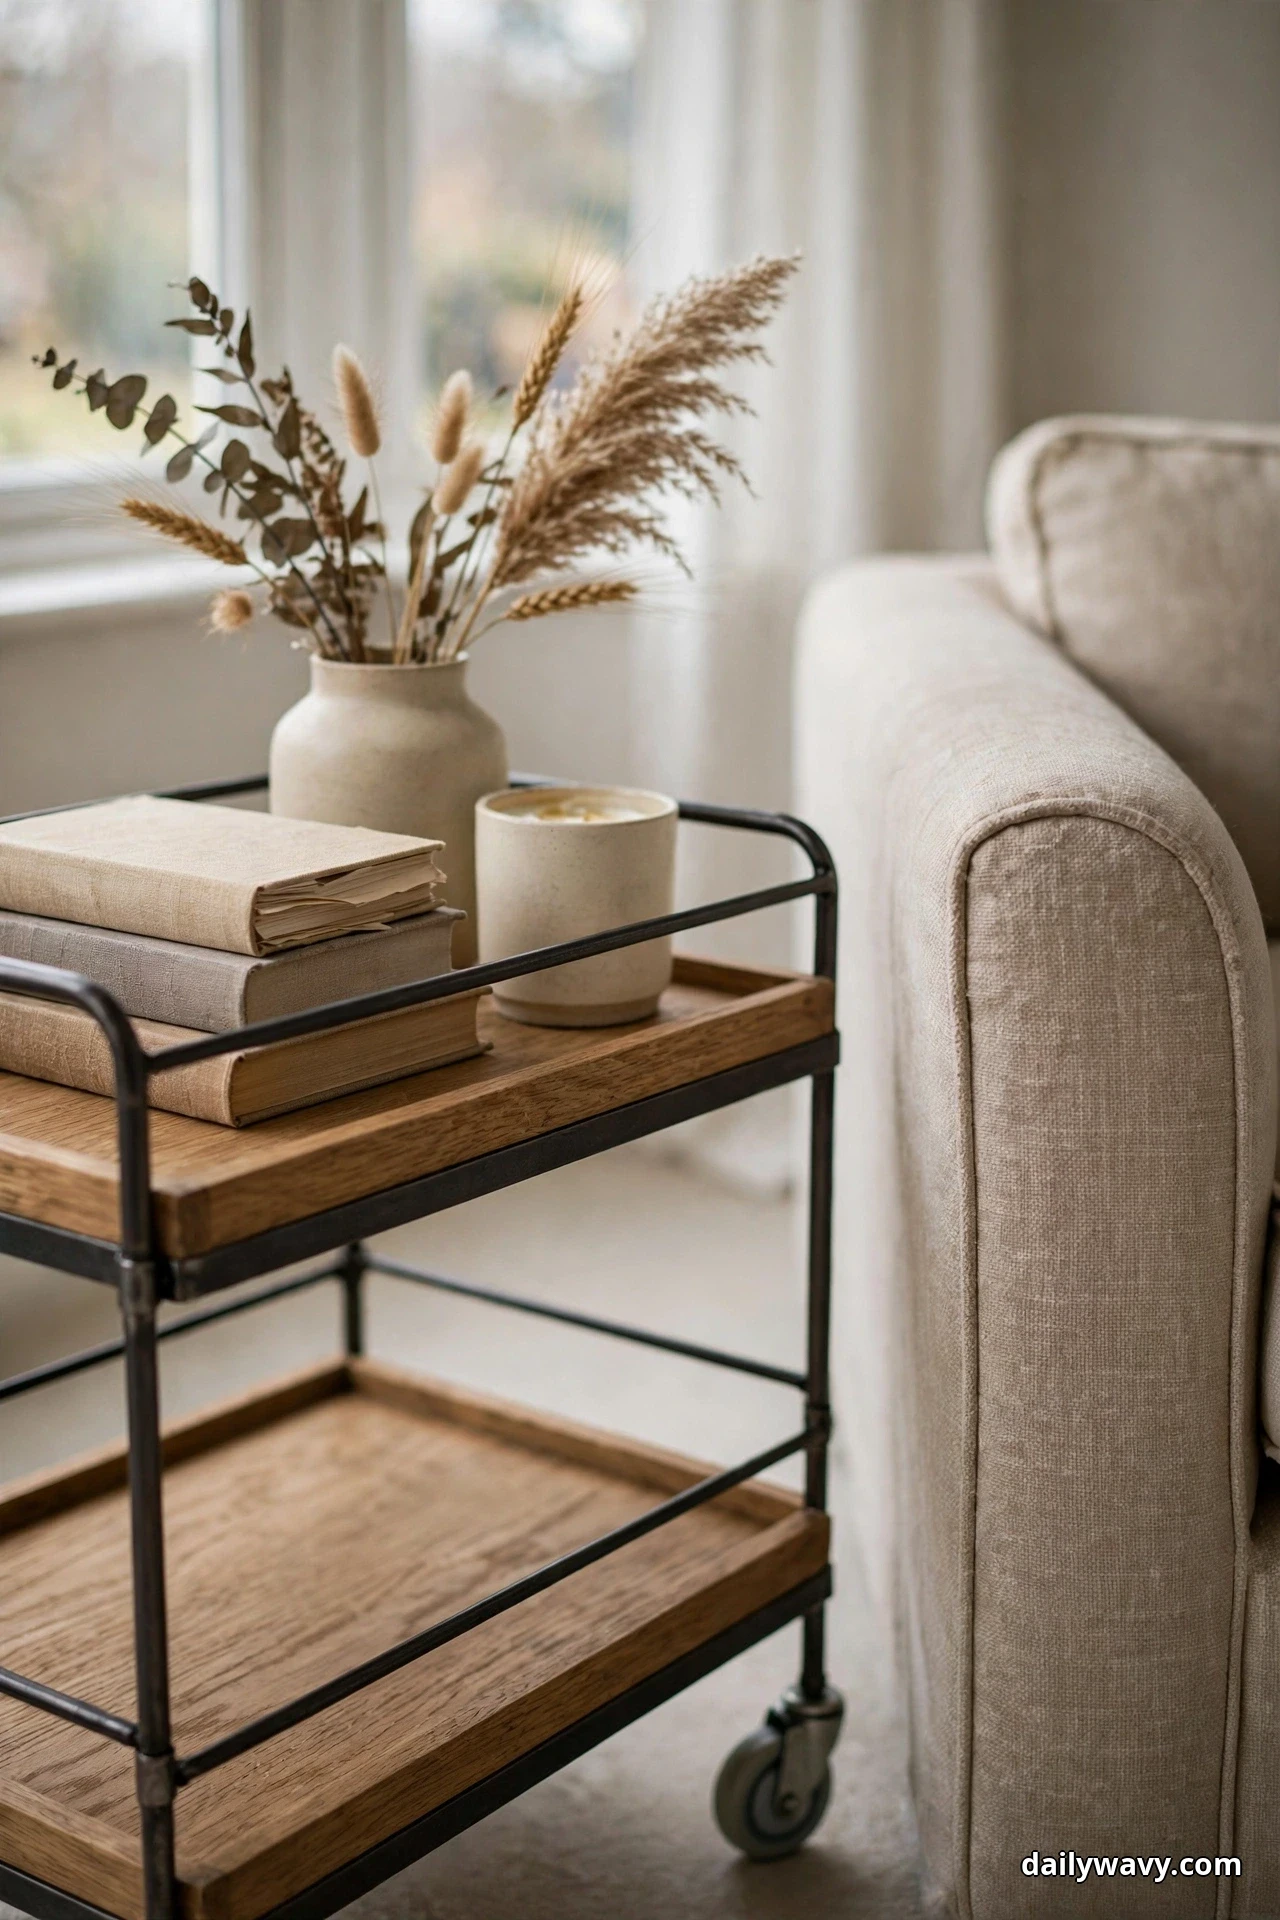
Troubleshooting: if the cart rattles on hard floors, add felt pads to the caster cups or choose rubber-wheeled casters; the noise will drive you out of the room otherwise.
9. Wall-Hugging Sofa And Compact Round Table
When the room is small, the sofa has to hug the wall and the coffee table has to shrink. A round table, 30 to 36 inches in diameter, leaves no sharp corners to catch shins in the tight turn between the sofa and the bay.
What to measure: the distance from the sofa front to the bay-side walkway; the table plus 18 inches of leg room on the sofa side must fit. Placement: center the table on the sofa, pushed toward the bay end so the walkway stays on the room side. Materials: a round coffee table with a pedestal base, which tucks feet better than four legs. Approximate effort: none. Lower-cost alternative: a round dining side table pressed into coffee-table duty; height under 20 inches keeps it believable.
Round tables also soften the room’s geometry. Bay windows are all angles; a circle in the middle calms the composition. Choose a table with a lower shelf or a lipped edge so remotes and coasters do not slide off the smaller surface.

Troubleshooting: if the round table feels too small for the sofa’s width, add a small C-table that slides under the sofa edge on one side; two small surfaces beat one cramped large one.
10. Two Small Chairs Around A Shared Table
The bay end of the room makes a natural conversation corner, and two small chairs around one shared table fill it better than a sofa ever could. Each chair angles toward the glass and toward each other, so the view and the company both get attention.
What to measure: the bay floor area; two chairs with a 20-inch table need roughly a 6-by-6-foot patch. Placement: chairs angled 20 to 30 degrees toward each other, table between and slightly toward the window. Materials: two accent chairs with a seat width of 24 to 28 inches, one 18-to-20-inch side table. Approximate effort: delivery day. Lower-cost alternative: two matching dining chairs with loose seat cushions and a small plant stand as the table.
This arrangement is the answer to the bay that is too deep for a bench and too shallow for a sofa. Keep the chairs light in visual weight, open backs or slim arms, so the window stays the star. A small rug under the grouping, 4 by 6 feet, anchors it as a deliberate zone.

Troubleshooting: if the chairs feel marooned from the main seating, pull one main-room chair a few inches toward the bay; the bridge closes the gap without moving everything.
11. Sofa Floated Slightly From The Wall
Pulling the sofa 6 to 10 inches off the wall behind it, or floating it fully with its back to the room’s center, is the single fastest way to make a bay-window room feel designed. The gap behind the sofa becomes a console zone, a curtain drop, or simply breathing room.
What to measure: the room’s depth with the sofa pulled out; you still need 30 inches of walkway behind it or on the room side. Placement: align the sofa’s back with the bay’s side angle rather than the flat wall, and center it on the window if it faces the bay. Materials: the sofa you own, plus a narrow console or a row of tall plants for the gap if it faces the room. Approximate effort: fifteen minutes of pushing. Lower-cost alternative: free, this is a rearrangement, not a purchase.
Floating works because bays already break the room’s rectangle; a sofa that also refuses the wall looks intentional instead of awkward. Put a slim console behind it for lamps and books, and the back of the sofa becomes a styled surface instead of a forgotten edge.

Troubleshooting: if the gap behind the sofa collects clutter, the console rule applies, one lamp, one stack, nothing else; an empty styled gap beats a full messy one every time.
12. Nesting Tables That Tuck Under Each Other
Nesting tables are the bay window’s shape-shifters: one table for quiet evenings, two or three fanned out when guests arrive, all of them stacked into a single footprint the rest of the time.
What to measure: the stacked footprint, usually 18 by 18 inches, and the height of the largest table relative to the seat it serves. Placement: stacked beside the sofa or in the bay angle; fan them out between seats when needed. Materials: a set of two or three nesting tables in wood or metal. Approximate effort: none. Lower-cost alternative: two small side tables of different heights, the shorter slides under the taller and the effect is the same.
The real value is flexibility without storage guilt. Unlike a folding table, nested tables look like furniture when stacked, so they never need to be hidden. Choose a set with a durable top; the smallest table will get the hardest use as the roving drink stand.

Troubleshooting: if the tables wobble when stacked, check that the smallest fits fully under the middle one’s apron; a set where the legs collide was designed for looks, not use.
13. A Storage Ottoman As The Central Surface
A large storage ottoman, 36 to 48 inches long, replaces the coffee table in a bay-window room and fixes three problems at once: it softens the room’s hard angles, it holds the blankets and games, and nobody bruises a shin on it in the tight bay turn.
What to measure: the sofa’s seat length and the 18-inch leg clearance; the ottoman should be about two-thirds the sofa’s width. Placement: centered on the main seat, pulled a few inches toward the bay so the walkway stays clear. Materials: a firm-topped storage ottoman, plus a large tray that turns half of it into a stable surface. Approximate effort: none. Lower-cost alternative: a secondhand bench with a hinged cushion top, or two smaller ottomans pushed together.
The tray is non-negotiable: without it, drinks wobble and the ottoman reads as a footrest, not a table. With it, you get a coffee table, a footrest, extra seating and hidden storage in one footprint. Choose a fabric that handles feet, a tight weave or performance fabric, because feet will land there.
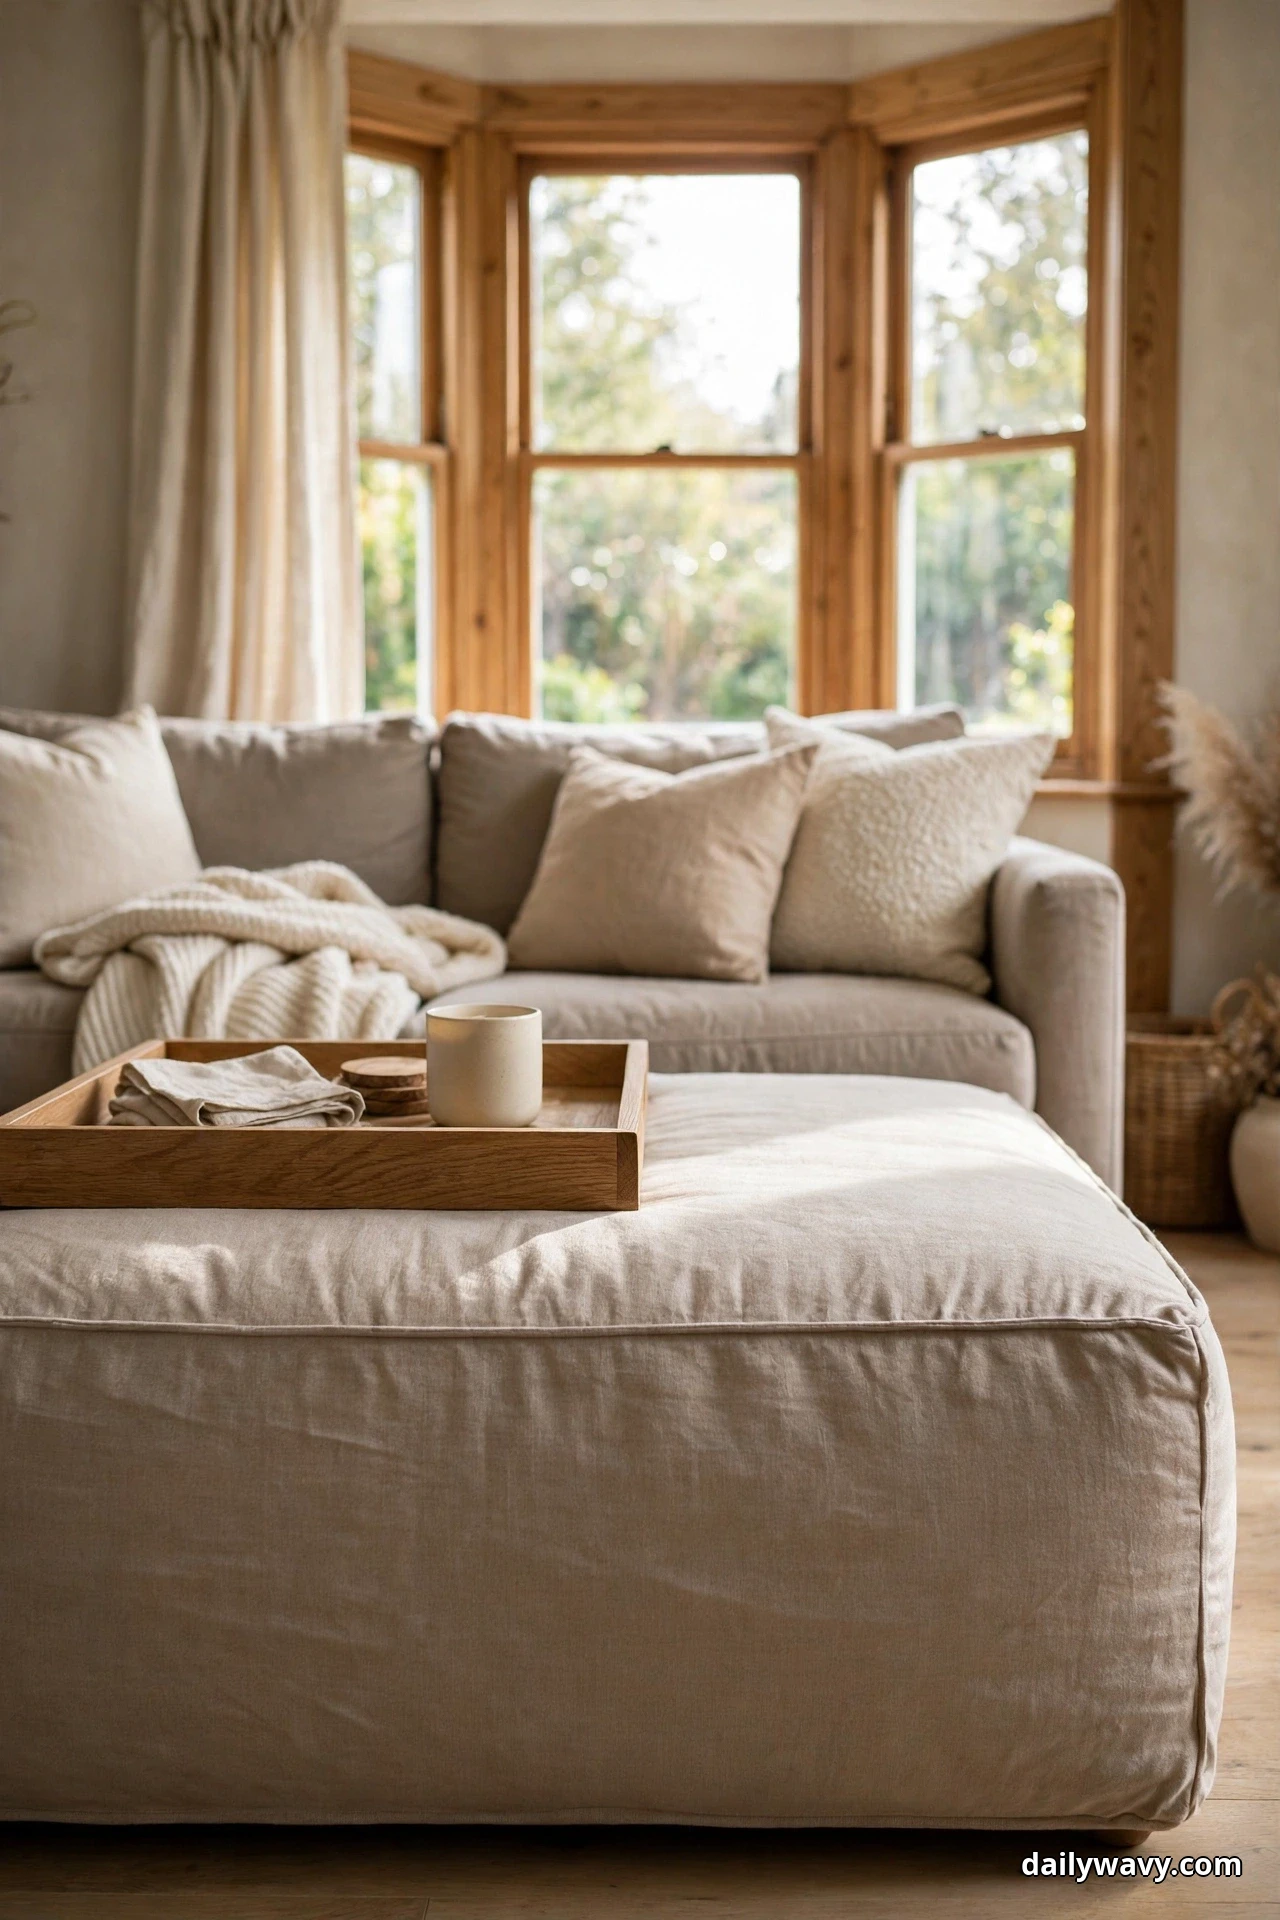
Troubleshooting: if the lid is too soft to hold a tray steady, add a rigid board inside the lid or choose a tray with a deep lip; a wobbling tray trains everyone to avoid the surface.
14. A Slim Console Defining The Walking Route
In an open bay-window room, people cut corners through the seating zone because nothing tells them where the path is. A slim console, 10 to 12 inches deep, placed along the route’s edge draws the line politely: walk here, sit there.
What to measure: the walking route’s width, the console must leave 30 to 36 inches of clear path. Placement: behind the sofa or along the room’s open side, parallel to the walking direction. Materials: a slim console table, one lamp, one low object. Approximate effort: none. Lower-cost alternative: a narrow wall shelf mounted at console height on the room-side wall, with brackets, no legs in the walkway at all.
The console works as a boundary without being a barrier; you can see over it, light passes above it, but feet respect it. Style it minimally so it reads as furniture, not a fence: a lamp at one end anchors it, and the lamp gives the seating zone its evening light.

Troubleshooting: if the console gets used as a dumping ground for keys and mail, add a small lidded box at one end; the boundary keeps working only if the surface stays clear.
15. An Armless Chair At The Open End
The open end of a seating arrangement, the side facing the bay or the room’s entrance, is where a bulky armchair blocks both the view and the path. An armless chair slips into that spot: full comfort, half the visual bulk, and easy to pull up to the group.
What to measure: the open end’s width; armless chairs run 24 to 30 inches wide and need 6 inches of elbow room each side. Placement: at the open end of the rug, angled toward the main seating. Materials: an armless accent chair or slipper chair with a firm seat. Approximate effort: none. Lower-cost alternative: a dining chair with a thick seat cushion in the room’s fabric; armless dining chairs are plentiful secondhand.
Because it has no arms, the chair reads as part of the group rather than a throne at its edge, and guests actually sit in it instead of perching. Keep its back low, under 34 inches, so it does not wall off the bay behind it.

Troubleshooting: if the chair feels insubstantial next to a deep sofa, add a lumbar pillow and a throw; the dressing gives it the visual weight the frame lacks.
16. A Rug Defining The Seating Zone
A rug is the cheapest architecture in a bay-window room. One rug under the seating group tells everyone where the living room is, even when the bay pulls the eye and the furniture toward the glass.
What to measure: the seating footprint; the rug should extend 6 to 8 inches beyond the sofa’s front legs and catch the front legs of every chair. A 5-by-8 or 8-by-10 rug fits most bay-window seating groups. Placement: center it on the main seating, not on the room; let its edge run toward the bay, not under it. Materials: a low-pile rug in a pattern that hides real life, flatweave or a tight low pile. Approximate effort: an afternoon of furniture shuffling. Lower-cost alternative: two smaller rugs layered, a large neutral under a smaller patterned one, which often costs less than one big rug.
The rug also solves the bay’s awkward floor transition, where the bay’s flooring or the radiator zone meets the main floor. Let the rug’s edge define the line and the transition looks planned. Keep the pile low near the bay so the door or any low furniture clears it.
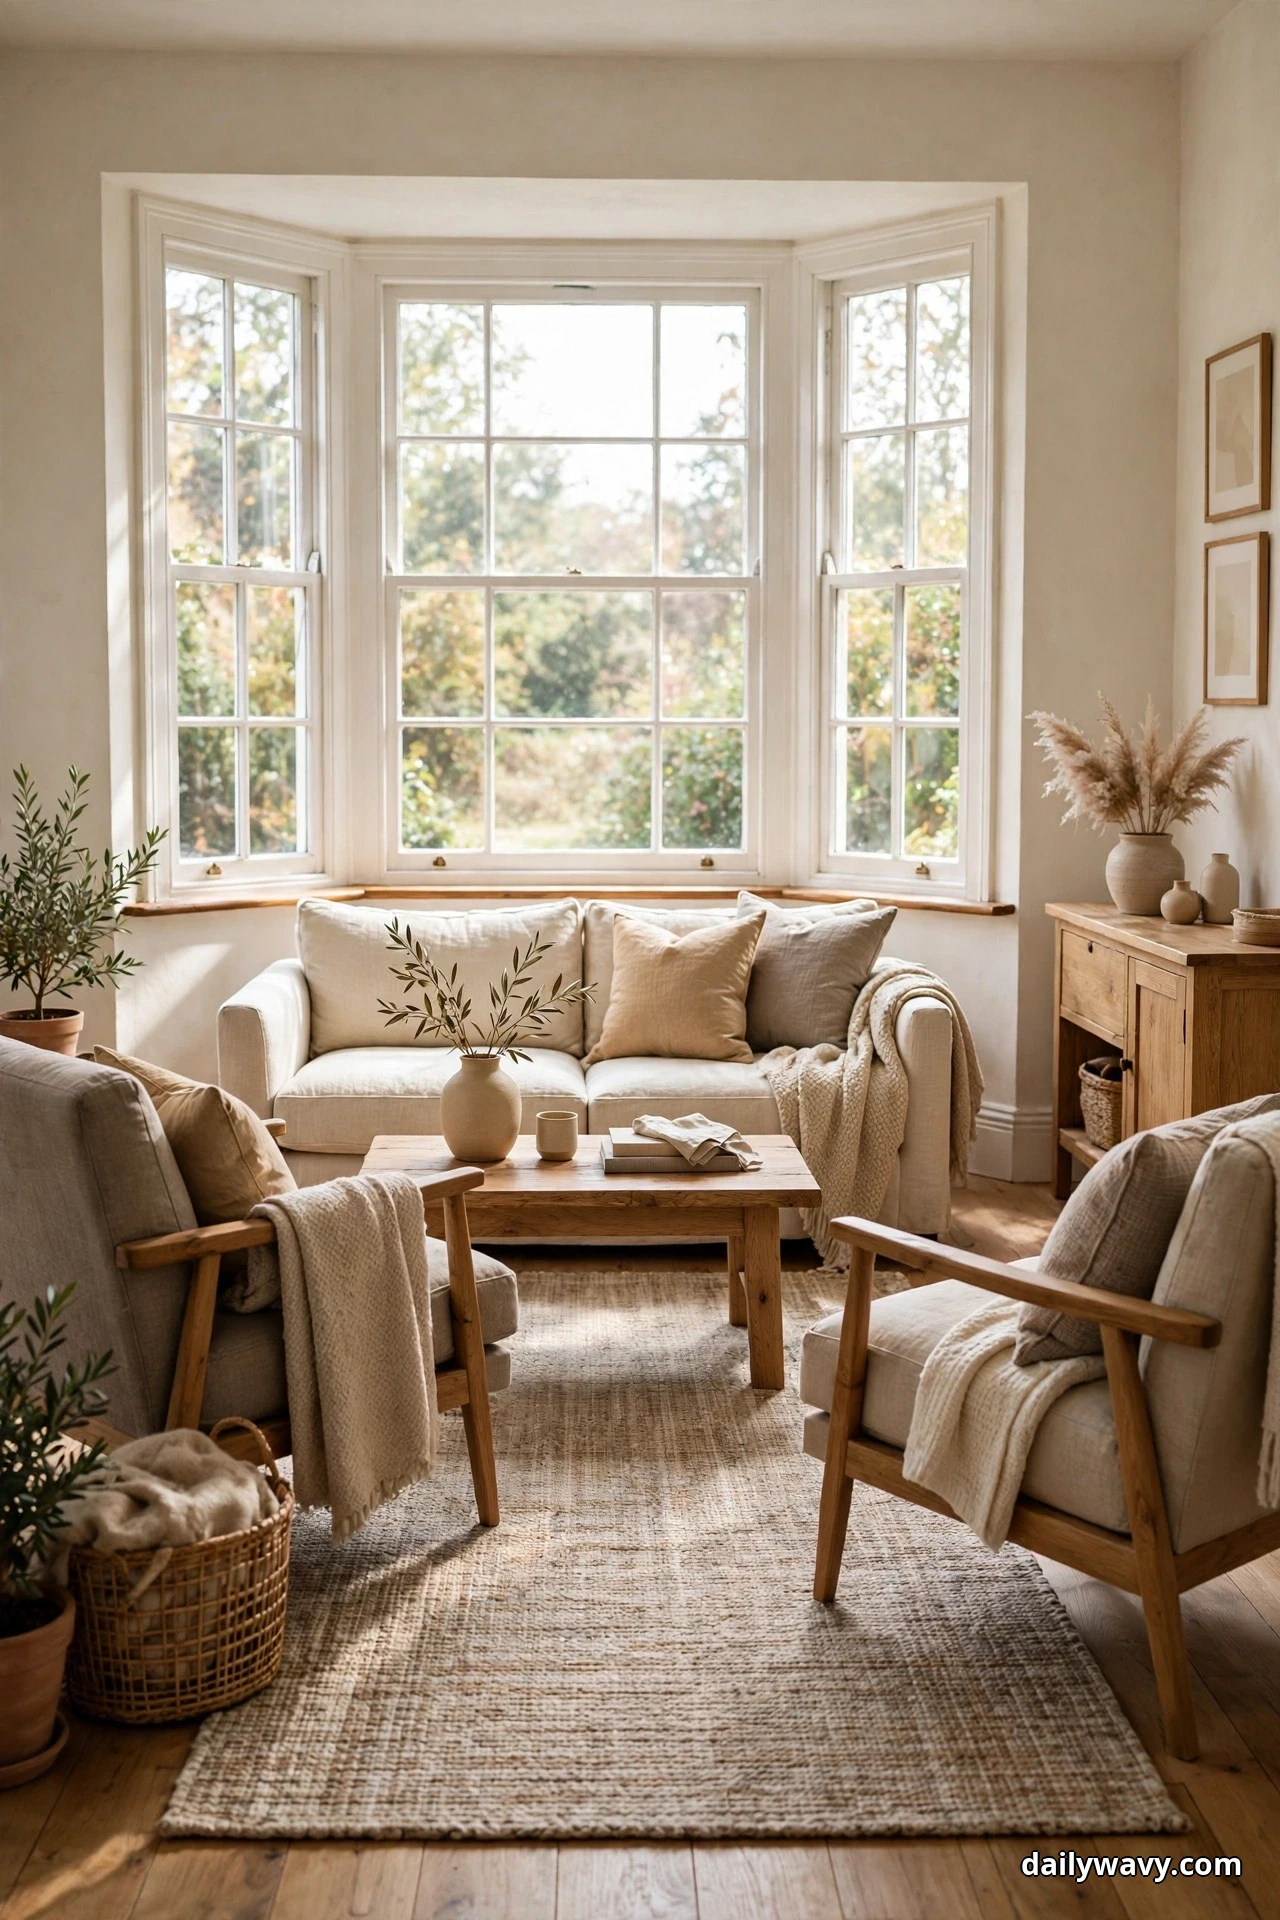
Troubleshooting: if the rug creeps toward the bay on smooth floors, a rug pad is mandatory, not optional; the bay’s angled walls give a sliding rug nowhere to stop.
17. A Wall-Mounted Lamp Saving Floor Space
Floor lamps and bay windows fight for the same corners, and the lamp usually loses, ending up wedged behind a chair where nobody can reach the switch. A wall-mounted lamp, a plug-in sconce or a swing-arm, gives the bay’s reading seat its light without touching the floor at all.
What to measure: the seat height and the wall beside the bay; mount the lamp so its shade sits 40 to 48 inches off the floor, just above shoulder height when seated. Placement: on the wall flanking the bay, within arm’s reach of the reading chair. Materials: a plug-in wall sconce or swing-arm lamp, a cord cover that matches the wall. Approximate effort: an afternoon, no electrician needed for plug-in models. Lower-cost alternative: a plug-in pendant hung from a wall hook, which reads as a sconce at a fraction of the price.
Swing-arm models are worth the small premium: the light moves to the book, not the other way around. Run the cord down the wall in a paintable cord cover and it disappears; a dangling cord ruins the whole effect.

Troubleshooting: if the wall beside the bay is too narrow for a sconce, mount the lamp on the bay’s own angled wall; the side angle actually aims the light at the seat better.
18. A Bench That Slides Under A Window
The space under a bay window sill is the room’s most wasted square footage, and a low bench claims it. At 16 to 18 inches high, the bench slides under the sill, seats two, and hides the storage baskets or shoes underneath.
What to measure: the sill height, the bench top must clear it by at least an inch, and the bay’s floor depth; the bench should sit fully inside the bay or flush with its mouth. Placement: centered under the middle window, cushions optional. Materials: a low bench or a pair of cube benches, baskets that fit underneath, a washable cushion. Approximate effort: none. Lower-cost alternative: a simple pine bench from a home store, stained or painted to match the trim.
This is the bay’s natural job, and it is worth doing properly: a cushion in an outdoor fabric survives the sun and the occasional wet dog, and baskets underneath turn the dead space into the room’s tidiest storage. Keep the bench top clear of permanent decor; it is seating first, and a styled bench nobody sits on is a missed opportunity.

Troubleshooting: if the sill is lower than 16 inches, skip the bench and use floor cushions instead; forcing a tall bench under a low sill looks cramped and blocks the glass.
19. A Fold-Away Occasional Table
A fold-away table, a drop-leaf or a gateleg, lives slim against the bay wall and opens to full size when the room needs it: game night, a laptop session, an extra place setting. It is the bay’s part-time furniture.
What to measure: the folded depth, usually 10 to 12 inches, and the open size; make sure the open table clears the walkway. Placement: folded against the bay’s angled wall or beside the sofa; opened wherever the job is. Materials: a drop-leaf or gateleg occasional table. Approximate effort: none. Lower-cost alternative: a TV tray table in wood rather than metal; the wooden ones look like furniture and fold just as flat.
The habit that makes it work: open it for the task, fold it when the task ends. A fold-away table left open permanently is just a small table in the way. Store a tablecloth or runner on its folded top and the closed table reads as a styled narrow console.

Troubleshooting: if the hinges feel flimsy, tighten them and add felt pads where the leaves meet the frame; a wobbling drop-leaf trains everyone to stop opening it.
20. A Shallow Bookcase At A Room Boundary
Where the bay-window living room meets the next space, a hallway, a dining corner, an entry, a shallow bookcase marks the boundary without closing it. At 10 to 12 inches deep, it holds books and objects while letting light and sightlines pass over and around it.
What to measure: the boundary’s width and the ceiling height; a bookcase 60 to 72 inches tall defines the line without looming. Placement: perpendicular to the main wall at the room’s edge, finished on both sides if the back shows. Materials: a shallow bookcase with a finished back, or two narrow units back to back. Approximate effort: an afternoon of assembly and styling. Lower-cost alternative: a single row of floating shelves at the boundary height, which defines the line for the price of lumber and brackets.
Style both faces if the back is visible from the bay: books facing one way, objects the other, nothing deep enough to poke through. The bookcase earns its place by working from both rooms, which is exactly what a boundary piece should do. Our small entryway decor ideas use the same shallow-depth thinking where a foyer meets the living space.

Troubleshooting: if the bookcase blocks light from the bay into the next space, drop to a 48-inch height; the boundary still reads, but the light keeps traveling.
Frequently Asked Questions
How do you arrange furniture in a living room with a bay window?
Start by deciding the bay’s job: reading nook, conversation corner, dining spot or display zone. Then place the main seating to face or flank the bay rather than fighting it, keep 30 to 36 inches of clear walkway, and use a rug to define the seating zone. Measure the sill height, bay depth and opening width before buying anything, since those three numbers rule out half the wrong purchases.
What should you put in a bay window in a living room?
The bay suits low, light-loving uses: a bench with storage, two small chairs around a shared table, a compact loveseat, or plants on a low stand. Avoid tall furniture that blocks the glass; the window is the room’s best feature and covering it always looks like a mistake. If the sill sits high enough to clear a low bench, a bench is the classic answer.
Should the sofa face the bay window or face away from it?
Either works if it is deliberate. Facing the bay gives the best seat the view and the light, which suits reading rooms and quiet homes. Facing away, with the sofa’s back to the bay, suits TV rooms and entertaining, but float the sofa slightly off the wall and style the gap so the back reads as intentional. The worst choice is shoving the sofa hard into the angled wall; the gap looks accidental.
How do you hang curtains on a bay window?
Use a bay window curtain rod or a ceiling track that follows the angles, mounted high and wide so the panels stack against the side walls when open. For a simpler route, hang a single straight rod or a sheer across the bay’s mouth, which divides the bay from the room without following the angles. Keep fabric light; heavy drapes shrink the bay visually.
What is the best rug size for a living room with a bay window?
Size the rug to the seating group, not the room: 8 by 10 feet for a sofa-based arrangement, 5 by 8 for a chair-based one. The front legs of every seat should land on the rug, and the rug’s edge should run toward the bay without sliding under low furniture. A low pile near the bay avoids clearance problems.
How do you keep a bay-window living room from feeling cluttered?
Give everything a closed home: a low cabinet, a storage ottoman, baskets under the bench. The bay attracts small objects because it is bright and central, so audit the surfaces weekly. One rule keeps it calm: if an object does not have a storage spot, it does not live in the bay. Explore the Home & Decor category for more small-space storage thinking.
The Takeaway
A bay window rewards rooms that treat it as a destination rather than a difficulty. Give the bay a job, measure before you move, and let the furniture follow the light instead of fighting the angles. Start with the biggest decision, where the main seat goes, then layer in the small pieces that make the angles work for you: the bench under the sill, the slim console on the walking route, the rug that says this is where we sit. Save the ideas that fit your room, pin the ones you want to try this weekend, and let the brightest corner of the house finally earn its keep.