14 Vintage Bathroom Decor Ideas with Practical Finishing Touches
A vintage bathroom has a warmth that plain white boxes never quite reach. The aged brass, the beadboard, the little…
A vintage bathroom has a warmth that plain white boxes never quite reach. The aged brass, the beadboard, the little apothecary jar that actually holds something useful. But vintage style only works when it survives the room it lives in, and bathrooms are steamy, splashy, hardworking spaces. These 14 ideas give you the aged character you want with the practical finishing touches that keep it livable: moisture-tolerant materials, storage that actually stores, and styling choices that hold up past the first humid morning. Each one lists what to measure or check, what to buy, and a cheaper way in.
Jump to an idea
- A Mirror With A Style-Matched Frame
- A Small Freestanding Stool
- A Practical Hook Rail
- A Closed Basket For Spare Supplies
- A Plain Shower Curtain With Subtle Texture
- A Wood-Look Accent Suitable For Humidity
- A Modest Wall Shelf Outside Splashes
- A Small Vase With One Stem
- A Repeated Metal Finish In Accessories
- A Low Storage Cabinet
- A Neatly Folded Hand-Towel Grouping
- A Patterned Fabric Accent
- A Simple Wall-Color Focal Area
- A Basket For Rolled Clean Towels
Vintage bathroom basics: moisture, storage, and safety
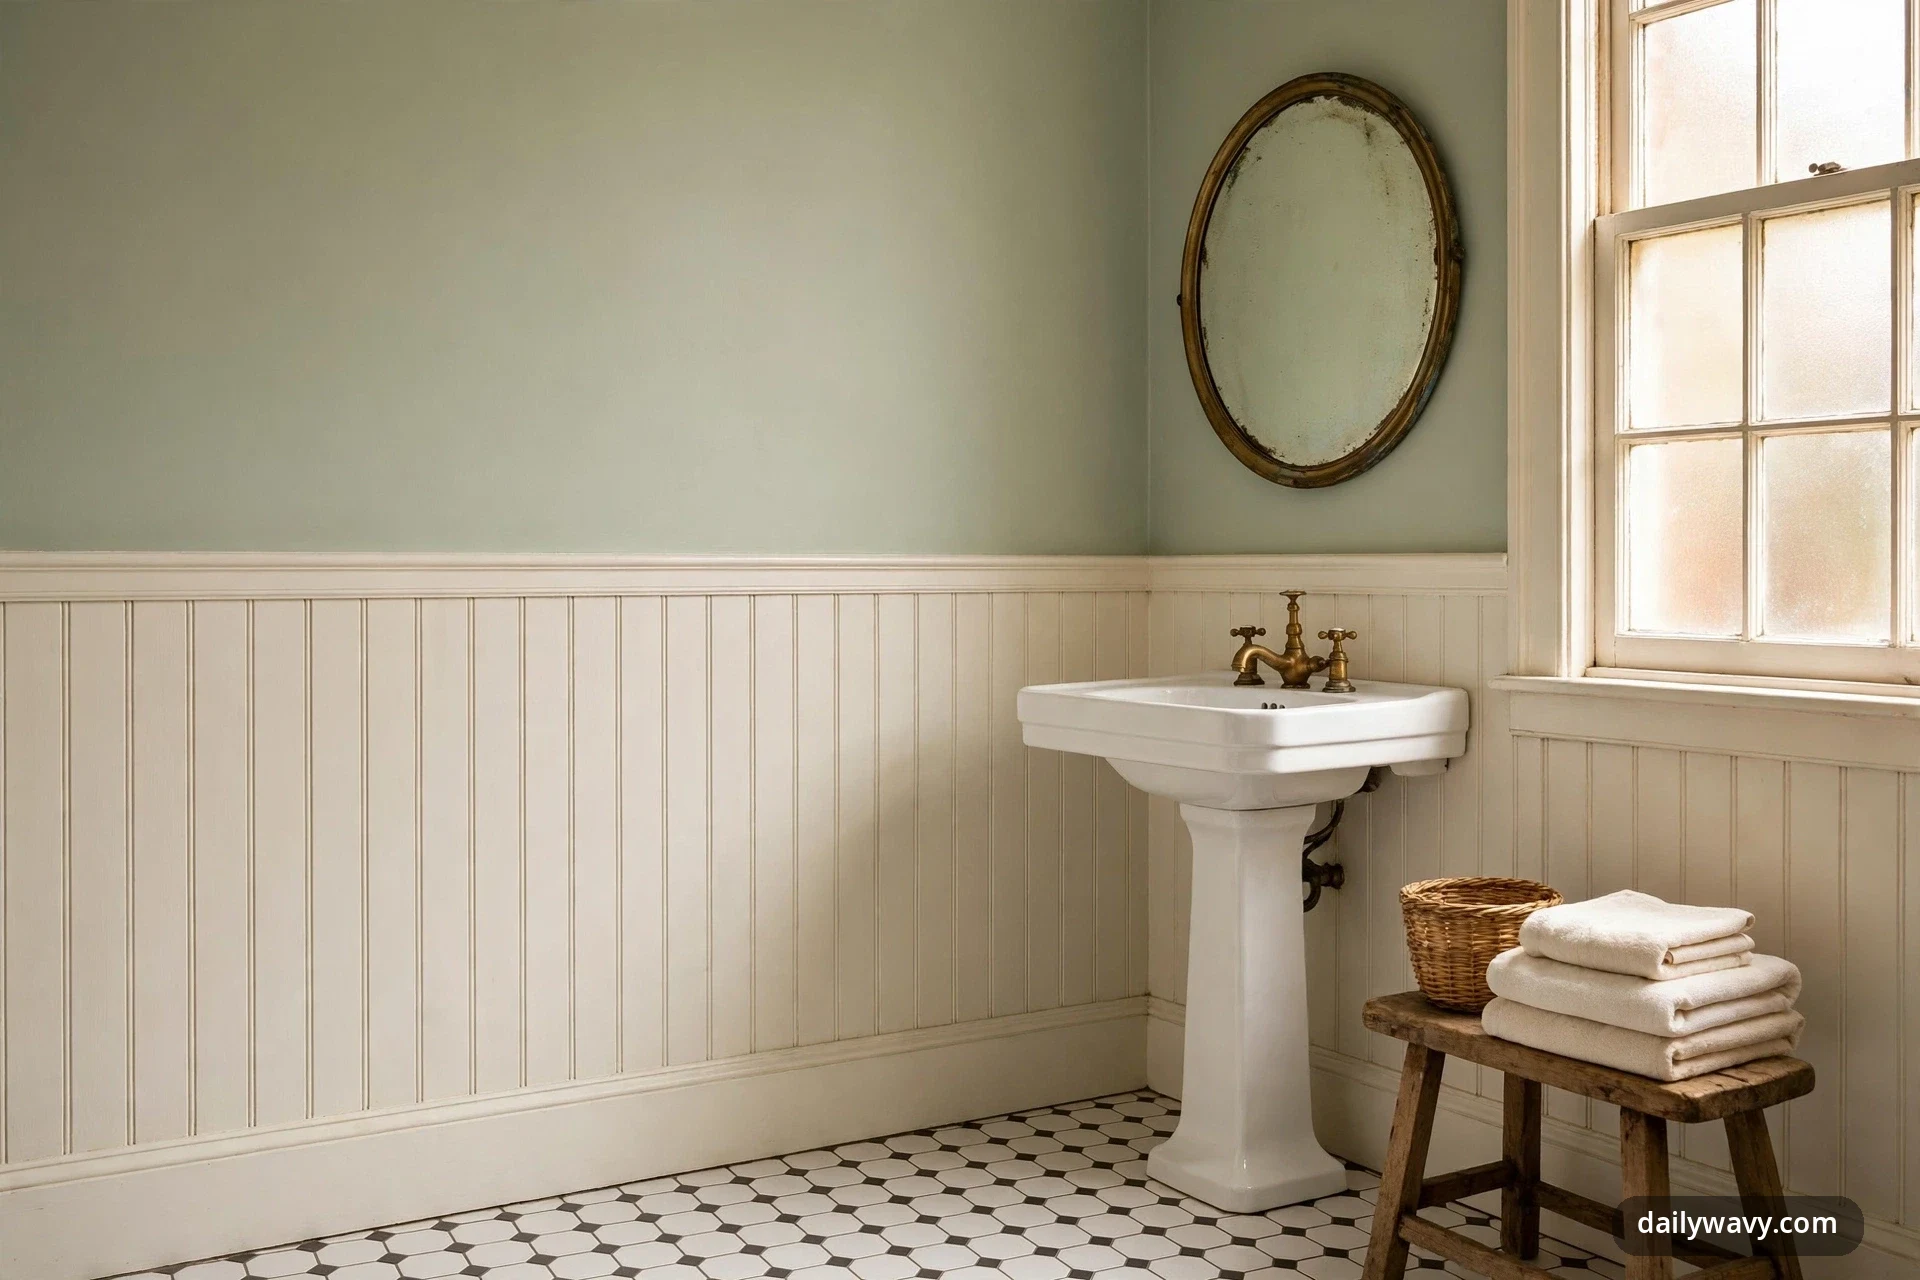
Vintage bathrooms fail for one reason more than any other: materials that cannot handle steam. Before you buy anything decorative, commit to moisture-tolerant choices throughout. Choose sealed or inherently damp-friendly materials near sinks, tubs, and showers. Teak, powder-coated metal, sealed stone, porcelain, and glass hold up. Raw pine, untreated MDF, and ordinary painted wood swell, warp, or peel within a year of daily steam. If you love a real-wood look in the wet zone, use a wood-look porcelain tile or a properly sealed teak piece, never a raw board.
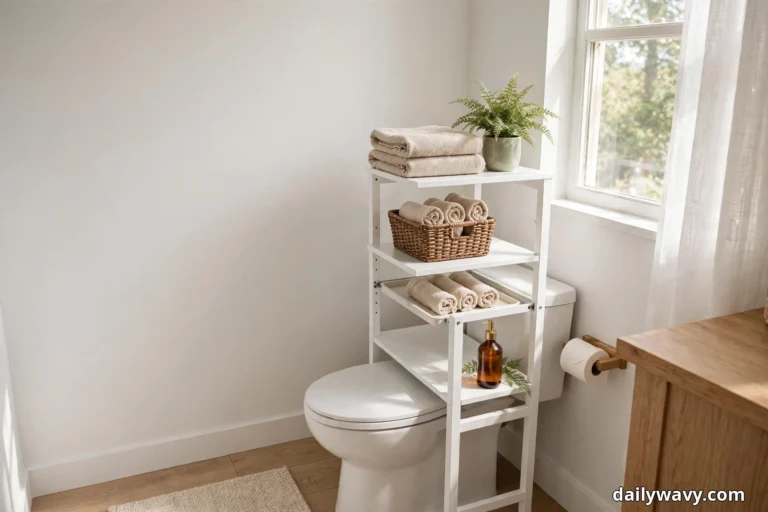
Storage deserves the same realism. A vintage bathroom looks calm because everything has a closed home. Open styling is lovely on a dry shelf, but daily supplies do better in baskets with lids, cabinets with doors, and hooks that keep damp towels off surfaces. For more on making tight wash spaces work harder, the guide to small bathroom storage pairs well with everything below.
Two safety rules are non-negotiable. Keep all electrical accessories, hair tools, heaters, and plug-in diffusers well away from water and never drape cords across sinks or tub edges. And never treat ordinary wallpaper as waterproof; in a steamy bathroom without strong ventilation, paper seams lift and paste softens, so keep paper to powder rooms with good airflow or choose moisture-rated wallcoverings only where the manufacturer states they suit bathrooms.
1. A Mirror With A Style-Matched Frame
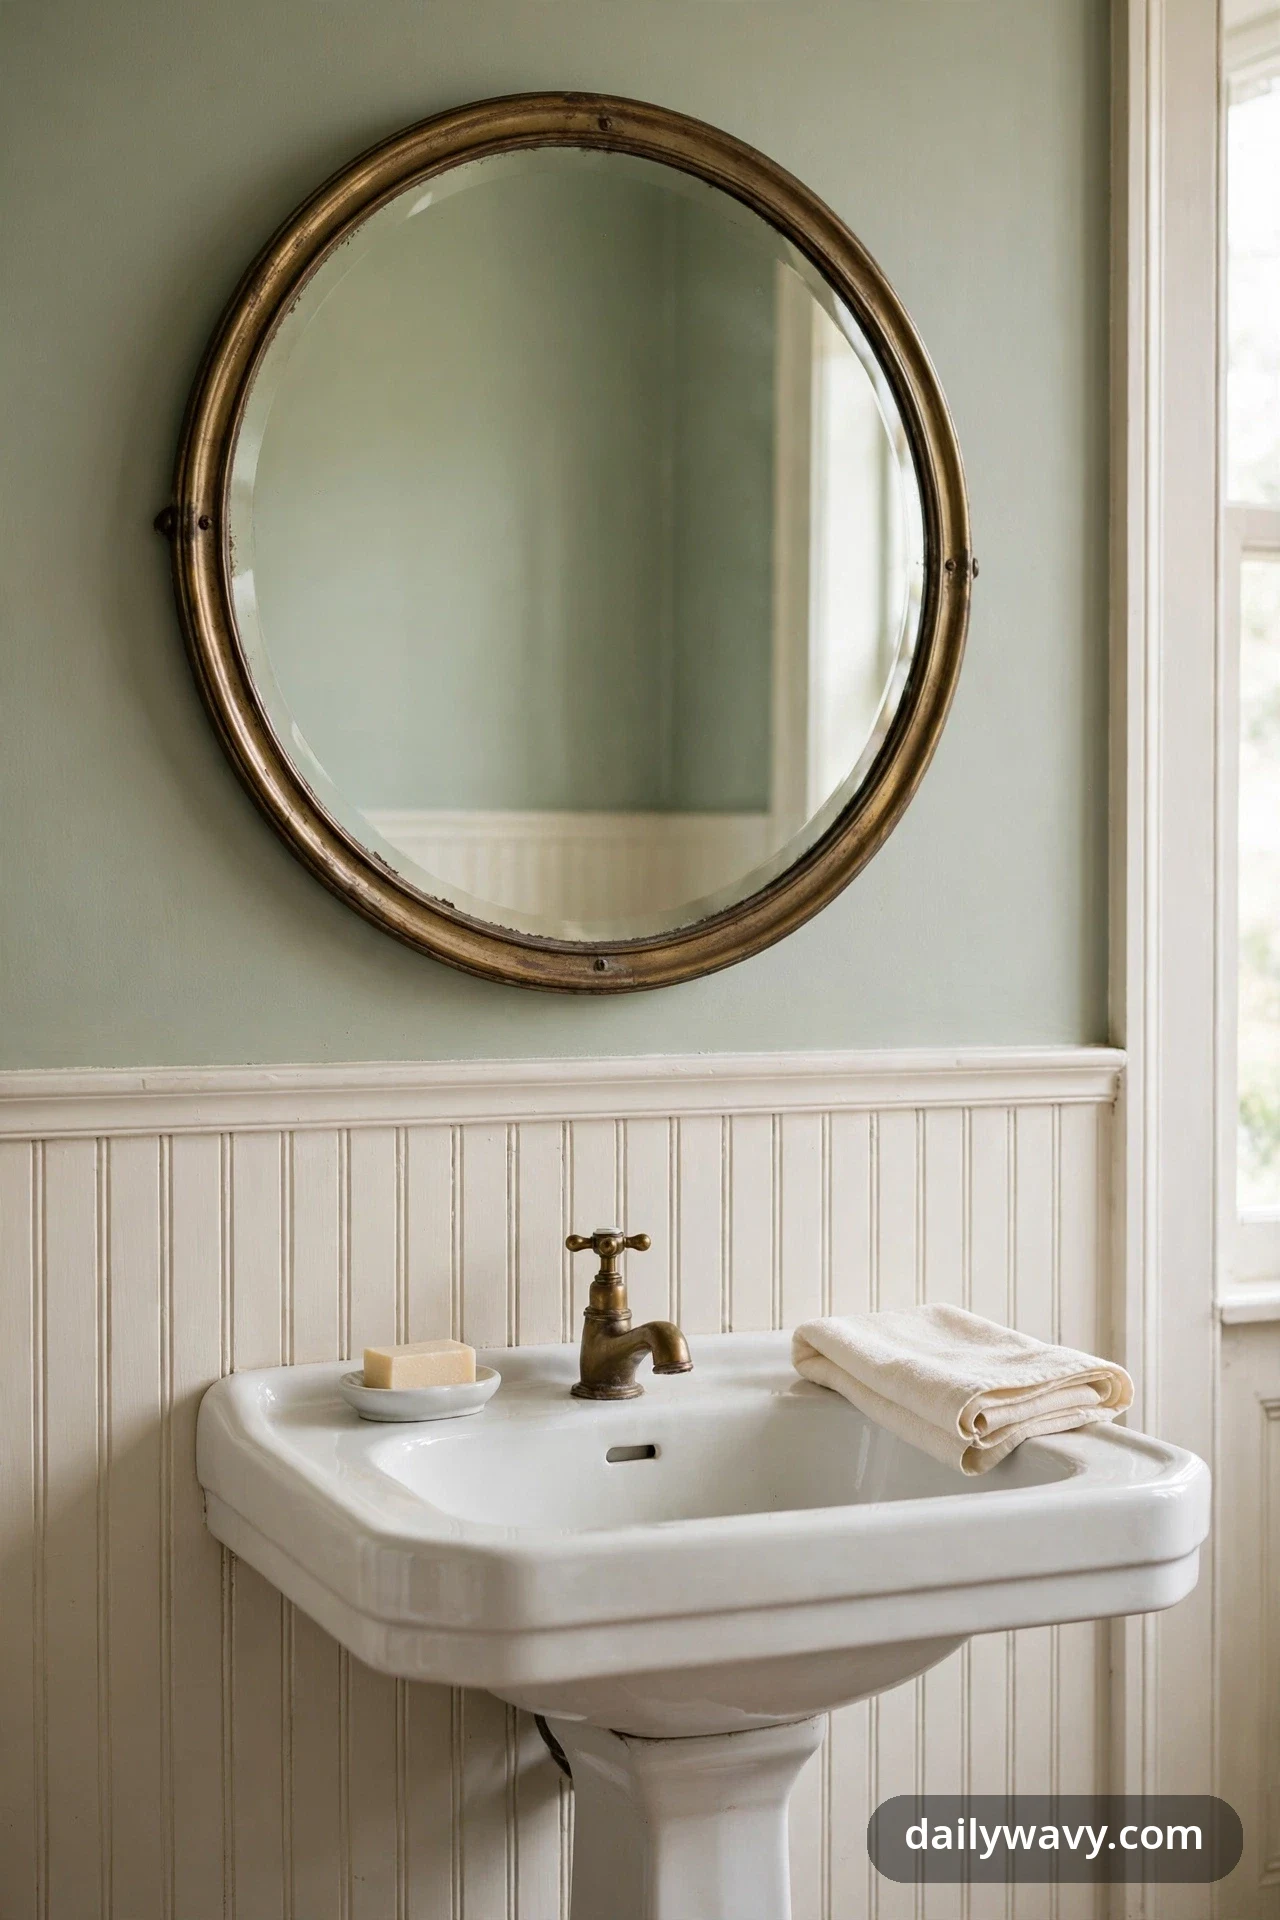
The mirror sets the era of the whole room, so match its frame to the fixtures you already have. A round mirror in aged brass sits naturally over a pedestal sink with brass taps; a blackened-steel frame suits a room with matte black hardware; a simple painted wood frame works where the vanity is painted. The match reads as intentional rather than collected-by-accident, and it is one of the fastest ways to make a plain bathroom feel designed.
What to measure: the width of the sink or vanity below, then choose a mirror 60 to 75 percent of that width. Hang the center of the mirror at roughly eye level, about 57 to 60 inches from the floor, and leave at least 4 inches of clearance above the faucet so splashes do not spot the glass daily. Materials: a sealed-frame mirror rated for bathroom use (check the backing is moisture-resistant), two wall anchors into studs or rated toggle bolts for heavier pieces. Placement: centered over the basin, never offset to dodge a light fixture; have a licensed electrician move the fixture instead. Approximate effort: one afternoon, including patching and touch-up paint. Lower-cost alternative: spray a plain wood frame with a metallic finish and seal it with a clear moisture-resistant topcoat, working outdoors or in a well-ventilated area.
2. A Small Freestanding Stool
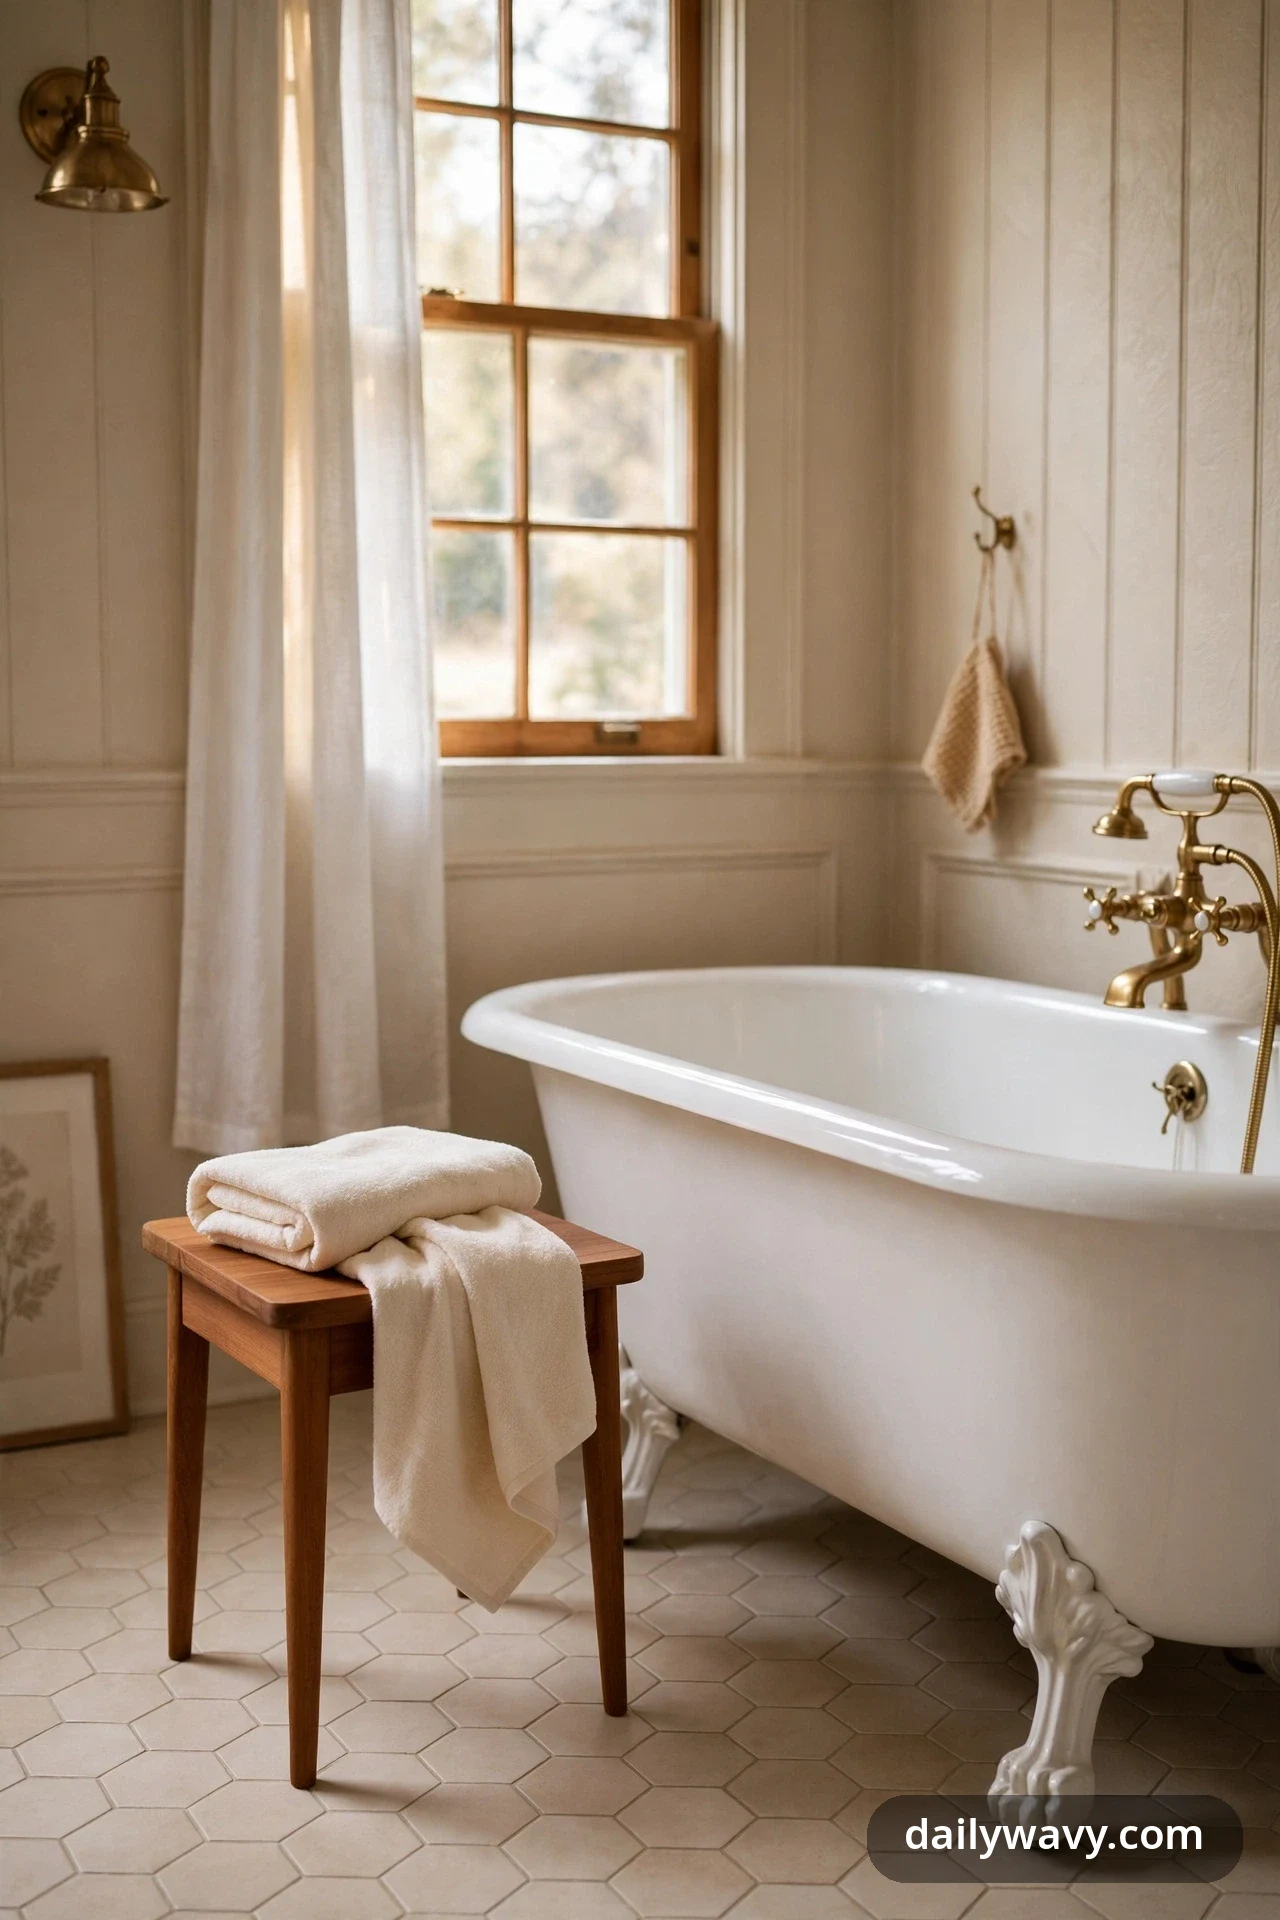
A small stool beside the tub or vanity is one of the most useful pieces of furniture a bathroom can hold. It catches the book, the towel, and the folded clothes that otherwise end up on the wet floor. A candle can sit there too, but never leave a burning candle unattended, and keep it clear of towels. In a vintage bathroom, a simple turned-leg or slatted stool in teak or sealed oak reads period-correct without trying too hard, and it moves wherever the morning needs it.
What to measure: seat height between 16 and 18 inches so it works as both a perch and a side table, and a footprint no deeper than 14 inches so it tucks against the tub. Materials: solid teak or another naturally damp-tolerant wood, finished with a marine-grade or exterior oil so steam beads off. Avoid painted softwood stools in the splash zone; the paint will blister. Placement: within arm’s reach of the tub rim or beside the vanity, never blocking the door swing or the route to the toilet. Approximate effort: none beyond buying, or a weekend if you refinish a flea-market find. Lower-cost alternative: a sturdy bamboo bath caddy stool, which handles humidity well at a fraction of the price.
3. A Practical Hook Rail
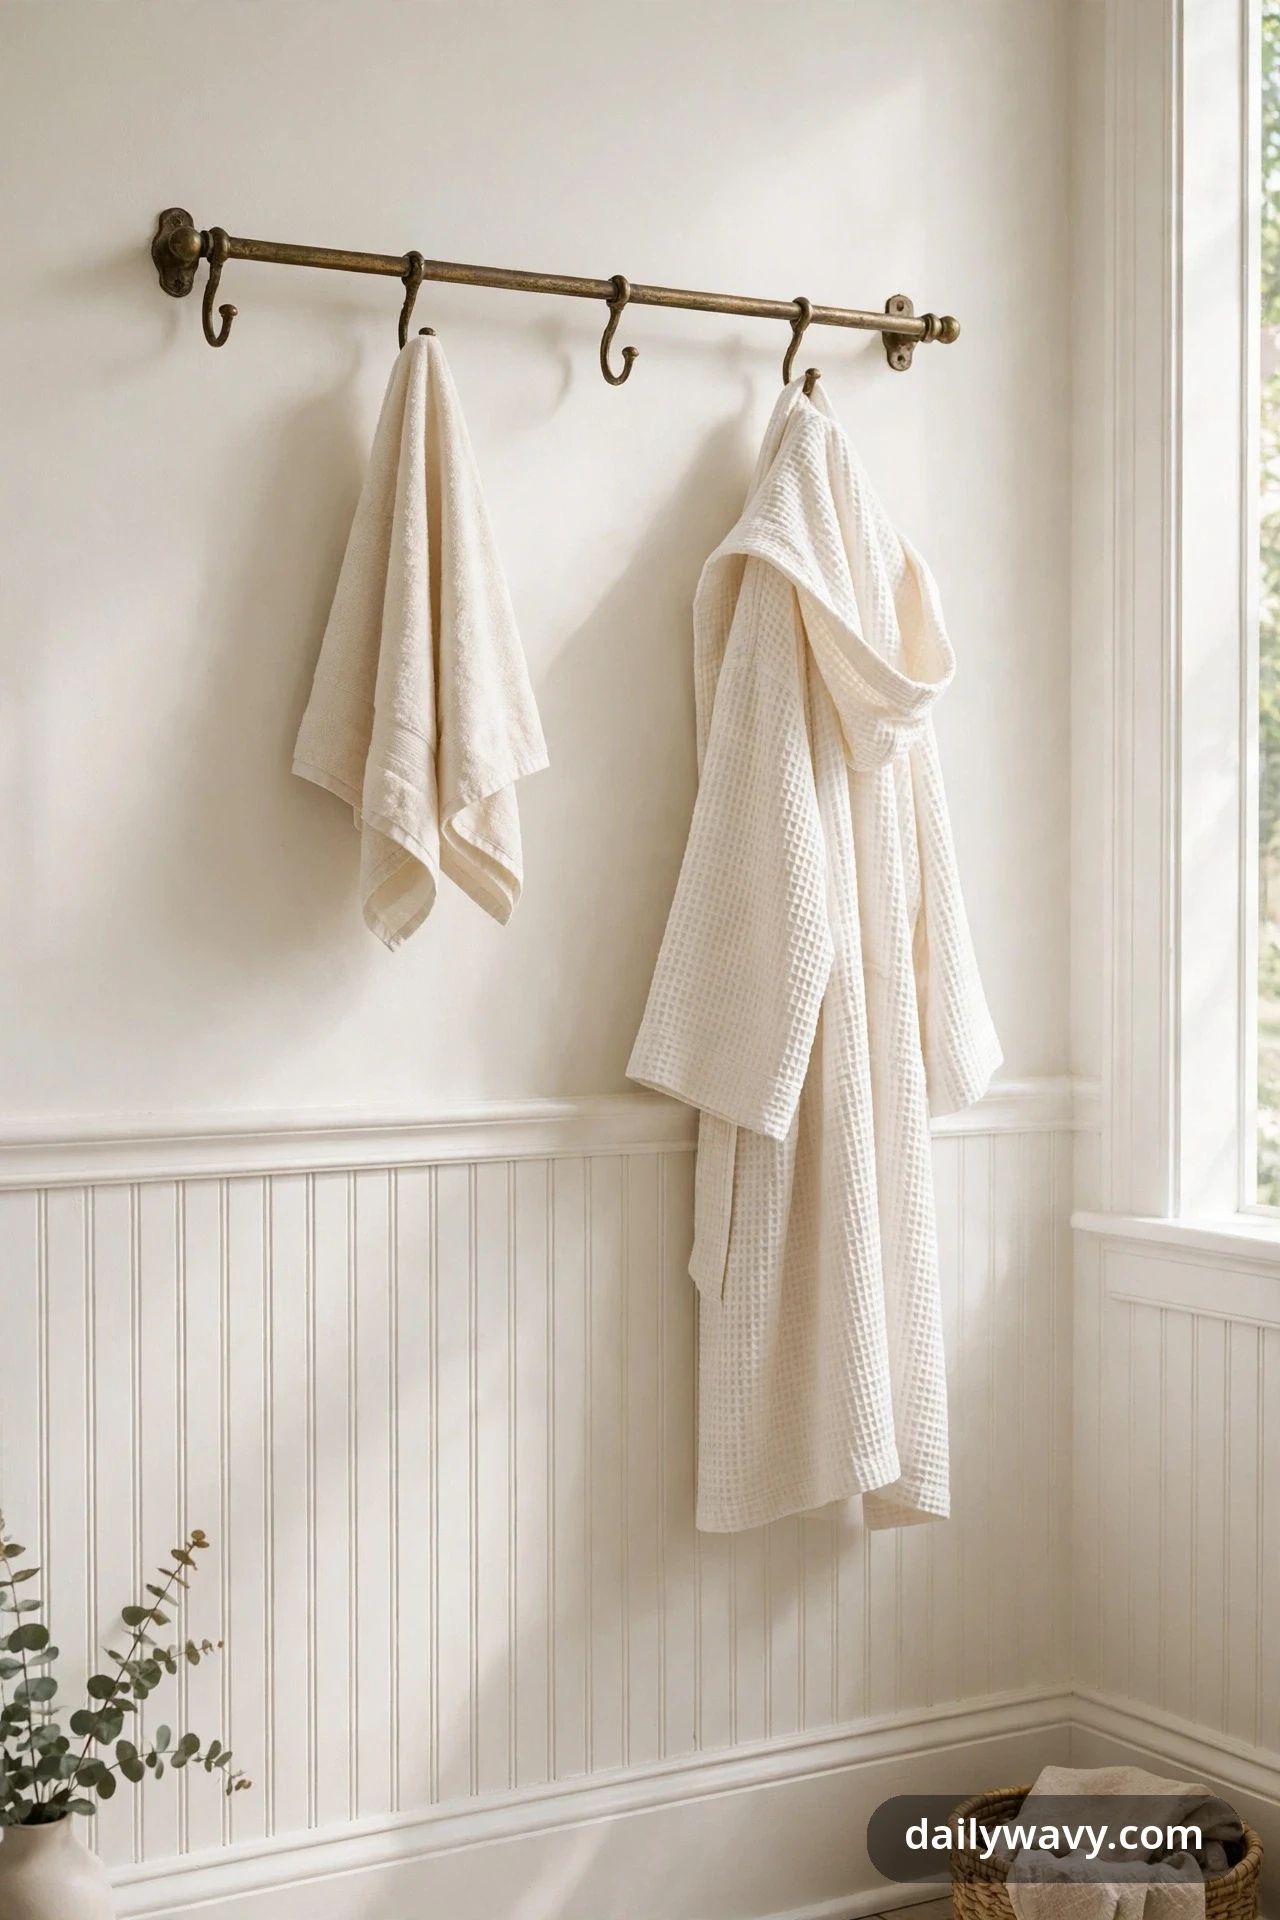
Hook rails keep towels off the floor and robes off the door handle, which is why old bathrooms had them everywhere. A three- or four-hook rail in aged brass or porcelain-tipped cast iron gives you the vintage look with genuinely better daily function than a single hook behind the door. Hang towels with air around each one and they dry faster, which also keeps the room fresher.
What to measure: mount the rail 48 to 52 inches from the floor so long towels clear the ground, and allow about 6 inches of spacing per hook. Materials: a solid rail with hooks rated for at least 10 pounds each, plus screws long enough to bite into a stud or proper wall anchors for tile. Placement: on a wall outside the direct splash zone, near the shower or tub but not where the curtain drips. Keep it clear of the vanity mirror so towels do not block your reflection. Approximate effort: under an hour with a drill, tile bit, and level. Lower-cost alternative: individual porcelain or brass-look hooks spaced evenly on a painted wood backboard.
4. A Closed Basket For Spare Supplies
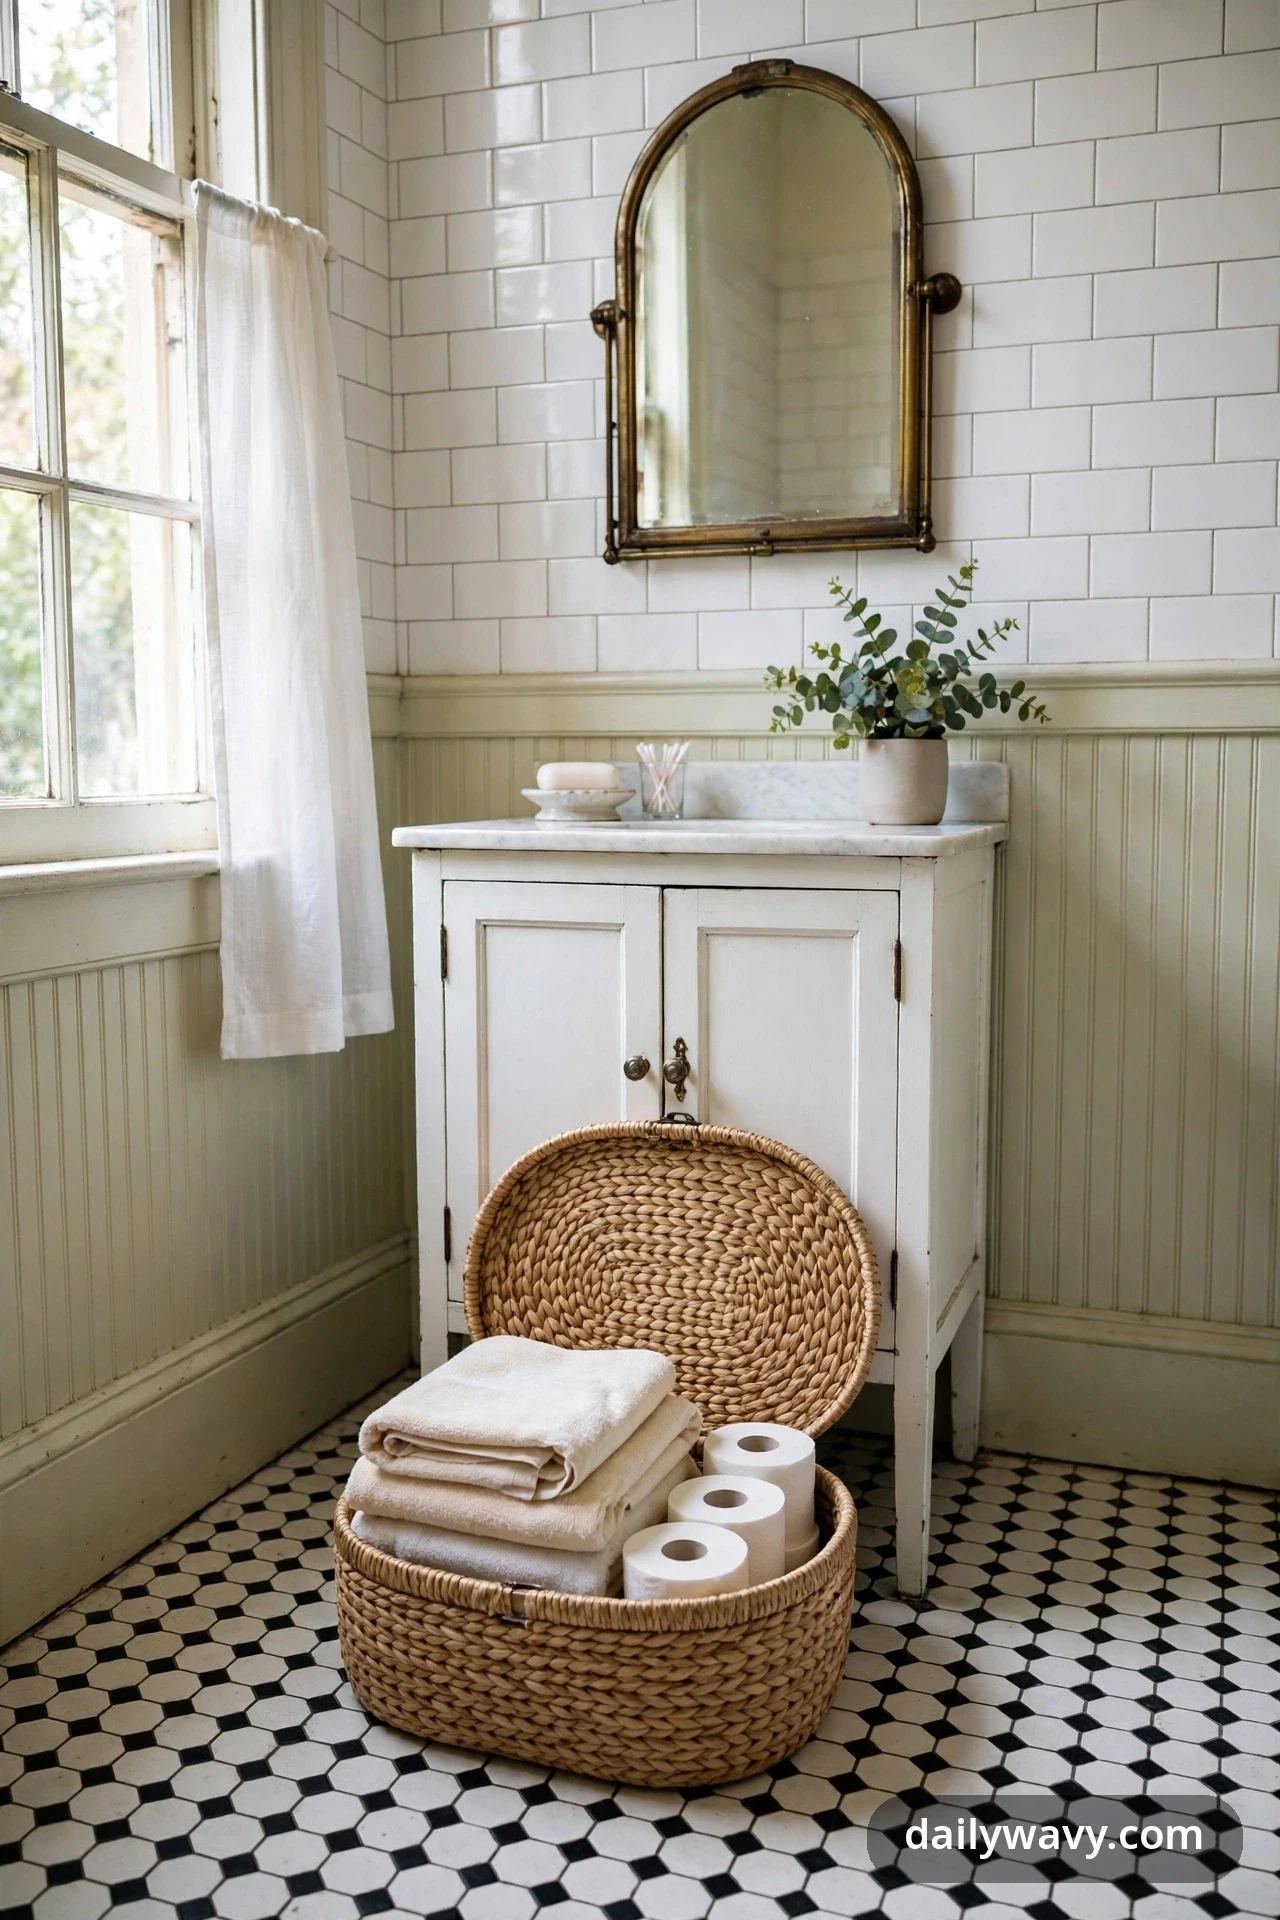
Spare toilet paper and backup soap belong somewhere closed. A lidded basket under the vanity or beside the toilet keeps supplies dust-free and steam-damp-free, and the woven texture adds the natural material vintage bathrooms need to avoid feeling sterile. Seagrass, water hyacinth, and rattan all read warm against white tile.
What to measure: the cavity under the vanity or the floor space beside the toilet, then buy a basket at least 2 inches narrower on every side so it slides in and out without scraping. Materials: a lidded basket in a tight weave (loose weaves snag and collect dust), ideally with a removable washable liner. Avoid unlined wicker directly on a damp tile floor; set it on small felt feet or a tray. Placement: under an open vanity, beside the toilet, or inside a low cabinet. Approximate effort: none, it is a purchase-and-place idea. Lower-cost alternative: a lidded fabric storage cube in a natural weave pattern, which costs little and washes easily.
5. A Plain Shower Curtain With Subtle Texture
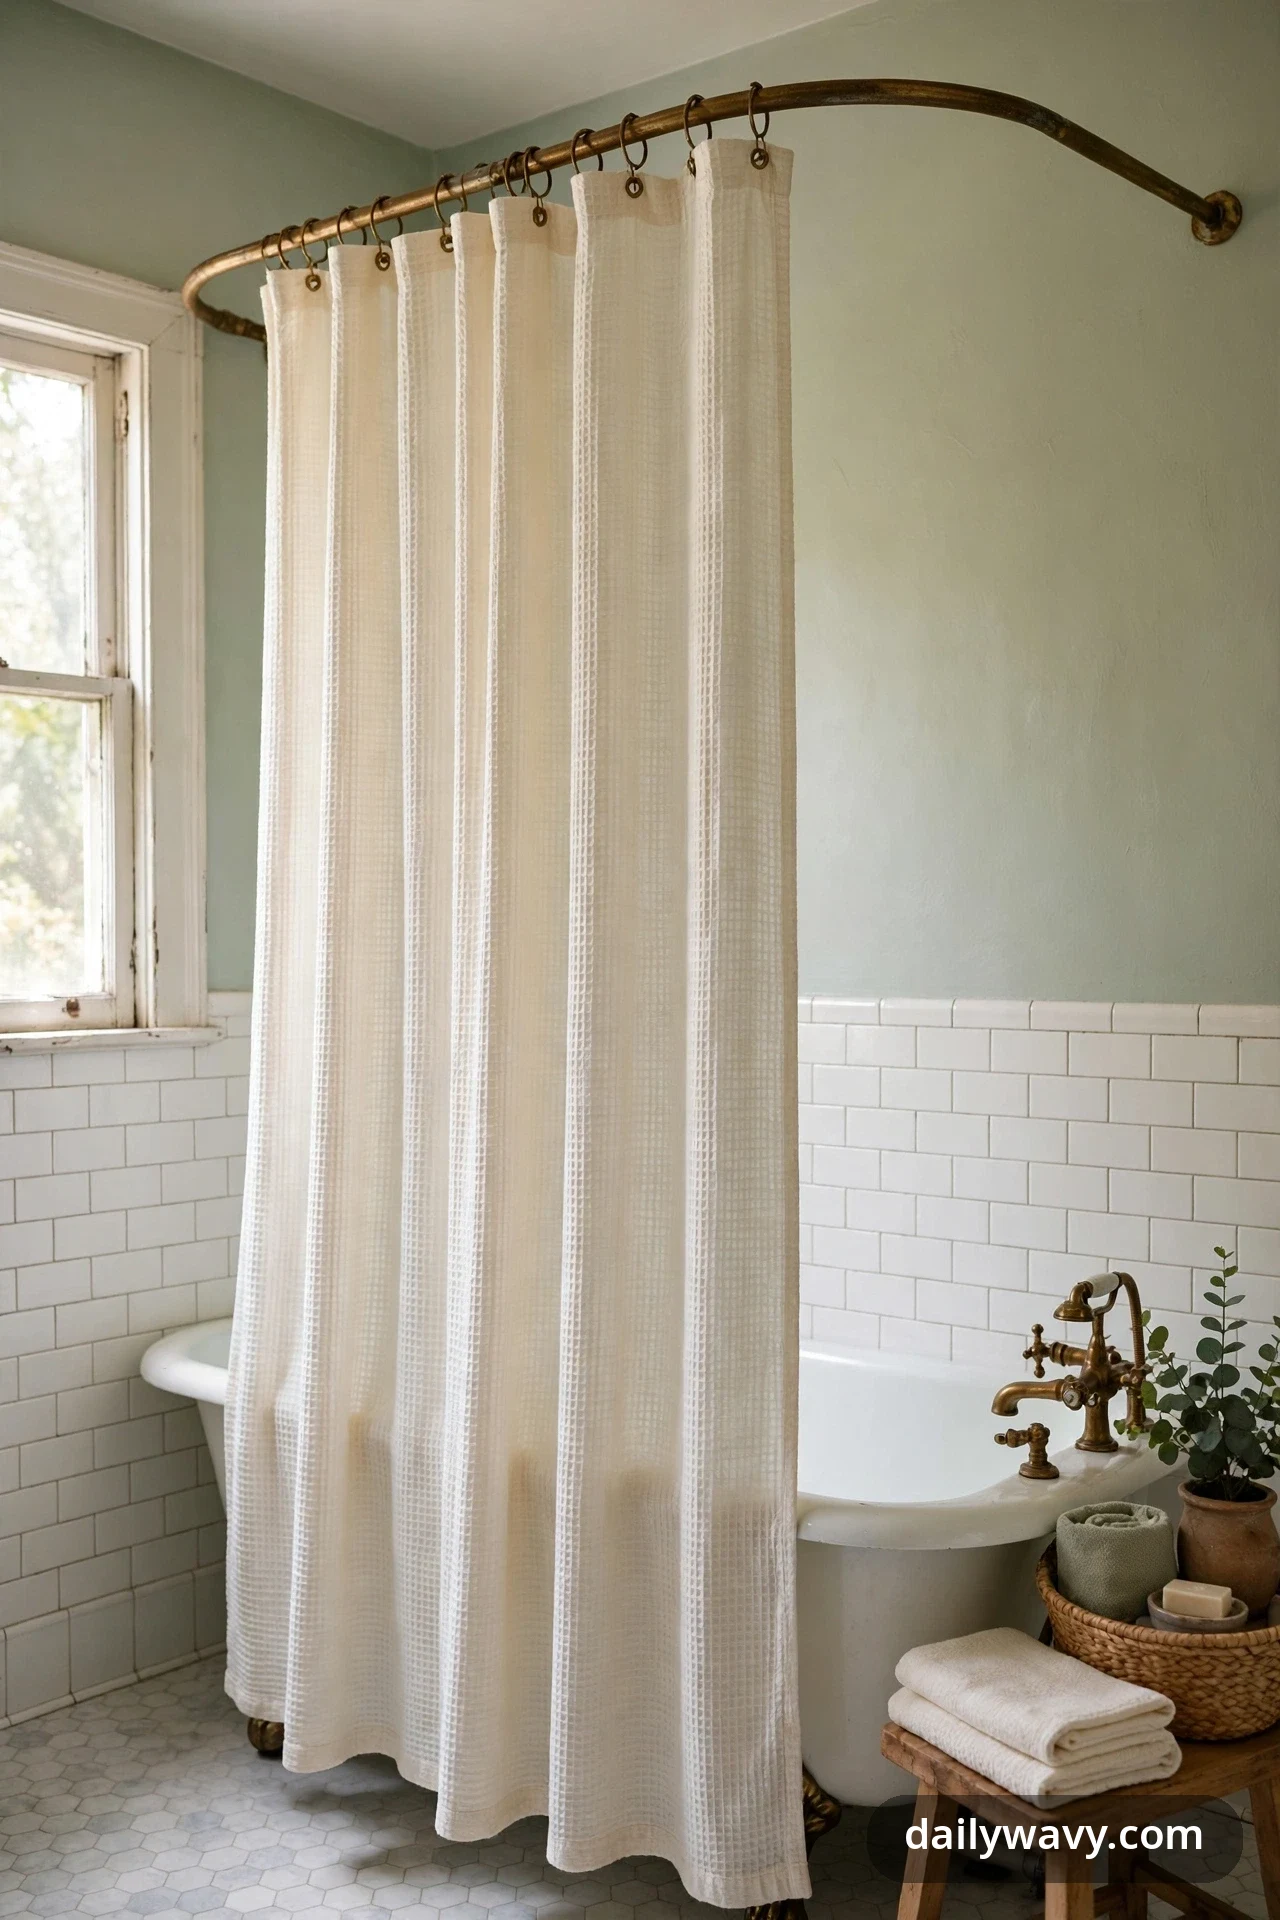
A plain curtain in a textured weave, waffle, seersucker, or slubbed cotton, is the vintage bathroom’s quiet workhorse. It adds softness that patterned curtains can overdo, and a solid warm white or oatmeal tone lets the tile and fixtures be the stars. The texture catches light and shadow, so the curtain reads as styled even when it is just hanging there.
What to measure: the rod width plus 20 percent for gentle gathering, and a drop that ends about 1 inch above the tub rim or floor to avoid mildew wicking. Standard tubs usually need a 72 by 72 inch curtain. Materials: a machine-washable cotton or cotton-blend curtain with a separate waterproof liner, hung on rust-resistant rings. Skip single-layer “waterproof fabric” curtains that claim no liner is needed; in daily use a liner keeps the decorative layer cleaner far longer. Placement: rings on a rod rated for the curtain’s wet weight, with the liner inside the tub. Approximate effort: 20 minutes to hang, plus a wash every month or two. Lower-cost alternative: a plain white waffle-weave curtain, which is widely available and inexpensive.
6. A Wood-Look Accent Suitable For Humidity
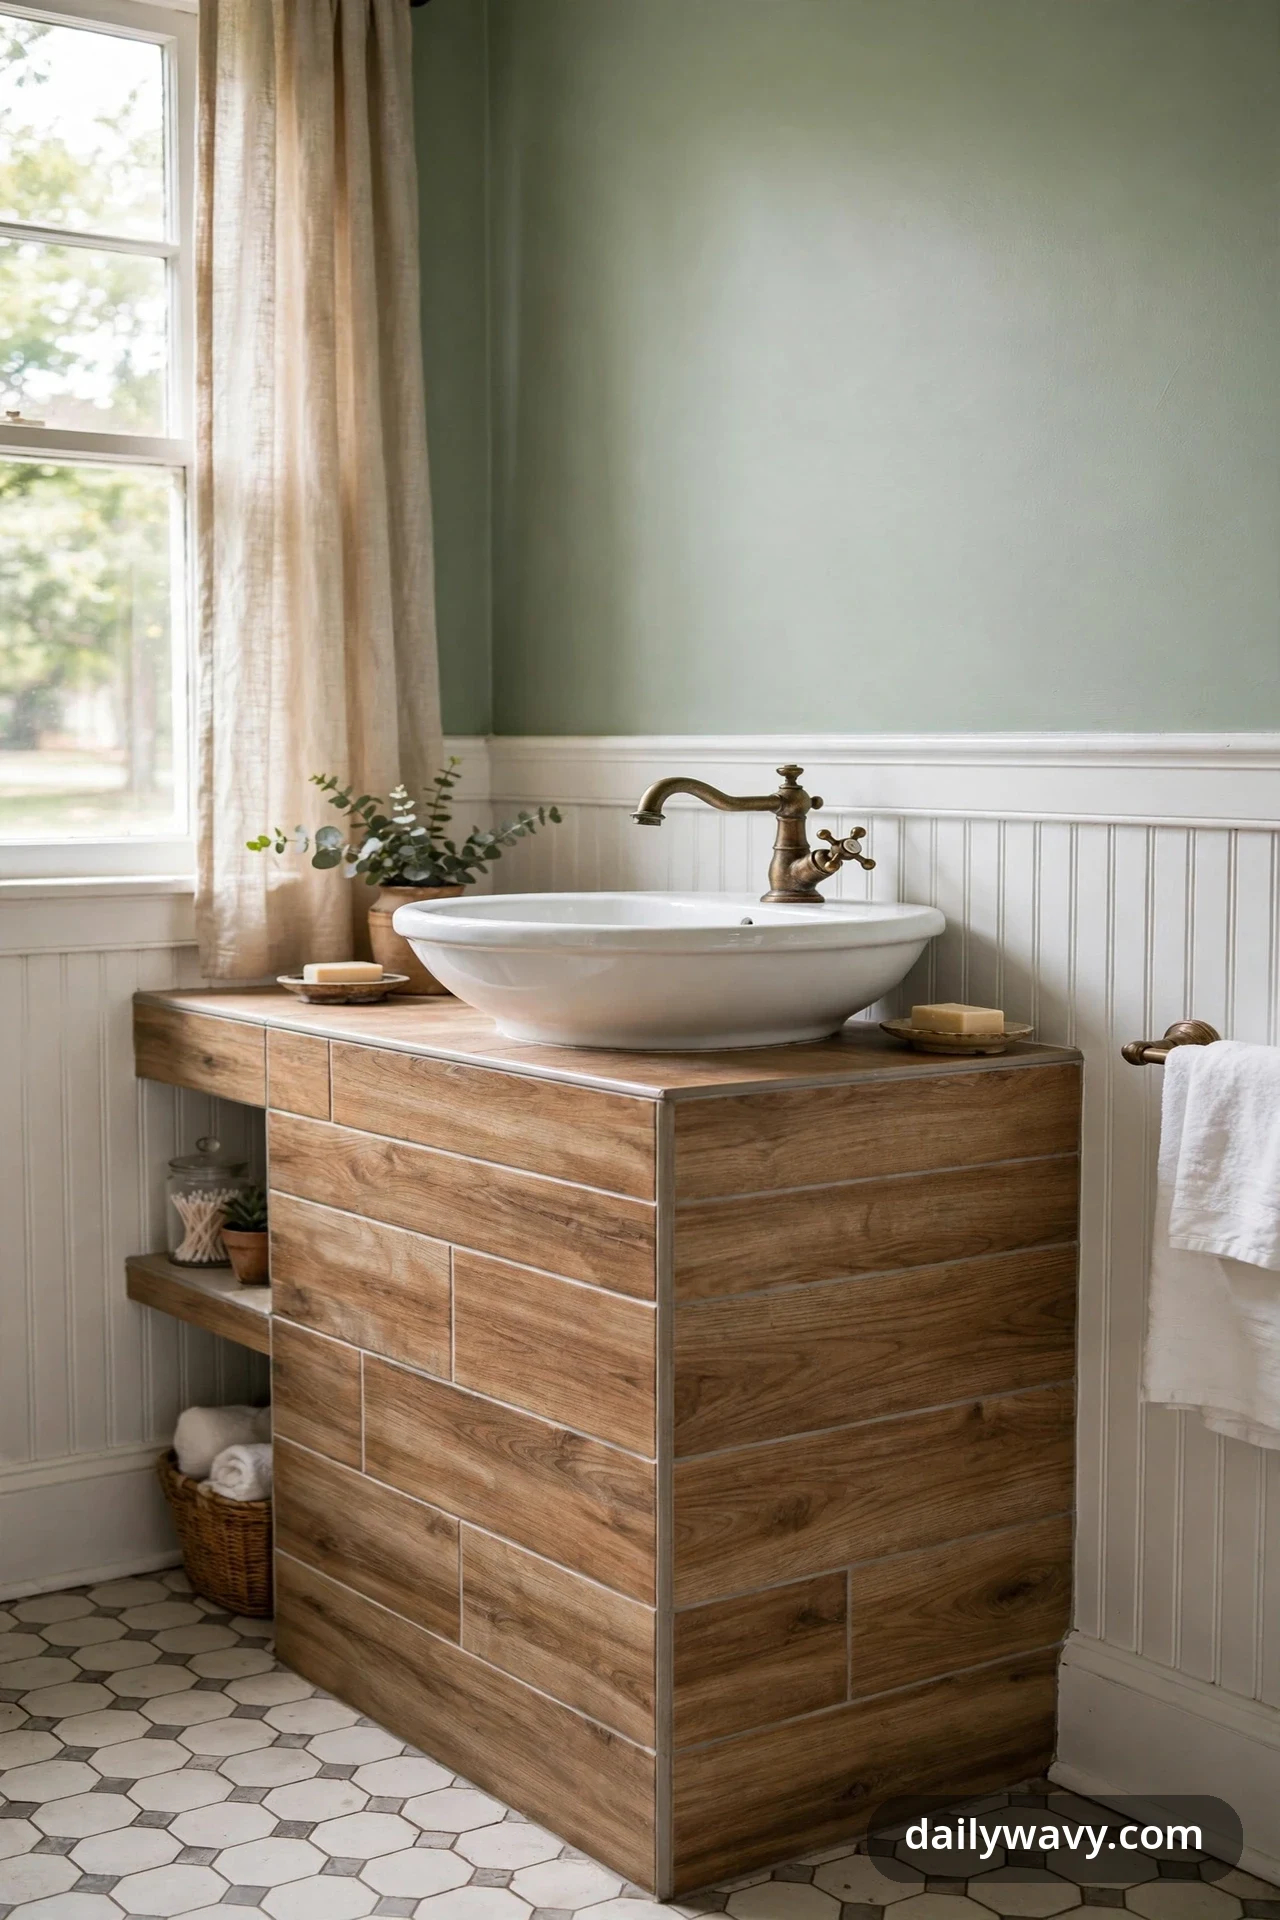
Real wood brings the warmth vintage bathrooms need, but raw wood and steam are a short-lived pairing. The practical answer is a wood-look accent engineered for humidity: a wood-grain porcelain tile panel on the vanity front, a sealed teak shelf, or a vinyl plank wainscot rated for wet areas. You get the grain and honey tones of aged wood with a surface that shrugs off daily steam.
What to measure: for a vanity panel, the exact front dimensions minus a quarter inch for fitting; for a shelf, the wall span and a depth of 6 to 8 inches. Materials: wood-look porcelain tile with matching grout, or solid teak finished with exterior oil, or a bathroom-rated rigid plank. Never use laminate flooring offcuts or unfinished pine in a wet zone. Placement: vanity fronts, a shelf outside direct splashes, or a framed mirror surround. Keep raw edges sealed and caulked. Approximate effort: a weekend for a tiled panel, an afternoon for a shelf. Lower-cost alternative: a wood-look adhesive film on an existing flat vanity front, sealed at the edges with clear caulk.
7. A Modest Wall Shelf Outside Splashes
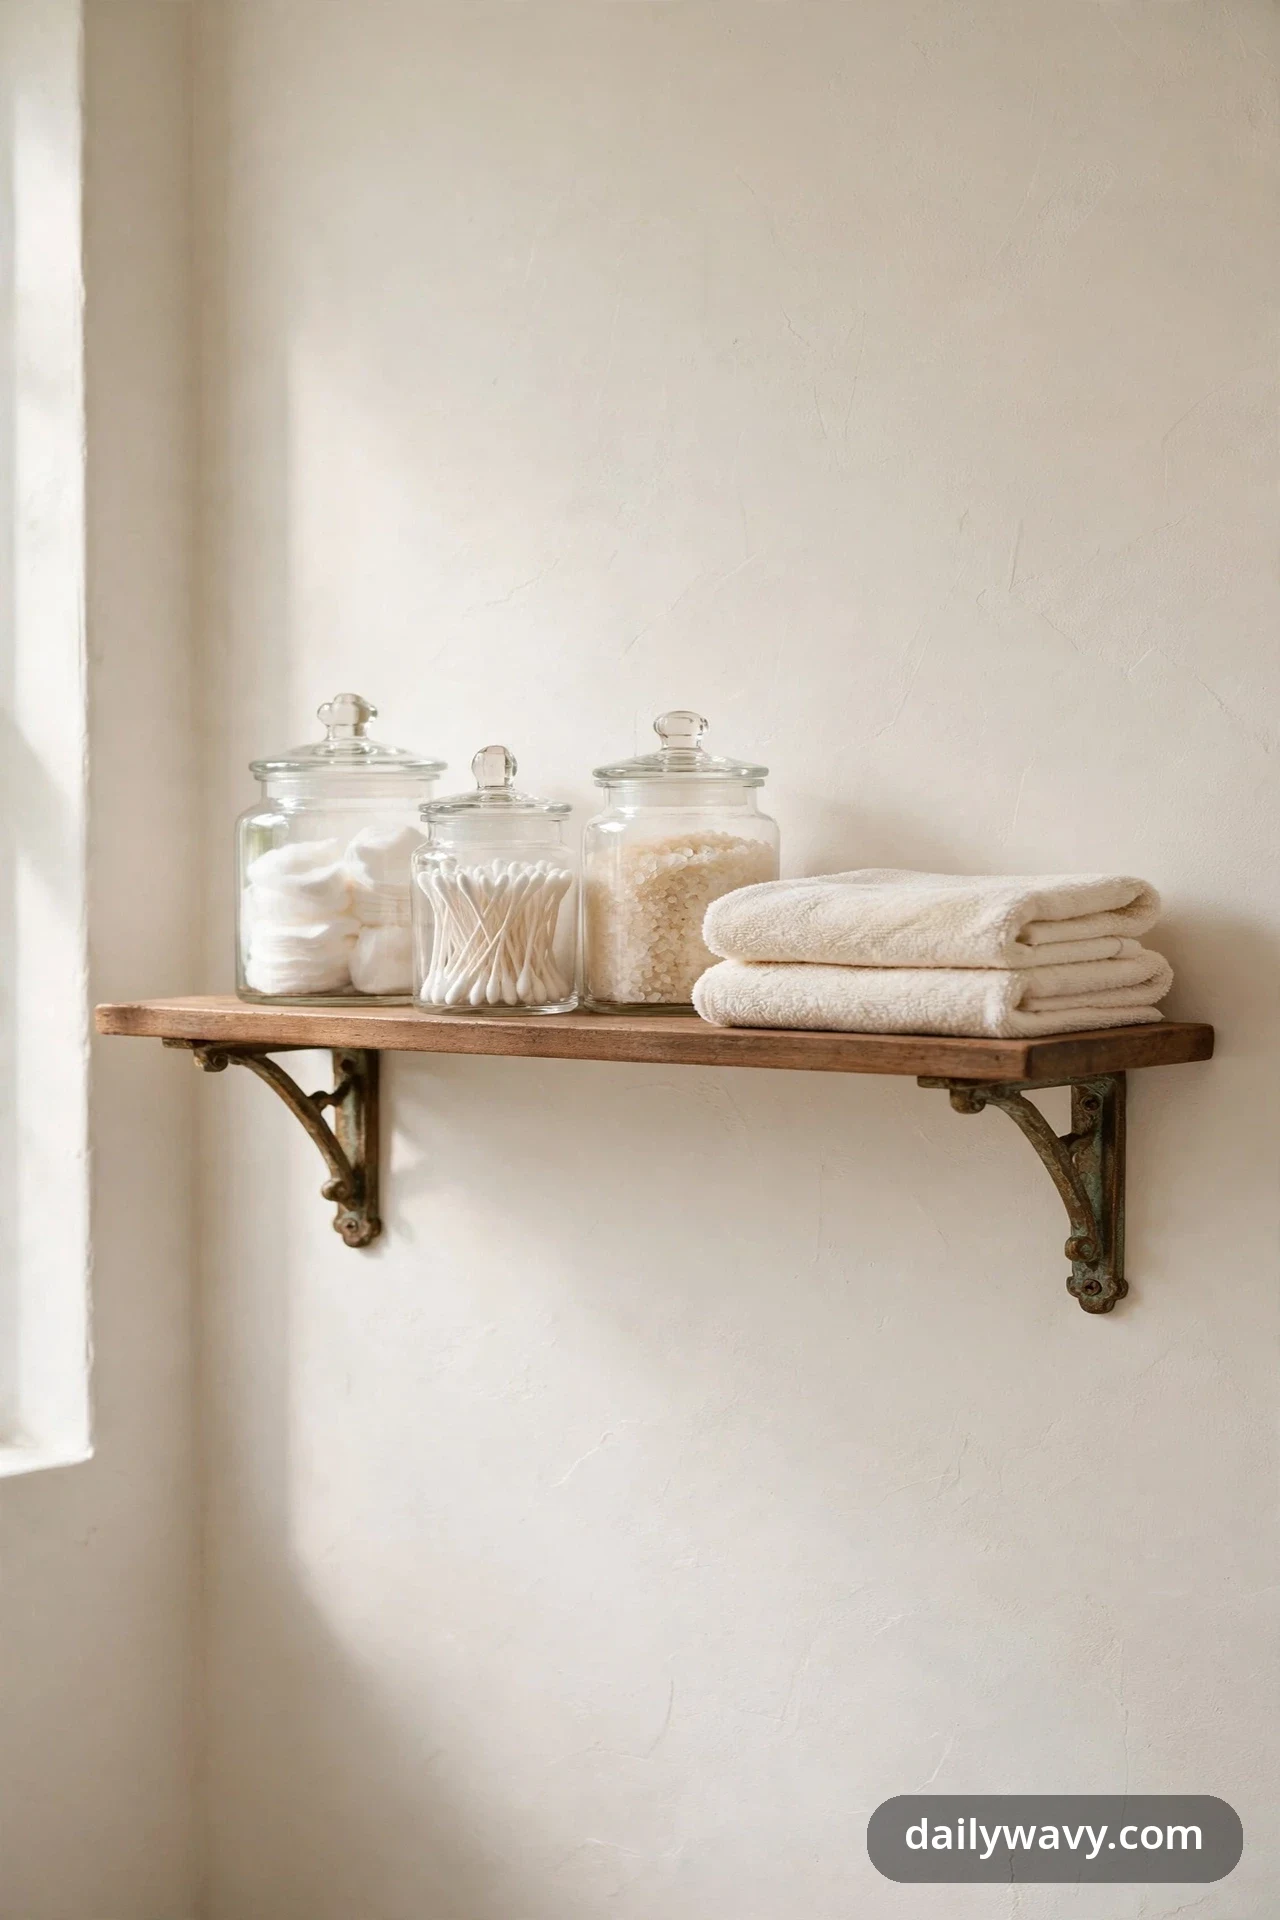
One modest shelf holds the pretty things, apothecary jars, a folded towel stack, a small plant, without turning the bathroom into a dusting project. The key word is outside splashes: mount it where sink spray and shower mist do not reach, and everything on it stays clean and dry. A single 24-inch shelf with aged-brass brackets is the vintage sweet spot.
What to measure: a wall span at least 24 inches wide, mounted 60 to 66 inches from the floor so items sit above the sink backsplash zone. Keep the shelf at least 18 inches from the shower head’s spray radius. Materials: a sealed wood or stone shelf, two brackets rated for 15 pounds each, and screws into studs or masonry anchors. Glass jars with lids keep cotton balls and salts fresh in humidity. Placement: above the toilet, beside the mirror, or on a dry side wall. Approximate effort: about an hour. Lower-cost alternative: a painted pine shelf with two simple black brackets, sealed with a moisture-resistant topcoat.
8. A Small Vase With One Stem
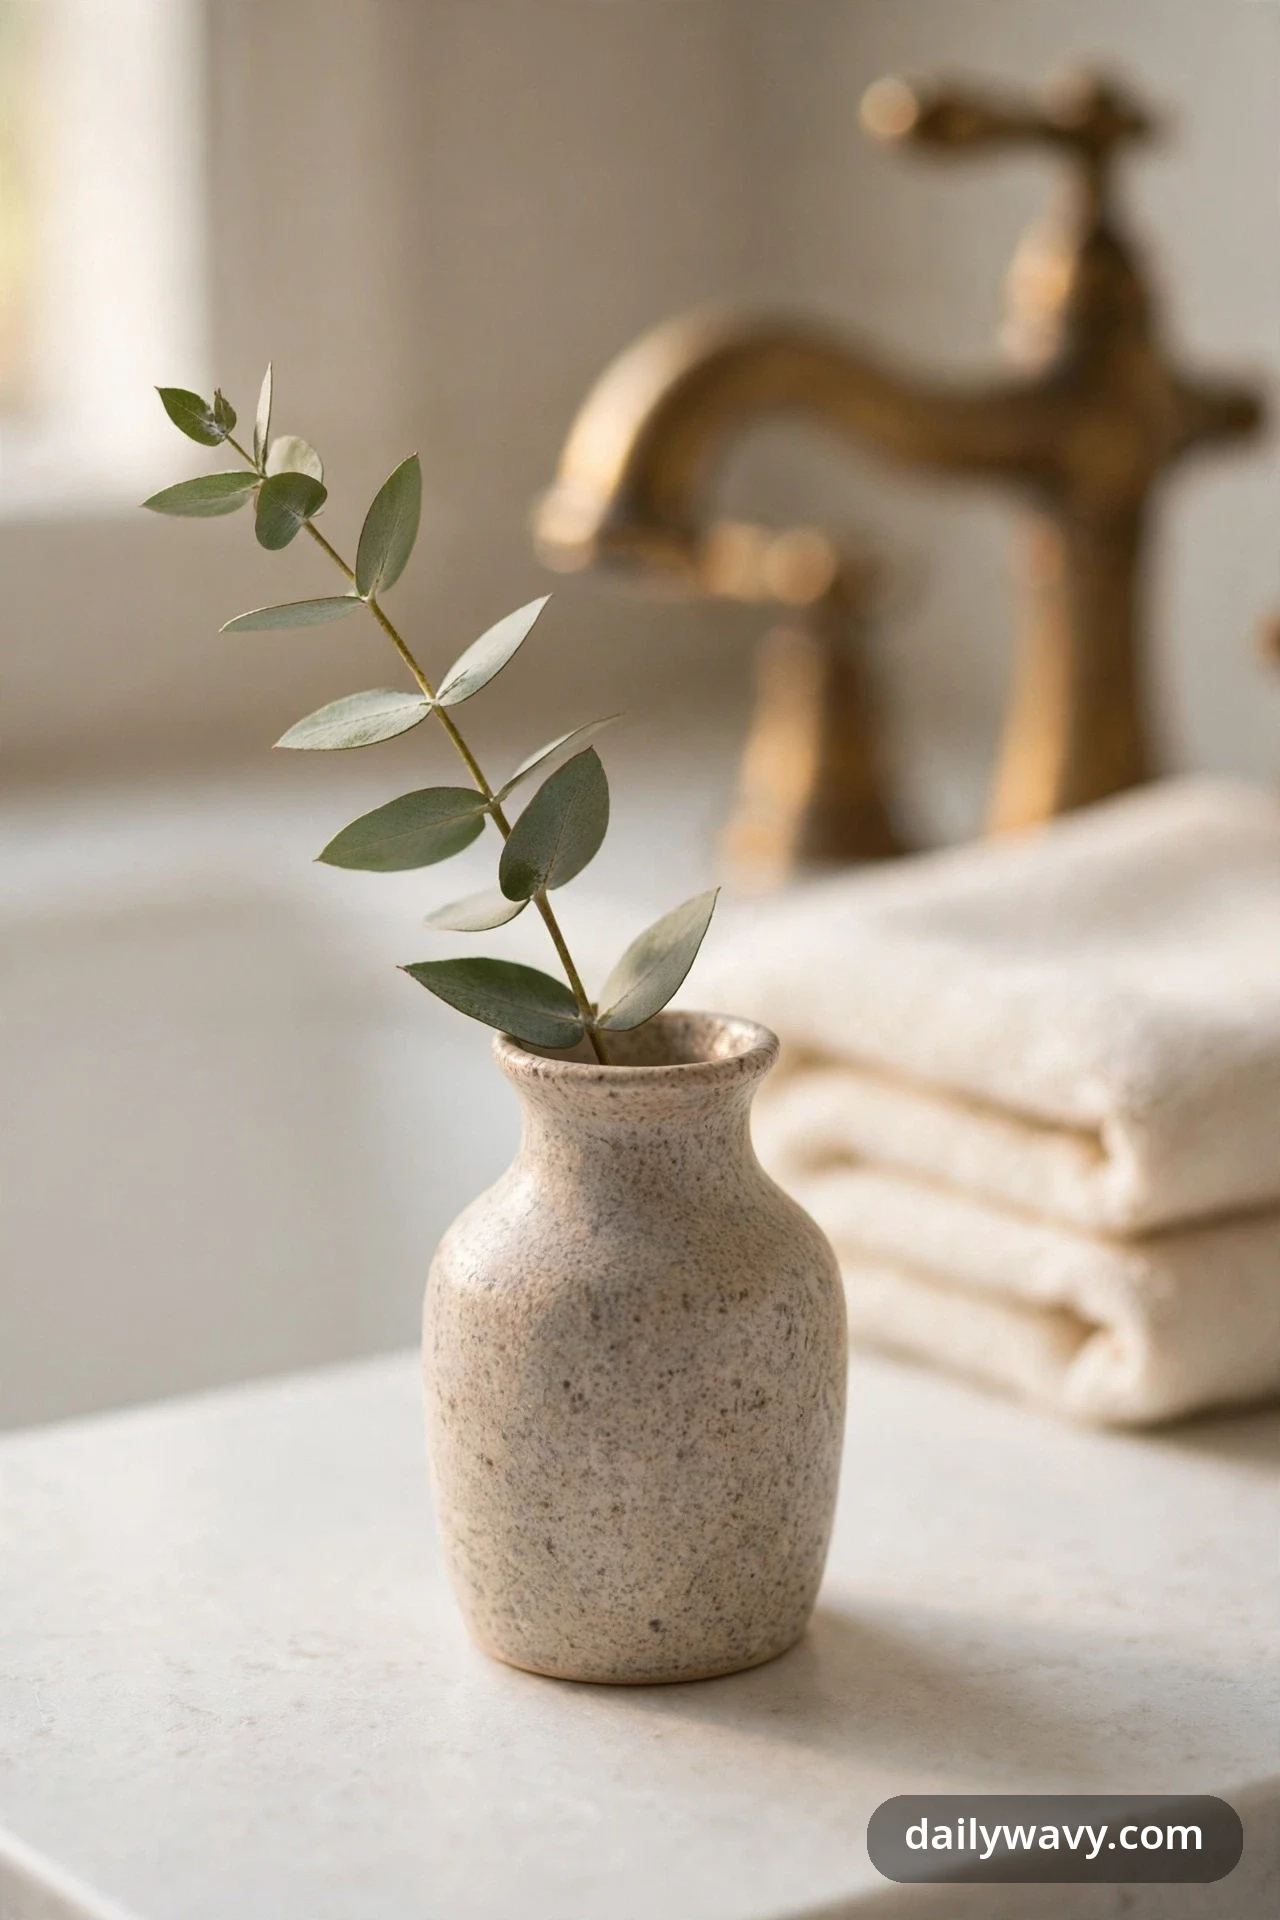
A single stem in a small vase is the finishing touch that makes a bathroom feel considered rather than merely functional. One eucalyptus sprig, one dried lavender stem, or one fresh flower from the garden is enough. Keep eucalyptus out of reach of pets and small children, since it is toxic if eaten. The restraint is the point: a tiny arrangement cannot clutter, cannot rot into a science project, and takes only a moment to refresh.
What to measure: a vase 4 to 6 inches tall with a narrow neck so the stem stands upright, and a footprint small enough for the vanity’s back corner. Materials: a ceramic, stoneware, or glass bud vase; fresh stems weekly or good dried stems that last months. Avoid tall top-heavy vases near the tap where an elbow can topple them into the basin. Placement: the back corner of the vanity, the windowsill, or the wall shelf from idea 7. Approximate effort: minutes. Lower-cost alternative: a small recycled glass bottle and a clipping from a garden shrub.
9. A Repeated Metal Finish In Accessories
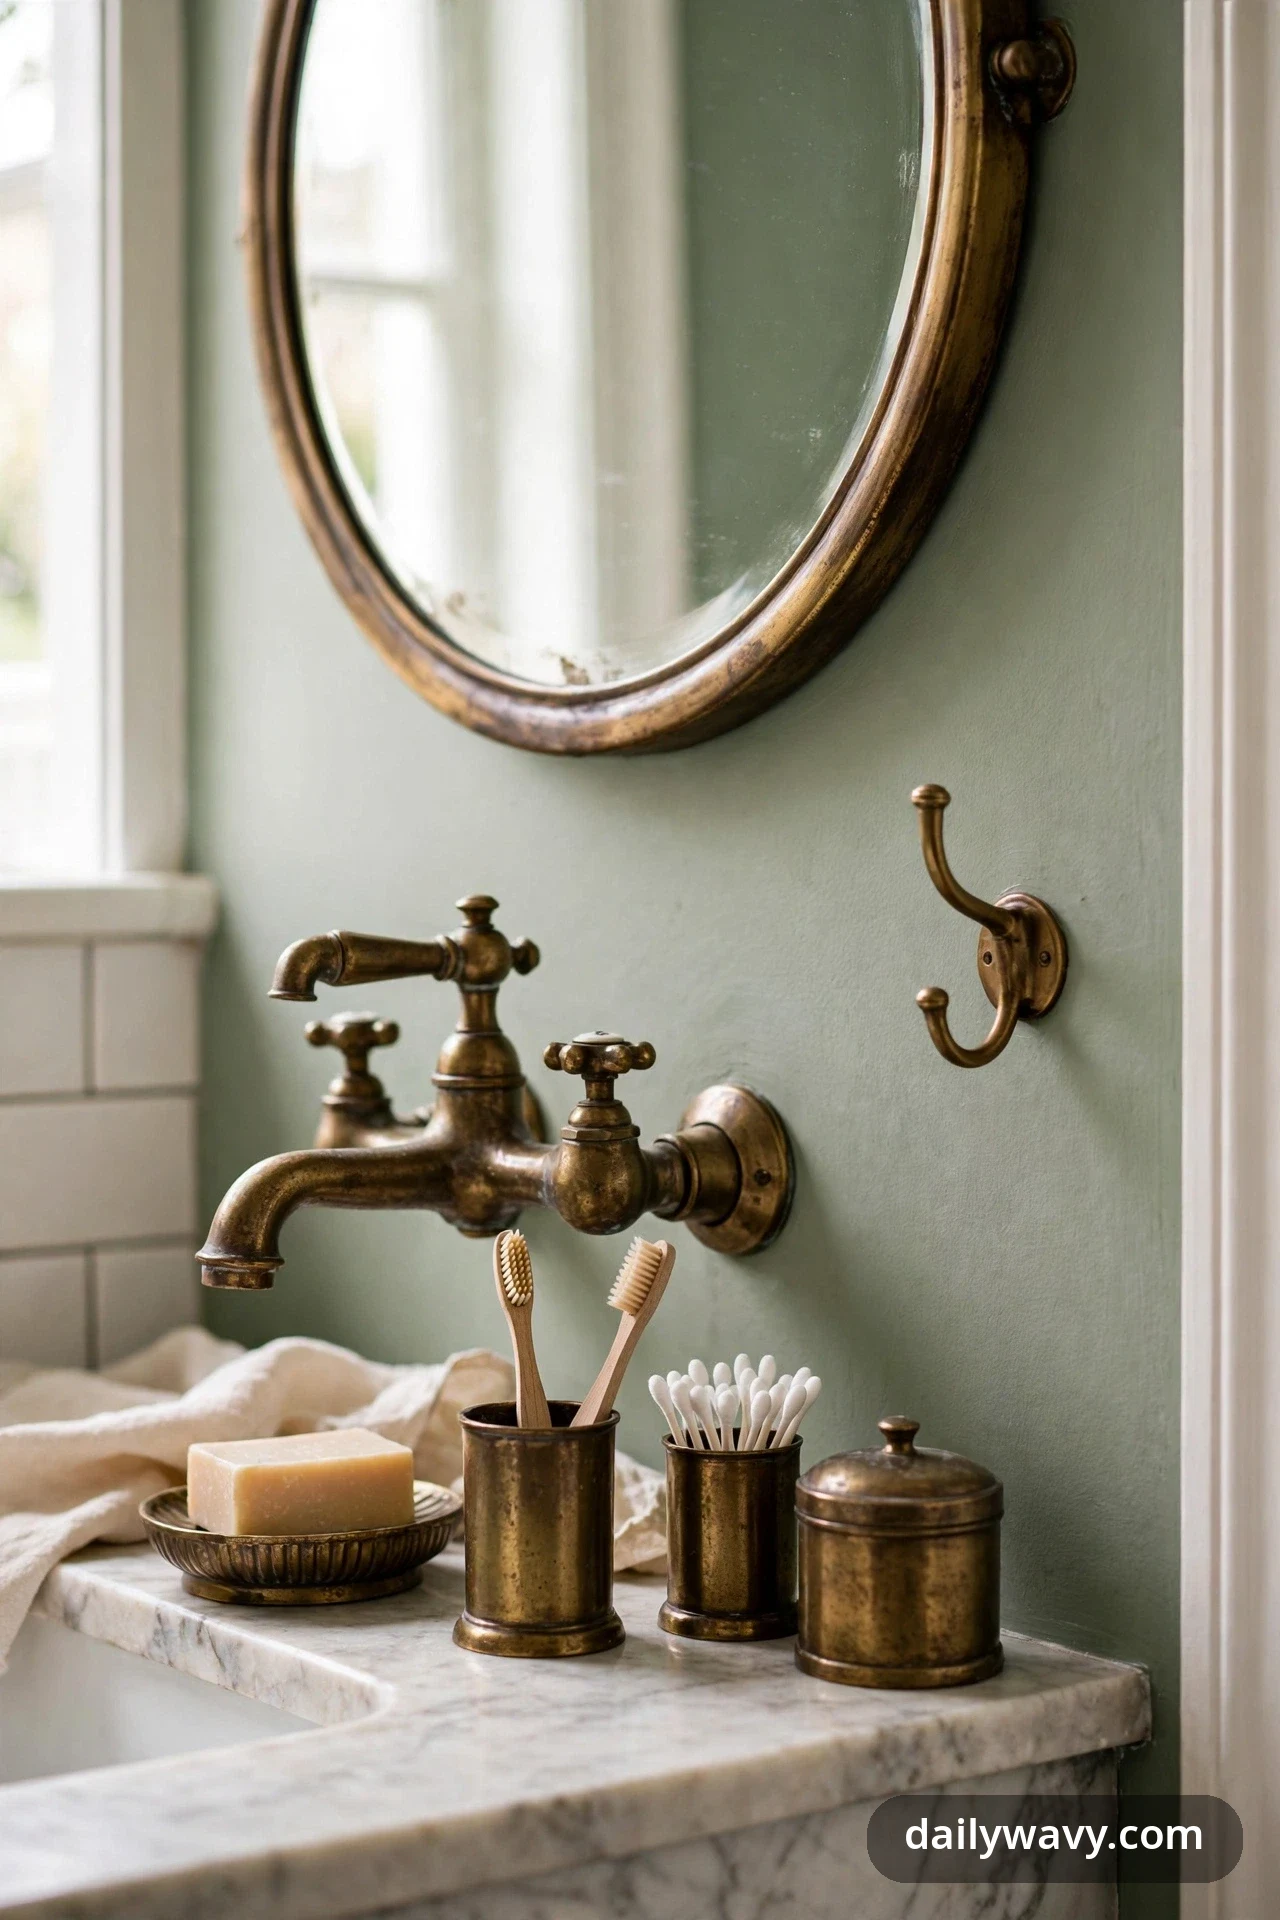
Vintage bathrooms look collected over time, but the pros repeat one metal finish at least three times so the room still feels coherent. Pick the finish that matches your faucet, aged brass, polished nickel, matte black, or oil-rubbed bronze, then echo it in the mirror frame, a hook, and a small accessory like a tray or soap dish. Three repetitions is usually where it starts to read as a decision.
What to measure: nothing to measure, but audit what you have. List every visible metal item, then replace the outliers rather than buying all new. Materials: accessories in the same finish family; note that “brass tone” varies wildly between brands, so compare in daylight before committing. Placement: spread the three repetitions across the room, faucet plus mirror plus hook, rather than clustering them in one corner. Approximate effort: a shopping afternoon. Lower-cost alternative: metallic spray paint in the matching finish, applied to existing wood or plastic accessories and sealed with a clear coat. Spray outdoors or in a well-ventilated area.
10. A Low Storage Cabinet
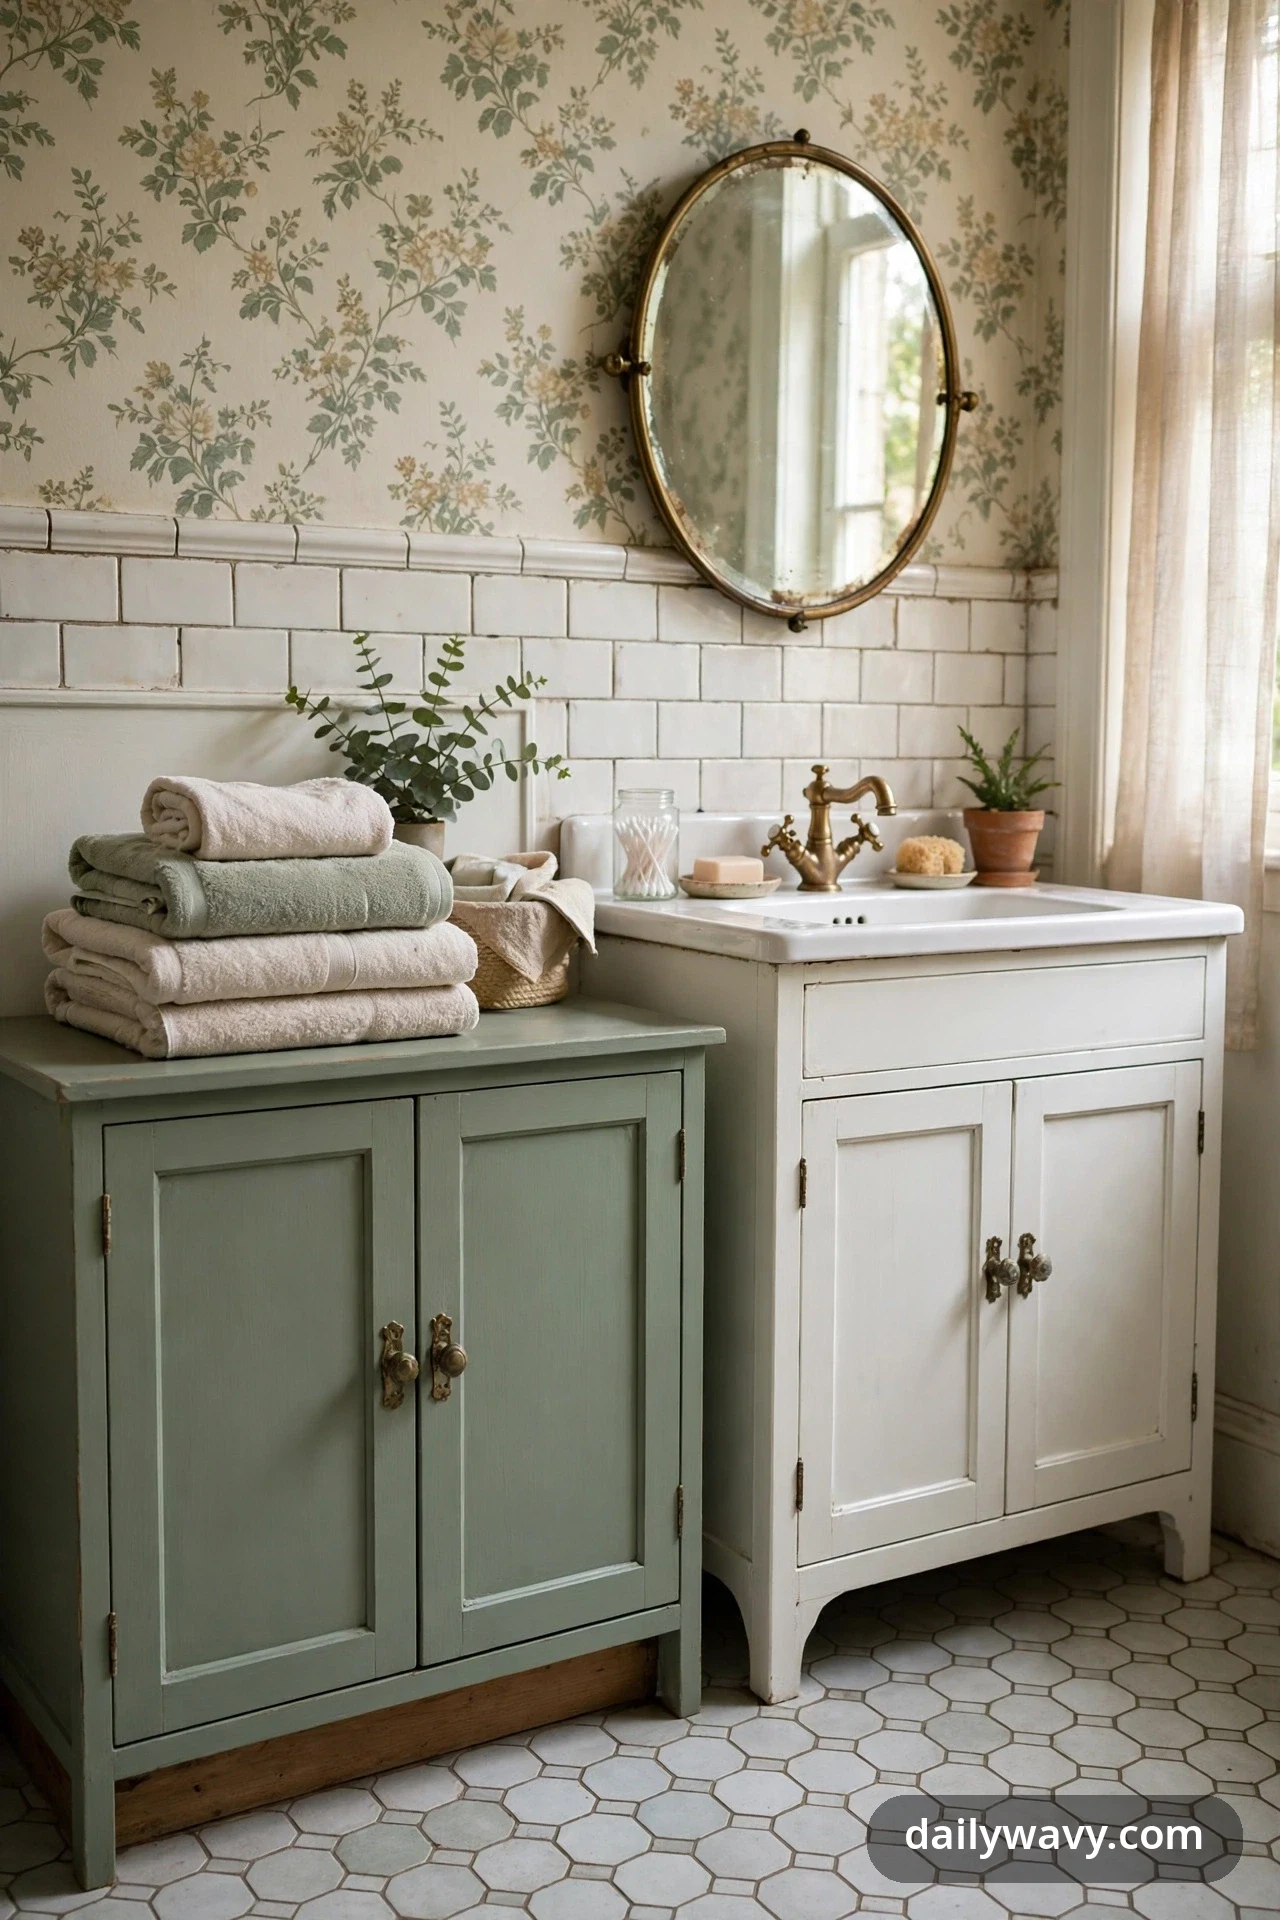
A low cabinet with closed doors swallows the clutter that open shelves display: cleaning supplies, spare shampoo, the hair dryer. In a vintage bathroom, a painted pine or MDF cabinet with simple shaker doors and aged-brass knobs reads period-appropriate, and because it is low, it doubles as a surface for a folded towel stack or the vase from idea 8.
What to measure: the wall or floor footprint, keeping the cabinet no taller than 30 inches so it stays below the sightline of the vanity, and at least 3 inches clear of the toilet’s side for cleaning access. Materials: a moisture-sealed cabinet (paint all six sides, including the back and underside), solid brass or brass-look knobs, and felt feet if it sits on tile. Placement: beside the vanity, under a window, or against a dry wall. Never push it hard against a shower curb where standing water can wick upward. Approximate effort: a weekend if painting a flat-pack cabinet, an afternoon to install. Lower-cost alternative: a secondhand nightstand, sealed and fitted with new knobs. If the piece is very old, test for lead paint before sanding.
11. A Neatly Folded Hand-Towel Grouping
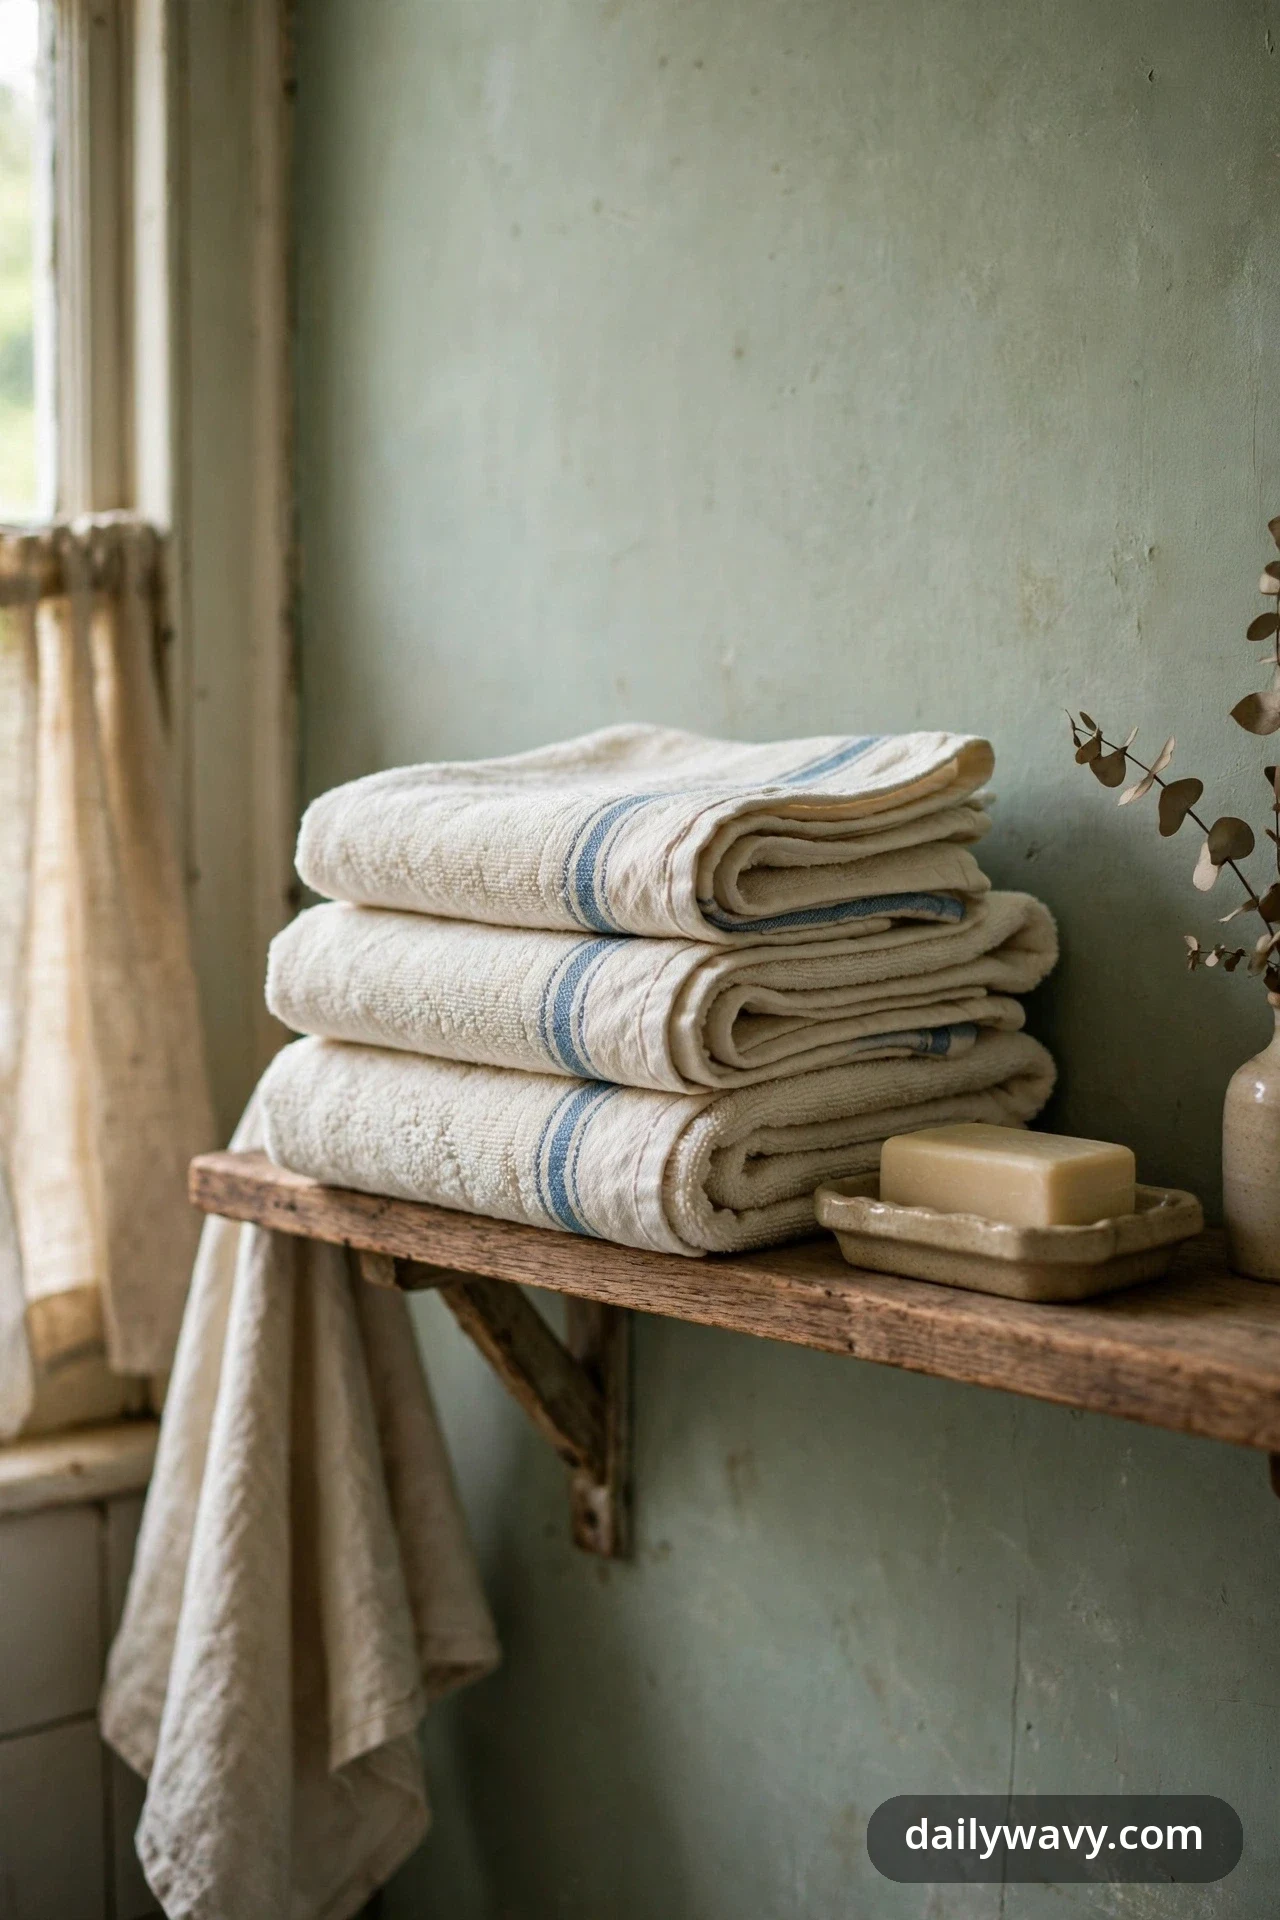
Folded hand towels are the cheapest styling tool in the bathroom. A neat stack of three or four, folded in thirds so the edges align, looks deliberate in a way a single draped towel never does. Choose cream or oatmeal with one thin vintage stripe, a faded blue or sage ticking edge, and the grouping reads as vintage without a single antique in sight.
What to measure: the shelf or basket that will hold them, then fold each towel to fit with about an inch of clearance. Standard hand towels fold neatly to roughly 8 by 12 inches in thirds. Materials: 100 percent cotton or linen-blend towels, which fold crisper and survive hot washes better than microfiber. Placement: on the wall shelf, in the low cabinet, or in a small stack on the vanity’s dry end. Rotate the stack so the same towel is not always on top. Approximate effort: folding takes only a few minutes. Lower-cost alternative: refold the towels you already own; the technique is free.
12. A Patterned Fabric Accent
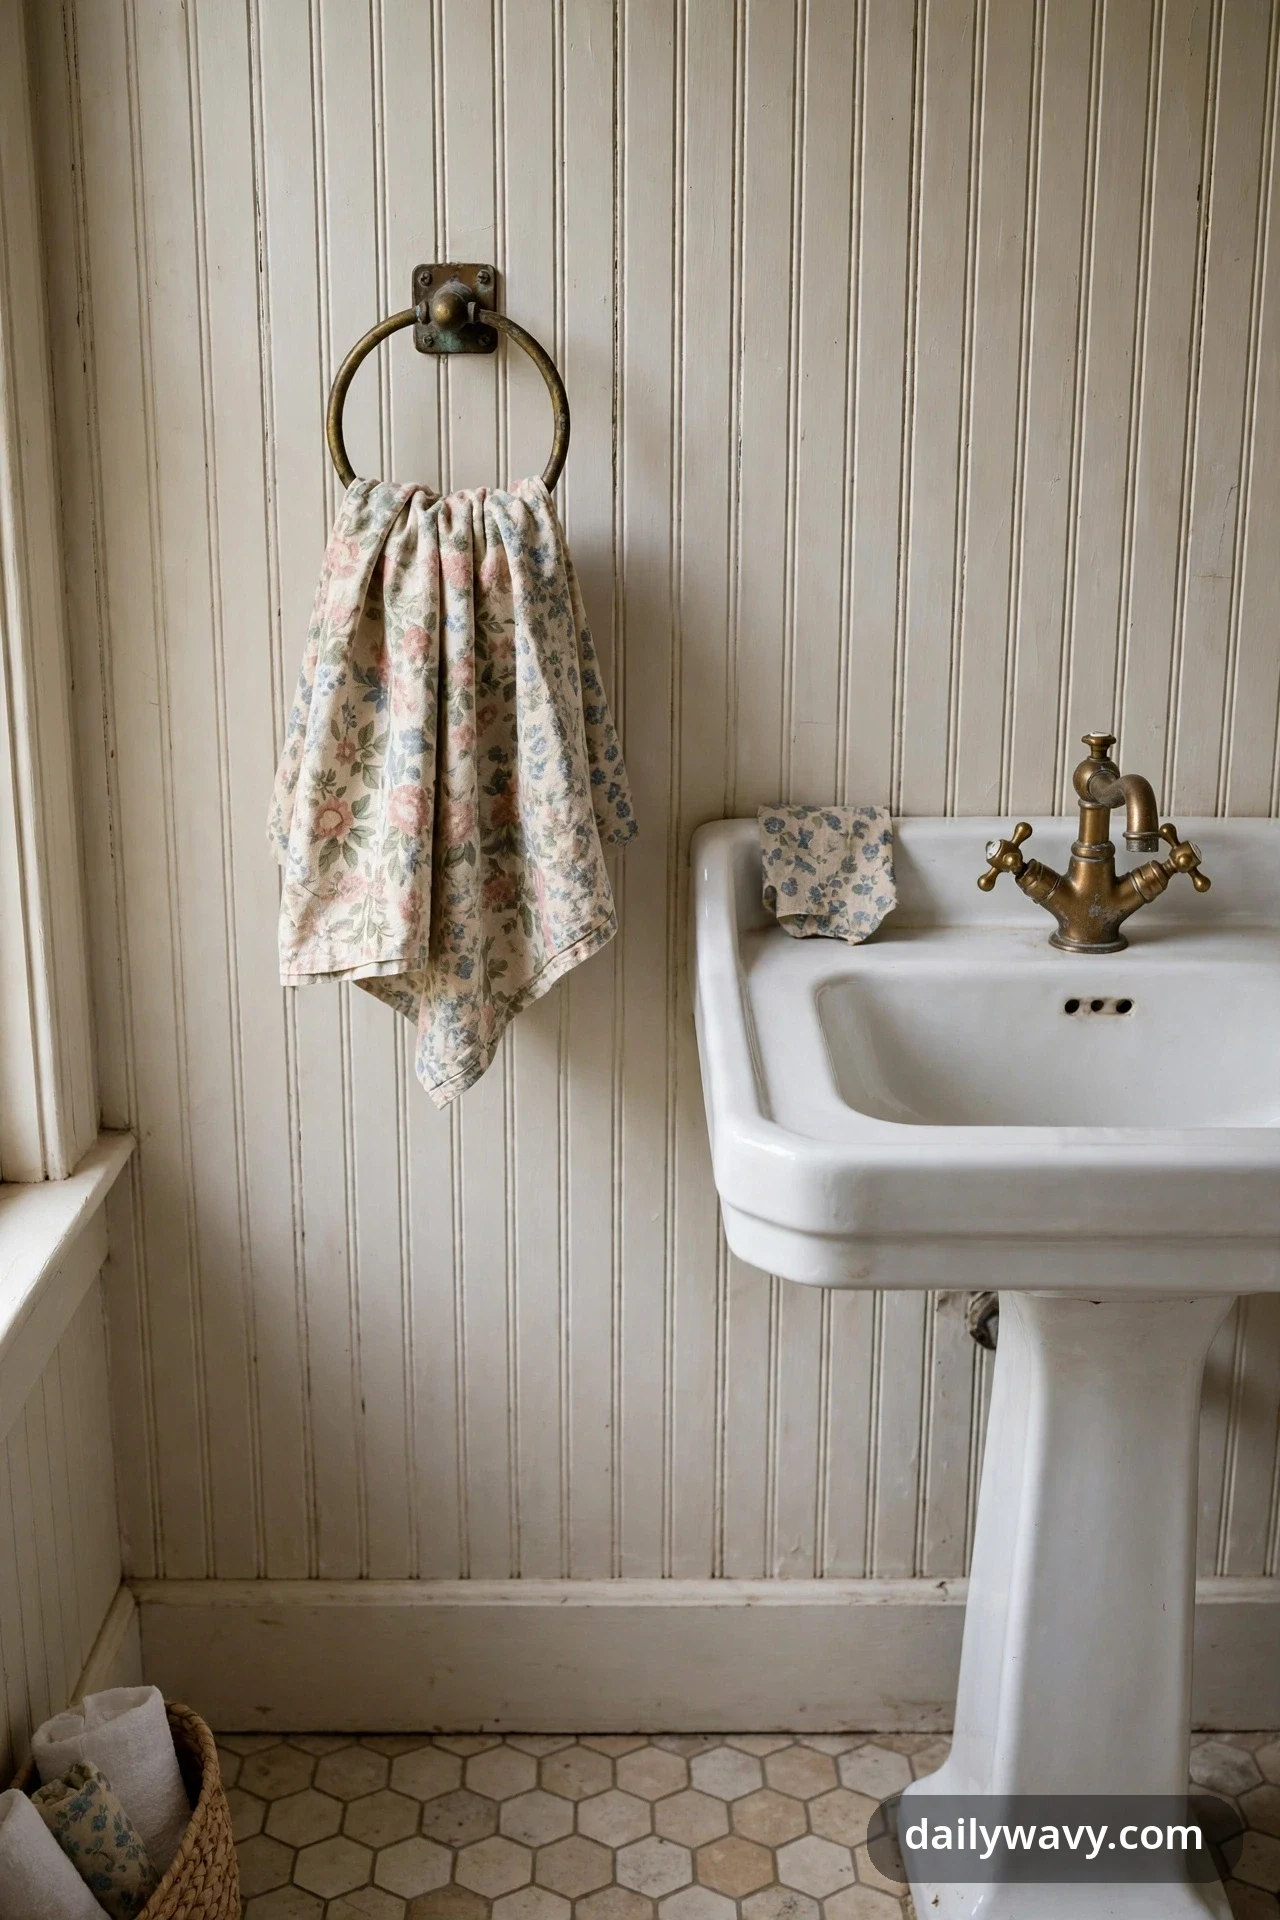
One small patterned fabric keeps a vintage bathroom from feeling flat. A hand towel in a faded floral, a ticking-stripe Roman shade, or a small upholstered stool cushion in a classic print adds the pattern vintage rooms are known for, while everything else stays plain so the pattern has room to breathe. Small doses are the rule: one pattern per bathroom.
What to measure: for a towel, standard hand-towel size; for a shade, the window recess width minus a quarter inch. Materials: cotton or linen fabrics that wash well; for anything near water choose quick-dry weaves. Avoid silk or dry-clean-only fabrics anywhere in a bathroom. Placement: the towel ring beside the sink, a shade on the window, or a cushion on the stool from idea 2. Approximate effort: none for a towel, an afternoon for a no-sew shade made with hemming tape. Lower-cost alternative: a single vintage-print fat quarter from a fabric shop, hemmed into a hand towel.
13. A Simple Wall-Color Focal Area
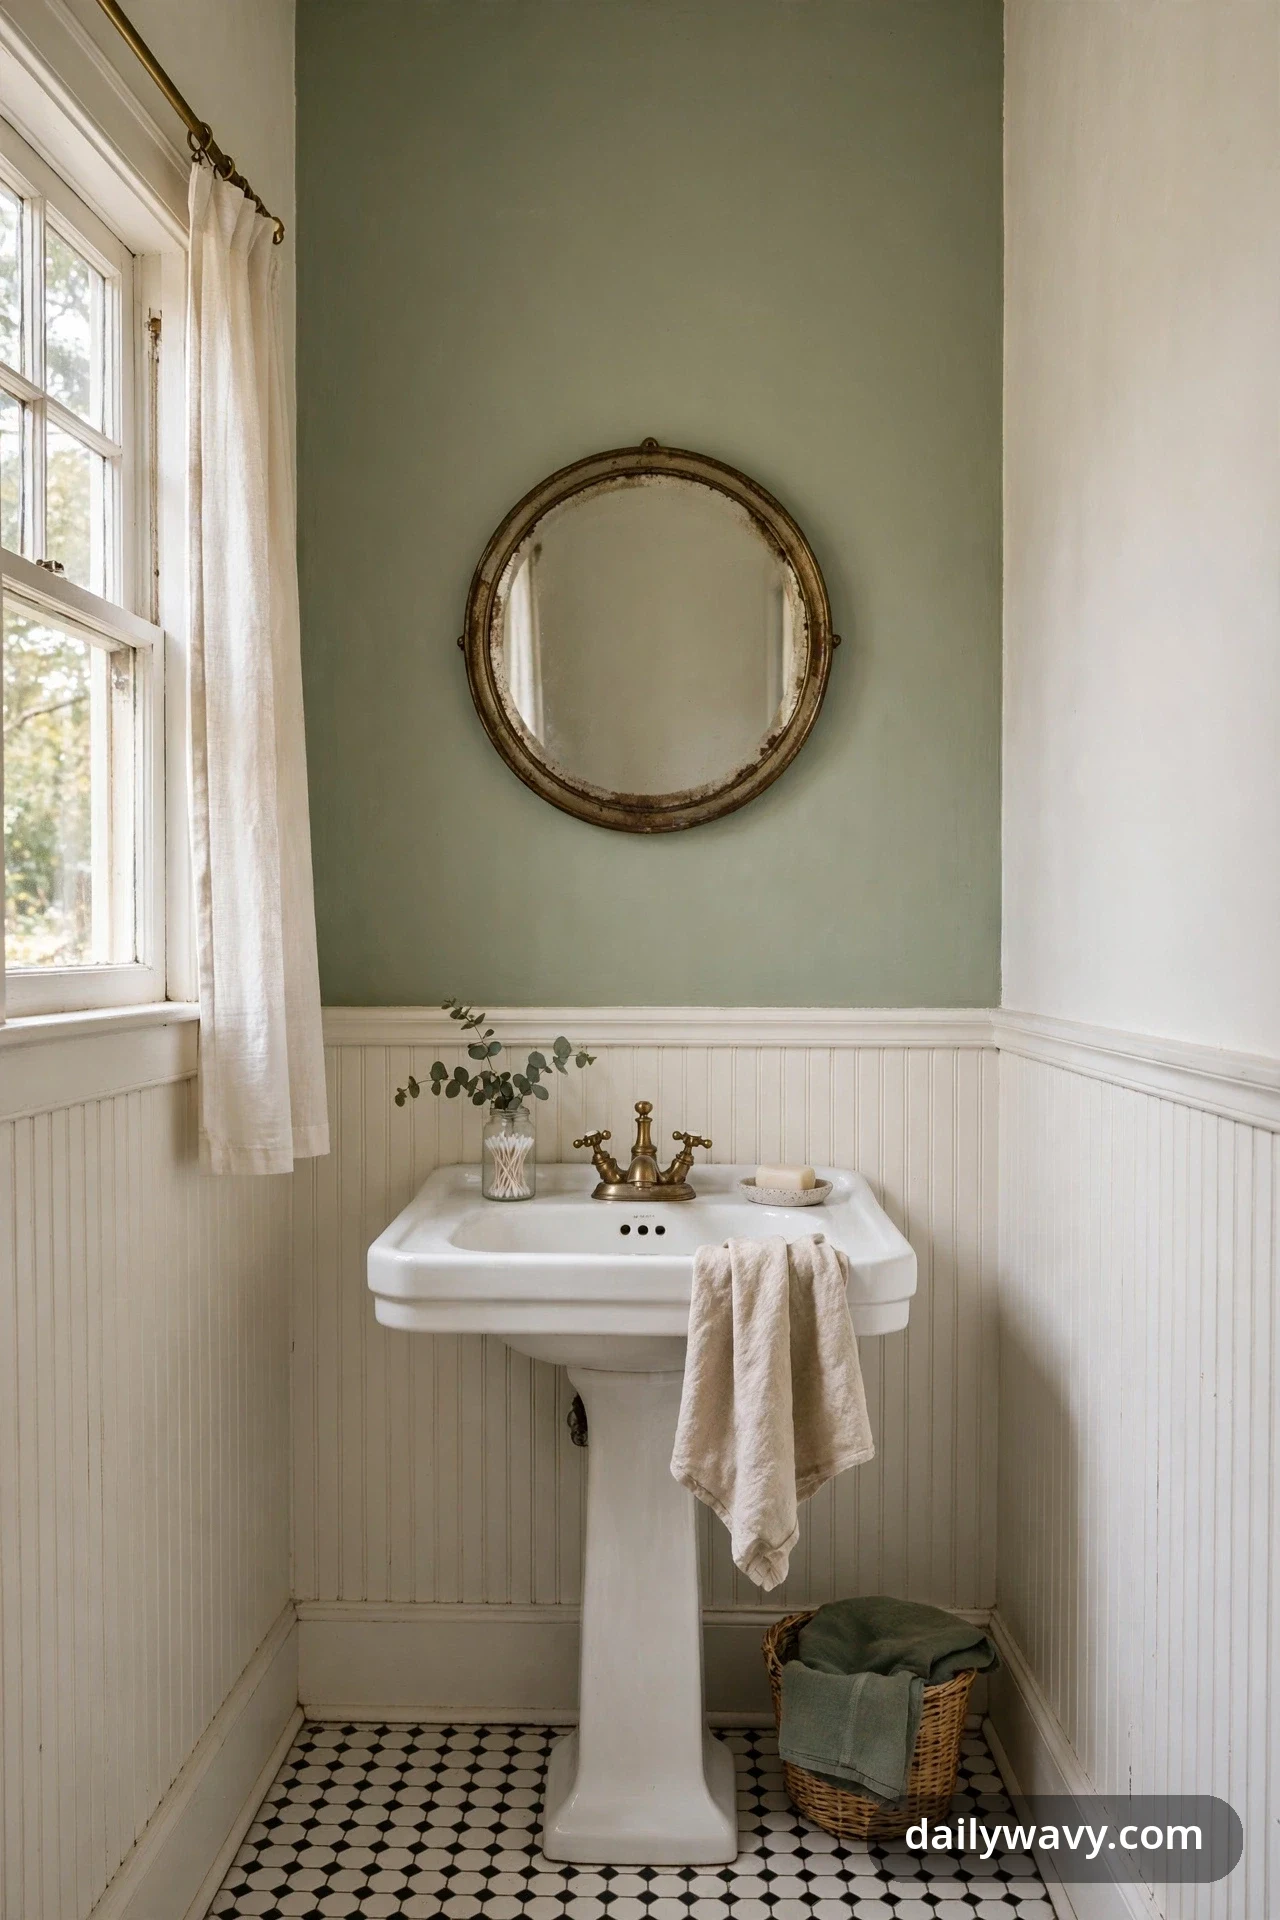
One painted wall gives a bathroom a focal point without tile work or wallpaper risk. A warm sage, dusty blue, or soft putty behind the mirror and vanity reads vintage instantly, especially against white beadboard and trim. Because it is just paint, it is also the most reversible big change on this list.
What to measure: the wall area behind the vanity, typically one wall 5 to 8 feet wide. One quart of quality paint covers about 100 square feet per coat, which is usually enough for one bathroom wall; a wide wall may need a second quart for two coats. Materials: a bathroom-rated paint, satin or semi-gloss, which resists moisture far better than flat finishes. Do not use ordinary flat wall paint in a steamy bathroom; it marks and mildews. Placement: the wall behind the mirror and vanity, or the wall opposite the door so it is the first thing you see. Keep the remaining walls warm white. Approximate effort: a weekend including prep and two coats. Lower-cost alternative: a single quart of mistinted bathroom paint from the hardware store’s oops shelf.
14. A Basket For Rolled Clean Towels
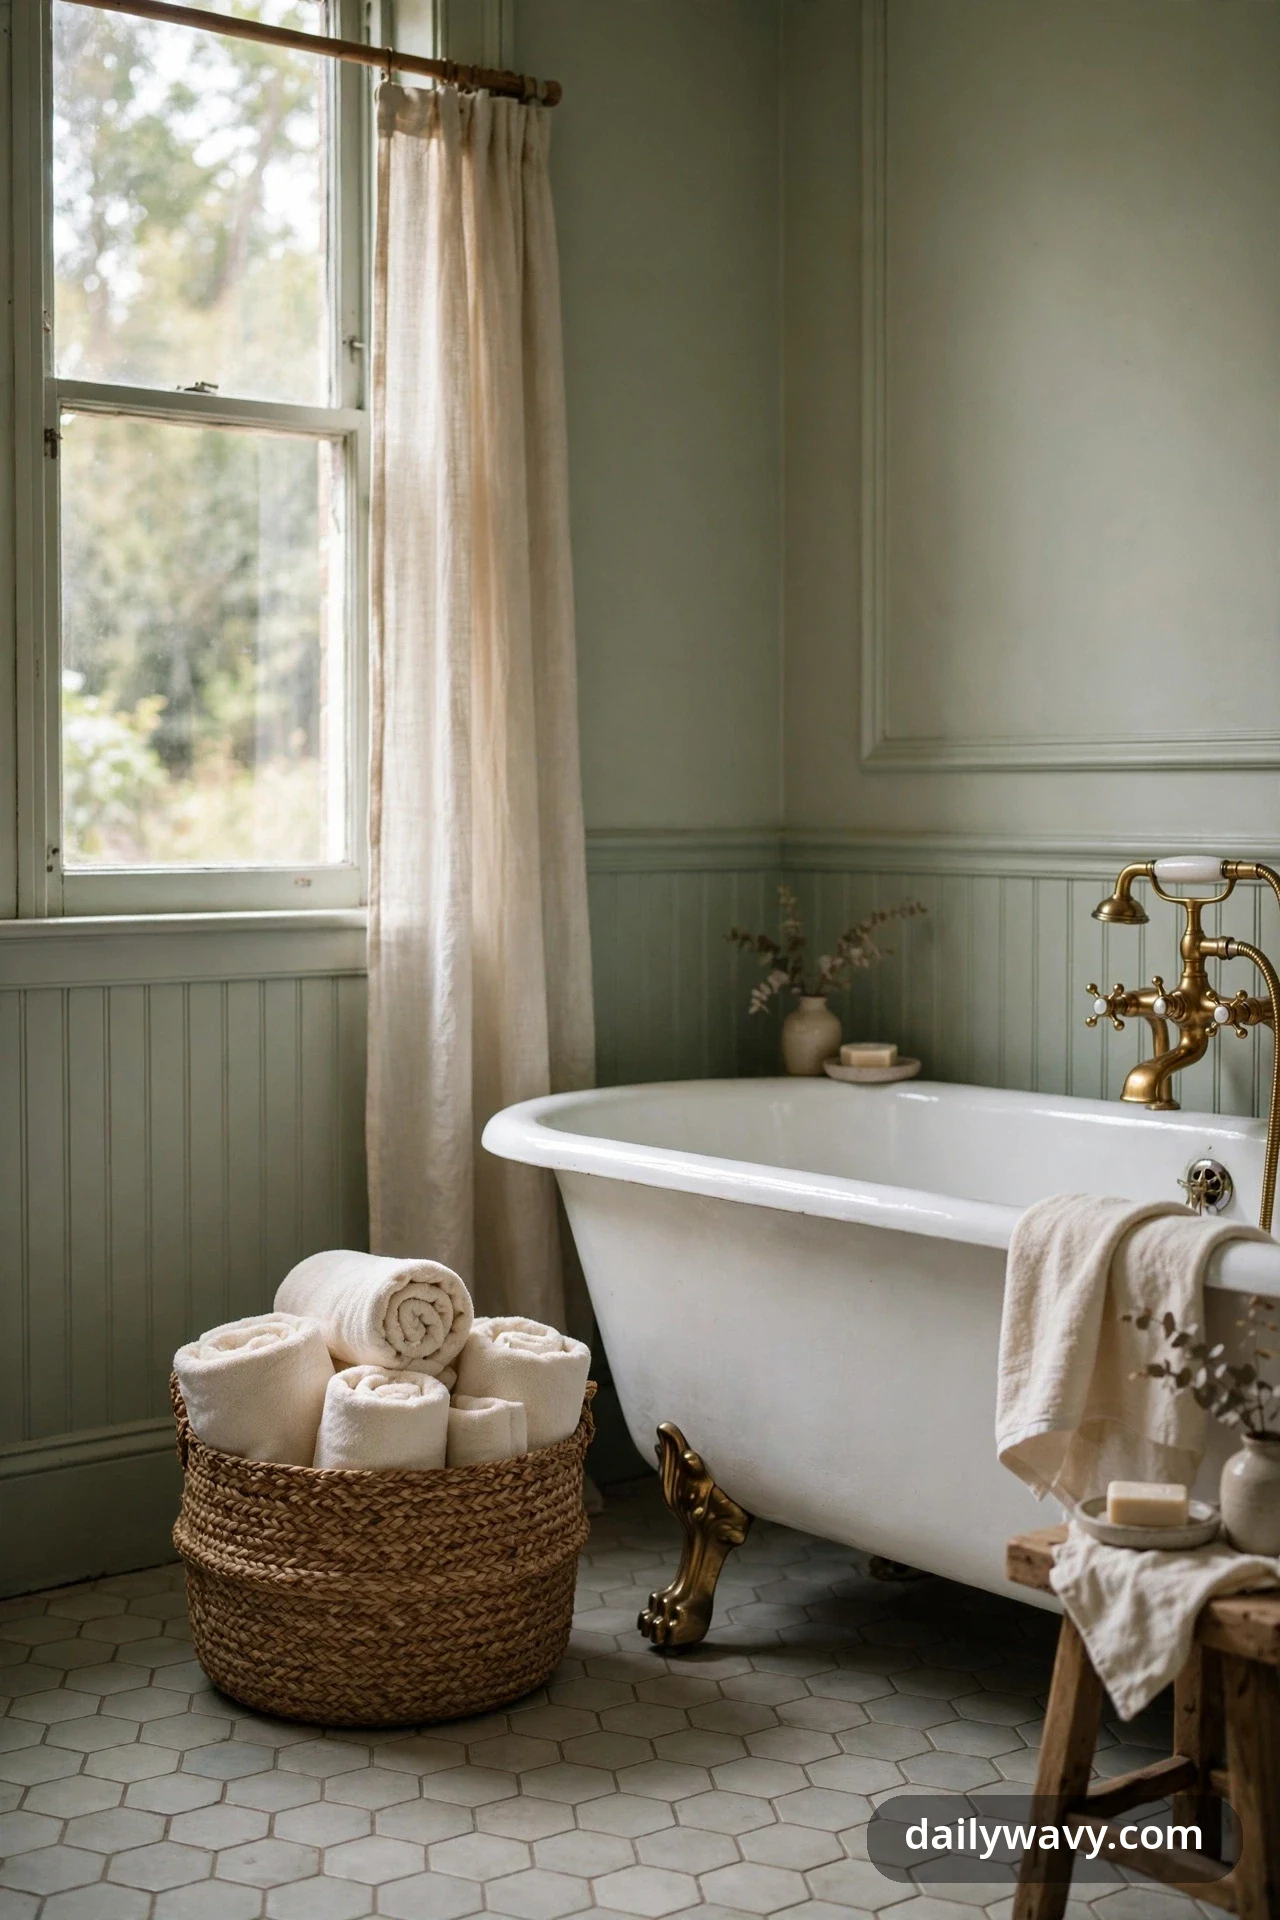
Rolled towels in an open basket are the spa trick that works in real bathrooms too. Rolling shows off the towel edges, fits more towels in less space than folding, and the basket itself adds the woven texture vintage bathrooms love. Keep it to clean towels only; damp used towels need air, not a basket.
What to measure: standard bath towels roll to about 6 inches in diameter, so choose a basket at least 12 inches wide and 10 inches deep to hold four to six rolls. Materials: a sturdy open-weave basket in seagrass or water hyacinth, with no lid so the rolls stay visible. Set it on felt pads to protect the floor. Placement: beside the tub, under the wall shelf, or on the low cabinet. Approximate effort: rolling takes only a few minutes. Lower-cost alternative: roll the towels you own into a laundry basket you already have while you hunt for the perfect vintage one.
Vintage bathroom questions, answered
How do I make a modern bathroom look vintage without renovating?
Start with the mirror, the metal finish, and one painted wall. A style-matched mirror frame, three repetitions of an aged metal finish, and a warm painted focal wall change the era of the room with zero plumbing. Add folded towels, a hook rail, and baskets for the finishing layer.
What materials actually survive bathroom humidity?
Sealed stone, porcelain and ceramic tile, glass, powder-coated metal, solid teak, and exterior-rated finishes. Paint all six sides of any wood piece, including backs and undersides, and favor bathroom-rated paints in satin or semi-gloss. Ventilation matters as much as materials: run the exhaust fan during showers and for 20 minutes after.
Can I use regular wallpaper in a bathroom?
Not in a steamy bathroom. Ordinary wallpaper paste softens and seams lift in constant humidity, so keep standard paper to powder rooms with strong airflow and no shower. Where the manufacturer explicitly rates a wallcovering for bathrooms, follow their installation instructions exactly.
Where should I never put electrical accessories?
Never beside water. Keep hair dryers, heaters, plug-in diffusers, and chargers well away from sinks, tubs, and showers, and never drape cords across wet surfaces. Use battery or rechargeable alternatives for styling near water, and keep outlets covered when not in use.
How do I keep a small vintage bathroom practical?
Give everything a closed home. A low cabinet with doors, a lidded basket for spares, and a hook rail for daily towels hide the clutter that makes small rooms feel chaotic. Then let one or two open moments, the rolled-towel basket, the single stem, supply the style.
What finish should I pick for vintage hardware?
Match what you already have. Aged or unlacquered brass is the classic vintage choice and develops a natural patina; polished nickel suits a crisper vintage look; matte black works where the room leans modern-vintage. Repeat your chosen finish at least three times across the room.
Start with the mirror, finish with the towels
Fourteen ideas, and the thread running through all of them is honesty: materials that can take the steam, storage that closes, and styling that earns its place by being useful. Begin with the mirror and the metal finish, since those set the era, then add the practical layers, hooks, baskets, and the low cabinet. The towels and the single stem come last, and they are the details guests actually notice. For the rooms around it, see how a small entryway sets the tone for the whole home, how a narrow living room layout keeps walking routes clear, and browse the home decor collection for more room-by-room ideas.