20 Bathroom Countertop Organization Ideas to Keep Essentials Within Reach
Bathroom counters have a way of filling up overnight. One morning the sink is clear and by evening it is…
Bathroom counters have a way of filling up overnight. One morning the sink is clear and by evening it is crowded with tubes, bottles, hair ties, and that one moisturizer you can never quite find when you need it. A crowded countertop does more than look untidy. It slows down your routine, makes cleaning harder, and turns a five-minute get-ready into a hunt for basics. The good news is that you do not need a remodel or an expensive organizer set to fix it. The twenty ideas in this guide work with the counter you already have, using simple containers, vertical space, and a few habits that keep everything within reach.
If your bathroom is short on room in general, pair these ideas with our small bathroom storage ideas for a plan that covers every surface.
In This Guide
- A Vertical Arrangement Saving Width
- A Low Basket For Backup Supplies
- A Separate Zone For Wet Items
- A Removable Insert For Easier Cleaning
- A Compact Rack At Reachable Height
- A Closed Box For Rarely Used Items
- A Basket Assigned To One Person
- A Return-To-Place Tray
- A Small Freestanding Storage Unit
- A Grouped Arrangement By Routine
- A Tidy Cable-Free Surface Zone
- A Narrow Basket Grouping Daily Items
- A Divider Separating Small Essentials
- A Shallow Tray For Quick Access
- A Labeled Closed Container
- A Compact Shelf Riser
- A Small Pull-Out Caddy
- A Hook Solution Suited To The Surface
- A Clear Bin With Visible Contents
- A Standing Organizer With Open Drainage
A quick scope note: this guide covers the countertop only. If you are also tackling the inside of the vanity, our bathroom drawer organization ideas cover the drawers in their own guide.
The Countertop Rules Before You Start
Before you buy a single tray, measure the counter. Note the depth from the backsplash to the front edge, the clear width on each side of the faucet, and how far the faucet handles swing. Most bathroom counters run 18 to 24 inches deep, but the usable strip is often smaller than it looks once the sink takes its share.
Choose materials that tolerate humidity. Sealed wood, bamboo, powder-coated metal, glass, and acrylic all hold up well in a damp bathroom. Skip unsealed wood, cardboard organizers, and anything that rusts, because constant moisture will ruin them within months.
Plan for drainage. Wet toothbrushes, soap, and razors need airflow. A holder that drains or ventilates is safer and cleaner than a sealed plastic cup that traps water and grows a sour film at the bottom.
Keep cleaning products separated from personal care items, and store anything with a strong chemical label where children cannot reach it. Under the sink with a childproof latch is usually the right call. And keep anything electric (hair dryers, electric shavers, chargers) a safe distance from water, plugged into an outlet with ground fault protection when possible.
1. A Vertical Arrangement Saving Width
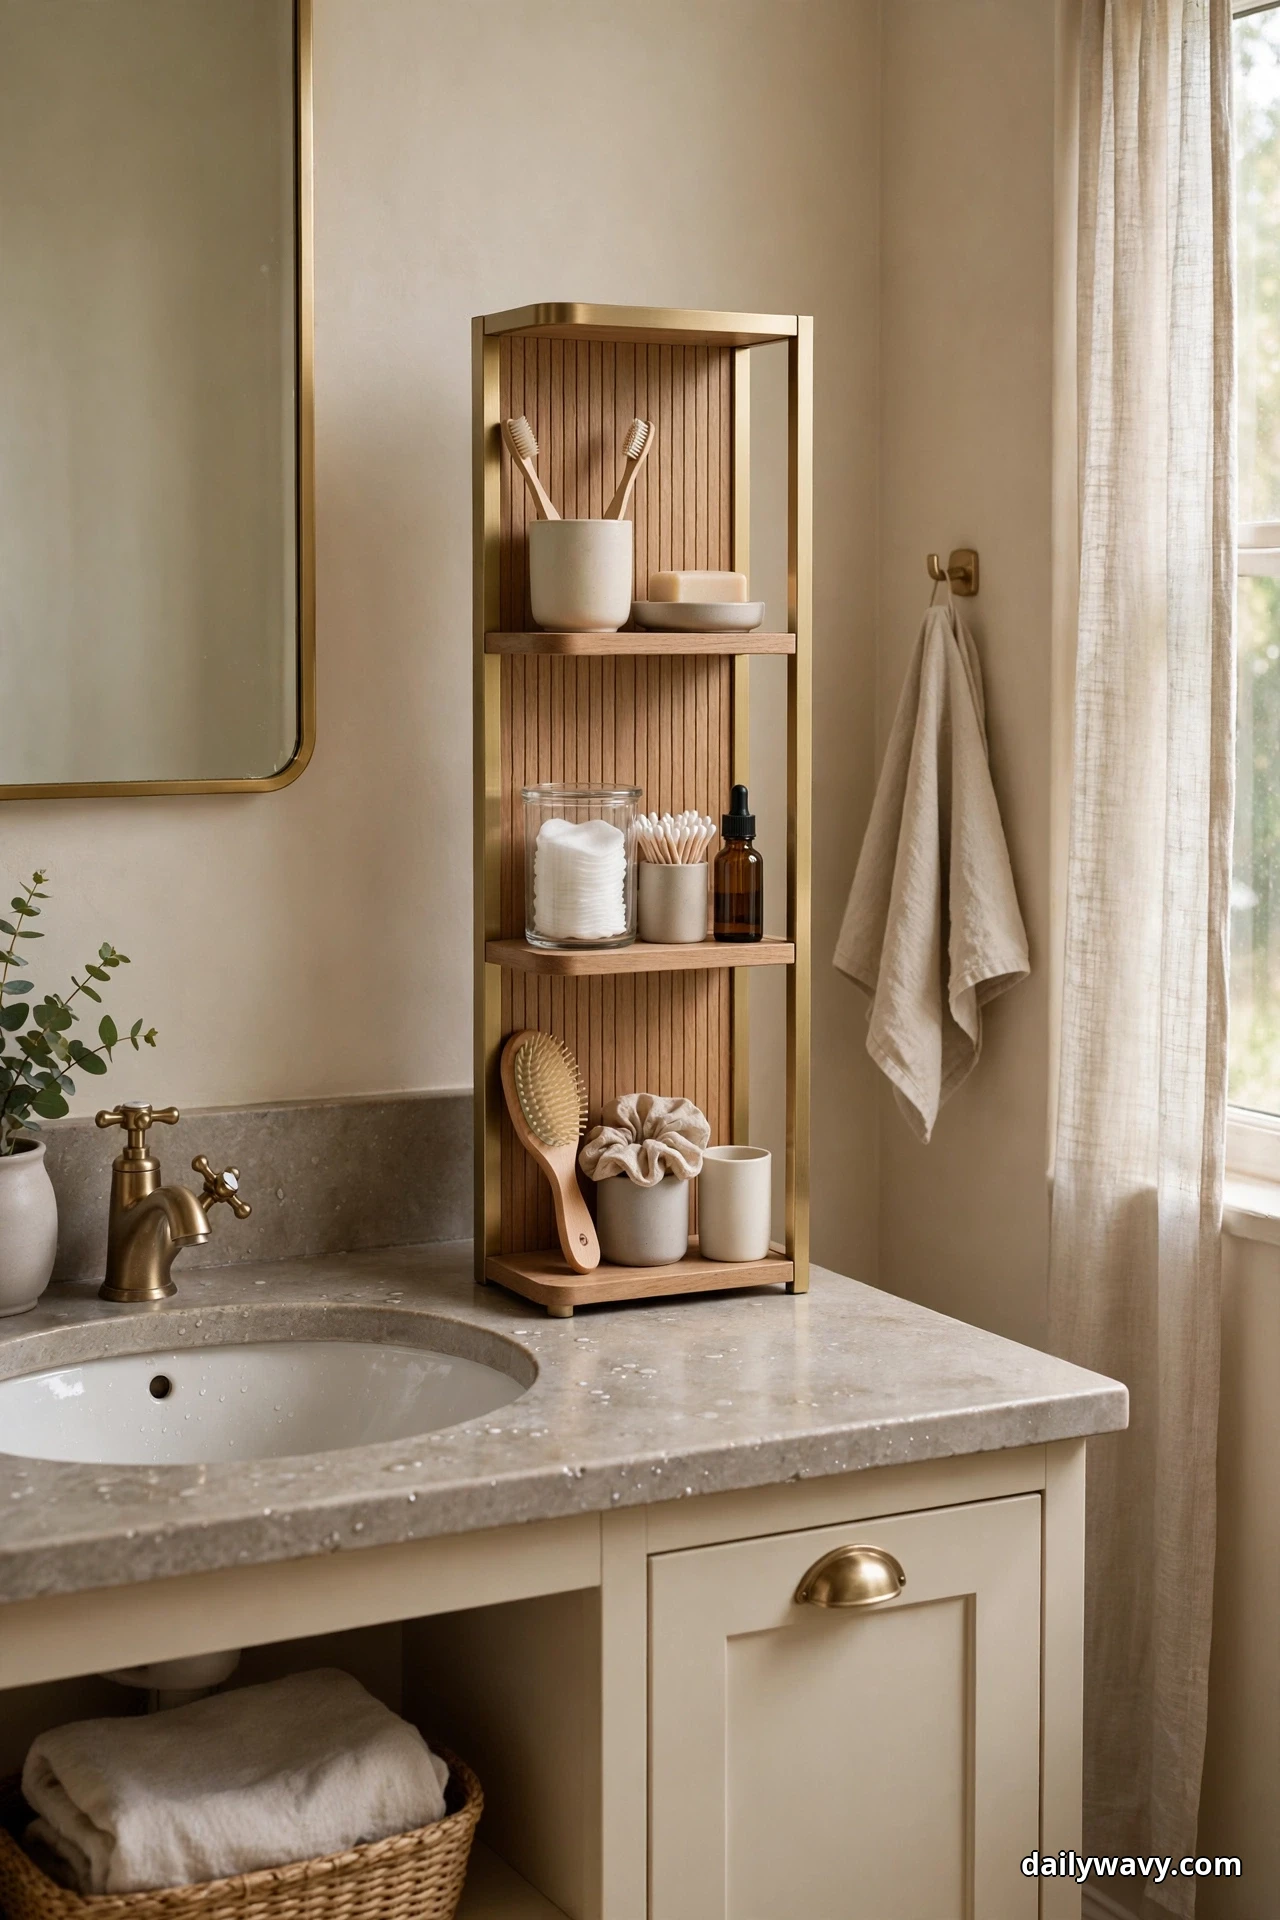
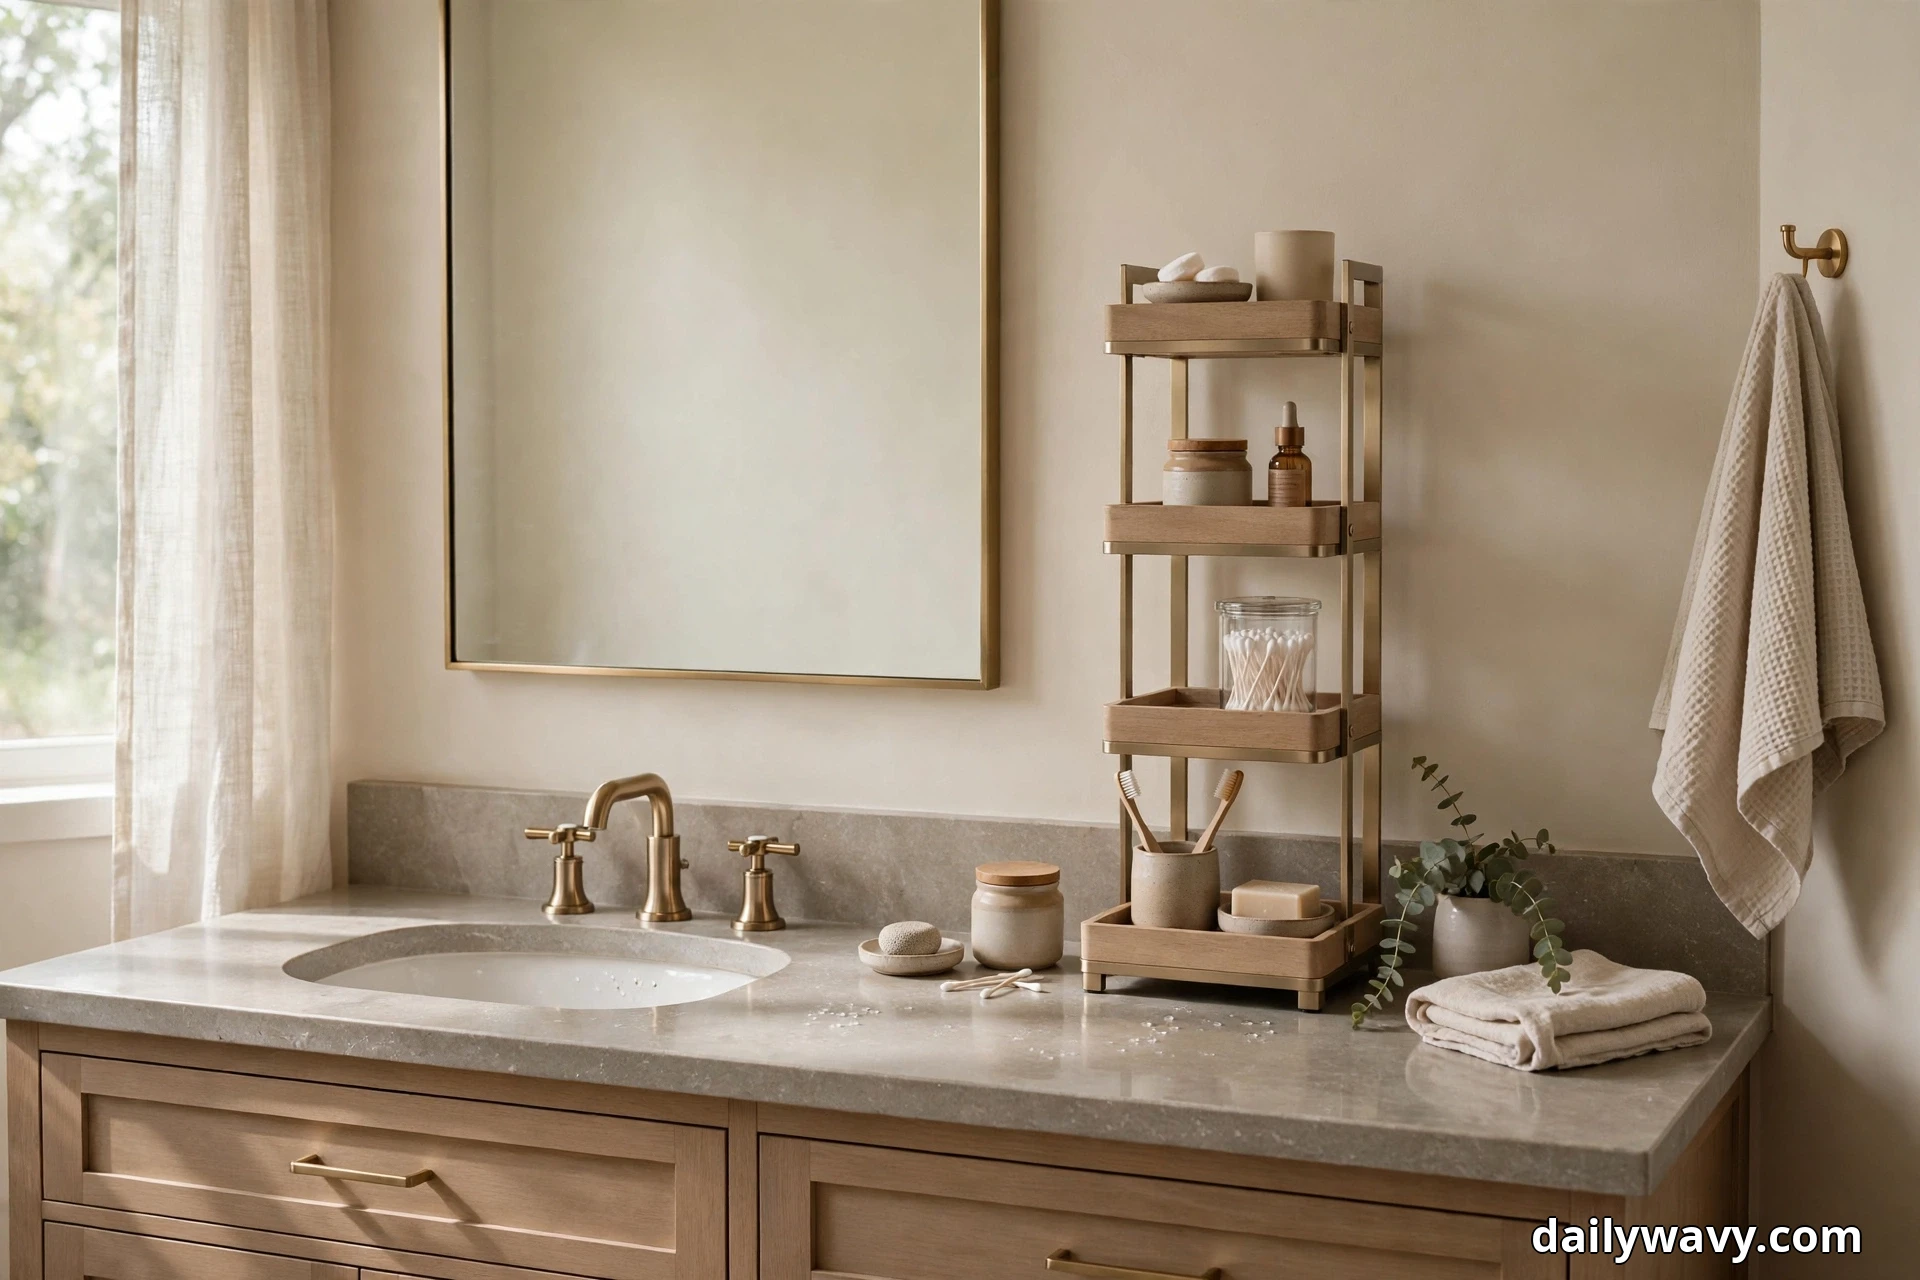
When the counter is narrow, the answer is not a smaller pile. It is height. A vertical arrangement lifts your daily bottles off the surface and stacks them in two or three tidy levels, so the same footprint suddenly holds twice as much. There is something satisfying about seeing everything at a glance instead of digging through a crowded row.
The look: A two or three tier stand in bamboo, powder-coated metal, or glass, with each level holding a neat row of bottles. It reads like a tiny shop display and keeps labels facing forward.
What to measure: The footprint width you can spare at one end of the counter, plus the vertical clearance under any mirror or cabinet above. Most stands need 10 to 14 inches of height.
How to do it: Set the stand at the far end of the counter, away from the splash zone. Put the heaviest bottles on the bottom tier so it stays stable. Arrange the middle and top tiers by routine: cleansers and serums up top, everyday basics in the middle. Wipe each level when you clean the counter.
Effort and cost: About 10 minutes to set up. Most two-tier stands run $15 to $25.
Lower-cost swap: Stack two sturdy shallow bowls or saucers with a small ramekin between them as a spacer, creating a simple two-level display for lighter items.
Tip: Keep the top tier for items you reach for without looking. If you have to stretch or climb to grab something, move it down a level.
2. A Low Basket For Backup Supplies
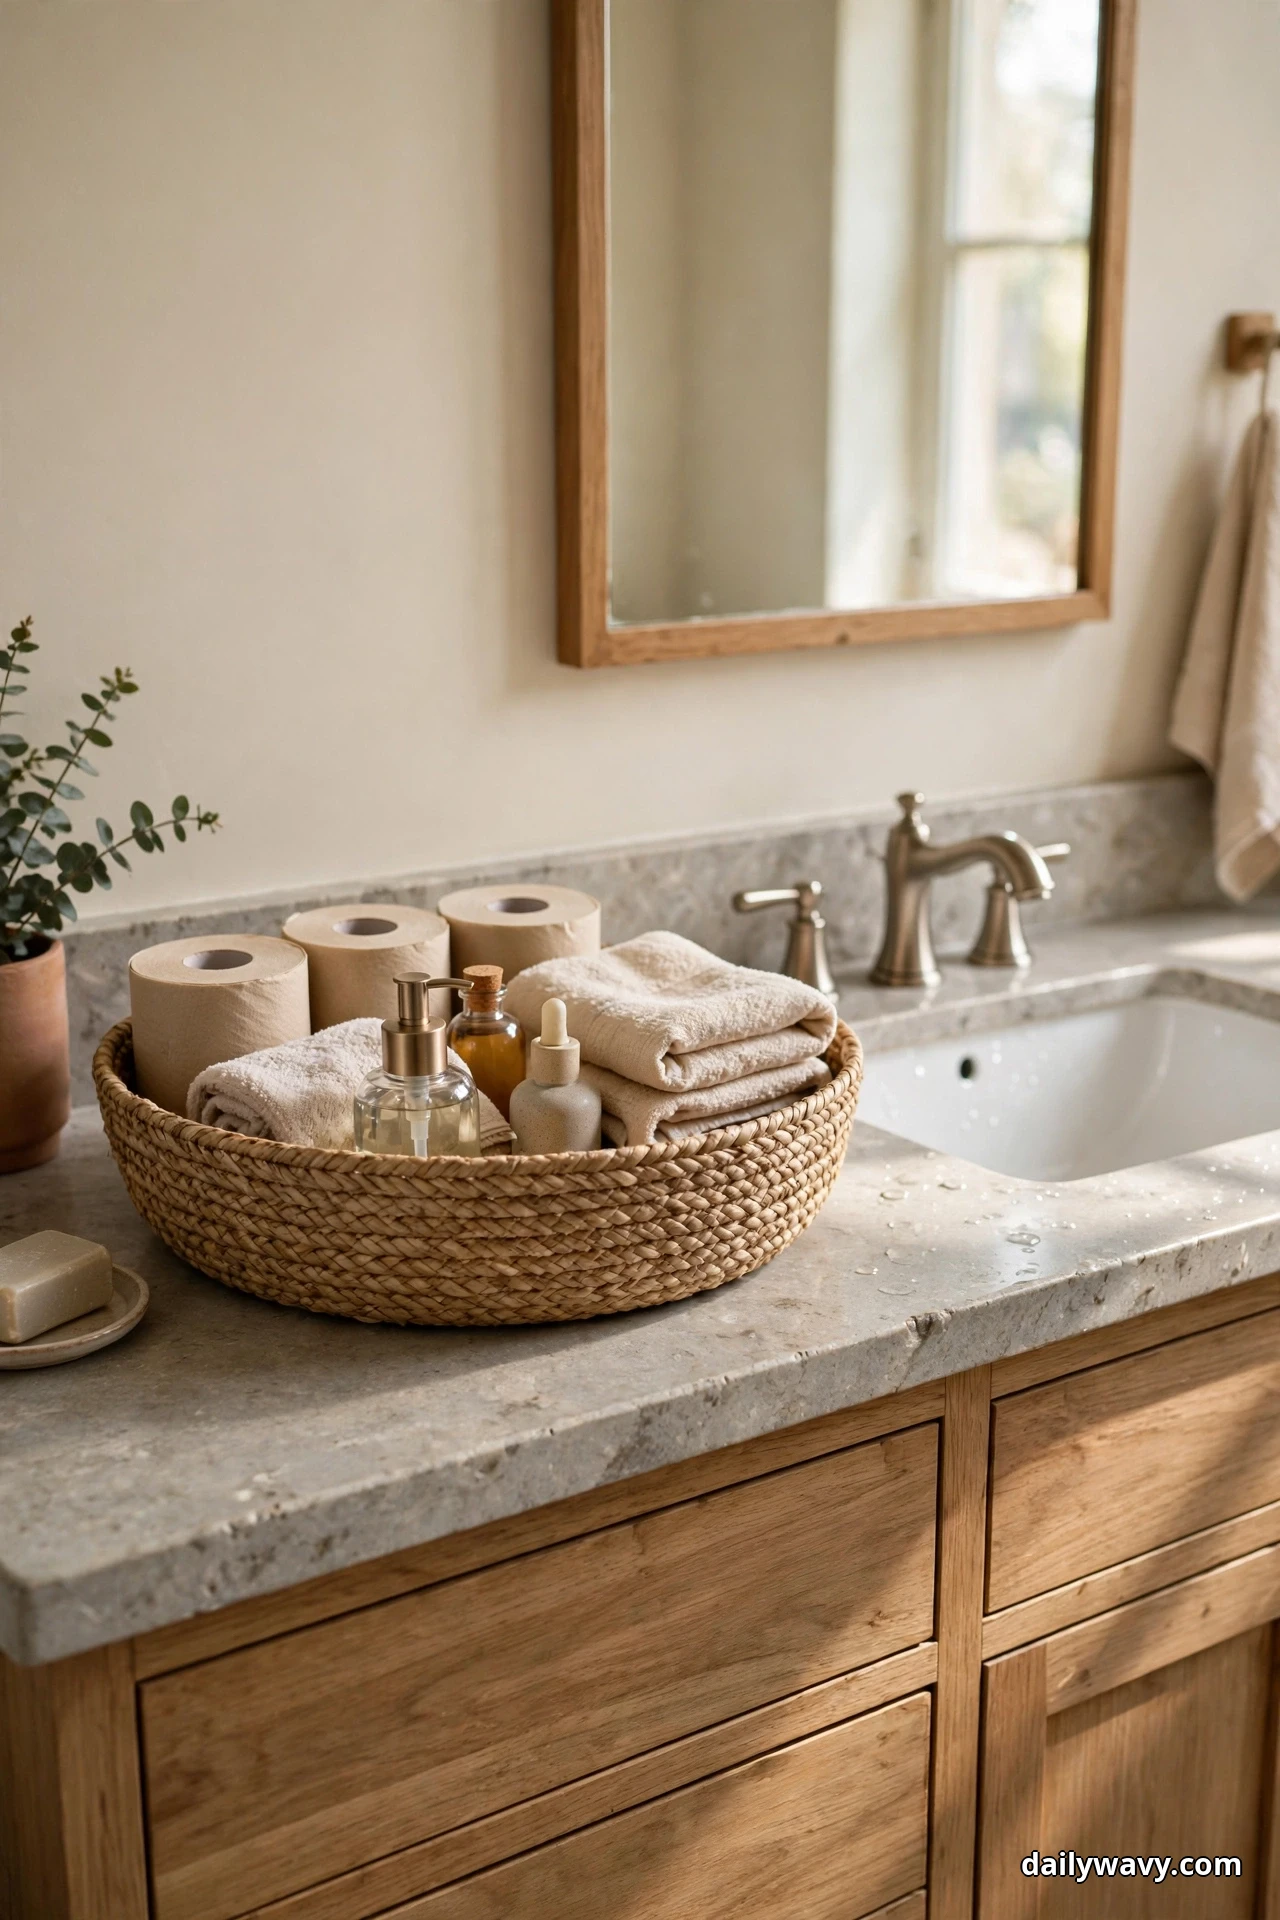
Backups are the quiet clutter. The extra toothpaste, the refill soap, the spare razor you bought on sale. They do not need to be within arm’s reach, but they do need a home, or they end up scattered across the counter. A low basket parked along the backsplash gives every spare a place without stealing prime real estate.
The look: A low, wide basket in sealed woven fiber, bamboo, or acrylic, sitting flat against the backsplash. It looks intentional, like a little pantry shelf for the bathroom.
What to measure: The length of open backsplash you have, and keep the basket under 5 inches tall so it never crowds the mirror.
How to do it: Line the basket along the back edge of the counter. Stand refill bottles upright inside, and lay flatter items like spare sponges on top. Once a month, glance through it and pull out anything you will not use. That keeps it from turning into a graveyard of half-empty bottles.
Effort and cost: About 10 minutes. Baskets in this size run $8 to $15.
Lower-cost swap: A clean rectangular food storage container with the lid off does the same job and wipes clean in seconds.
Tip: Slip a small sticky note inside with the one item you are running low on. Next shopping trip, you will not have to guess.
3. A Separate Zone For Wet Items
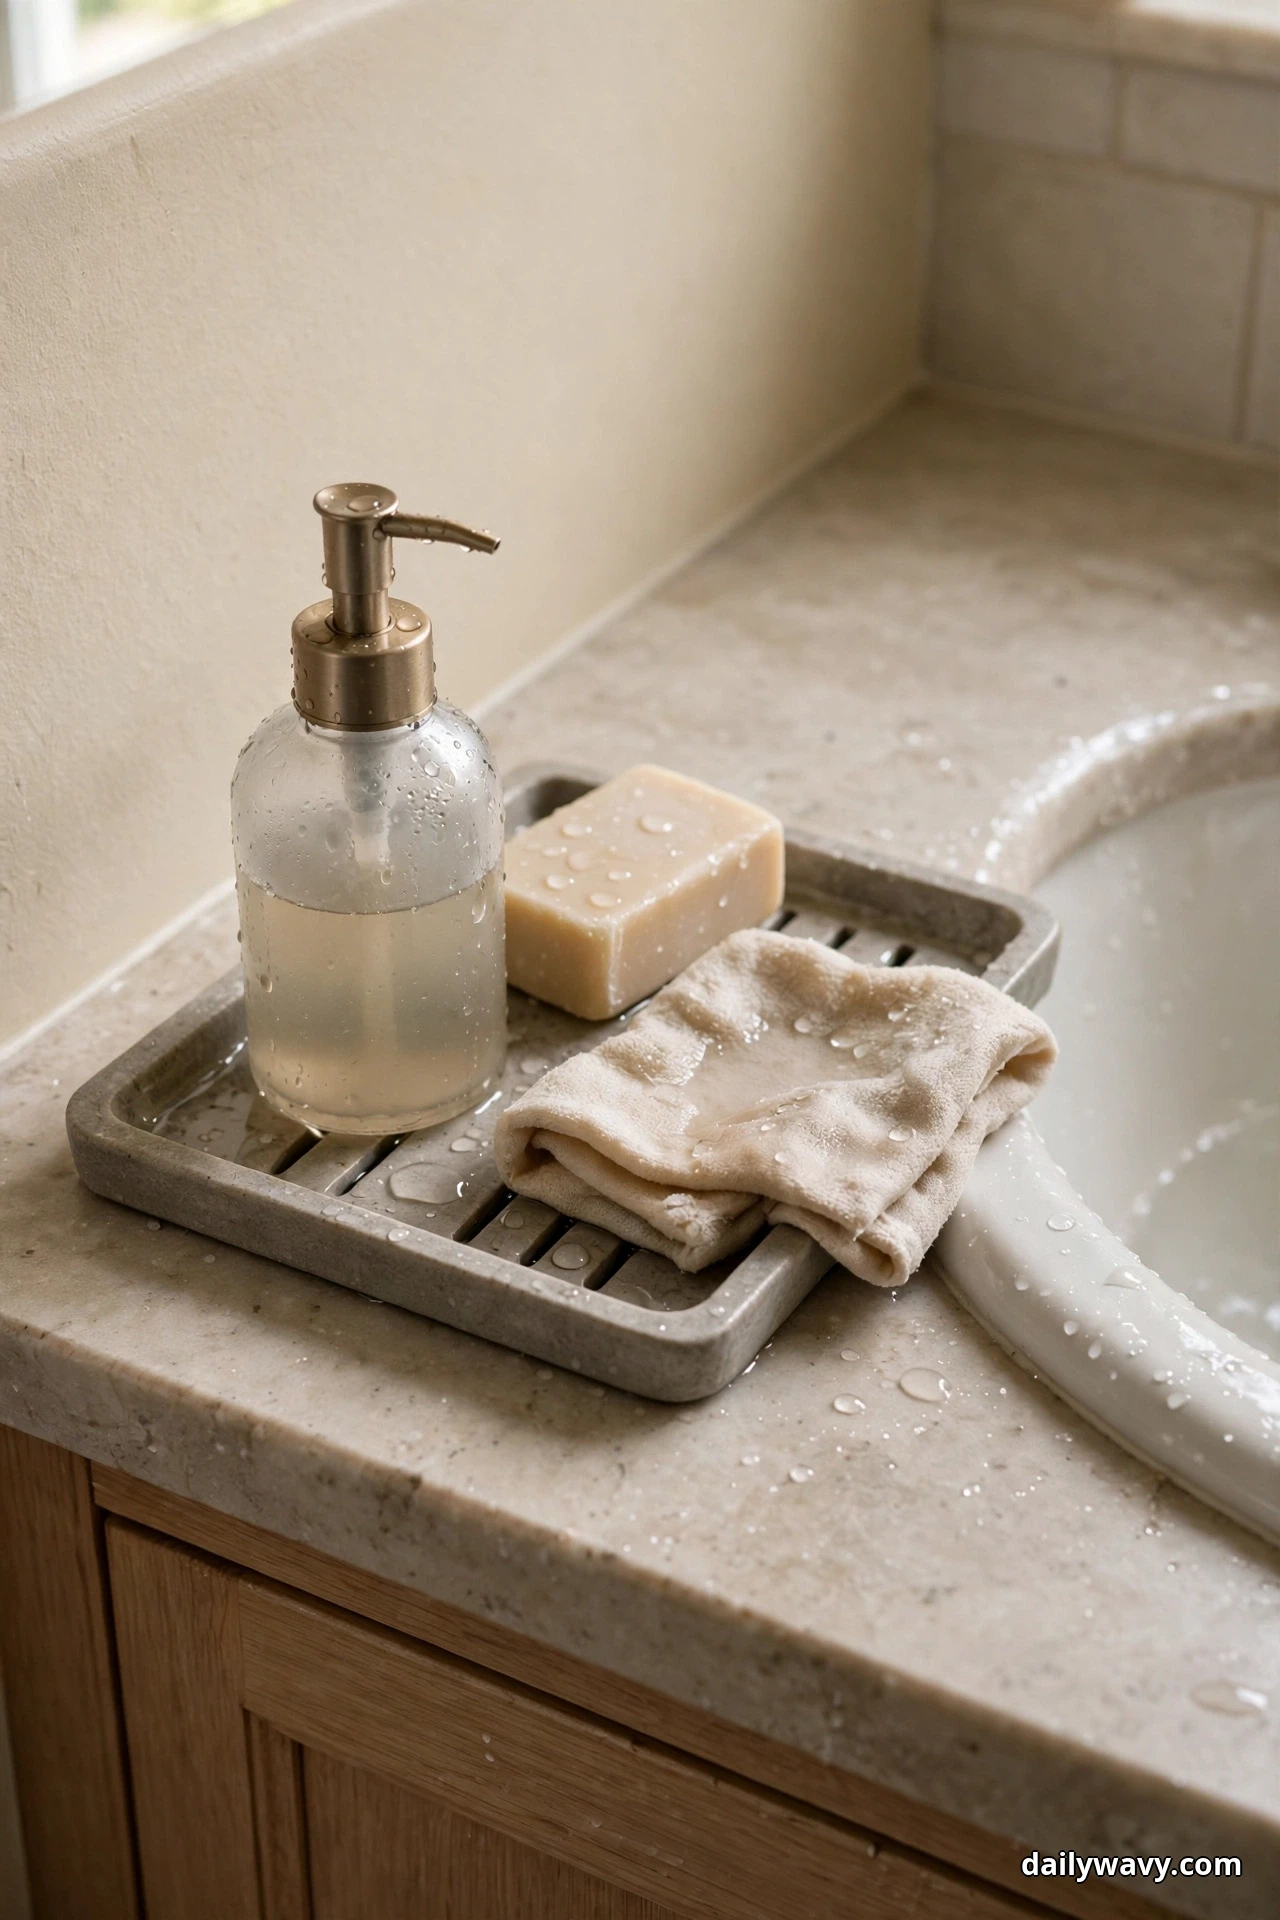
Toothbrushes, razors, and soap are wet more often than they are dry, and parking them on a flat counter leaves rings and a damp film. A dedicated wet zone with real drainage solves it. Water falls through, air circulates, and the counter underneath stays dry and clean.
The look: A small slatted tray or ventilated stand in bamboo or powder-coated metal, placed close to the sink. It looks crisp and spa-like because everything in it has room to breathe.
What to measure: The strip of counter beside the sink where splashes already land. That is your natural wet zone, usually 6 to 10 inches wide.
How to do it: Set the slatted tray down first. Place a ventilated toothbrush holder, a soap dish with drainage holes, and the razor on top. Keep this zone for wet items only. Once a week, lift everything and rinse the tray under the tap so residue never builds up.
Effort and cost: About 10 minutes. A slatted tray plus a simple ventilated holder runs $10 to $18.
Lower-cost swap: A small kitchen saucer with a folded paper towel on top gives wet items a breathable landing spot. Swap the towel weekly.
Tip: Never put a sealed plastic cup in the wet zone. Trapped water turns sour fast, and a cup that cannot drain defeats the whole idea.
4. A Removable Insert For Easier Cleaning
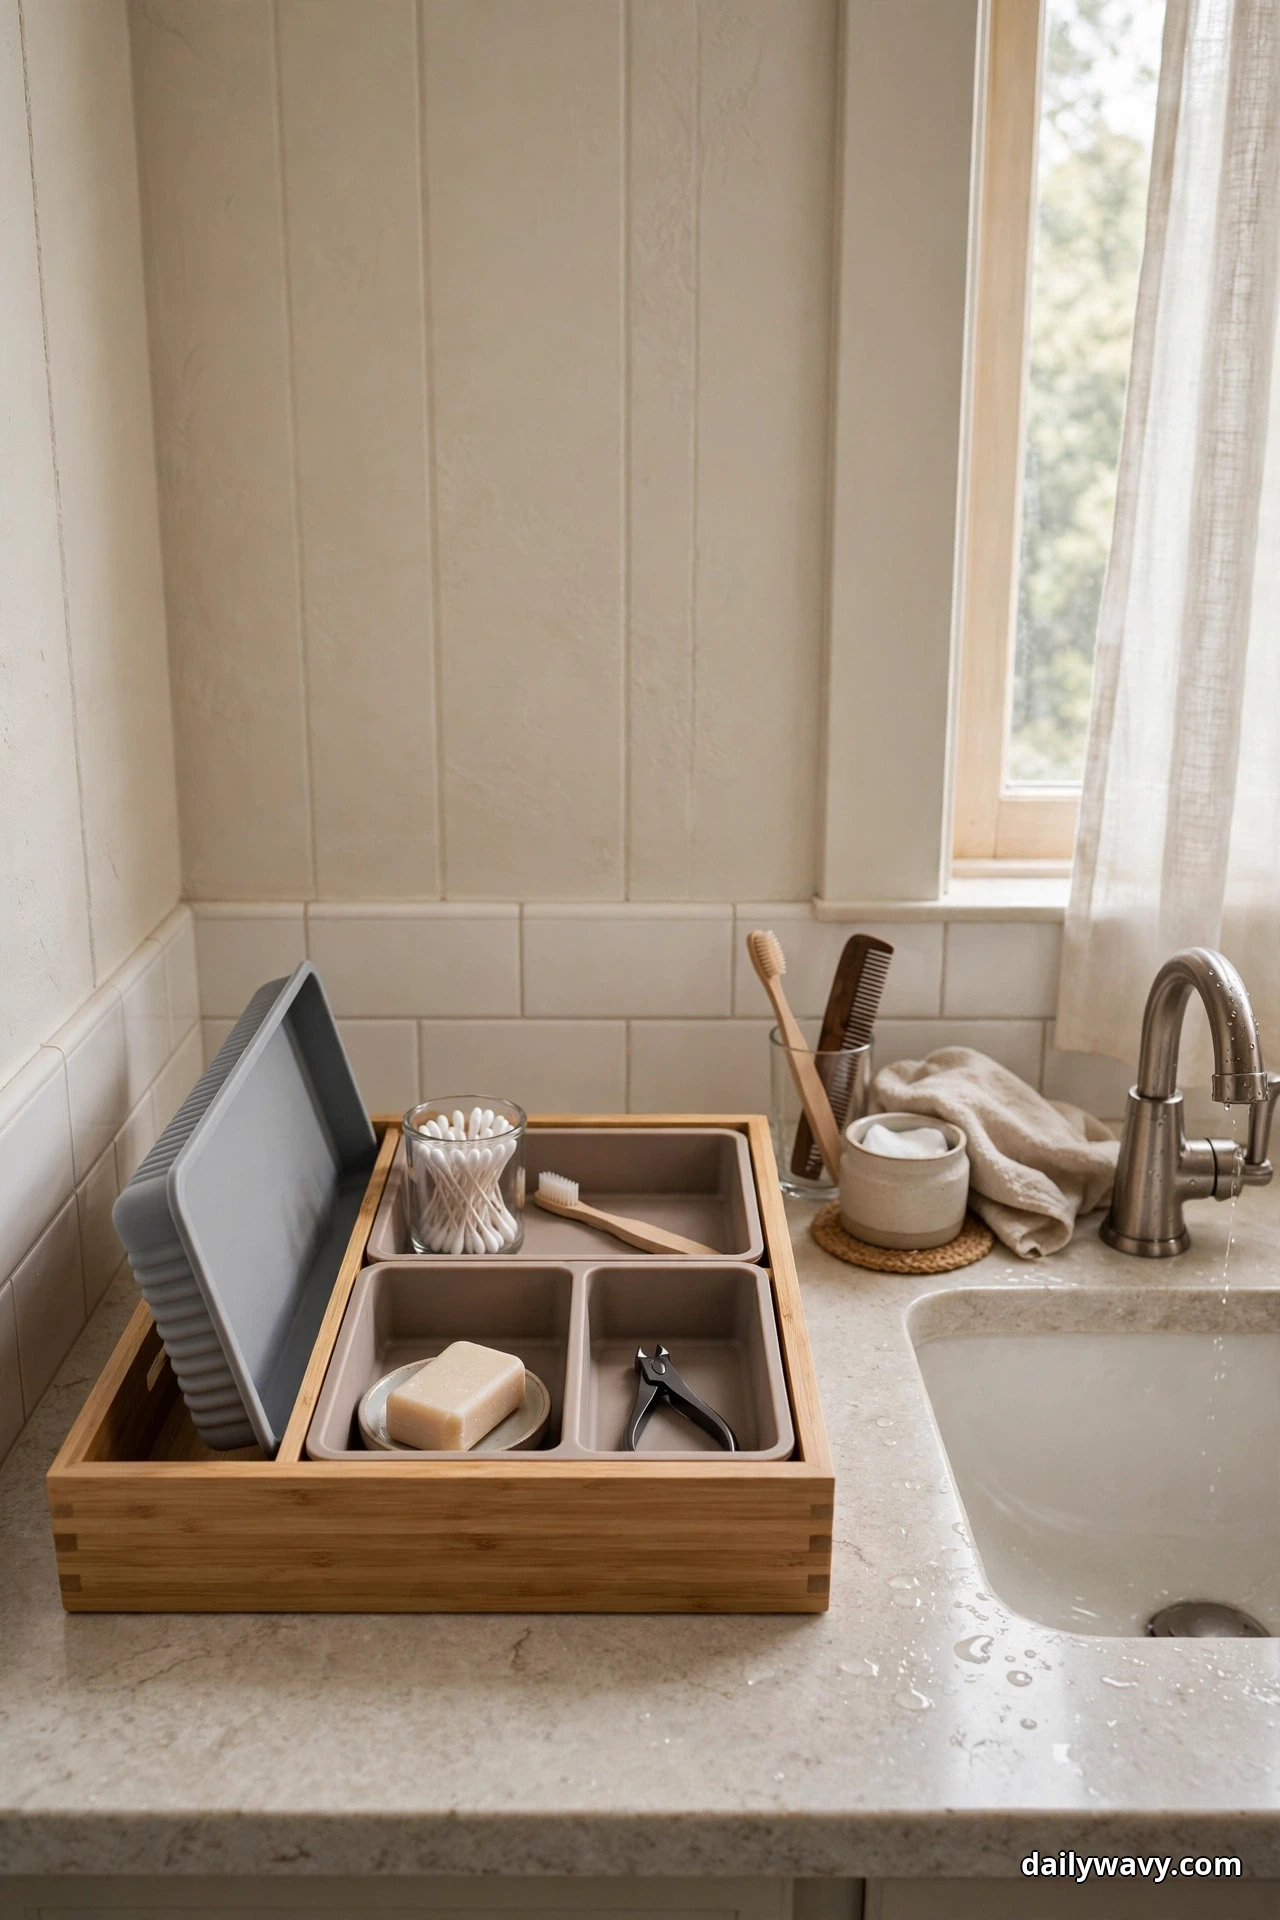
Here is the part of countertop organization nobody talks about: whatever you set down will eventually leak, drip, or dust underneath it. A removable insert changes the cleanup from a chore into a ten-second task. Lift it, rinse it, set it back. The organizers on top barely need to move.
The look: A thin silicone mat or a washable tray liner sitting under your organizers or inside your main tray. It is nearly invisible, which is exactly the point.
What to measure: The inside of your tray, or the footprint of the organizer zone you want to protect. Trim the mat to fit with scissors.
How to do it: Cut the mat to size and lay it under your busiest organizers, especially near the sink. When it looks grimy, lift it out, rinse it in the sink with a little dish soap, and lay it back down. Silicone mats can also go in the dishwasher on the top rack.
Effort and cost: About 5 minutes. Silicone mats run $6 to $12.
Lower-cost swap: A washable fabric placemat cut to size works well. Toss it in the laundry when it needs a refresh.
Tip: Put the insert under anything that leaks. Serums, liquid soap pumps, and hair oil are the usual suspects.
5. A Compact Rack At Reachable Height
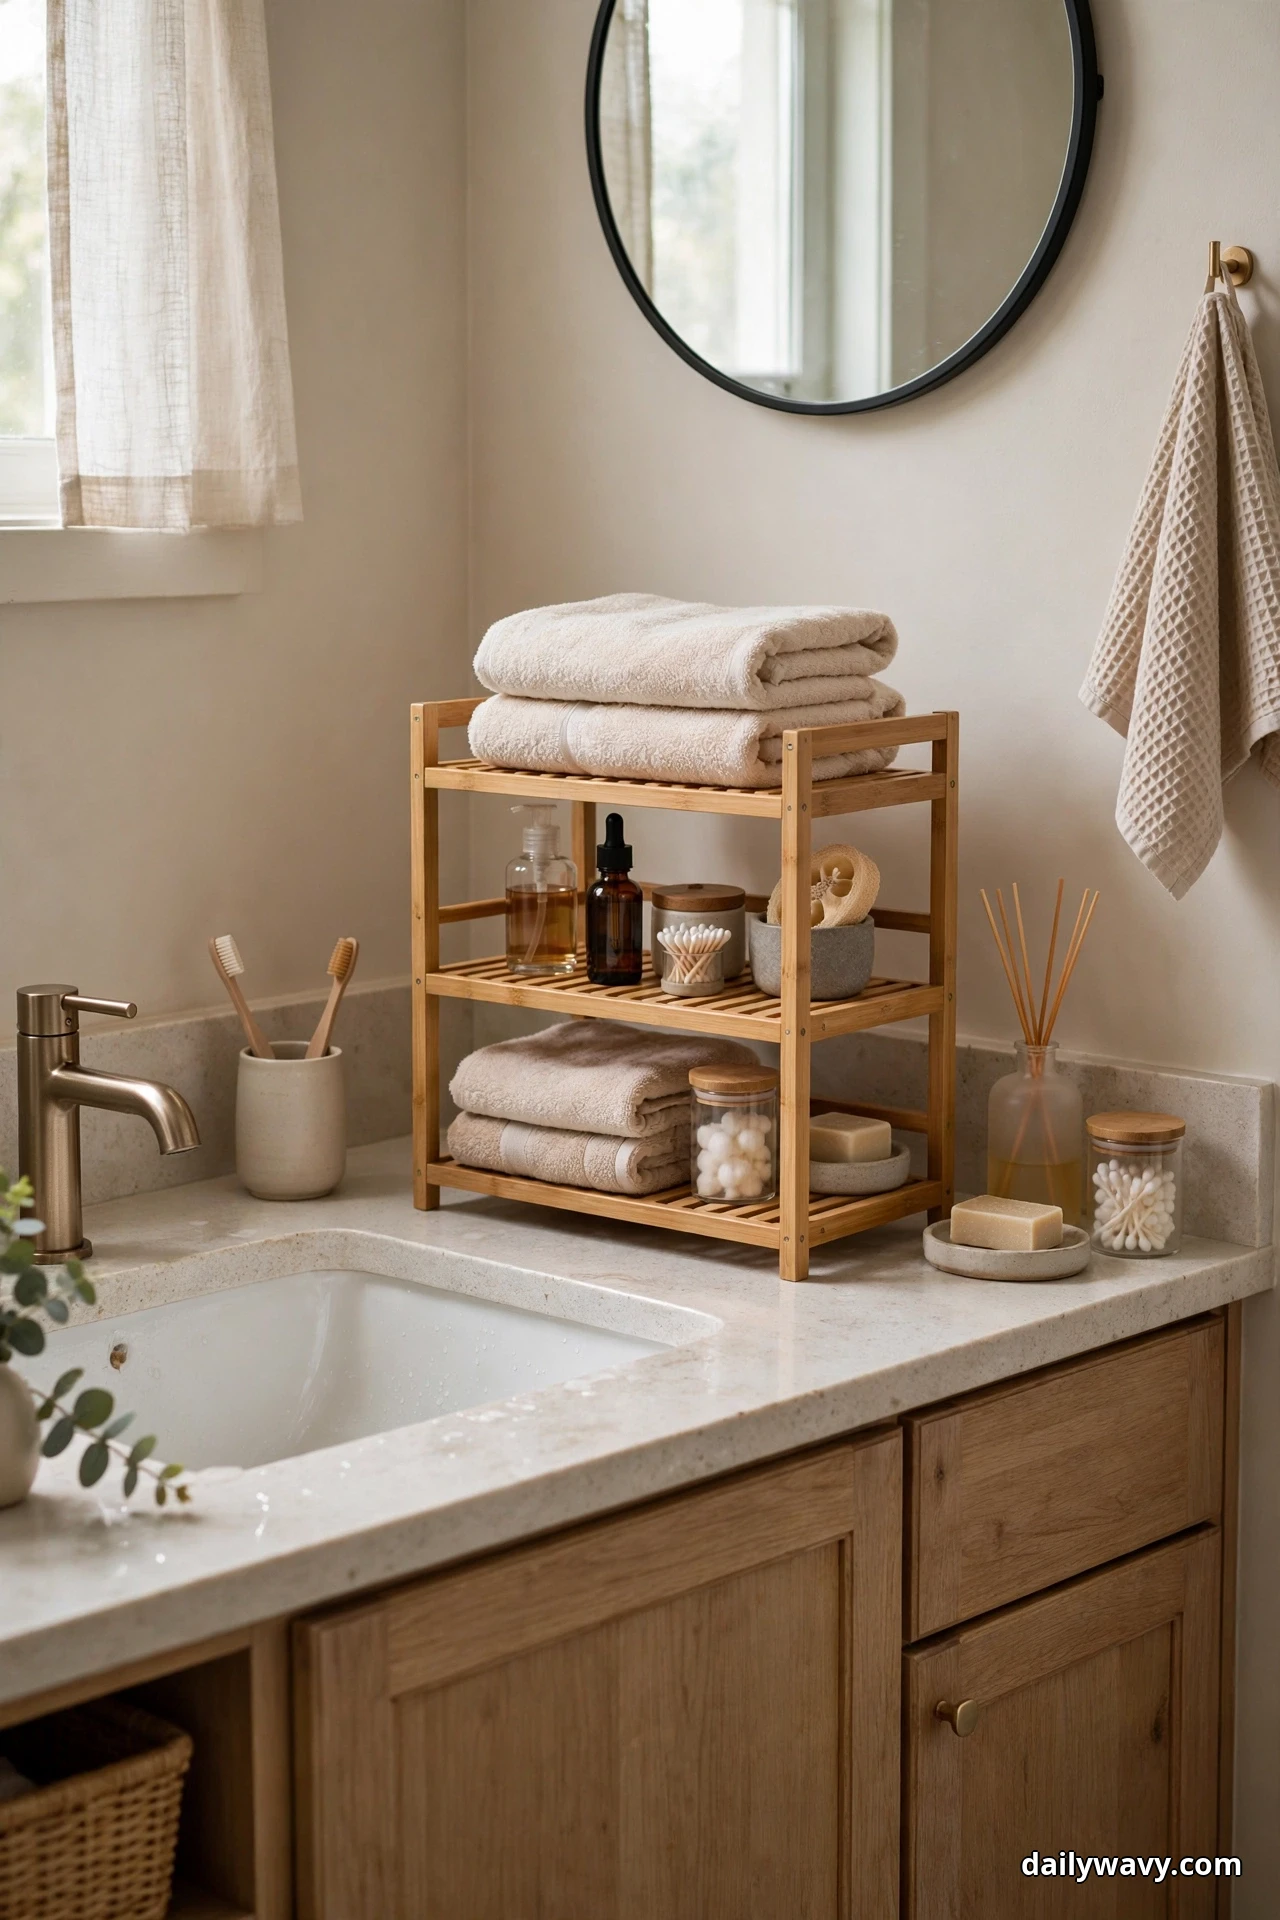
Tall bottles are awkward. They tip over, they hide shorter items behind them, and they eat counter space sideways. A compact rack gives those bottles a proper shelf at a height you can actually reach, with shorter items tucked neatly on the lower level.
The look: A slim two-tier rack in powder-coated metal or bamboo, about the width of a book. It looks tidy and modern, and every bottle gets its own slot.
What to measure: The width between the sink and the wall or mirror edge, and the height of your tallest bottle plus an inch of clearance.
How to do it: Assemble the rack and set it at one end of the counter. Place tall bottles on the top level where their height is an asset, and shorter jars and tubes below. Keep the heaviest full bottles on the bottom for stability. Sort by how often you use each item, with daily ones in front.
Effort and cost: About 15 minutes including assembly. Compact racks run $12 to $22.
Lower-cost swap: A sturdy wooden crate or small bookshelf bin stood on its end creates two rough shelves for a fraction of the price.
Tip: If a bottle is too tall for the rack, it belongs on the counter behind the rack or under the sink, not balanced on top where it can fall.
6. A Closed Box For Rarely Used Items
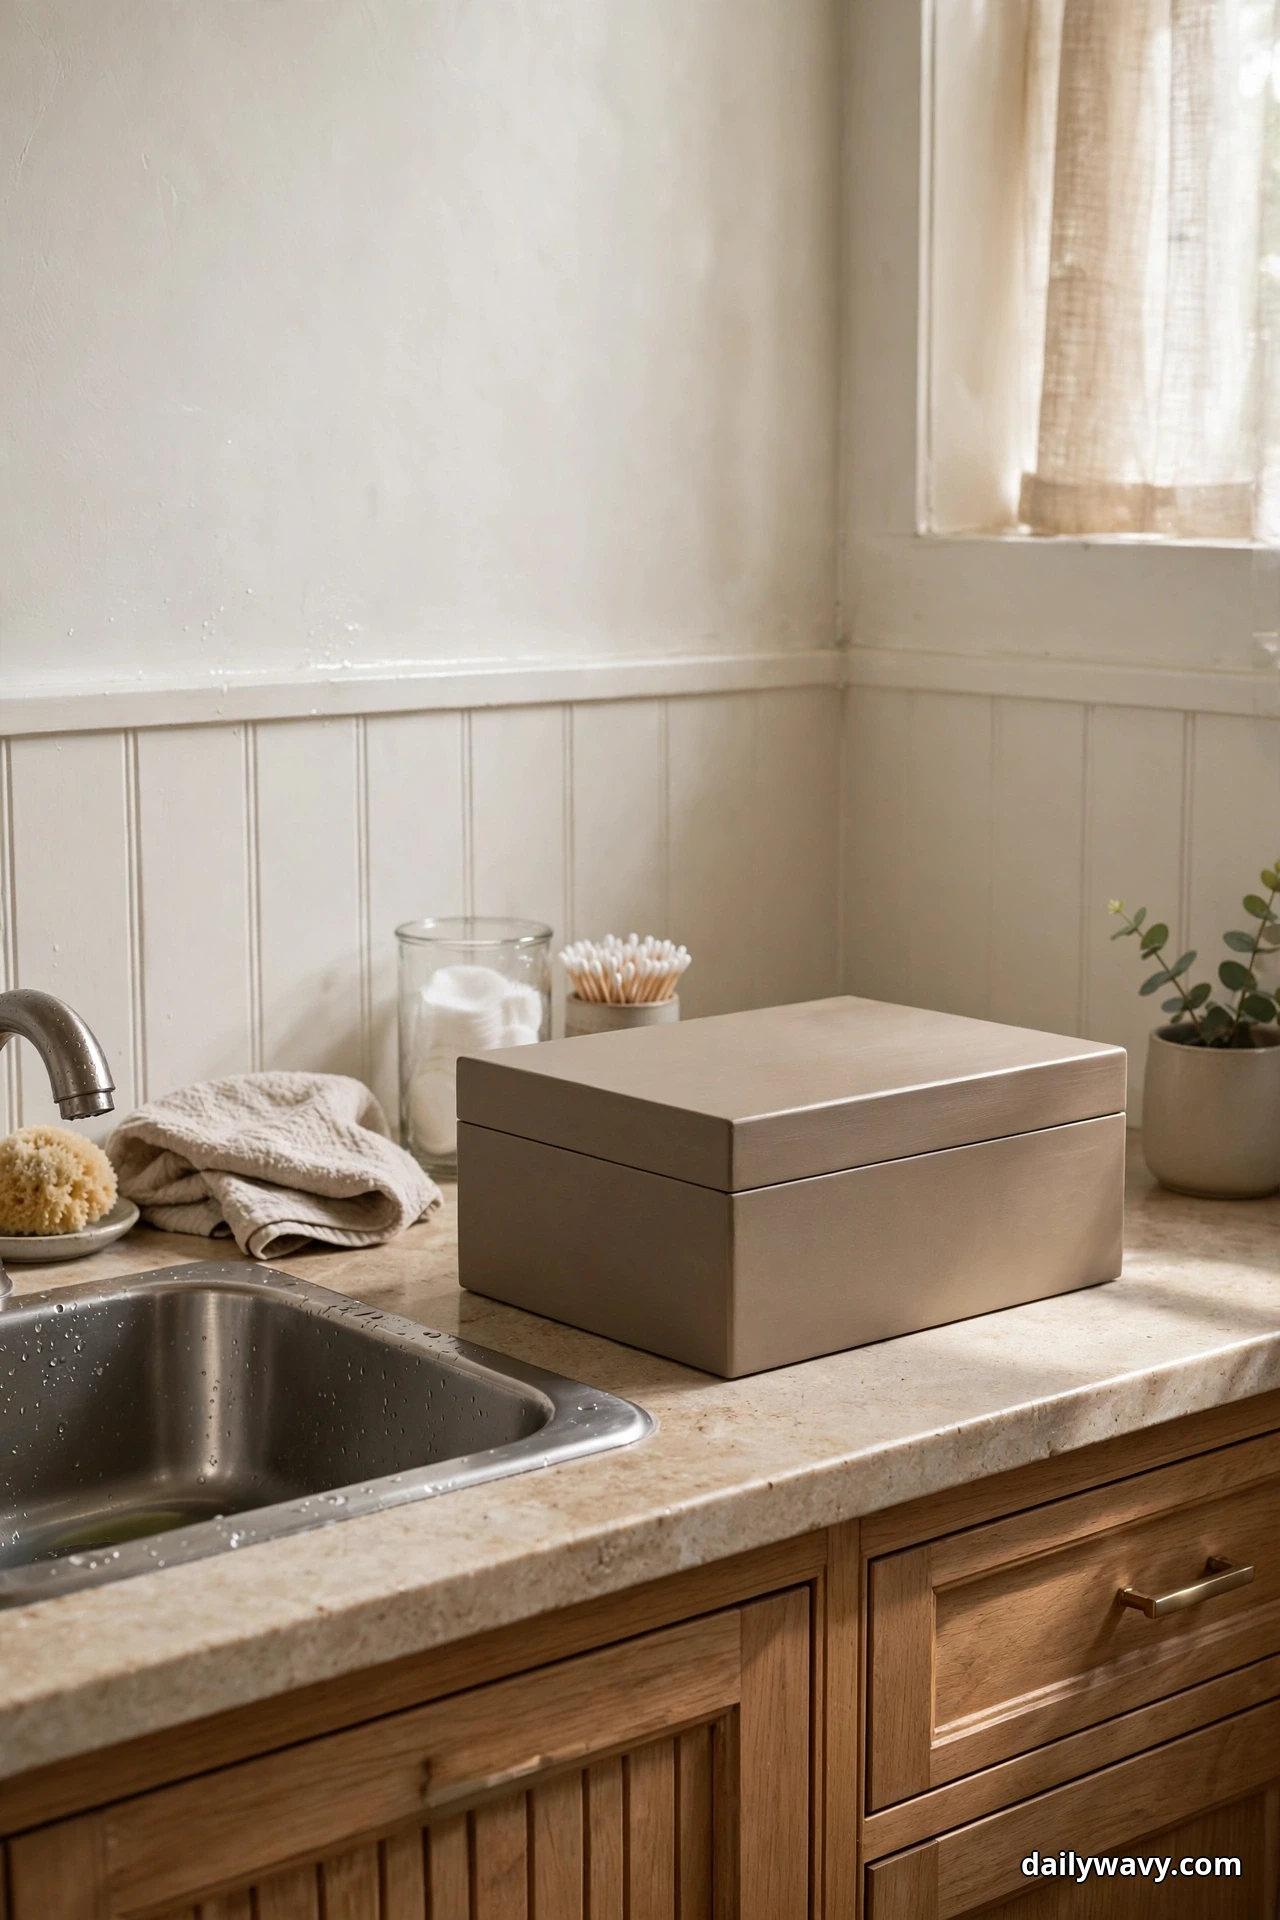
Not everything on the counter earns its spot every day. Guest toothbrushes, the first aid kit, spare contact solution. A closed box lets you keep those things handy without looking at them daily. Out of sight, still within reach, and the counter looks calmer instantly.
The look: A lidded box in fabric, acrylic, or sealed wood, sized like a small shoebox. Closed and quiet, it reads as decor rather than storage.
What to measure: Make sure the lid clears any mirror or shelf above it, and that the box depth leaves the front of the counter free.
How to do it: Gather everything you use less than once a week and place it in the box, with the most-used of the bunch on top. Set the box at the far end or back corner of the counter. Tape a short list of what is inside to the underside of the lid so you never have to dig.
Effort and cost: About 15 minutes to sort and fill. Lidded boxes run $10 to $20.
Lower-cost swap: A lidded photo storage box or a clean gift box with a lid works just as well in a dry corner.
Tip: If you open the box and something surprises you, it has been in there too long. Donate, toss, or move it along.
7. A Basket Assigned To One Person
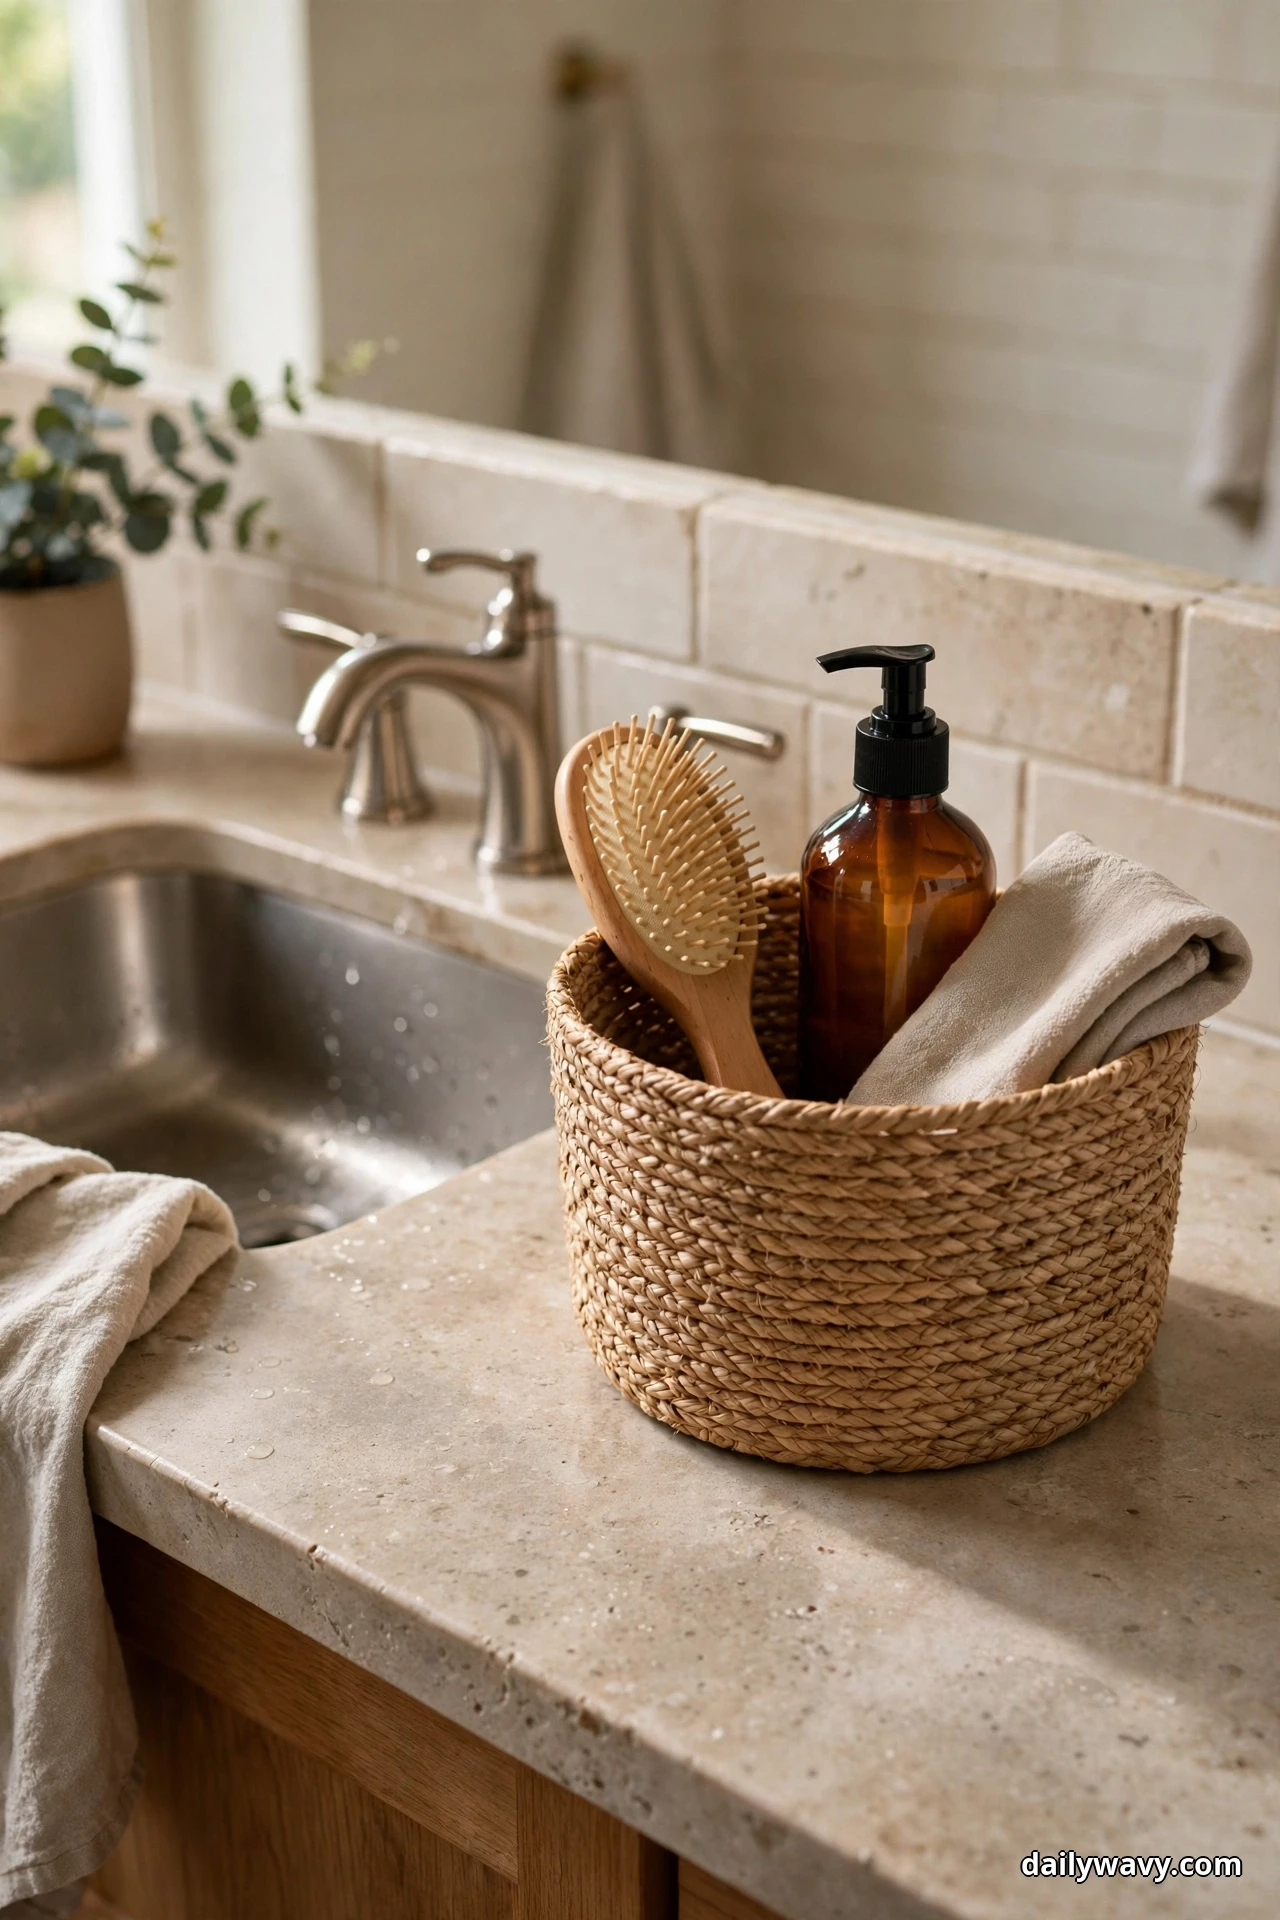
Shared bathrooms fail when everything belongs to everyone. Two people reaching into the same pile means nobody can find anything and nobody feels responsible for the mess. One basket per person fixes the politics. Your things stay in your basket, their things stay in theirs, and the counter stays neutral ground.
The look: Two (or more) matching baskets in different colors, or identical baskets with simple labels. Side by side, they look deliberate and fair.
What to measure: Divide your usable counter width by the number of people sharing the bathroom. Each basket gets one share.
How to do it: Give each person a basket and one rule: if it does not fit in your basket, it does not live on the counter. Let each person arrange their own basket however they like. Place the baskets in a row along the backsplash or at opposite ends if space allows.
Effort and cost: About 10 minutes. Simple baskets run $8 to $16 each.
Lower-cost swap: Dollar store bins in two different colors give the same one-person-one-bin system for a few dollars.
Tip: Resist the urge to reorganize someone else’s basket. The system only works if each person owns their own space.
8. A Return-To-Place Tray
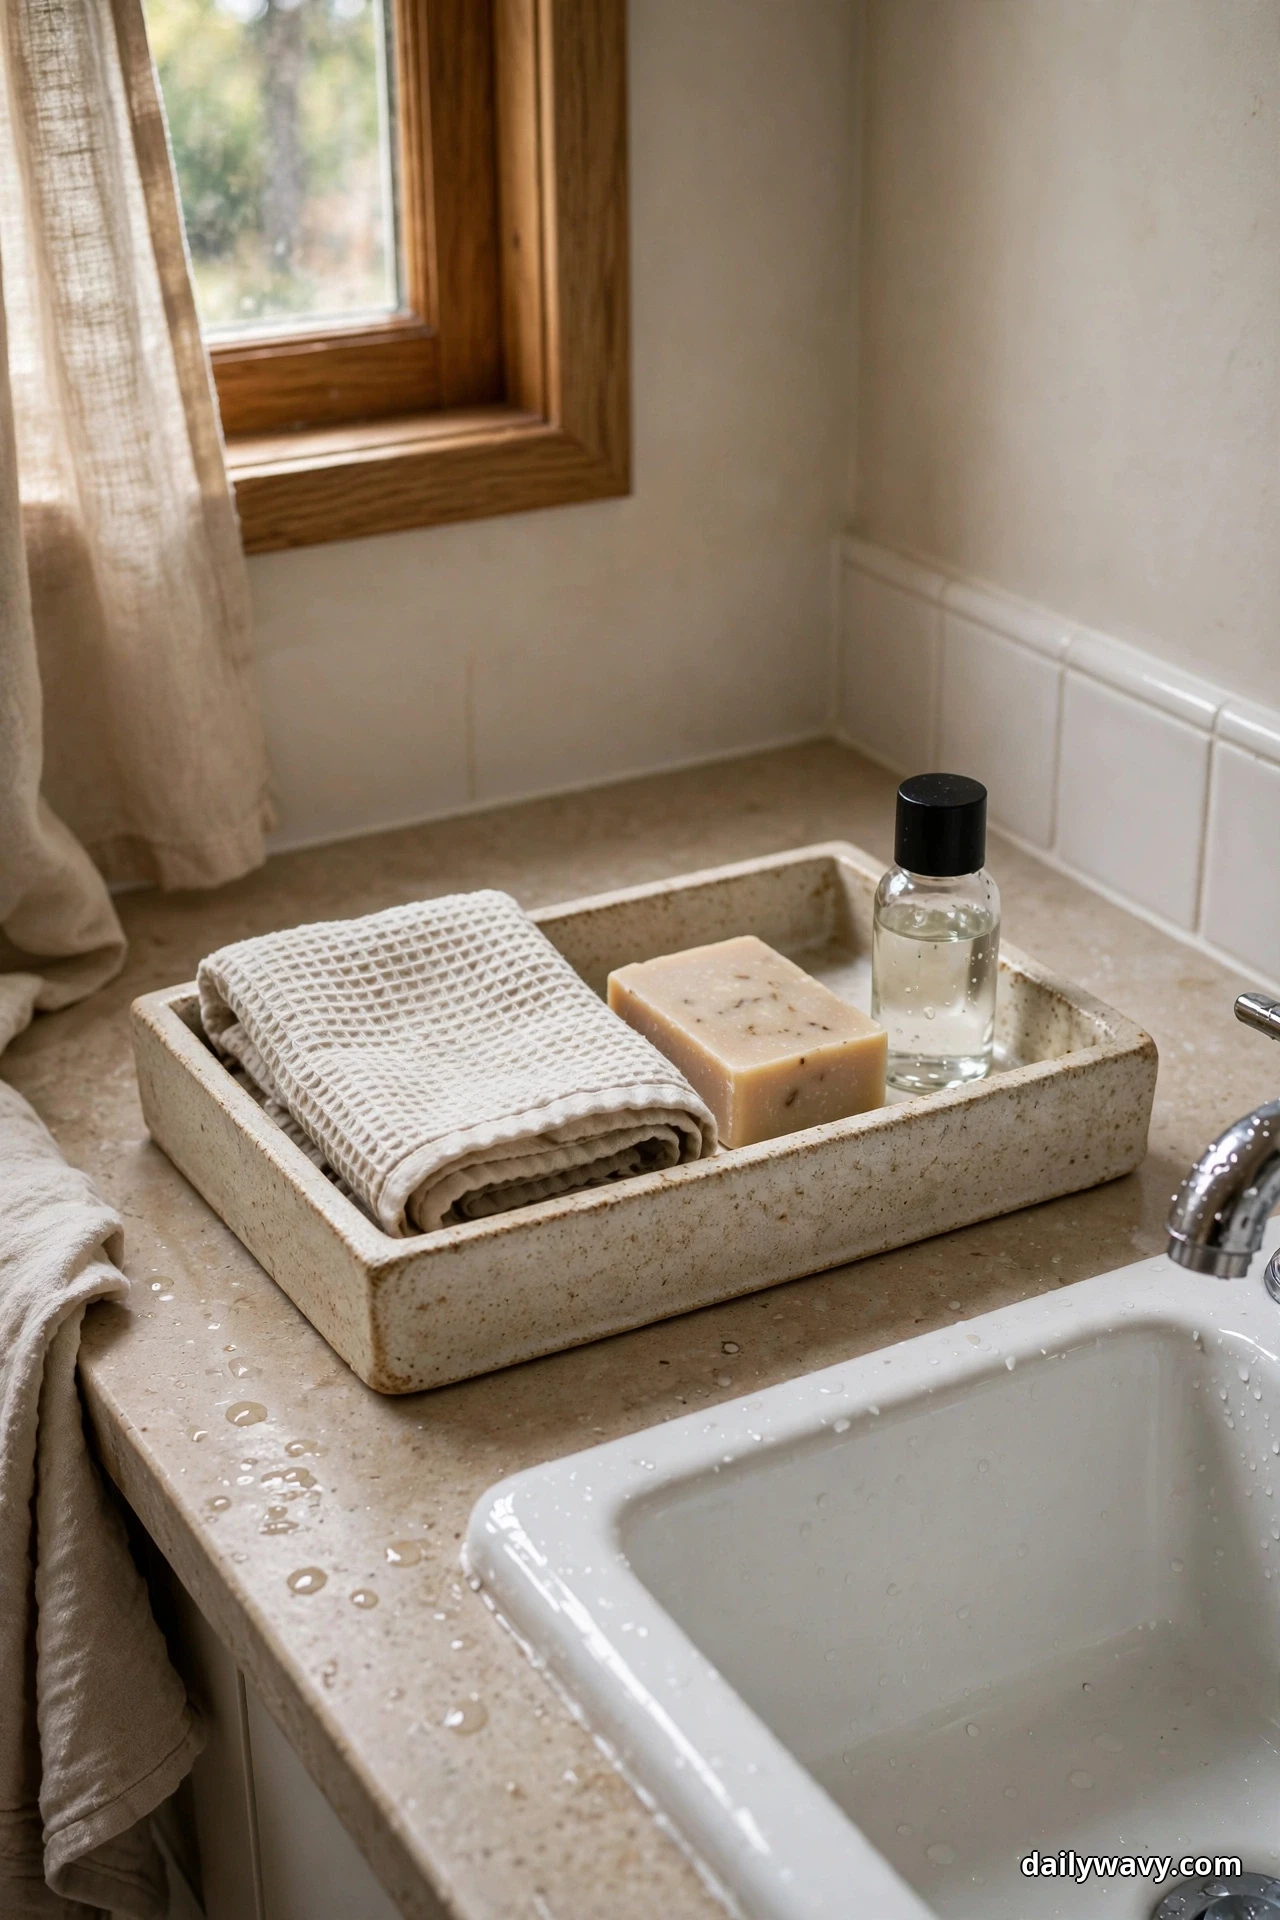
Most counter mess is not storage failure. It is drift. You take out the tweezers, set them down anywhere, and by Friday the counter looks lived-in in the worst way. A return-to-place tray is one small landing pad where in-use items go back every single time. It is less a storage solution and more a habit with a home.
The look: One small tray in wood, ceramic, or stone, holding just the handful of things you are actively using: glasses, a watch, lip balm, today’s hair tie. It looks curated because it is edited.
What to measure: Very little. The tray should be small enough that overflow is obvious, about 6 by 9 inches, placed near the faucet where you naturally set things down.
How to do it: Choose a tray and put it where your hand lands when you walk up to the sink. Move your current in-use items onto it. Each evening, spend five seconds putting anything that wandered back onto the tray. That is the entire system. The same landing-pad idea works beautifully at the front door, by the way, which is why our small entryway decor ideas start with a tray for keys.
Effort and cost: About 5 minutes. Small trays run $8 to $14.
Lower-cost swap: A clean dinner plate from the kitchen works perfectly as a landing pad and costs nothing.
Tip: If the tray fills up, do not buy a bigger tray. Remove something. A landing pad that grows is just clutter with a frame.
9. A Small Freestanding Storage Unit
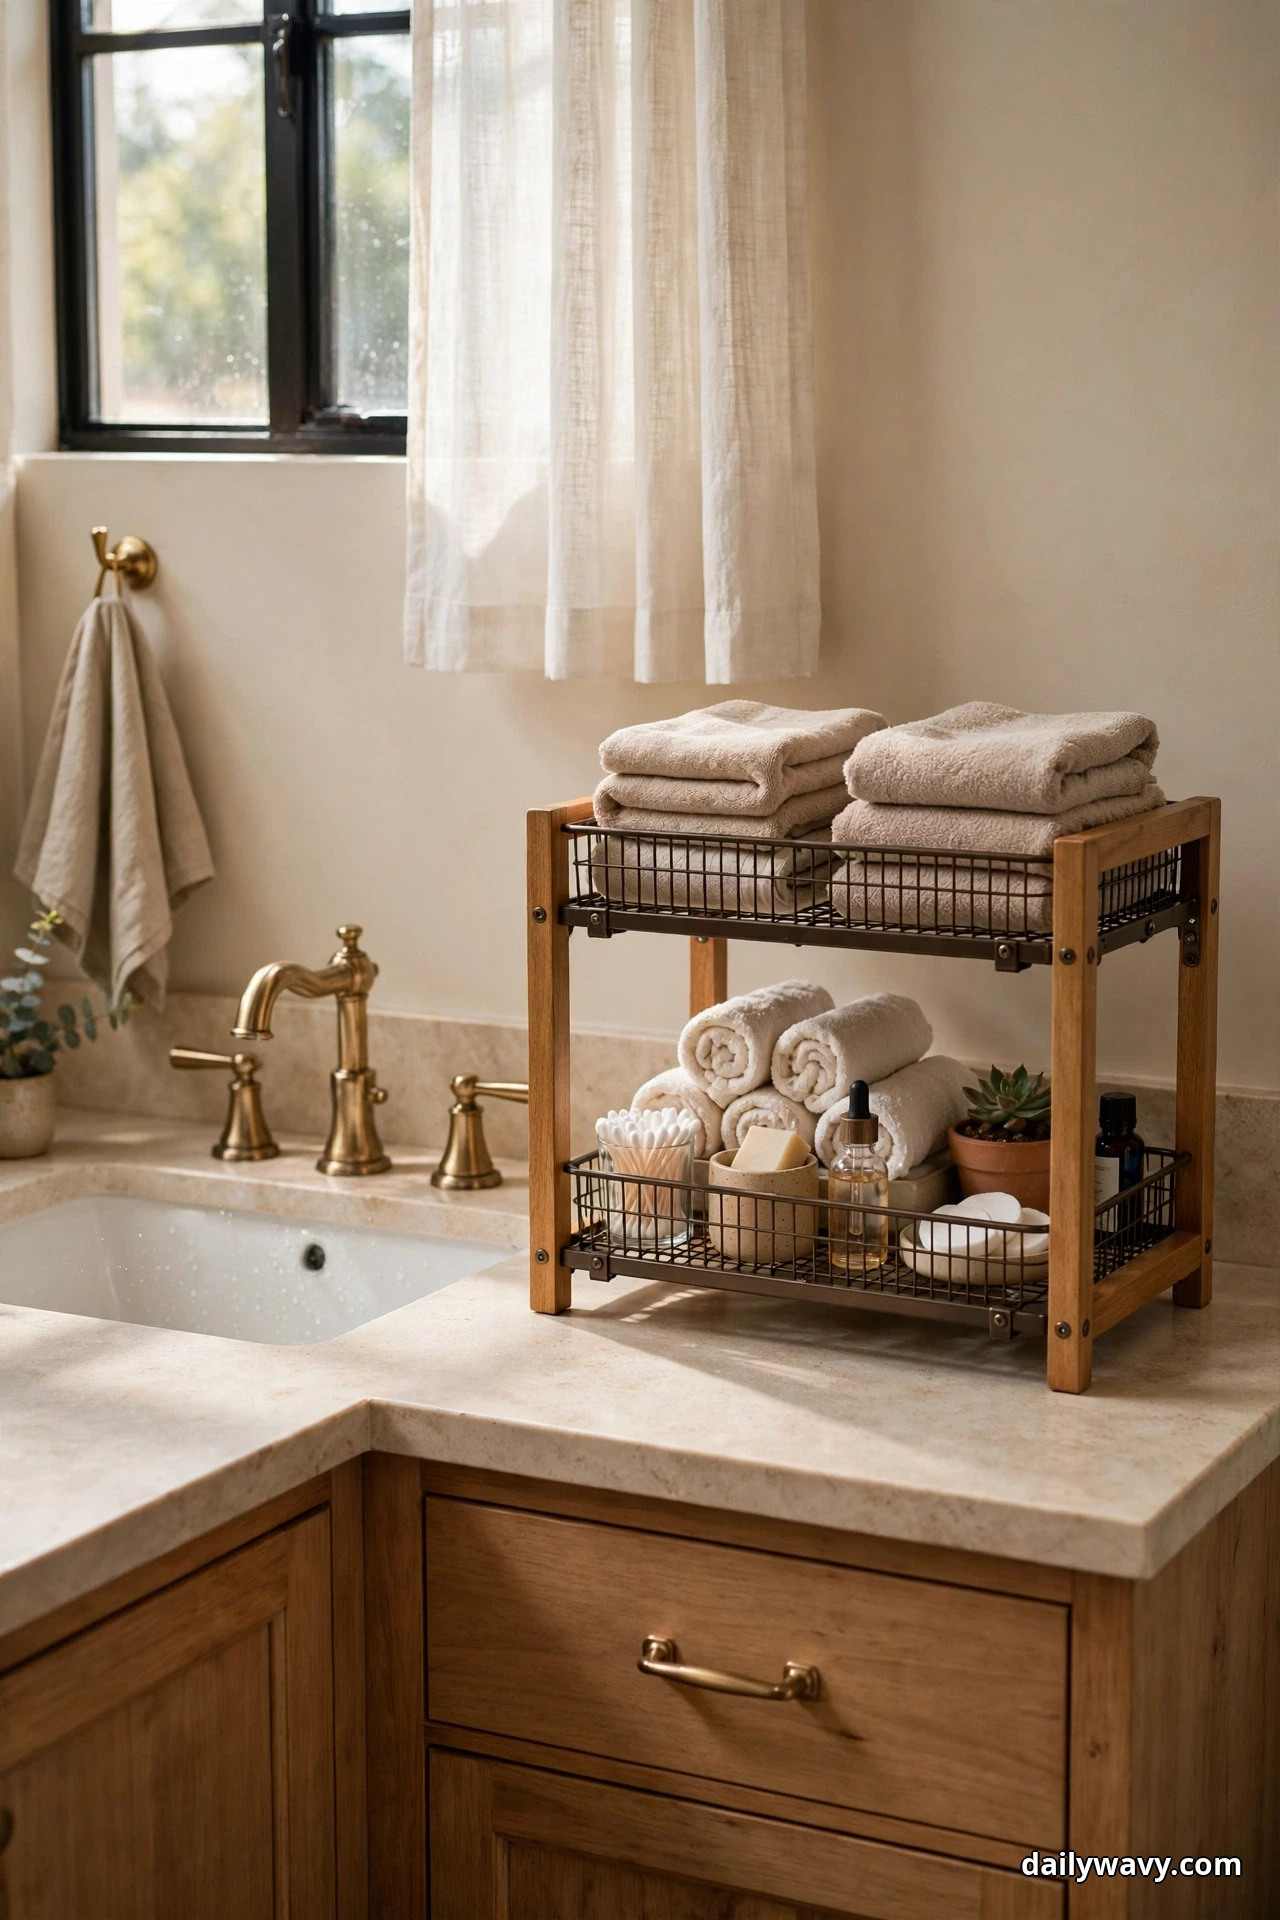
Sometimes the counter needs actual furniture, just in miniature. A small freestanding unit with one or two shelves adds real storage volume without drilling a single hole. It is the closest thing to adding a cabinet to a bathroom that has none, and renters love it for exactly that reason.
The look: A compact bamboo, acrylic, or powder-coated metal unit with open shelves or a small door, sized like a breadbox. It looks like it belongs, not like an afterthought.
What to measure: The footprint you can spare (usually 10 to 14 inches wide) and the clearance in front if it has a door that swings open. Check that it does not block the faucet handles.
How to do it: Place the unit at the far end of the counter, with the most-used shelf at a comfortable height. Load the top shelf with daily items and the lower shelf with backups. Leave a little empty space on each shelf so it never looks stuffed. Wipe the shelves when you wipe the counter.
Effort and cost: About 15 minutes. Small countertop units run $20 to $40.
Lower-cost swap: Stack two sturdy storage cubes or small crates to make a rough two-shelf unit for a few dollars.
Tip: Anchor lighter units with the heaviest items on the bottom shelf. A top-heavy mini cabinet and a bumped elbow are a bad combination.
10. A Grouped Arrangement By Routine
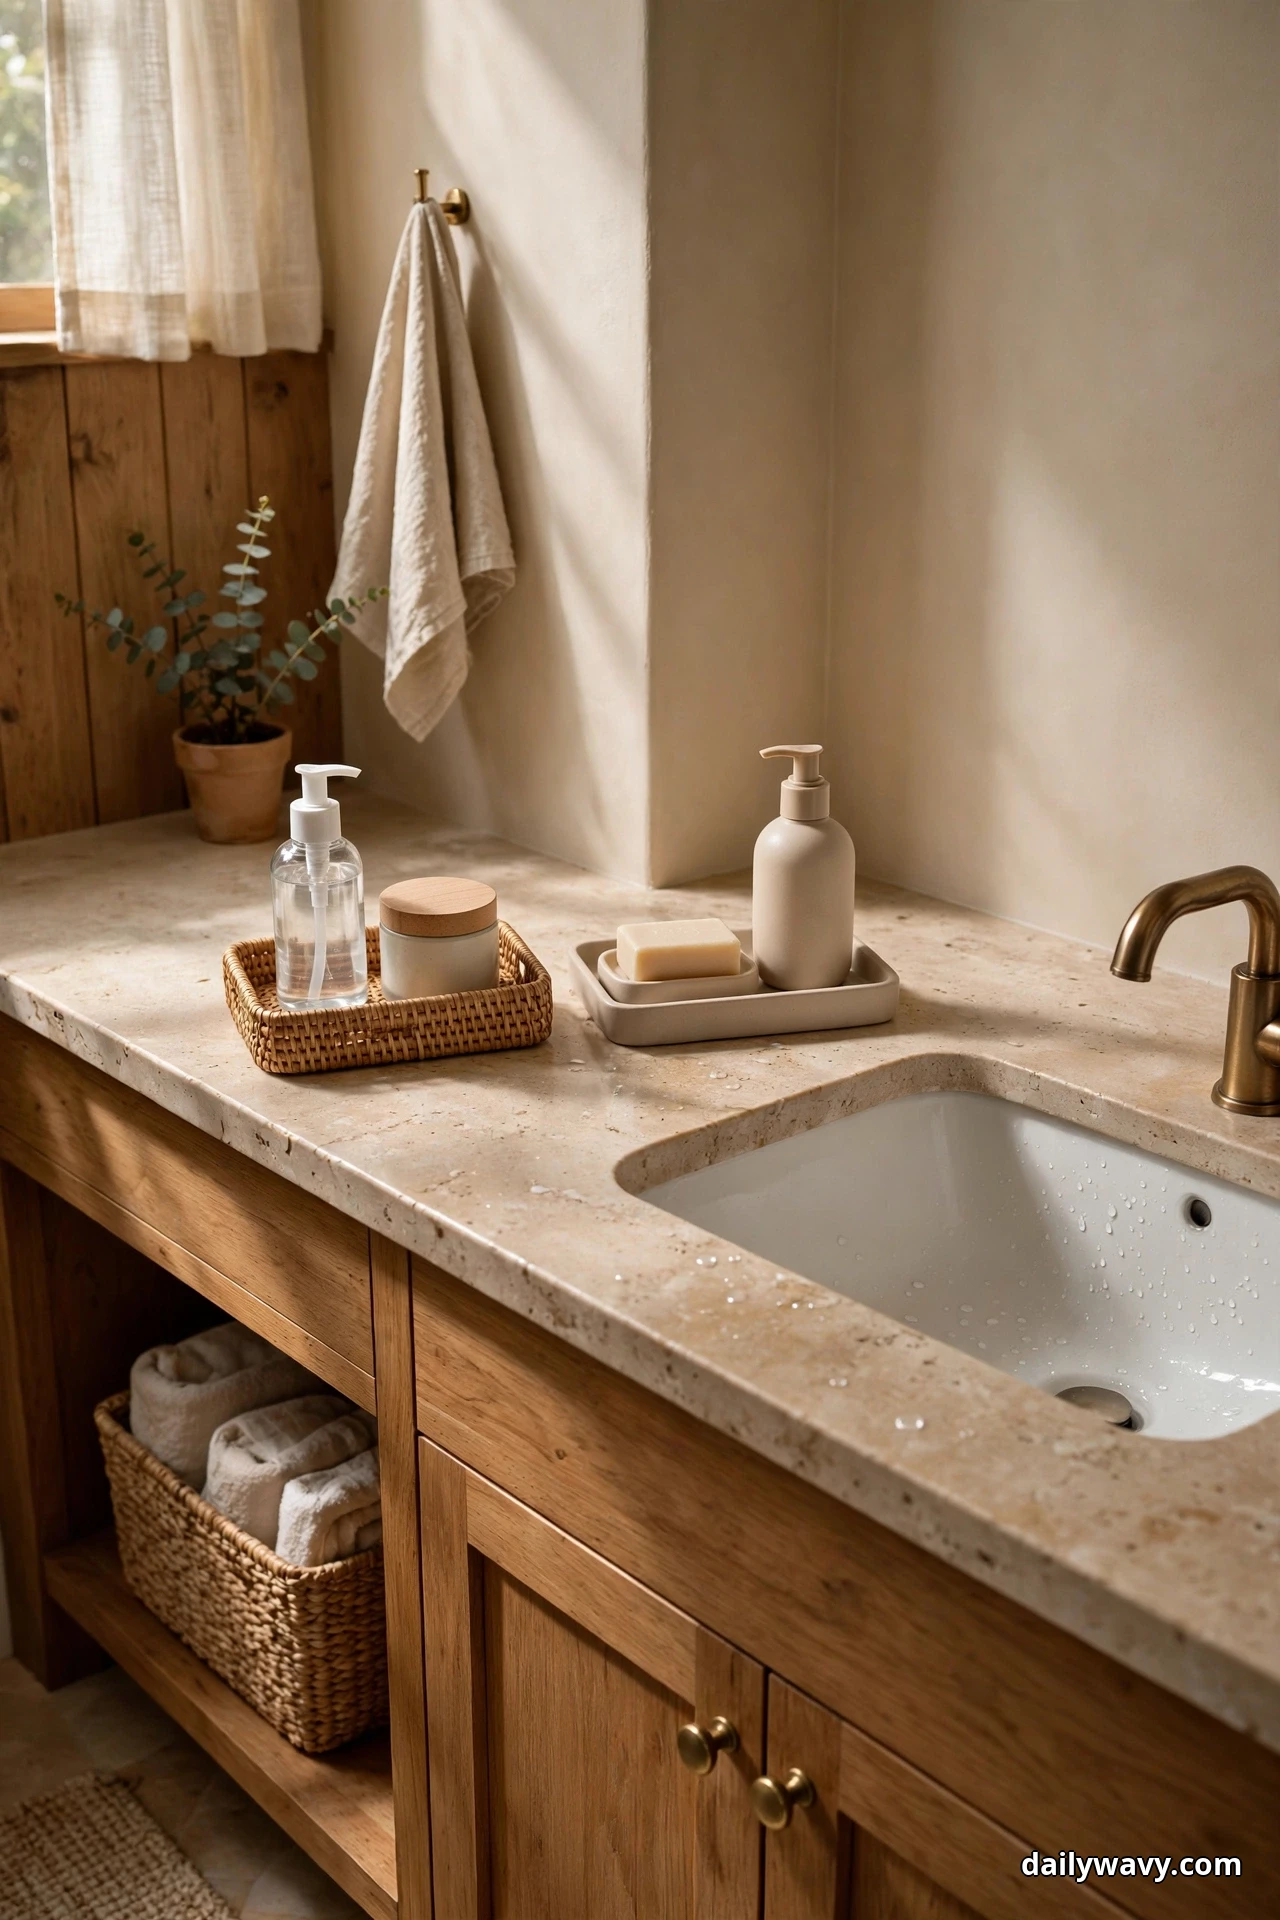
You do not use all your products at once. You use some in the morning and some at night, with a few all-day players. Grouping by routine means you only ever look at the cluster you need. Mornings get faster, evenings get calmer, and the counter stops looking like a product lineup.
The look: Two loose clusters or two small trays: morning on one side, evening on the other. It looks natural and lived-in in the best way, like the counter understands your day.
What to measure: Nothing to buy first. Just gather every product and sort it into morning, evening, and both. You may find you need no new containers at all.
How to do it: Place morning items together on the side of the counter you face first, and evening items on the other side. Shared items like hand soap stay by the sink. Once a month, review both groups and remove anything you stopped using. Routines change, and the groups should change with them.
Effort and cost: Free if you use containers you already own. Two small trays run $10 to $20 if you want them.
Lower-cost swap: Two clean empty candle jars or small bowls make perfect group holders and cost nothing.
Tip: Put the evening group slightly farther from the sink. You are usually less rushed at night, so a half-step of reach is fine.
11. A Tidy Cable-Free Surface Zone
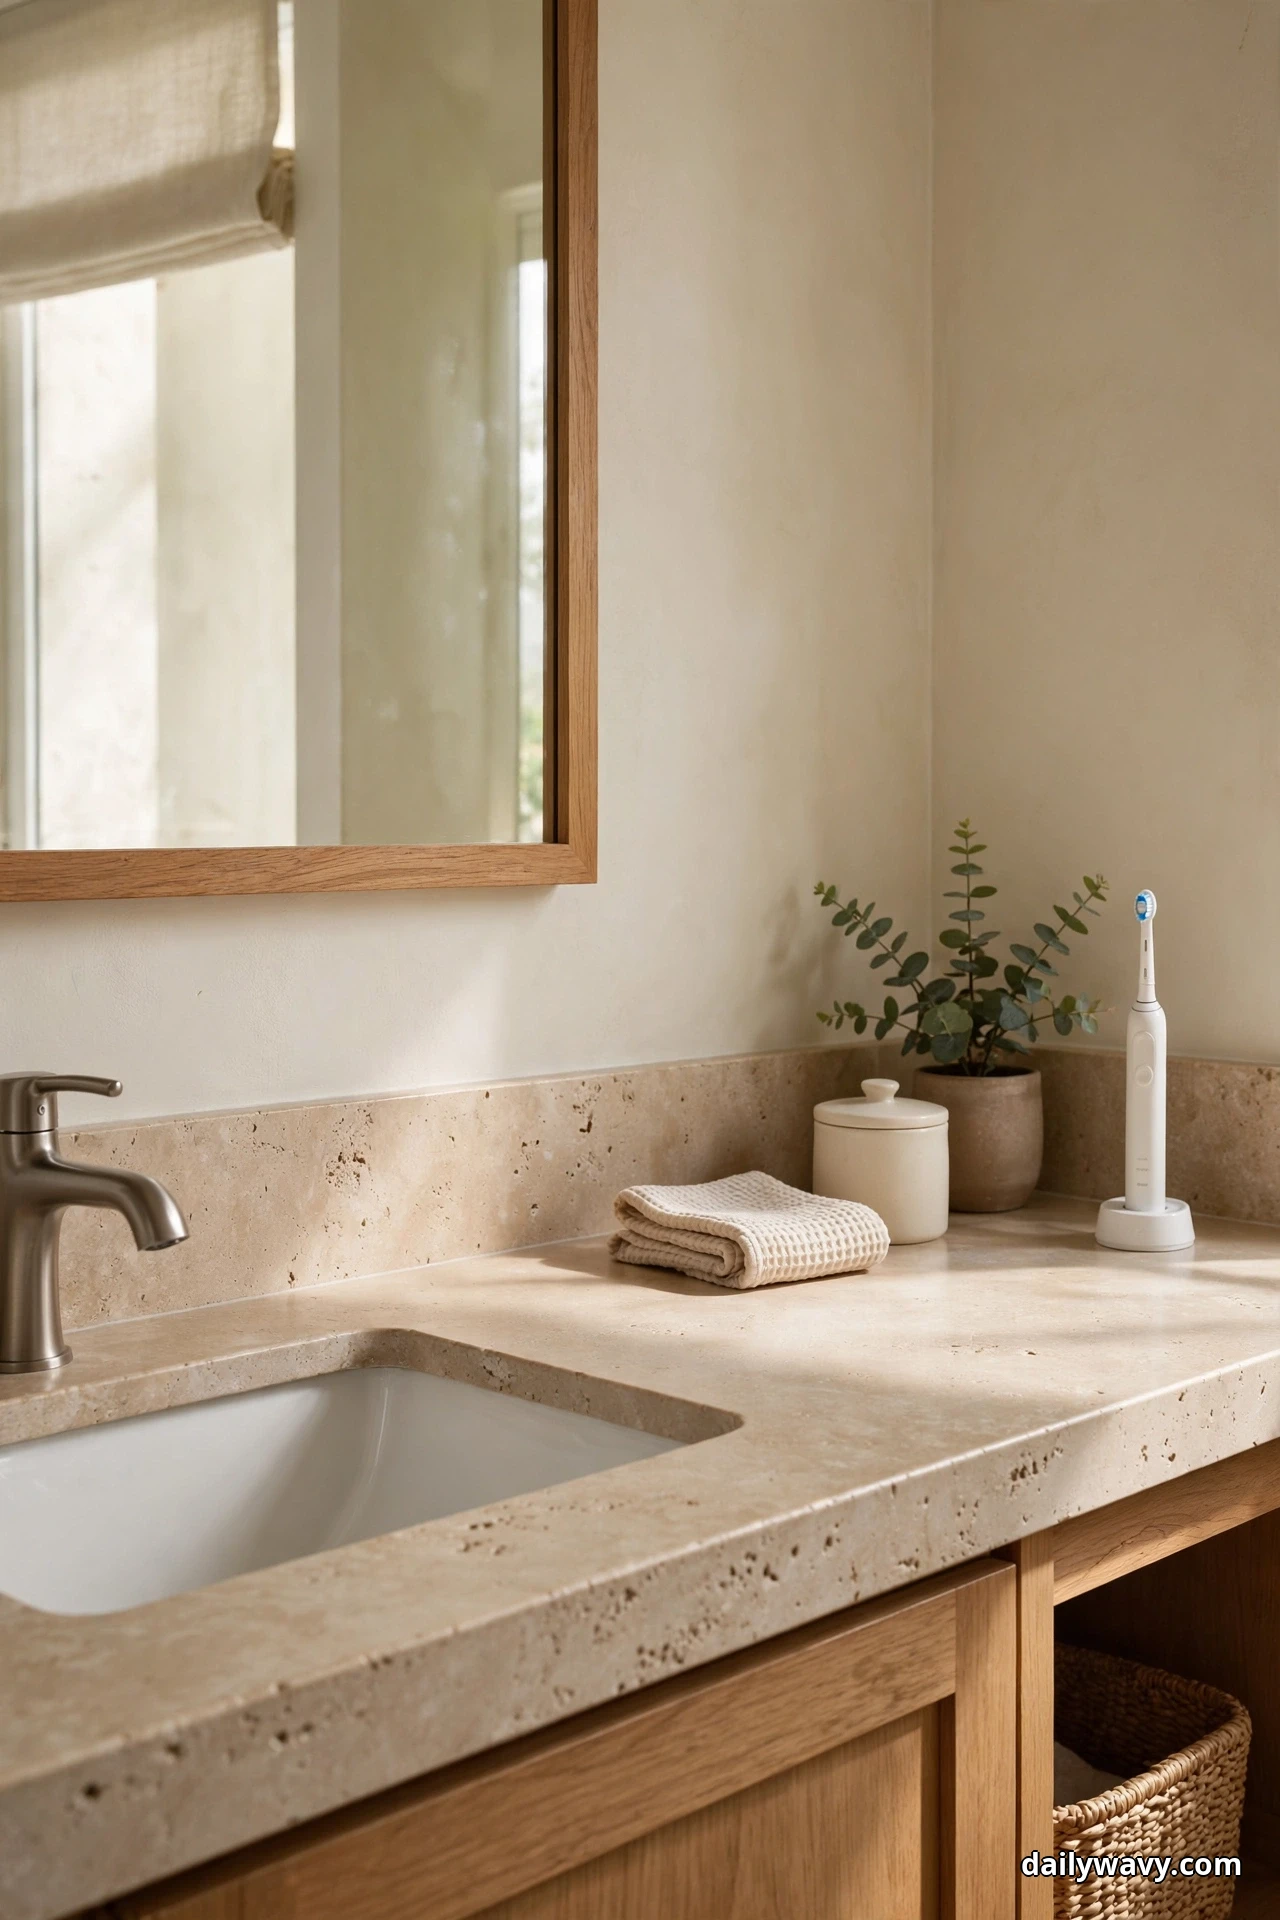
Electric toothbrush chargers, shaver docks, and hair tool cords turn a counter into a tangle. Worse, they sit near water. A cable-free zone means cords are routed and contained, the charging happens on the dry end of the counter, and the surface looks instantly calmer.
The look: A small cable management box or a simple cord-routing setup on the end of the counter farthest from the sink. Clean surface, no spaghetti.
What to measure: The distance from your outlet to the dry end of the counter, and make sure the charging spot stays well clear of the splash zone.
How to do it: Route charger cords through a cable box or along the backsplash with small adhesive cord clips, keeping every cord on the dry end. Park the toothbrush charger or shaver dock on top of or beside the box. Unplug hair tools after use and store them away from the sink. Never drape a cord across the wet zone.
Effort and cost: About 15 minutes. Cable boxes run $12 to $20.
Lower-cost swap: A shoebox with holes cut in the back hides a power strip and cords surprisingly well.
Tip: Charge overnight and unplug by morning. A counter with nothing plugged in is both safer and tidier.
12. A Narrow Basket Grouping Daily Items
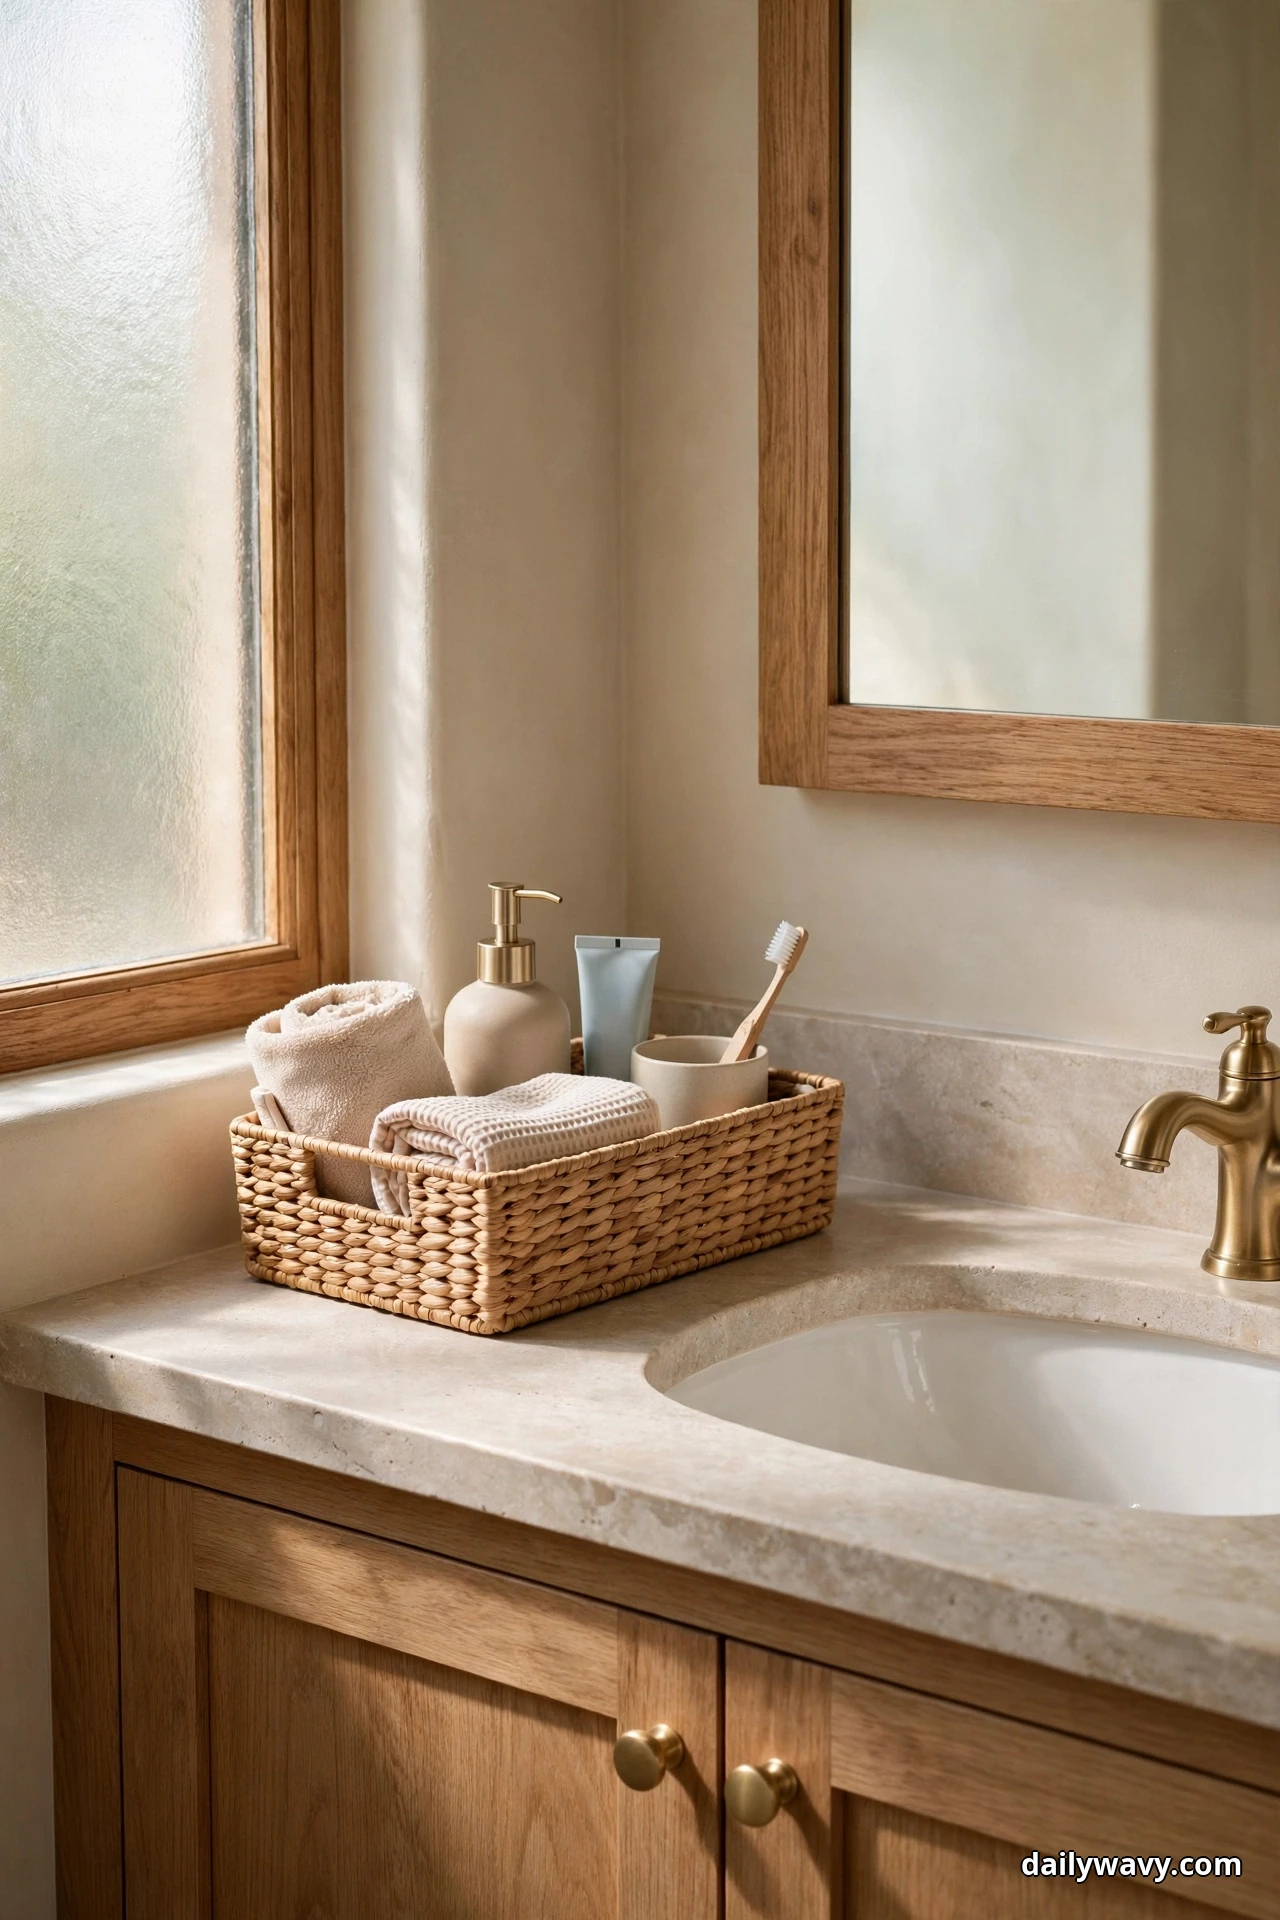
Every bathroom counter has that awkward strip: too narrow for a tray, too wide to ignore, usually between the sink and the wall. A narrow basket turns that dead space into the hardest-working spot on the counter. It slides into the gap and holds exactly the daily essentials, nothing more.
The look: A slim rectangular basket in bamboo, wire, or acrylic, sized to the gap. It looks custom-fit because it is.
What to measure: The width of the strip, which is often just 4 to 6 inches. Measure twice, because a basket that is half an inch too wide will not slide in.
How to do it: Slide the basket into the narrow strip. Fill it with daily essentials only: toothpaste, deodorant, the moisturizer you actually use. Line items up single file so you can see every label. Apply a strict one-in, one-out rule, because a narrow basket overflows fast.
Effort and cost: About 10 minutes. Narrow baskets run $8 to $14.
Lower-cost swap: A long kitchen utensil holder or a cutlery tray fits many narrow strips and costs a few dollars.
Tip: Keep the front of the basket aligned with the counter edge. When it creeps forward, the whole counter starts to look untidy again.
13. A Divider Separating Small Essentials
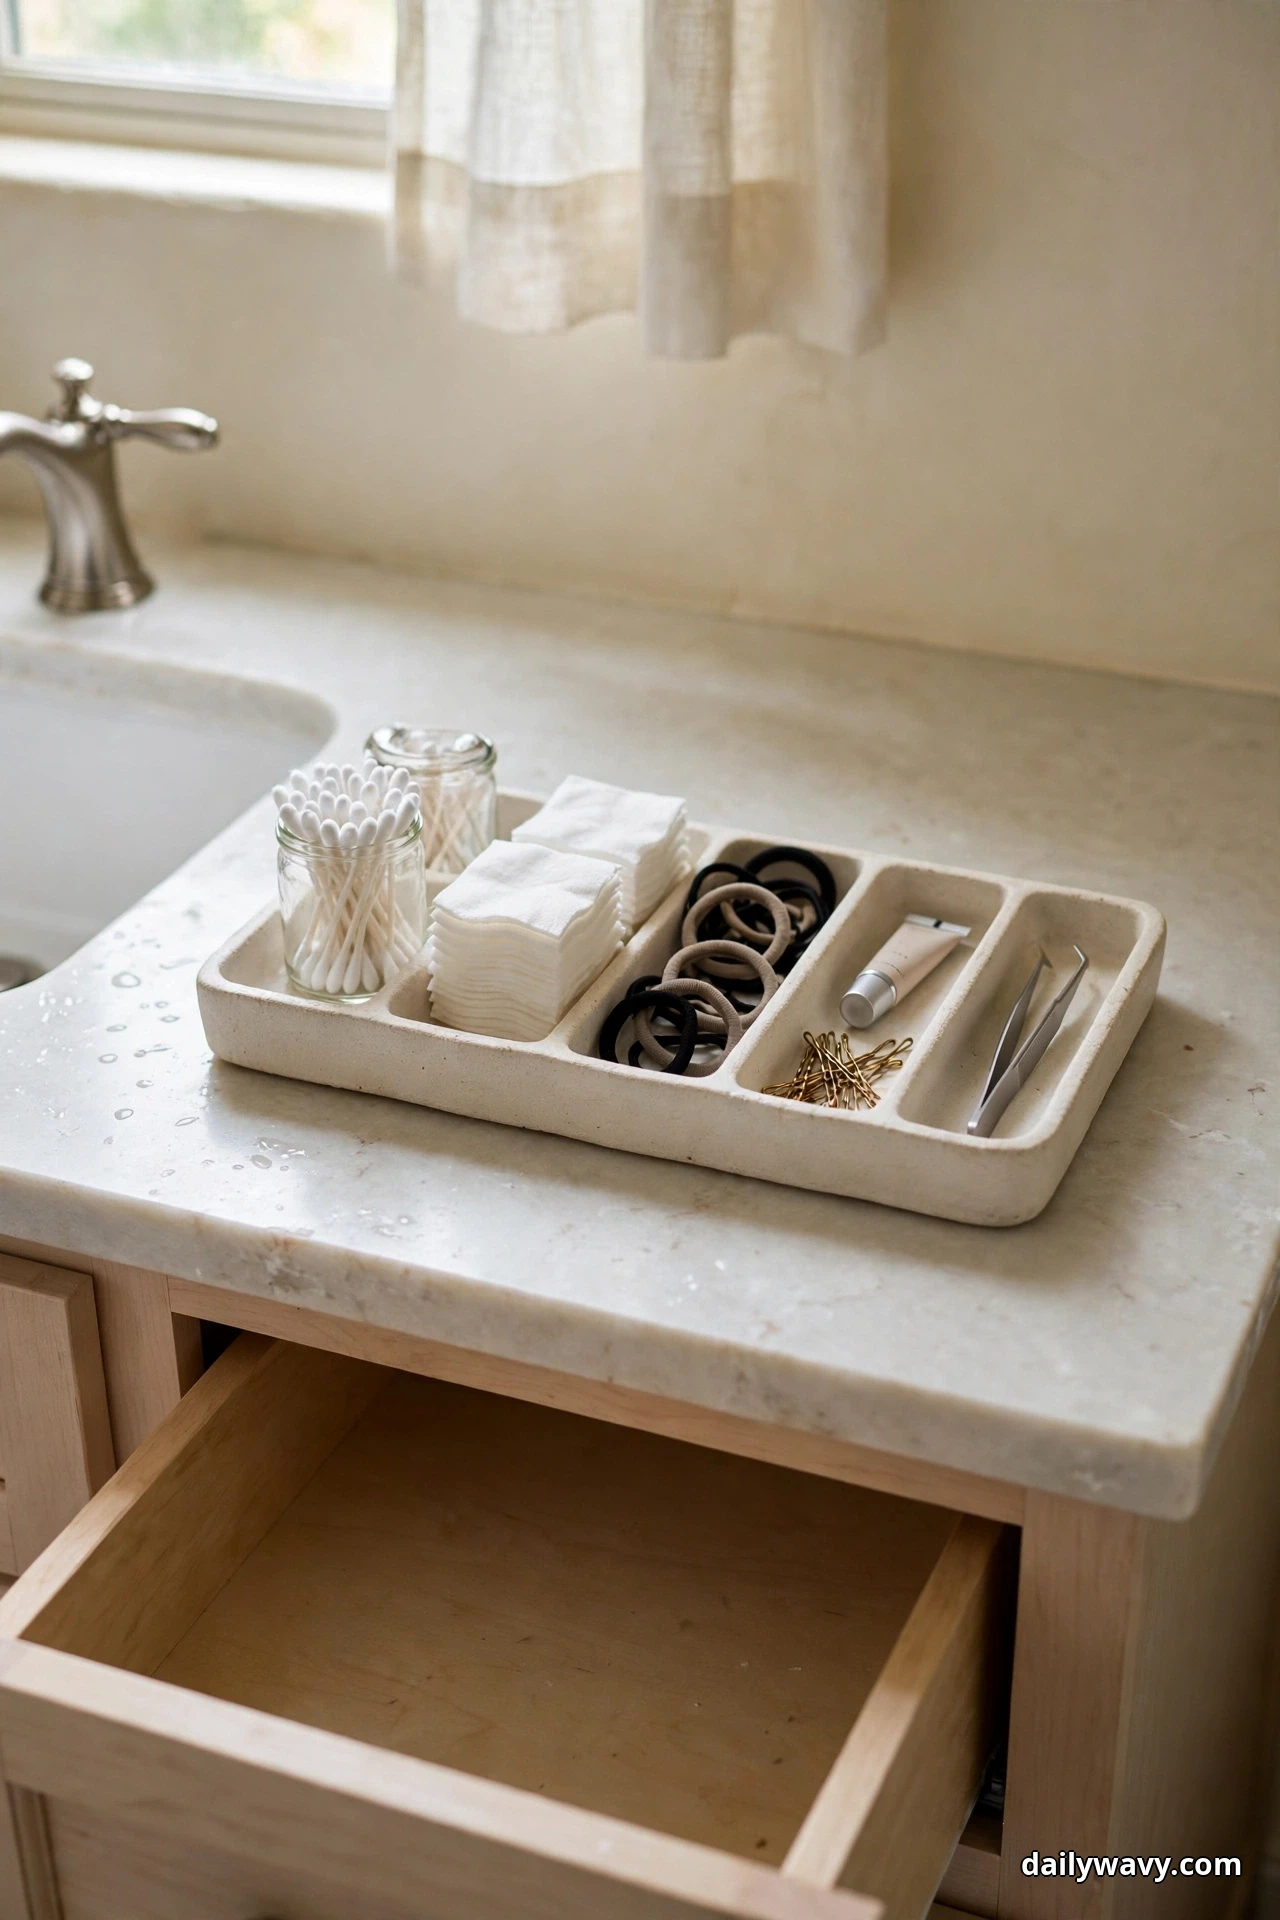
Small things cause big messes. Cotton pads, bobby pins, hair ties, and contact cases are tiny, numerous, and always migrating. A divider inside a larger tray gives each category its own compartment, so the small stuff stays sorted instead of forming one mixed-up layer at the bottom.
The look: A shallow tray with adjustable dividers, each compartment holding one type of small essential. It looks precise and satisfying, like a well-kept drawer sitting out in the open.
What to measure: The interior of the tray you plan to divide, and the footprint of the bulkiest small item so no compartment is too tight.
How to do it: Set the dividers to make compartments for each category: cotton pads in one, hair ties in another, bobby pins in a third. Decant items out of bulky store packaging so they fit neatly. Label the compartments if it helps, or just let the layout teach you.
Effort and cost: About 15 minutes to sort and arrange. Divided trays run $10 to $18.
Lower-cost swap: Small paper cups, muffin liners, or empty mint tins make excellent mini compartments inside any tray.
Tip: Corral bobby pins with a small magnetic strip or a magnetic dish. They are the escape artists of the bathroom world.
14. A Shallow Tray For Quick Access
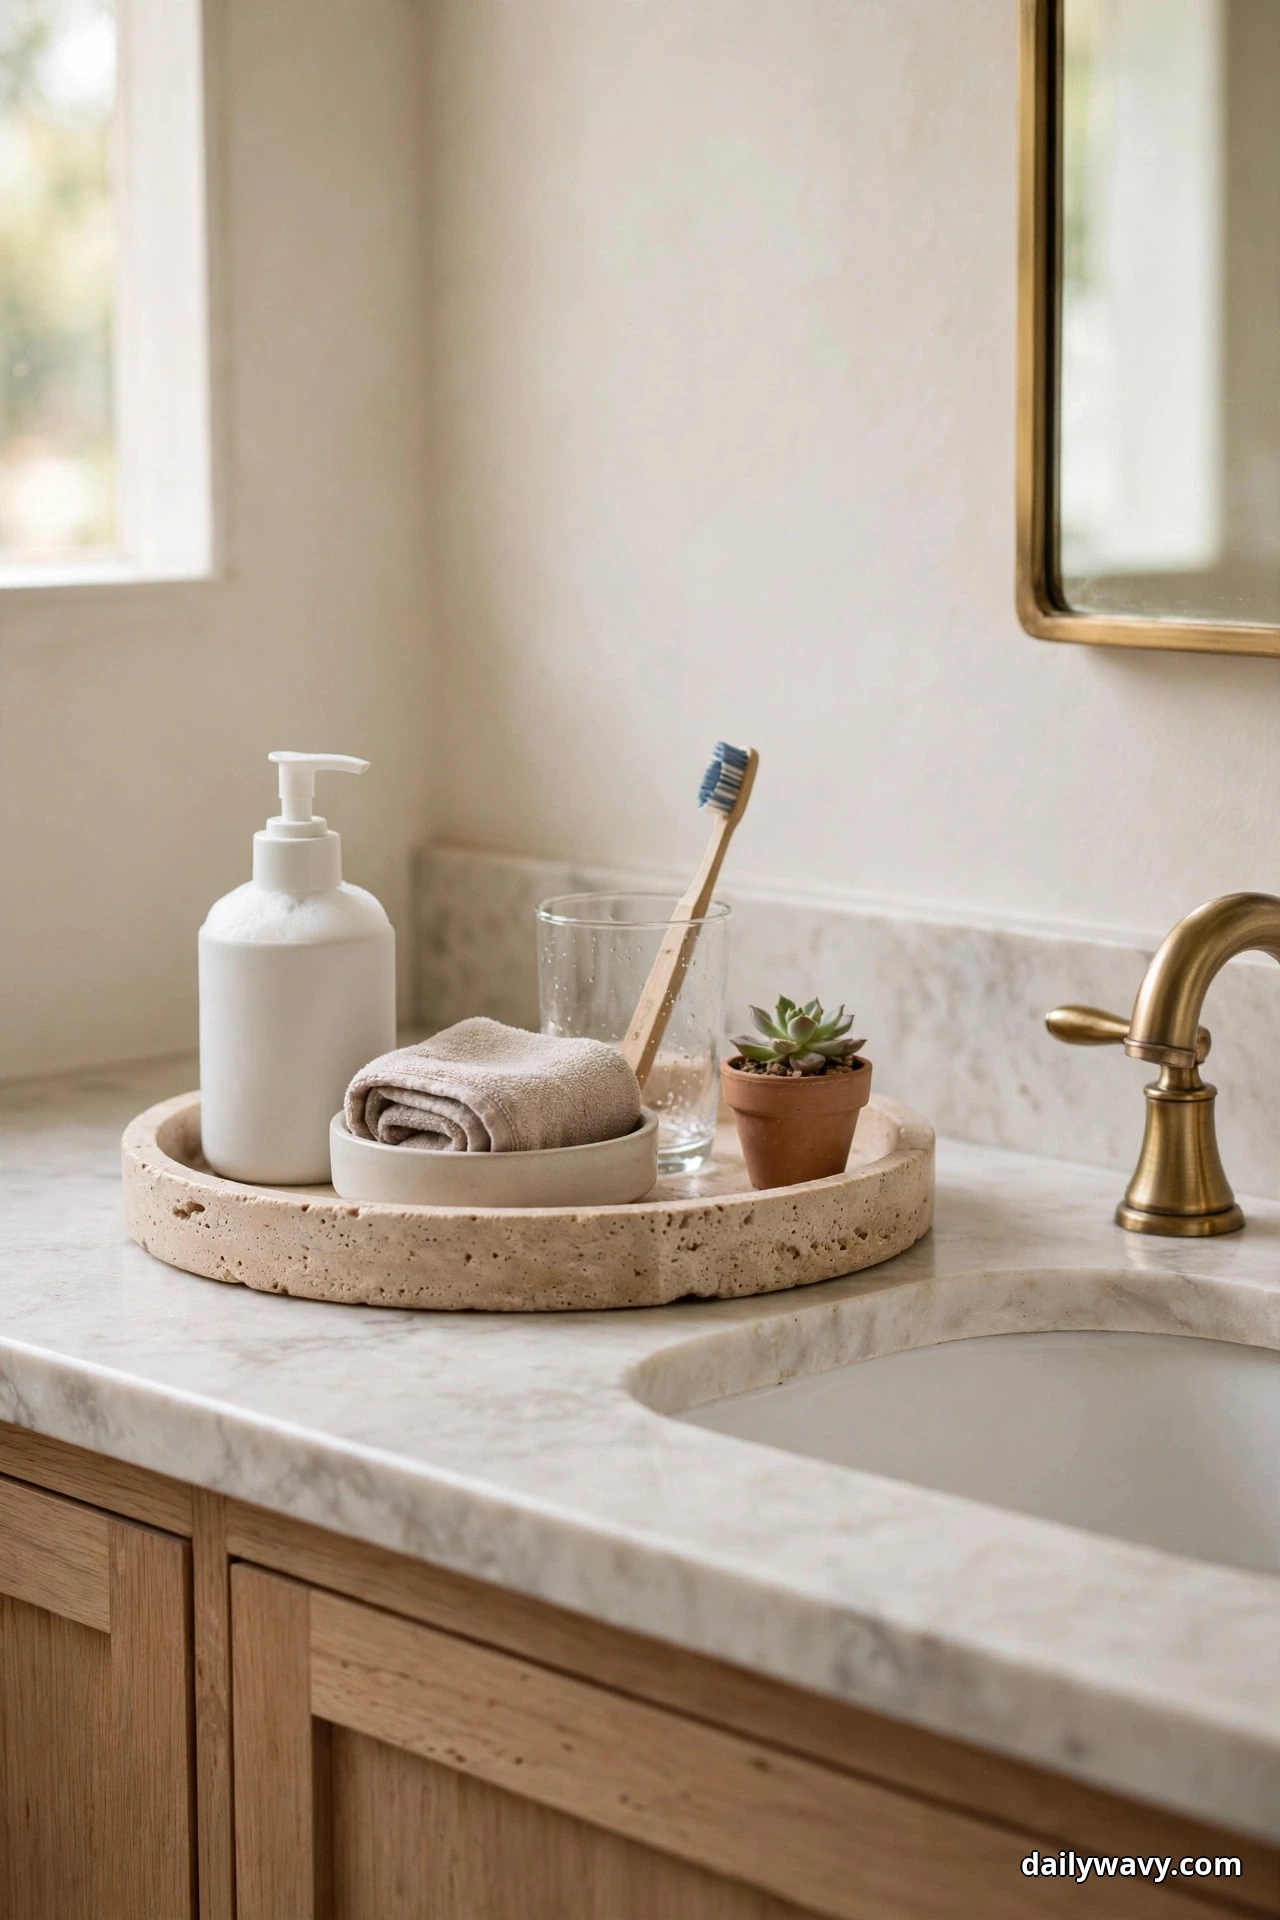
Some items deserve the front row: the moisturizer, the hand soap, the lip balm you reach for ten times a day. A shallow tray gathers those grab-and-go essentials in one open spot where nothing hides behind anything else. It is the simplest idea on this list, and often the most used.
The look: A flat tray in marble, stone, wood, or acrylic with a low rim, holding a neat row of daily items with the tallest at the back. Elegant and unfussy.
What to measure: The space between the faucet and the front edge. The tray must sit fully on the counter with room to spare, so nothing hangs over.
How to do it: Place the tray in your most convenient spot, usually just to one side of the faucet. Arrange items tallest at the back and shortest in front so every label is visible. Limit it to true daily items. When you wipe the counter, wipe the tray too, and it will always look fresh.
Effort and cost: About 5 minutes. Shallow trays run $12 to $25.
Lower-cost swap: A large dinner plate or a small baking sheet lined with a folded hand towel makes a fine quick-access tray.
Tip: If an item sits on the tray untouched for two weeks, it is not a daily essential. Move it to a basket or box.
15. A Labeled Closed Container
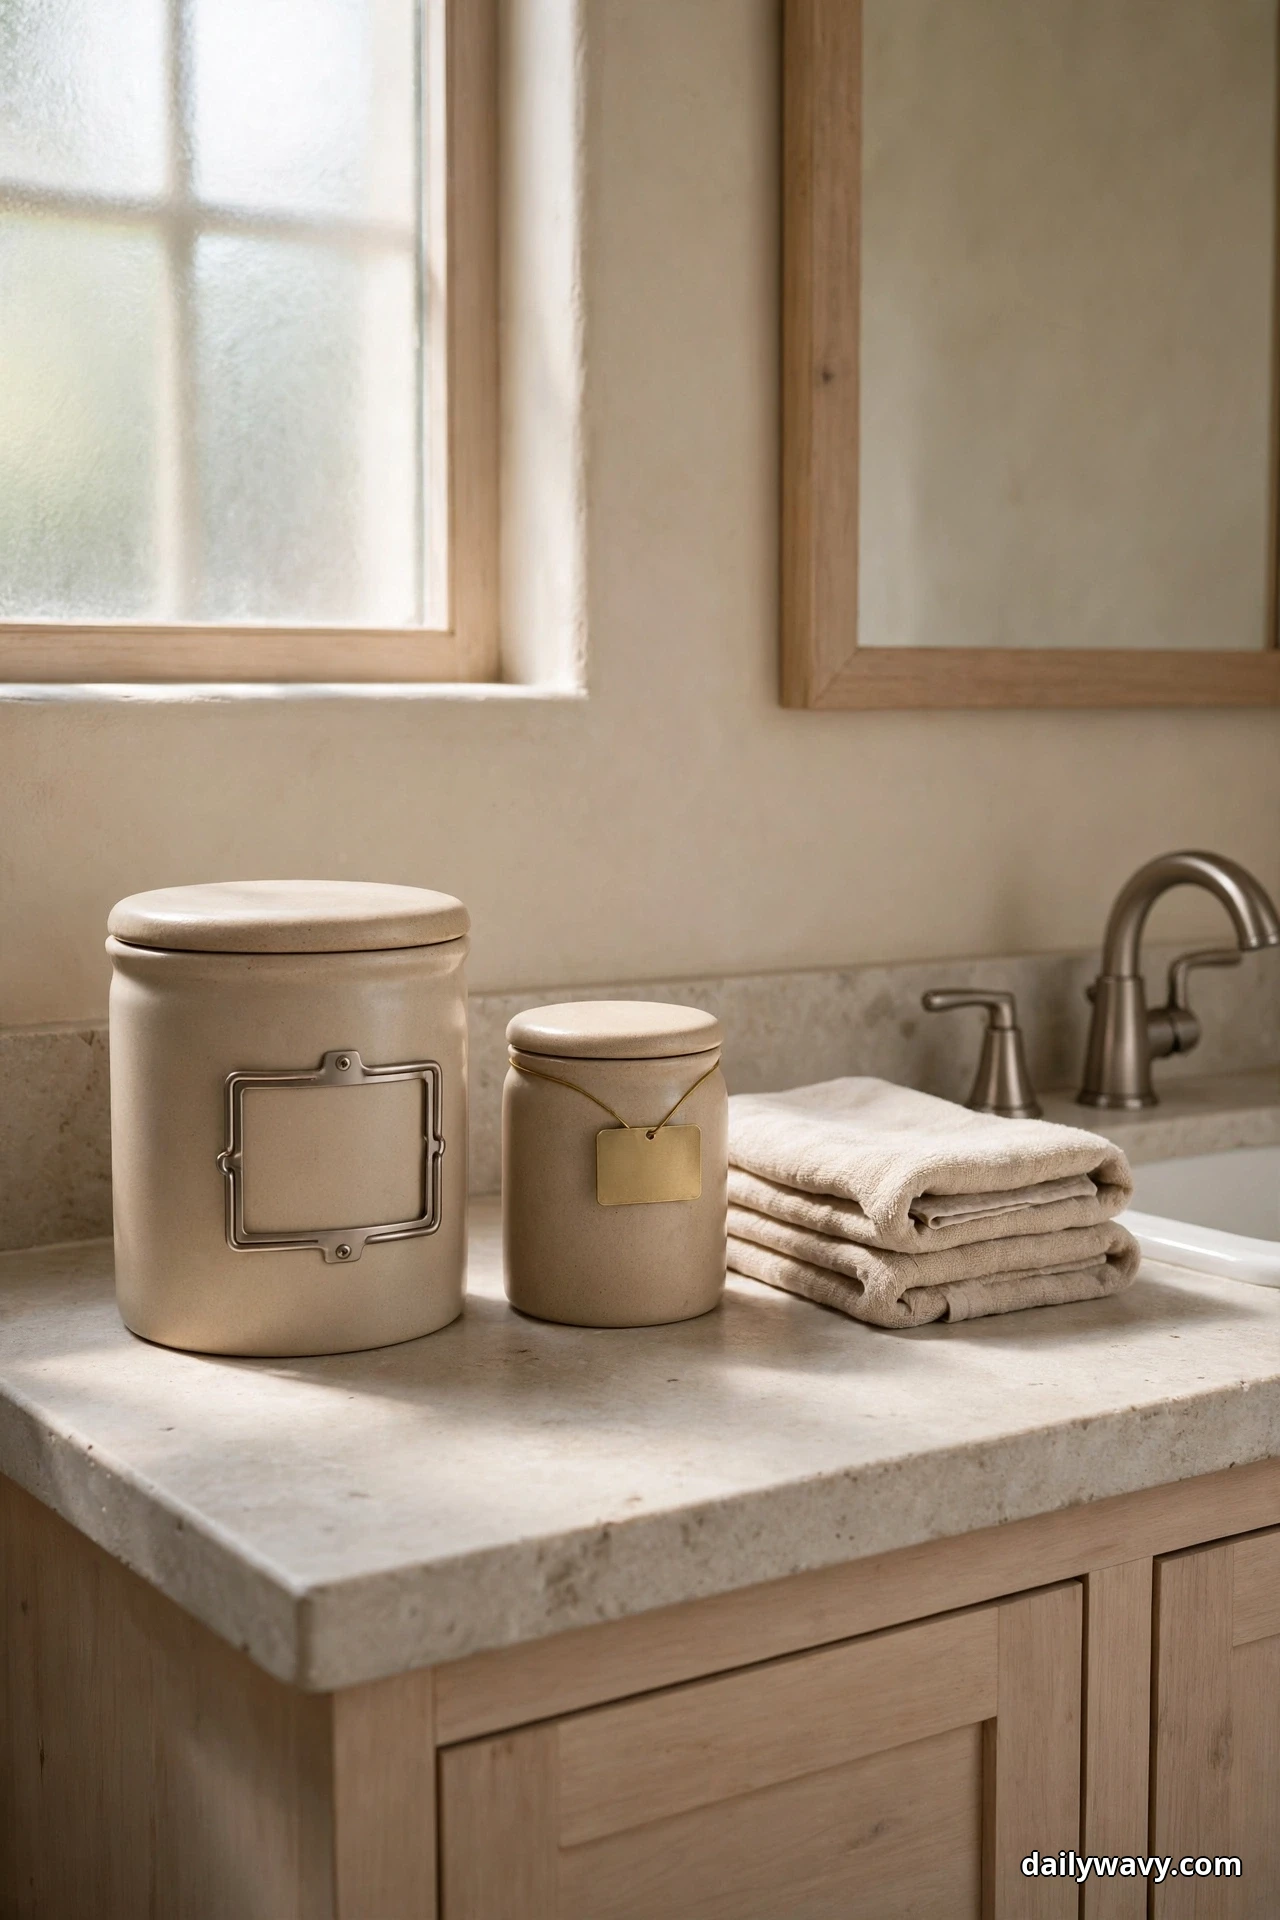
Open bags and half-torn boxes look messy no matter how neatly you line them up. Decanting small essentials into labeled closed containers solves it twice: everything looks uniform, and lids keep dust and humidity out. It is the apothecary look, and it works because it is genuinely practical.
The look: A set of matching jars or canisters in glass or acrylic with simple labels. Uniform, calm, and easy to scan.
What to measure: The height under any cabinet or shelf above the counter, and the diameter that lets jars sit without crowding.
How to do it: Decant cotton balls, cotton swabs, bath salts, and similar items into the jars. Write or print simple labels and stick them on. Keep the original packaging as refill stock under the sink. Refill a jar when it runs low instead of putting the store bag on the counter.
Effort and cost: About 20 minutes including labeling. A set of jars runs $12 to $24.
Lower-cost swap: Clean jam jars or pasta sauce jars with handwritten labels look charming and cost nothing.
Tip: Use wide-mouth jars. Narrow necks look elegant but make refilling and grabbing a cotton ball harder than it needs to be.
16. A Compact Shelf Riser
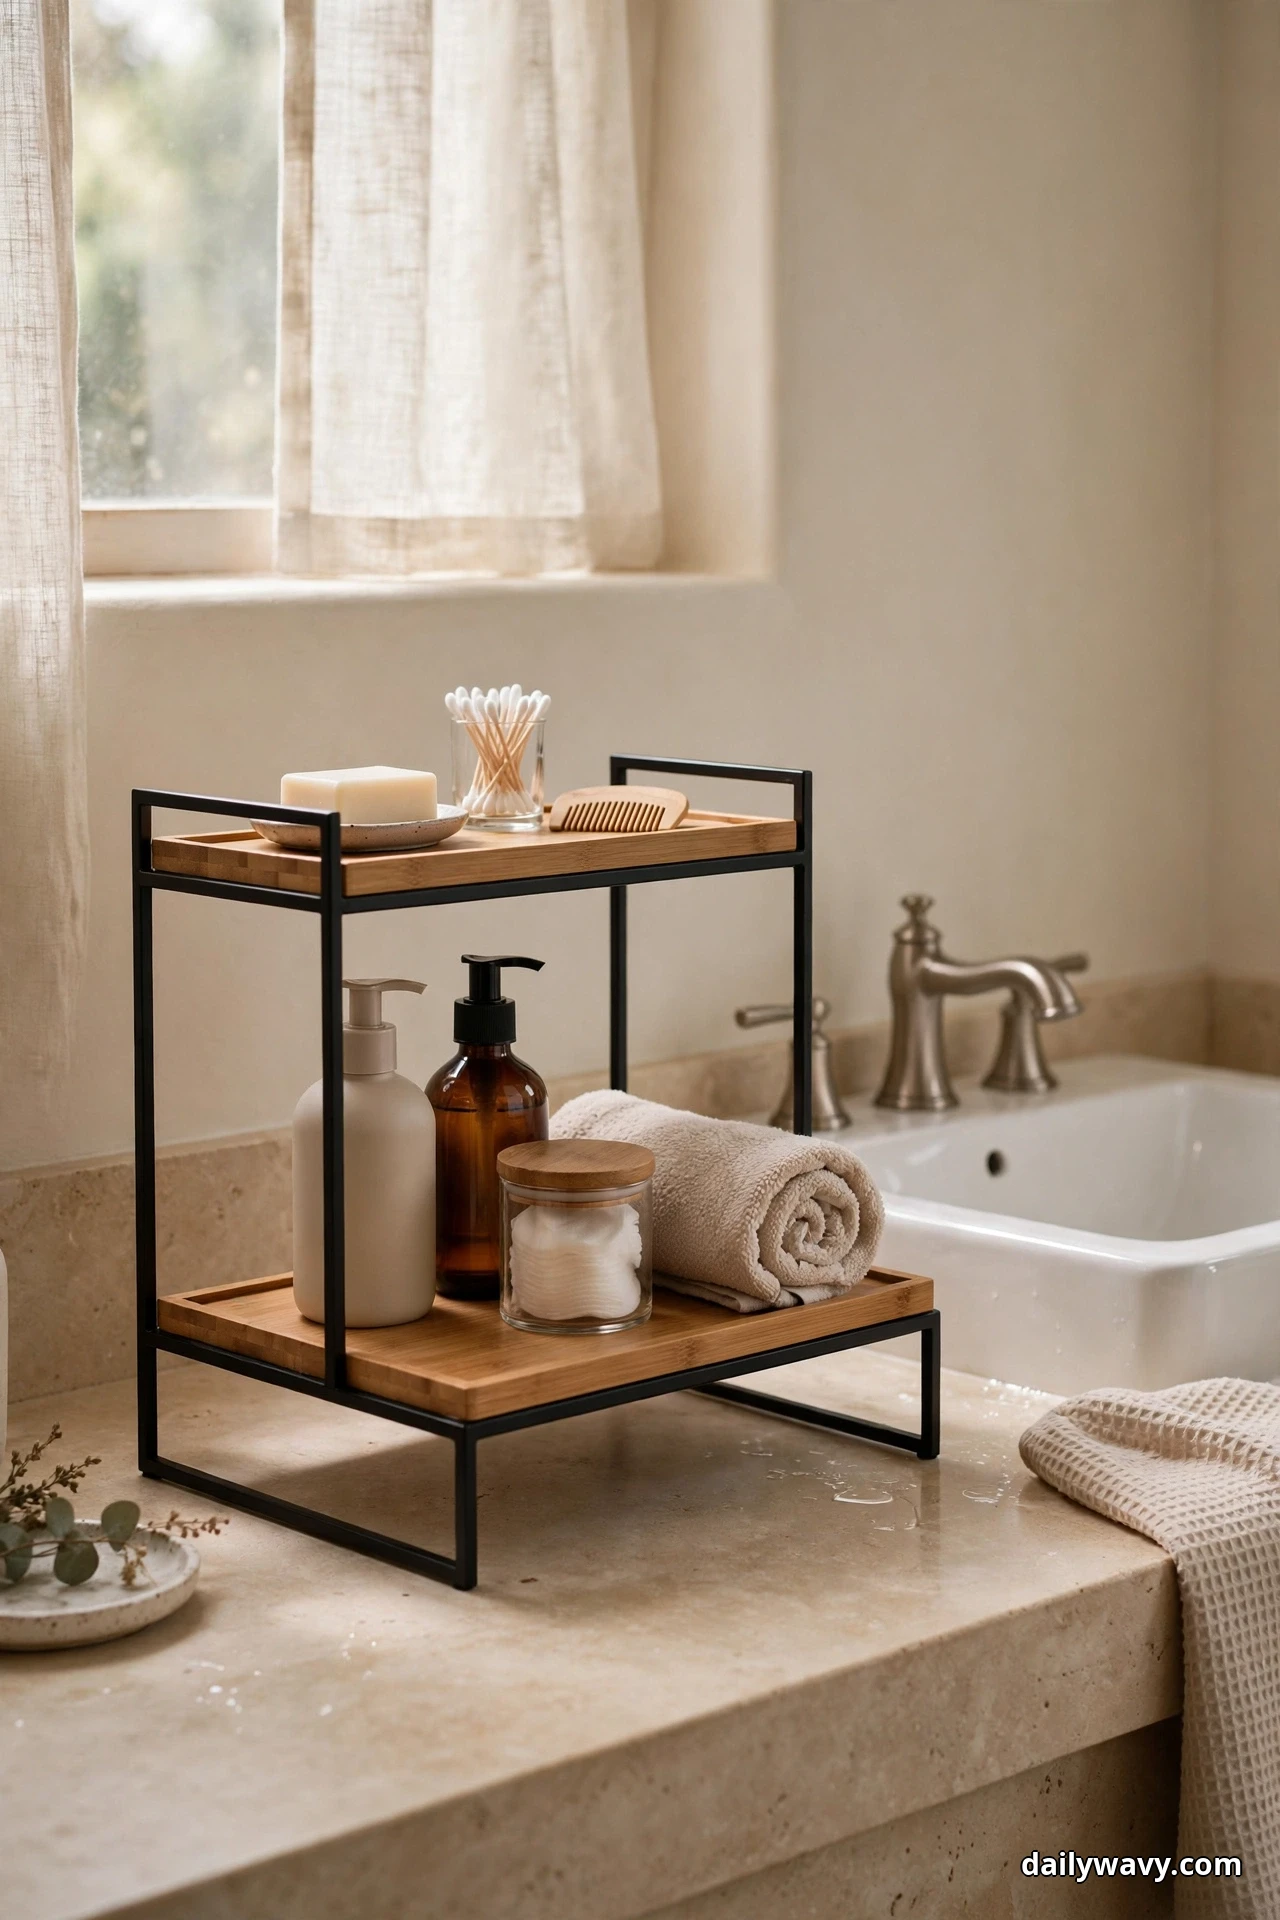
A shelf riser is a quiet trick: it turns one flat surface into two. Tall bottles go on top, shorter items tuck underneath, and suddenly the back of your counter holds twice as much without looking crowded. It is vertical storage in its simplest form.
The look: A small riser in bamboo, wood, or powder-coated metal, like a tiny stage at the back of the counter. Clean lines, nothing fussy.
What to measure: The depth of the back strip of your counter and the clearance to the mirror or shelf above. The riser plus your tallest bottle must fit comfortably.
How to do it: Set the riser against the backsplash. Place tall bottles on top where their height works for them, and slide shorter jars and tubes underneath. Keep the front edge of the riser clear so items do not get knocked off when you reach past.
Effort and cost: About 5 minutes. Small risers run $10 to $20.
Lower-cost swap: A sturdy upside-down storage box or a thick hardcover book you no longer read creates a serviceable riser in a dry spot.
Tip: Put the items you use least often on top. Reaching over the front row every morning gets old fast.
17. A Small Pull-Out Caddy
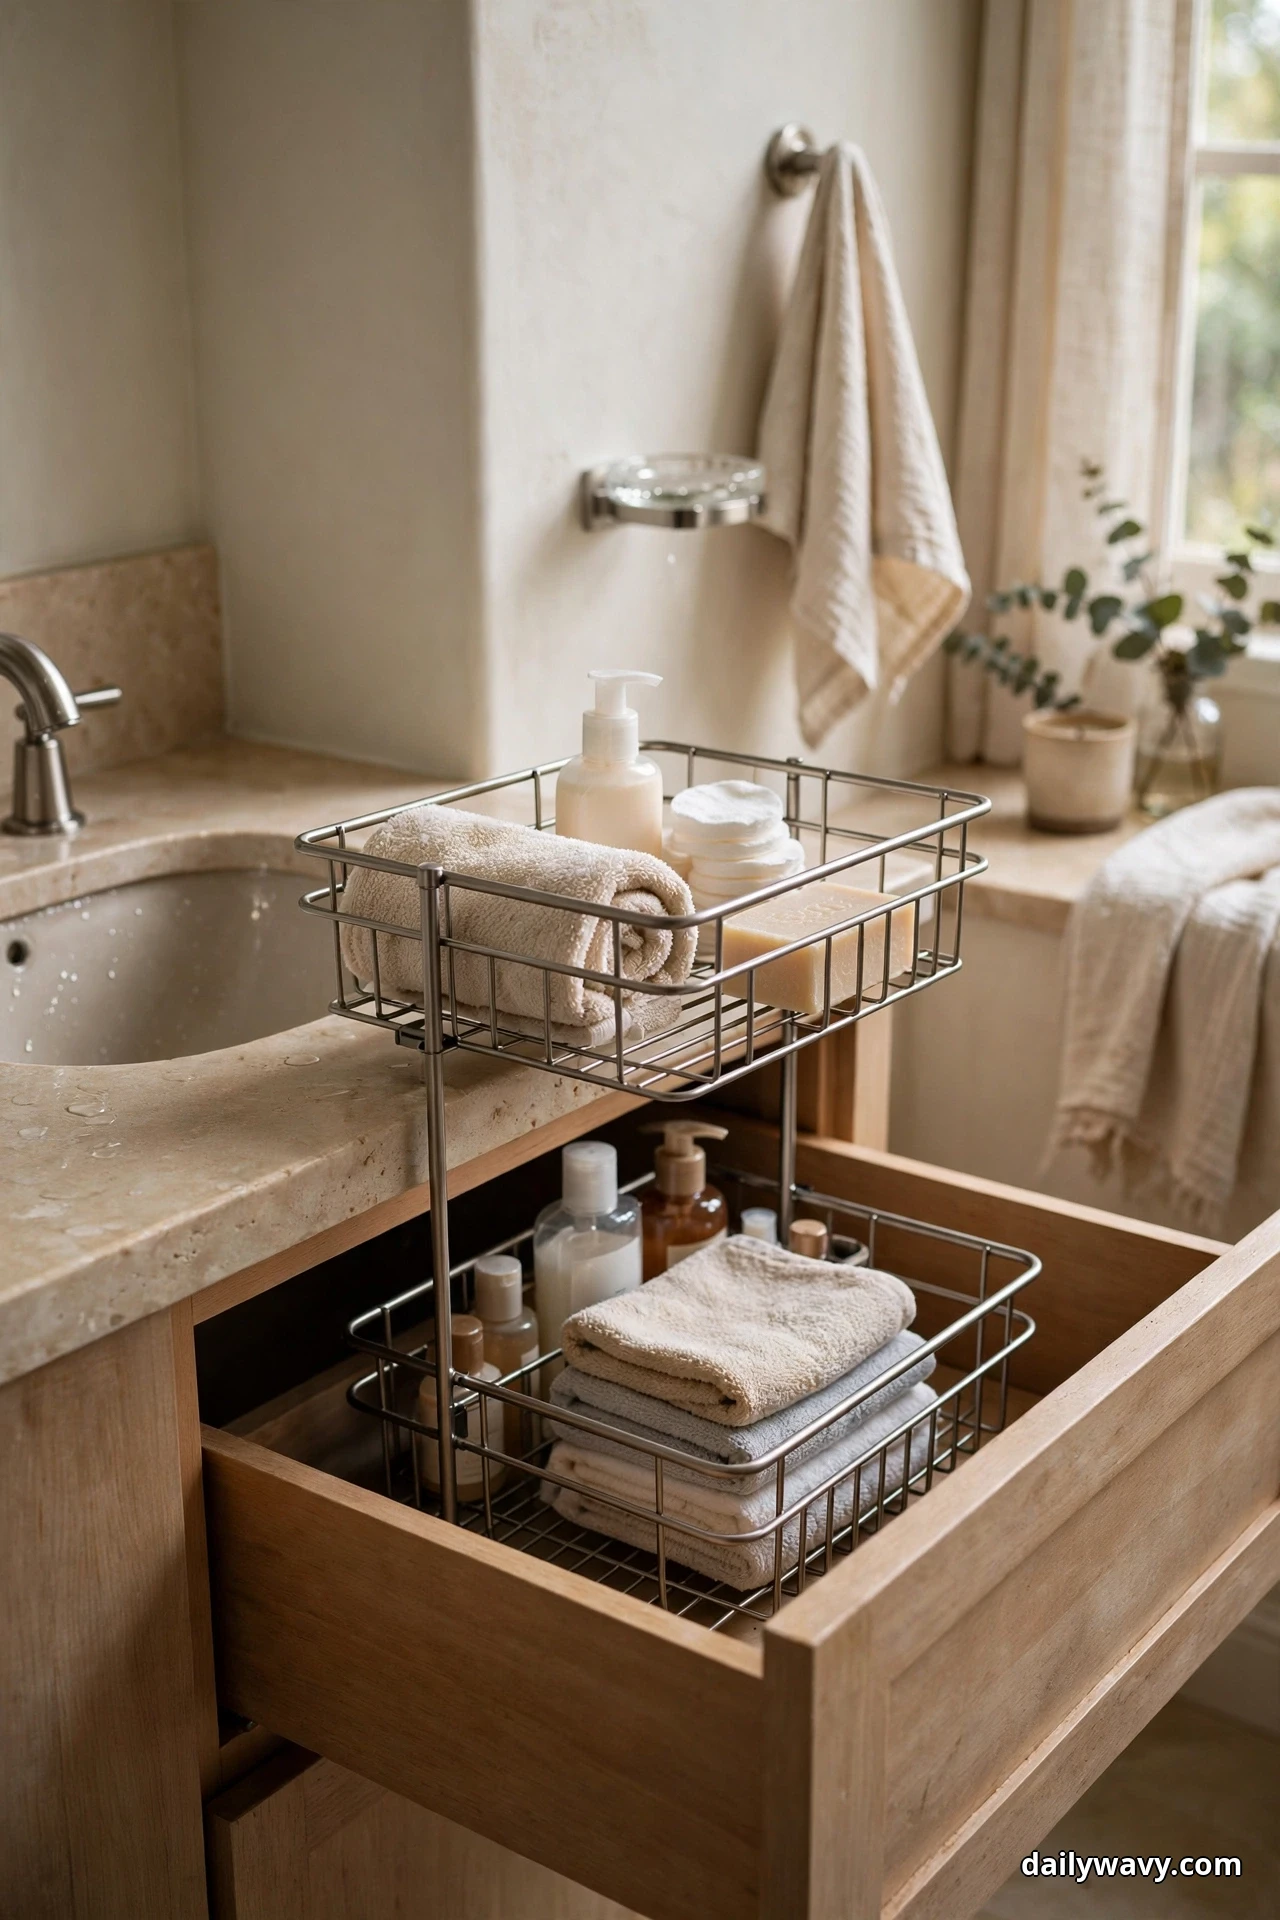
Some routines do not happen at the sink. Makeup happens at the mirror, skincare happens on the bed, hair happens wherever the outlet is. A pull-out caddy with a handle lets you carry your whole routine to where you need it and park it neatly when you are done.
The look: A handled caddy with divided compartments, like a tidy toolbox for your routine. It looks purposeful parked at the end of the counter.
What to measure: The parking spot at the end of the counter, and make sure the handle clears any shelf above when you lift it out.
How to do it: Load the caddy by routine: all your morning skincare in one, or makeup in another. Carry it to the mirror or the bedroom, do your routine, and bring it back to its parking spot. Once a week, take everything out, wipe the compartments, and restock anything running low.
Effort and cost: About 10 minutes. Handled caddies run $10 to $18.
Lower-cost swap: A handled cleaning caddy or a sturdy tote bag with a few small pouches inside does the same portable job.
Tip: Give the caddy a fixed parking spot and always return it there. A portable system that never comes home is just clutter that travels.
18. A Hook Solution Suited To The Surface
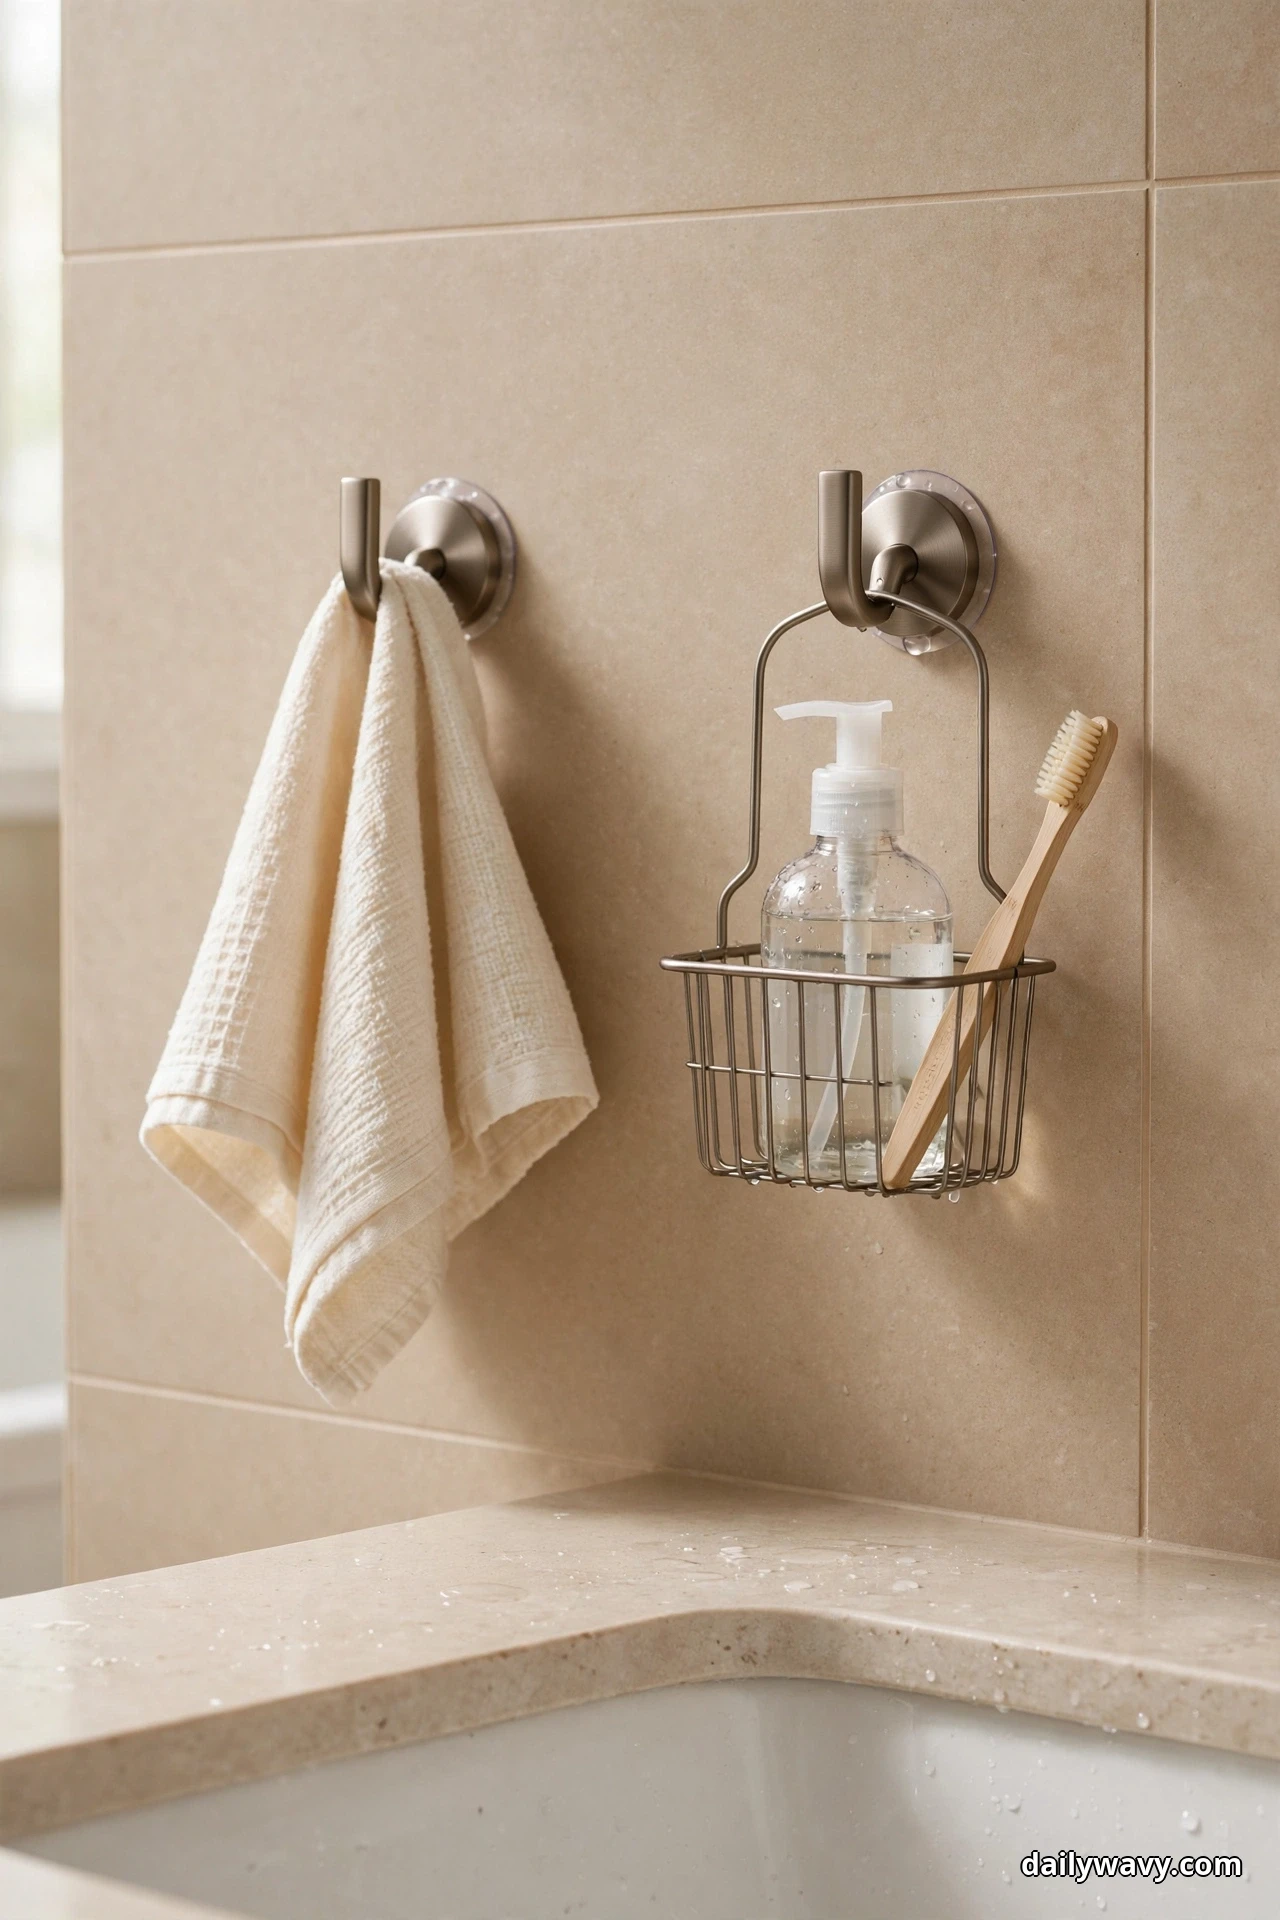
The counter does not have to hold everything. Light, hangable items like washcloths, headbands, and small pouches can live on hooks, freeing the surface for things that truly need to sit flat. The key is matching the hook to the surface so it actually stays up.
The look: Two or three small hooks on the backsplash, the side of a cabinet, or the mirror frame, each holding one light item. Minimal and airy.
What to measure: Check what your surfaces are. Tile and glass hold adhesive hooks well; painted drywall and textured surfaces often do not. Note the weight limit on the hook package.
How to do it: Clean the spot with rubbing alcohol and let it dry. Press the adhesive hook on firmly and wait a full 24 hours before hanging anything, no matter what the package promises. Hang only light items: a washcloth, a headband, a small hanging pouch for daily vitamins.
Effort and cost: About 10 minutes plus the waiting day. Adhesive hooks run $5 to $10 for a pack.
Lower-cost swap: Over-the-door hooks on a vanity cabinet door give you hanging space with no adhesive at all.
Tip: If a hook falls, the surface was wrong, not the hook. Move it to tile or glass and try again instead of buying stronger adhesive.
19. A Clear Bin With Visible Contents
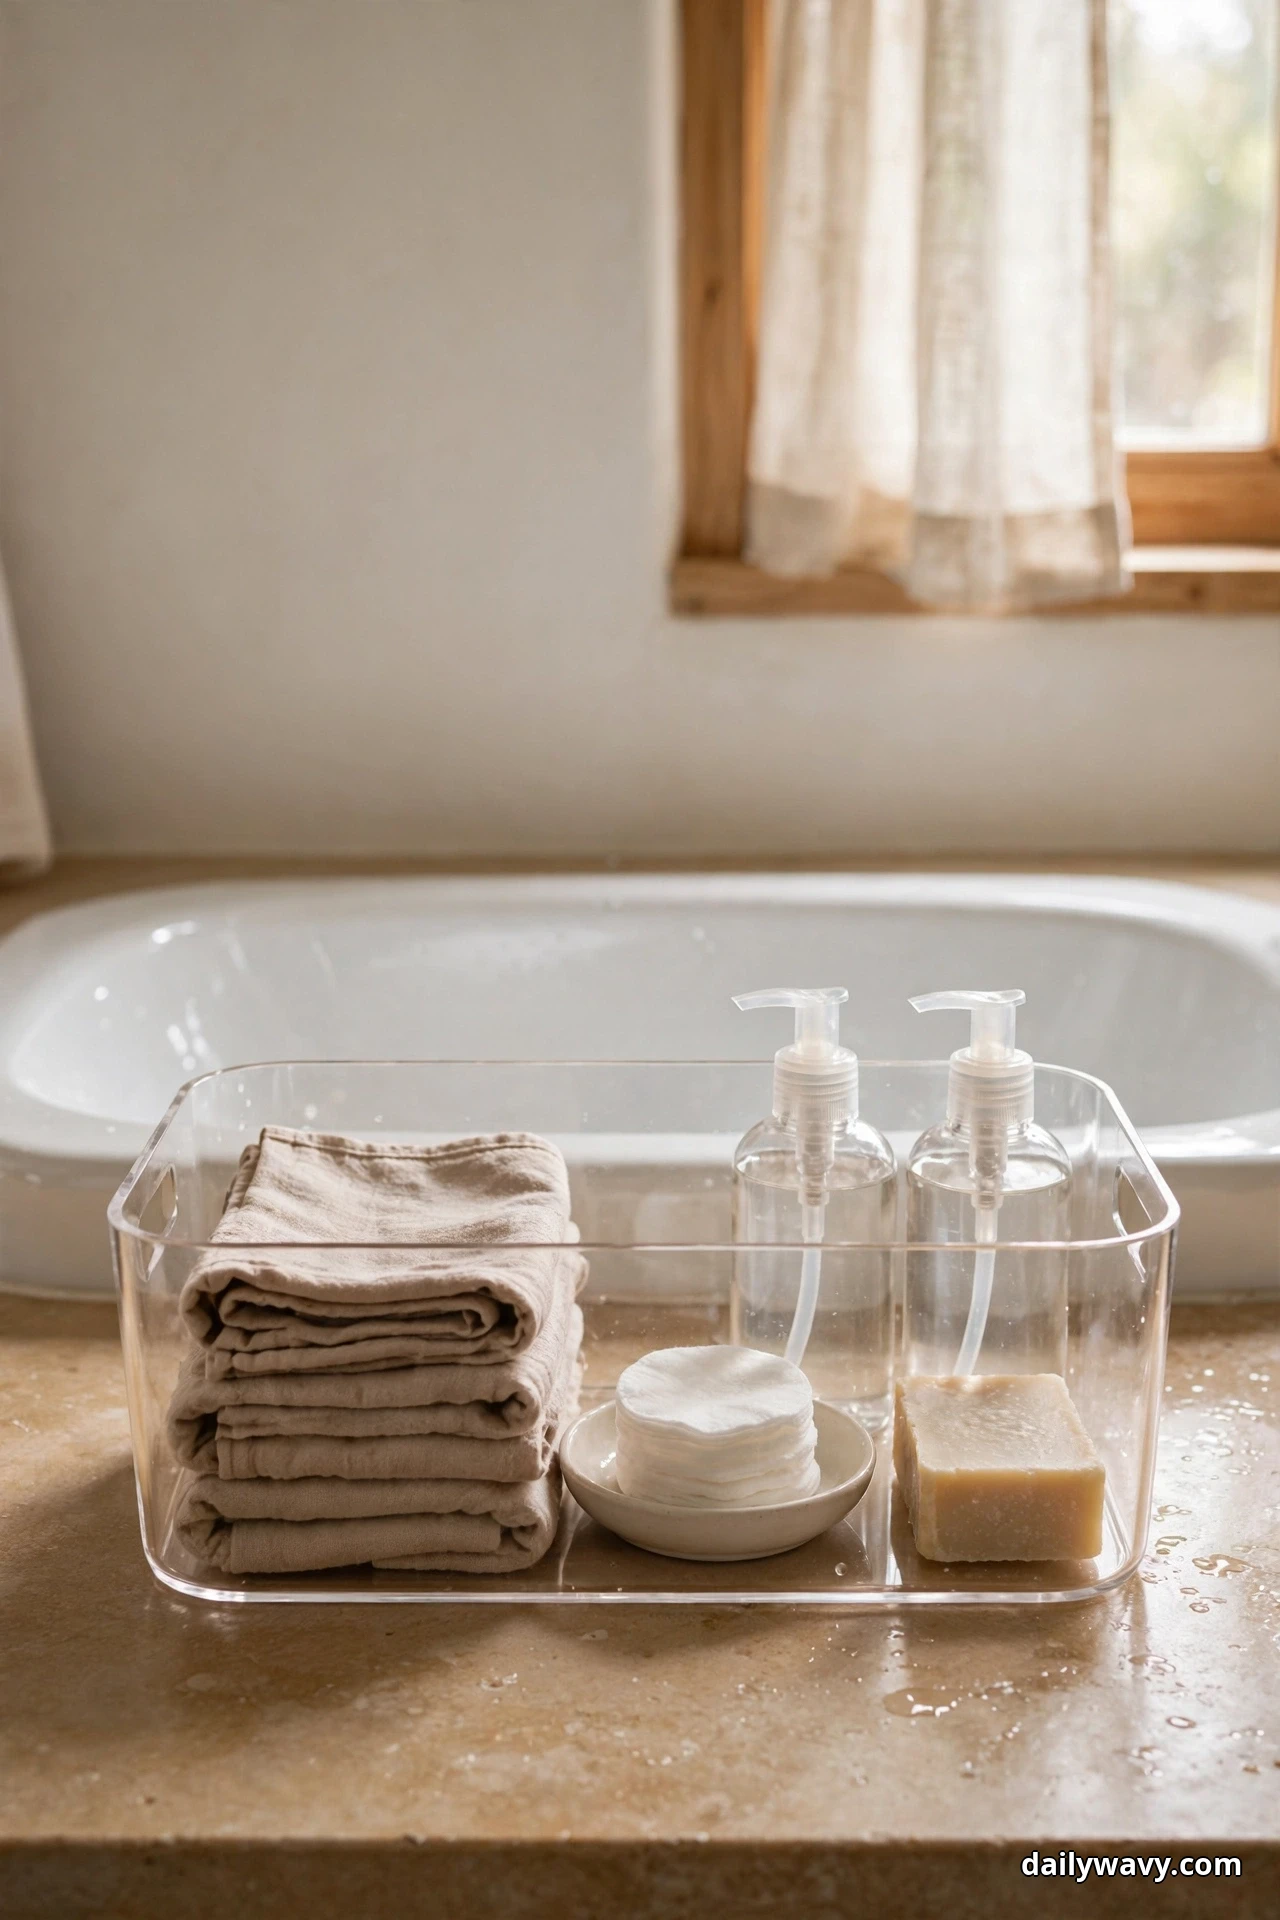
Opaque bins hide things, and hidden things get forgotten. A clear bin flips that: you see every item at a glance, so you actually use what you own and you notice instantly when something runs out. It is organization for people who think in pictures.
The look: A transparent acrylic or clear plastic bin with items grouped inside by category. It looks light and modern because you can see through it.
What to measure: The width and depth of the spot where the bin will sit. Clear bins come in many sizes, so measure first and buy once.
How to do it: Group items by category inside the bin: all hair products together, all skincare together. Stand bottles upright with labels facing out. Because everything is visible, keep the bin itself tidy. A clear bin full of jumbled items looks worse than an opaque one.
Effort and cost: About 10 minutes. Clear bins run $8 to $16.
Lower-cost swap: A clear plastic food storage container with the lid off works as a see-through bin for smaller items.
Tip: If you cannot see an item, you will not use it. Keep the front row of the bin for daily essentials and the back for the rest.
20. A Standing Organizer With Open Drainage
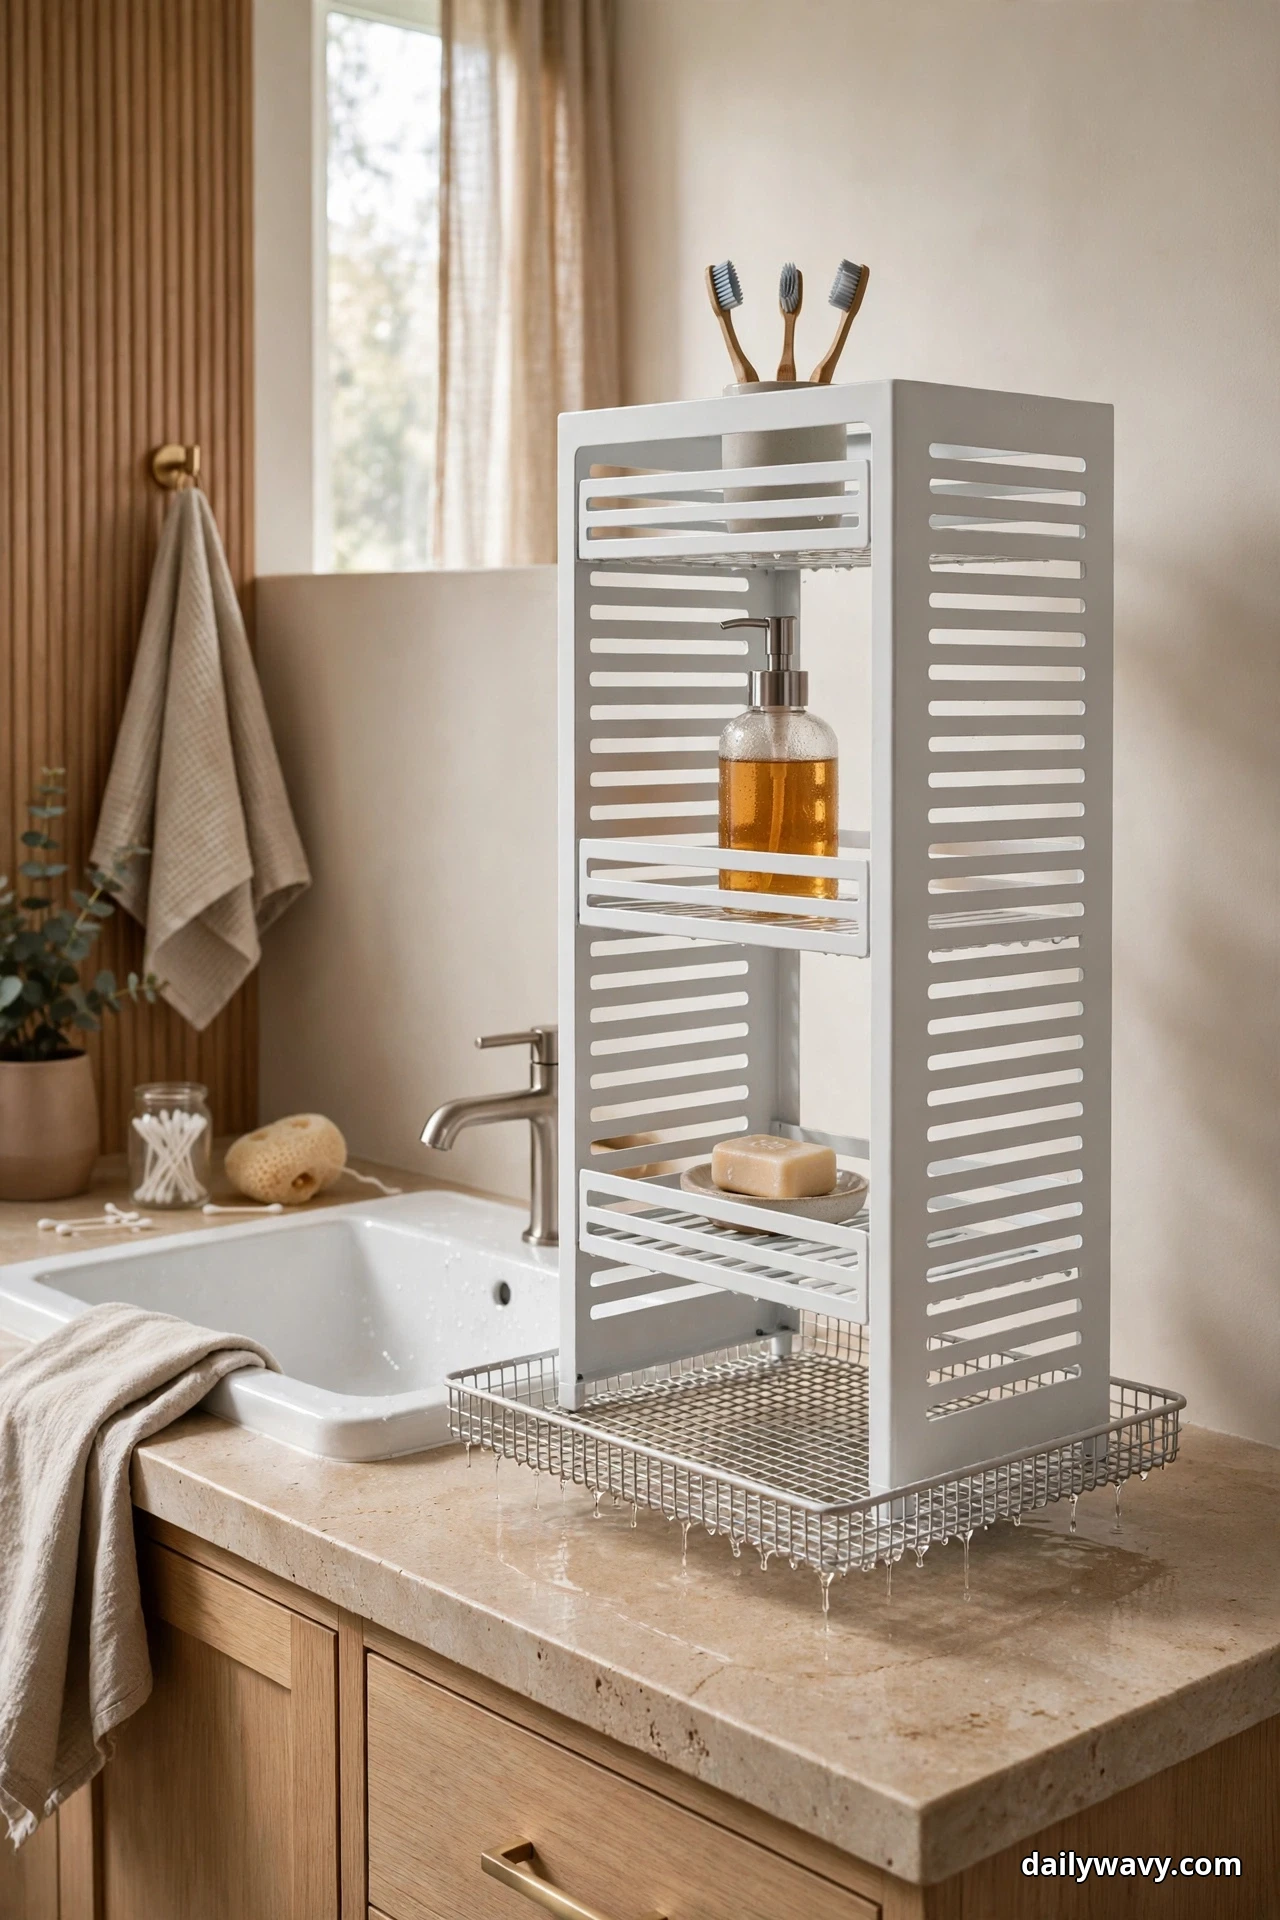
Toothbrushes and razors are the wettest things on the counter, and they need the most airflow. A standing organizer with open drainage holds them upright, lets water drip away, and keeps them separated so bristles never touch. It is the healthiest home for the items that go in your mouth.
The look: An upright holder with separate slots and an open or ventilated base, in bamboo, ceramic, or easy-clean plastic. It looks neat and a little clinical in the best way.
What to measure: The footprint near the sink, and make sure the base sits where drips will not run across the whole counter.
How to do it: Place the organizer beside the sink with a small mat or the edge of your wet zone underneath. Give each toothbrush its own slot, with space between them for airflow. Empty any collected drip water daily and rinse the organizer weekly so it never develops a film.
Effort and cost: About 5 minutes. Ventilated standing organizers run $10 to $20.
Lower-cost swap: A wide-mouth mason jar with a layer of clean pebbles at the bottom lifts brushes above drips and costs almost nothing.
Tip: Replace toothbrush holders when they start to look worn or develop cracks that trap moisture. They are inexpensive, and a fresh one keeps the whole setup hygienic.
Frequently Asked Questions
How do I organize a very small bathroom countertop?
Start by removing everything, then put back only what you use daily. Use vertical space with a small riser or tiered stand, and give wet items one draining zone. Our small bathroom storage ideas cover what to do when the counter alone is not enough.
What materials hold up best in a humid bathroom?
Sealed wood, bamboo, powder-coated metal, glass, and acrylic. Avoid unsealed wood, cardboard, and bare metal that can rust. Anything that sits near the sink should also drain or ventilate rather than trap water.
How do I keep the counter organized when I share the bathroom?
Give each person their own basket or bin with a simple rule: if it does not fit, it does not live on the counter. Shared items like hand soap stay in a neutral spot by the sink.
Where should I store cleaning products?
Separately from personal care items, ideally under the sink rather than on the counter. Anything with a strong chemical label should be stored where children cannot reach it, such as a latched cabinet.
Is it safe to keep electric items on the bathroom counter?
Keep them on the dry end of the counter, away from the sink and splash zone. Unplug hair tools after use, and use outlets with ground fault protection. Never let cords drape across wet areas.
How often should I declutter the countertop?
Do a quick five-second reset each evening, putting wanderers back in their homes. Once a month, review every container and remove what you stopped using. Products expire and routines change, so a monthly check keeps the system honest.
A Counter That Works As Hard As You Do
A well-organized bathroom countertop is not about perfection. It is about mornings that start smoothly, evenings that wind down easily, and a surface that stays clean with almost no effort. Pick two or three ideas from this guide that fit your space, set them up this weekend, and let the habits do the rest. For more ways to make every room calmer and more beautiful, browse our home decor ideas.