
18 Everyday Dinner Table Setting Ideas with Simple Styling Details
18 Everyday Dinner Table Setting Ideas with Simple Styling Details A dinner table does not need a holiday to look…
18 Everyday Dinner Table Setting Ideas with Simple Styling Details
A dinner table does not need a holiday to look good. The prettiest tables are the ones that get styled on a random Tuesday, with whatever is already in the house. This guide is built for real life: 18 simple ideas that make your everyday dinner table feel considered without turning it into a project. Every idea keeps the table usable, because a centerpiece you have to move before every meal will not survive the week. Pick one, try it tonight, and see how much nicer dinner feels when the table has a little intention behind it.
Jump to an idea
- Single stems in low bud vases
- A bowl of seasonal fruit
- Folded linen napkins with simple rings
- A narrow runner and plain plates
- A potted herb centerpiece
- A low mixed-flower arrangement
- Woven placemats with clear glasses
- A row of tiny ceramic vessels
- A wood tray with small plants
- A single wide shallow bowl
- Patterned napkins with solid dinnerware
- A subtle contrasting charger plate
- A small bread board as a shared focal point
- Clear bottles holding green cuttings
- A compact dried-stem arrangement
- A handwritten place card
- A bowl of citrus and leaves
- A folded fabric strip beneath each setting

1. Single stems in low bud vases

Three or four small bud vases, each holding a single stem, make the easiest centerpiece in this whole guide. The trick is keeping them low, under 8 inches tall, so conversation flows right over them. Space them down the center of the table about 10 to 12 inches apart. Grocery-store stems work beautifully: one rose, a sprig of eucalyptus, a ranunculus, whatever looks fresh. When one stem fades, you replace just that one instead of the whole arrangement, which keeps the cost down to a few dollars a week.
What you need: 3 to 5 bud vases in the same material family (glass, ceramic, or stoneware), fresh or faux stems, water.
Styling steps: fill each vase about two-thirds with water, trim stems at an angle so they sit at slightly different heights, and cluster the vases in the middle third of the table. Leave the ends of the table clear for serving dishes. For a longer table, add one more vase per extra two feet.
Everyday note: bud vases are the rare centerpiece that never needs to move. They sit low, they stay out of the way of platters, and they look intentional even when the table is half set. If you have small children, choose heavier stoneware vases that will not tip easily.
Lower-cost alternative: small jam jars or juice glasses from the kitchen work just as well. Group them in odd numbers and nobody will know the difference.
2. A bowl of seasonal fruit
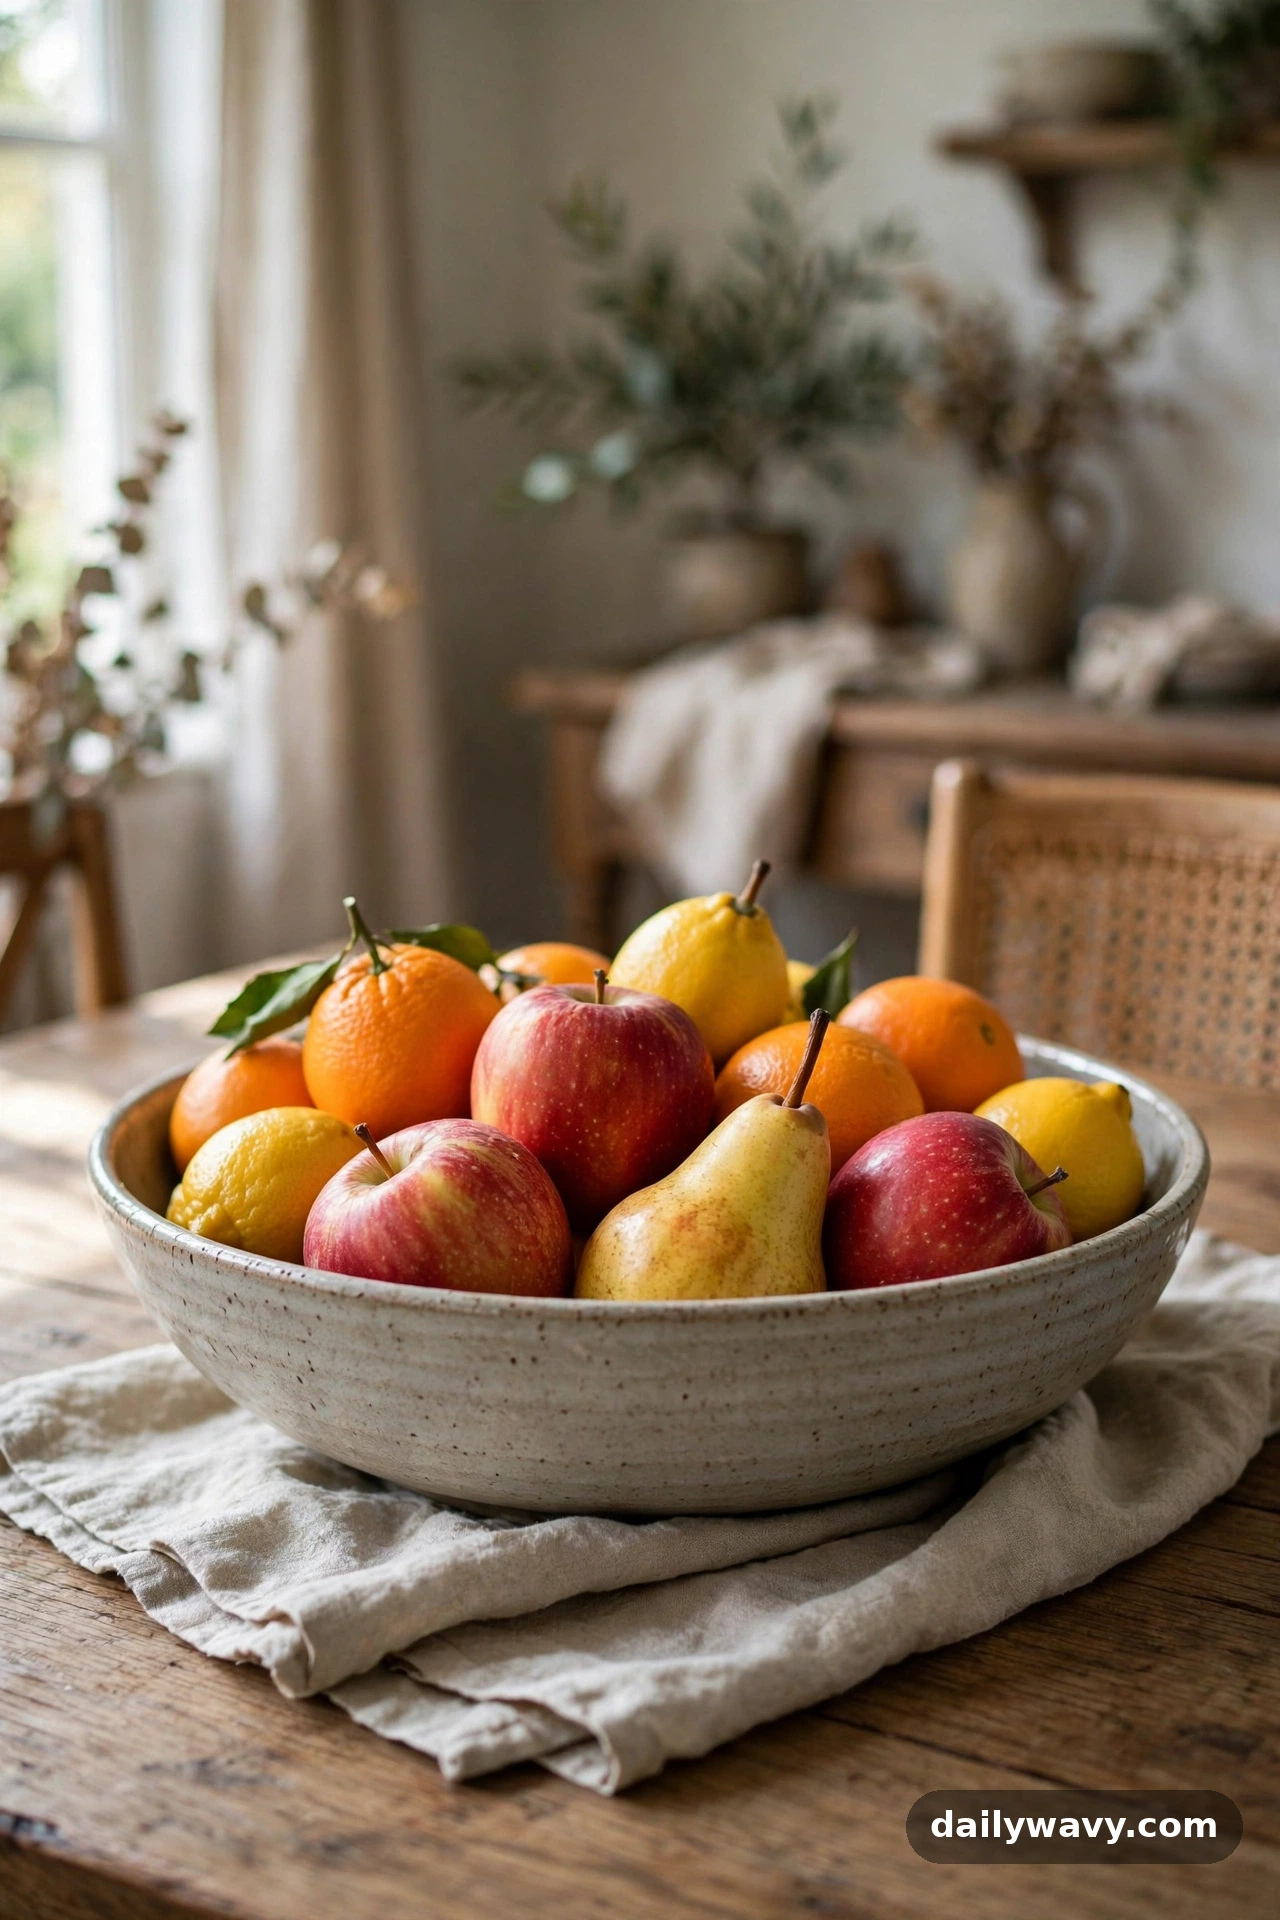
A generous bowl of fruit is the original edible centerpiece, and it earns its place twice: it looks good and it gets eaten. Choose a wide, low bowl, 12 to 14 inches across, so it reads as a centerpiece rather than a serving dish. Fill it with whatever is in season and looks good together. Apples and pears in fall, citrus in winter, stone fruit in summer. Mix colors but keep it to two or three varieties so it looks curated rather than random.
What you need: one wide shallow bowl (ceramic, wood, or glass), 6 to 10 pieces of seasonal fruit.
Styling steps: place the largest pieces first, then tuck smaller ones into the gaps. Let a few pieces spill naturally over the rim for a relaxed look. Set the bowl dead center, and if your table is round, that is all you need. On a rectangular table, flank it with two low candles or small dishes.
Everyday note: this is the best centerpiece for busy households because it maintains itself. Family members grab fruit as they pass, and you refill it when you notice it looking thin. Keep a folded linen cloth under the bowl to protect the table from any juice.
Lower-cost alternative: a basket from the pantry lined with a tea towel holds fruit just as nicely as a ceramic bowl.
3. Folded linen napkins with simple rings

Cloth napkins change the whole feeling of a table, even when nothing else changes. Linen is the right choice for everyday because it softens with washing and does not need ironing to look good. Fold each napkin into a simple rectangle, slide on a plain ring in wood, brass, or matte black, and lay it across each plate or just to the left of the forks. The ring is doing quiet work here: it turns a folded square of fabric into something that looks finished.
What you need: one linen or linen-blend napkin per seat (18 by 18 inches is standard), simple napkin rings, dinner plates.
Styling steps: fold each napkin in thirds lengthwise, then in half, so you get a long rectangle. Slide the ring to the center. Place the bundle on the plate if you are setting plates, or beside the fork if the table is set without plates. Keep the rings identical for a calm look, or mix two finishes, brass and wood, for something more relaxed.
Everyday note: buy napkins in a color that hides real life. Oatmeal, sage, and charcoal all forgive stains better than white. Toss them in the wash with your regular laundry and skip the fabric softener, which reduces absorbency over time.
Lower-cost alternative: cut napkins from a few yards of linen-look fabric and finish the edges with a simple hem. A set of six costs less than one restaurant napkin.
4. A narrow runner and plain plates
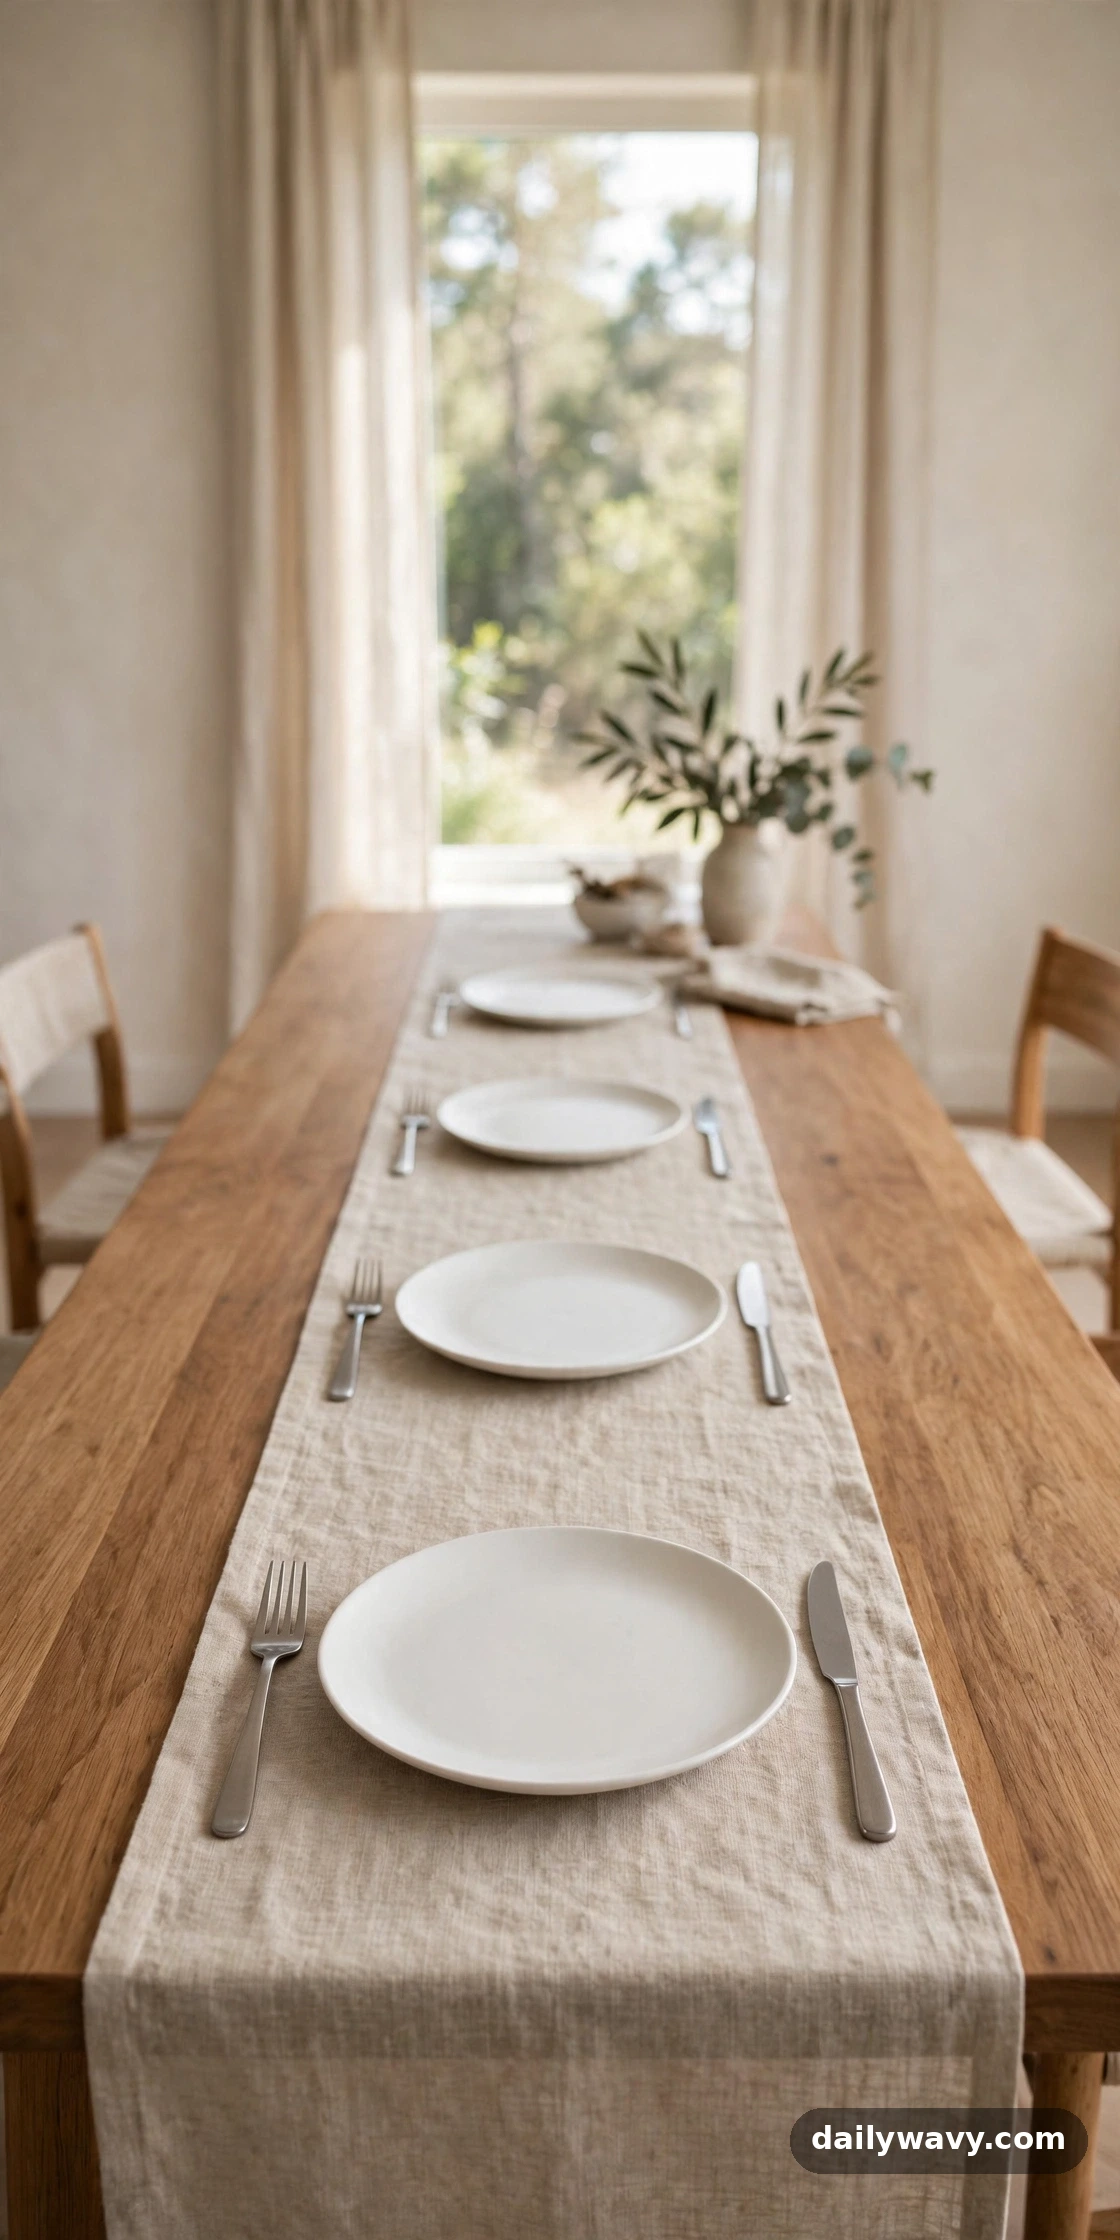
When your plates are plain, a runner gives the table its personality. Choose a runner 12 to 14 inches wide and long enough to hang 8 to 10 inches past each end of the table. Linen, cotton, or a simple woven texture all work. Then let plain white or cream plates do what they do best: make food look good. The contrast between a textured runner and clean plates is the whole look, and it takes about ninety seconds to set up.
What you need: one table runner, plain dinner plates, flatware, glasses.
Styling steps: center the runner lengthwise, smoothing out any wrinkles with your hands. Set plates about an inch from the table edge, with roughly 24 inches of width per person. Keep the runner pattern simple if your table has a strong wood grain, and choose something with a little pattern if the table is plain.
Everyday note: runners are practical, not just pretty. They protect the center of the table from hot dishes and give you a defined zone for serving pieces. Wash the runner weekly with your napkins and it will always look fresh.
Lower-cost alternative: a length of unbleached muslin or drop cloth, hemmed on the long edges, makes a beautiful rustic runner for a few dollars.
5. A potted herb centerpiece
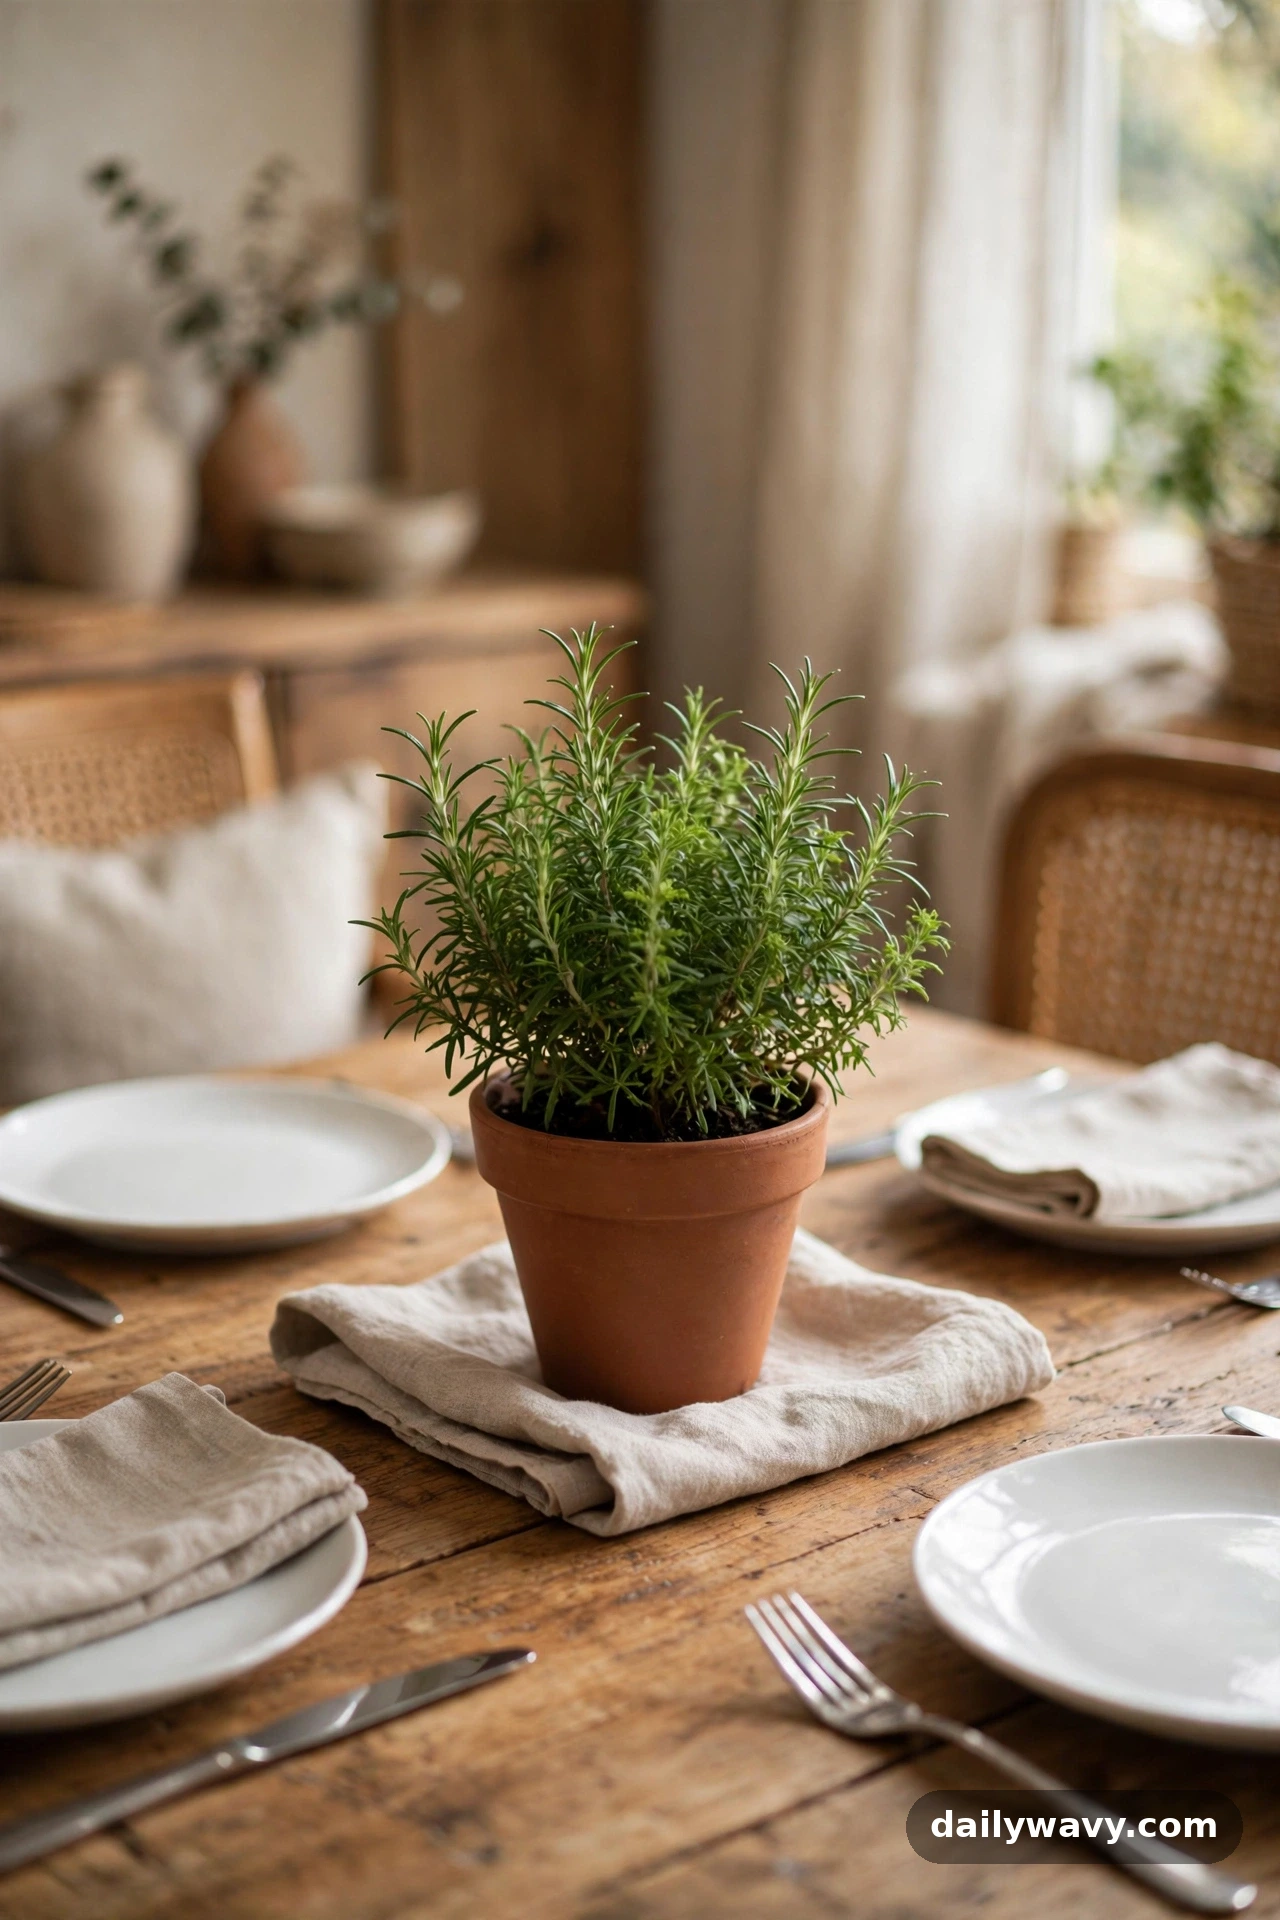
A small pot of living herbs sits at the sweet spot between decoration and dinner prep. Rosemary, thyme, and basil all look good on a table and get snipped into actual meals. Choose a pot 4 to 6 inches wide, something with drainage, and set it on a small saucer or folded cloth to protect the table. One generous pot anchors a small table; on a larger table, use three small pots in a row.
What you need: one to three herb plants in pots, saucers or coasters, a sunny windowsill nearby for between-meal storage.
Styling steps: pick the fullest plant at the nursery, not the tallest. Set the pot slightly off-center if you are using one, or space three evenly down the middle. Tuck a few smooth stones or a layer of moss over the soil to make it look finished. Snip from the top to keep the plant bushy.
Everyday note: herbs need light, so do not leave them on the table all week. Keep them on a sunny sill and bring them to the table for meals. This little ritual actually makes the centerpiece feel more special, like setting the table properly. Water when the top inch of soil feels dry.
Lower-cost alternative: start herbs from seed in a sunny window. A packet of basil seeds costs less than one nursery pot and gives you a summer of centerpieces.
6. A low mixed-flower arrangement

A low, generous flower arrangement feels luxurious, but the rules that make it work for everyday dinners are simple. Keep the whole thing under 10 inches tall so nobody is peering around it. Use a wide, low vessel, a compote bowl or a short cylinder vase, and let the flowers spill outward rather than climbing upward. Grocery-store bouquets are perfect for this: split one large bouquet into a low arrangement and you will have enough for the table plus a small vase for the bathroom.
What you need: one low wide vessel, one grocery-store bouquet (or garden cuttings), floral frog or a ball of chicken wire to hold stems in place.
Styling steps: place the frog or wire in the vessel and fill with water. Start with greenery around the edges to set the shape, then add the largest blooms, then fill gaps with smaller flowers. Turn the arrangement as you work so it looks good from every seat. Strip any leaves that would sit below the waterline.
Everyday note: change the water every two days and trim a half inch off the stems each time. This one habit doubles the life of the arrangement. When the flowers fade, the vessel goes back in the cupboard and the table is clear for homework, bills, and everything else a table does.
Lower-cost alternative: a garden or even a weedy roadside gives you armfuls of material for free in the growing season. Queen Anne’s lace, grasses, and branches all arrange beautifully.
7. Woven placemats with clear glasses
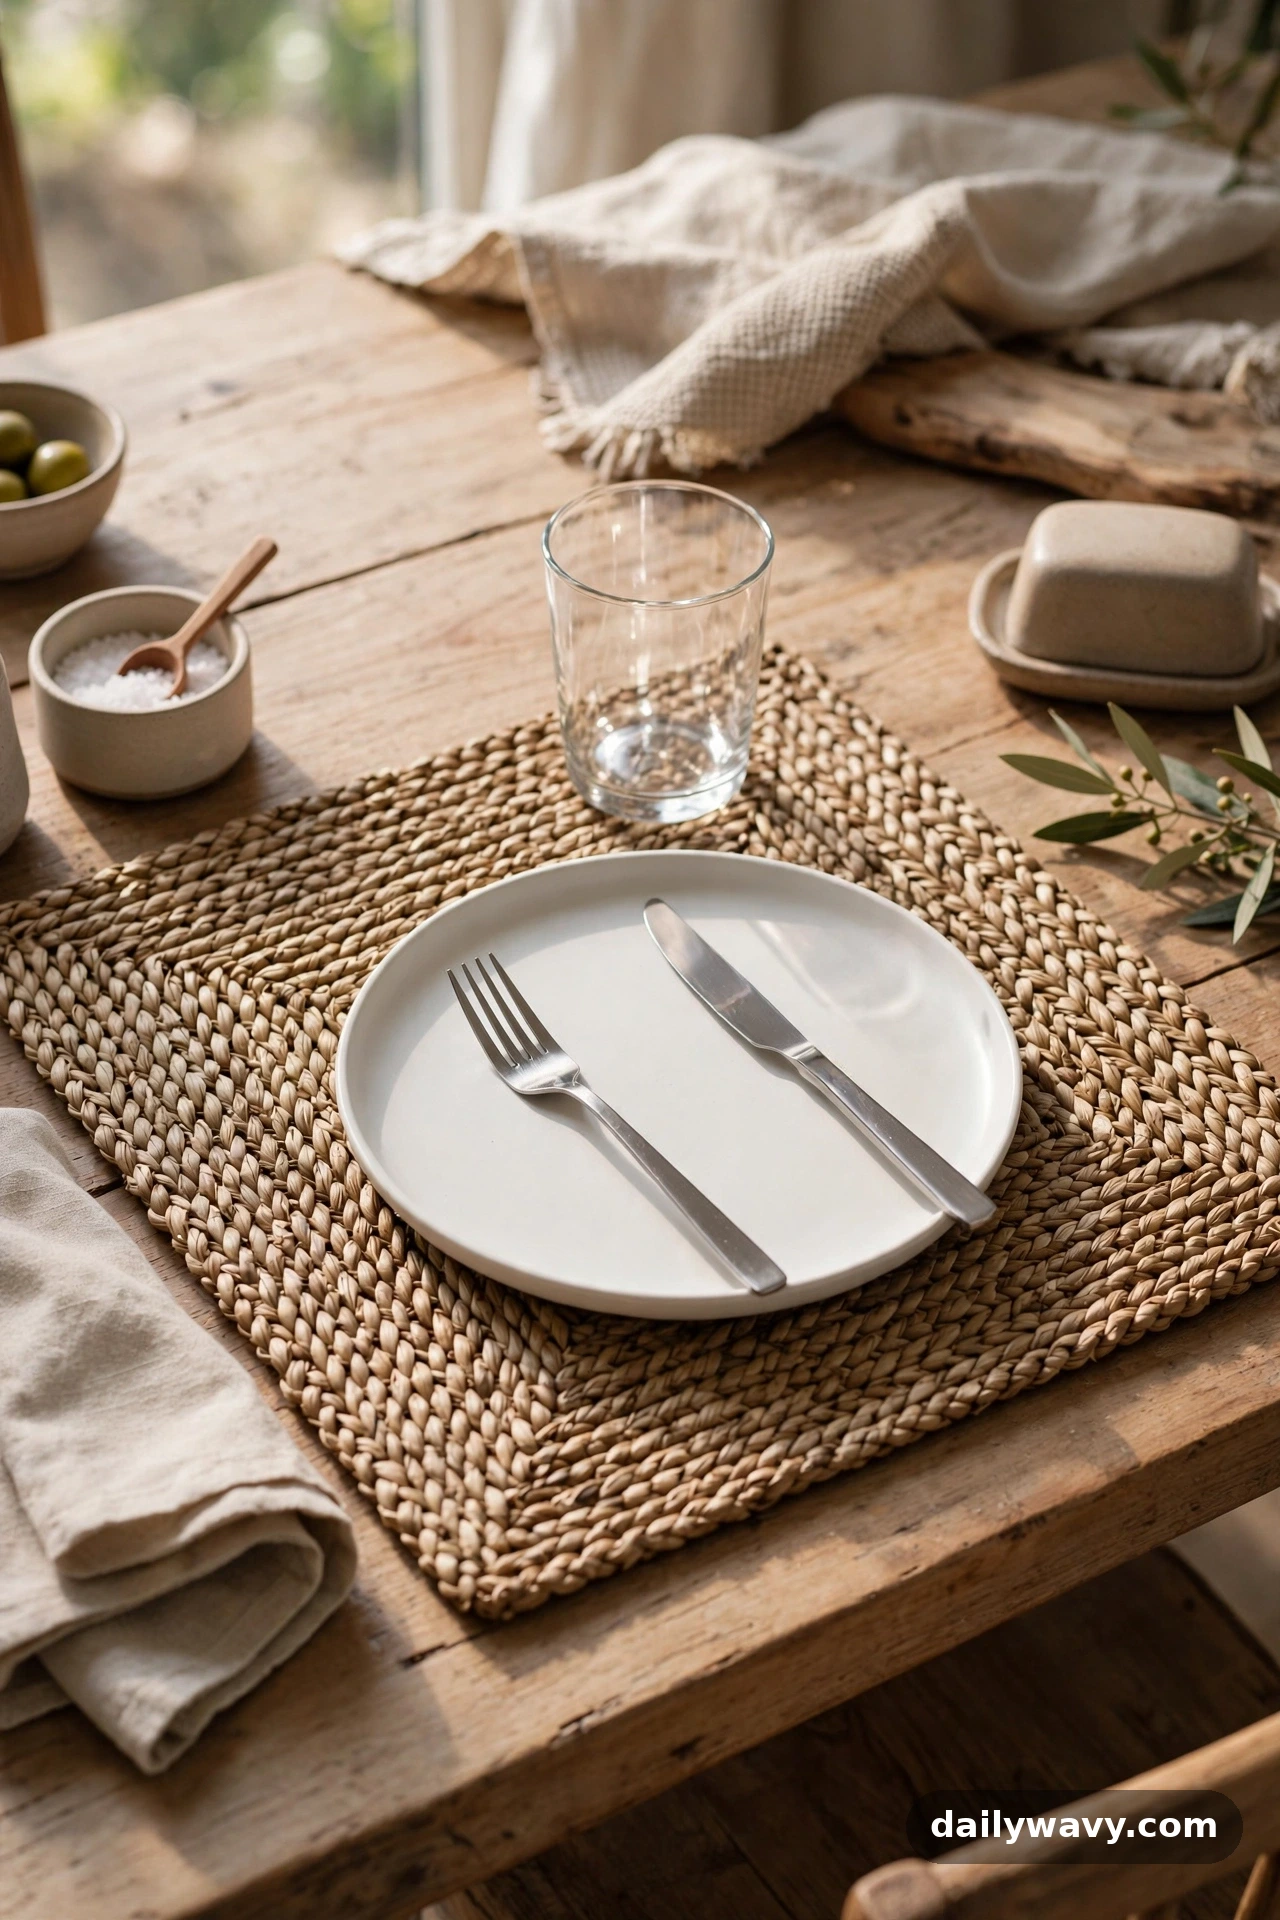
Placemats do more than protect the table: they frame each setting and make the whole table look pulled together. Woven placemats in seagrass, jute, or cotton add texture that flat tablecloths do not. Pair them with simple clear glasses and the look stays light and unfussy. Choose placemats about 12 by 18 inches, large enough to hold a plate and a fork comfortably. Round placemats work nicely on round tables and soften the look of a square table.
What you need: one woven placemat per seat, clear drinking glasses, your usual dinnerware.
Styling steps: center a placemat in front of each chair, about an inch from the table edge. Set the plate in the middle of the mat, fork to the left, knife and spoon to the right, glass above the knife. The woven texture against clear glass is the contrast that makes this work, so keep everything else simple.
Everyday note: woven placemats wipe clean with a damp cloth, which makes them more practical than fabric ones for families. Stack them flat in a drawer or basket between meals. If one gets stained, a little dish soap and a soft brush usually brings it back.
Lower-cost alternative: a set of four woven placemats from a discount store costs less than a single tablecloth and lasts for years.
8. A row of tiny ceramic vessels
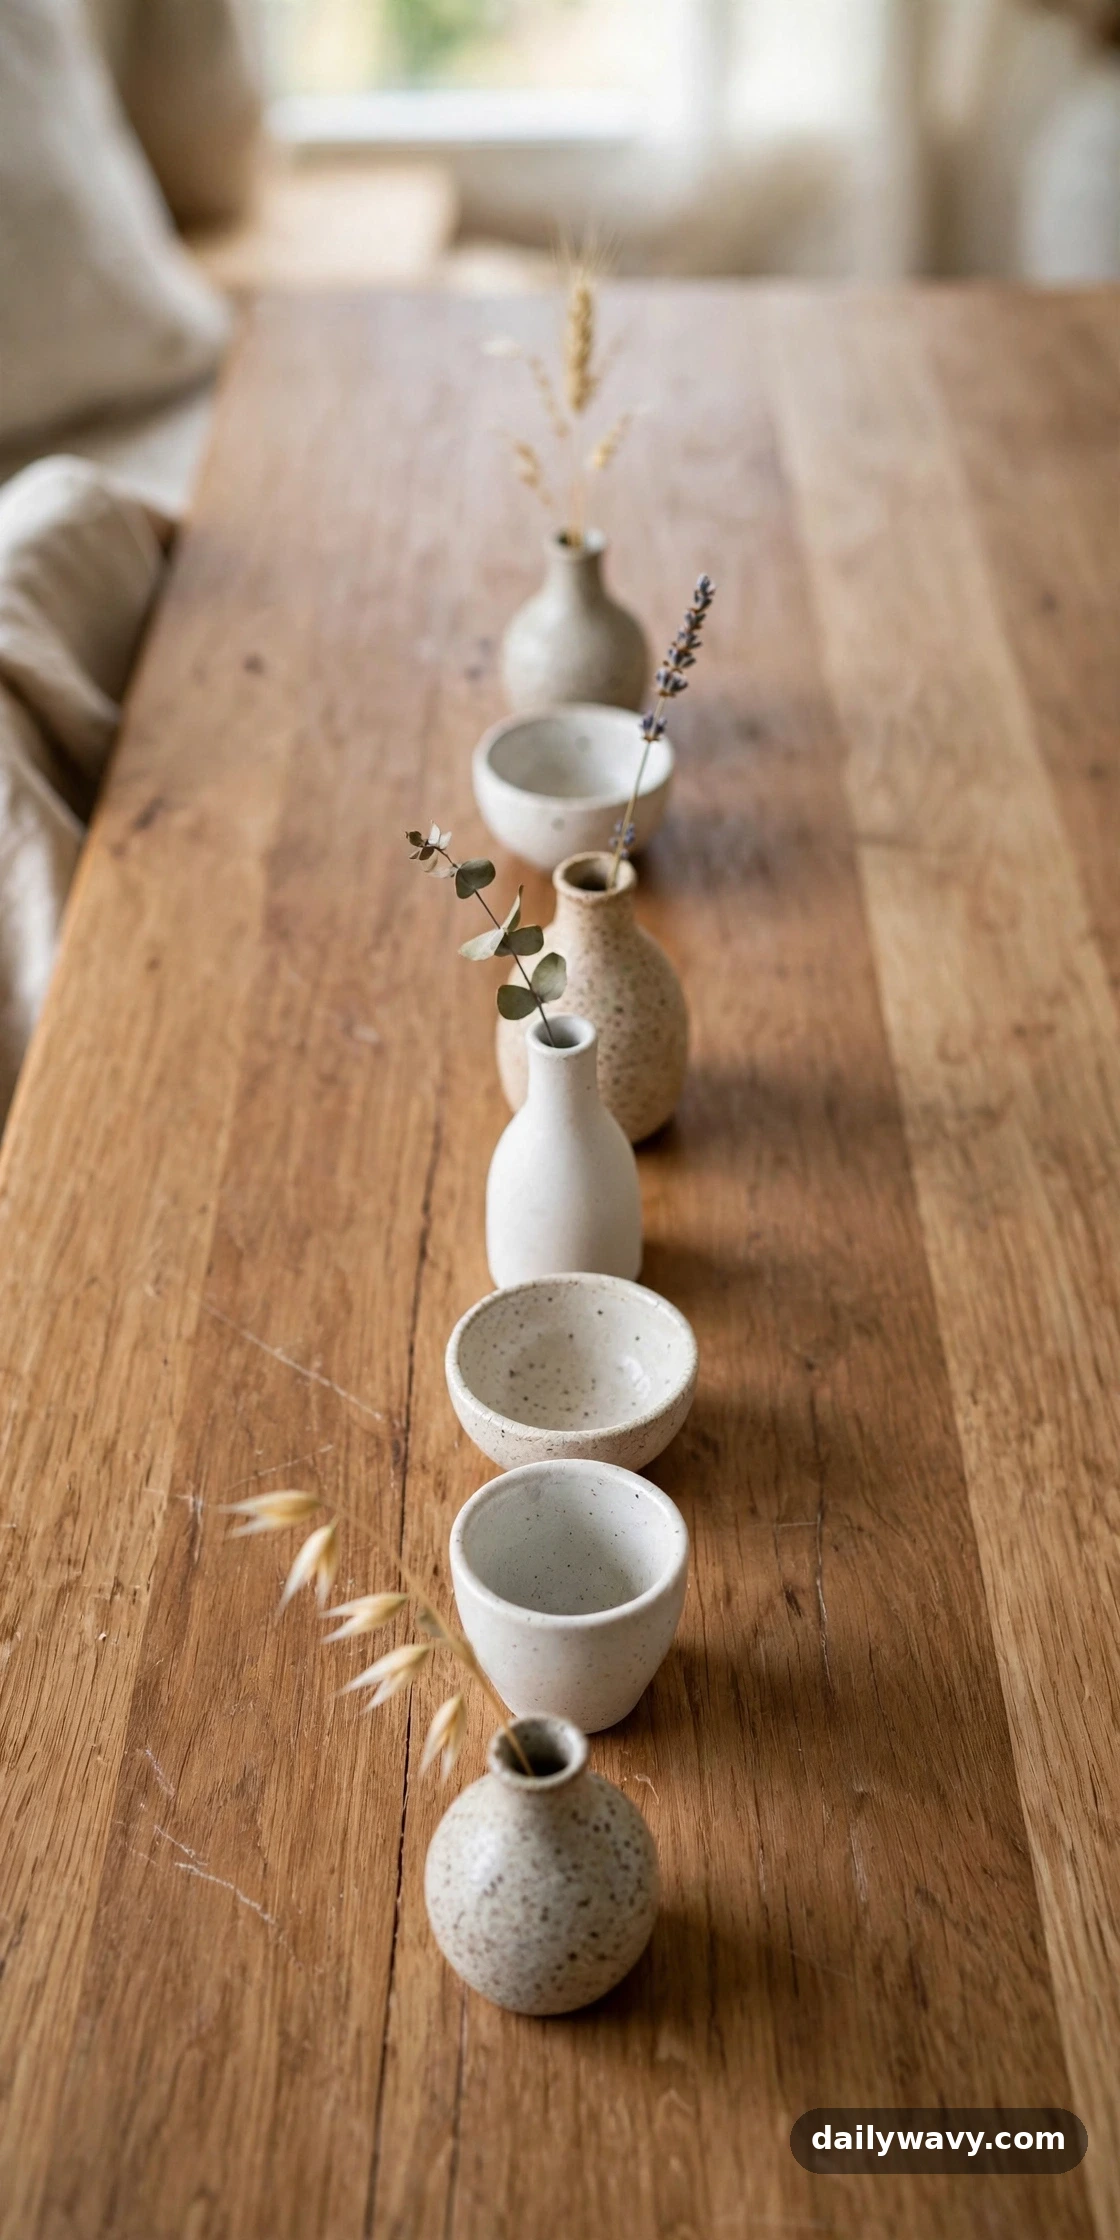
A row of tiny ceramic vessels, bud vases, espresso cups, little bowls, has the charm of a collection without looking cluttered. The key is keeping them small, nothing over 5 inches tall, and grouping them tightly down the center so they read as one long centerpiece. Mix shapes but keep the color palette tight: all white, all speckled stoneware, or all in one glaze color. Some can hold a single stem, some can hold a tea light, and some can stay empty. The variety is the point.
What you need: 5 to 9 tiny vessels (vases, cups, small bowls), optional single stems or tea lights.
Styling steps: line them up down the center of the table, varying heights so the row has a gentle rhythm. Place the tallest in the middle and step down toward the ends, or alternate tall and short for a livelier look. Leave at least 12 inches of clear table on each side for plates and serving dishes.
Everyday note: this centerpiece is wonderfully low maintenance because most of the vessels need nothing at all. Dust them when you dust the table and you are done. It also survives the chaos of real dinners because there is nothing to knock over except very small, sturdy things. For more on styling small rooms where the dining table does double duty, see our narrow living room layout ideas.
Lower-cost alternative: thrift stores are full of tiny ceramic vessels for a dollar or two each. A mismatched set in the same color family looks deliberately curated.
9. A wood tray with small plants
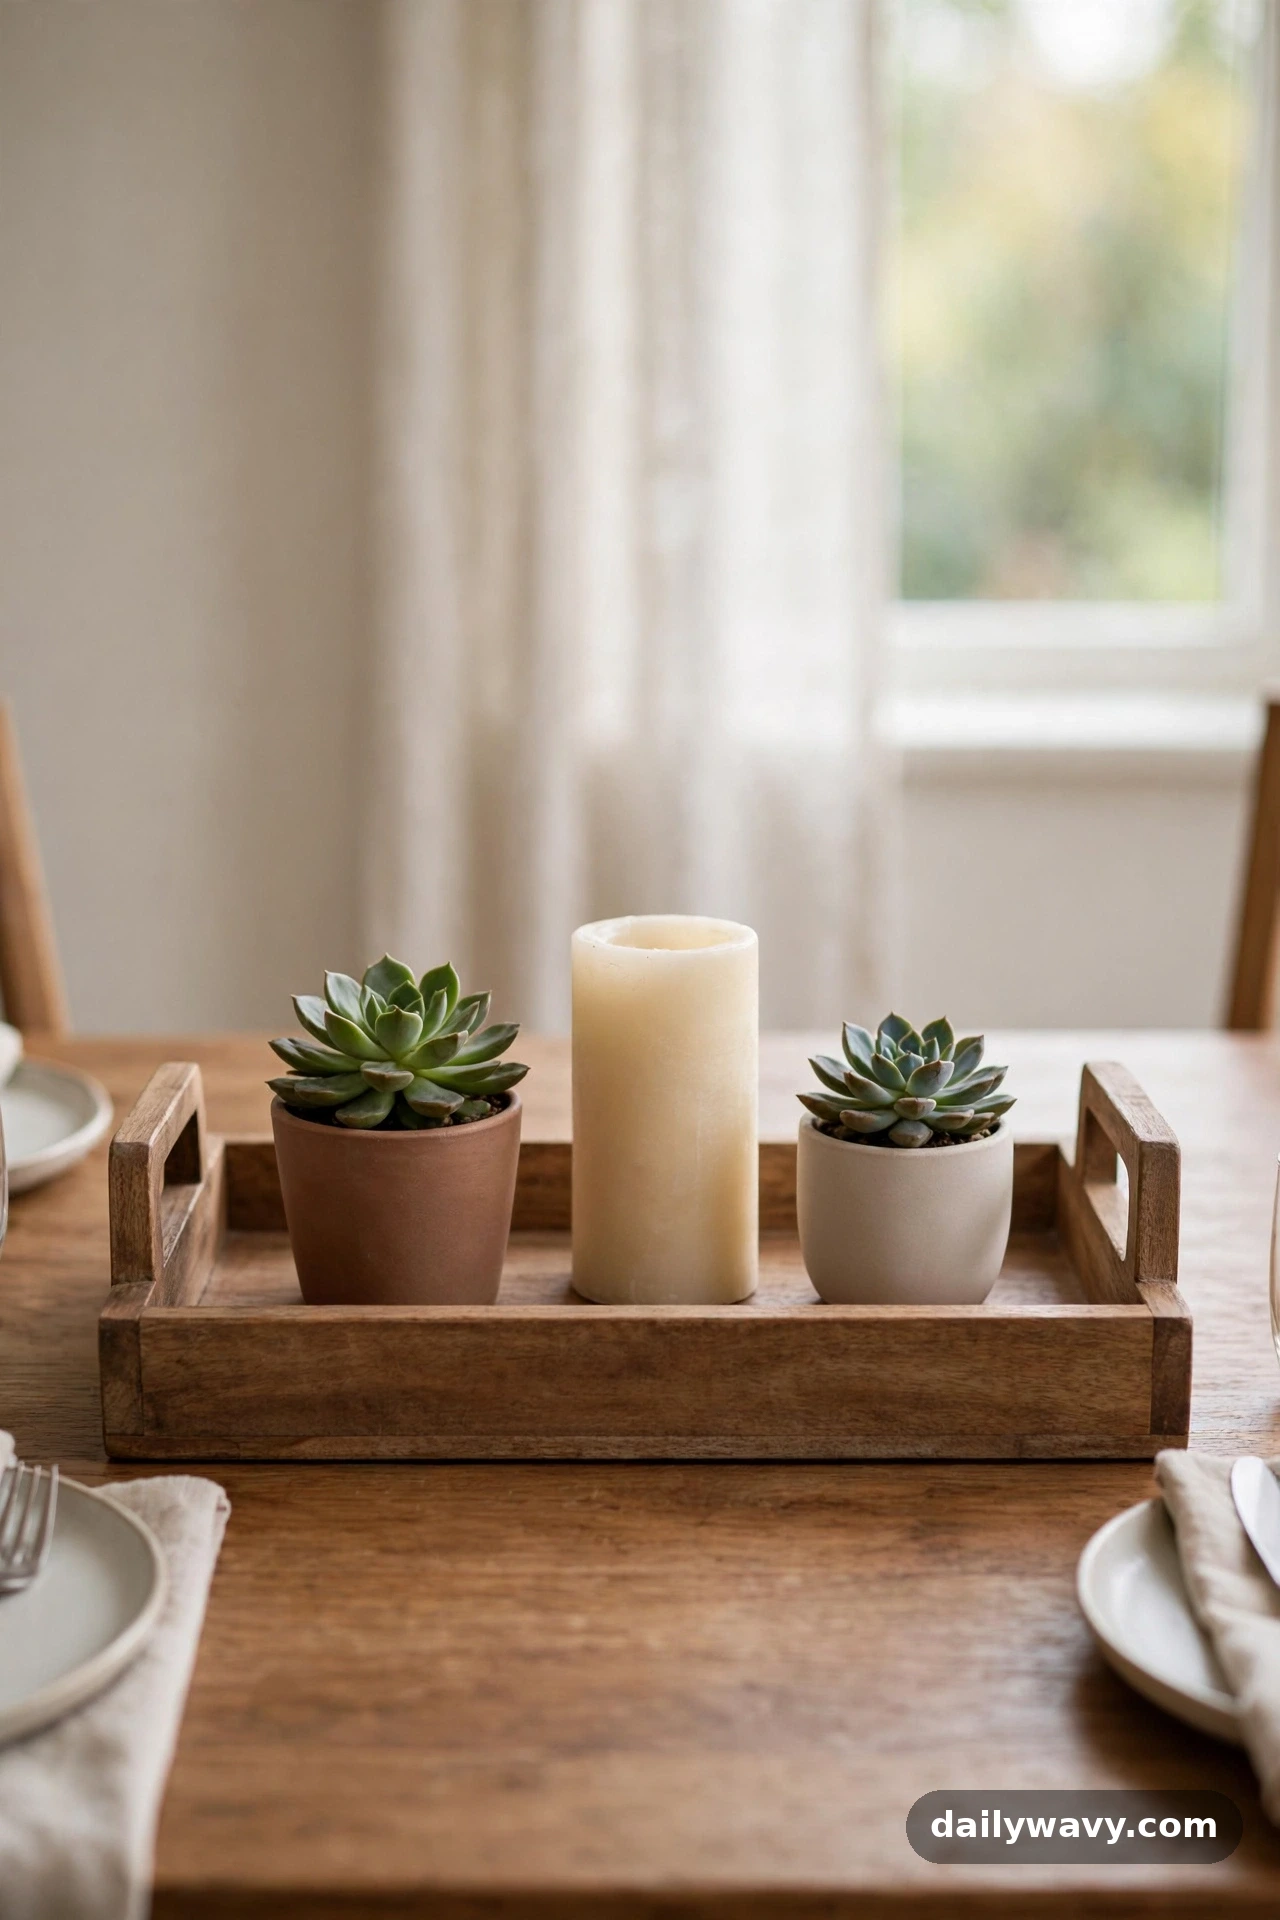
A tray turns a scattered group of objects into a single styled moment, and it has a superpower: you can lift the whole centerpiece off the table in one move. Start with a wood tray 14 to 20 inches long, then add two or three small potted plants, a candle, and maybe a small stack of coasters. Succulents, tiny ferns, and baby herbs all work. The tray corrals everything so the table still feels tidy even when the arrangement is full.
What you need: one wood tray with handles or a lip, 2 to 3 small potted plants, one candle, optional coasters.
Styling steps: set the tray in the center of the table. Arrange the plants at different heights, using a small riser or an overturned bowl under one pot if needed. Tuck the candle where it will not get knocked by serving dishes. Keep the total height under 12 inches so it never blocks conversation.
Everyday note: the tray is what makes this idea survive real life. When dinner needs the space, lift the tray to a sideboard and set it back when the dishes are cleared. Wipe the tray monthly with a damp cloth and a little mineral oil to keep the wood looking good.
Lower-cost alternative: any shallow box, basket, or even a baking sheet lined with a tea towel works as the base. The plants are what people notice.
10. A single wide shallow bowl
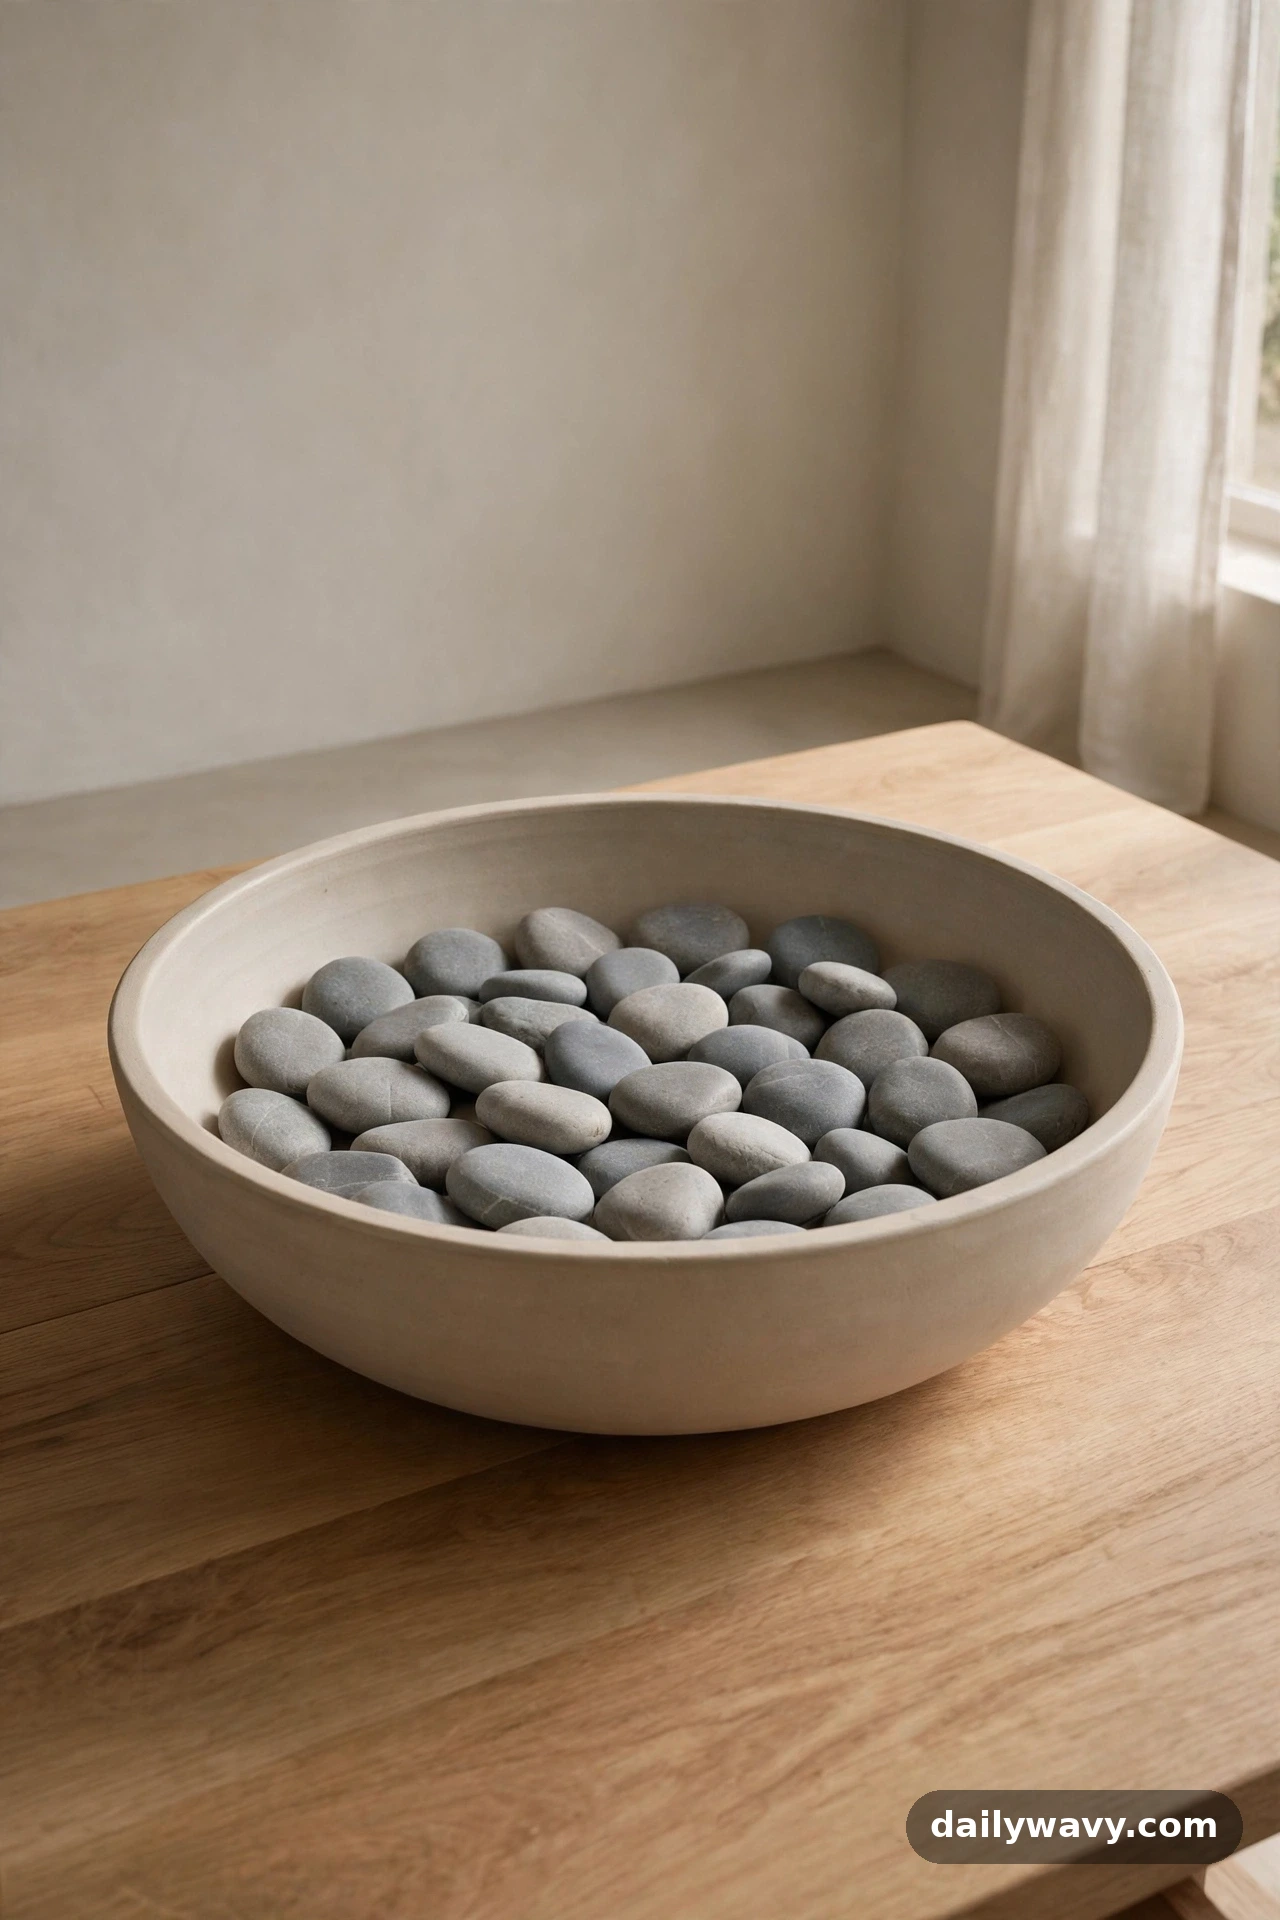
Sometimes one object, done well, beats a whole arrangement. A single wide, shallow bowl, 14 to 18 inches across and no more than 4 inches deep, makes a calm, sculptural centerpiece. Fill it with something simple and seasonal: smooth stones, pinecones, dried citrus slices, or nothing at all. An empty beautiful bowl on a table looks confident, not unfinished. The low profile means it never interferes with serving or sightlines.
What you need: one wide shallow bowl in a material you love (ceramic, wood, stone, or metal), optional seasonal fill.
Styling steps: center the bowl on the table. If you fill it, keep the fill low, nothing mounded above the rim. A single layer of river stones, a ring of dried orange slices, or a handful of eucalyptus pods all work. Step back and look: the bowl should feel like a quiet pause in the middle of the table, not a project.
Everyday note: this is the lowest-maintenance centerpiece possible. There is nothing to water, nothing to dust except the bowl itself, and nothing to move for dinner. Change the fill with the seasons if you like, or leave it empty for months. It works either way.
Lower-cost alternative: a large serving bowl you already own, used as a centerpiece between meals, costs nothing and looks just as good.
11. Patterned napkins with solid dinnerware

If your plates are solid, patterned napkins are the easiest way to add personality without buying anything big. Stripes, small florals, checks, or block prints all work. The rule is simple: one pattern at the table, on the napkins only, with everything else solid. Fold them simply, a rectangle or a loose roll tied with twine, and let the pattern be the star. This is also the cheapest way to refresh the table for a season: new napkins, same everything else.
What you need: one patterned napkin per seat (cotton or linen), solid dinner plates, simple flatware.
Styling steps: fold each napkin into a rectangle and place it on the plate, or roll it loosely and tie with a short piece of twine or ribbon. Keep the pattern scale small to medium; oversized prints can overwhelm a place setting. If the pattern has multiple colors, pull one of the quieter colors for your candles or runner to tie it together.
Everyday note: patterned napkins hide stains better than solid ones, which makes them genuinely practical for everyday use. Wash in cold water to keep the colors bright, and do not worry about matching them perfectly after a few washes. Slight fading just makes them look more loved.
Lower-cost alternative: fat quarters from a fabric store, hemmed on all four sides, make beautiful napkins in any pattern you like for a fraction of the price.
12. A subtle contrasting charger plate

A charger, the large decorative plate that sits under the dinner plate, adds a finished layer to each setting. For everyday, keep the contrast subtle: a natural rattan charger under white plates, a matte black charger under cream stoneware, a pale wood charger under gray plates. The charger stays on the table through the whole meal, so it keeps working even after the dinner plates are cleared for dessert.
What you need: one charger per seat (13 to 14 inches across), dinner plates that fit comfortably inside them.
Styling steps: center a charger at each seat, about an inch from the table edge. Set the dinner plate on top, leaving a visible ring of the charger showing around it. That ring, usually an inch or two, is the whole effect. Keep chargers in the same material for a calm table, or alternate two complementary finishes.
Everyday note: chargers protect the table from hot plates and catch the drips that miss the plate, so they earn their keep functionally too. Wipe them down after dinner and stack them in a cupboard. Rattan and wood chargers should not go in the dishwasher; a damp cloth is enough.
Lower-cost alternative: large rattan chargers are widely available for a few dollars each, and a set of four is often cheaper than one new dinner plate.
13. A small bread board as a shared focal point

A small wooden bread board in the center of the table, holding a loaf or a few rolls, turns dinner into an occasion without any extra styling. Choose a board 10 to 14 inches long, something with a bit of character in the grain, and keep it stocked during the meal. A bread knife laid alongside completes the picture. There is something deeply welcoming about bread at the center of a table; it signals that this meal is meant to be lingered over.
What you need: one small wooden bread board, a bread knife, bread or rolls.
Styling steps: center the board on the table with the loaf slightly off-center for a natural look. Lay the knife diagonally alongside it. If the bread is sliced, fan a few slices so people can see what is on offer. A small dish of olive oil or butter beside the board makes it feel even more generous.
Everyday note: a bread board centerpiece works on the busiest nights because it is also dinner. Nobody has to move it, tend it, or work around it. Oil the board monthly with food-safe mineral oil to keep it from drying out, and never soak it in water.
Lower-cost alternative: any cutting board you already own works. The bread is doing the visual work, not the board.
14. Clear bottles holding green cuttings
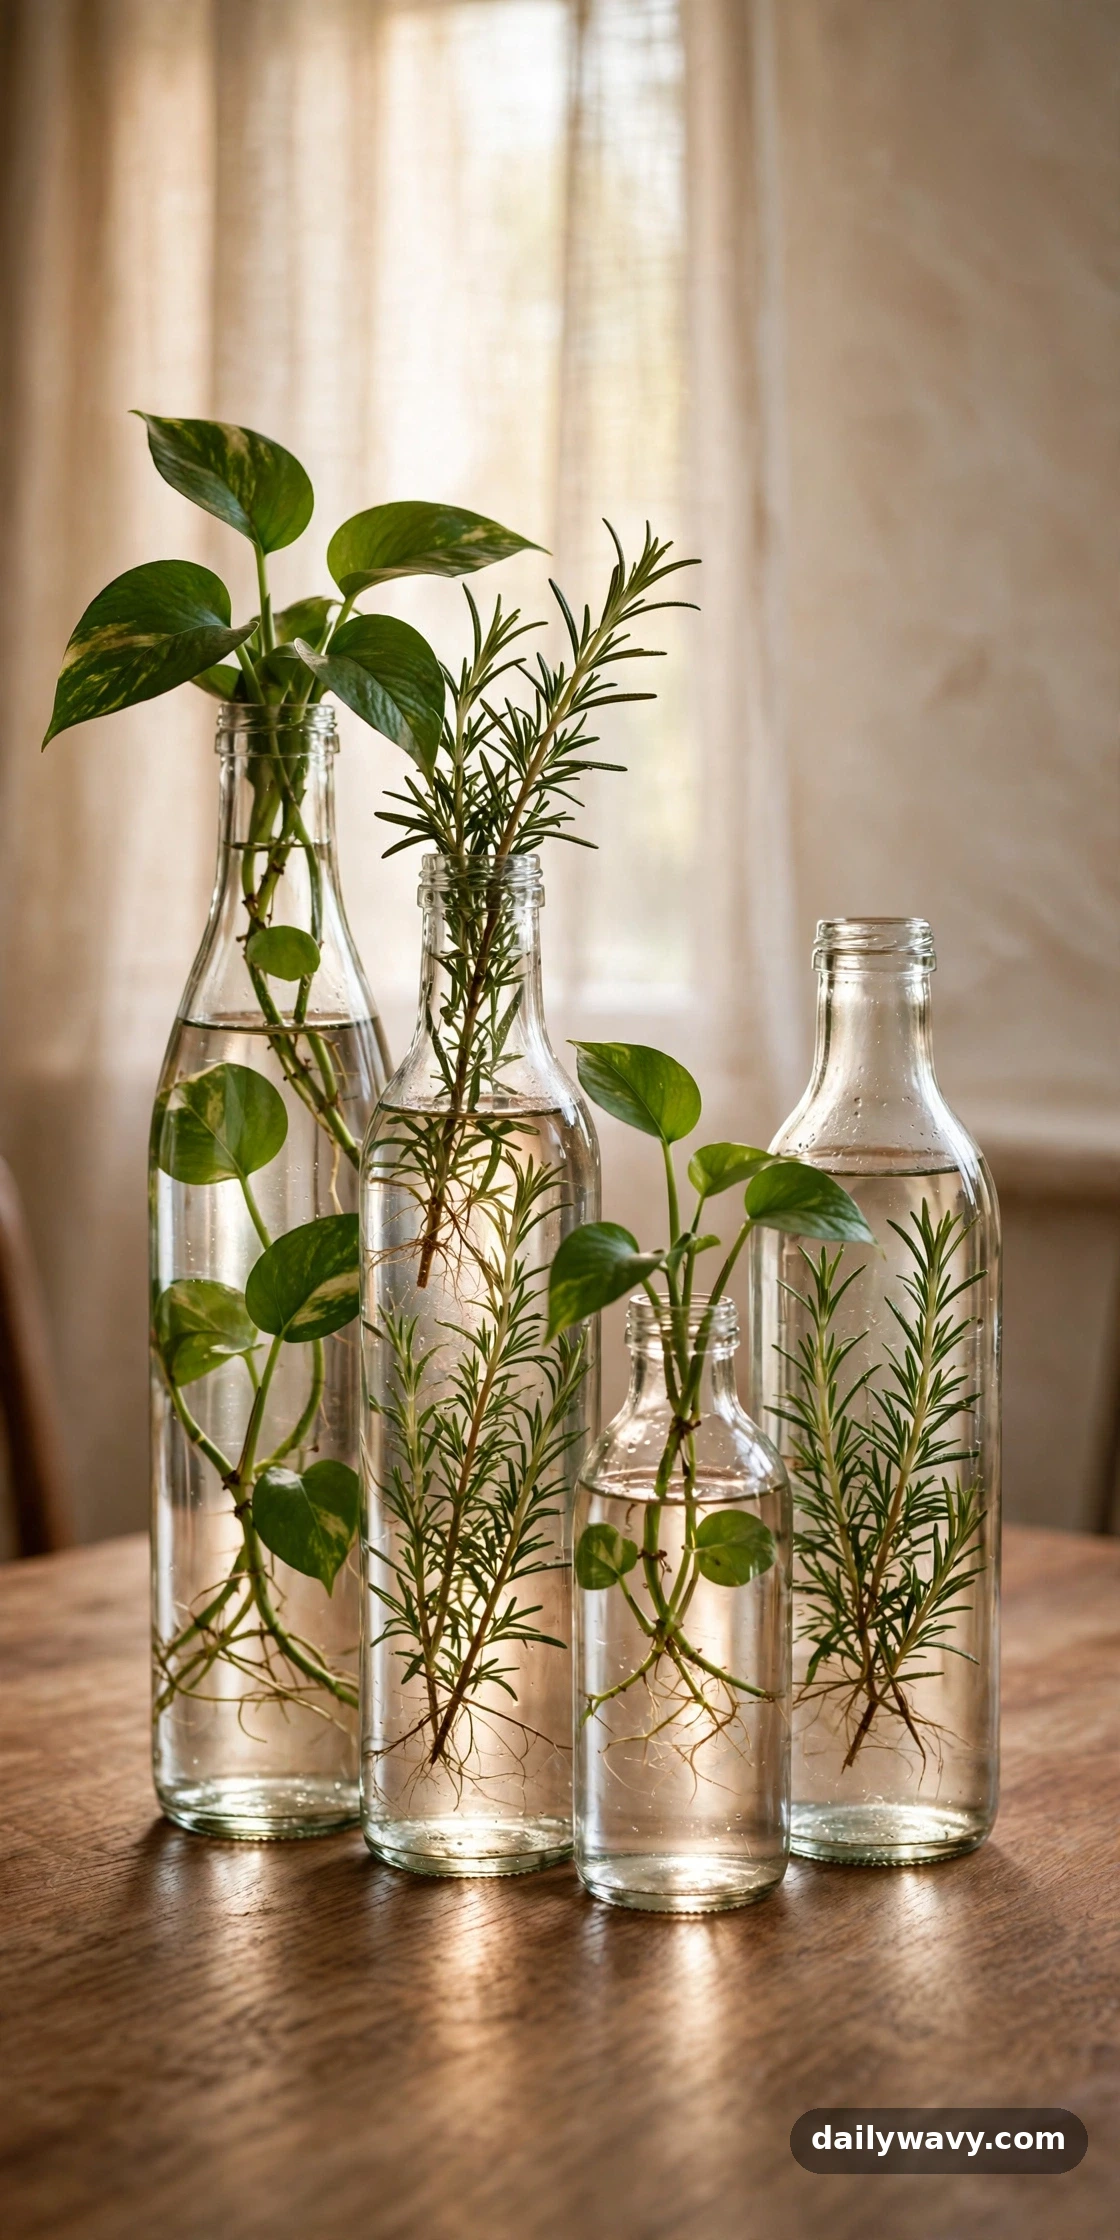
Clear glass bottles, the kind olive oil or sparkling water comes in, make beautiful bud vases when you stop throwing them away. Rinse them well, remove the labels with warm soapy water, and fill each with a cutting of something green: pothos, philodendron, rosemary, or eucalyptus. Group three to five bottles of different heights down the center of the table. The clear glass keeps the look light, and the green cuttings bring the table to life.
What you need: 3 to 5 clear glass bottles in varying heights, green cuttings, water.
Styling steps: fill each bottle about three-quarters with water and add one or two cuttings per bottle. Trim cuttings so no leaves sit below the waterline. Arrange the bottles in a loose cluster, tallest in the middle, and leave room at the table ends for serving dishes. Turn the bottles so any remaining label ghosts face away.
Everyday note: many cuttings will root in water and keep growing for months, which makes this centerpiece practically free after the first setup. Change the water weekly to keep it clear. If a cutting starts looking tired, replace it from a houseplant. This pairs beautifully with the kind of organized, welcoming kitchen in our small pantry organization ideas.
Lower-cost alternative: this entire idea costs nothing if you save bottles and take cuttings from plants you already own.
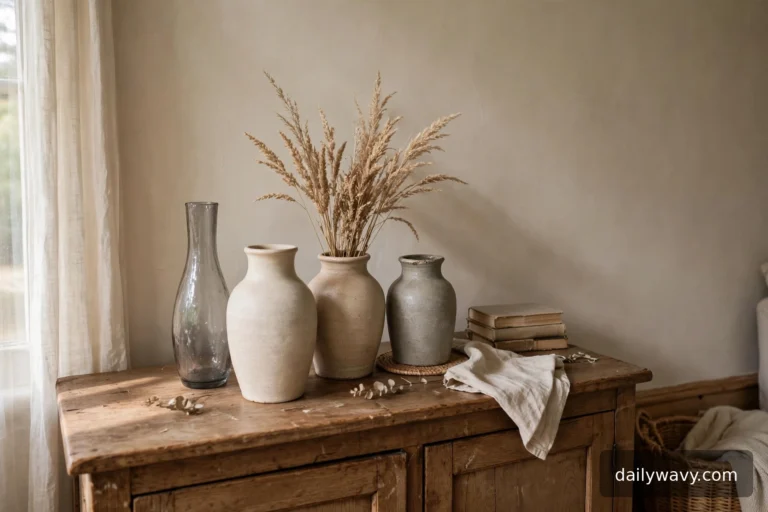
15. A compact dried-stem arrangement

Dried stems are the set-it-and-forget-it centerpiece. Pampas grass, dried lavender, wheat stalks, or bunny tails look good for months with zero maintenance. The key word is compact: choose a vessel 8 to 10 inches tall and keep the stems trimmed so the whole arrangement stays under 16 inches. Oversized dried arrangements belong in corners, not on dinner tables. A small, tidy bundle in a ceramic vase looks intentional and modern.
What you need: one vase (ceramic, glass, or stoneware), one bundle of dried stems.
Styling steps: trim the stems so they sit at slightly varied heights, tallest in the center. A bundle of 7 to 12 stems usually fills a standard vase nicely. Give the arrangement a gentle shake outside to release any loose bits before bringing it to the table. Set it slightly off-center so it does not dominate the middle of the table.
Everyday note: dried stems and open flames do not mix, so keep this arrangement away from candles. Dust it occasionally with a cool hair dryer on low. When it starts looking tired after many months, compost it and start fresh; a new bundle costs a few dollars.
Lower-cost alternative: dry your own stems at the end of summer. Hang garden flowers upside down in a dark, dry spot for two weeks and you have free arrangements all winter.
16. A handwritten place card
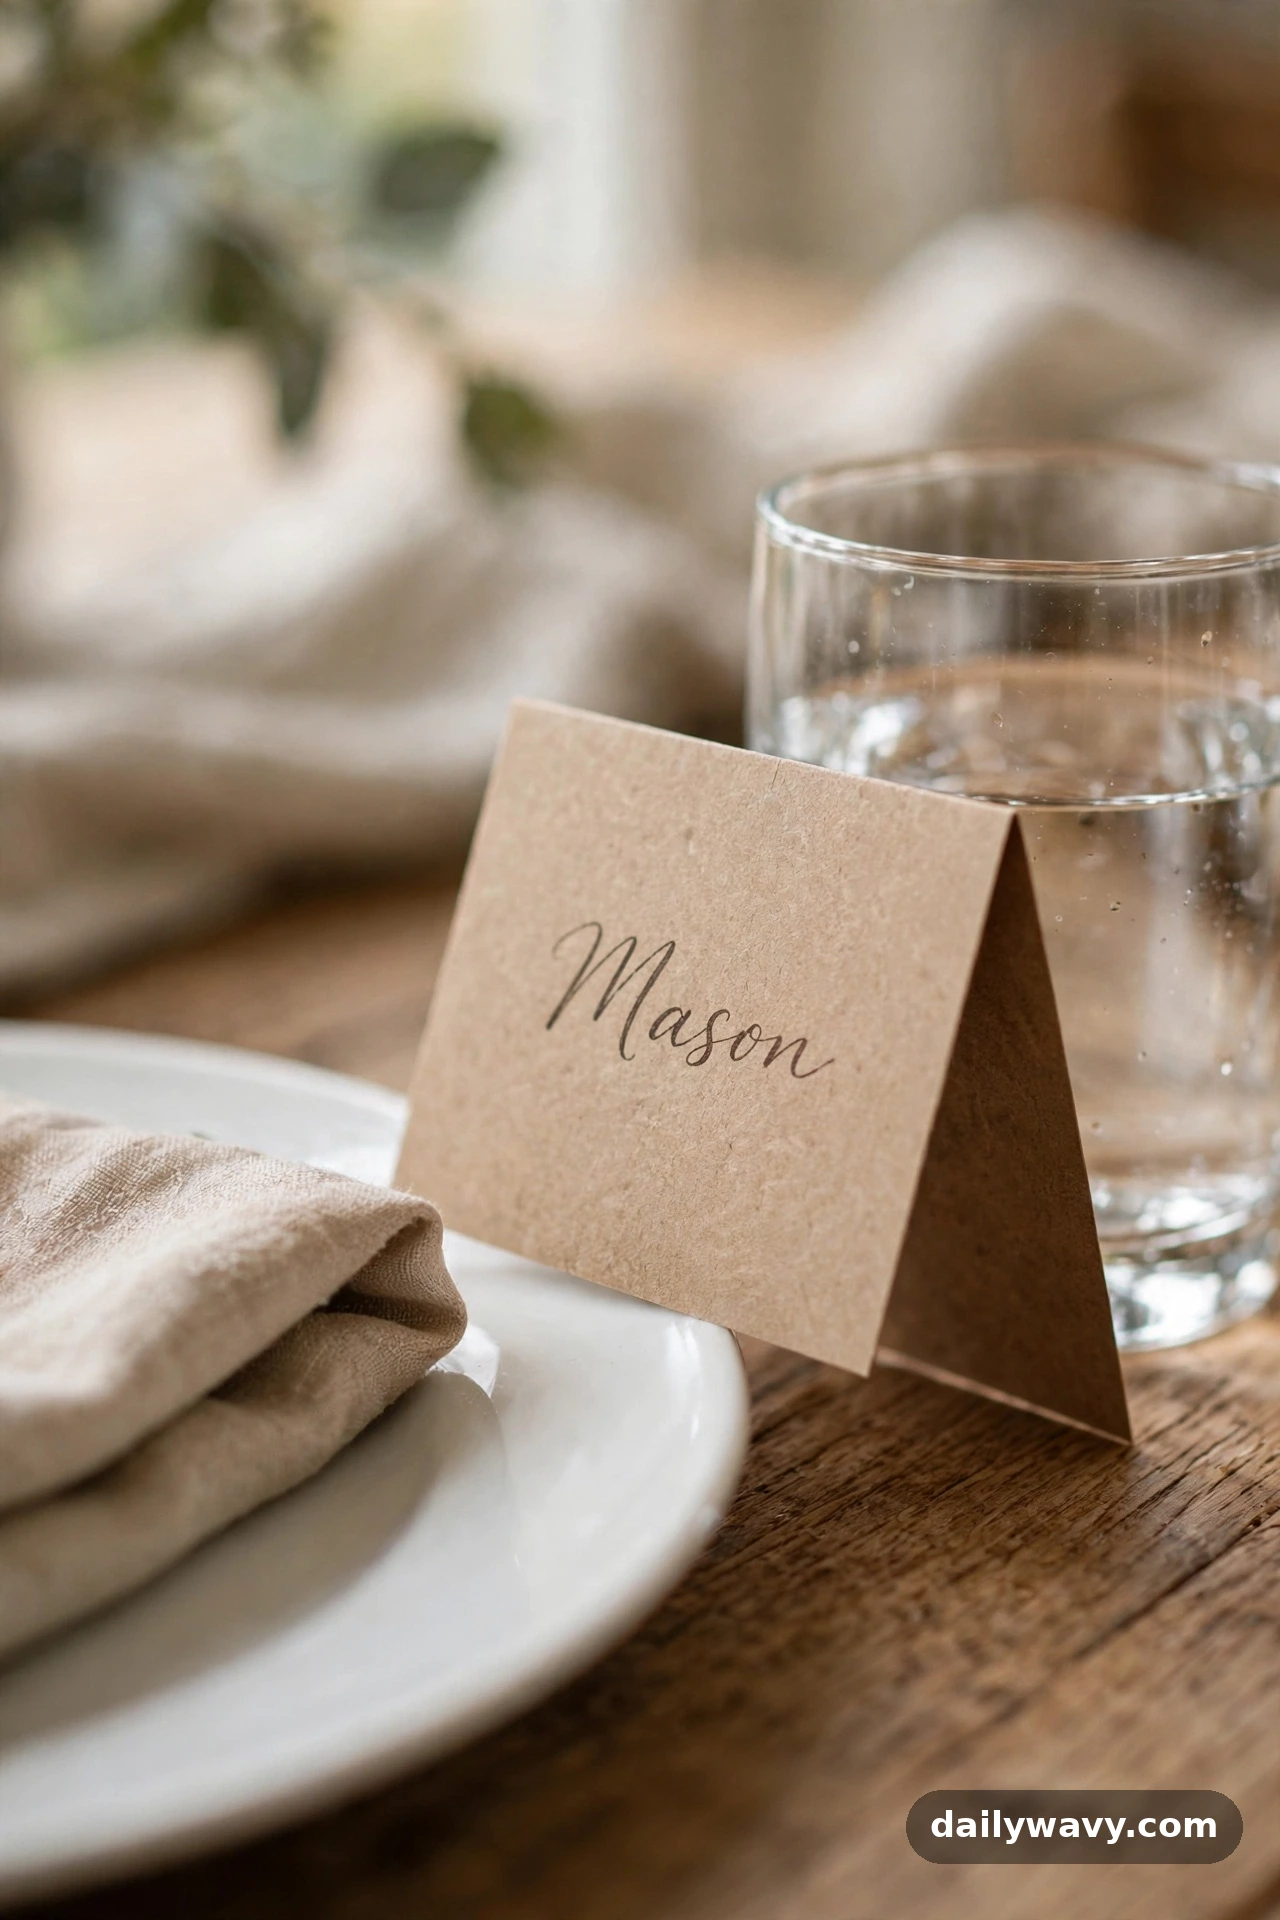
A handwritten place card is a small gesture that makes an ordinary dinner feel like an event. You do not need calligraphy skills; a simple folded card with a name written in your normal handwriting looks warm and personal. Use card stock cut to about 3 by 2 inches, folded in half so it stands. Place one at each setting, leaning against a glass or laid on the plate. For family dinners, write something besides names: a word of thanks, a joke, a question to discuss over dinner.
What you need: card stock or heavy paper, a pen with dark ink, scissors or a paper trimmer.
Styling steps: cut cards to size and fold each in half, creasing firmly so it stands. Write one name or message per card in your best everyday handwriting. Set one at each place just above the plate or leaning against the water glass. If your handwriting is shaky, write lightly in pencil first, then trace in ink.
Everyday note: save the cards from special dinners in a small box. Looking back through them later is a lovely record of who gathered at your table. For weeknights, skip the names and write conversation starters instead; it is a small trick that genuinely changes the feeling of a family dinner.
Lower-cost alternative: cut cards from last year’s holiday cards, kraft paper bags, or any heavy paper you have around.
17. A bowl of citrus and leaves
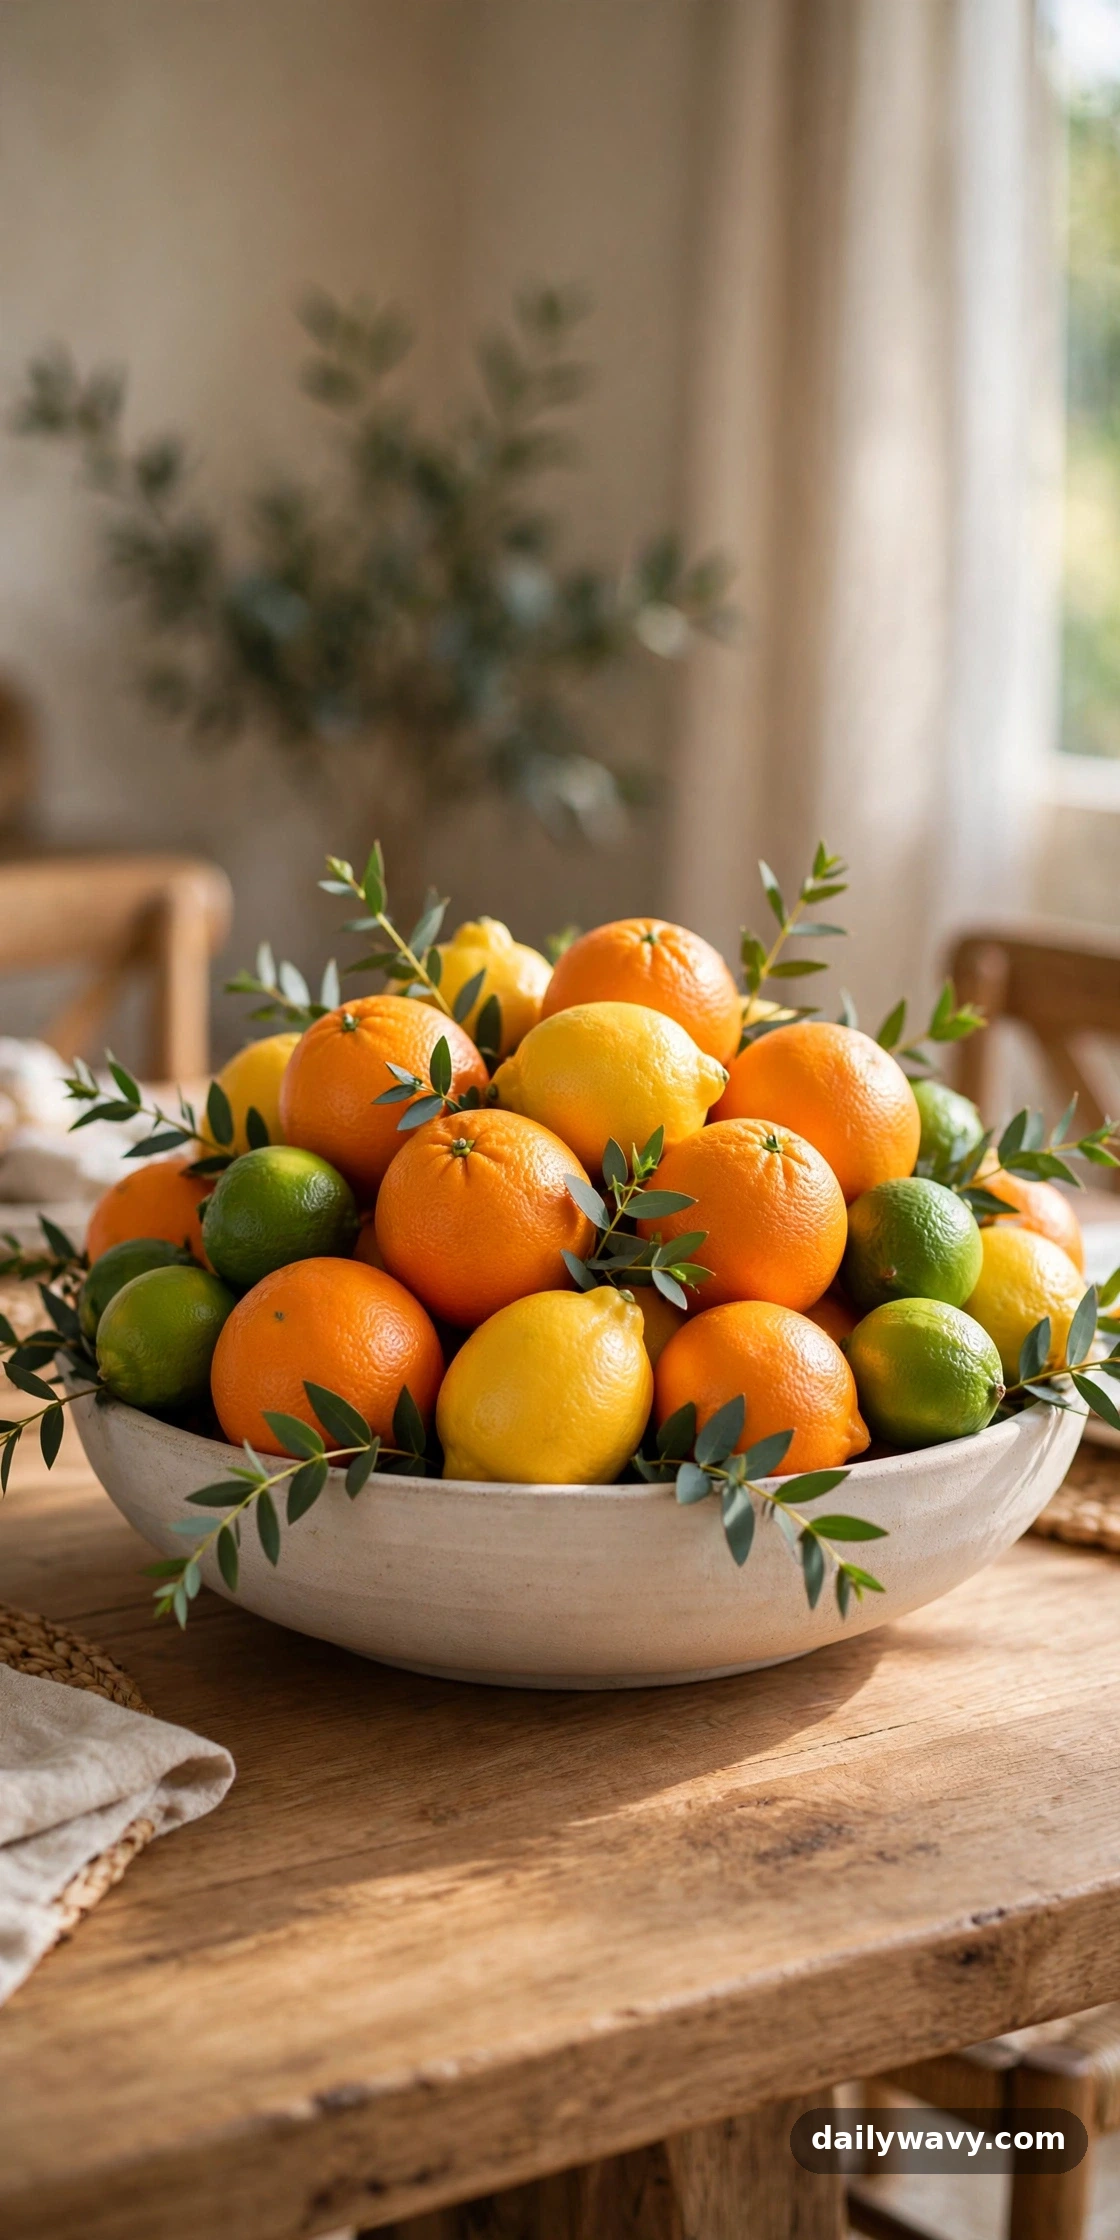
A bowl of citrus glows on a table in a way few other things do. The colors, deep orange, bright yellow, dark green leaves, look good against any table and any season, but they shine brightest in the gray months when everything outside is dull. Use a low, wide bowl and pile it with a mix of oranges, lemons, and limes, tucking in a few glossy leaves or eucalyptus sprigs. The scent alone makes the dining area feel fresh.
What you need: one low wide bowl, 8 to 12 pieces of mixed citrus, a few green leaves or eucalyptus sprigs.
Styling steps: place the largest fruit first, then fill in with smaller pieces and tuck leaves into the gaps. Let the pile mound gently above the rim; citrus looks best abundant. Set the bowl in the center of the table where everyone can see and smell it. Replace any fruit that softens before the rest.
Everyday note: like the fruit bowl in idea 2, this centerpiece feeds the household. Keep a small paring knife nearby and family members will help themselves. Citrus keeps well at room temperature for a week or two, longer in the refrigerator if you rotate the display pieces.
Lower-cost alternative: buy the marked-down bag of citrus at the grocery store. Slightly imperfect fruit looks exactly the same in a bowl.
18. A folded fabric strip beneath each setting
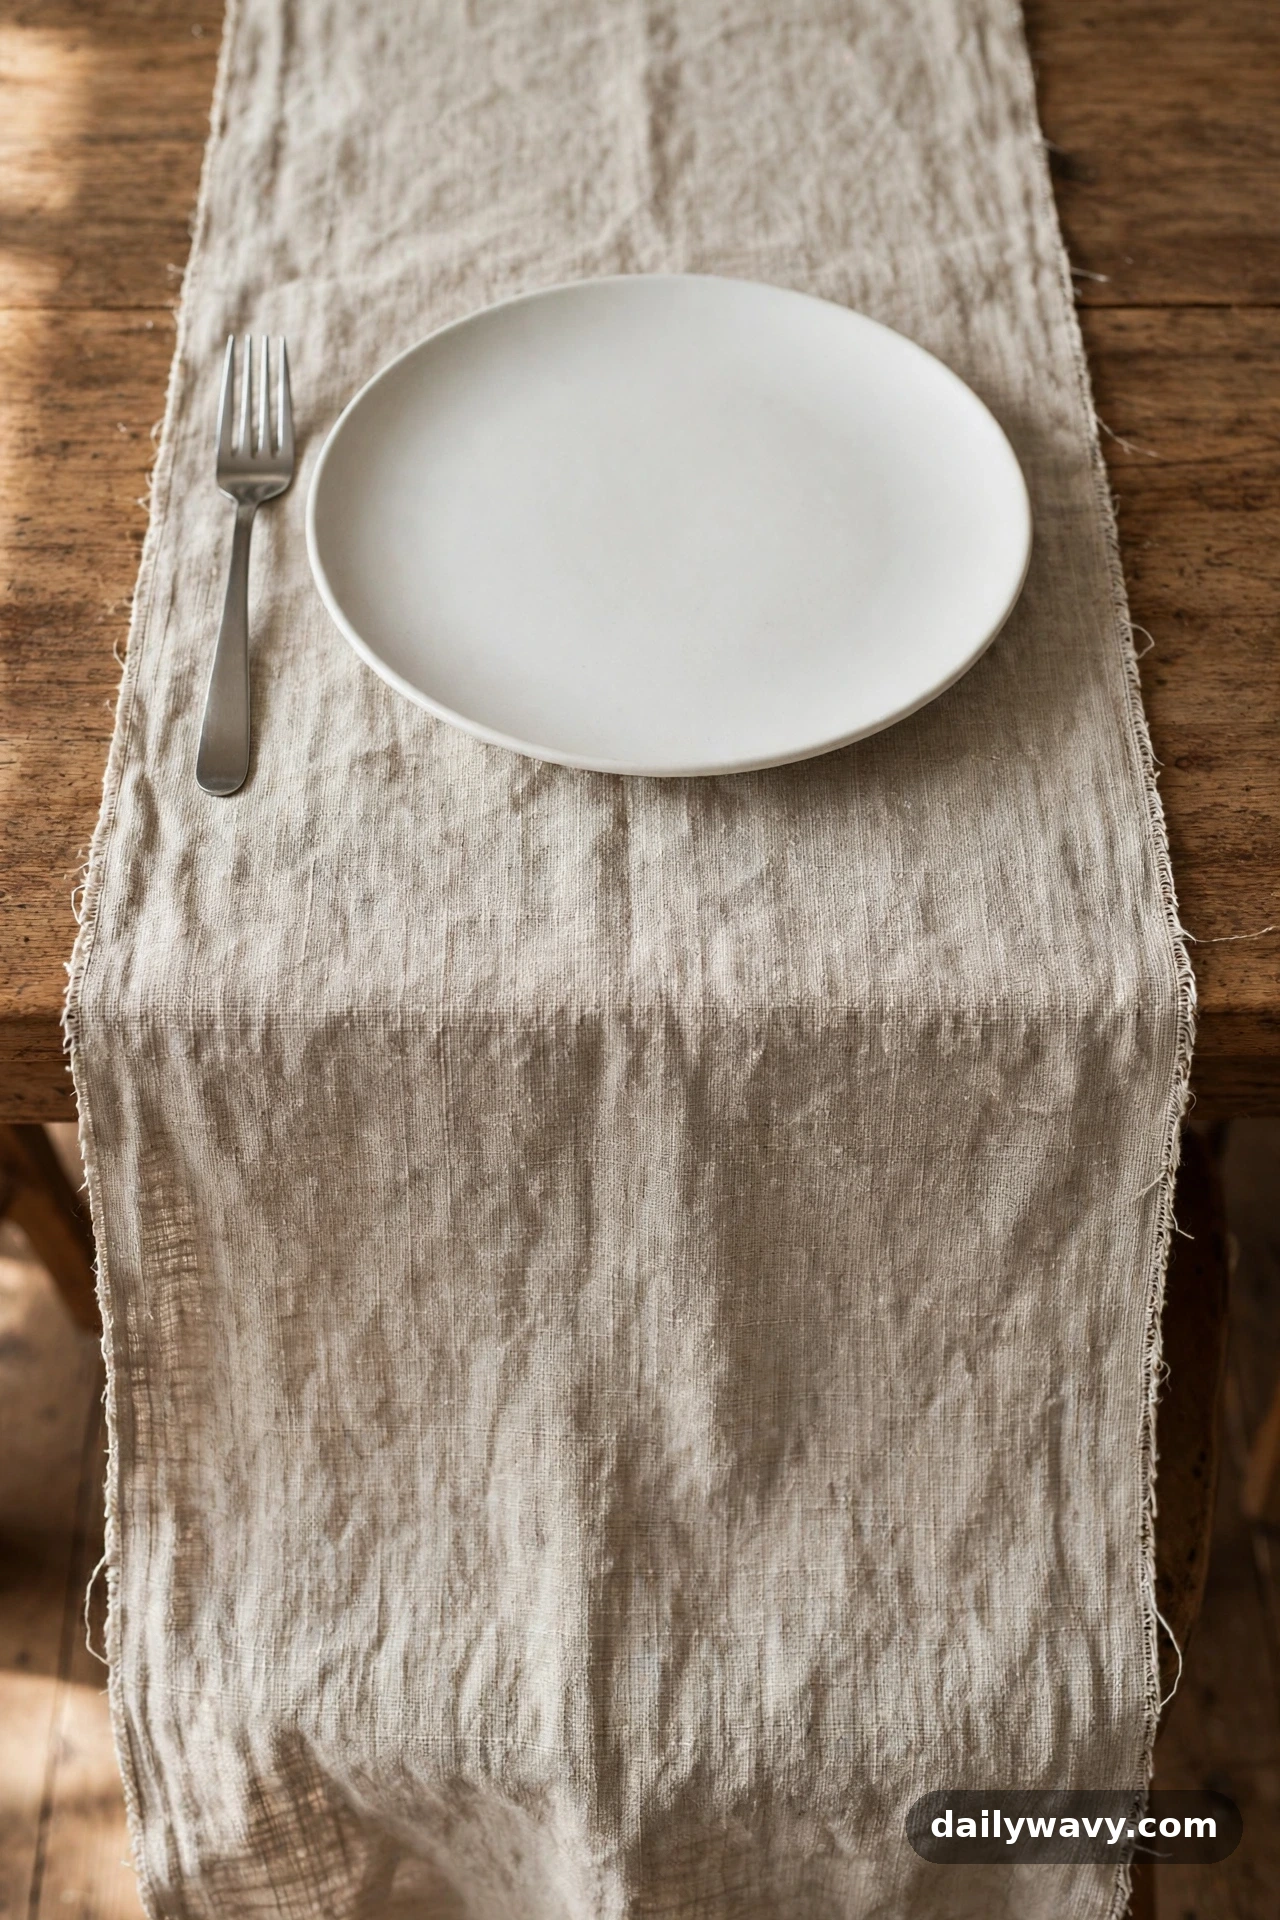
A folded strip of fabric under each plate is a quiet, tailored detail that makes every setting feel designed. Cut or tear fabric into strips about 6 inches wide and 24 inches long, fold each in thirds lengthwise, and lay one vertically at each seat with the plate on top. Linen, cotton, and even burlap all work. The strip adds a layer of texture and color without the commitment of a full tablecloth, and it protects the table under each plate.
What you need: fabric strips (one per seat plus a spare), dinner plates, scissors or a rotary cutter.
Styling steps: press or smooth each strip flat, then fold the long edges to the center so no raw edges show. Lay one strip vertically at each seat, centered on the chair. Set the plate on the upper third of the strip so fabric shows above and below. Keep all strips the same fabric for a clean look.
Everyday note: these strips wash easily with your napkins and store flat in a drawer. Make a set in a neutral tone for everyday and a second set in a seasonal color for variety. If the edges fray a little over time, that just adds to the relaxed look; trim any long threads and carry on. For a cohesive dining space, this kind of simple layering echoes the approach in our small entryway decor ideas, where a few thoughtful textiles do most of the work.
Lower-cost alternative: tear strips from an old linen tablecloth or flat sheet. Torn edges have a soft, natural fringe that looks deliberately rustic.
Frequently asked questions
How do I keep a styled table usable for everyday meals?
Keep the centerpiece low, under 10 inches, and contained to the middle third of the table. Choose items that do not need to move for dinner: bud vases, a fruit bowl, a tray you can lift with one hand. If you find yourself clearing the centerpiece every night, simplify it until you do not have to.
What is the best centerpiece height for a dinner table?
Low enough to see over comfortably. For most tables, that means nothing taller than 10 to 12 inches in the center. Tall arrangements look dramatic in photos but make real conversation awkward. When in doubt, go lower.
How do I style a table that also gets used for work or homework?
Use a tray-based centerpiece (idea 9) that lifts off in one move, or keep the styling to the place settings themselves with nice napkins and placemats (ideas 3 and 7). The table can look styled even when the center is completely clear.
What colors work best for everyday table settings?
Warm neutrals, oatmeal, sage, charcoal, cream, natural wood, are the most forgiving for everyday because they hide wear and work in every season. Add color through things that change easily: napkins, fruit, flowers. Keep the big pieces neutral and let the small things carry the color.
How often should I change the table styling?
There is no rule, but a seasonal refresh, four times a year, keeps the table feeling fresh without becoming a chore. Swap the runner, change the napkins, and update the centerpiece fill. Between refreshes, just maintain what is there: fresh water for stems, refilled fruit, washed linens.
Can I mix patterns without the table looking busy?
Yes, if you follow one rule: one pattern at a time, in one place. Patterned napkins with solid everything else. A patterned runner with solid napkins. Two patterns can work if they share a color and one is much smaller in scale than the other, but for everyday simplicity, one pattern is plenty.
A dinner table that looks good on ordinary nights changes how dinner feels. Start with the idea that fits what you already own, a bowl of fruit, a folded napkin, a few stems in small vases, and let the habit build from there. The best table styling is the kind you will actually keep up, simple enough for Tuesday and pretty enough to make Tuesday feel a little special.


One Comment