
13 Walk-In Closet Organization Ideas to Keep Everyday Items Easy to Find
A walk-in closet only works as hard as you can see. The moment your best pieces disappear behind stacked bins…
A walk-in closet only works as hard as you can see. The moment your best pieces disappear behind stacked bins or get buried on a dark shelf, the system breaks down and mornings slow to a crawl. These thirteen ideas share one goal: keeping everyday items easy to find. Clear containers at eye level, a low shelf for the things you grab daily, a labeled basket for the occasional pieces, and a few small habits that hold the arrangement together. Each idea below tells you what to measure, what materials you need, and a lower-cost way to try it first.
Jump to an idea
- Clear containers with contents visible
- A labeled basket for occasional-use pieces
- A low shelf reserved for daily essentials
- A top shelf for light seasonal items
- A fabric pouch for small accessories
- A slim pull-out storage solution
- A repeated spacing system between groups
- A shelf riser making two usable levels
- A designated return-to-place zone
- A hanging organizer where suitable
- A breathable bag for delicate items
- A small inventory card at the front
- A basket for items awaiting repair
The one rule before you start
Visibility beats capacity. A closet that holds everything but shows nothing will fail faster than a smaller closet where you can see every item in two seconds. Before buying anything, stand in the doorway and notice which zones fall outside your direct line of sight. Those blind corners are where items go to be forgotten. Every idea below is a way to drag those corners back into view. If you are planning the closet alongside a bedroom refresh, our small bedroom with a queen bed ideas cover measured layouts for fitting a queen bed into a small room.
1. Clear containers with contents visible

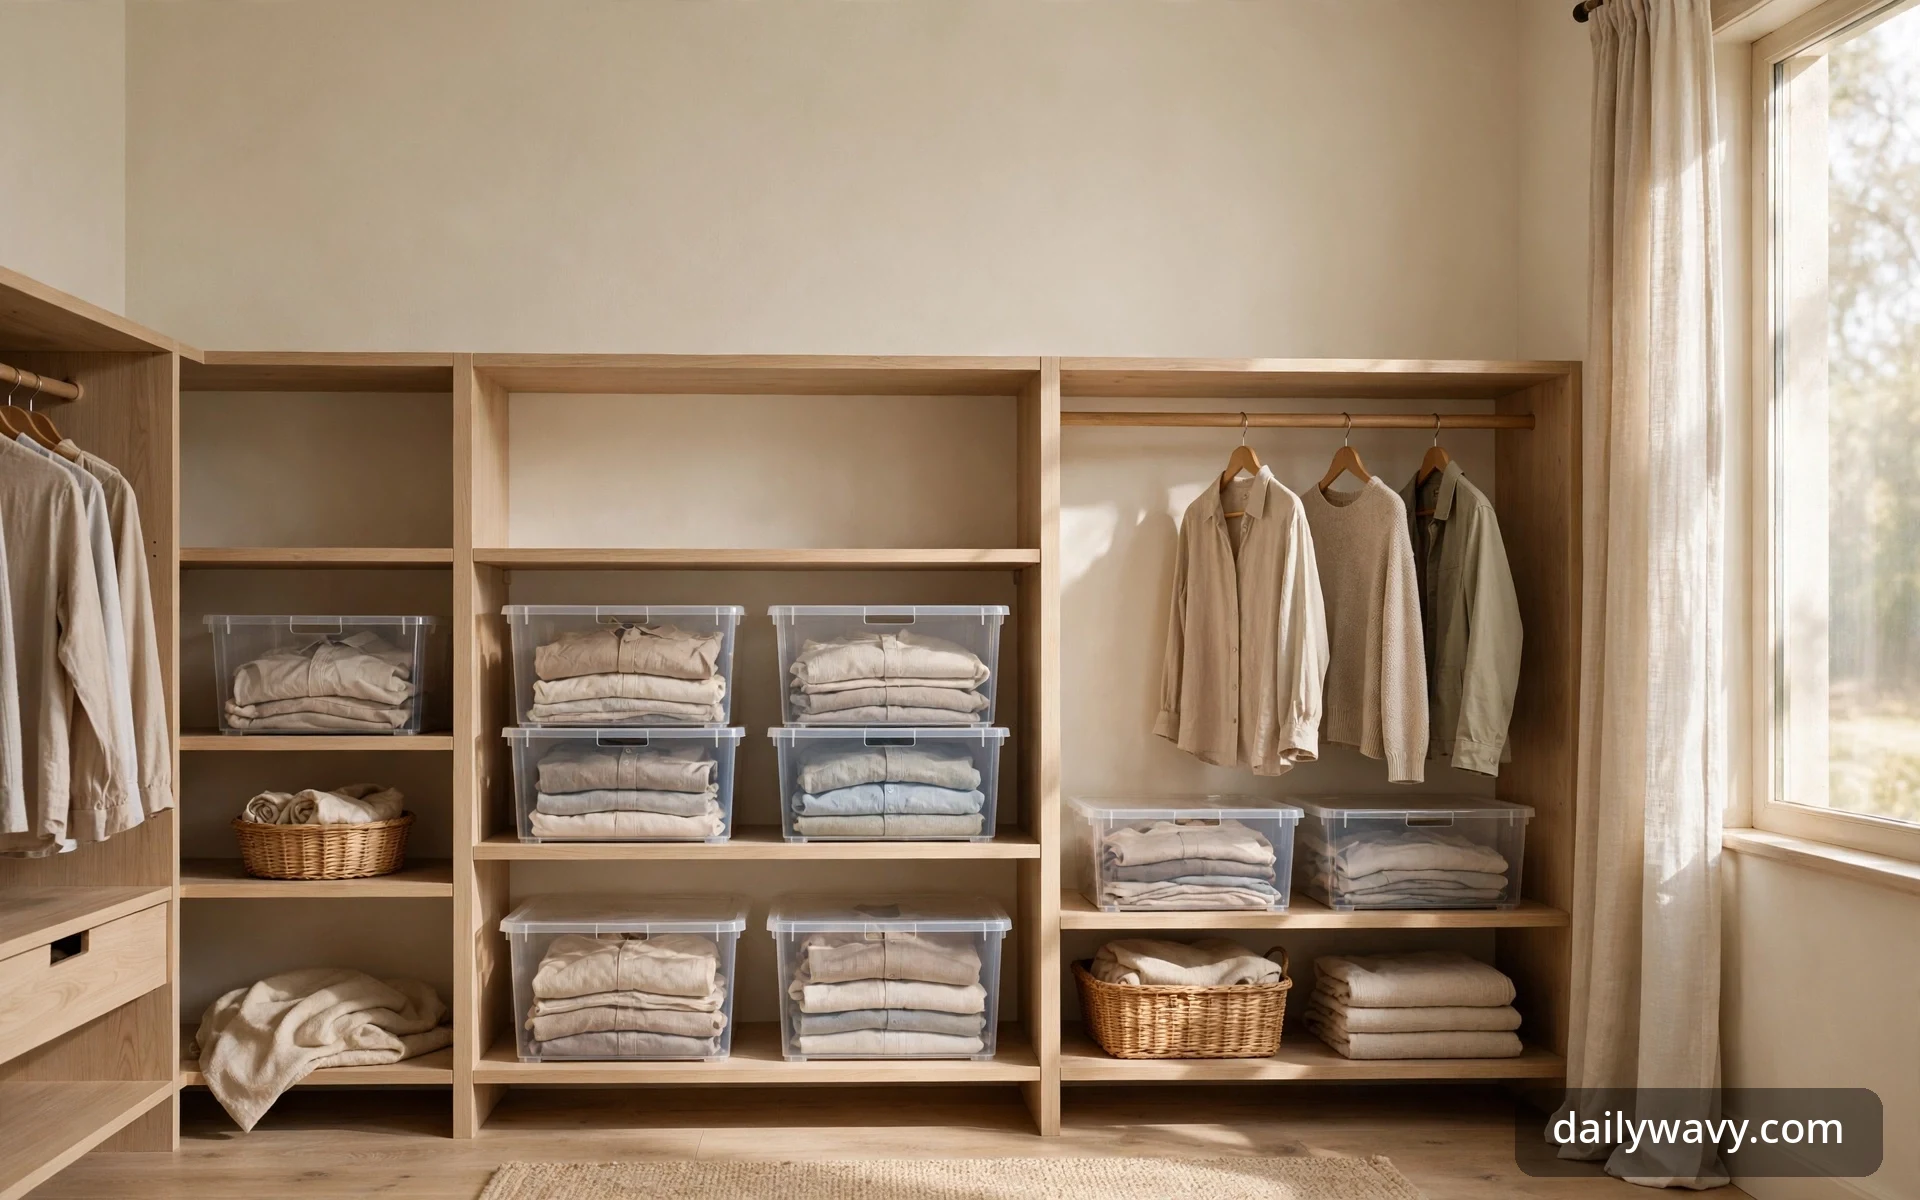
Clear bins are one of the fastest ways to make a closet self-explanatory. When you can see the folded knit, the extra handbag, or the rolled scarves without opening a lid, you stop doing the open-check-close dance that wastes time and leaves bins ajar. Use them at eye level, roughly between 40 and 60 inches from the floor, where your gaze lands the moment you walk in.
What to measure: Measure the depth of your shelf or cubby, then buy bins at least 2 inches shallower so they slide out without scraping the wall. Measure the shelf height too; a 6-quart bin is about 6 inches tall and fits standard 12-inch cubbies with room to lift.
Materials: Stackable clear polypropylene bins with lids, sized to the shelf. One bin per category, never two categories sharing a bin.
Placement: Front and center at eye level. Keep heavier filled bins at waist height or below, never above the shoulders.
Approximate effort: An hour to sort and decant one shelving unit, plus a trip to buy bins that actually fit.
Lower-cost alternative: Clear zippered storage bags from the home section. They are not as crisp, but they show contents just as well for much less.
2. A labeled basket for occasional-use pieces

Occasional pieces, the formal clutch, the ski socks, the costume jewelry, cause clutter because they have no defined home. A labeled basket gives them a home with an address. The label matters more than the basket: it turns a vague container into a decision you do not have to remake every time.
What to measure: Measure the basket against its shelf spot before buying. A 10-by-14-inch basket suits most cubbies. Keep the label readable from the doorway, which means large lettering, at least 1 inch tall.
Materials: One medium woven or canvas basket per occasional category, plus a clip-on label holder or a tag you can rewrite. Pencil the label, do not engrave it; categories change.
Placement: Middle shelves, slightly off to one side. These are reached weekly, not daily, so they can sit one step out of the prime zone.
Approximate effort: Thirty minutes to sort, label, and place. Five minutes a year to re-label.
Lower-cost alternative: A sturdy grocery box wrapped in kraft paper with a handwritten tag. It sounds plain, but on a shelf it looks intentional and it costs nothing.
3. A low shelf reserved for daily essentials
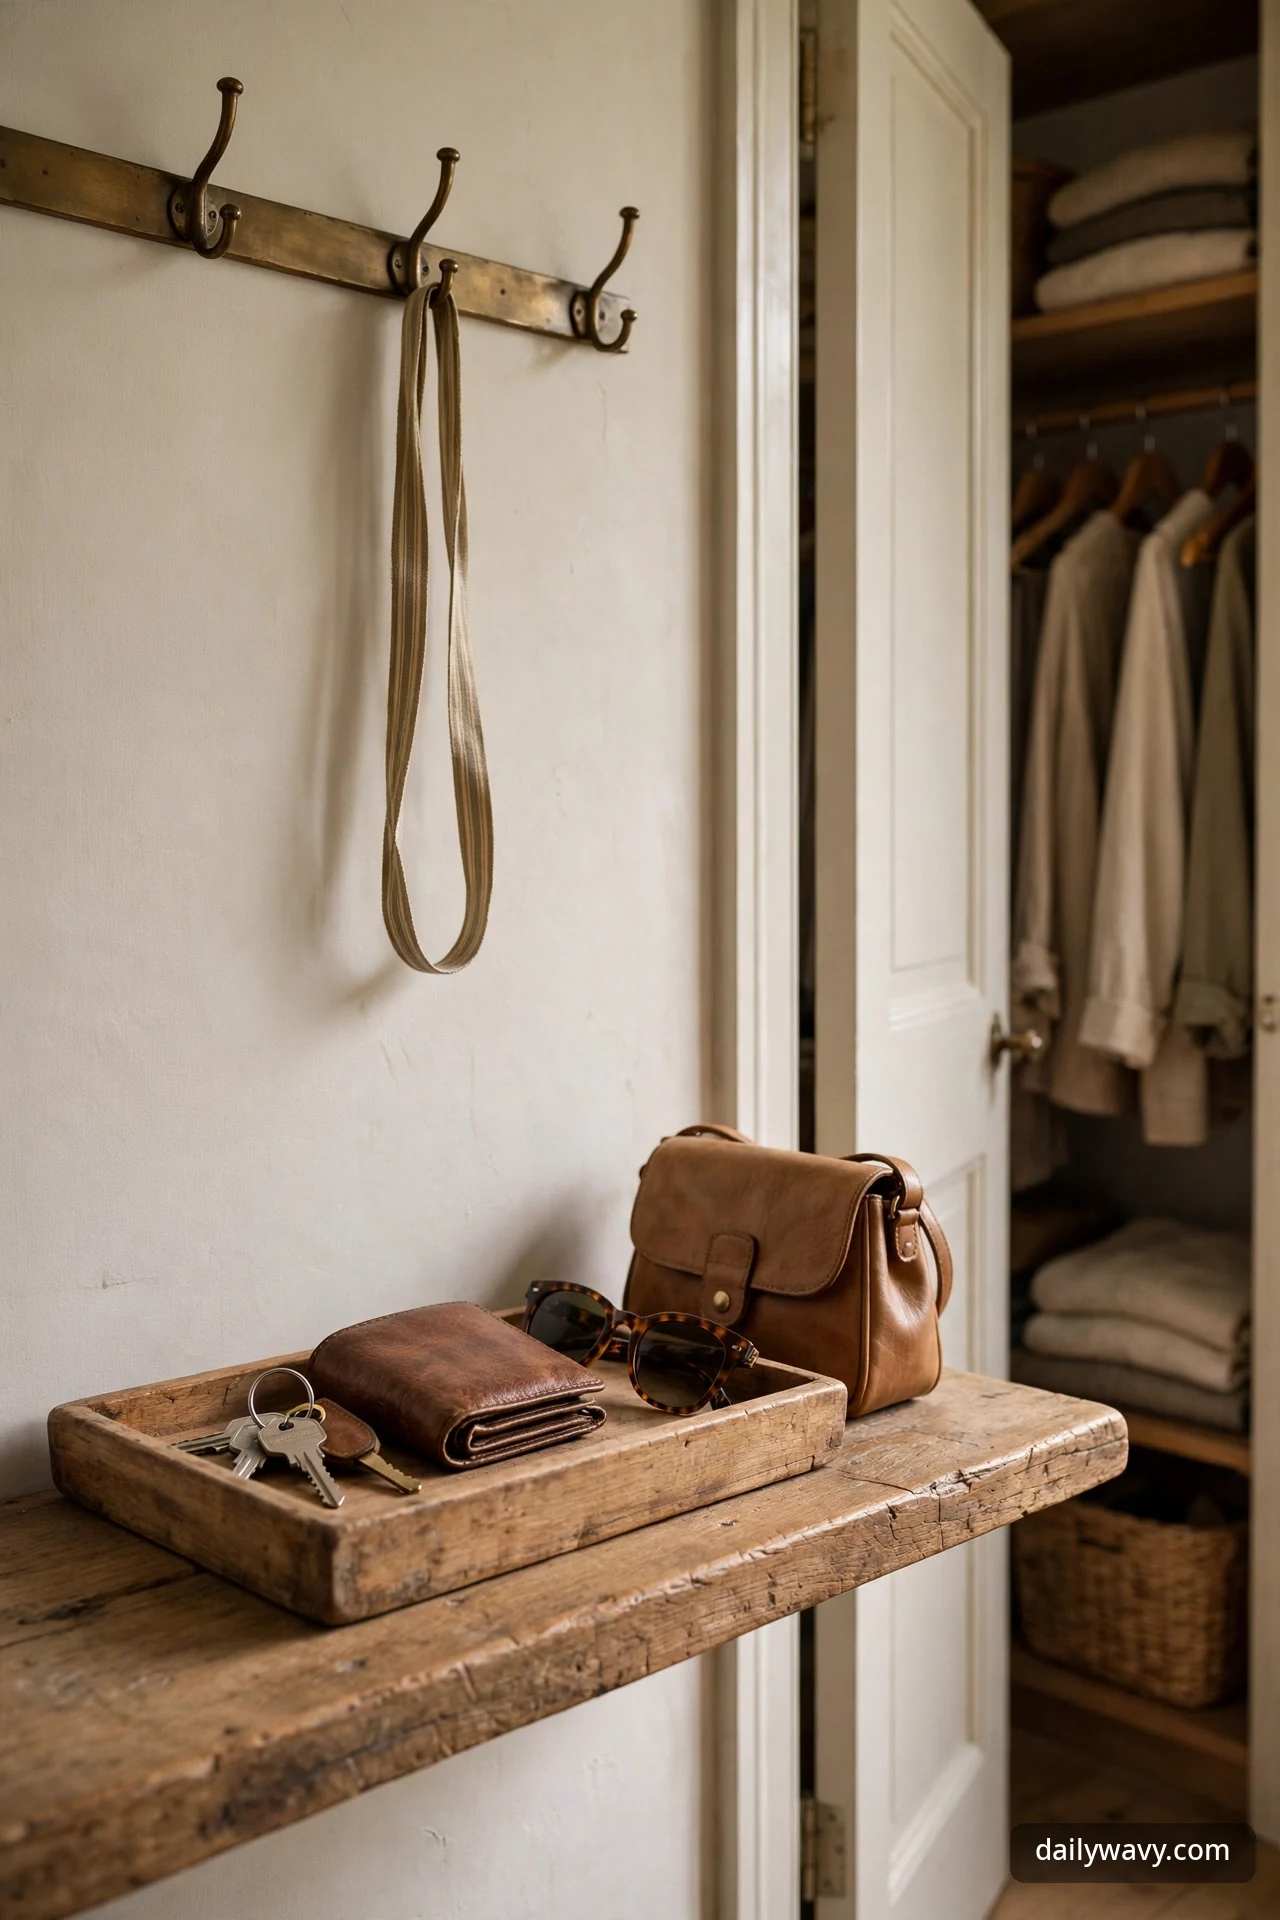
Daily essentials earn the easiest reach. When your everyday bag, wallet, keys, and sunglasses live on a low shelf right by the door, you stop setting them on the dresser, the kitchen counter, and the car roof. This shelf is less about storage and more about behavior: it catches the items that otherwise scatter.
What to measure: The shelf should sit between 28 and 36 inches high, reachable without bending. Allow about 12 inches of width per daily category so nothing piles.
Materials: A shallow tray or a short-sided open box per person, plus small hooks or a peg rail above for keys and sunglasses.
Placement: Within two steps of the closet door. If the closet is entered from the bedroom, put it on the wall you face first. Our narrow living room layout ideas use the same measure-first approach for narrow rooms, and that approach applies inside a closet too.
Approximate effort: Under an hour, including mounting a small hook rail.
Lower-cost alternative: A thrifted baking tray as a catchall. Wipe it down, line it with a paper napkin or a cloth, and it holds keys and wallets perfectly.
4. A top shelf for light seasonal items

The top shelf is a gift if you treat it like an attic and a curse if you treat it like a shelf. It works only for light items you touch twice a year: holiday sweaters, the beach tote, guest bedding. Heavy items up there are a safety problem, so keep the rule simple: if you would not want it dropped on your head, it does not go above 60 inches.
What to measure: Check that your top shelf sits no higher than about 84 inches so a short step stool reaches it. Measure the bin depth so nothing overhangs the shelf edge.
Materials: Lightweight clear or solid bins with lids, one per season or event type. Label the short end so the label reads from the floor.
Placement: The very top run of shelving, pushed to the back. Use a folding two-step stool stored in the closet corner.
Approximate effort: An hour of sorting seasonal items out of daily zones, plus labeling.
Lower-cost alternative: Large tote bags with a luggage tag tied to the handle, labeled with the season. They weigh less than bins and collapse flat when empty.
5. A fabric pouch for small accessories
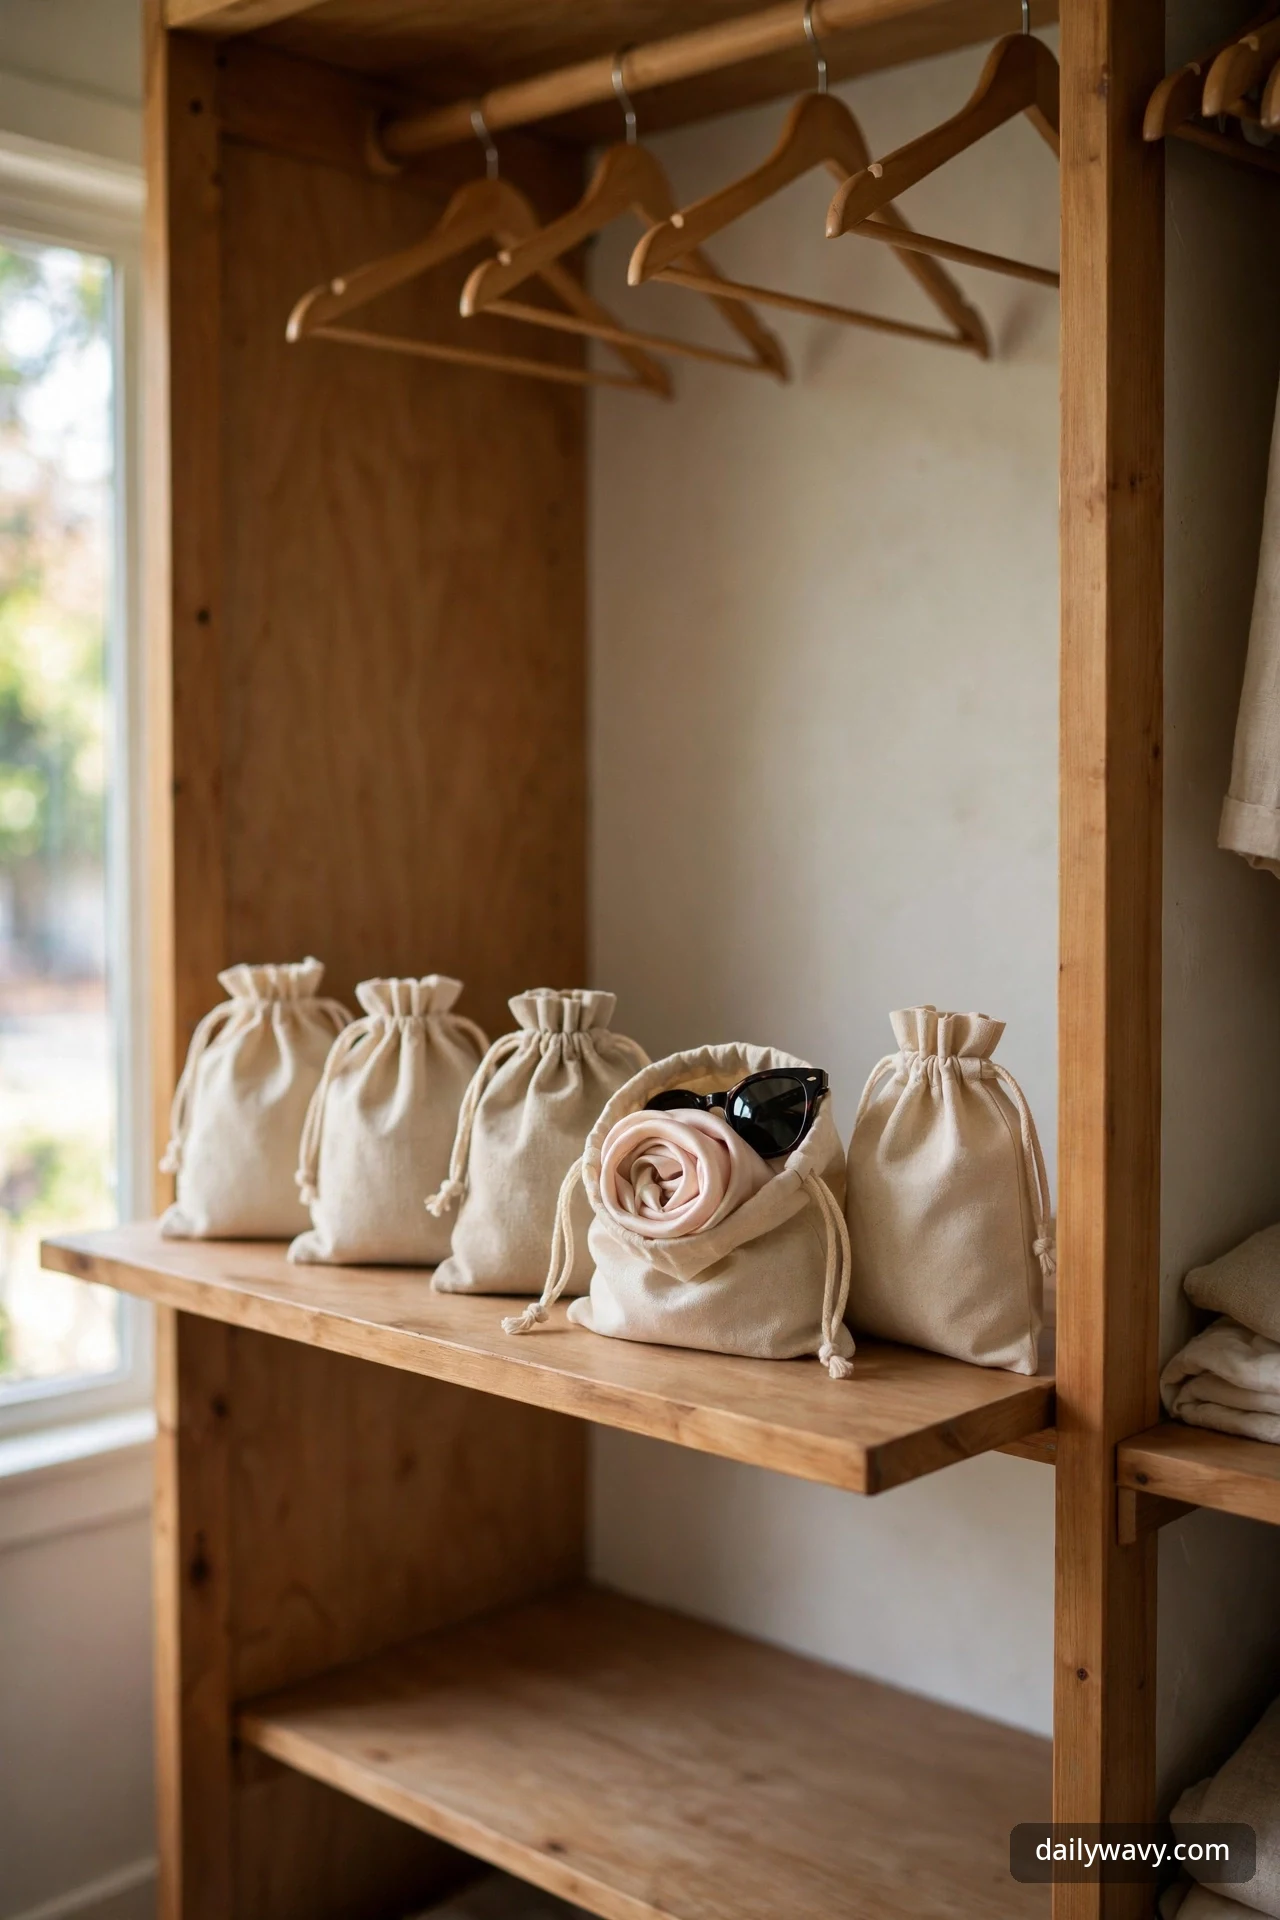
Small accessories are what make a closet feel chaotic even when the clothes are in order. Belts coiled on shelves, scarves sliding off piles, sunglasses loose in a tray. A set of fabric pouches turns each accessory type into one grabbable unit. Hang the pouches or lay them in a row, and the small stuff stops migrating.
What to measure: Aim for pouches between 6 and 9 inches wide so they fit in a drawer or on a narrow shelf. If hanging, measure the hook-to-shelf clearance so the pouch does not drag.
Materials: Canvas or cotton pouches with drawstrings or zippers. One pouch per accessory type, labeled with an iron-on tag or a stitched dot of color.
Placement: In a shallow drawer, on a shelf near the daily-essentials zone, or hung on the inside of the door.
Approximate effort: An hour to sort and pouch everything. Ten minutes to add the color dots.
Lower-cost alternative: Muslin produce bags from the grocery store, washed and dried flat. They cost very little and take a fabric marker well.
6. A slim pull-out storage solution

The dead gap beside a shelving tower or between the dresser and the wall is usually where shoes pile up or where nothing goes at all. A slim pull-out unit, the kind on casters or on a track, turns a 6-to-10-inch gap into real storage. It is perfect for items you reach for regularly but never need to display.
What to measure: Measure the gap width at three points, top, middle, and bottom, because walls are rarely straight. Leave half an inch of clearance on each side. Standard pull-outs come in 6, 8, and 10-inch widths.
Materials: A slim rolling cart or a track-mounted pull-out shelf sized to the gap. Keep the contents light: folded knits, handbags, or shoe boxes, not anything heavy enough to tip the cart.
Placement: In the gap you measured. Anchor any tall unit to the wall if it could tip forward when extended.
Approximate effort: An afternoon if you are assembling a track unit; twenty minutes for a rolling cart.
Lower-cost alternative: A narrow bookcase on adhesive felt pads, slid into the gap. It does not pull out, but it still converts dead space into shelving for very little.
7. A repeated spacing system between groups
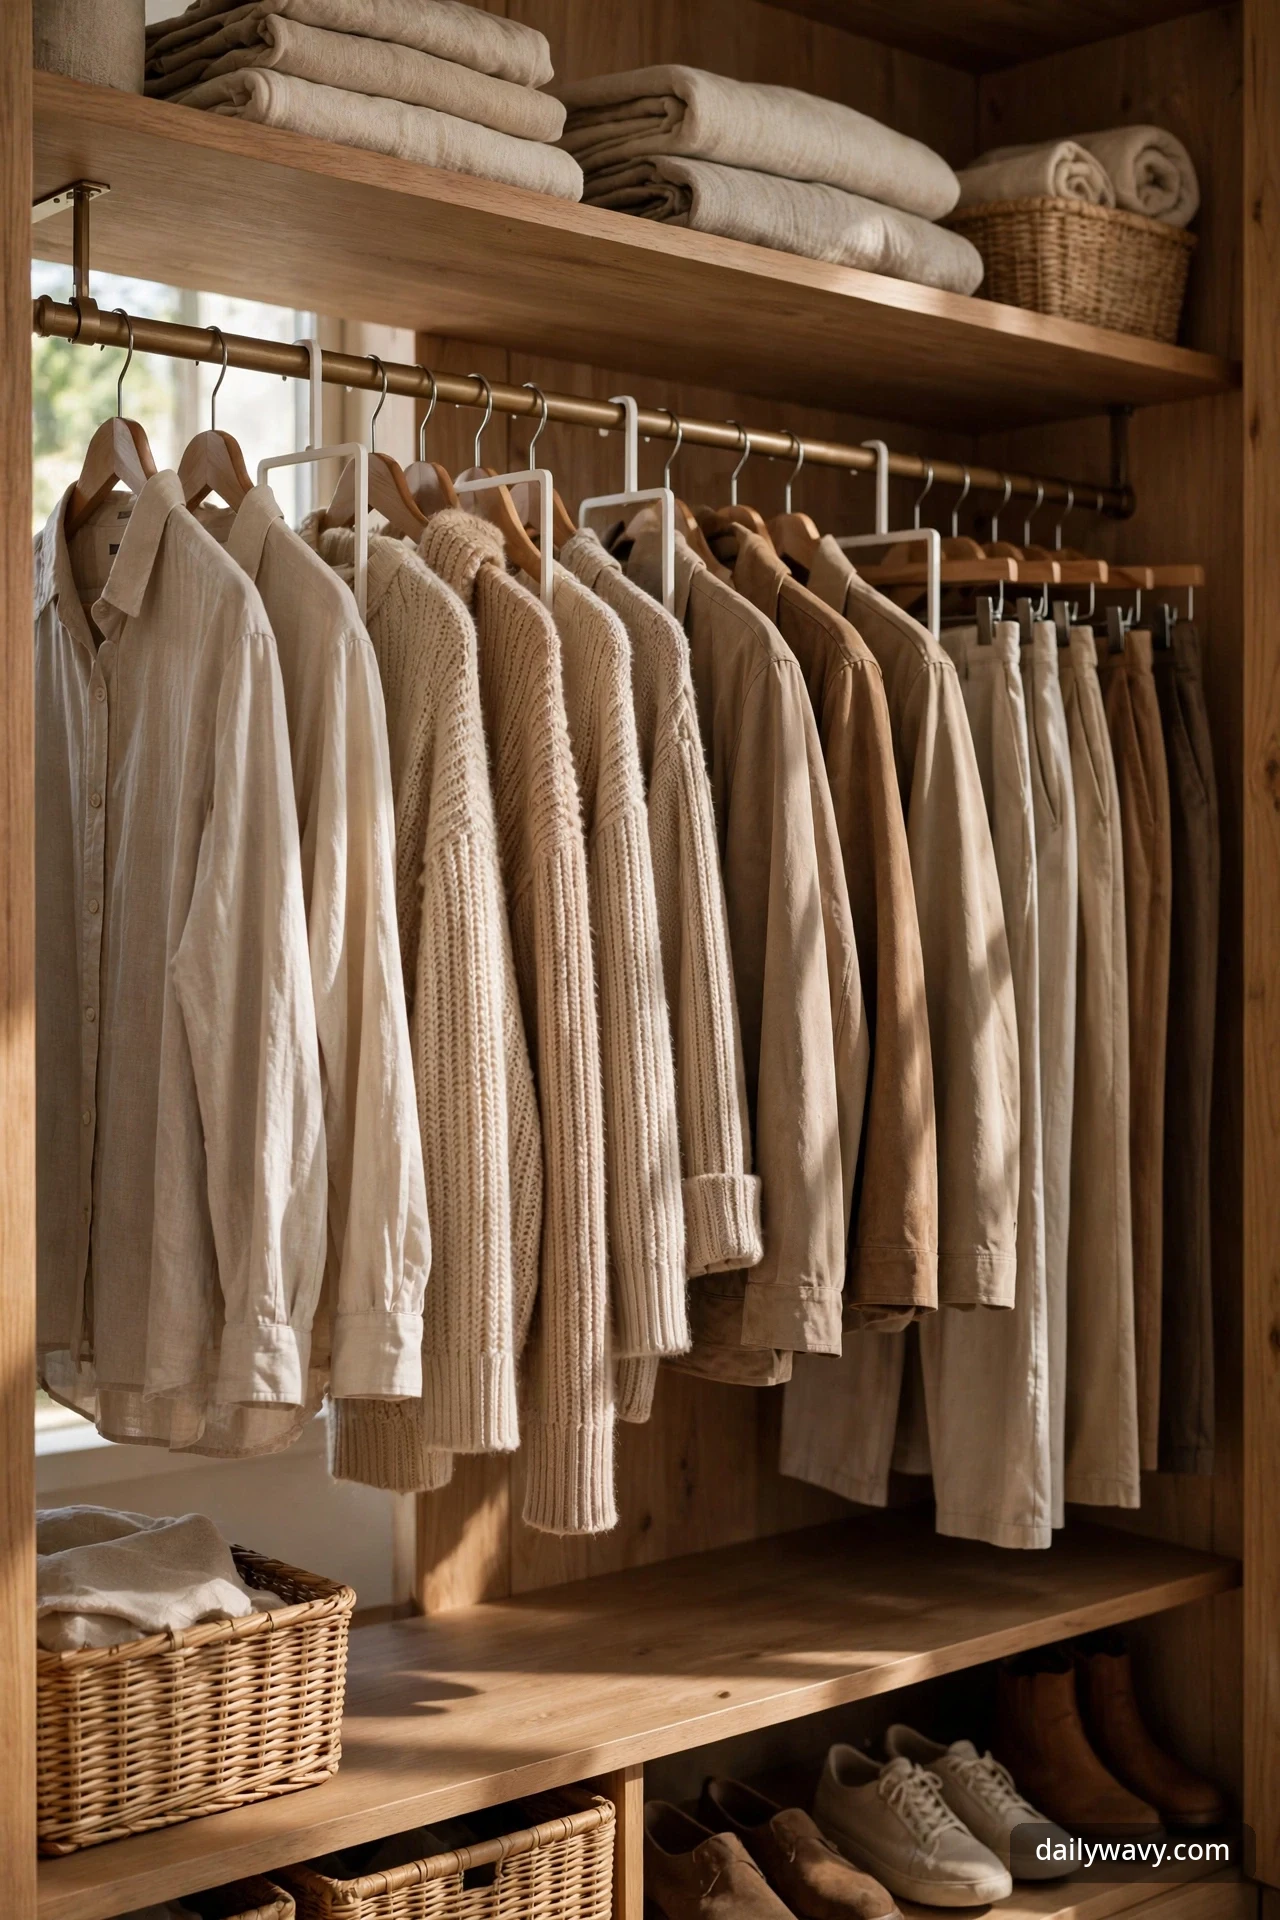
Closets stay organized when the spacing is rhythmic. Leave the same two inches between every hanging garment group and the same one-inch gap between folded stacks, and the eye reads the closet as orderly even before you notice what is stored. Repeat the spacing between zones too: same width for each shelf division, same rhythm for each hanging rod.
What to measure: Walk the rods and mark group boundaries with slim hanger dividers spaced at least 2 inches apart. Between folded stacks, leave a full inch so stacks do not lean into each other.
Materials: Hanger dividers or round clothing-size markers, plus shelf dividers for folded zones. Clear acrylic dividers disappear visually, which helps the spacing read as clean.
Placement: On every rod and every open shelf where groups meet. If two people share the closet, give each person a distinct divider color.
Approximate effort: Thirty minutes to place dividers and regroup items.
Lower-cost alternative: Cardboard dividers cut from a shipping box and wrapped in white paper, slipped between groups on the shelf.
8. A shelf riser making two usable levels

Tall shelf bays waste their vertical space. A shelf riser, a simple U-shaped stand, splits one 12-inch bay into two usable levels, which adds a second usable level for folded tees, handbags, or shoe boxes. It also stops the classic leaning tower, because nothing stacks higher than one riser level.
What to measure: Measure the shelf height first. You need at least 10 inches of clearance for a riser plus the items on top of it. Standard risers are about 5 inches tall; measure your folded items to confirm they fit the levels created.
Materials: One bamboo or metal shelf riser per wide bay. Keep it simple and sturdy; wire risers work for shoes, solid ones for folded clothes.
Placement: On the widest, tallest open shelves, especially at eye level where folded clothes live.
Approximate effort: Ten minutes per riser, mostly spent refolding what was there before.
Lower-cost alternative: A clean, dry shoebox with its lid, flipped upside down as a platform. It is the same principle for the cost of tape.
9. A designated return-to-place zone

Every closet needs a landing strip. This is the one hook, bench corner, or tray where the things you wore today go when they are not dirty enough for the hamper and not clean enough for the rod. Without this zone, those items end up on the floor or draped over a chair, and the closet slowly loses.
What to measure: Give the zone about 24 inches of horizontal space, enough for two or three items, at a height between 36 and 48 inches so it is easy to drape and retrieve.
Materials: Three to five sturdy hooks on a small rail, or one bench corner with a tray. A basket beside it catches the belt and watch you took off with them.
Placement: Right inside the door or at the end of the daily-essentials path, so the motion of arriving home ends at this spot.
Approximate effort: Thirty minutes to mount a hook rail and clear the space.
Lower-cost alternative: A single over-the-door hook set. It needs no drilling and it creates the same habit.
10. A hanging organizer where suitable
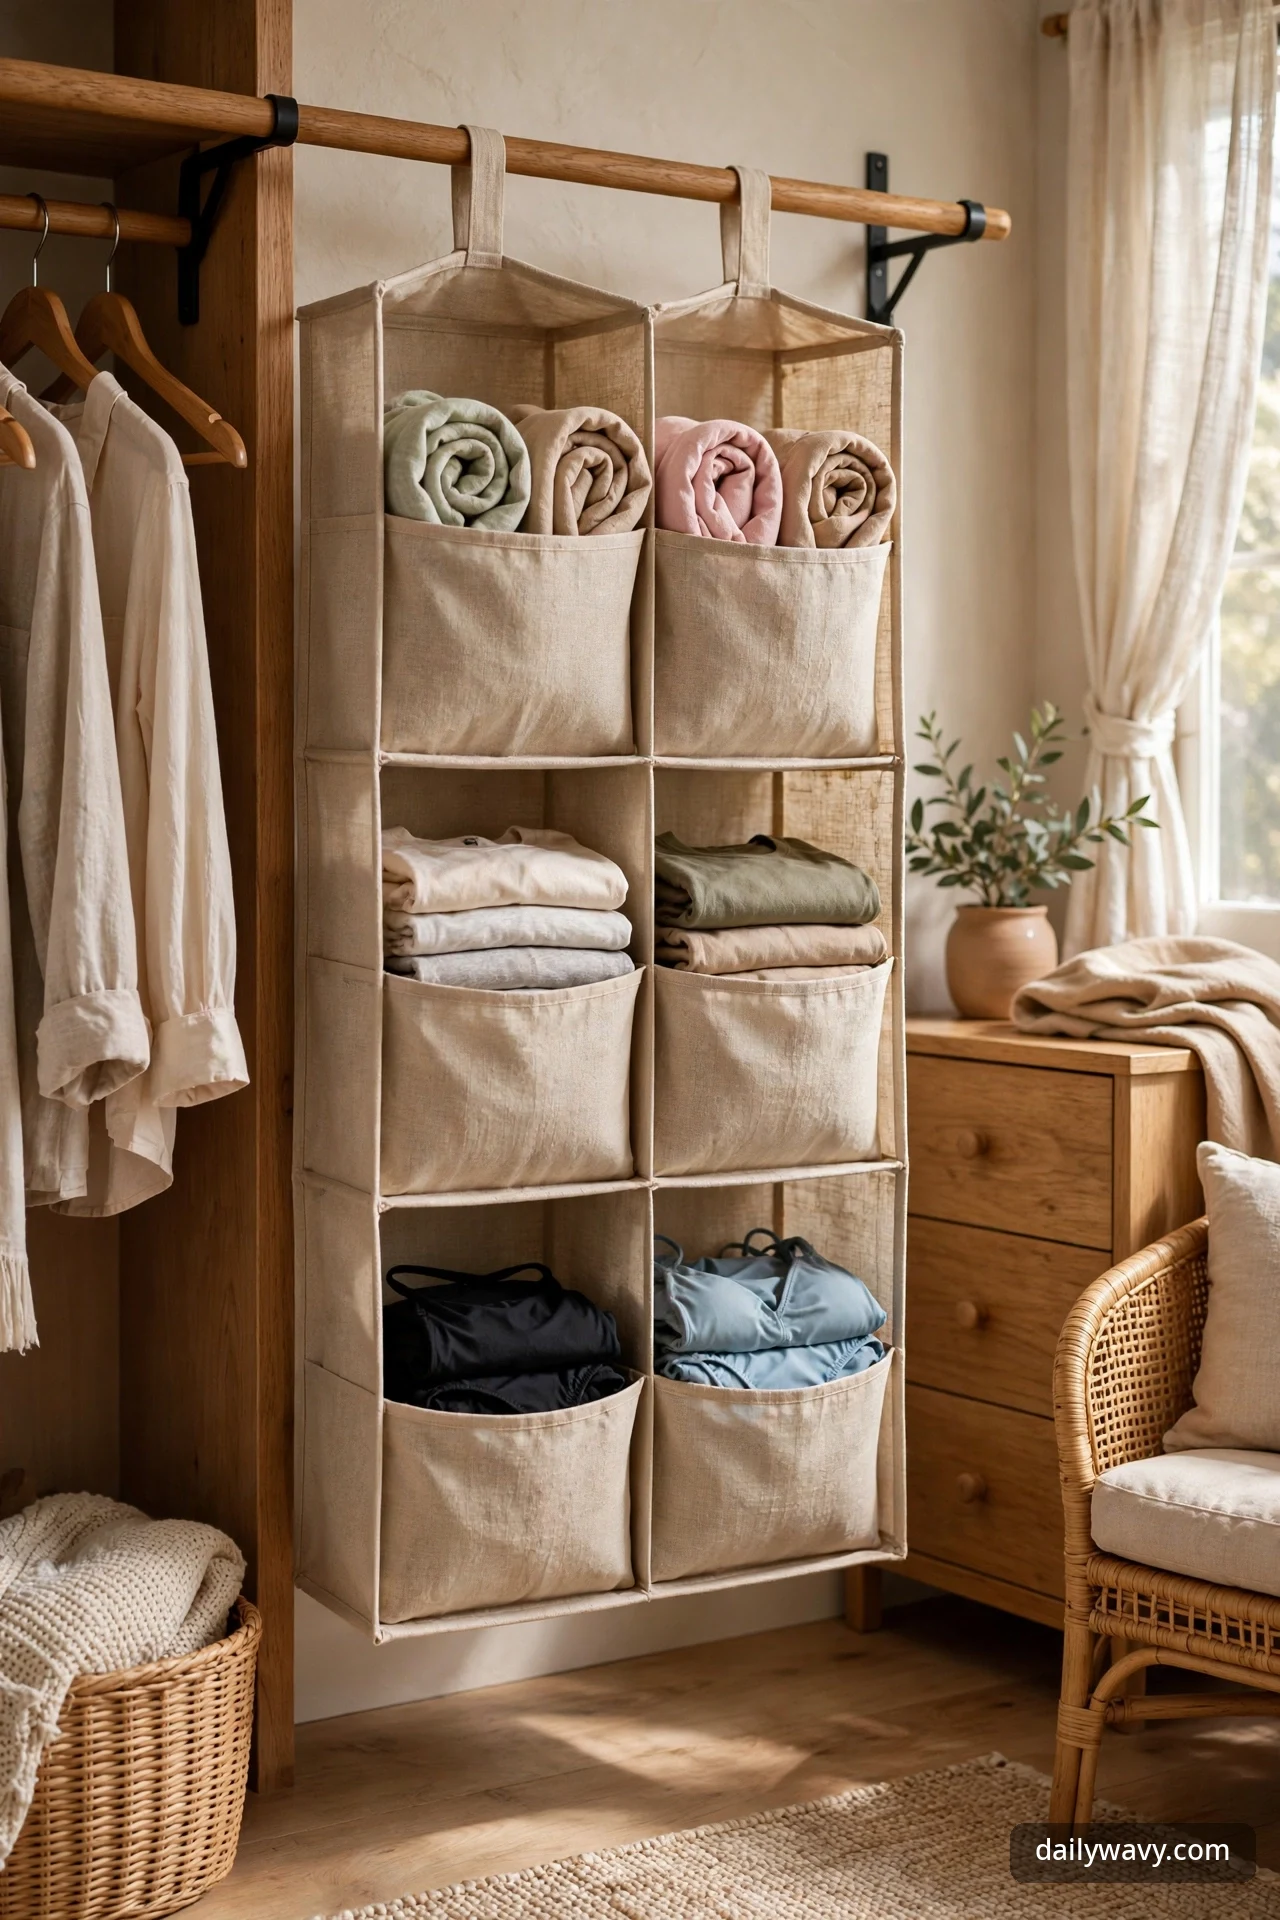
Hanging fabric organizers earn their keep in exactly one situation: light, soft items in a spot with no shelf. They are not structural storage. Use them for scarves, swimwear, or folded tees, and keep heavy items like handbags and books on solid shelves instead. Mounted correctly on a sturdy rod, they free up a whole shelf of space.
What to measure: Check the rod diameter so the organizer’s hooks or loops actually fit; most fit rods up to 1.5 inches. Measure the drop from rod to floor and choose an organizer that ends at least 12 inches above the floor so the bottom cubbies stay usable.
Materials: A fabric hanging organizer with 5 to 7 cubbies. Choose one with rigid sides so the cubbies do not collapse when half empty.
Placement: On a rod in a lower-traffic section of the closet. Keep it away from the daily-essentials path so it does not snag passing sleeves.
Approximate effort: Ten minutes to hang and fill.
Lower-cost alternative: A single canvas cubby cube hung from the rod with a strip of webbing, filled with rolled scarves. One cube gives the same quick win.
11. A breathable bag for delicate items
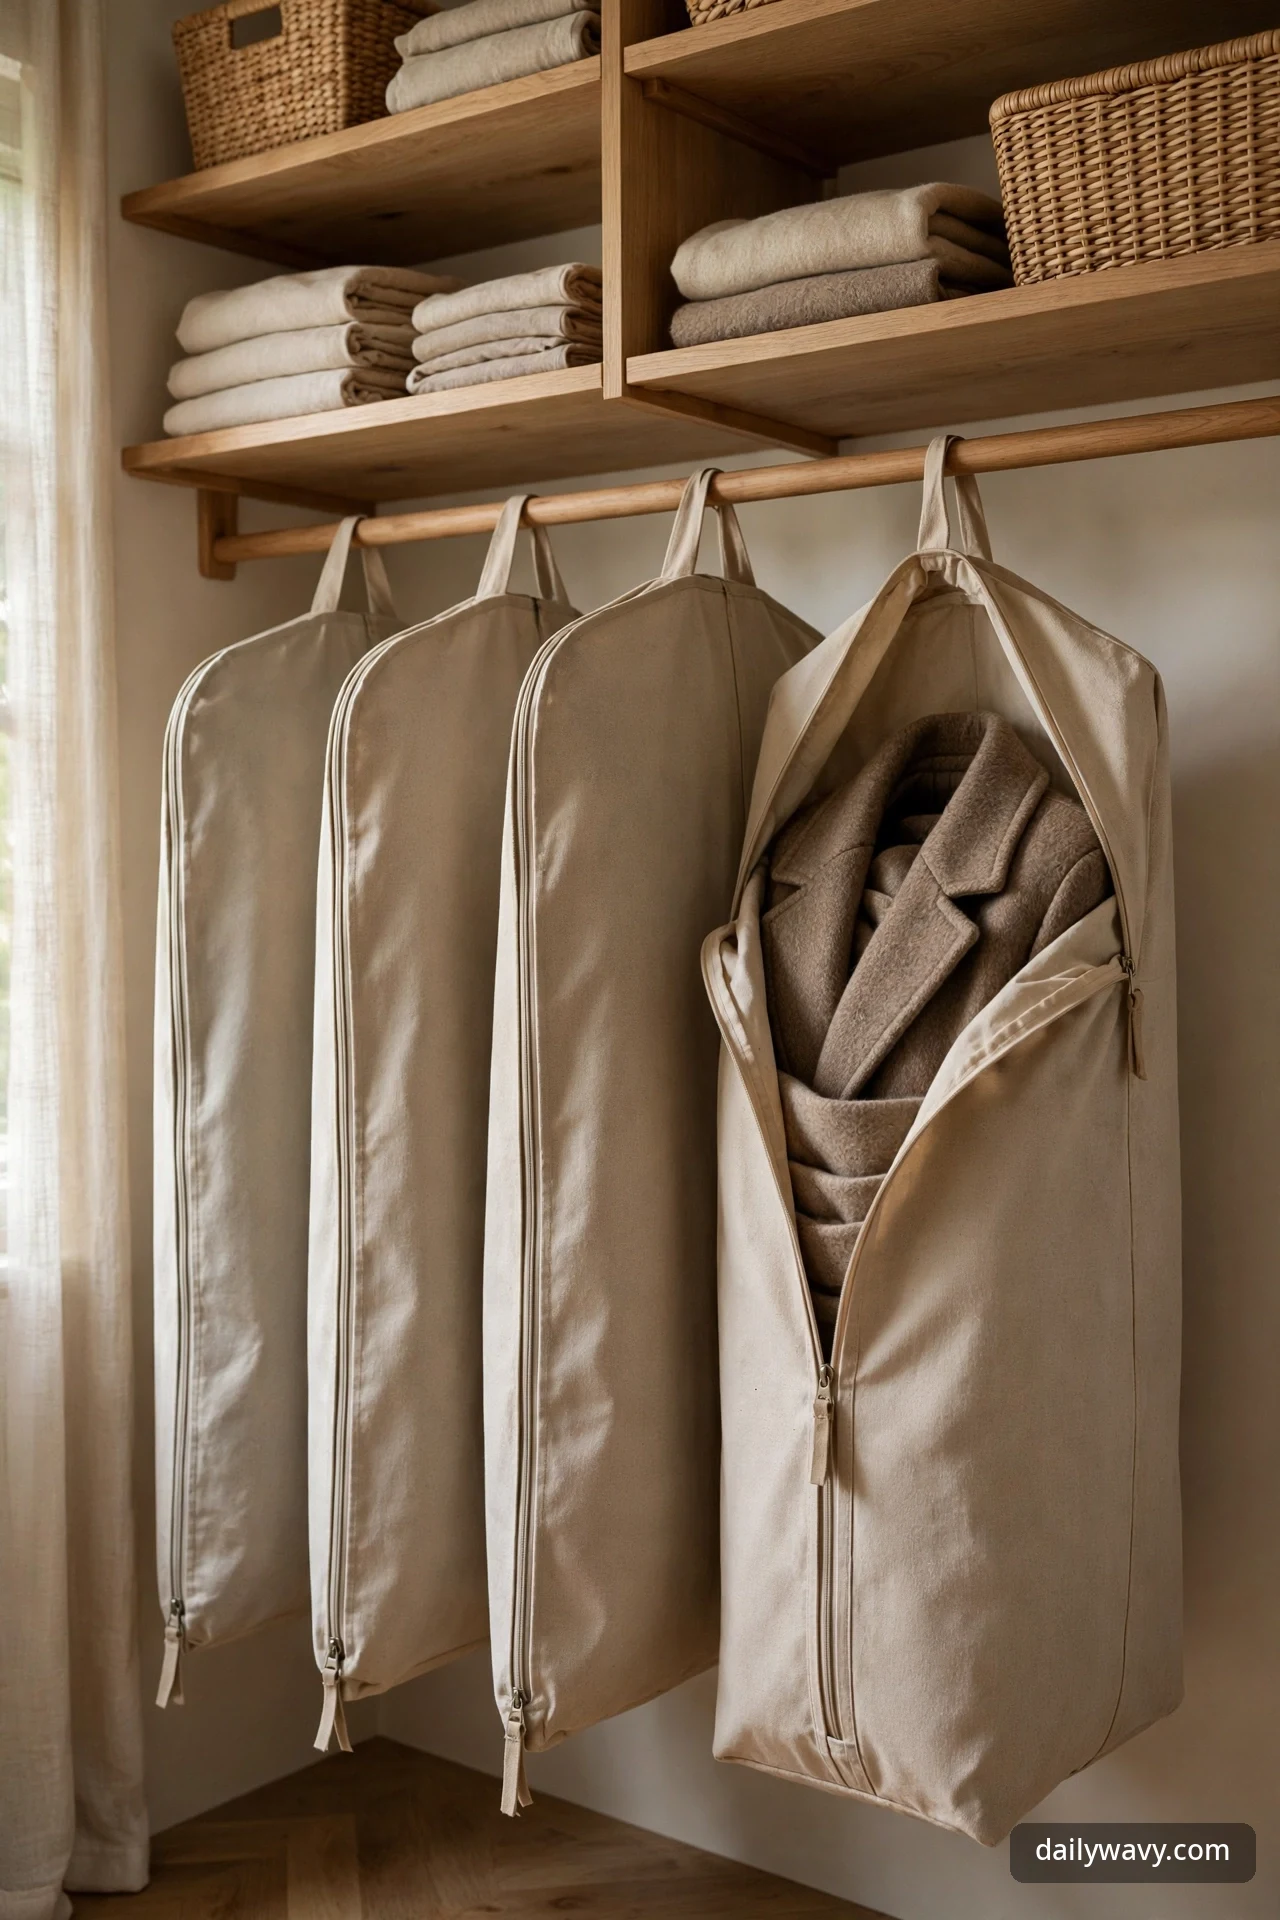
Delicate items fail in two ways: they get crushed, or they get sealed in plastic and come back smelling musty. A breathable garment bag solves both. It keeps wool coats and beaded pieces dust-free while letting air move, which matters most for anything you wear rarely and store long.
What to measure: Measure the longest garment, then add 3 inches so the bag does not drag. Standard bags come in 40 and 54-inch lengths, which covers most coats and dresses.
Materials: Breathable canvas or non-woven fabric garment bags with a full-length zipper. Avoid vinyl or sealed plastic for anything stored longer than a month.
Placement: On a sturdy rod in the back section, away from the daily rotation. One bag per delicate garment, not several crammed together.
Approximate effort: Twenty minutes to transfer, zip, and hang.
Lower-cost alternative: An old cotton pillowcase with a small hole cut in the seam for the hanger hook. It breathes, it is free, and it protects a single jacket well.
12. A small inventory card at the front
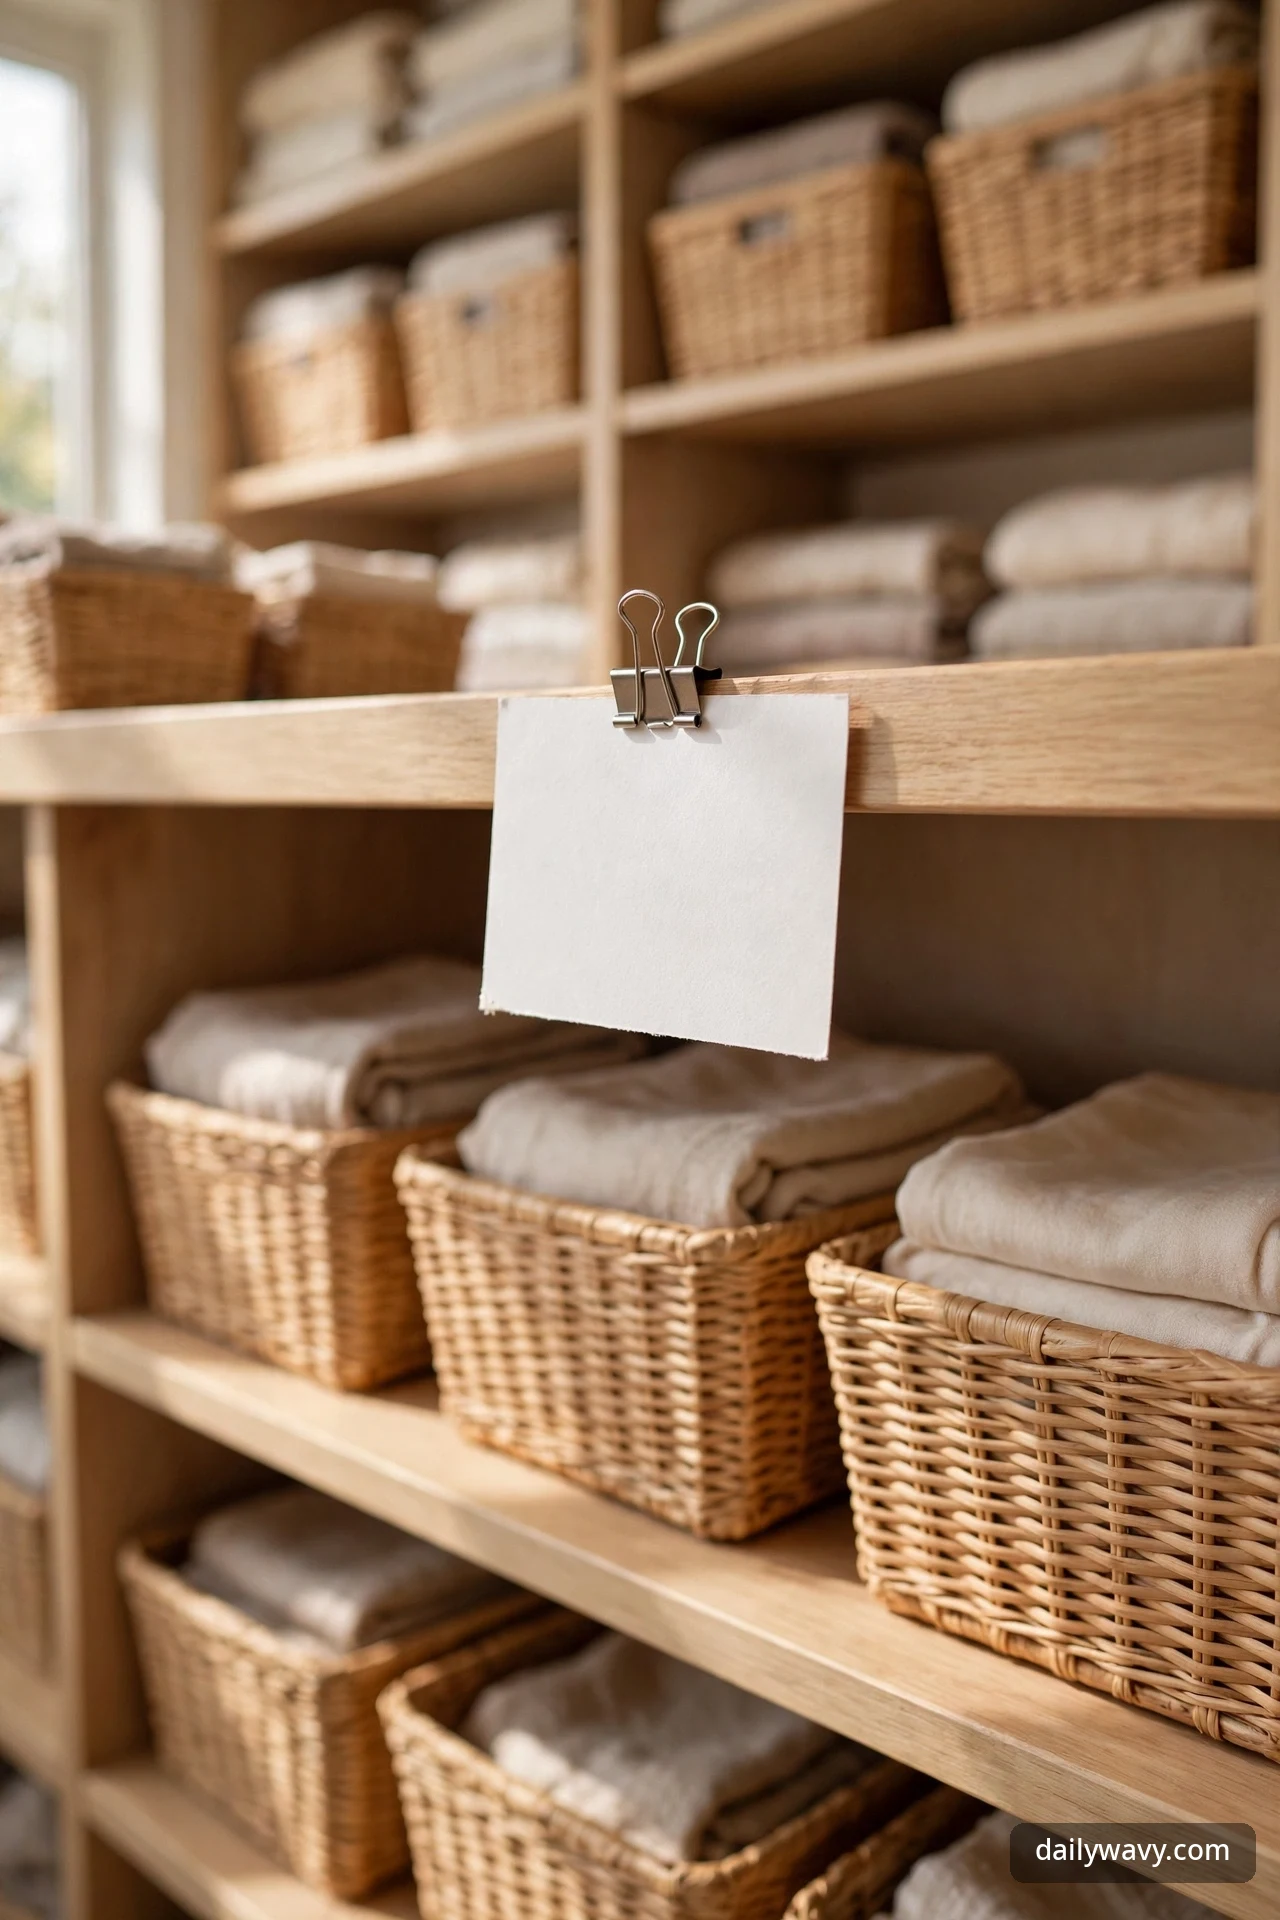
An inventory card sounds fussy until you watch someone find a seasonal bag in thirty seconds because the card told them exactly which bin and shelf to check. Keep it simple: one card per major zone listing the bins and what is inside each. When the system works, nobody opens three wrong bins to find one thing.
What to measure: Keep the card small enough to clip to a shelf edge, about 3 by 5 inches, with lines large enough to read at arm’s length.
Materials: A small dry-erase board or a laminated card with a dry-erase marker, clipped or taped to the front of each shelving zone. The labeled-bin approach used for small pantry organization works the same way: label each zone and update the label when contents change.
Placement: At the front edge of the zone it describes, at eye level. Never hidden behind the items it lists.
Approximate effort: Thirty minutes to write the first cards, then one minute each time a bin changes.
Lower-cost alternative: Painter’s tape directly on the shelf edge, written in permanent marker. Ugly but effective, and it peels off cleanly when the zone changes.
13. A basket for items awaiting repair
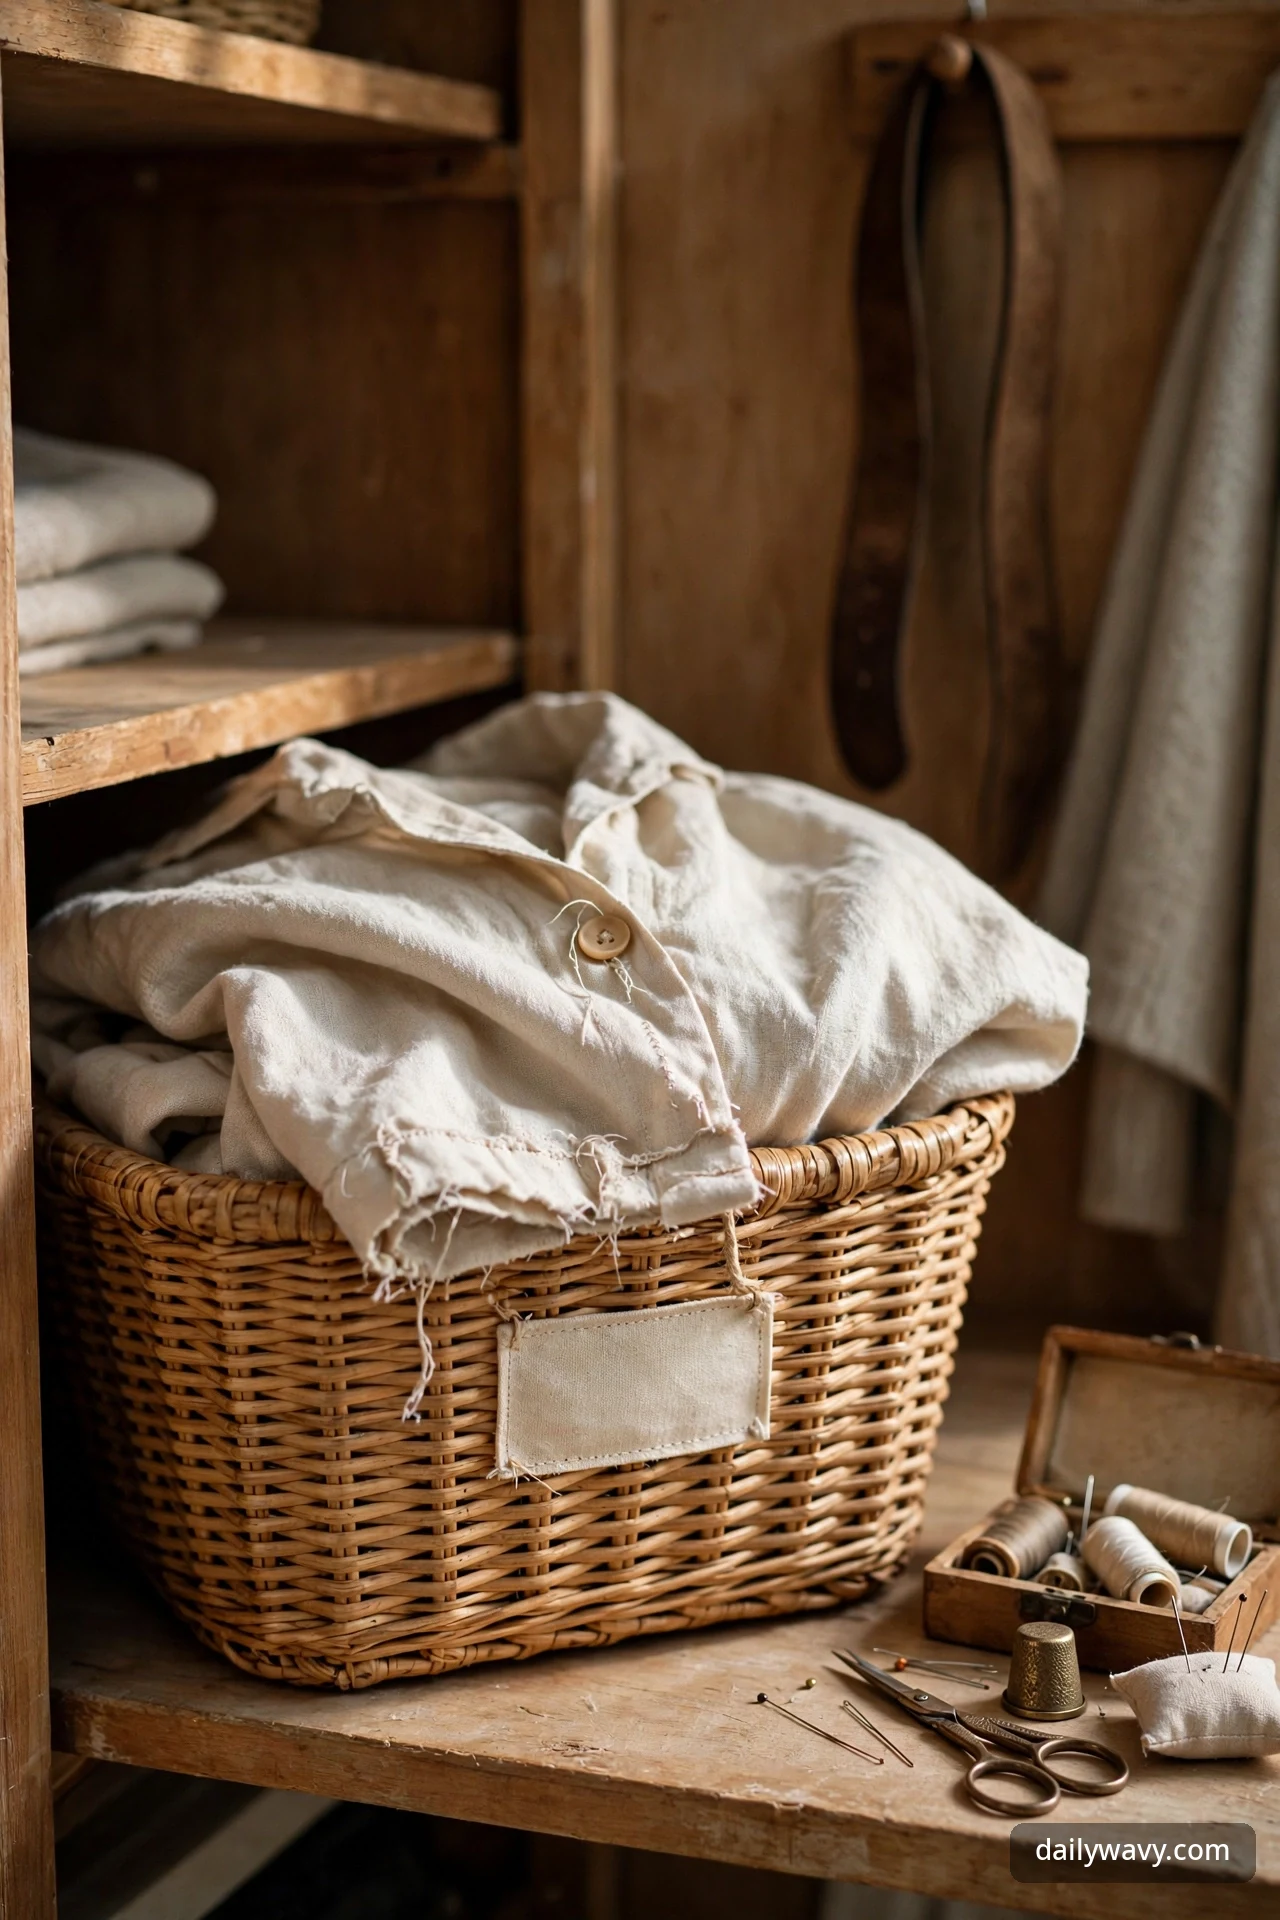
The missing button, the hem that needs stitching, the shoe with a loose sole. These items drift around the closet because they are neither in use nor ready to discard. One labeled repair basket gathers them into a single honest queue. When the basket is full, you do a repair session. When it is empty, you know nothing is pending.
What to measure: A 12-by-16-inch basket is enough for most households. If it overflows, that is your signal to act, not to buy a bigger basket.
Materials: One basket plus a small kit kept beside it: needle and thread, spare buttons, a seam ripper, and a fabric glue stick. The kit makes the basket actionable rather than decorative.
Placement: In a corner of the closet or on a low shelf, clearly labeled. Somewhere visible enough to remind you, but not in the daily path.
Approximate effort: Twenty minutes to gather every repair item in the house into one place.
Lower-cost alternative: Any tote or reusable bag with a tag. The container does not matter; the single queue does.
Frequently asked questions
How do I start if my walk-in closet is a complete mess?
Work zone by zone instead of pulling everything out at once. Start with the daily-essentials path, because fixing that first gives you an immediate win every morning. Then move to one shelving unit at a time. A full reset usually takes one focused weekend, not one frantic evening.
What is the best lighting for a closet with no window?
Add a battery motion-sensor light to each dark zone. Closets fail by sight first, and an inexpensive battery light strip does more for visibility than any bin. If you have a window, keep storage out of the direct beam to protect fabrics from sun fading.
How do I keep the closet organized with two people sharing it?
Divide by person, not by item type. Each person gets their own rod run, their own dividers, and their own color of label. Shared zones like seasonal storage sit in the middle and get one inventory card that both of you can read.
What should I measure before buying any organizer?
Shelf depth, shelf height, rod-to-floor drop, and the width of any gap you want to fill. Write the four numbers on your phone and carry them into the store. Most organizer returns happen because someone guessed one of these four.
How often should I re-sort a walk-in closet?
Do a five-minute reset weekly, putting displaced items back to their labeled homes. Do a real re-sort each season when you rotate the top shelf. The weekly reset is the habit that matters; the seasonal one just catches drift.
What goes where if I have limited reach or mobility?
Put daily essentials between waist and shoulder height, roughly 30 to 60 inches, and keep the return-to-place zone at the same level. Reserve top shelves strictly for items you handle twice a year. Pull-out units at low height beat deep shelves you cannot reach into.
A closet you can read at a glance
The real test of a walk-in closet is not how it looks in a photo. It is whether you can find your everyday items on a half-awake morning without opening a single wrong bin. Clear containers, honest labels, shelves at the right heights, and a small queue for repairs do that work for you. Start with the daily-essentials shelf and one labeled basket, and add the rest as the habits take hold. For more ways to keep small spaces working hard, browse the full Home & Decor collection.


2 Comments