14 Rustic Kitchen Ideas with Character and Practical Details
A rustic kitchen has a way of slowing time down. The worn edges of a wooden counter, the soft clink…
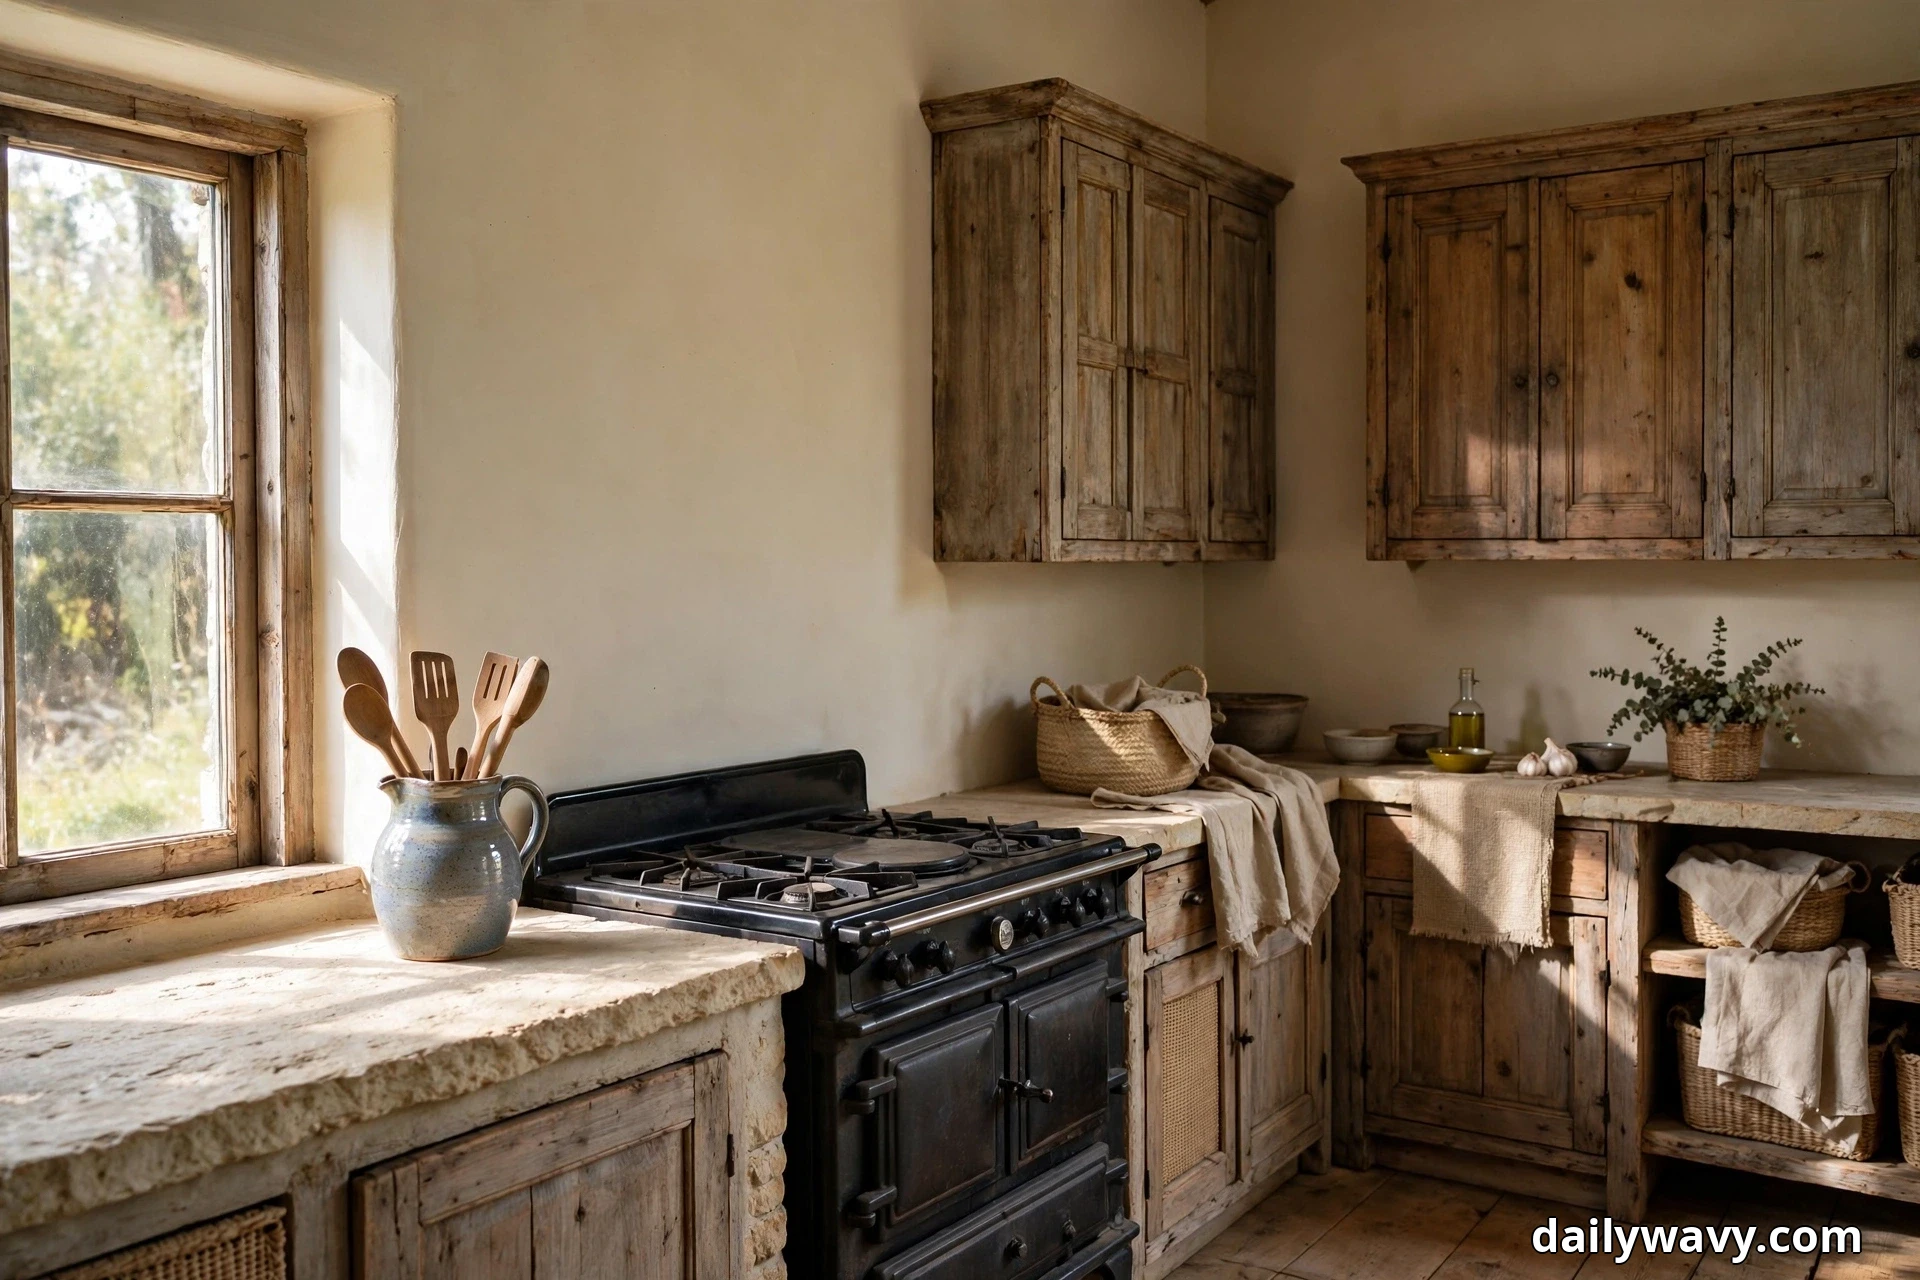
A rustic kitchen has a way of slowing time down. The worn edges of a wooden counter, the soft clink of a ceramic pitcher, the smell of bread warming somewhere nearby, it all adds up to a room that feels lived in rather than decorated. These fourteen rustic kitchen ideas lean into that feeling with practical details you can actually recreate: weathered wood, sturdy woven fabric, warm natural tones, and small choices that make a kitchen work as hard as it looks. Each idea below includes real materials, real measurements, and realistic budgets.
In This Guide:
- A Pitcher Holding Cooking Tools
- A Freestanding Cabinet for Extra Storage
- A Bowl of Fresh Produce
- A Warm Accent Wall Near Dining
- A Simple Dish Display on a Shelf
- A Compact Breakfast Station
- A Small Brass or Steel Accent Repeated Twice
- A Balanced Mix of Closed and Open Storage
- A Wood Cutting-Board Grouping by the Counter
- Simple Hardware Repeated Across Cabinets
- A Restrained Open-Shelf Display
- A Washable Runner Along the Work Zone
- A Pendant Over a Clear Surface
- A Ceramic Utensil Crock
The Rustic Kitchen Rules Before You Start
Before you buy a single thing, get three things right. First, decide how much weathered wood you want. Too little and the room reads farmhouse-lite; too much and it goes dark. A good rule: keep at least one third of visible surfaces light, through pale walls, a honed stone counter, or cream paint on upper cabinets, and let the wood do its work on islands, beams, or open shelving.
Second, preserve realistic appliance access. Rustic style loves to hide the modern parts, but your dishwasher door still needs its full swing (about 21 inches of clearance), your fridge doors need room to open past 90 degrees, and your range needs the clearances its manual specifies. Never push a vintage piece so close to the stove that you cannot clean behind it, and never block a vent or outlet for the look.
Third, measure everything twice. Countertop heights in most kitchens sit at 36 inches, but older farmhouse tables used as islands can run 34 to 35 inches, which matters when you are chopping every day. Doorways for moving a freestanding cabinet usually measure 30 to 32 inches, and standard cabinet depth is 24 inches, so check that your find fits before you rent the truck.
A note on scope: these ideas cover styling, finishes, and layout details you can do yourself or with a standard handyman. Full construction work, structural changes, electrical rewiring, plumbing moves, and anything touching building code is outside this guide. If a project involves gas, 240-volt power, or load-bearing walls, bring in a licensed pro and pull permits where your local rules require them.
1. A Pitcher Holding Cooking Tools
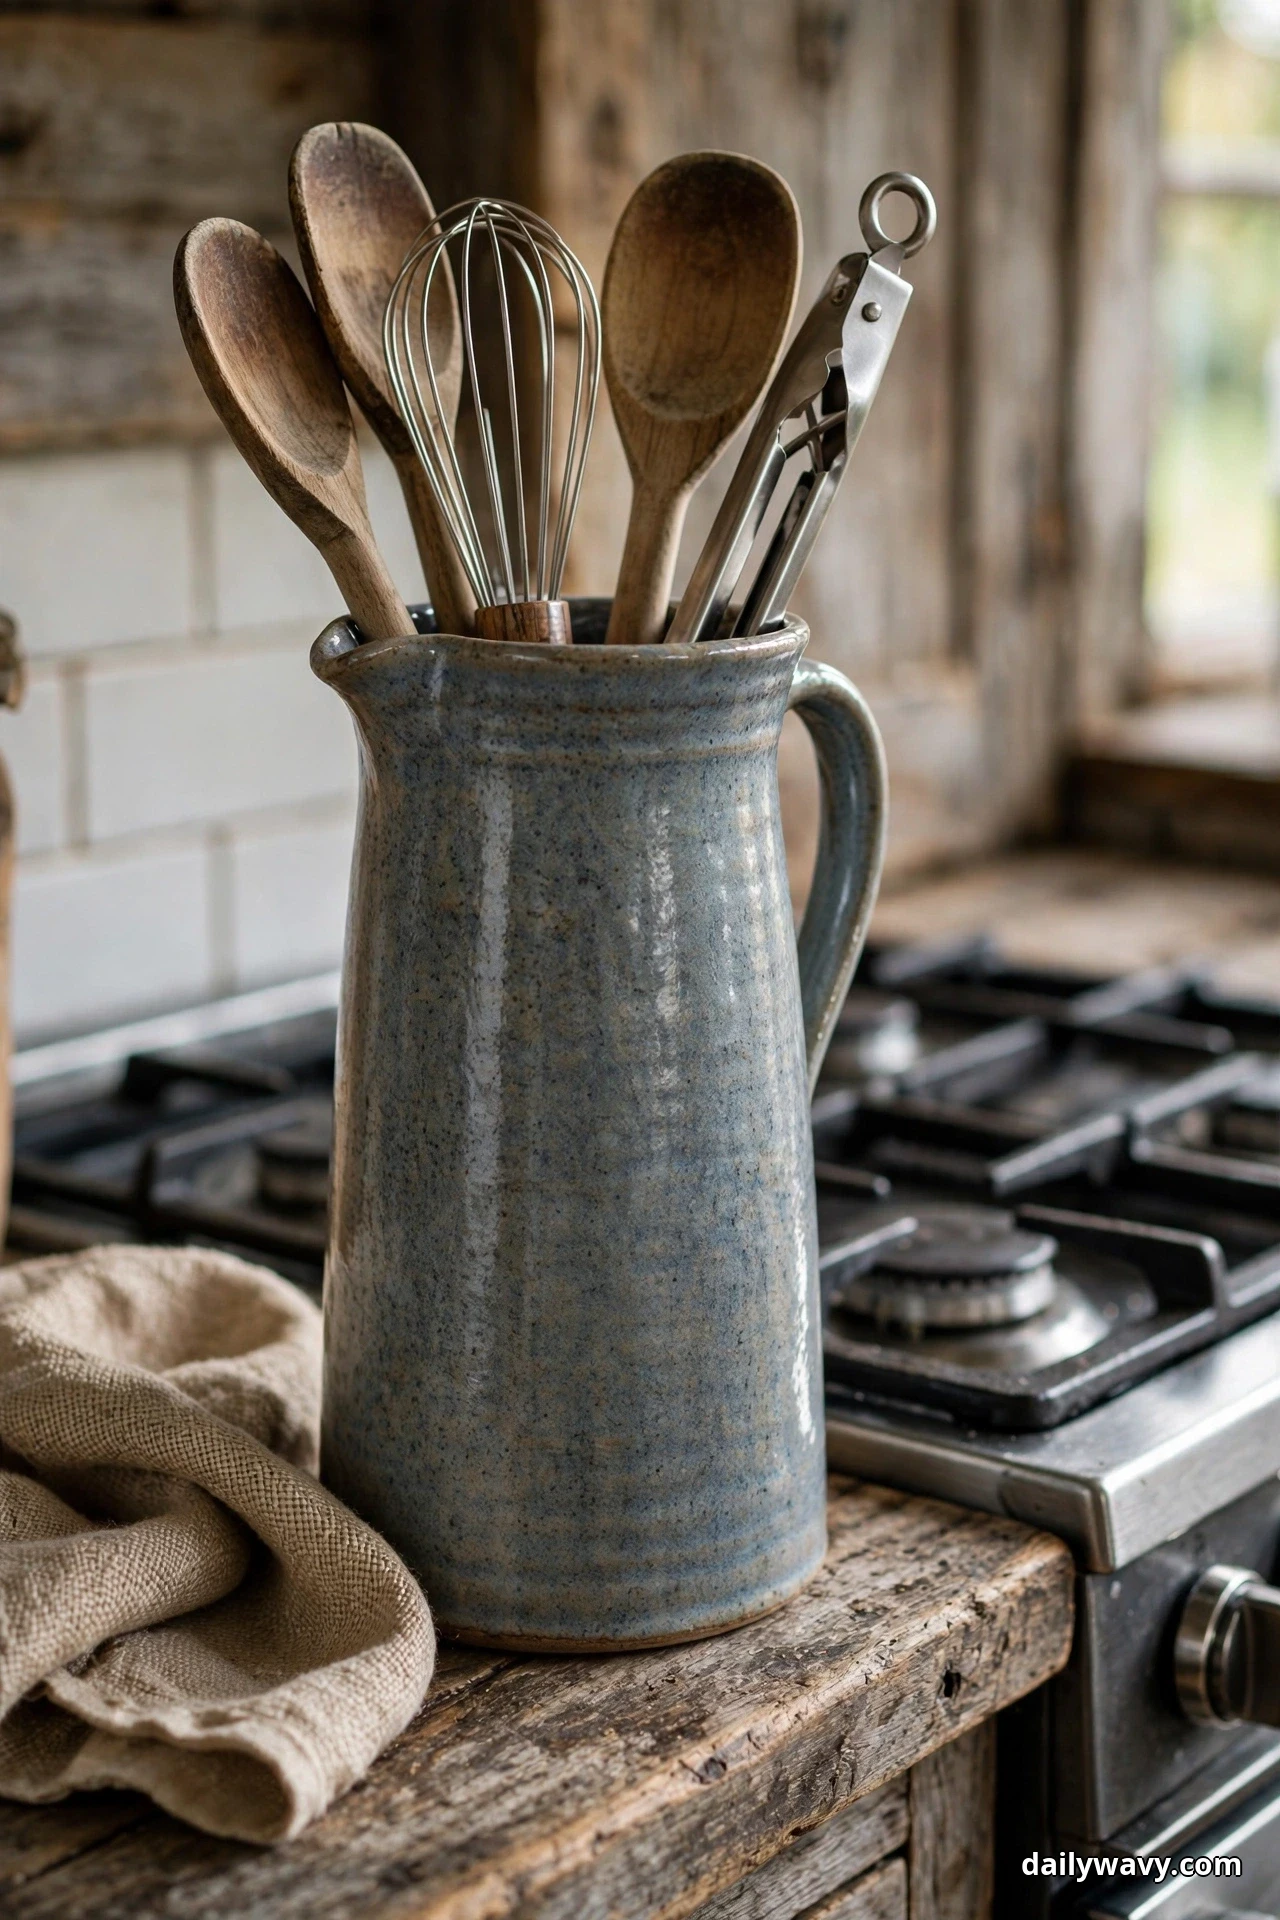
There is a reason this is the hero image of a hundred rustic kitchens. A tall ceramic pitcher bristling with wooden spoons, whisks, and tongs says “someone cooks here” in a single glance, and it puts your most-used tools within arm’s reach of the stove. The texture contrast does the decorating work: matte stoneware against worn wood handles, a bit of green from a sprig of rosemary if you keep one on the counter.
How to pull it together: Pick a pitcher or crock at least 7 to 8 inches tall with a wide, stable base (at least 5 inches across) so it does not tip when loaded. Fill it with tools that earn their spot: 2 or 3 wooden spoons, a flat-edge wooden turner, a whisk, tongs, and a slotted spoon. Place it on the counter beside the range, roughly 12 to 18 inches from the nearest burner, never directly over it. Keep the tallest tools toward the back so you can see every handle at a glance.
Effort and budget: About $25 to $60 for a handmade stoneware pitcher, plus $20 to $40 for a set of wooden tools. Lower-cost alternative: a large canning jar or thrifted ceramic vase for $5 to $10 with the tools you already own. If a tool’s handle wobbles, the pitcher is too shallow, go taller rather than adding pebbles, which trap moisture.
2. A Freestanding Cabinet for Extra Storage
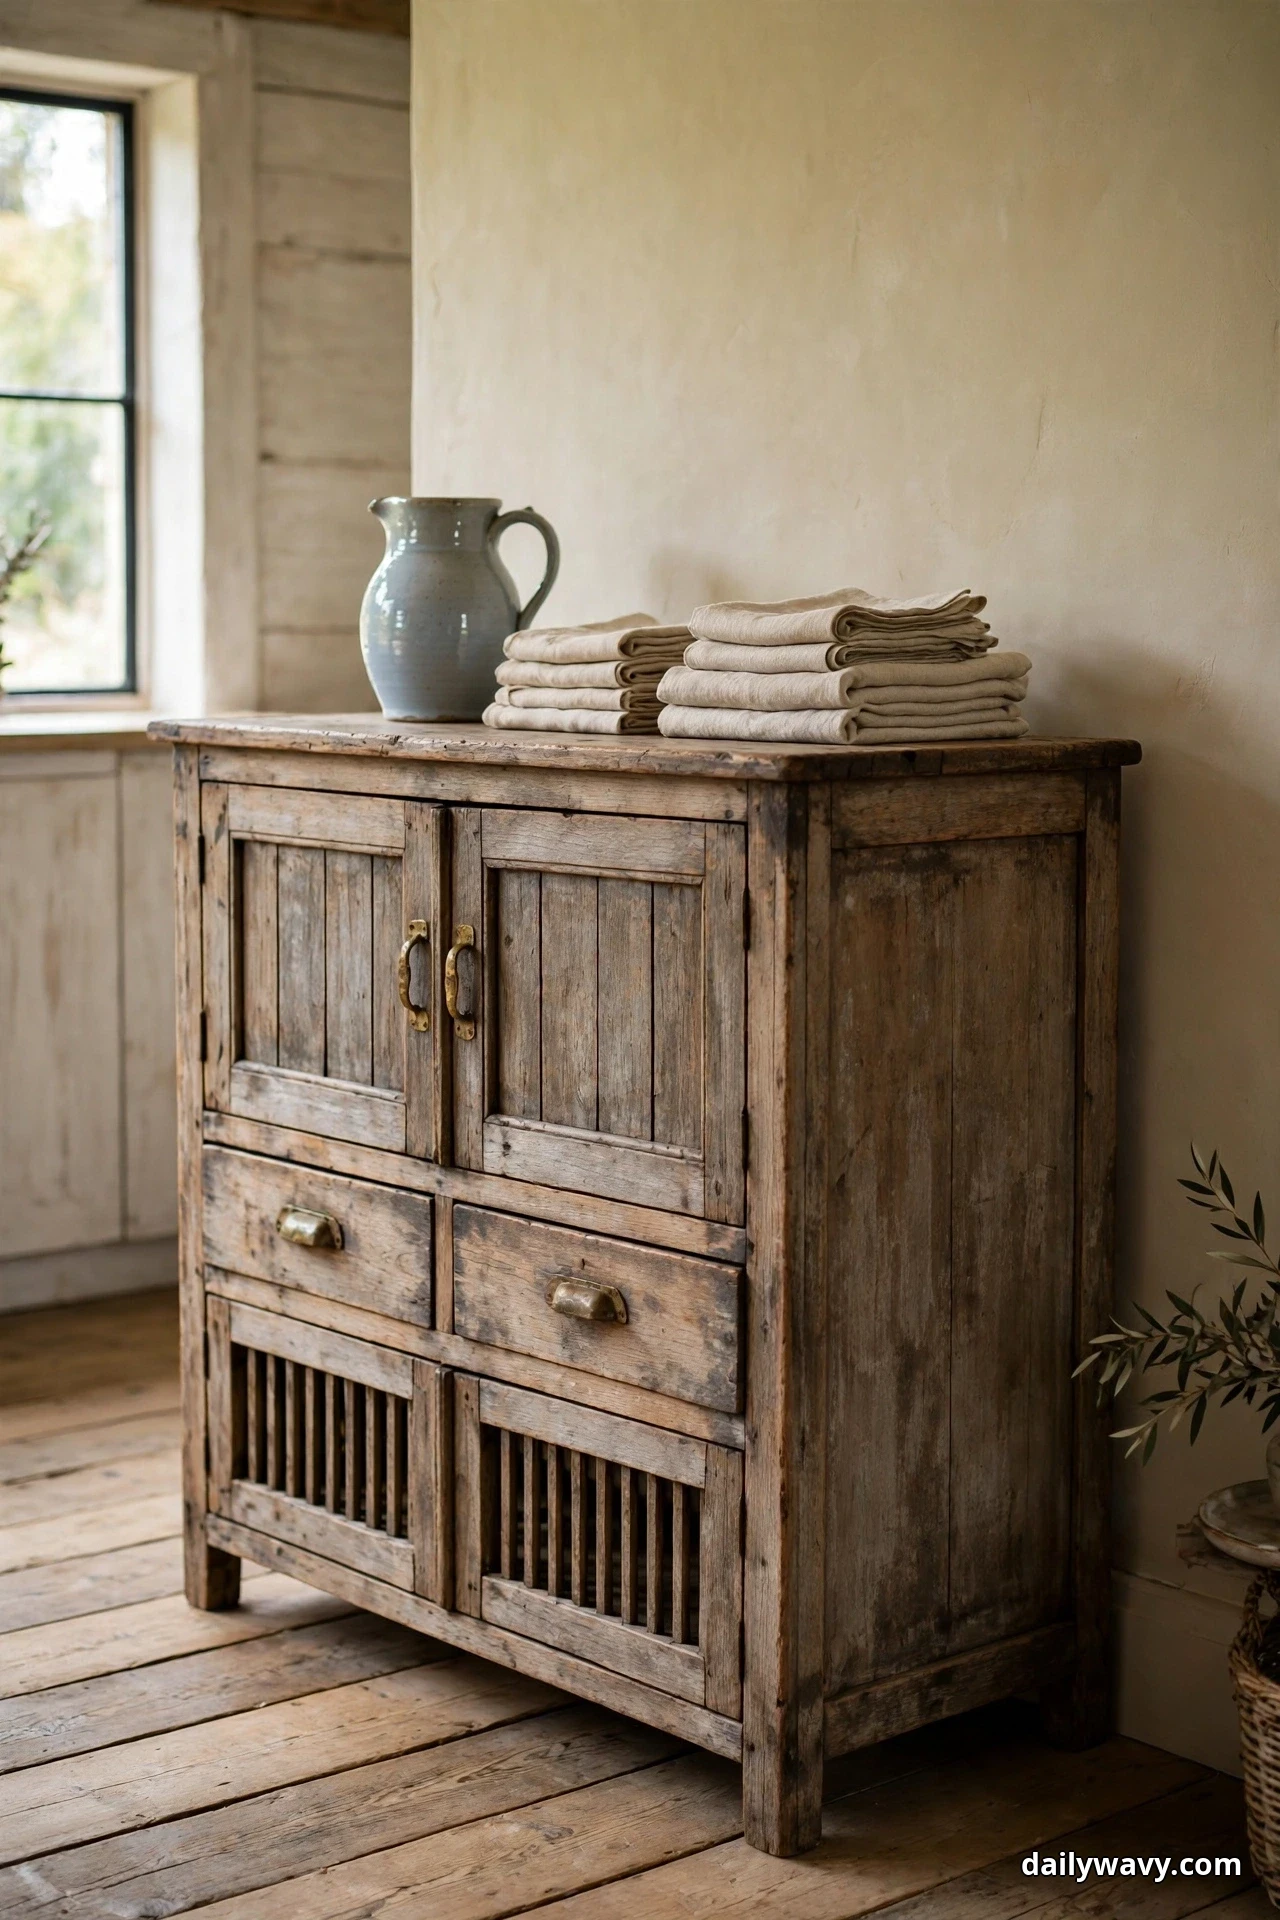
A freestanding cabinet is the rustic kitchen’s secret weapon. Unlike built-ins, it brings a furniture feel to the room: chunky legs, visible grain, a top you can style. It also solves the eternal problem of a kitchen that ran out of storage the week after you moved in. Use it for small appliances you use weekly rather than daily, spare linens, canning jars, or the entertaining dishes that do not fit anywhere else.
How to pull it together: Measure your doorway and the wall where it will live before shopping. A typical sideboard is 36 to 60 inches wide, 16 to 20 inches deep, and 32 to 38 inches tall, so confirm at least 3 inches of clearance on each side. Anchor it to the wall with an anti-tip strap or furniture anchor, especially if it is taller than it is wide. Style the top with one tall object, one low object, and one plant or candle, then stop. Leave a clear landing of at least 12 inches on top for setting down a tray.
Effort and budget: $200 to $800 for a vintage or new pine sideboard, depending on size and condition. Lower-cost alternative: a secondhand dresser or bookshelf painted in milk paint, often $50 to $150 at thrift stores. Check that drawers slide and the back panel is solid before buying used.
3. A Bowl of Fresh Produce
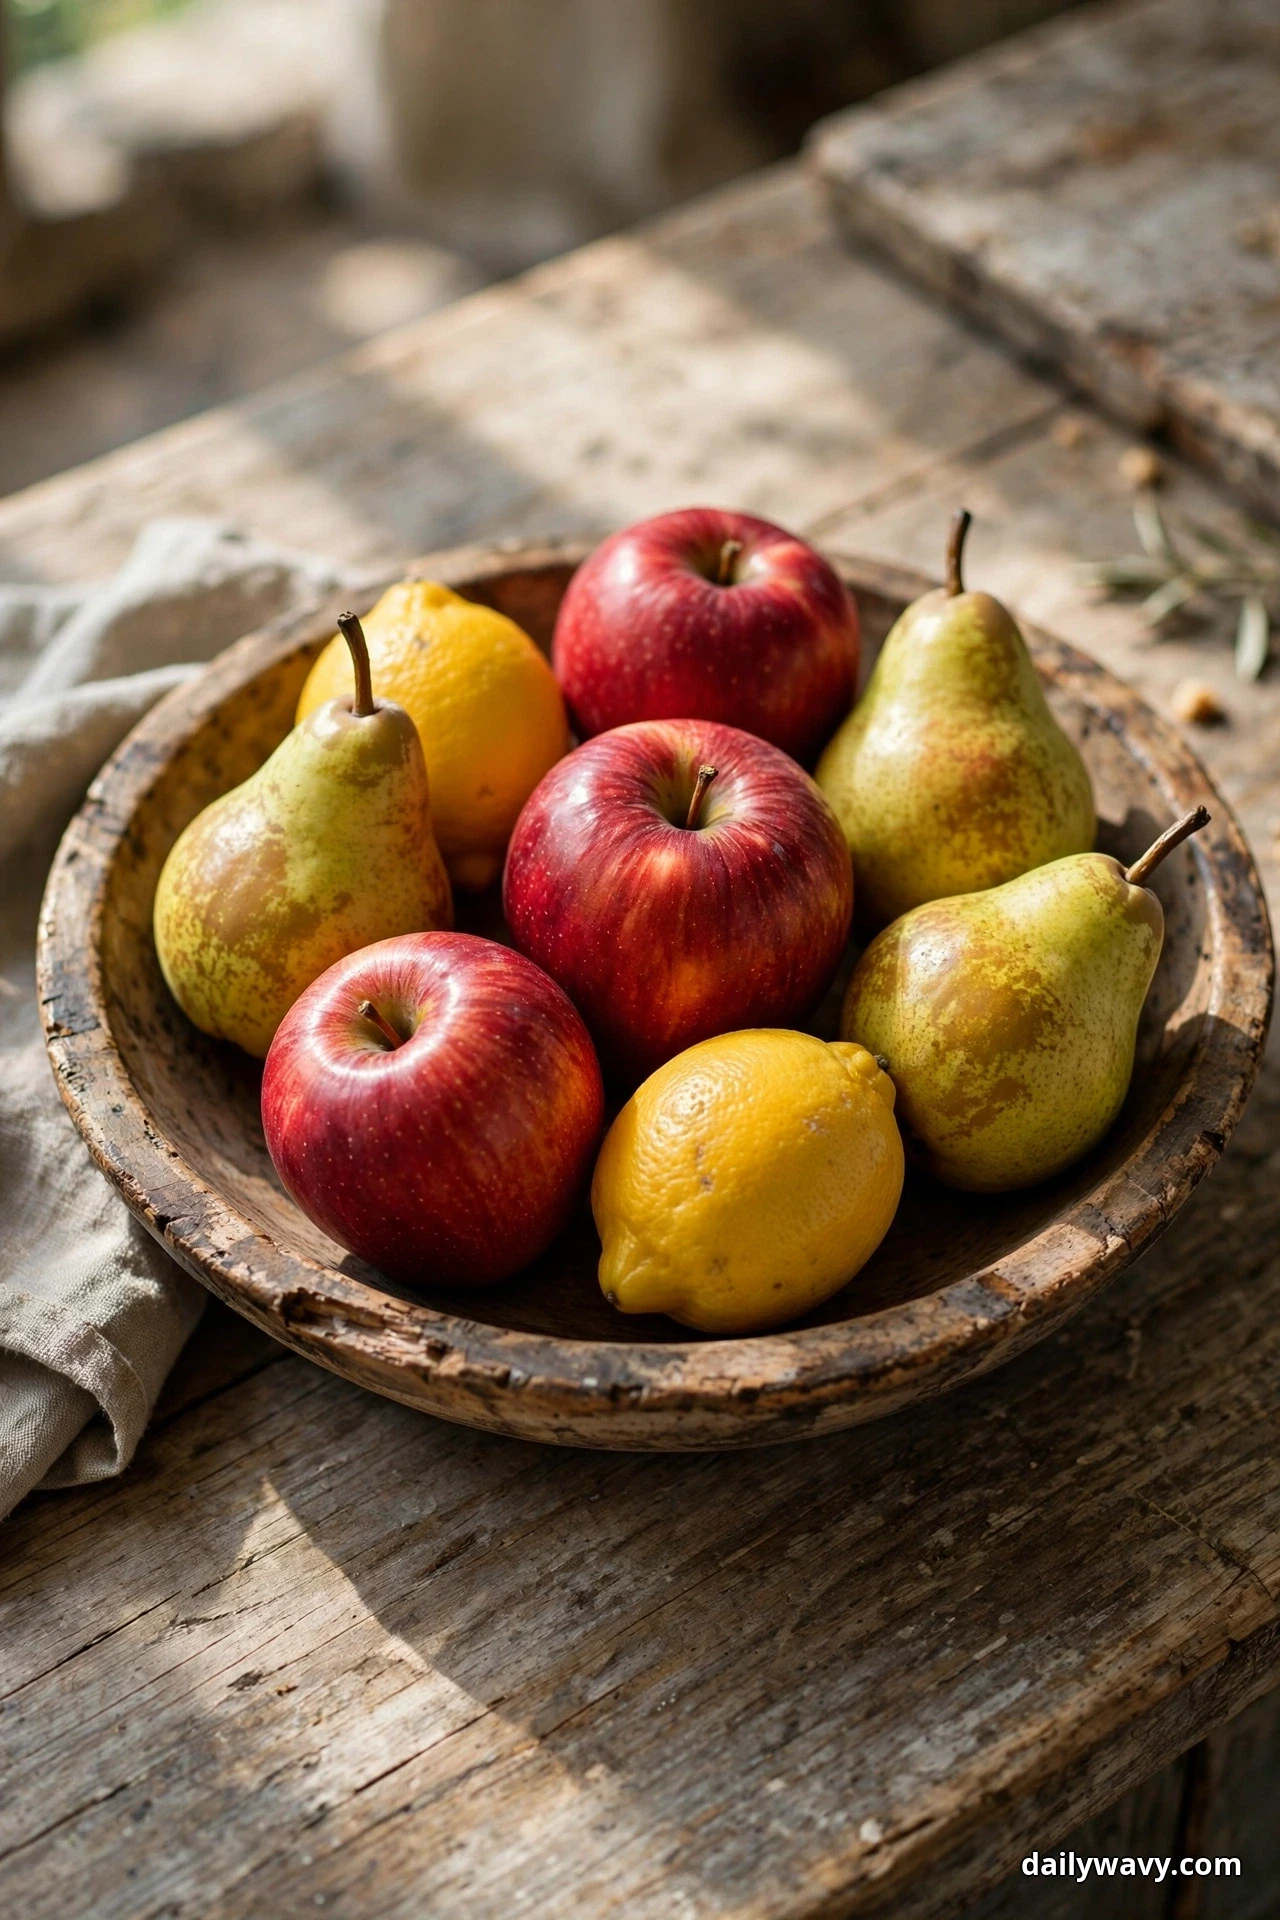
Nothing photographs, or smells, like a generous wooden bowl of fresh produce on a kitchen counter. Apples, pears, lemons, and a few sprigs of herbs create a living still life that changes with the seasons. Beyond the look, it works: visible fruit gets eaten, and it frees a full shelf of fridge space. The key is restraint. One full bowl reads abundant; three half-empty bowls read cluttered.
How to pull it together: Choose a shallow bowl 12 to 16 inches wide so produce sits in a single generous layer rather than piling up and bruising. Hardwood bowls (acacia, walnut, olive wood) last longest; keep them oiled with food-safe mineral oil. Keep the bowl on a central or island counter where everyone passes, not tucked in a corner. Refresh it every few days, composting anything soft. In summer, move stone fruit to the bowl straight from the market bag so it ripens where you will see it.
Effort and budget: $20 to $60 for a solid hardwood bowl. Lower-cost alternative: a large ceramic or stoneware bowl you already own, $10 to $25 new. If produce softens too fast, the bowl sits in direct sun, move it to a shadier part of the counter.
4. A Warm Accent Wall Near Dining
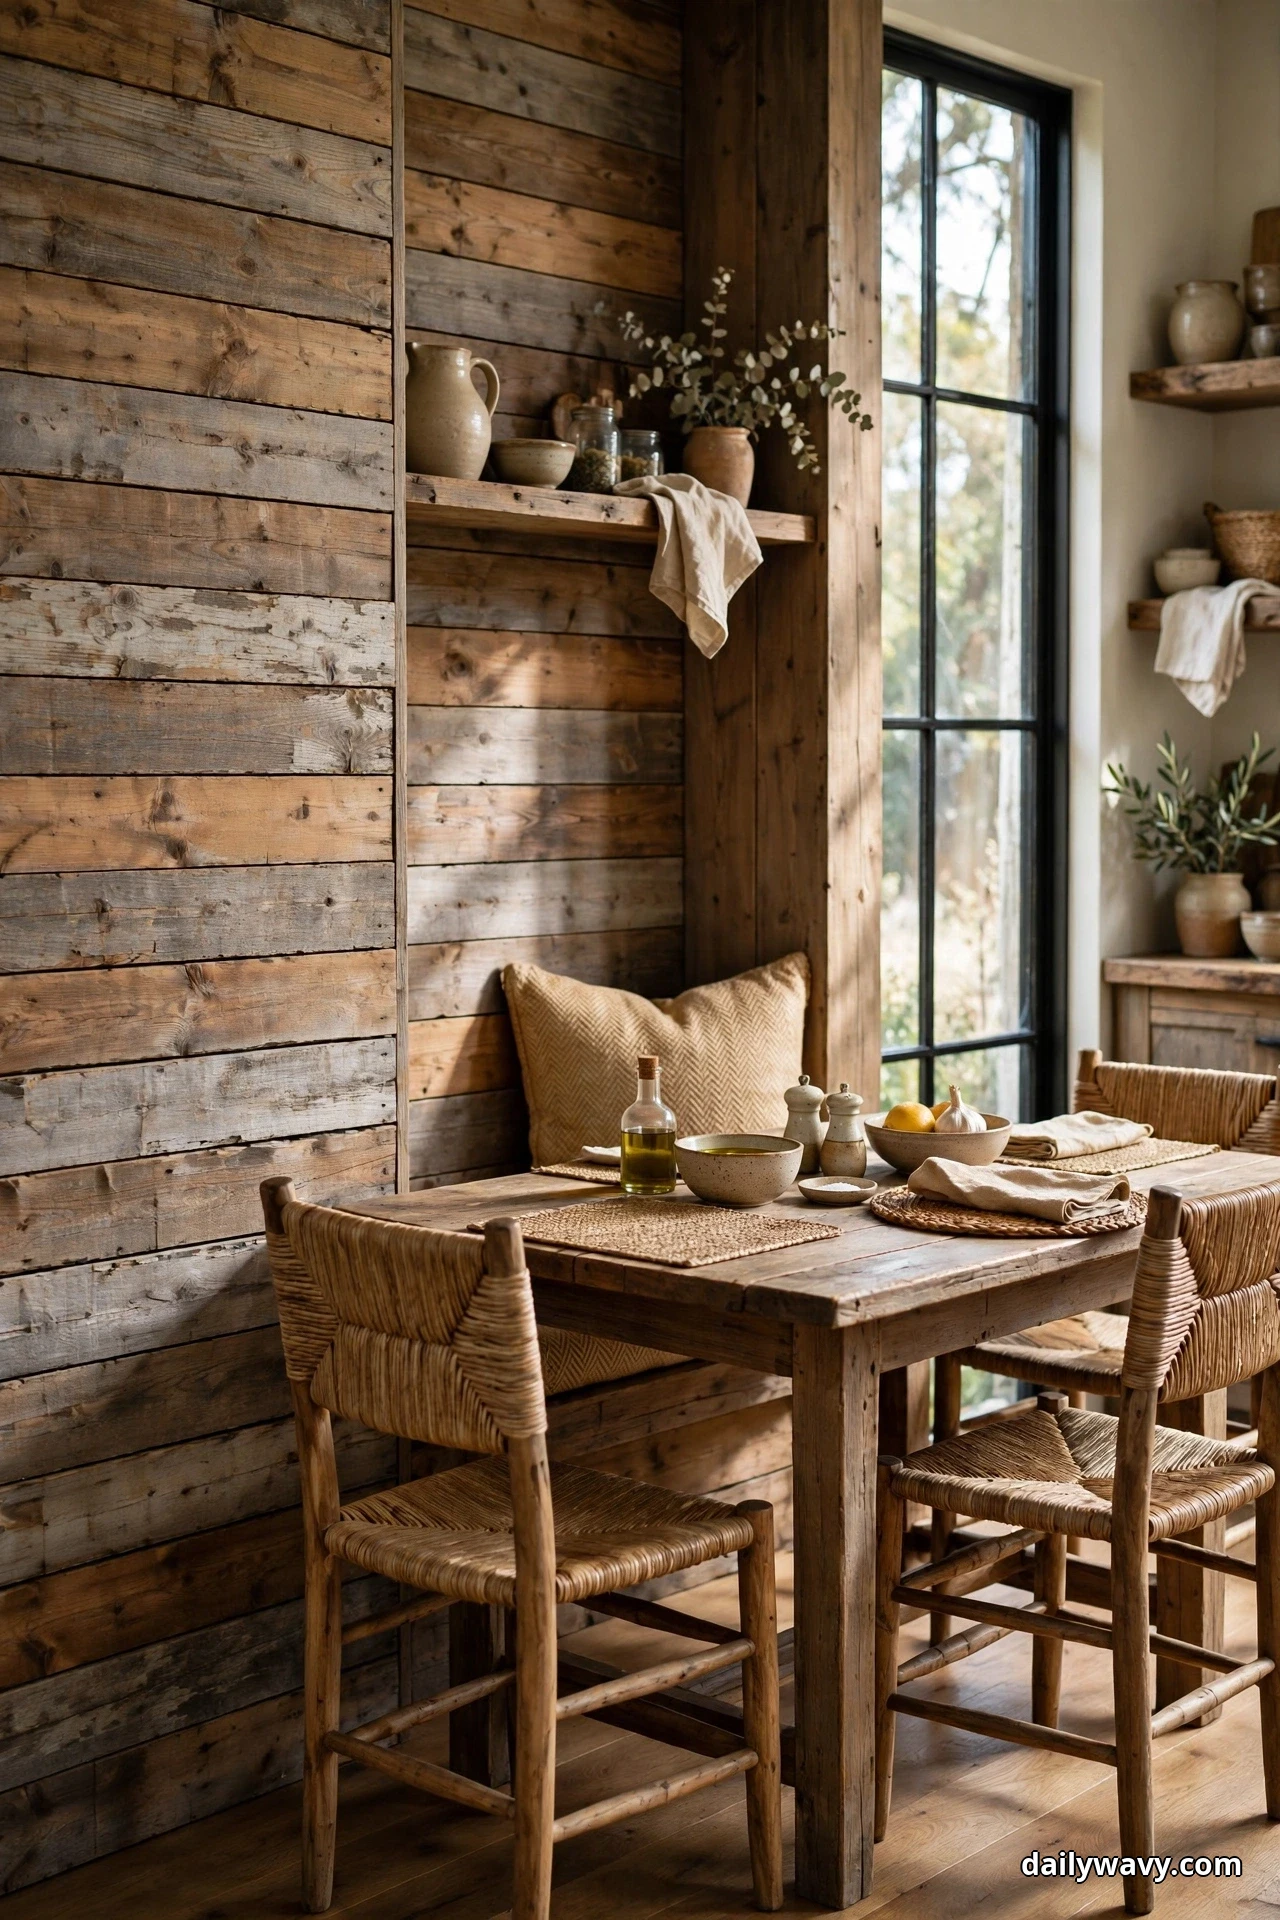
A single warm accent wall can make a kitchen feel like it has a story, and placing it near the dining spot defines the eating zone without a single piece of furniture. Reclaimed-look wood planks, warm clay plaster tones, or a limewash in a honey or ochre shade all bring the rustic register up instantly. The warmth matters most in kitchens with cool north-facing light, where it keeps the room from feeling flat at noon.
How to pull it together: Measure the wall and the dining footprint first. For plank cladding, plan boards in 3 to 5 inch widths with staggered joints; budget about 10 percent extra for cuts. For paint or limewash, sample at least three warm tones and watch them at morning, noon, and evening before committing, because warm tones shift dramatically under daylight. Keep the accent wall to one wall only, ideally the one your eye lands on from the kitchen entrance. Protect the lower half with a wipeable finish if it sits near food prep or foot traffic.
Effort and budget: Paint or limewash, $40 to $120 in materials for one wall. Peel-and-stick or engineered wood planks, $150 to $400 for a 10-foot wall. Lower-cost alternative: a large woven wall hanging or a row of framed vintage prints over a neutral wall, $30 to $80. If the wall feels darker than expected, add a warm-white bulb (2700K) in the nearest fixture.
5. A Simple Dish Display on a Shelf
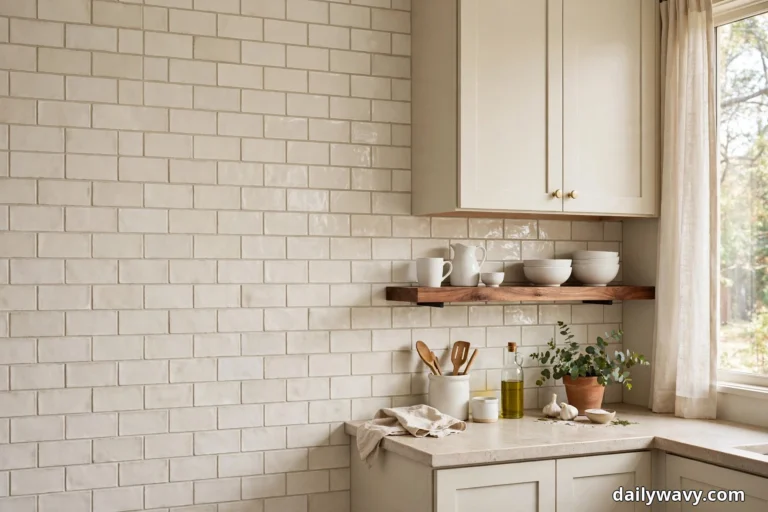
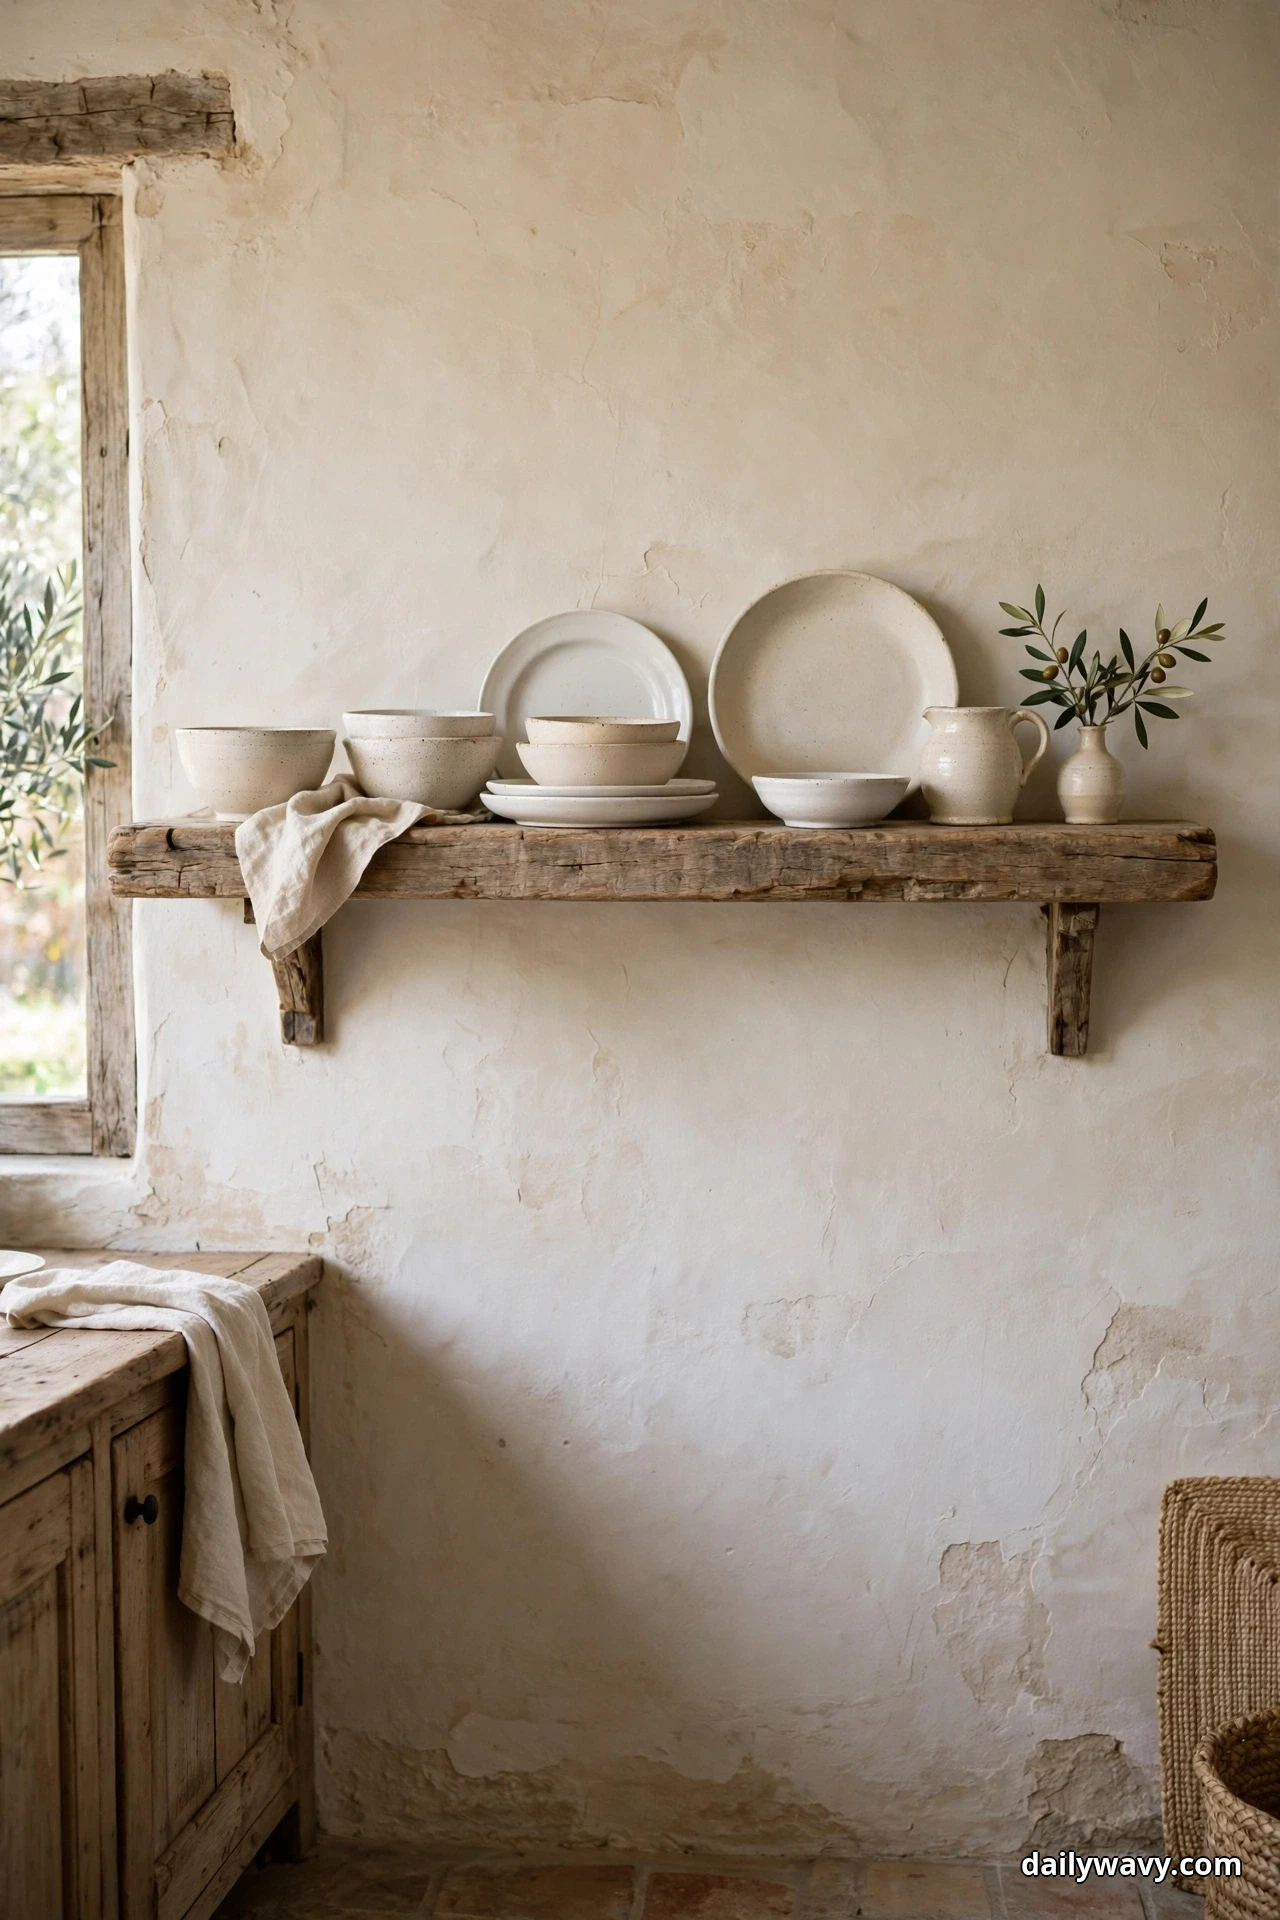
Open shelves get all the attention, but a single well-composed dish display on one shelf is easier to live with and just as pretty. Think of it as a gallery wall you can eat from. Matching or near-matching white or cream stoneware against weathered wood reads calm and rustic at once, and because it is a display and not your whole storage system, you can keep everyday dishes behind closed doors where they stay dust-free.
How to pull it together: Mount one solid shelf, 24 to 36 inches long and at least 10 inches deep, on a wall you see from the kitchen entrance, about 60 to 66 inches from the floor. Use brackets rated for at least 50 pounds per pair and anchor into studs, not just drywall. Arrange 5 to 8 pieces: stacks of bowls, a row of plates on a plate rail, one pitcher. Vary heights but keep the palette tight. Leave one third of the shelf empty, that breathing room is what makes it read as a display.
Effort and budget: $30 to $100 for a thick wood shelf and brackets. Lower-cost alternative: a reclaimed board on simple iron brackets, $15 to $40. If pieces slide forward, add small clear bumpers or a raised lip rail at the shelf edge.
6. A Compact Breakfast Station
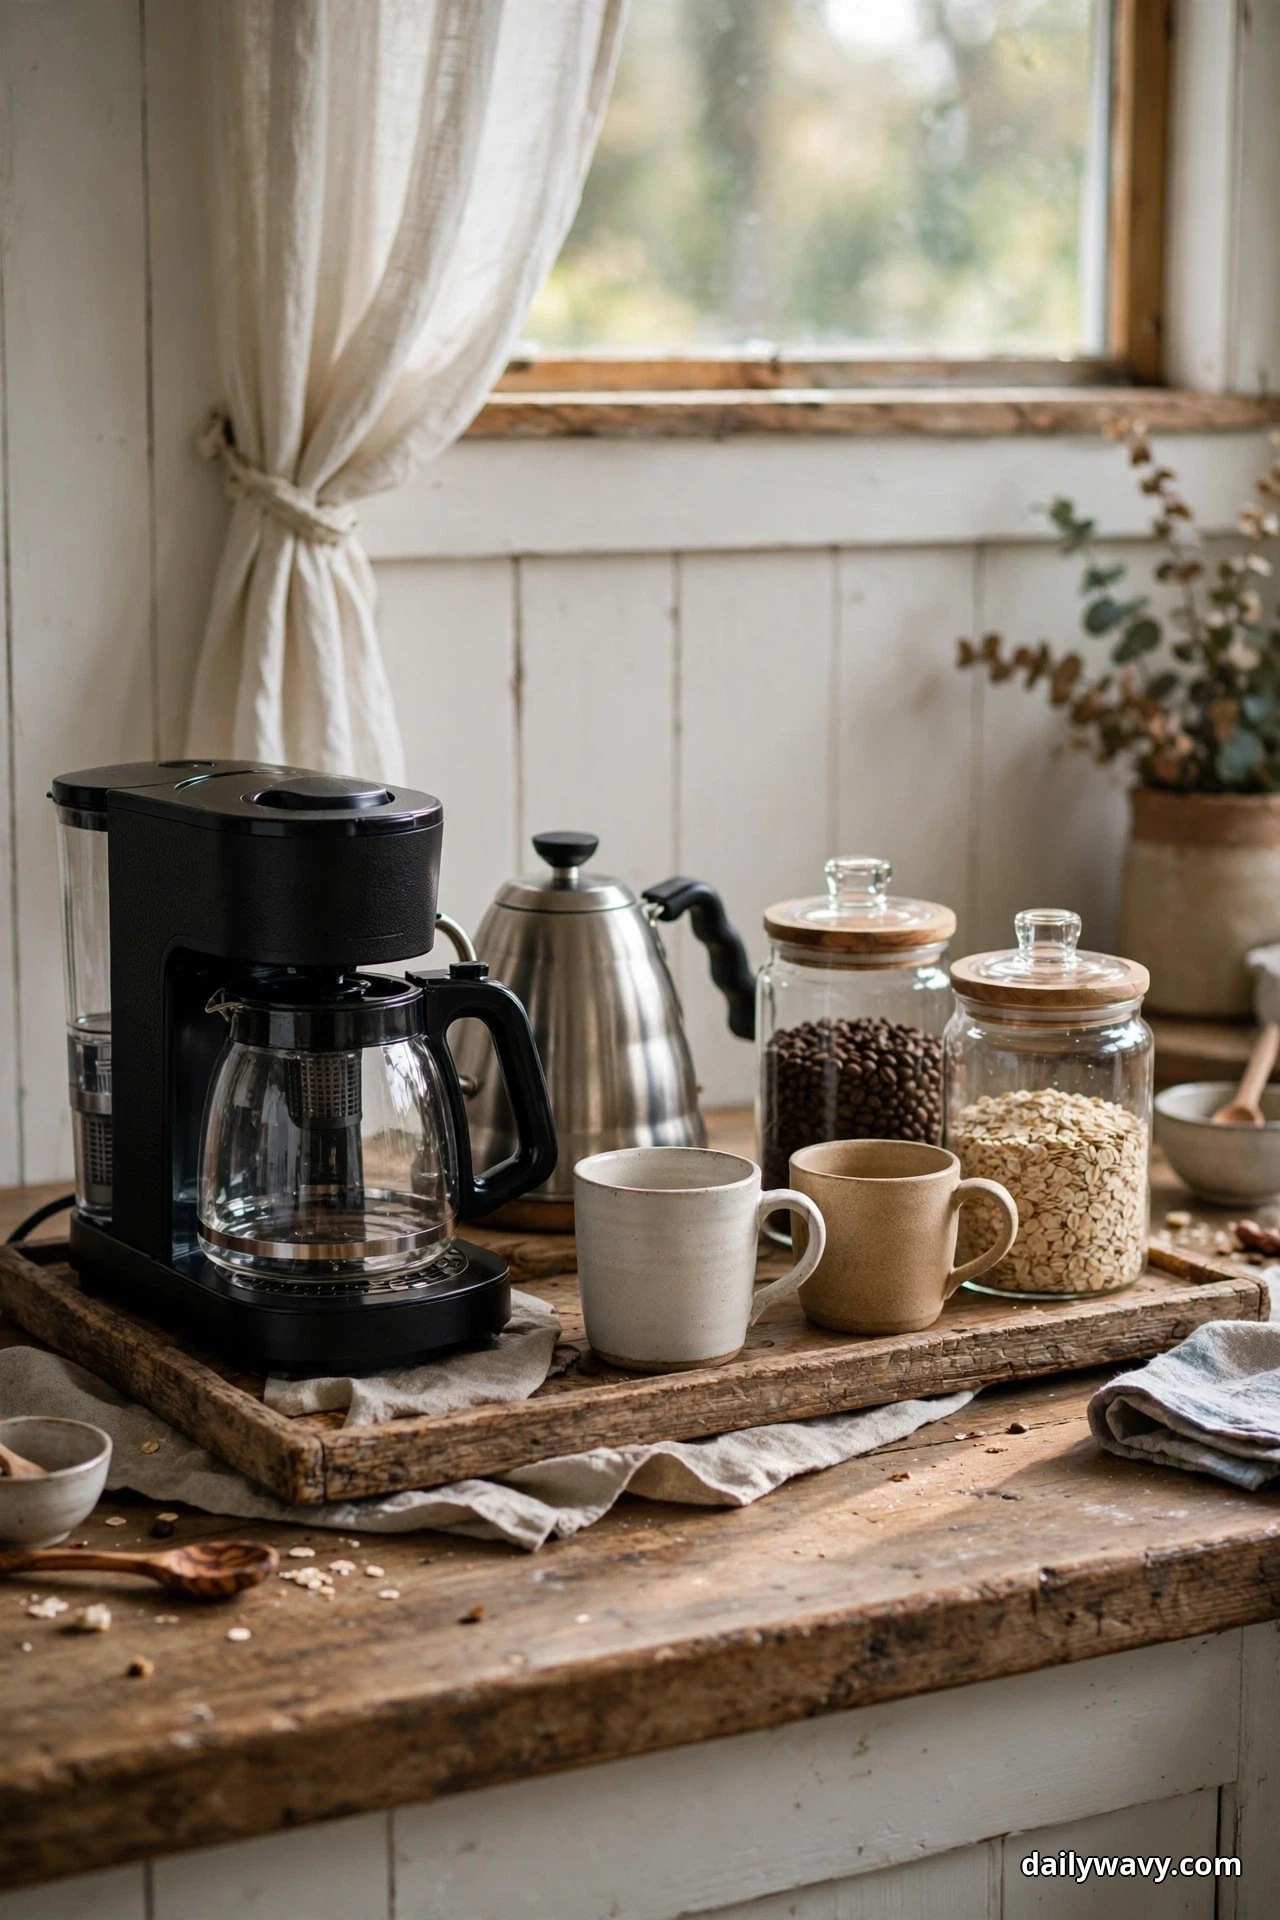
Morning routines deserve a home base. A compact breakfast station gathers your coffeemaker, kettle, mugs, and dry goods into one 24-inch stretch of counter so the rest of the kitchen stays clear. In a rustic kitchen, this corner feels especially right: weathered wood shelving above, a woven tray beneath, everything within two steps. The trick is treating it like a work zone, not a display. Every item should earn its place by daily use.
How to pull it together: Claim a counter section 20 to 30 inches wide near an outlet, ideally between the fridge and the main prep area. Add a wooden tray (about 14 by 20 inches) to corral small items and protect the counter from drips. Above, mount one shelf for mugs and jars of coffee, tea, and oats, keeping daily items at or below 60 inches from the floor so short and tall family members can reach. Keep sugar and creamer in sealed containers, and leave the coffeemaker’s carafe area clear by at least 6 inches for easy pouring.
Effort and budget: $30 to $90 for a tray, shelf, and a few storage jars if you already own the appliances. Lower-cost alternative: repurpose a baking sheet as the tray and hang mugs on under-shelf hooks, $10 to $25. If the corner starts attracting unrelated clutter, the rule is simple: anything that does not serve breakfast finds another home.
7. A Small Brass or Steel Accent Repeated Twice
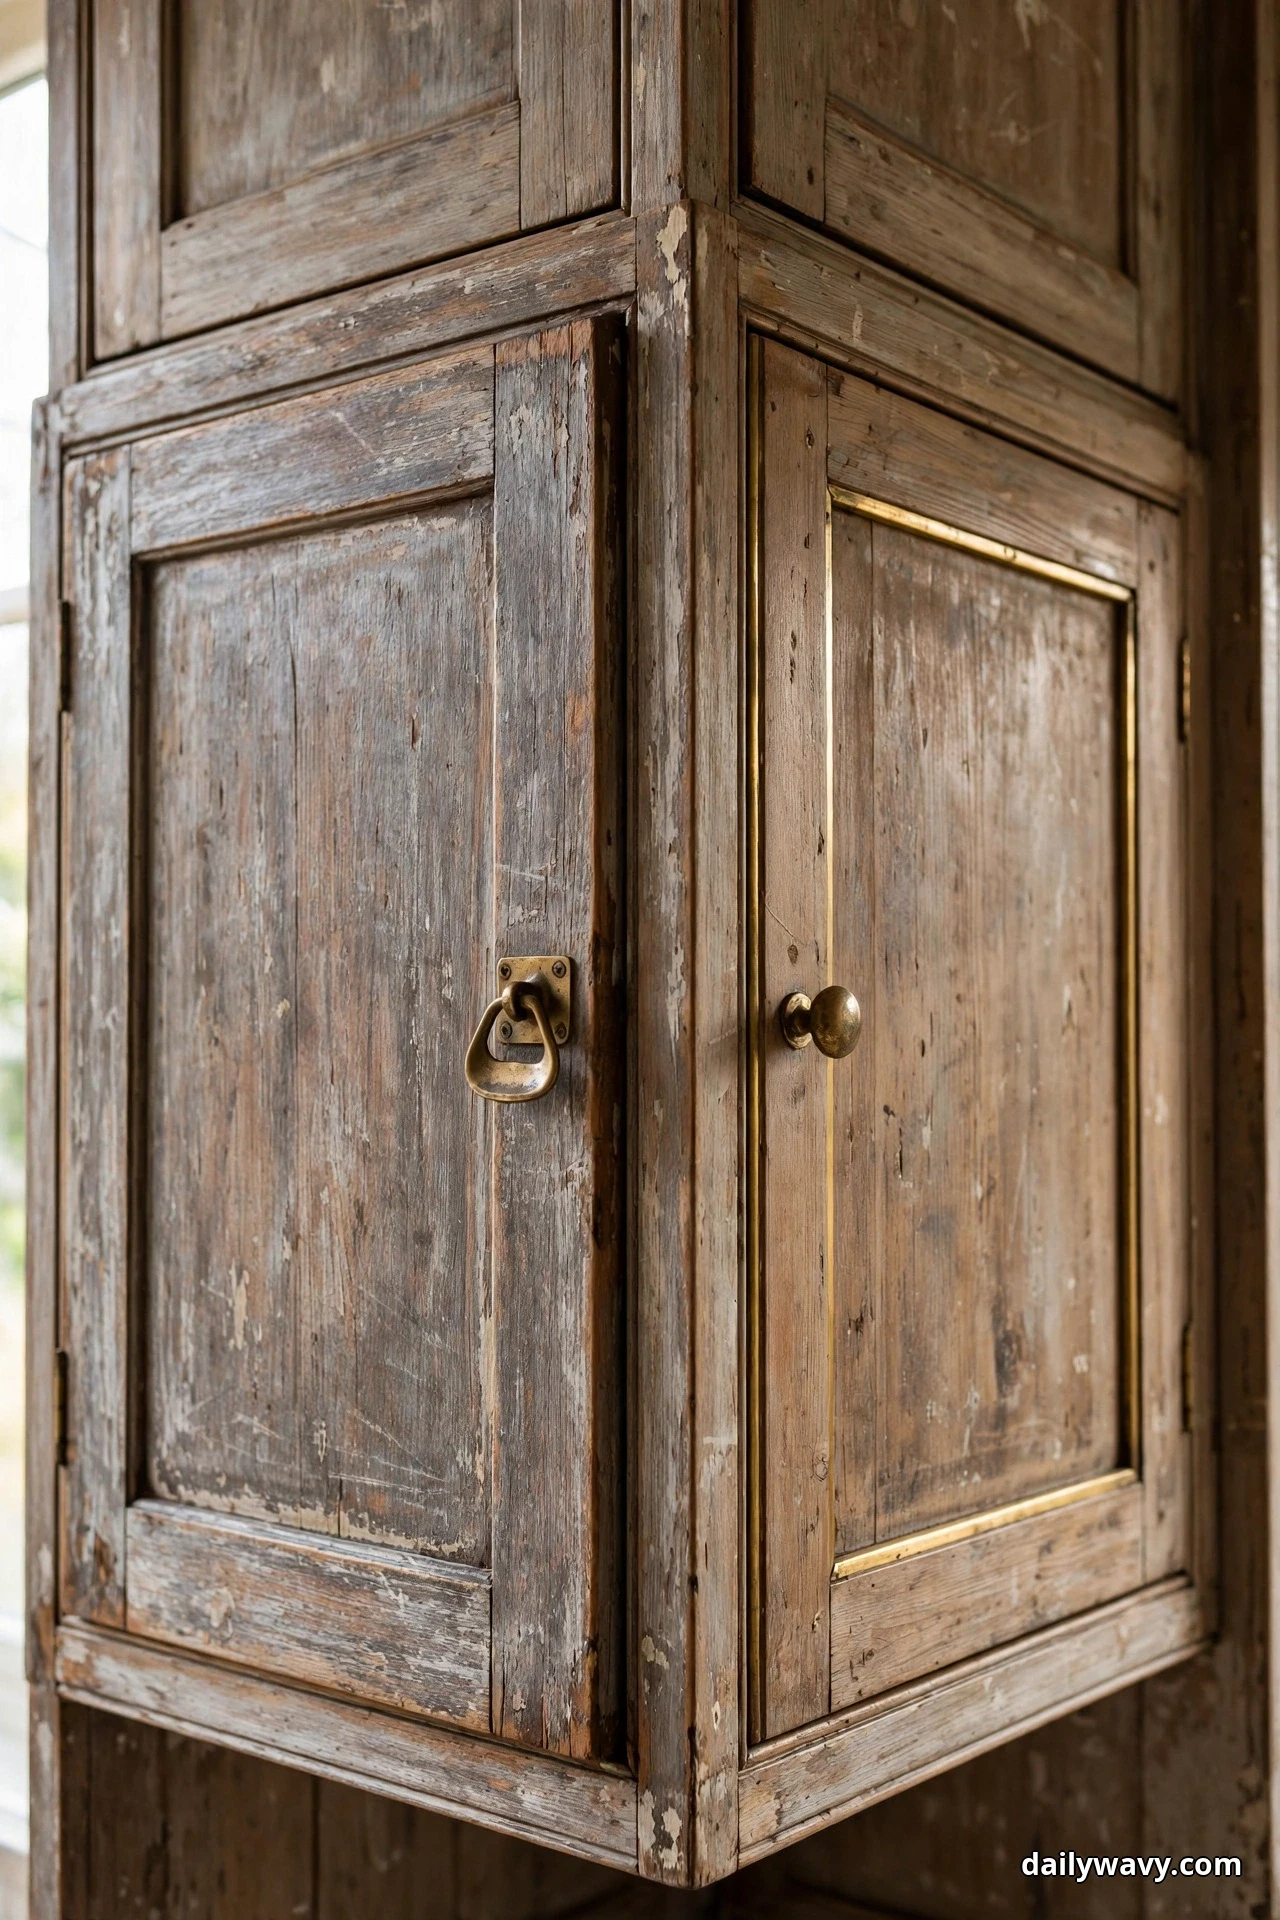
Designers talk about repetition the way cooks talk about salt: a little of it everywhere pulls the whole room together. In a rustic kitchen, small brass or brushed steel accents repeated twice create a quiet rhythm that the eye reads as intentional. Think brass bin pulls on the island repeated on a freestanding cabinet, or two steel sconces flanking a window. The metal adds a clean, cool note against all that warm wood.
How to pull it together: Choose one finish, either unlacquered brass (which ages to a soft patina) or brushed stainless steel, and use it in exactly two places that relate to each other, on two cabinets that face the same direction, or on a light fixture and its matching hardware. Keep the accent small relative to the room: pulls in the 3 to 4 inch range, sconces with shades under 8 inches wide. Mixing brass and steel in the same sightline breaks the effect, so commit to one.
Effort and budget: $15 to $60 for a set of quality pulls or two small sconces. Lower-cost alternative: spray-paint existing hardware in a brass tone, $8 to $15 for a can of metal paint plus primer. If the patina starts looking spotty rather than soft, rub it with a dry cloth; unlacquered brass evens out with handling.
8. A Balanced Mix of Closed and Open Storage
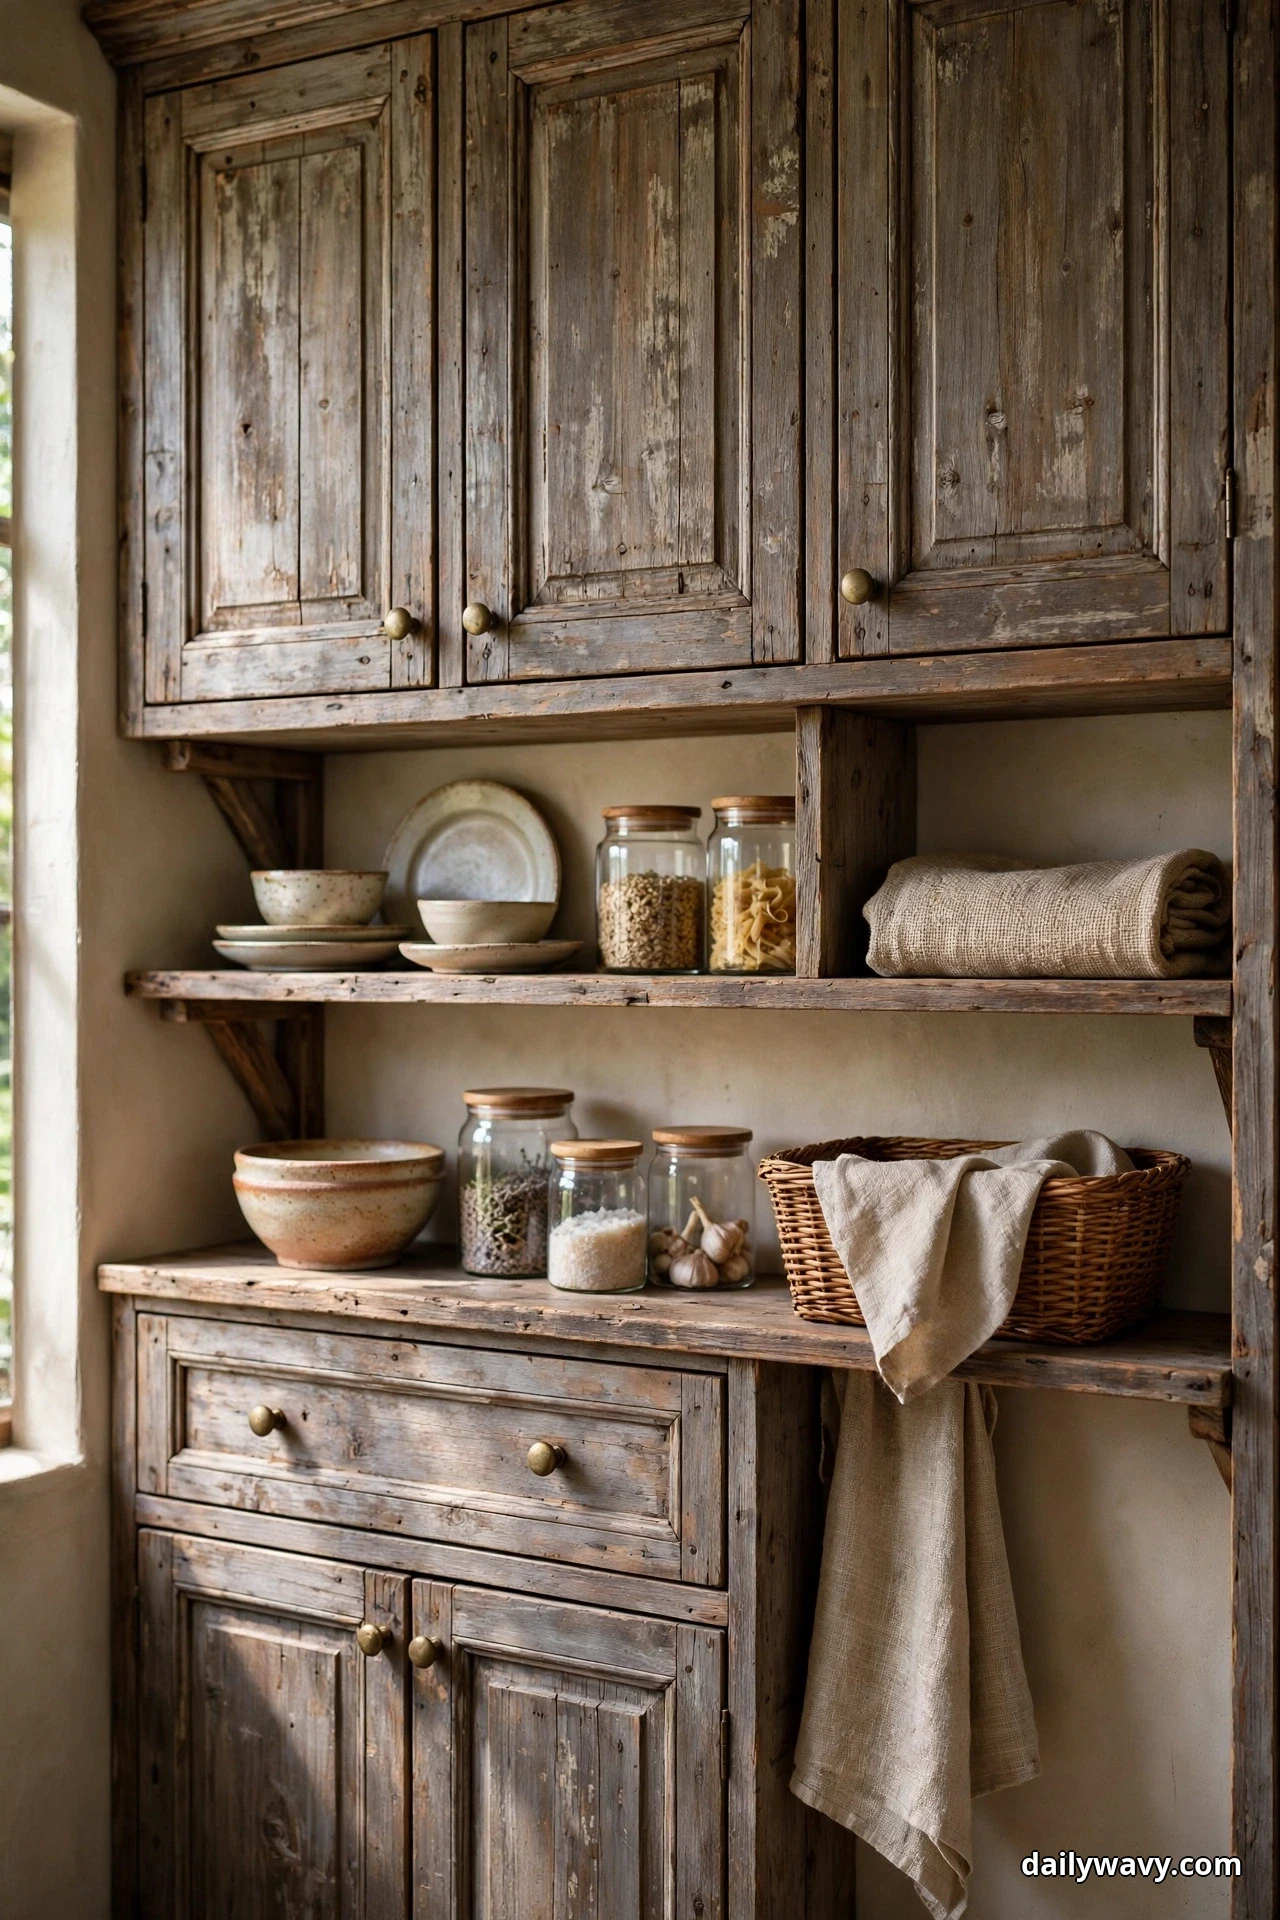
Pure open shelving is beautiful until you are dusting every bowl twice a week. Pure closed cabinets are practical until the kitchen feels like a storage unit. The sweet spot is a balanced mix: closed cabinets for the messy, everyday stuff, and one or two open shelves for the pretty things you actually reach for. In a rustic kitchen this balance feels natural, because old kitchens kept the good crockery visible and the clutter behind a door.
How to pull it together: Keep at least 60 percent of your storage closed, reserving open shelves for a run of 3 to 4 feet where you can style 8 to 12 items you use weekly: bowls, glasses, a stack of plates. Place open shelving near the dishwasher or drying rack to keep the walk short, no more than 4 to 5 steps. Mount shelves 15 to 18 inches above the counter, and keep a stepladder or sturdy step stool nearby if the top shelf passes 72 inches. Dust open shelves weekly with a dry microfiber cloth.
Effort and budget: $60 to $200 to add two wood shelves with brackets to an existing wall. Lower-cost alternative: remove two cabinet doors, paint the interior, and add small edge rails, $15 to $40. If shelves get dusty faster than you can clean, you have too many on display, edit back to the items you truly use.
9. A Wood Cutting-Board Grouping by the Counter
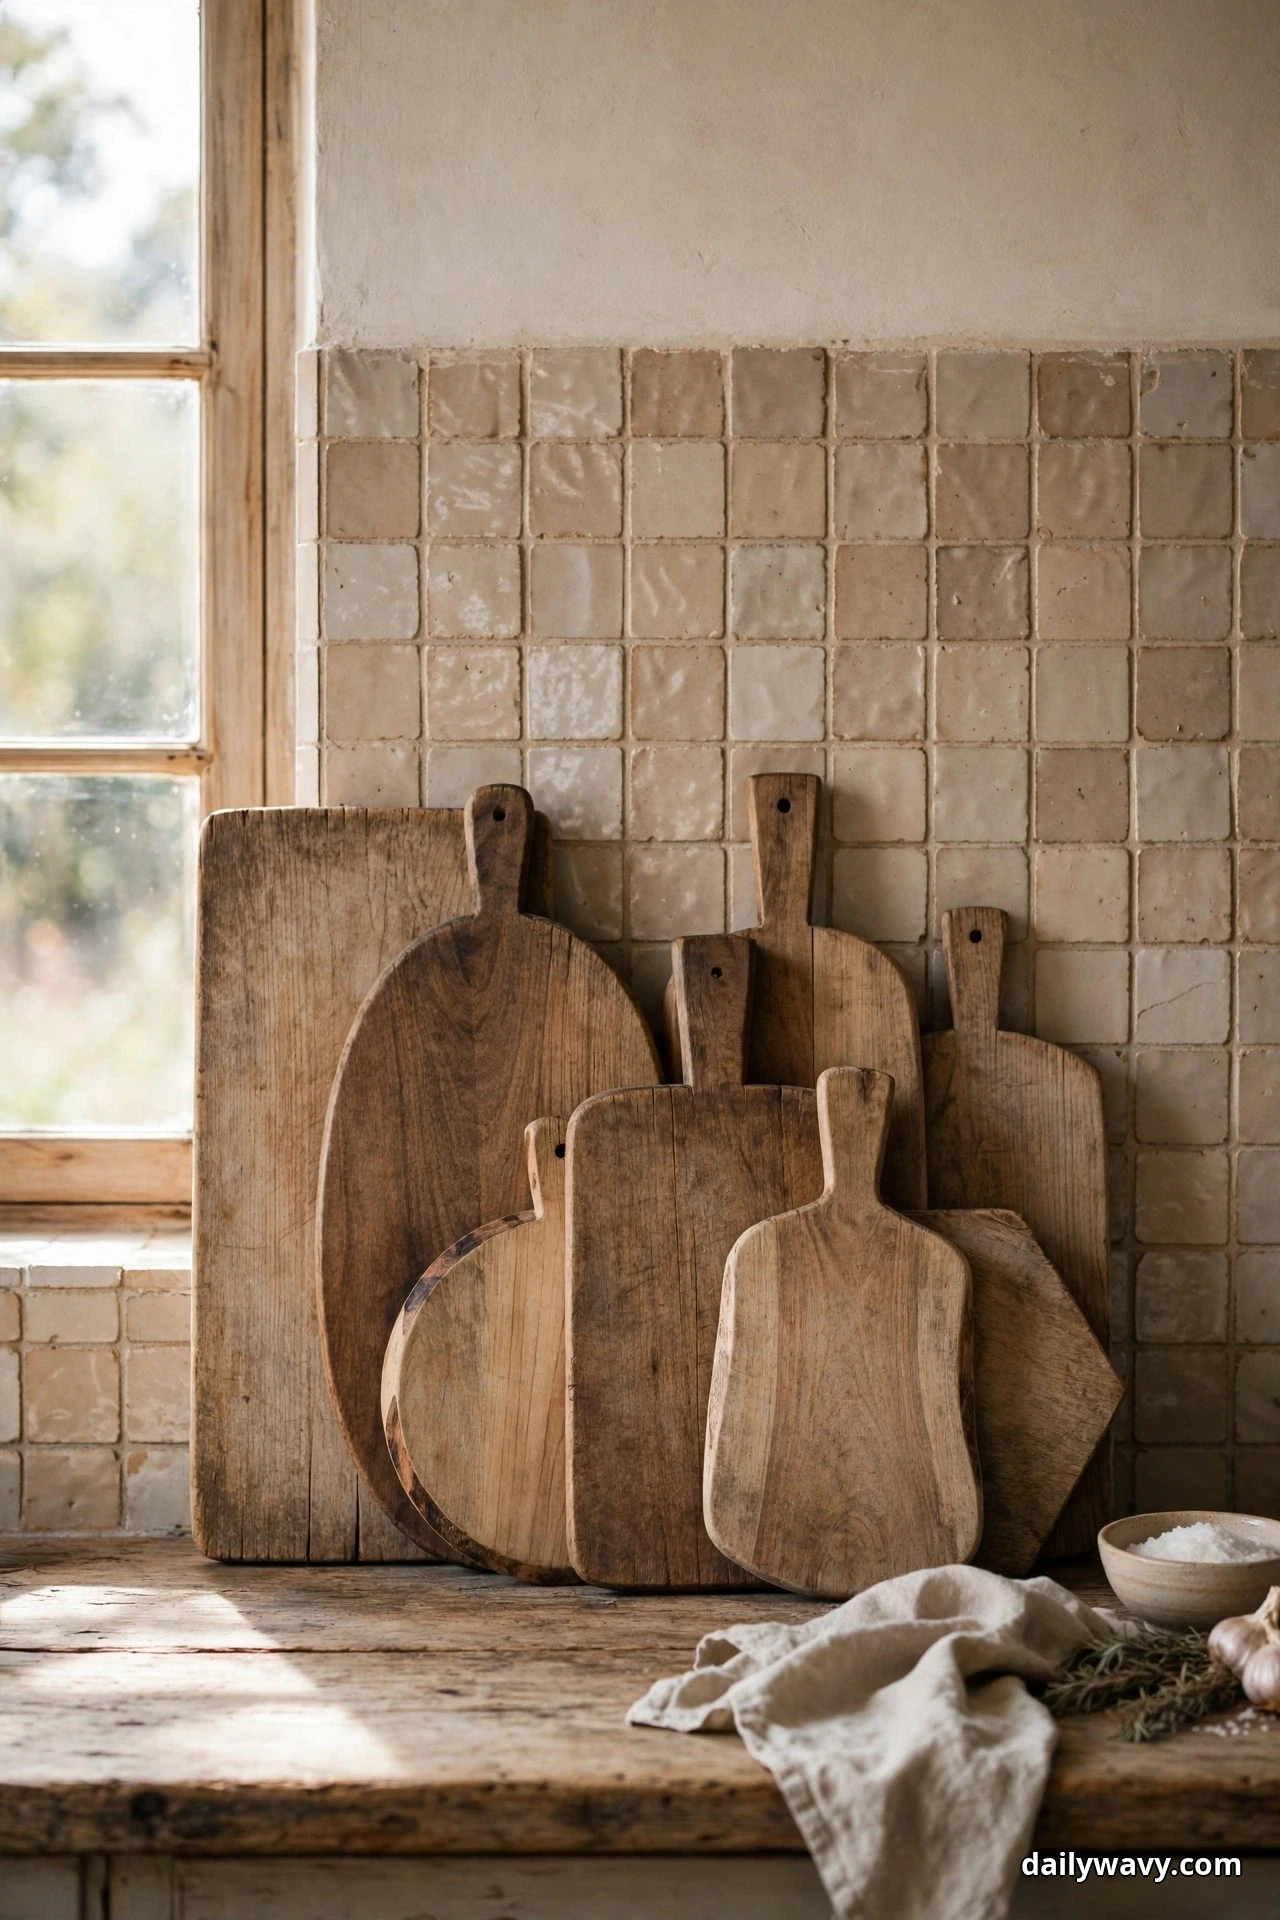
Lean a few wooden cutting boards against the backsplash and a working kitchen instantly reads warmer. It is one of the oldest styling tricks there is, and it survives because it is honest: those boards get used every day. Different woods, shapes, and sizes create the visual rhythm, a round paddle board beside a long baguette board beside a thick end-grain block, all with the marks of real cooking.
How to pull it together: Gather 3 to 5 boards in varied sizes, the tallest 16 to 20 inches so it reads clearly above the counter line. Lean them at a slight angle against the backsplash near your main prep area, largest at the back. If your counter is shallow (under 25 inches), keep the grouping to one end so you do not lose prep space. Oil boards monthly with food-safe mineral oil or board cream, and store any board with deep knife scars separately until you sand and re-oil it.
Effort and budget: $25 to $100 for a nice set of boards if you need new ones. Lower-cost alternative: the boards you already own, arranged with the prettiest facing forward, $0. If boards slip on a glossy counter, cut a small rubber shelf-liner pad to sit behind them.
10. Simple Hardware Repeated Across Cabinets
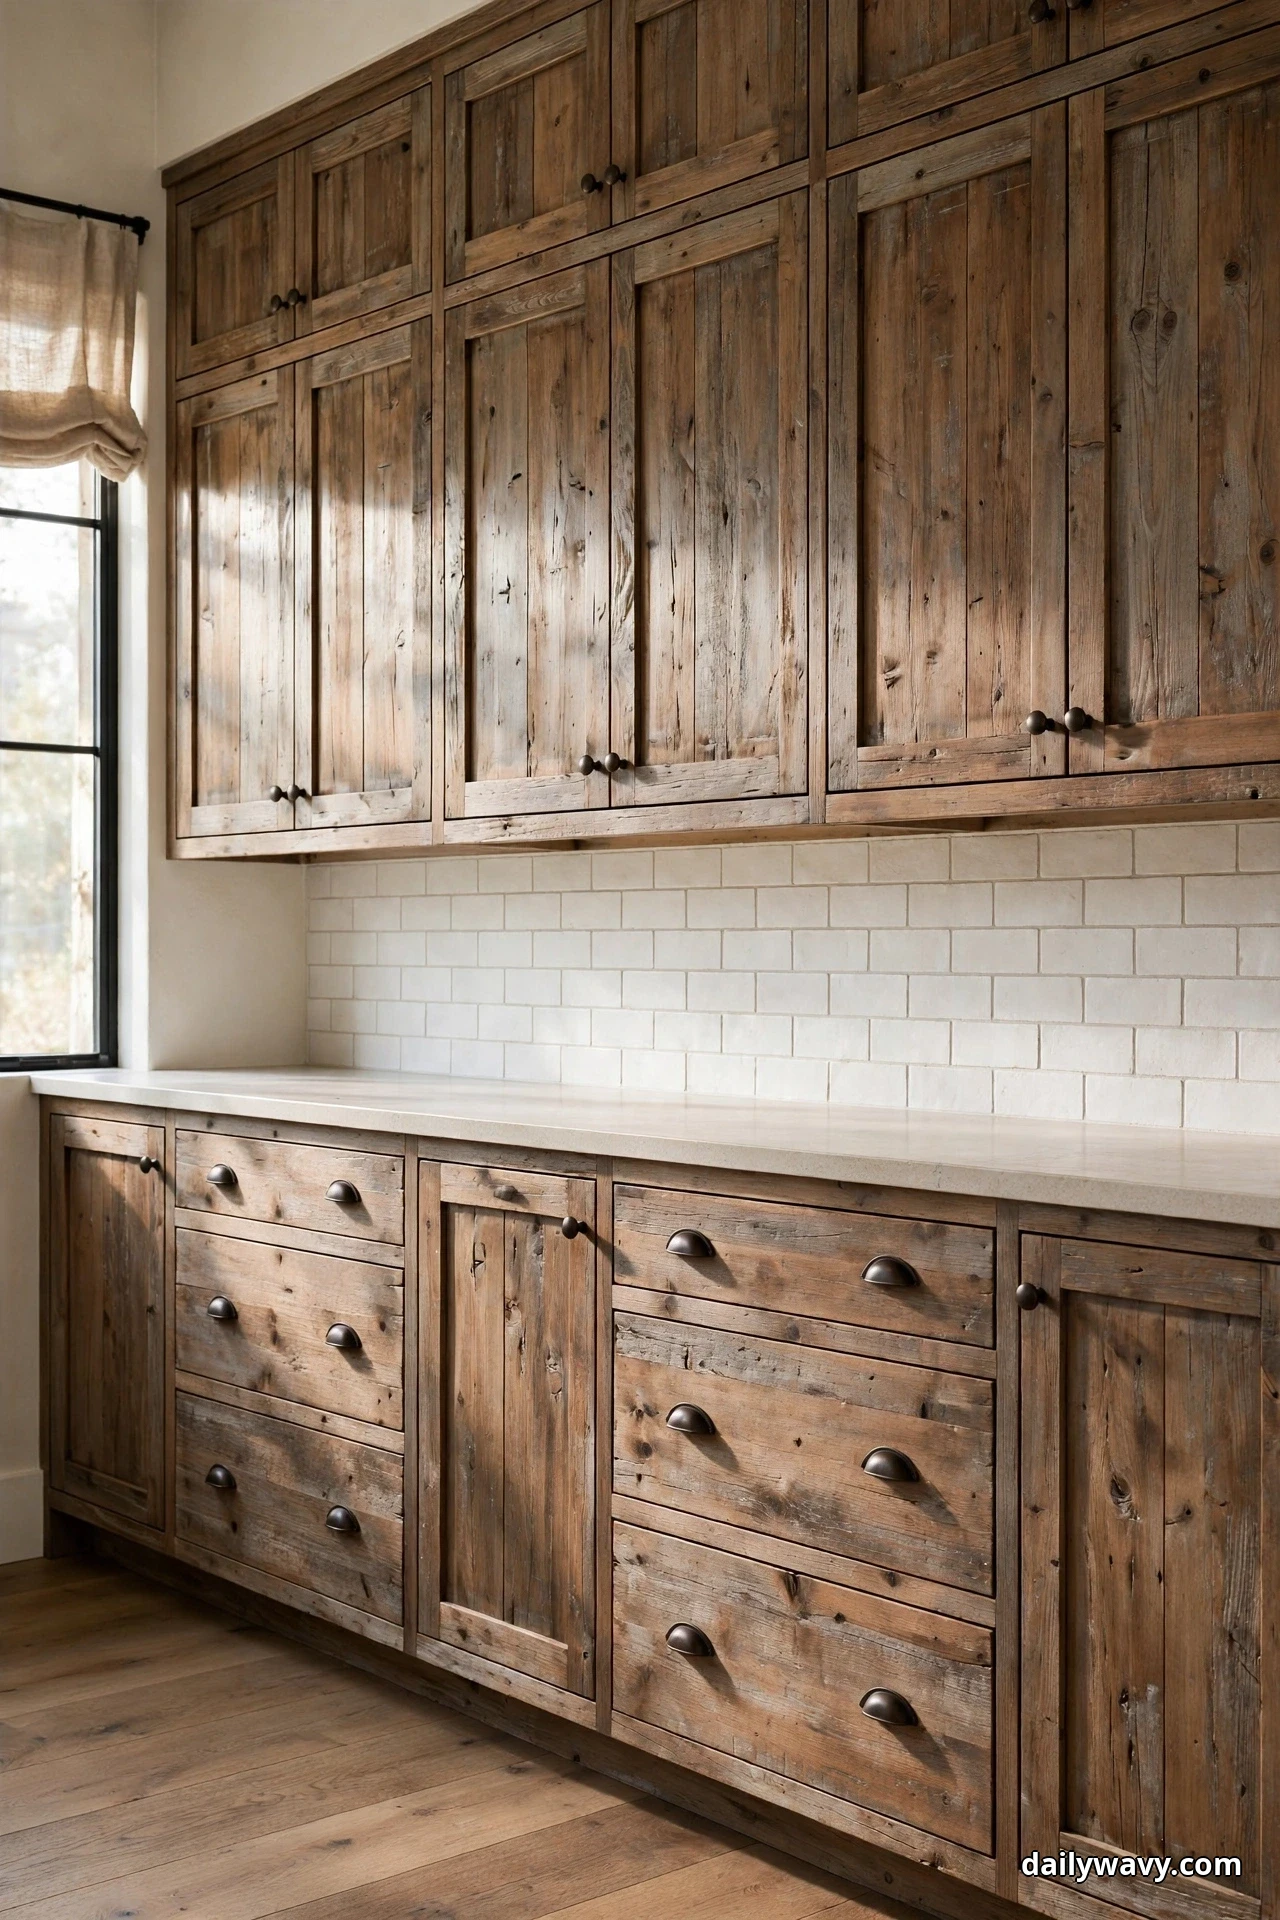
Cabinet hardware is the jewelry of the kitchen, and in a rustic room the right choice is simple: a classic cup pull or a plain knob, repeated across every cabinet and drawer. Repetition is the whole point. Mixed hardware reads eclectic and busy; one shape repeated reads calm and collected. Dark bronze or aged iron suits weathered wood best, staying visible without shouting.
How to pull it together: Measure your existing hole spacing before buying, common cup pulls are 3 or 3.75 inches center to center. Count every door and drawer front, then order 10 percent extra for mistakes and future replacements. Replace pulls one cabinet run at a time, removing, filling, and drilling as needed; a simple drilling template keeps holes level. Keep knobs on doors and cup pulls or bar pulls on drawers, or use one style everywhere for maximum calm. Tighten screws by hand so you do not strip the wood.
Effort and budget: $3 to $12 per pull, so $100 to $350 for a full kitchen of 30-odd fronts. Lower-cost alternative: paint existing hardware with metal paint in aged bronze, $15 to $30 total. If a pull feels loose after a week, remove it and add a drop of wood glue to the screw hole before reseating.
11. A Restrained Open-Shelf Display
The difference between a shelf that calms you and a shelf that stresses you is editing. A restrained open-shelf display holds fewer things, with space between them, so each piece gets a moment. In a rustic kitchen, this means letting the wood frame do the talking: a few handmade ceramics, a stack of linen napkins, one plant trailing from the end. It photographs beautifully, but more importantly, it is easy to maintain, because fewer items means less dusting and faster putting-away.
How to pull it together: Limit yourself to 4 to 7 items per 3-foot shelf, and keep one third of the shelf empty. Group in odd numbers and vary heights: a tall pitcher, two stacked bowls, a low stack of plates. Keep the palette to two or three tones that already exist in the room. Place daily-use items on the lower shelf (between 48 and 60 inches from the floor) and look-only items above. Photograph the shelf with your phone; the camera shows clutter your eyes forgive, and you will spot what to remove.
Effort and budget: $0 to $60 if you are styling shelves you already have. Lower-cost alternative: shop your own house first, most people can assemble a beautiful shelf from pieces in other rooms. If dust is a constant battle, you have too many textured items out, swap one for a smooth, wipeable piece.
12. A Washable Runner Along the Work Zone
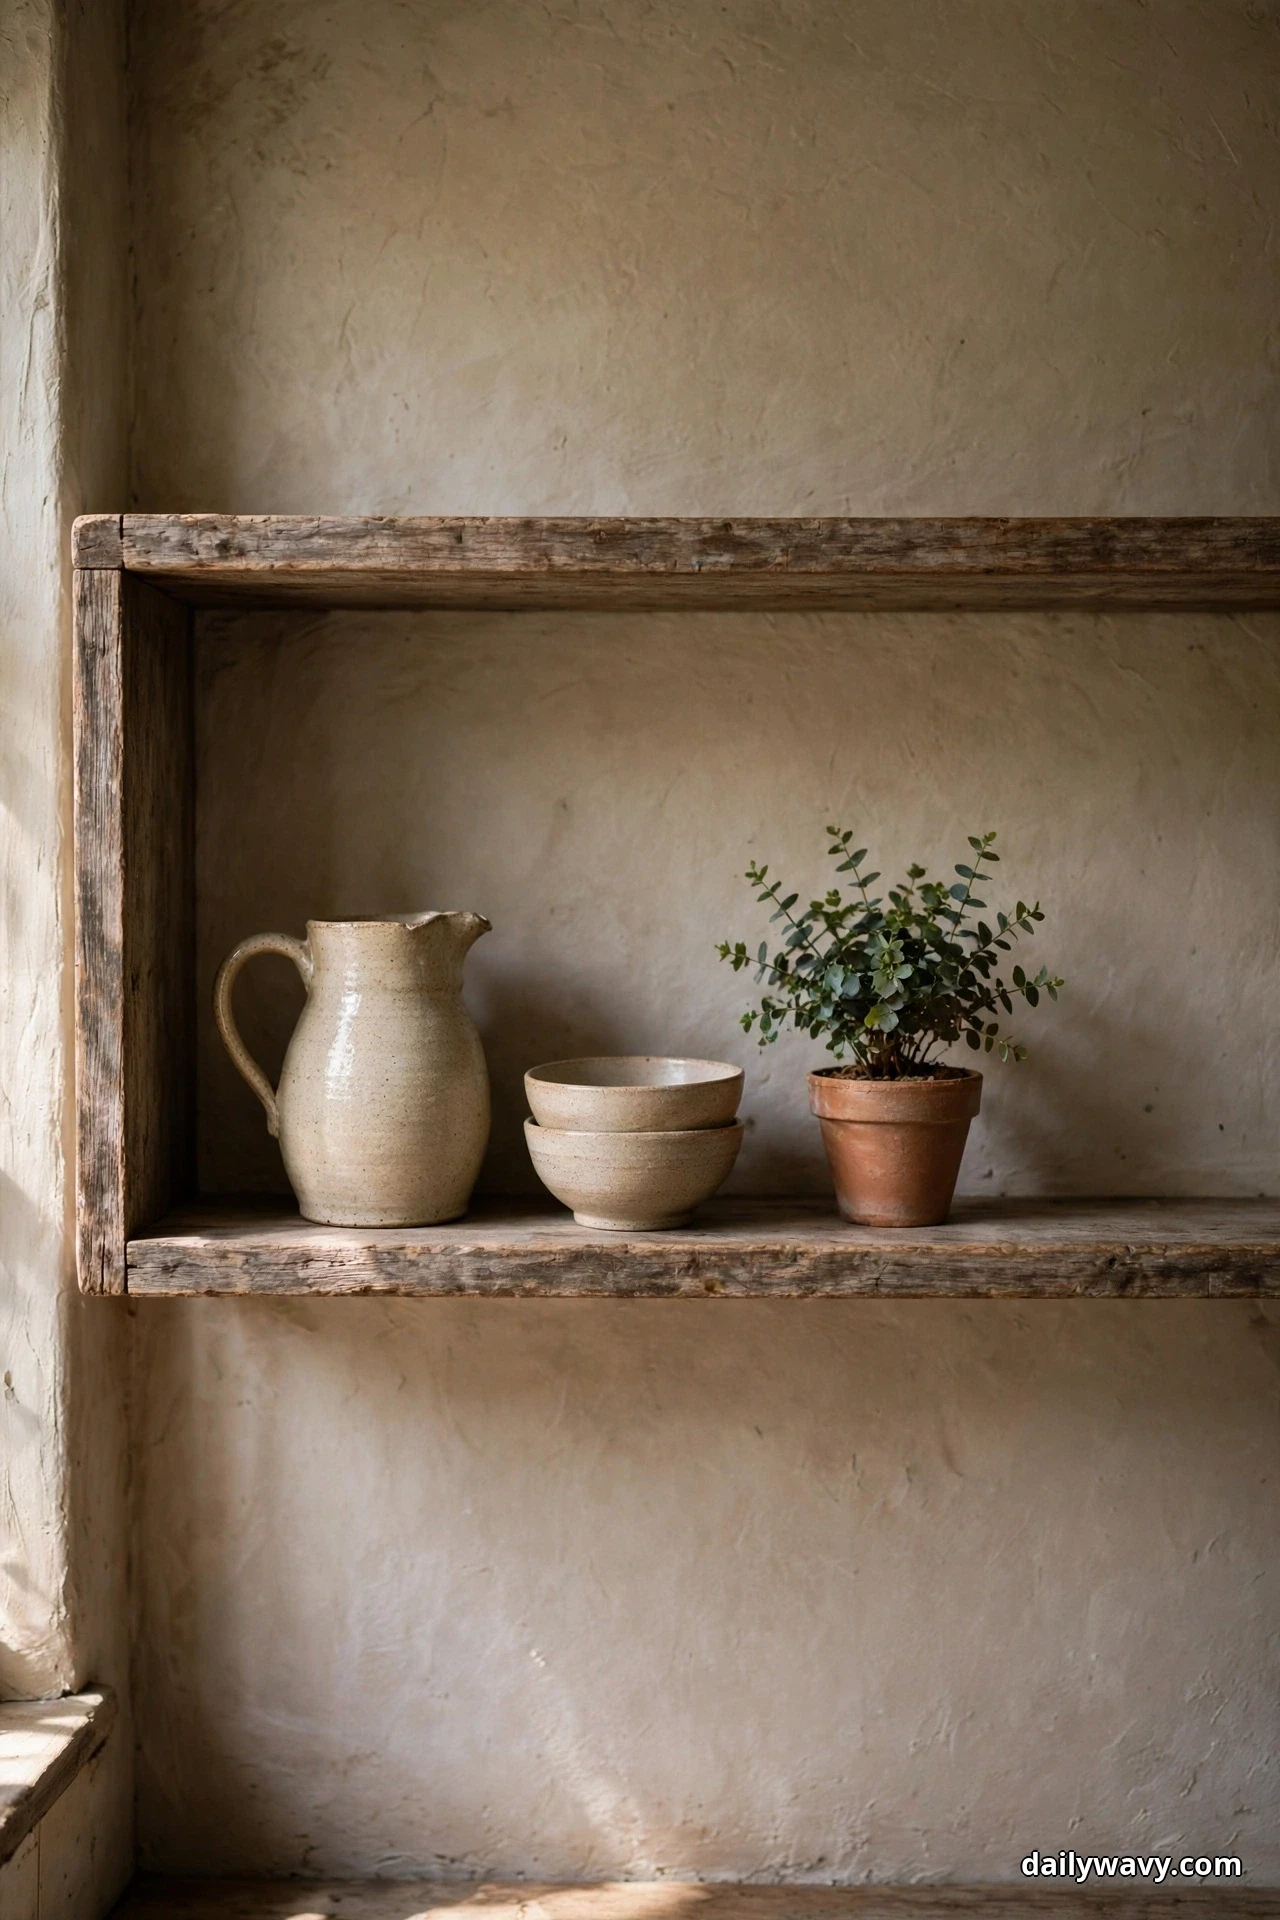
The floor in front of the sink and stove takes a beating: water splashes, flour dust, the occasional dropped olive. A washable runner absorbs all of it while adding the soft texture a rustic kitchen needs underfoot. The woven look suits the style perfectly, and because it goes straight in the machine, you never have to baby it. This is one of those rare ideas that is purely practical and still makes the room prettier.
How to pull it together: Measure the full run from the sink to the stove along the floor, most work zones need a runner 6 to 8 feet long and 2 to 2.5 feet wide. Lay a non-slip rug pad underneath, cut 1 inch shorter on all sides so it does not peek out. Choose a machine-washable, low-pile construction in a warm natural tone with a simple stripe or weave pattern. Wash it every 2 to 3 weeks, or weekly in a busy cooking household. Keep the runner at least 12 inches from the range door so it never interferes with the swing.
Effort and budget: $30 to $90 for a quality washable runner, plus $10 to $20 for a pad. Lower-cost alternative: a cotton flat-weave runner from a home store, $20 to $40, though it will need washing more often. If the edges curl, reverse-roll the runner for a few hours and it will settle flat.
13. A Pendant Over a Clear Surface
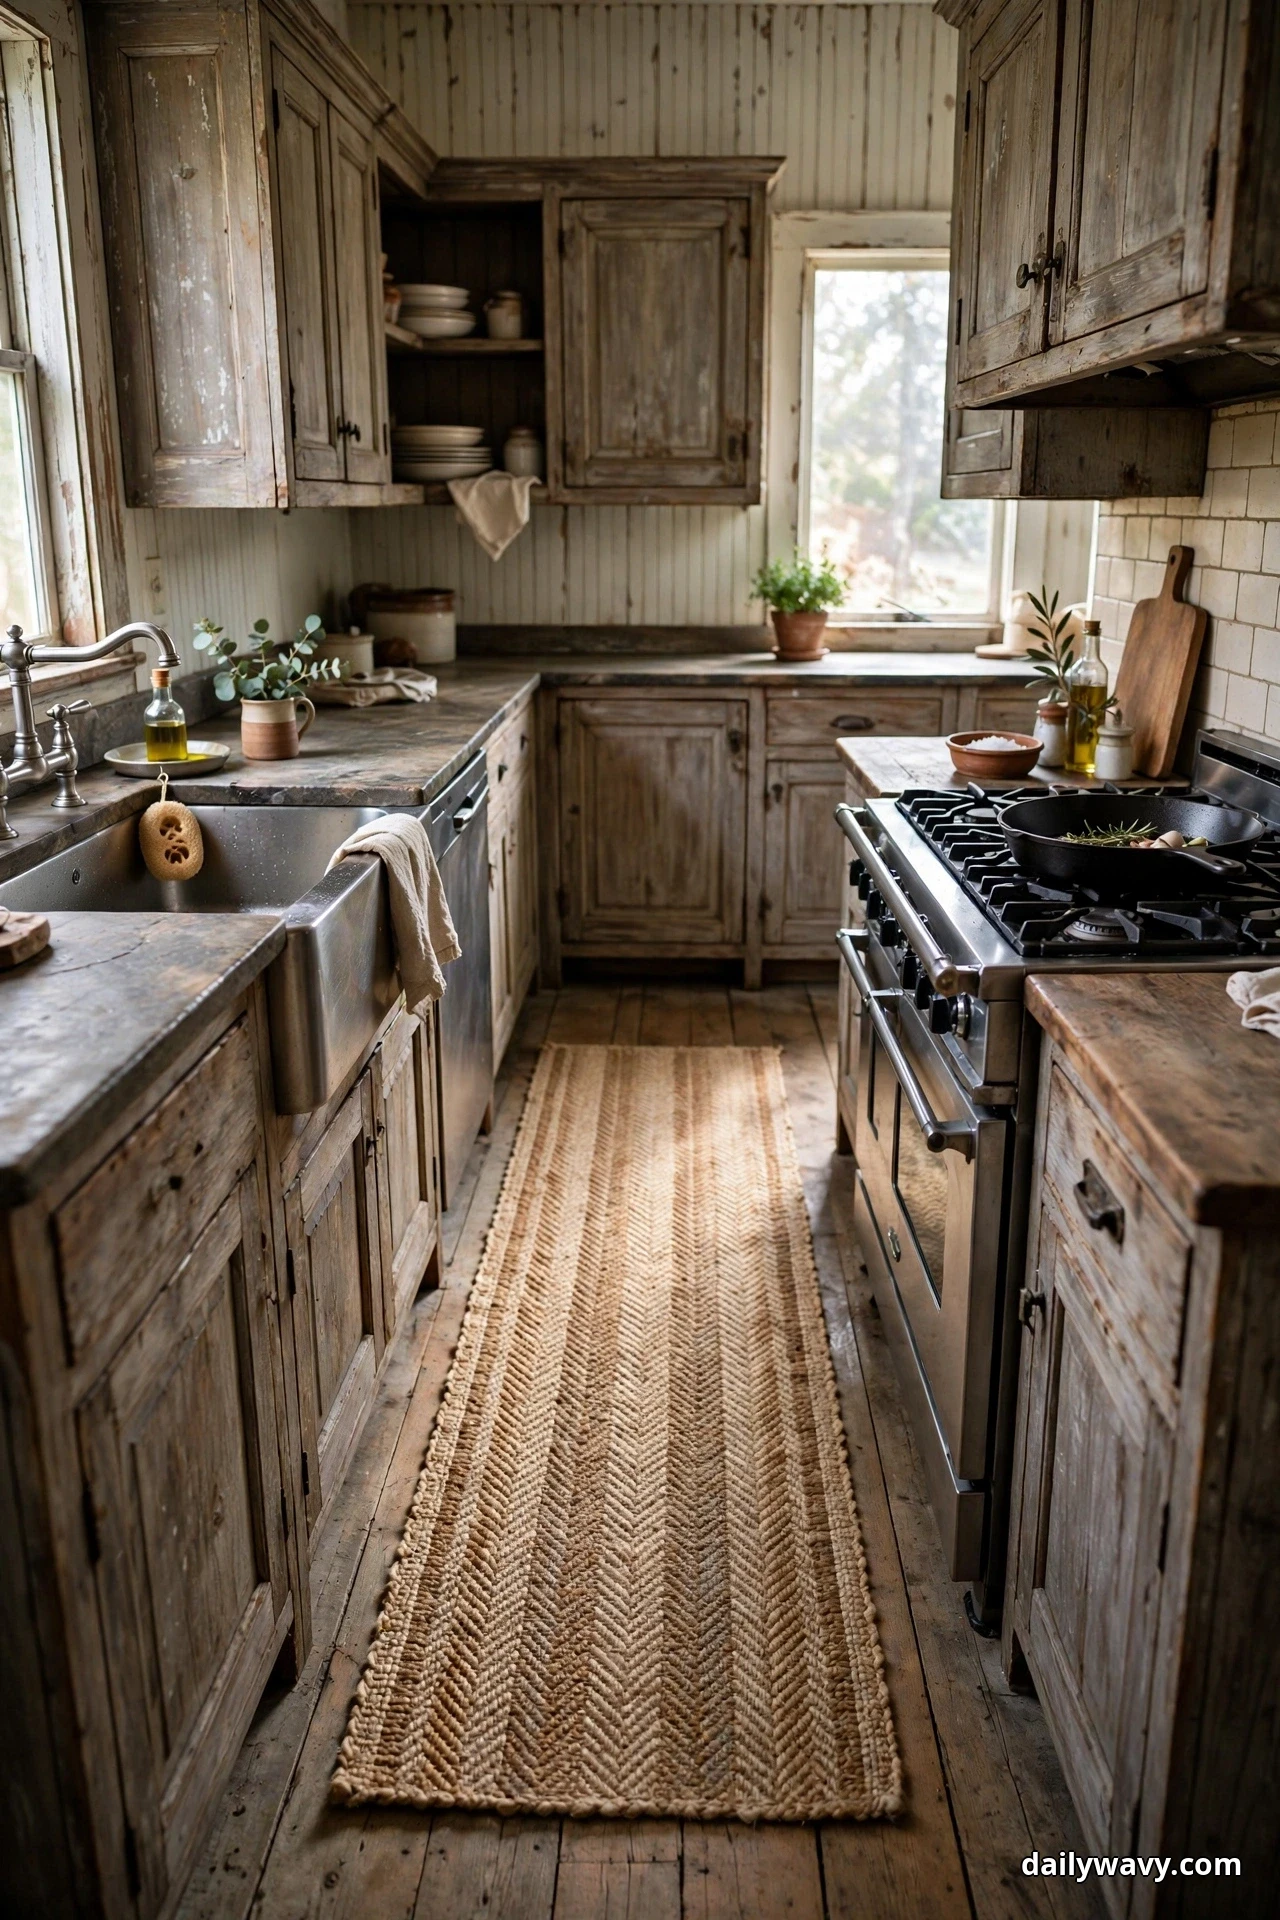
One pendant, hung low over a clear island or table, is the punctuation mark of a rustic kitchen. It draws the eye, pools warm light on the work surface, and frames the room’s best features beneath it. The secret is the clear surface part: a pendant over a cluttered island just lights up the mess. Clear the surface first, then hang the light, and you will wonder why you waited.
How to pull it together: Hang a single pendant 30 to 36 inches above the island or table surface, measured from the countertop to the bottom of the shade. For a surface over 6 feet long, use two pendants spaced evenly. Choose a shade 12 to 16 inches wide in metal, wood, or seeded glass, with a warm-white bulb (2700K to 3000K) of 800 lumens or so. If you are replacing an existing fixture, the wiring is usually a straightforward swap, but any new box, new location, or dimmer wiring calls for an electrician. Keep the surface under it clear except for one intentional object, a bowl of fruit or a single plant.
Effort and budget: $60 to $250 for a good pendant. Lower-cost alternative: a rattan or wire shade with a plug-in cord kit, $30 to $70, hung from a ceiling hook where no hardwiring exists. If the light casts harsh shadows, swap in a frosted or seeded-glass bulb for softer diffusion. When it comes to storage strategy, our small pantry organization guide pairs well with this kind of open, uncluttered styling.
14. A Ceramic Utensil Crock
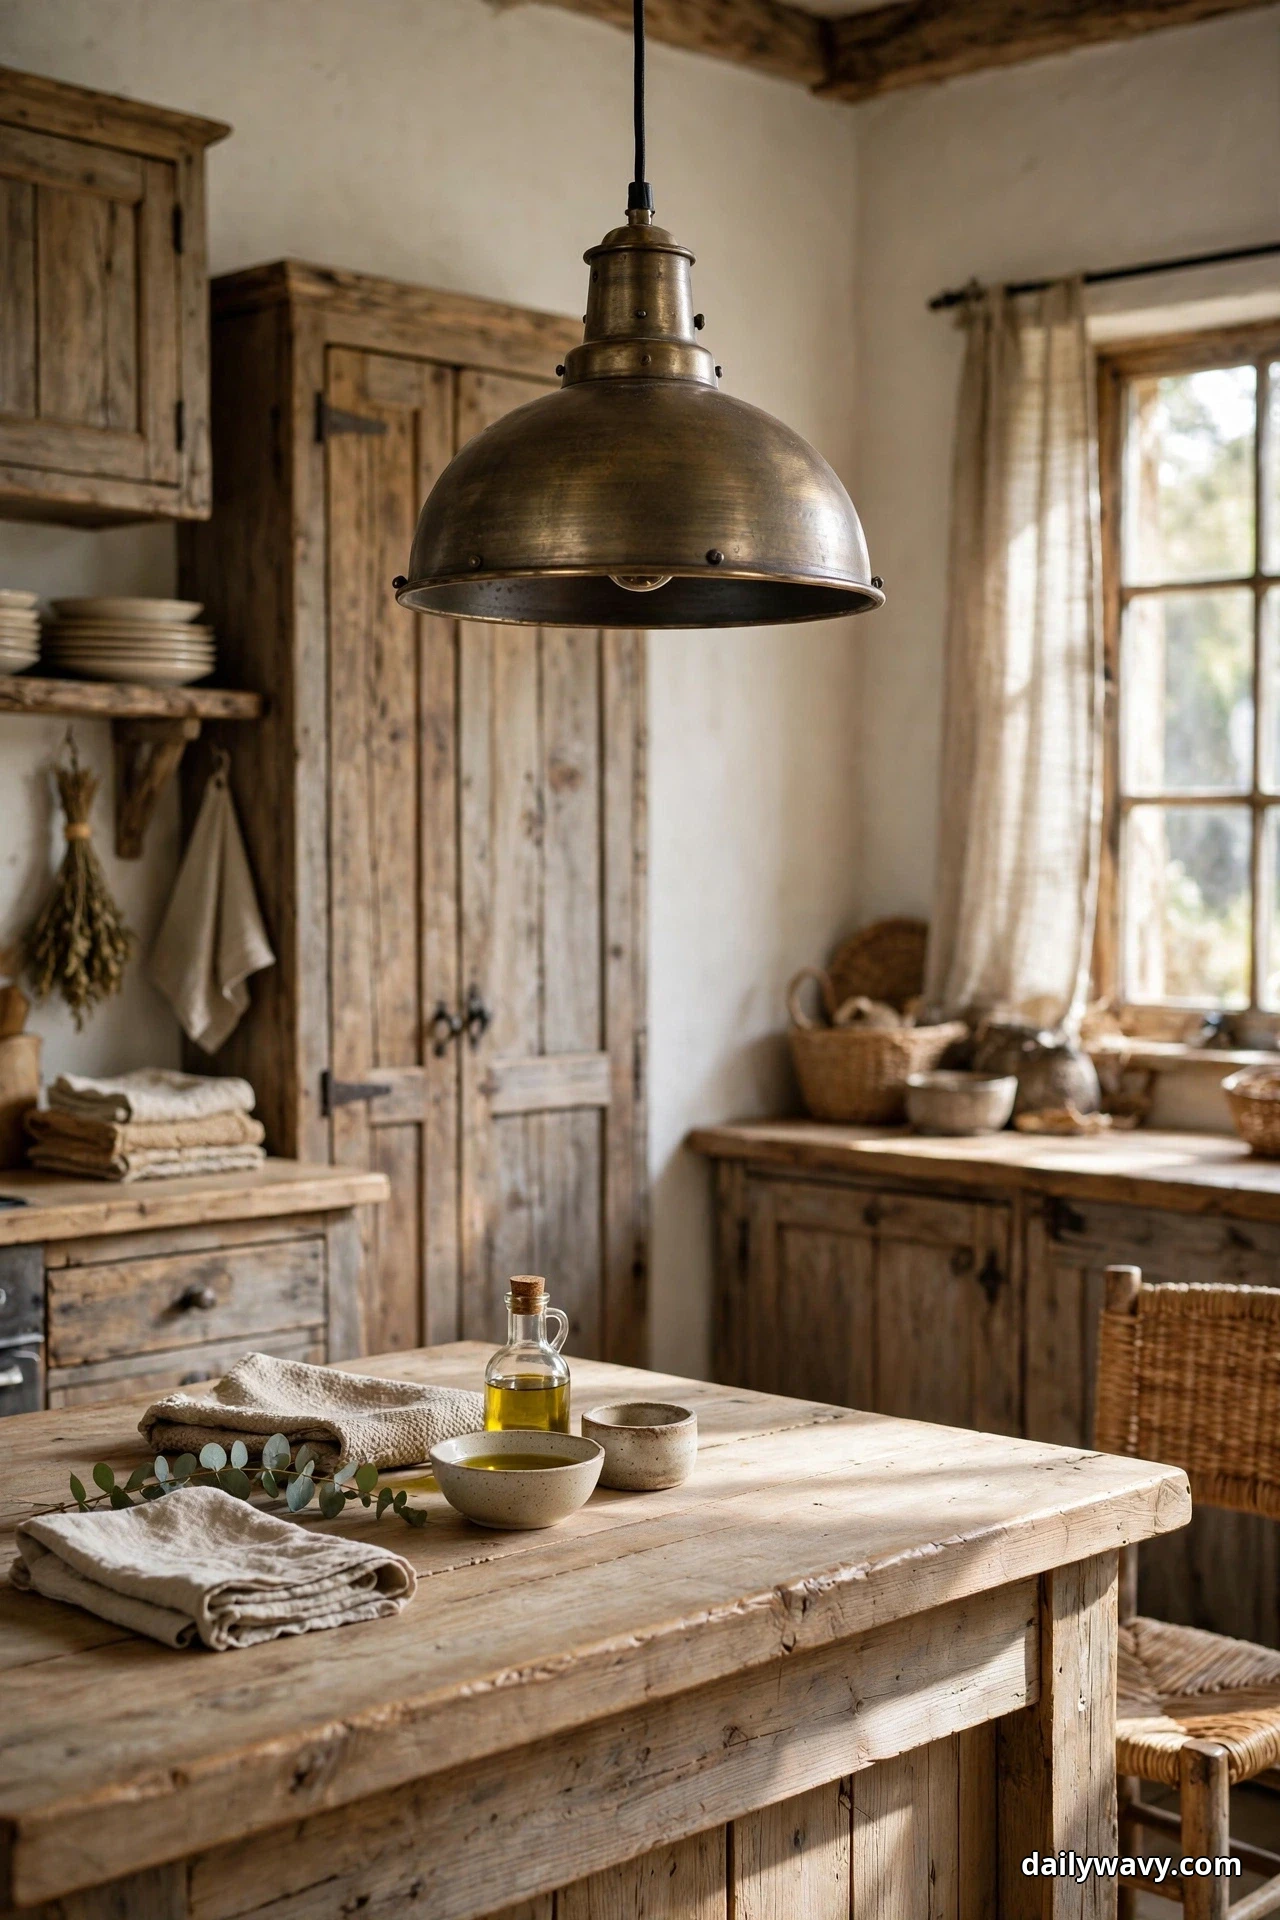
We started with the pitcher and we end with the crock, because the humble utensil crock is where rustic style and daily function meet most honestly. A weighty ceramic crock keeps spatulas, spoons, and ladles upright and reachable, and its handmade surface adds the kind of texture no mass-produced holder can fake. Put it on the counter by the stove and it quietly organizes your most-used tools while warming up the whole corner.
How to pull it together: Choose a crock 6 to 8 inches tall and at least 5 inches wide, heavy enough that it does not travel when you pull a tool. Ceramic, stoneware, or glazed earthenware all work; avoid anything with a narrow mouth, since tools need to fan out. Place it within arm’s reach of your main cooking burner but not where it catches direct heat. Keep 6 to 8 tools in it, your daily drivers only. Wash the crock monthly; flour dust and grease mist collect faster than you think.
Effort and budget: $20 to $50 for a handmade ceramic crock. Lower-cost alternative: a sturdy canister or large mug from a thrift store, $3 to $10. If tools splay too wide and tip the crock, remove one or two and move them to a second holder by the prep area.
Frequently Asked Questions
How do I keep a rustic kitchen from feeling dark?
Balance weathered wood with light. Keep walls pale, choose a honed light stone or butcher-block counter, and make sure every work zone has both daylight and a warm bulb. A good rule: if you can read a cookbook comfortably at every counter at 4 p.m. in winter, you have enough light. Sheer window coverings and light floors help more than extra fixtures.
Can I get the rustic look in a rental?
Yes, and it is one of the friendliest styles for renters because so much of it is portable. Lean on freestanding pieces, peel-and-stick plank panels, washable runners, hardware swaps you can reverse, and styling: pitchers, boards, crocks, produce bowls. Keep the original hardware and cabinet doors in a box so you can restore everything on move-out.
What woods work best for a rustic kitchen?
Reclaimed pine, white oak, walnut, and hickory all suit the style and take wear gracefully. Pine is the most affordable and dents softly, which suits the lived-in look. Oak and hickory are harder and better for heavy-use surfaces like island tops. Whatever you choose, oil food-contact wood regularly with food-safe mineral oil and keep all wood away from standing water.
How much does a rustic kitchen refresh cost without remodeling?
A styling-level refresh, hardware, lighting, runner, shelves, textiles, and accessories, typically runs $300 to $1,200 depending on how much you source secondhand. Adding one freestanding piece or a pendant pushes it toward $1,500 to $2,500. Full remodels are a different conversation entirely; this guide is about what you can do without one.
How do I mix rustic with my existing modern appliances?
Let the appliances be what they are. Stainless steel reads as the “small metal accent” in this guide, so repeat a similar metal in your hardware or lighting to make it look intentional. Frame appliances with warm wood and woven texture around them, and keep cabinetry and finishes in the rustic register. The contrast is what makes the kitchen feel collected rather than themed.
Is open shelving practical in a real cooking kitchen?
In moderation, yes. Keep one or two shelves for daily-use dishes you wash regularly, which means they never sit long enough to get dusty. Anything decorative or rarely used belongs behind glass or in closed cabinets. If you cook with a lot of oil or frying, keep open shelves at least 4 feet from the range, since airborne grease settles on everything within reach.
The Takeaway
A rustic kitchen is not a style you buy; it is a mood you build, one practical choice at a time. Start with the pieces that work hardest: the pitcher by the stove, the boards by the prep area, the runner under your feet. Then add the quieter details, the repeated hardware, the edited shelf, the pendant over a clear island. None of these ideas require a renovation or a big budget. They ask for attention to materials, honest measurements, and the willingness to live with wood that shows its years. Pick the three or four that fit your kitchen and your week, and let the room grow from there. If you are organizing as you style, the Home and Decor collection has more room-by-room guides, including small entryway decor for the first room guests see and narrow living room layout ideas for spaces that need to work as hard as your kitchen does.
Pin these ideas for your next kitchen weekend, and start with the corner you use most. That is where the rustic feeling lives.