
20 Renter Kitchen Upgrades Ideas to Personalize Your Space
A rented kitchen is never quite yours on paper, but it can absolutely feel like yours in practice. The cabinets…
A rented kitchen is never quite yours on paper, but it can absolutely feel like yours in practice. The cabinets might be builder-grade and the walls might be that particular rental beige from every apartment you have ever toured. None of that matters as much as you think. The ideas below change how a kitchen feels and works without touching anything a landlord could object to: no drilling into tile, no painting cabinets, no ripped-out shelving. Every one is designed to be removable and reversible. Keep a small box for original hardware, read your lease once before you start, and you can personalize a rental kitchen with confidence.
Jump to an idea
- A Soft Rug With A Suitable Pad
- A Basket Grouping Daily Essentials
- A Low-Risk Hardware Swap With Originals Retained
- A Tension-Based Solution Where Suitable
- A Small Plant In A Stable Pot
- A Removable Organizer With Checked Load Limits
- A Freestanding Mirror Secured Appropriately
- A Table-Top Display With Useful Objects
- A Fabric Panel Adding Color
- A Shelf Insert That Does Not Alter Cabinetry
- A Lightweight Divider
- A Tidy Cable-Routing Solution
- A Coordinated Container Set
- A Portable Seating Or Surface Solution
- A Freestanding Storage Piece
- A Washable Textile Accent
- A Removable Surface Treatment After A Patch Test
- A Compact Plug-In Light In A Suitable Dry Location
- A Simple Artwork Display
- A Movable Cart
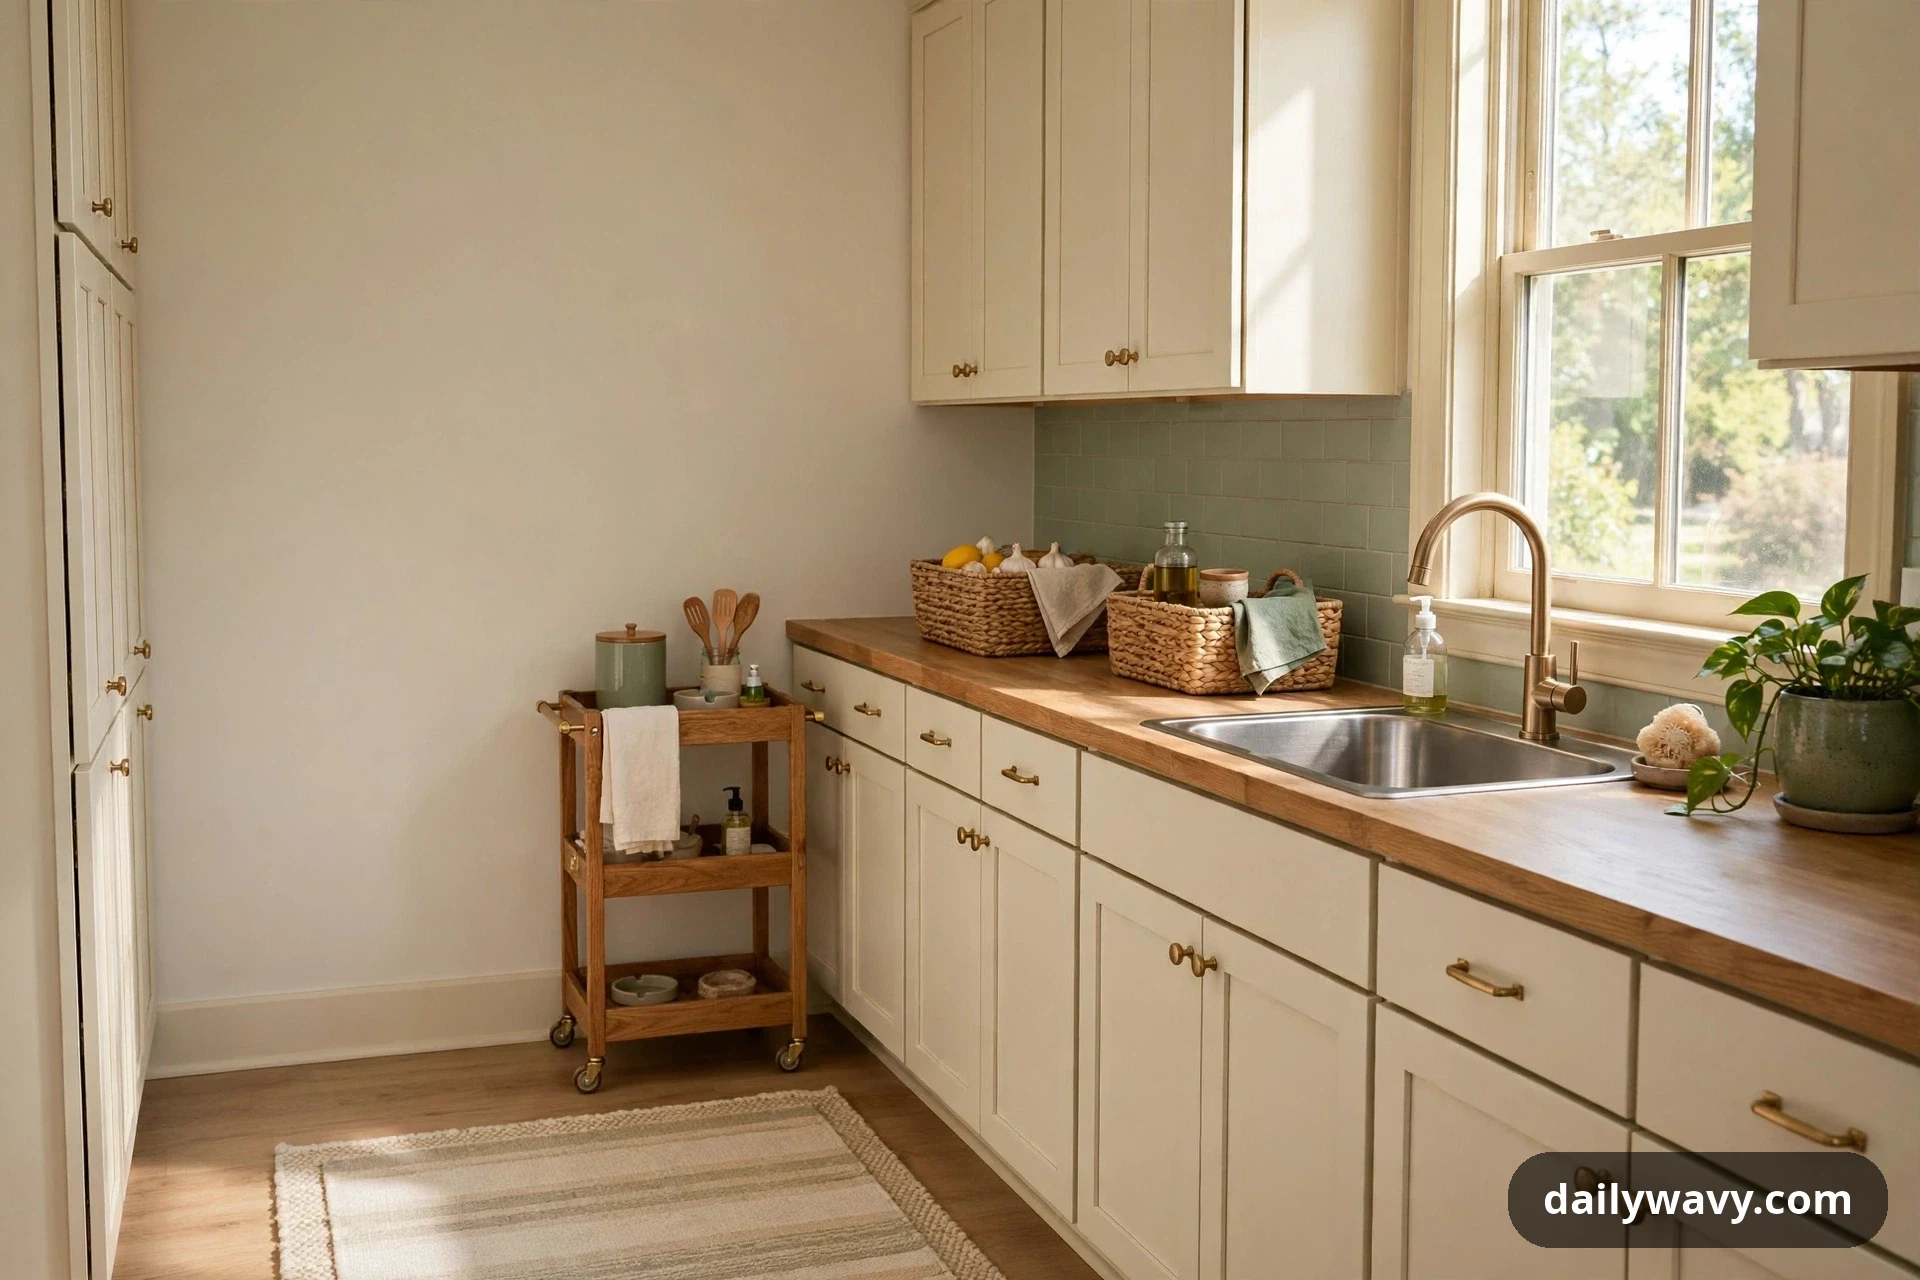
The renter rules before you buy anything
Renter-friendly does not mean fragile. It means planned. Three rules keep every idea below deposit-safe.
Keep everything removable: If it touches a wall, cabinet, or tile, the removal method should be damage-free: removable adhesive, tension, or gravity. When in doubt, do a patch test on a hidden spot and leave it for 48 hours before committing.
Keep the originals: Landlords notice missing cabinet pulls and patched paint far more than they notice a nice rug. Any hardware you swap, keep in a labeled zip bag with its screws so reinstallation takes minutes.
Check the lease once, then relax: Many leases allow anything that does not alter the structure, but rules vary, so check yours. The gray areas are usually paint, wallpaper-style treatments, and adhesive on delicate finishes. One careful read now saves headaches later. If your small kitchen also needs organization help, our small pantry organization ideas offer more storage guidance for small kitchens.
1. A Soft Rug With A Suitable Pad
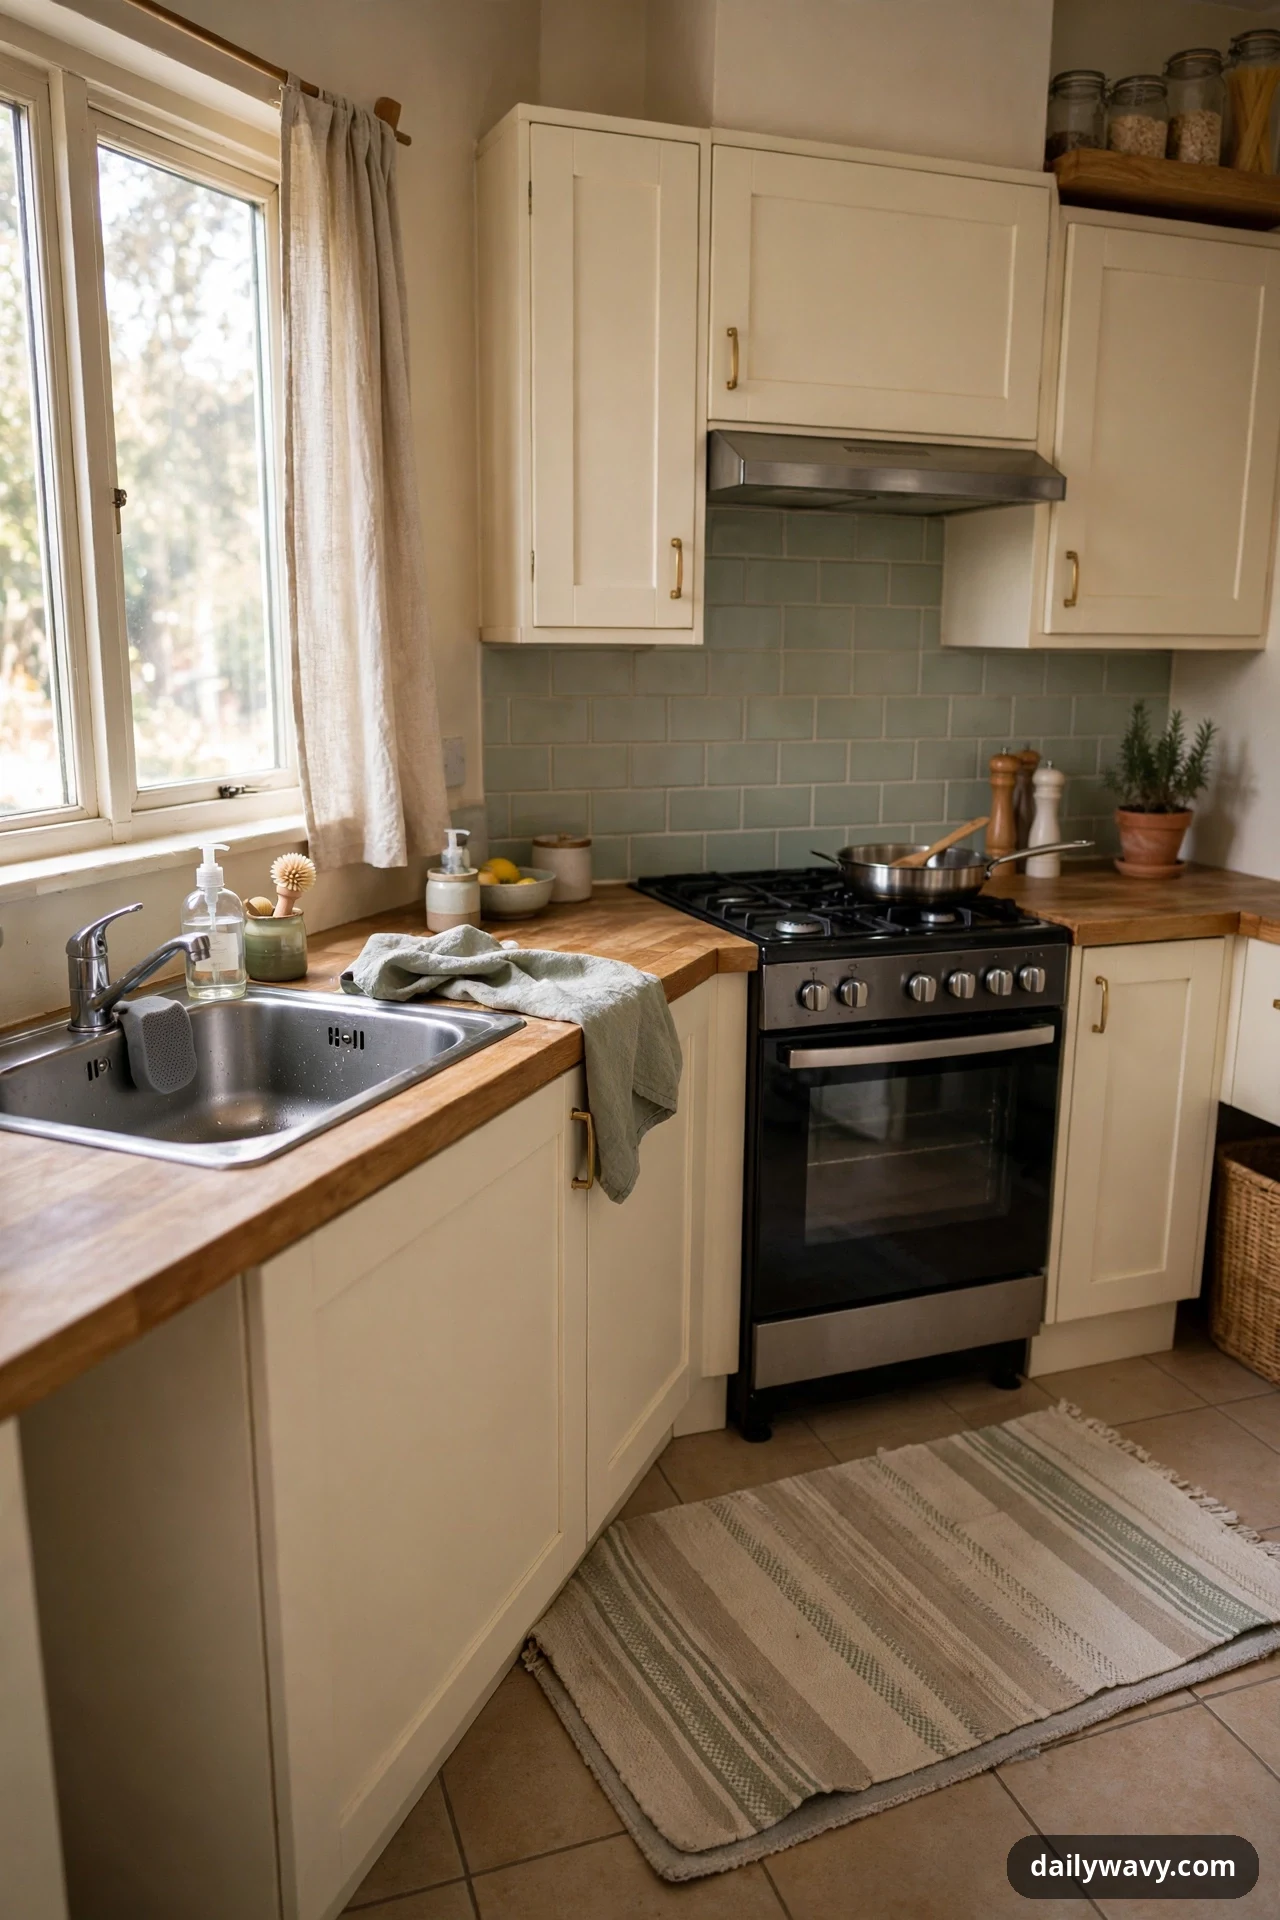
A runner in front of the sink changes a rental kitchen faster than almost anything else, because it covers the one stretch of floor your feet actually feel. Rental vinyl and tile look tired long before they wear out, and a soft low-pile rug in a washable weave covers the tiredness in a single step. Choose a flat or low-loop weave so chair legs and the trash can roll over it without catching, and always use a proper rug pad made for hard floors, never a pad meant for carpet.
What to measure: Measure the clear floor run in front of the sink and stove. Runners come in standard widths of 2 and 2.5 feet; pick one that leaves at least 4 inches of floor showing on each side. Length should end a full foot before the refrigerator door swing so the rug never bunches under the door.
Materials: A low-pile washable runner (cotton, polypropylene, or recycled PET), a rug pad cut 1 inch smaller than the rug on all sides, and double-sided rug tape if the pad slips on glossy tile.
Placement: Center the runner on the sink and stove zone, pad underneath, rug on top. Press the corners down for a day so the pad settles flat.
Approximate effort: Fifteen minutes including measuring. Shake or vacuum weekly; machine-washable runners go in the wash monthly.
Lower-cost alternative: A bath mat-sized cotton rug in front of just the sink covers the hardest-working spot for very little money.
2. A Basket Grouping Daily Essentials

Rental counters tend to collect clutter because the storage inside the cabinets is fixed and awkward. A tight grouping of two or three baskets on the counter corrals the daily essentials, the olive oil, the salt, the paper towels, into one intentional-looking zone instead of a scattered line. Baskets add warmth and texture that rental kitchens are usually missing, and everything still lifts away for a full counter wipe-down.
What to measure: Measure your usable counter depth, usually 24 inches from wall to edge. Your basket group should take up no more than half the depth and sit at least 12 inches from the stove edge so heat and splatter never reach the natural fibers.
Materials: Two or three baskets in natural seagrass, water hyacinth, or cotton rope, in descending sizes (roughly 12, 9, and 6 inches across). A small tray underneath unifies the group and catches drips.
Placement: Cluster at the end of the counter nearest the stove, biggest basket at the back holding tall bottles, smallest in front for daily items. Keep the group 12 inches from the sink edge.
Approximate effort: Ten minutes to gather and arrange. Re-style whenever the basket contents change.
Lower-cost alternative: A single deep basket achieves the same corral effect.
3. A Low-Risk Hardware Swap With Originals Retained
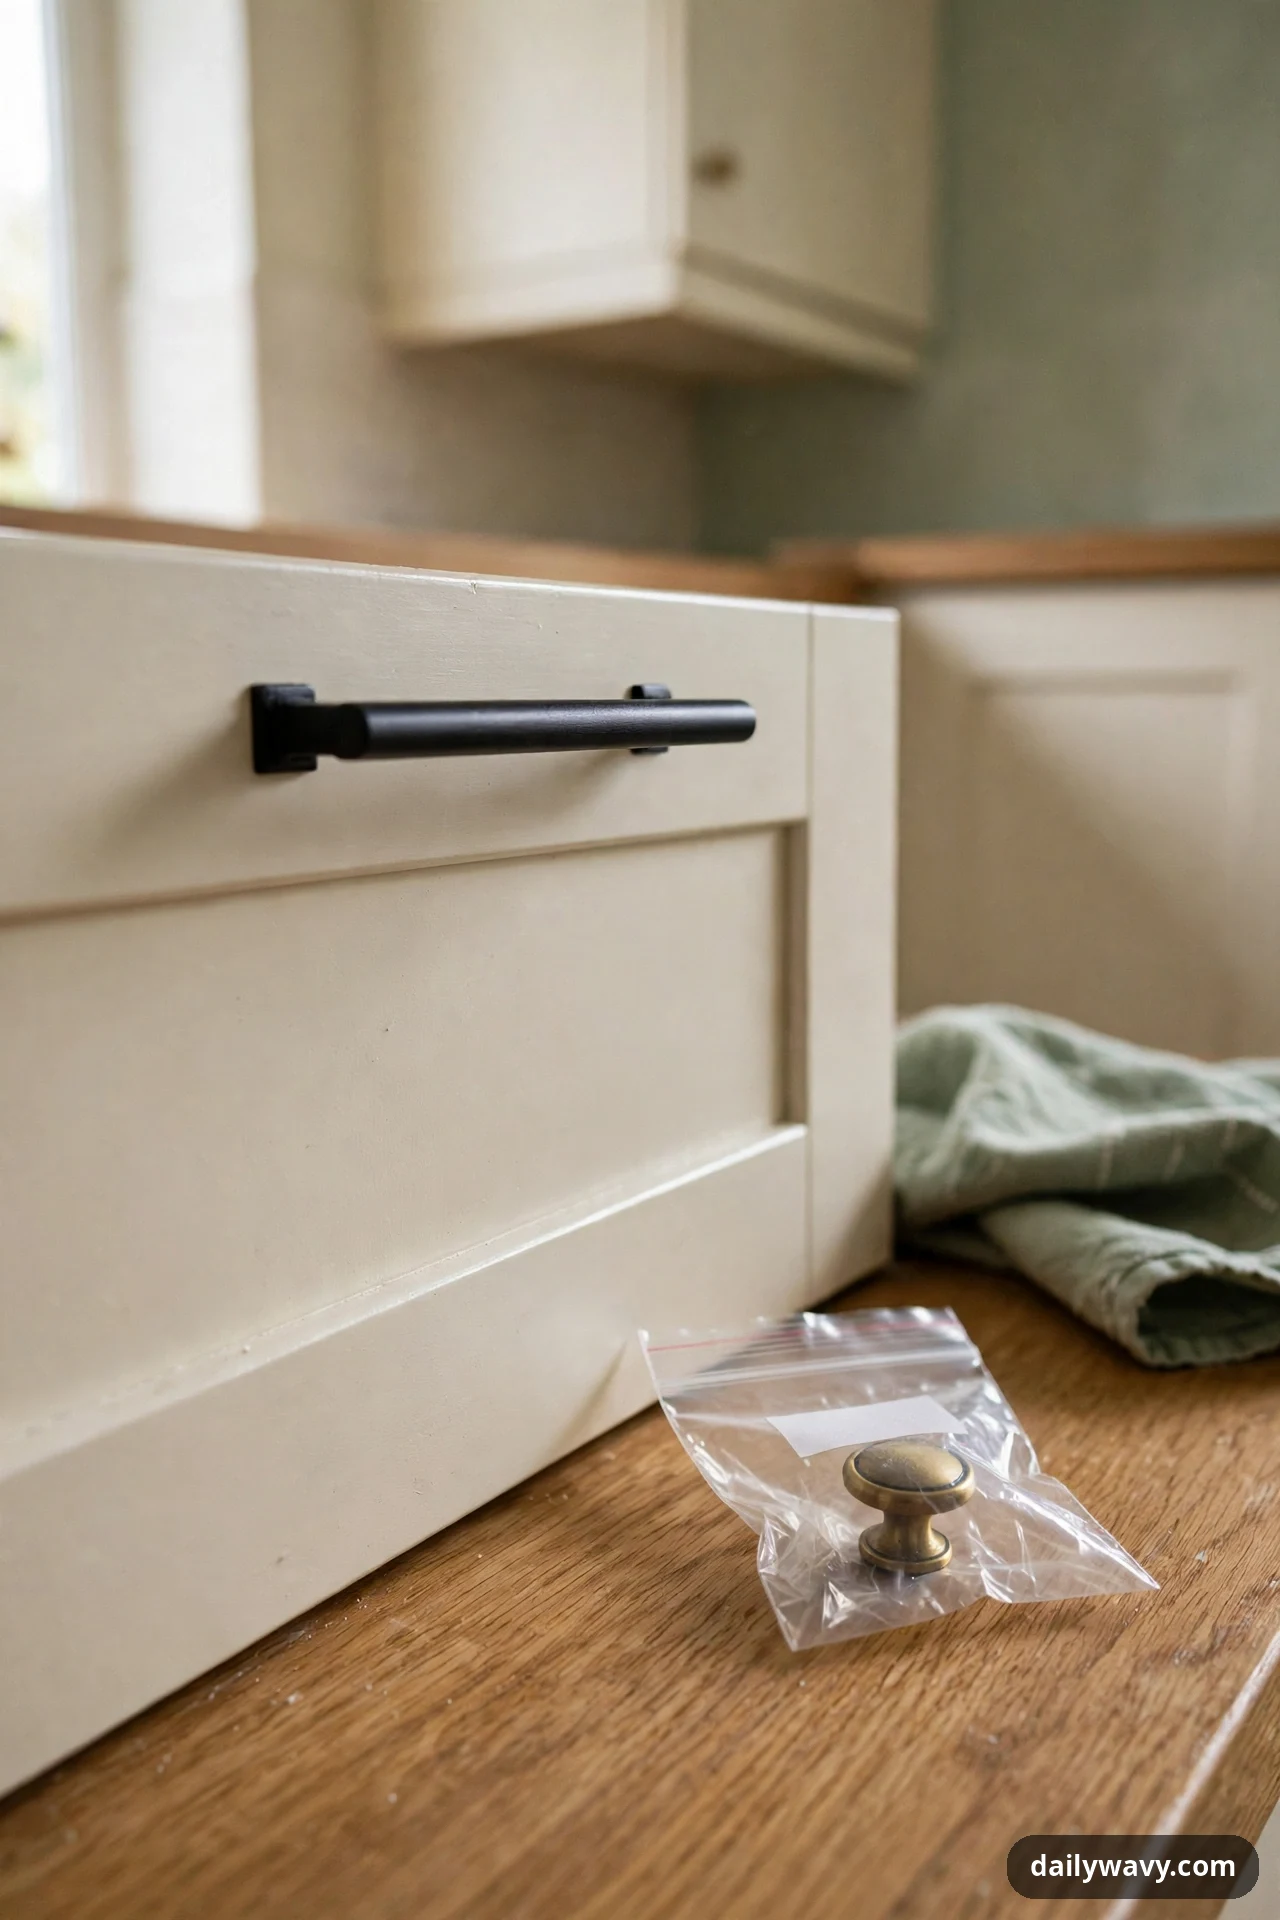
Cabinet knobs and drawer pulls are the jewelry of a kitchen, and in rentals they are almost always the cheapest possible choice. Swapping them is one of the few small changes that reads as dramatic, because your eye touches every handle dozens of times a day. The trick is risk management: keep every original in a labeled bag, buy replacements that match the existing hole spacing exactly, and photograph each door before you touch a screwdriver.
What to measure: Measure the distance between screw holes on the existing pulls (common spacings are 3, 3.75, and 5 inches). Bring one original pull to the store or match the measurement online. Count every handle, including the one on the fake drawer front under the sink.
Materials: Replacement knobs or pulls in your preferred finish, a screwdriver that fits the original screws (usually Phillips), small zip bags, painter's tape and a marker for labeling.
Placement: Remove one handle, fit the replacement, and test the hole spacing before removing the rest. Work cabinet by cabinet so no door is handle-less overnight. Keep the original screws if the new ones do not seat cleanly.
Approximate effort: About an hour for a standard rental kitchen of 15 to 20 handles.
Lower-cost alternative: Swap only the most visible handles, the uppers and the drawers, and leave the lower cabinets original for a still-noticeable lift at half the cost.
4. A Tension-Based Solution Where Suitable
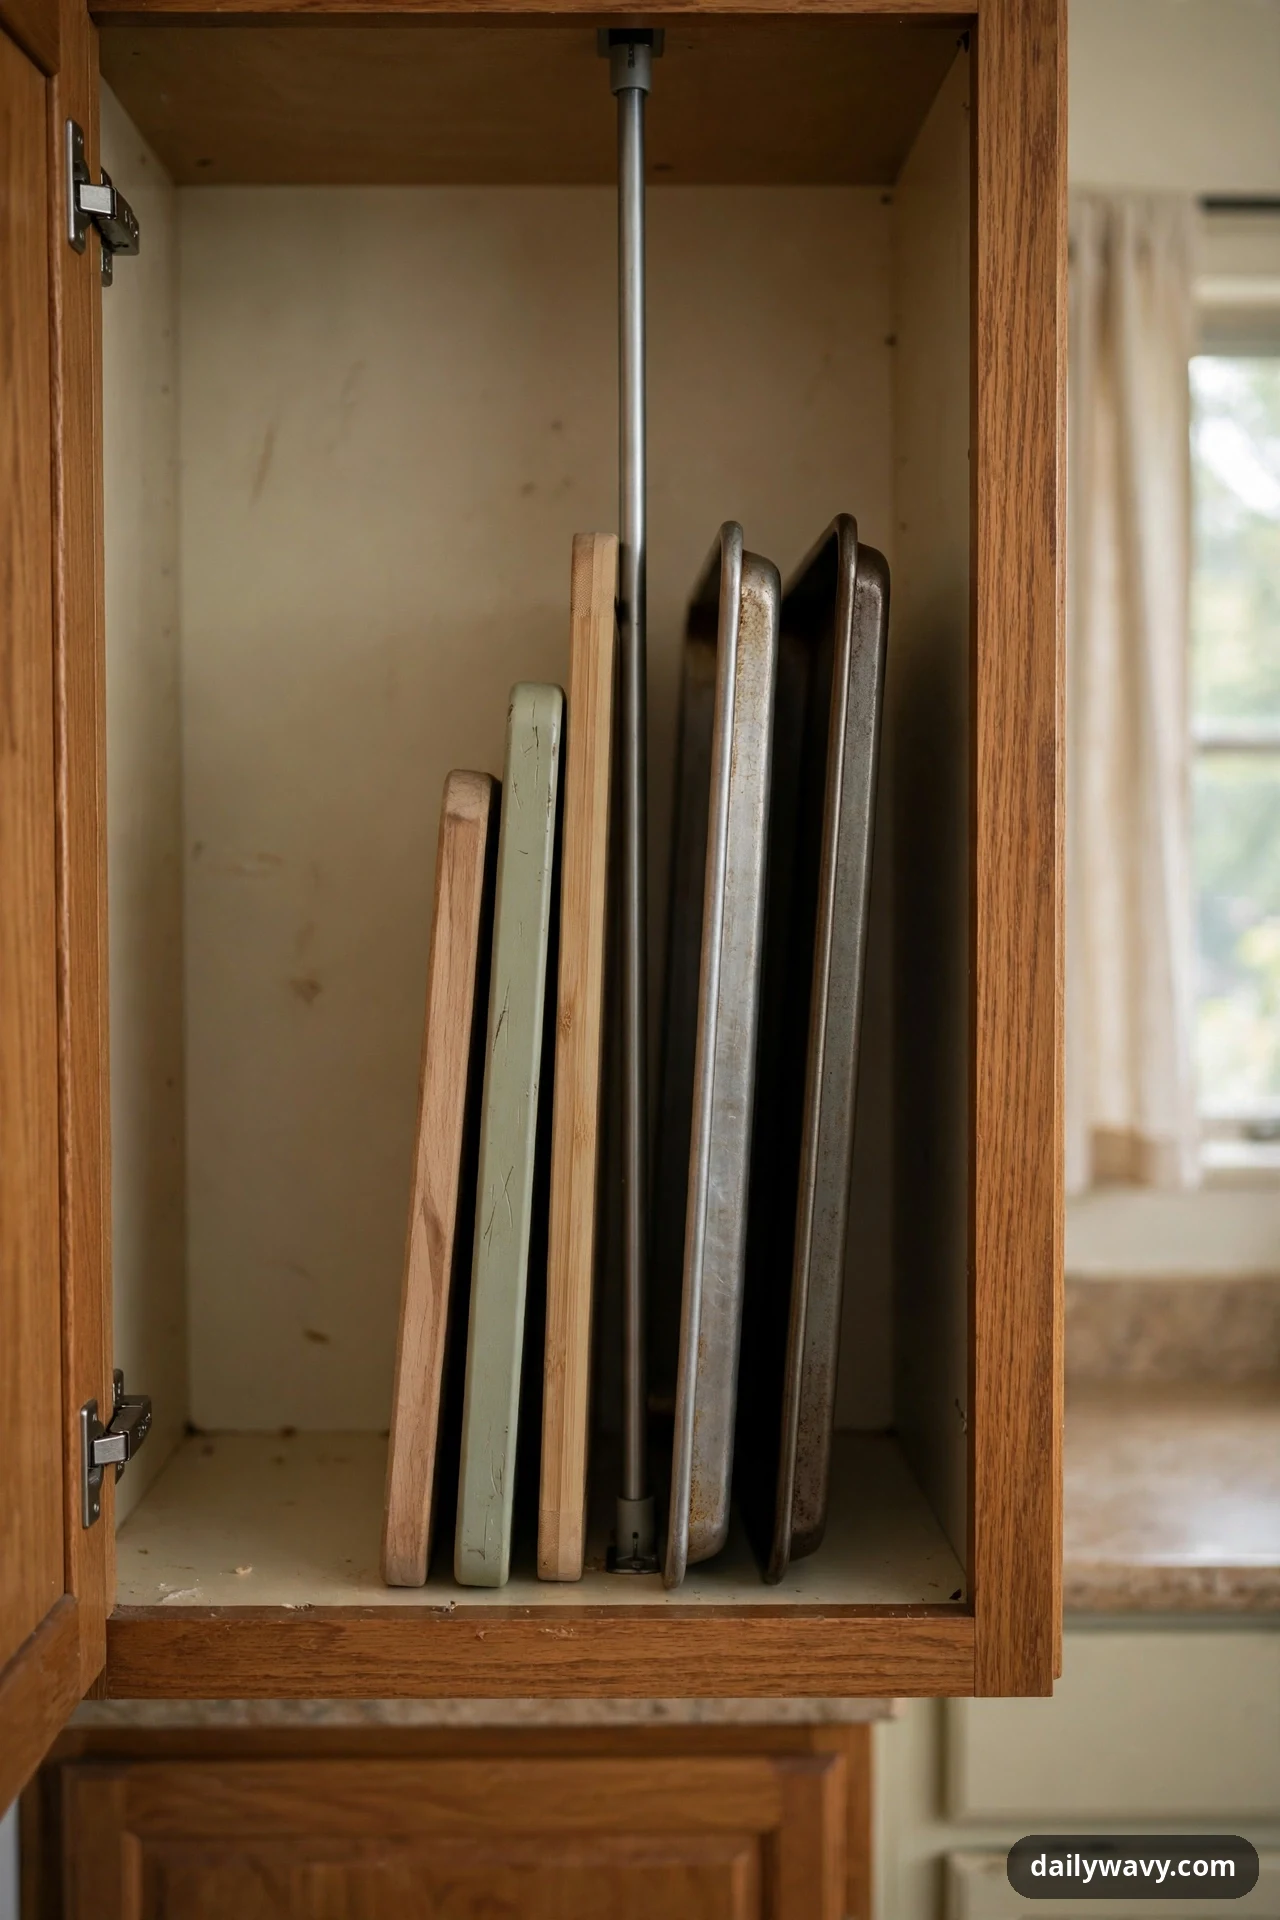
Tension rods are the renter's secret weapon, and they are not just for curtains. A short tension rod inside a cabinet creates an instant vertical divider for cutting boards and baking sheets. One under the sink holds spray bottles. One across a wide window makes a cafe curtain possible with zero hardware. The key phrase is "where suitable": tension works on solid, parallel surfaces within the rod's rated span, and it fails on crumbling plaster or spans longer than the rod's maximum.
What to measure: Measure the exact gap at three points, both ends and the middle, since cabinet interiors are rarely perfectly square. Buy a rod whose range includes your measurement at its middle third, not at its extreme, for the strongest hold.
Materials: Tension rods rated for the span (spring-style for under 30 inches, twist-lock for wider), rubber end caps intact, and a level for curtain applications.
Placement: Twist until the rod feels snug, then give it one firm tug test before loading it. Inside cabinets, position rods so they divide zones without blocking door swing. Check the tension monthly, since humidity changes can loosen springs.
Approximate effort: Five minutes per rod. The under-sink rod is one of the highest-value ten-minute jobs in a rental kitchen.
Lower-cost alternative: One rod used in two places seasonally: curtain rod in winter for insulation, cabinet divider in summer.
5. A Small Plant In A Stable Pot

Nothing says "someone lives here and cares" like a living plant, and kitchens are secretly great homes for them. The humidity from cooking suits herbs and tropicals alike, and the daylight that makes a kitchen pleasant to cook in is usually plenty for a pothos or basil. The renter-specific detail is the pot: choose something heavy and stable with a proper saucer, because a tipped plant on a rental counter means soil in the grout and a mark on the laminate.
What to measure: Measure the spot you have in mind, including height to the cabinet above. A plant's pot diameter should be no more than half the available width, and the plant should clear upper cabinets by at least 6 inches so leaves never brush the wood.
Materials: A 4 to 6 inch plant (pothos, basil, or mint are forgiving; keep pothos out of reach of cats and dogs, since it is toxic if chewed), a ceramic or stoneware pot with drainage and a matching saucer, a cork mat or trivet underneath to protect the counter surface.
Placement: The corner of the counter nearest the window wins. Herbs go by the stove for grabbing while cooking. Never place a pot where the refrigerator door or an upper cabinet door can knock it.
Approximate effort: Twenty minutes including potting. Water when the top inch of soil is dry.
Lower-cost alternative: A grocery-store basil plant in its nursery pot set inside any heavy bowl, replaced monthly as you cook through it.
6. A Removable Organizer With Checked Load Limits
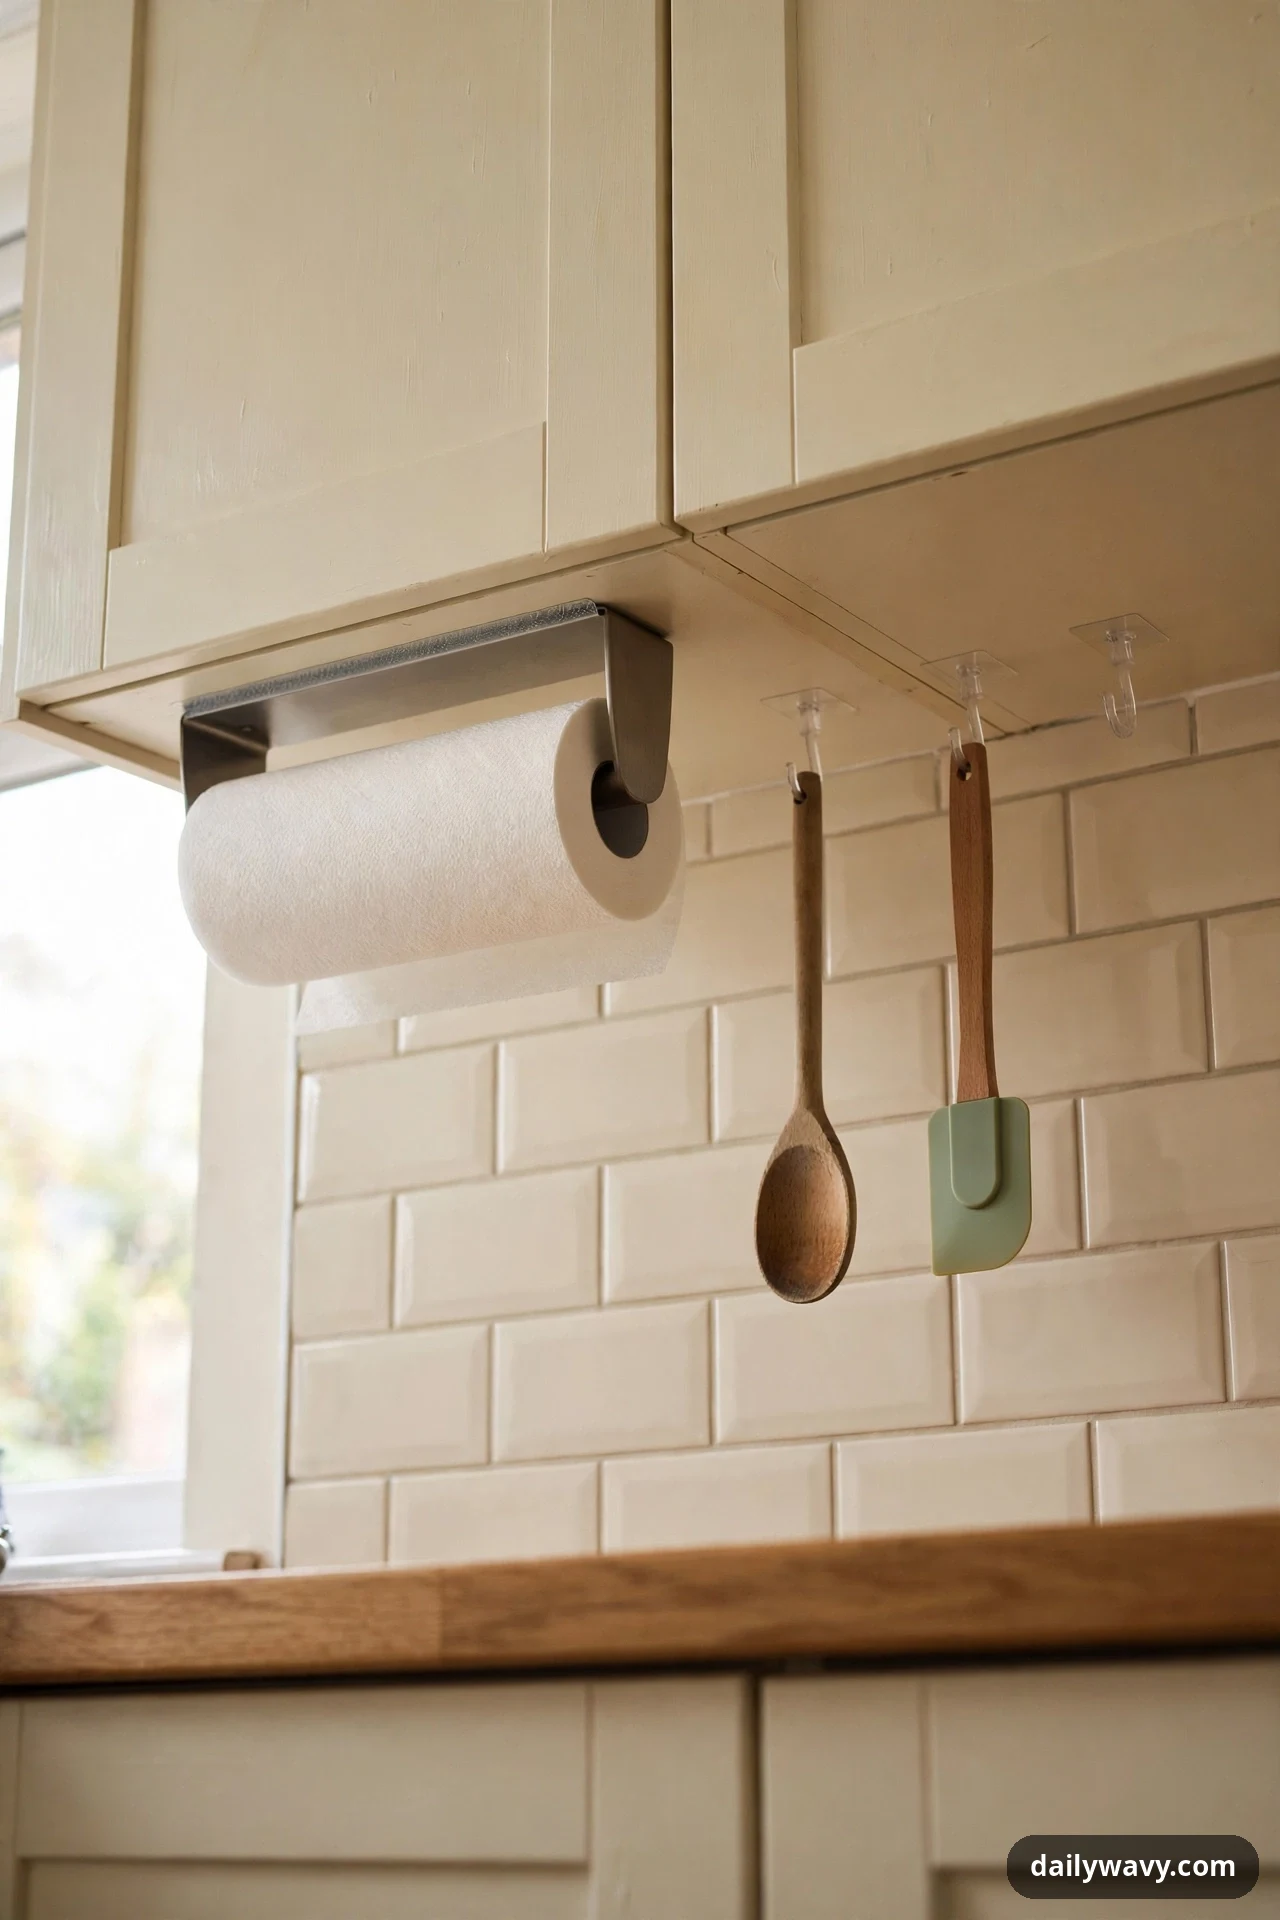
Adhesive-mounted organizers, hooks, paper-towel holders, and spice racks, solve the rental kitchen's biggest complaint: nowhere to put things. But every adhesive has a load limit, and exceeding it means a crash that can chip a tile or dent a cabinet door. Check the package rating, weigh or estimate what you will hang, and stay under two-thirds of the stated limit for anything mounted above a hard surface. On textured or porous walls, adhesive often fails, so stick to smooth tile, glass, metal, and sealed cabinet sides.
What to measure: Measure the mounting surface and the weight of the items you plan to hang. A paper-towel holder only needs to carry one roll (under 1 pound), while a spice rack with twelve full jars can top 6 pounds. Match the organizer's rating with real margin.
Materials: Removable adhesive strips or mounts rated for the load, the organizer itself, rubbing alcohol and a clean cloth for surface prep, and a kitchen scale for honest weight checks on heavy items.
Placement: Clean the surface with alcohol, press the mount for a full 30 seconds, and wait the full curing time on the package, usually an hour, before loading. Mount paper-towel holders under upper cabinets where the roll is reachable but out of the splash zone.
Approximate effort: Twenty minutes per organizer including surface prep and cure time.
Lower-cost alternative: A single strip of three adhesive hooks near the stove handles utensils, towels, and the dustpan for a few dollars.
7. A Freestanding Mirror Secured Appropriately
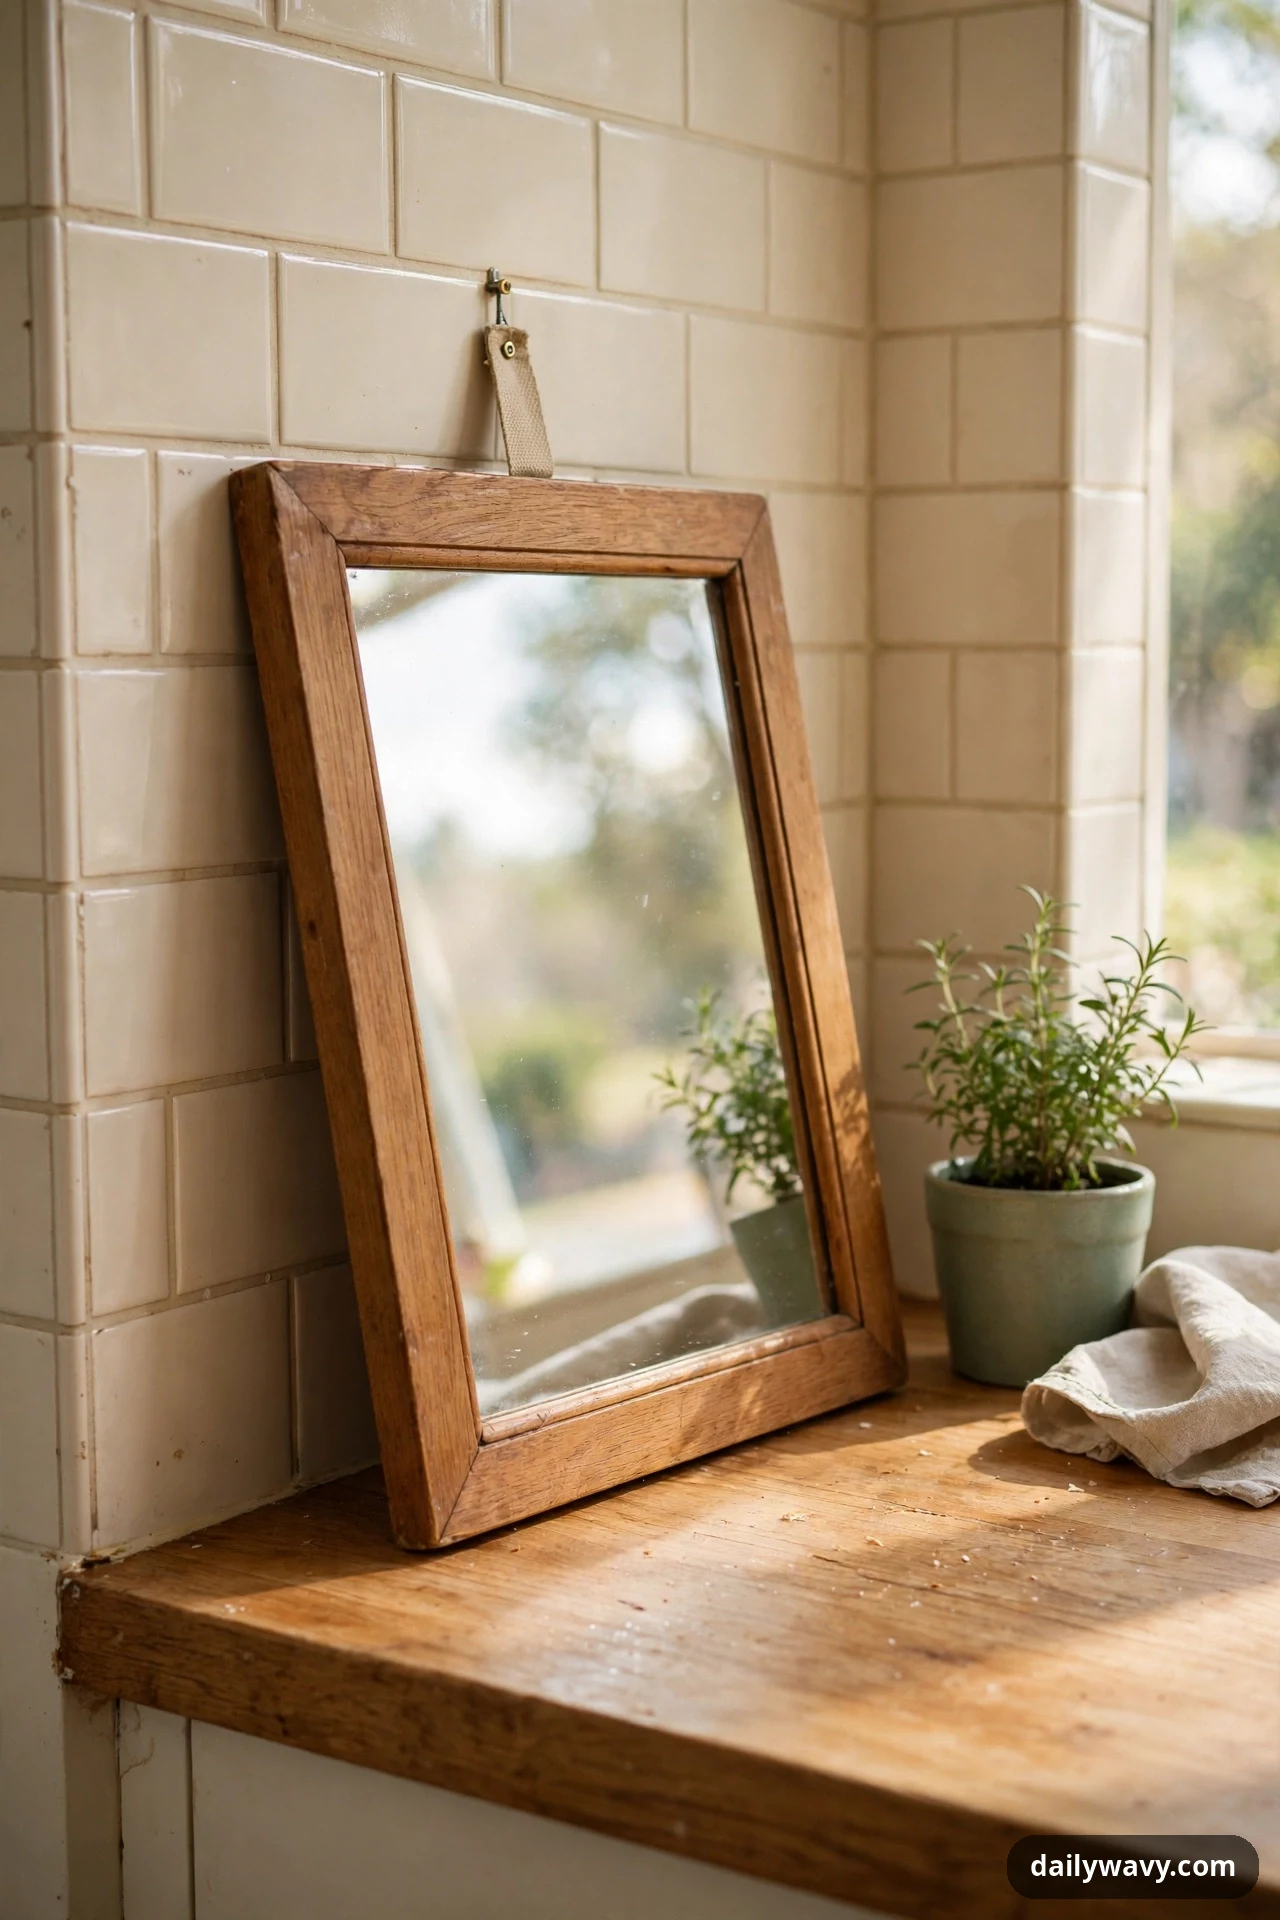
A mirror sounds odd for a kitchen until you see what it does to a dark rental galley. Leaned against the wall on a counter or shelf, a mirror bounces window light deep into the room and doubles the sense of depth. "Secured appropriately" is the whole point: a leaning mirror needs a stable base, a slight backward tilt, and an anti-tip measure, especially in households with kids or pets. Use furniture straps or museum putty on the frame's top edge, and never lean a mirror where a slammed cabinet door could reach it.
What to measure: Measure the counter depth and the wall height available. The mirror's base should sit fully on the surface with at least 2 inches of counter in front of it, and the top should clear any shelf or cabinet above by 4 inches.
Materials: A framed mirror 12 to 18 inches tall, furniture anti-tip straps or removable adhesive pads, a small easel back if the frame lacks one, and a soft cloth for streak-free cleaning.
Placement: Lean at a 5 to 10 degree backward tilt against the backsplash or wall, in the darkest corner of the counter where it catches the window. Secure the top edge to the wall with the strap or putty.
Approximate effort: Fifteen minutes including securing. Wipe weekly, since kitchen grease films mirrors fast.
Lower-cost alternative: A round vanity mirror you already own, propped on a small plate stand, achieves the same light bounce.
8. A Table-Top Display With Useful Objects

A rental kitchen rarely has room for pure decoration, so let the display do work. A wooden board leaning on the backsplash, a small stack of beautiful bowls, a row of olive oil and vinegar in matching bottles, these are things you use daily, arranged to look intentional. The trick is editing: pick five to seven objects you genuinely reach for, remove everything else from that stretch of counter, and let the useful things be the decor.
What to measure: Measure the counter run you want to style and the height to the upper cabinet. Objects should stay under two-thirds of that height so the display never crowds the cabinets. Leave at least 12 inches of clear counter on each side for actual cooking.
Materials: A small wooden or stone board, two to three matching bottles or jars, a folded linen towel, and one small plant or candle-free accent. Choose items you use weekly so nothing is purely decorative.
Placement: Layer back to front: board leaning on the backsplash, tallest bottles behind, folded towel and small bowl in front. Group on a tray if the counter is short, so the whole display moves for cleaning.
Approximate effort: Twenty minutes of gathering and arranging. Tweak as seasons and supplies change.
Lower-cost alternative: Decant dish soap, oil, and vinegar into matching jars you already own, labels removed, for a coordinated look at zero cost.
9. A Fabric Panel Adding Color

A big blank rental wall is an opportunity wearing a disguise. A fabric panel, a flat textile hung with removable hooks or a tension rod, adds a wash of color and pattern with zero paint and zero holes. Because it is fabric, it also softens the hard echo of a tile-floored rental kitchen. Choose a washable cotton or linen, since kitchen air carries grease, and size it like art: roughly two-thirds the width of whatever sits beneath it.
What to measure: Measure the wall space and the furniture below it. A panel 24 to 36 inches wide suits most kitchen walls. If using a tension rod in a window, measure the frame as with idea 4. For hook-hung panels, plan for two removable hooks rated for the fabric's weight.
Materials: One to two yards of washable fabric, removable adhesive hooks or a tension rod, and a dowel or cafe clips if you want a clean top edge. Hem the raw edges with iron-on hem tape.
Placement: Center the panel over the table, cart, or blank wall at roughly eye level, 57 inches to the center is the standard gallery height. Keep fabric at least 24 inches from the stove and any open heat source.
Approximate effort: Thirty minutes including hemming and hanging. Machine wash quarterly.
Lower-cost alternative: A flat-woven tablecloth or curtain panel from a thrift store, pressed and hung, gives the same color moment.
10. A Shelf Insert That Does Not Alter Cabinetry

Rental cabinets waste vertical space: one tall shelf where two would fit. Freestanding shelf inserts, small wire or wood risers that sit inside the cabinet, double the usable levels without a single screw. They are the cheapest square footage you will ever buy in a kitchen. Measure twice, because inserts come in fixed widths and a cabinet interior that is 14.5 inches wide will not forgive a 15-inch insert.
What to measure: Measure the interior width, depth, and the height between shelves of each cabinet you want to improve. Note any door hinges or shelf pins that eat into the space. Buy inserts at least half an inch narrower than the smallest measurement.
Materials: Stackable wire or bamboo shelf risers, a tape measure, and non-slip shelf liner to keep the insert from sliding and to protect the cabinet surface.
Placement: Set the liner first, then the insert, then load the lower level with daily items and the upper with lighter, less-used ones. Keep inserts out of the cabinet that holds the trash or cleaning supplies, where spills are likely.
Approximate effort: Ten minutes per cabinet. The pantry cabinet is the highest-value target.
Lower-cost alternative: A sturdy small box or upside-down storage bin inside the cabinet creates a free second tier.
11. A Lightweight Divider
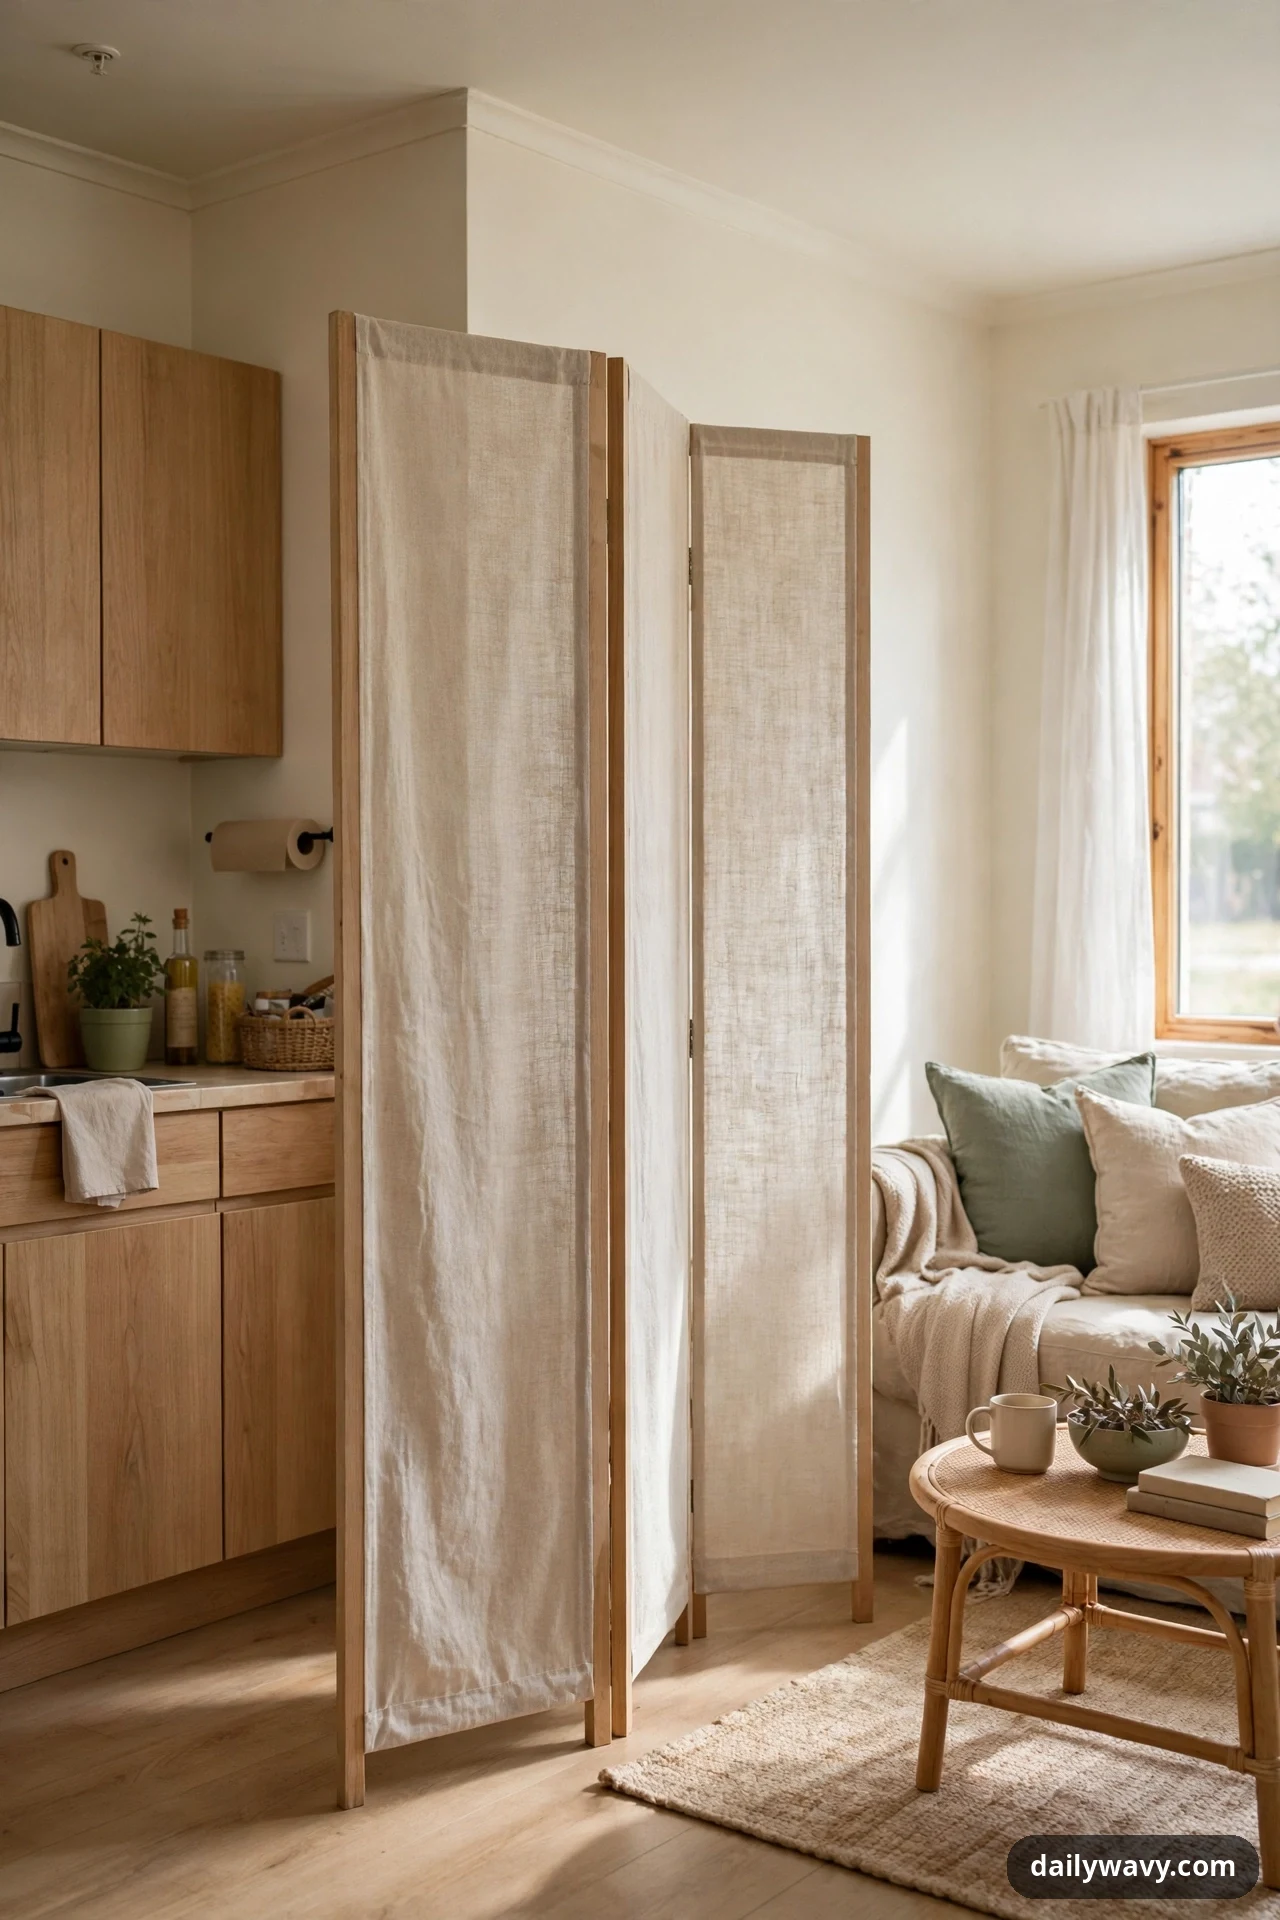
Open-plan rentals often leave the kitchen visually tangled with the living room, which makes both spaces feel smaller. A lightweight divider, a folding screen, an open bookshelf, or a tall plant on a stand, draws a soft boundary that the eye reads as "two rooms" without any construction. Because it is freestanding, it moves with you and rearranges in minutes when you want the space back.
What to measure: Measure the span you want to suggest, not block. A divider should cover roughly half to two-thirds of the opening; full coverage reads as a wall and kills the light. Note ceiling height if the divider is tall, and floor clearance for any rug it stands on.
Materials: A three-panel folding screen, an open-backed bookshelf, or two tall plants on matching stands. Felt pads under the feet protect rental floors.
Placement: Angle the divider slightly rather than setting it dead straight; an angle reads as styling, not barricade. Keep at least 36 inches of walkway on the main path through the space.
Approximate effort: Twenty minutes including felt pads and styling the shelves or panels.
Lower-cost alternative: A tension rod with a curtain panel across part of the opening divides the space for the price of lunch.
12. A Tidy Cable-Routing Solution
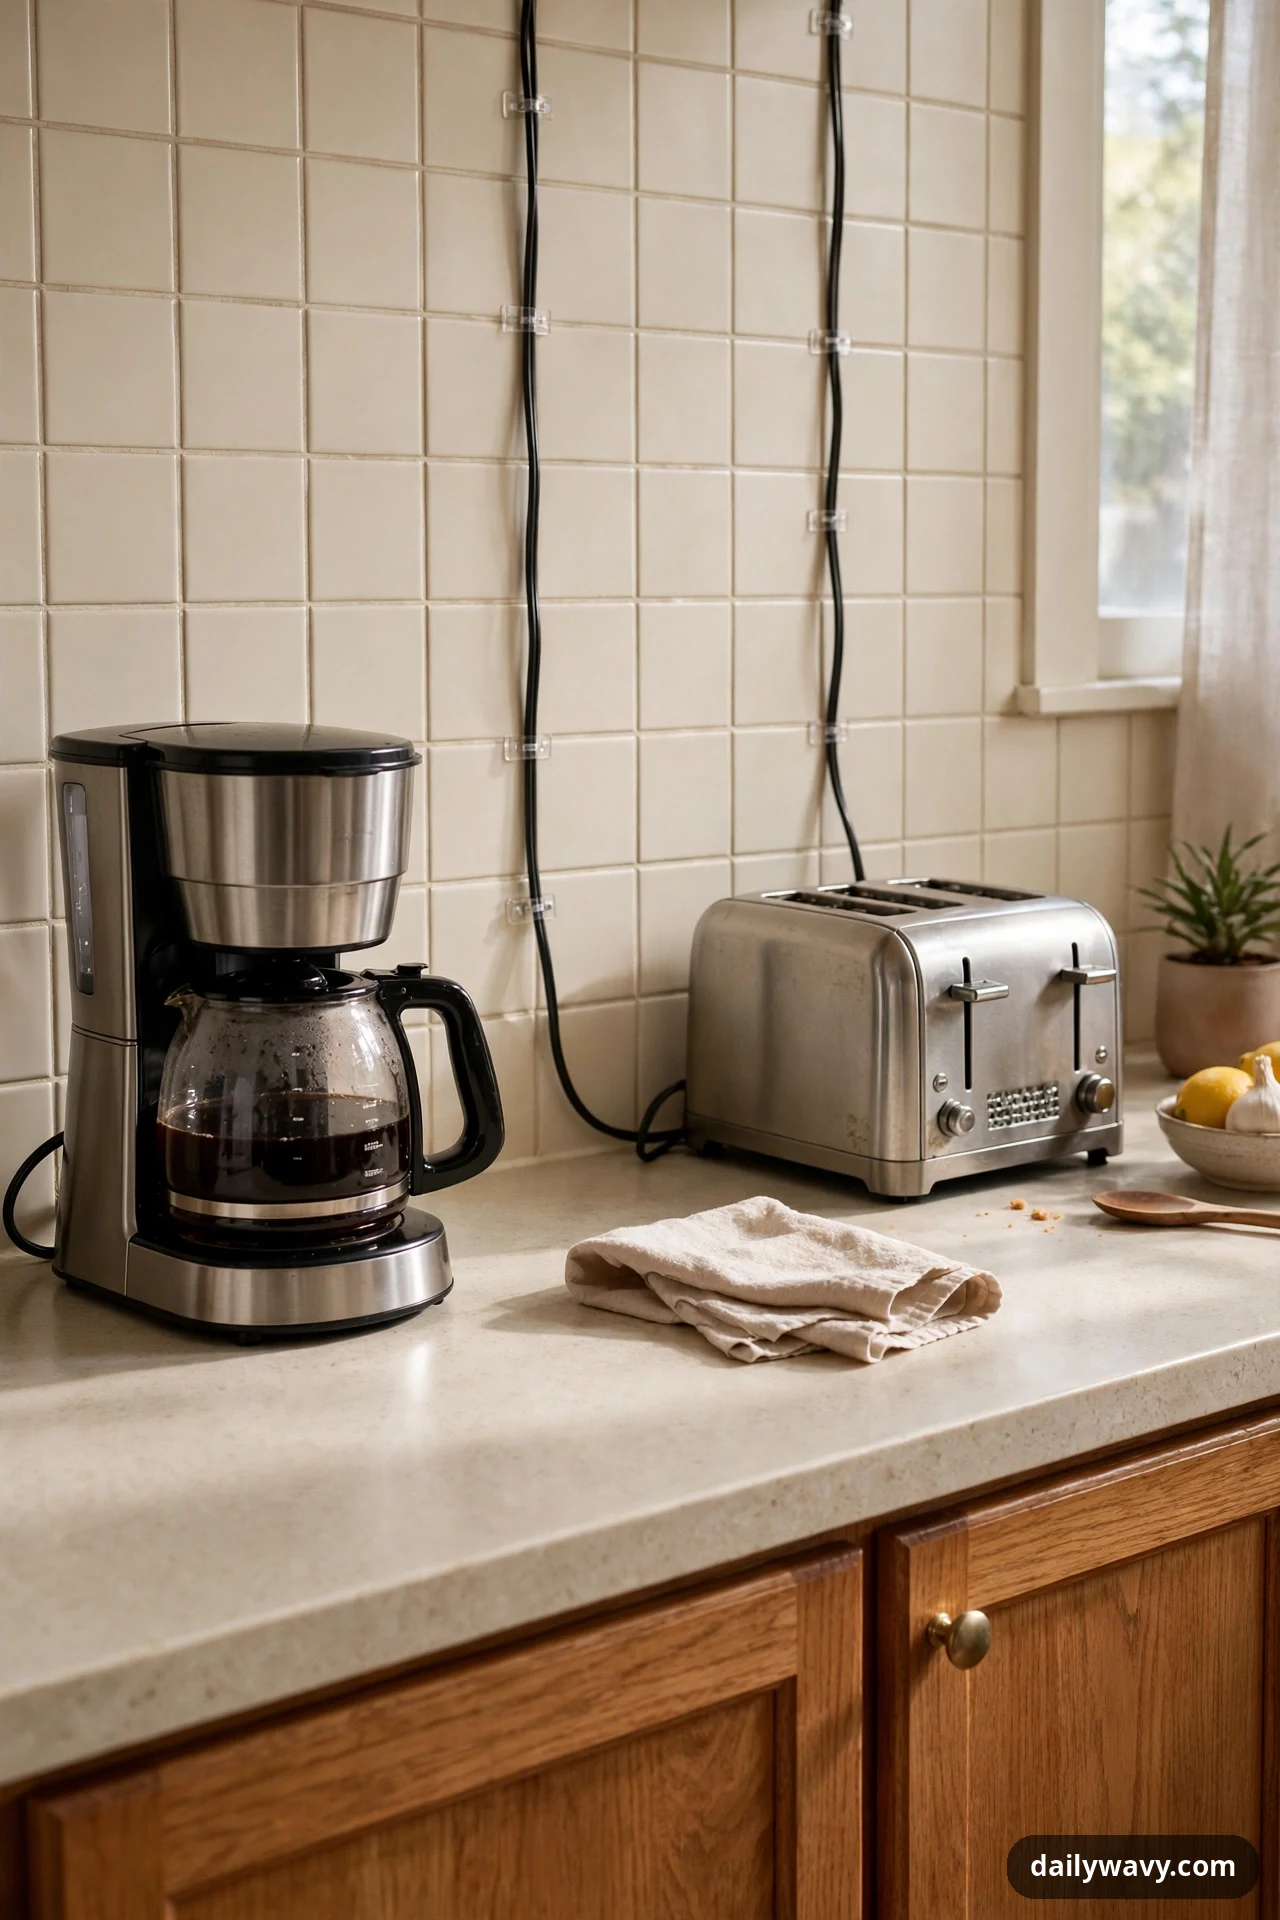
Coffee makers, toasters, and phone chargers turn rental counters into cable nests, and there is usually only one outlet to serve them all. Adhesive cable clips and a small cord cover channel route every cable along the backsplash and down behind the counter in neat lines. The renter caution is placement: keep all routing in dry locations, never across the sink or stove, and never pin a cable where a hot appliance sits. Unplug and inspect cords seasonally, since kitchen heat and grease age them faster. Treat any extension cord as a short-term fix only, never as permanent wiring, and never run one under a rug or behind the stove.
What to measure: Measure the distance from each appliance to the outlet and add 6 inches of slack per run. Count how many cables need routing so you buy enough clips, usually one clip every 8 to 10 inches.
Materials: Adhesive cable clips rated for the cable weight, a paintable cord cover channel if cables must cross a visible wall, zip ties for bundling, and a small label maker or tape for identifying chargers.
Placement: Route cables down and back, hugging the backsplash seam, never across the work surface. Bundle the charger cables separately from appliance cords so daily unplugging does not disturb the neat runs.
Approximate effort: Twenty-five minutes for a typical two-appliance setup.
Lower-cost alternative: A single adhesive hook behind each appliance gathers its cable in a loose loop, hiding most of the mess.
13. A Coordinated Container Set
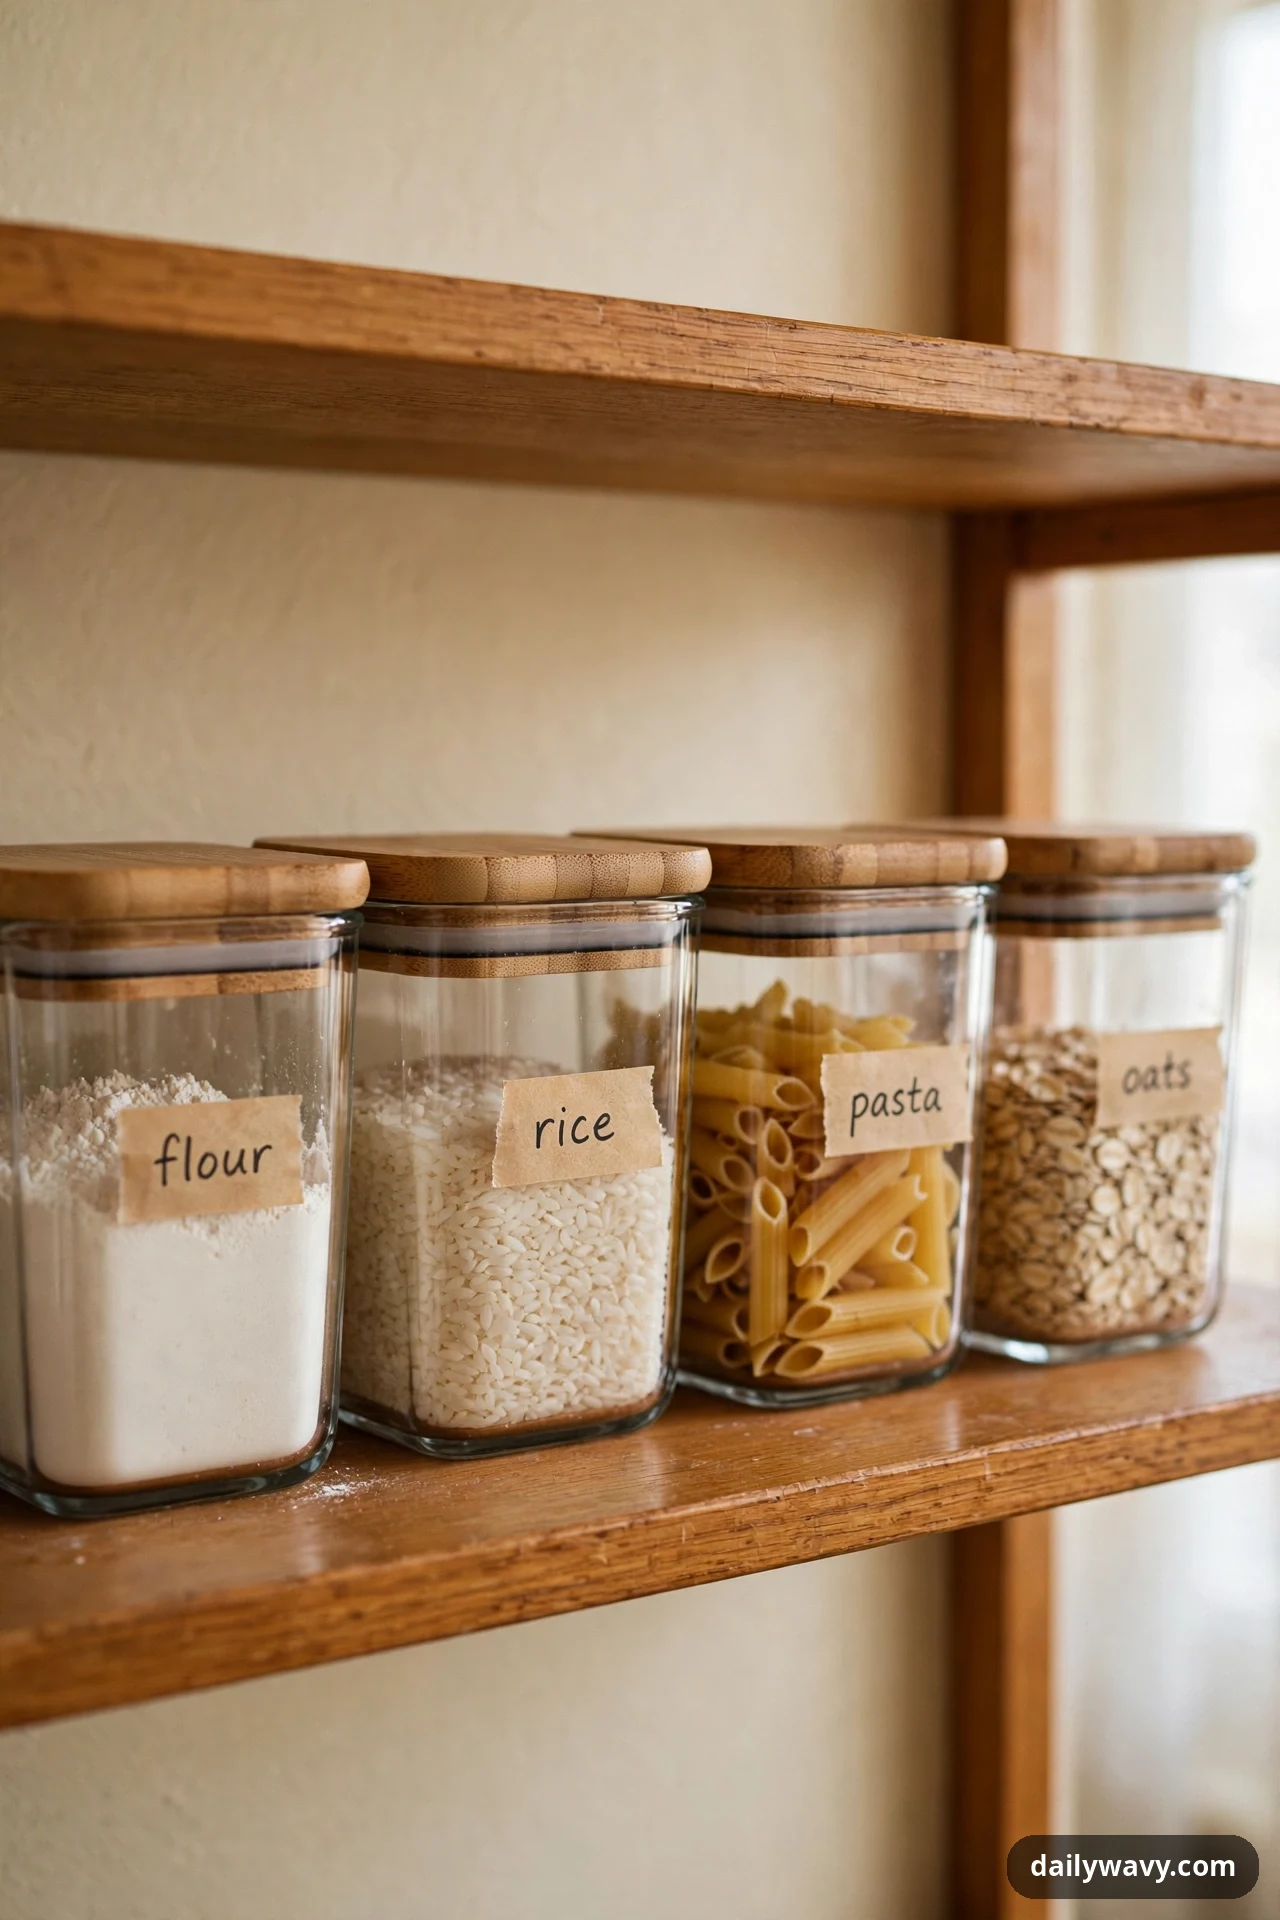
Mismatched packaging is the visual noise of a rental kitchen: cereal boxes, chip bags, and takeout containers in clashing colors. Decanting dry goods into a coordinated set of containers, same material, same lids, similar shapes, quiets the whole room at once. It also keeps food fresher, since airtight containers beat folded bags. Start with the five things you buy most often rather than decanting the entire pantry in one expensive afternoon.
What to measure: Measure the shelf height and depth where the containers will live. Standard containers are 6 to 10 inches tall; make sure the tallest fits under the shelf above with an inch to spare. Measure your most-bought staples by volume so the containers are right-sized, not aspirational.
Materials: Five to eight airtight containers in glass or BPA-free plastic with matching lids, a funnel for decanting, and small labels with the contents and date.
Placement: Group by use: baking together, breakfast together, snacks together. Heaviest containers on the lowest shelf. Keep one empty container in the set for the next bulk buy.
Approximate effort: An hour including decanting and labeling the first five staples.
Lower-cost alternative: Uniform mason jars in two sizes cover most dry goods for a fraction of a matched designer set.
14. A Portable Seating Or Surface Solution

Small rental kitchens rarely have room for a permanent table, but they desperately need a landing spot. A folding stool that doubles as a step, a narrow drop-leaf table, or a sturdy tray table gives you somewhere to set groceries, perch with coffee, or reach the high shelf, and it all folds flat when the kitchen needs to be a kitchen again. Portability is the renter superpower: nothing is installed, nothing is permanent.
What to measure: Measure your folded-storage spot first: the gap beside the fridge, behind a door, or under a window. Then measure the open footprint and make sure at least 36 inches of walkway remain when the piece is in use. For step stools, check the rated weight capacity.
Materials: A folding step stool, drop-leaf table, or tray table rated for your weight plus groceries. Felt pads for the feet, and a non-slip mat on the step surface if you will stand on it.
Placement: Park it folded in its storage spot. Open it only when needed, near the counter where you unload groceries or the cabinet you cannot reach. Never stand on a chair; a proper step stool is wider, grippier, and rated for the job.
Approximate effort: Ten minutes to assemble if flat-packed, then zero, it just lives in the kitchen.
Lower-cost alternative: A sturdy wooden crate flipped on its side works as a side table and stores produce inside.
15. A Freestanding Storage Piece
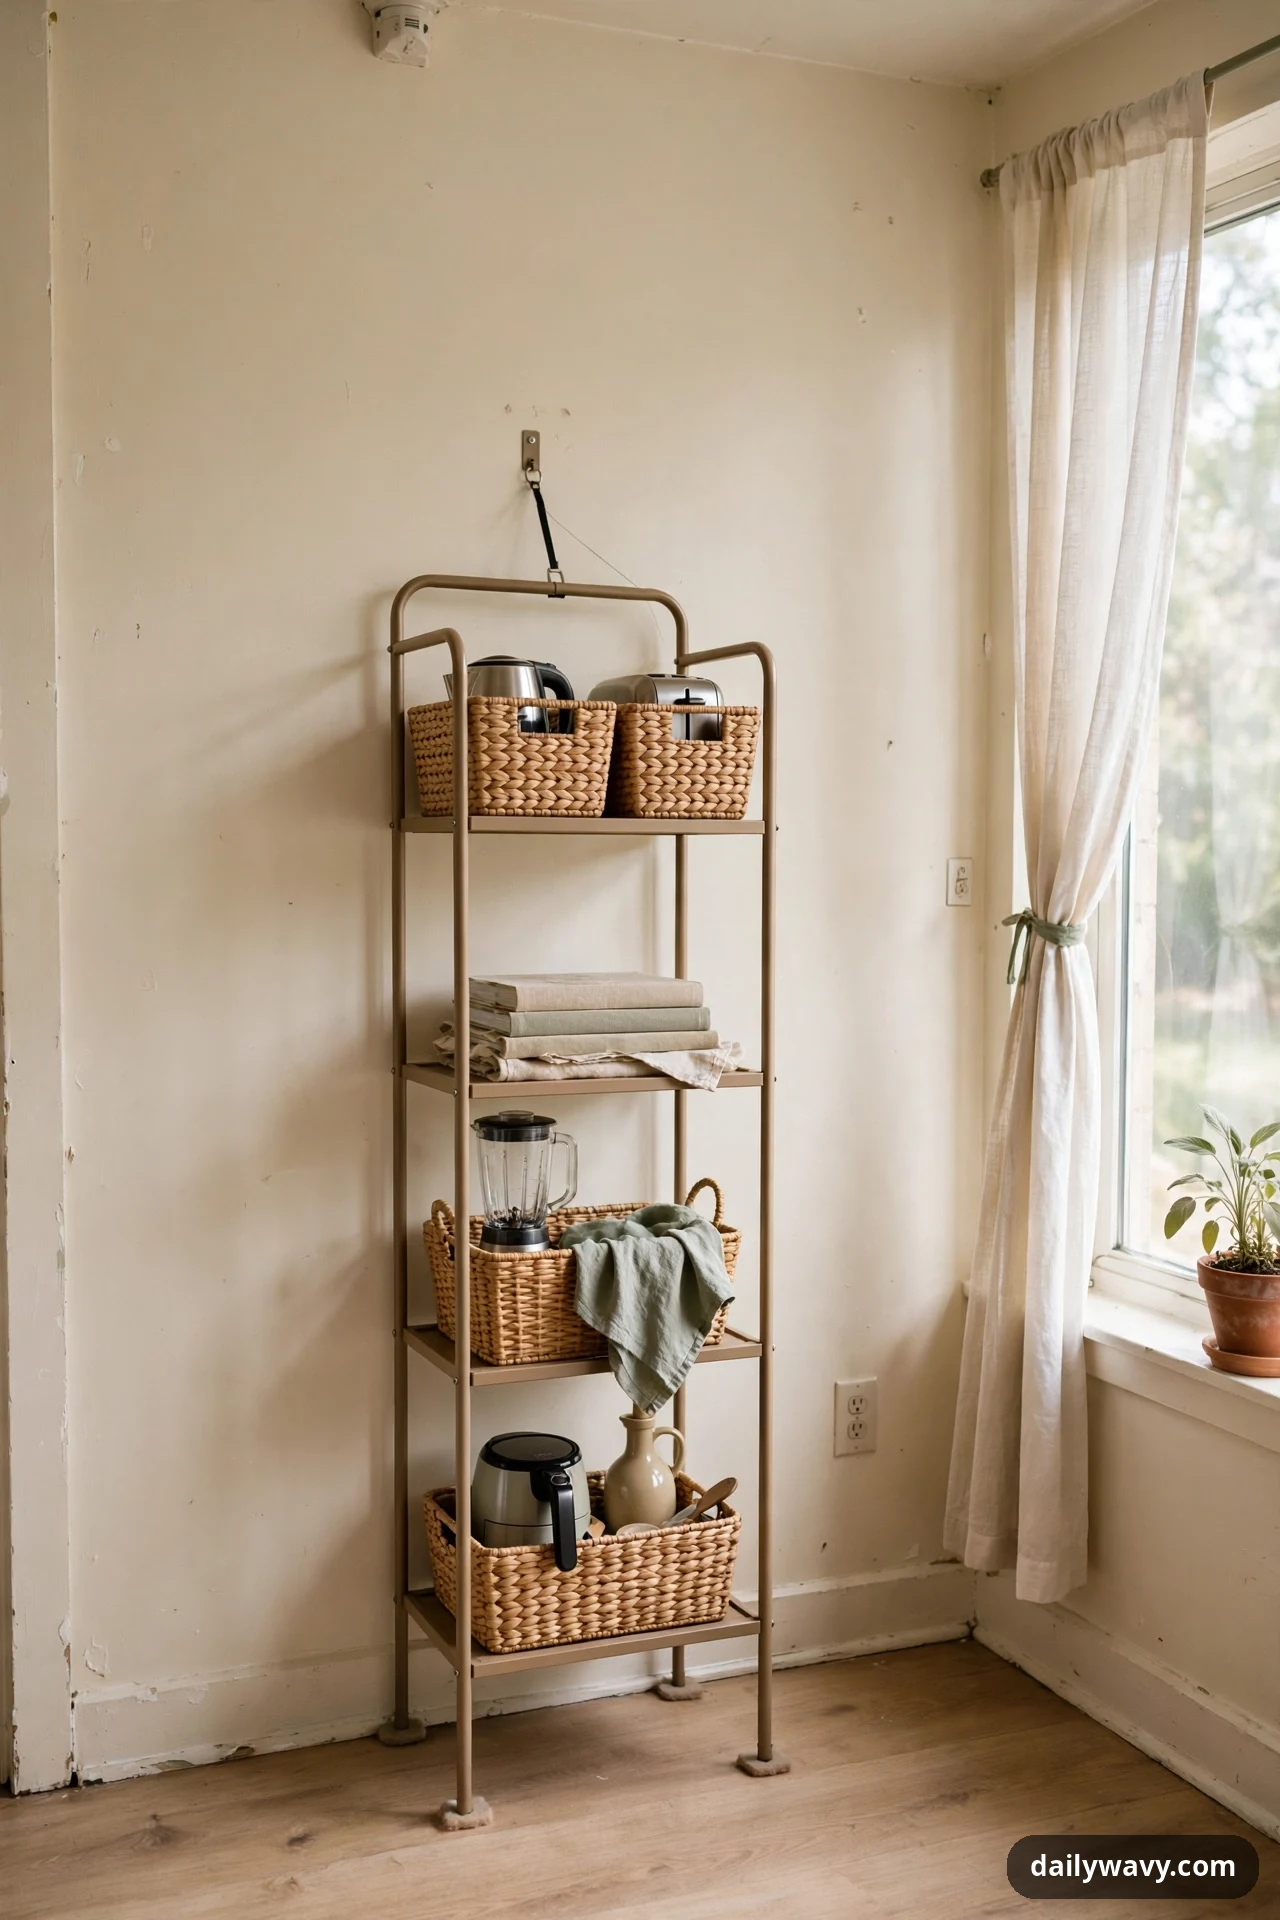
When the cabinets run out, and in rentals they always run out, a freestanding piece adds storage without touching a wall. A narrow bookcase, a baker's rack, or a small hutch against a blank wall holds the overflow: small appliances, cookbooks, the good dishes. Anchor it if it is tall and the household includes kids or pets, using removable furniture straps rather than wall screws, and keep the heaviest items on the lowest shelf so the center of gravity stays low.
What to measure: Measure the wall space and the depth you can spare; most kitchens can give up 12 to 16 inches along one wall without blocking flow. Measure door swings and walkways to keep 36 inches of clearance in the main path.
Materials: A freestanding shelf, rack, or hutch that fits the space, removable anti-tip furniture straps, felt pads for the feet, and baskets or bins to keep open shelves tidy.
Placement: Set it on the least-trafficked wall, strap the top to the wall with the removable straps, and load bottom-heavy. Style the top shelf for looks, the lower shelves for daily function.
Approximate effort: Thirty to sixty minutes including assembly and anchoring.
Lower-cost alternative: A thrifted bookcase painted to match your textiles adds the same storage for very little.
16. A Washable Textile Accent
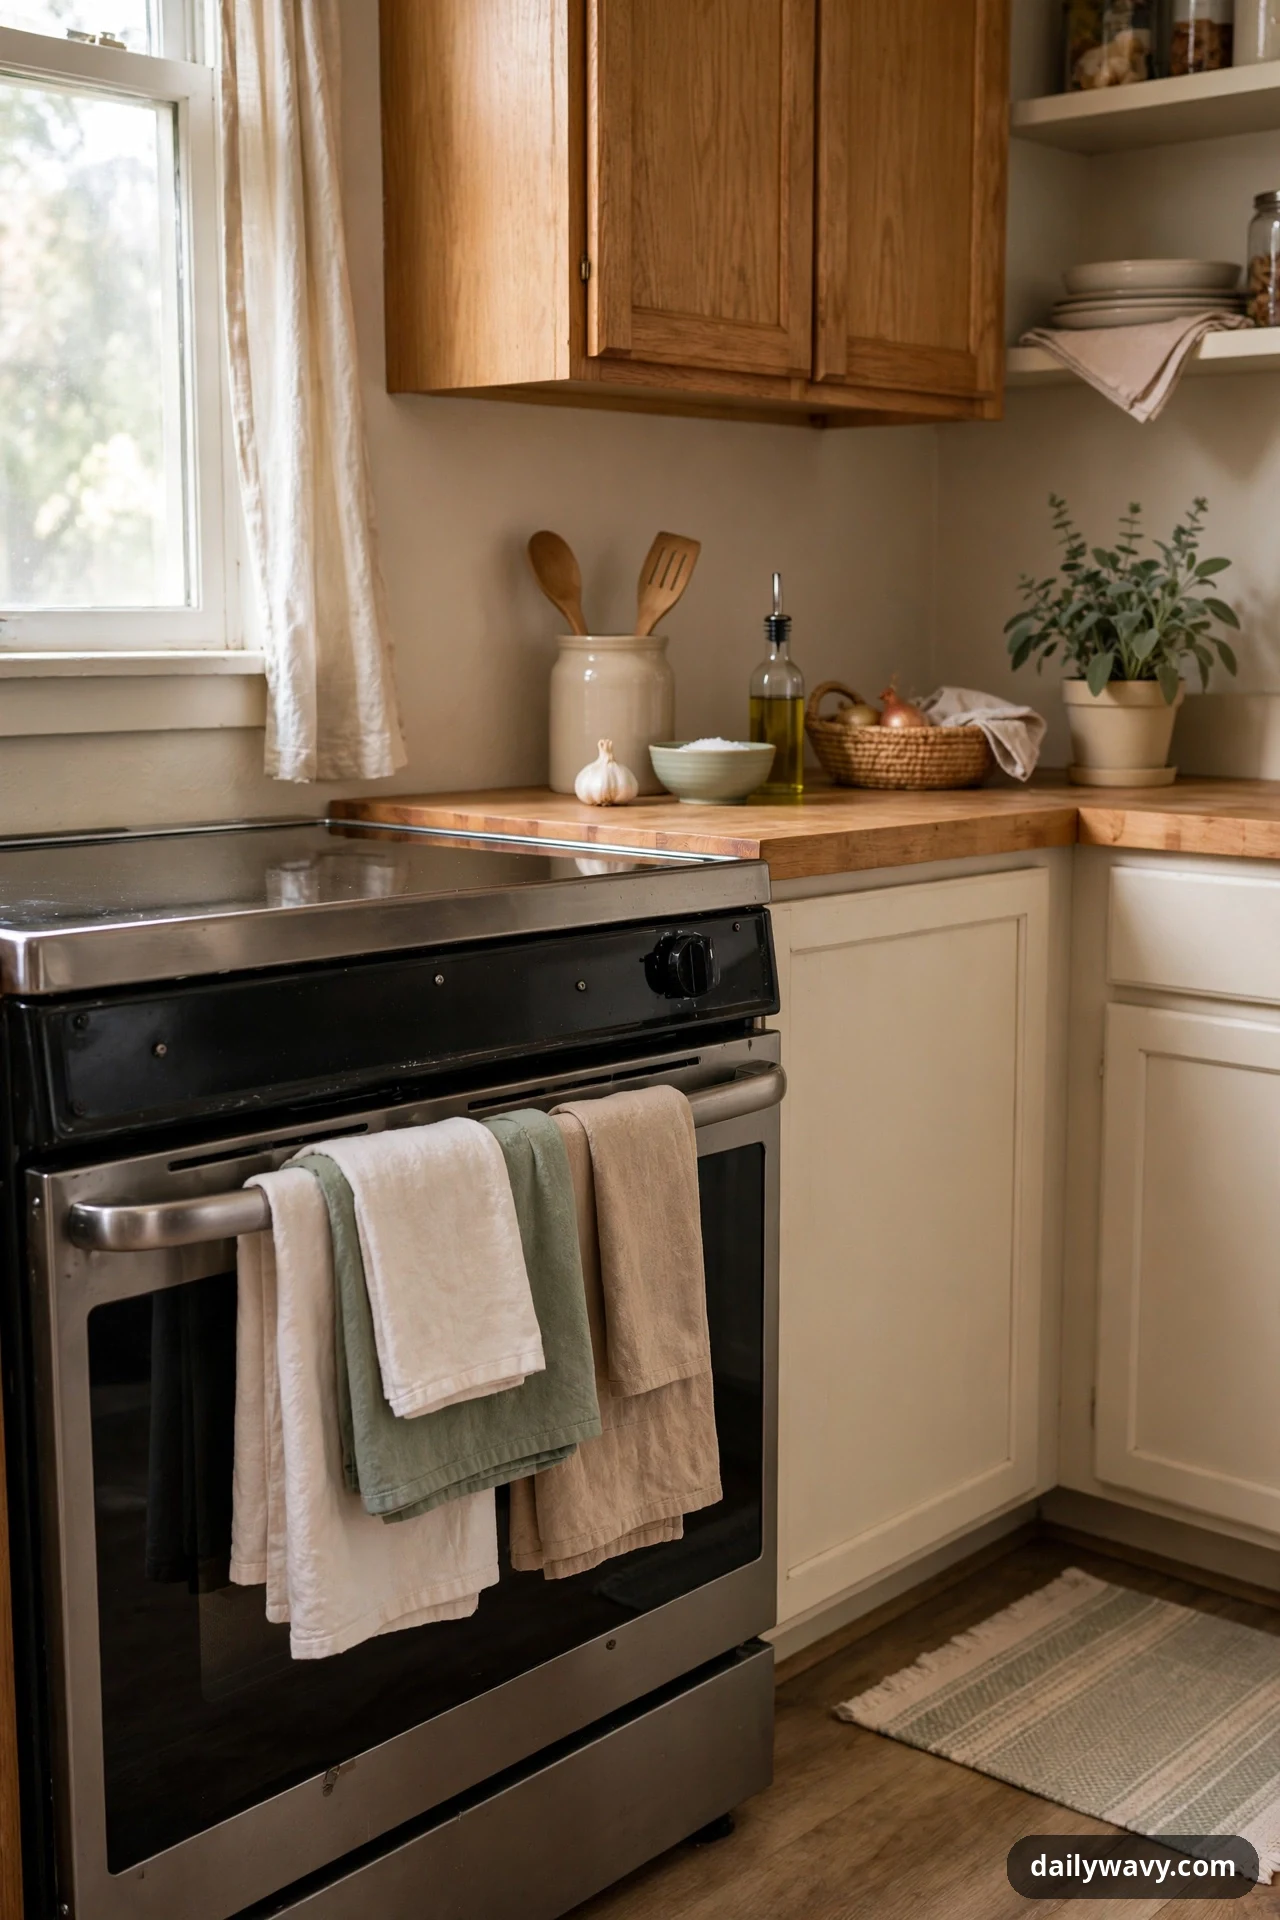
Beyond the rug in idea 1, a second washable textile, a runner on a side counter, a set of matching dish towels, or washable seat cushions, layers in the softness that makes a kitchen feel finished. The key word is washable, because kitchen textiles earn their keep: they catch splatter, absorb steam, and meet tomato sauce regularly. Machine-washable cotton or microfiber in a pattern you love beats a "nice" textile that lives in fear of the stove.
What to measure: Measure the counter section or chair seats you want to cover. Dish towels are standard at roughly 18 by 28 inches; seat cushions need the exact seat dimensions plus tie length. For a second runner, reuse the measuring logic from idea 1.
Materials: Washable cotton or microfiber textiles in your palette, ties or non-slip backing for cushions, and a laundry routine you will actually follow.
Placement: Hang two matching dish towels on the oven handle or a hook, folded in thirds for a tailored look. Lay the runner where the first one does not reach. Cushions tie firmly so they never slide mid-sit.
Approximate effort: Ten minutes to place. Wash weekly with the regular laundry.
Lower-cost alternative: A set of flour-sack towels in a color you like costs little and washes beautifully for years.
17. A Removable Surface Treatment After A Patch Test
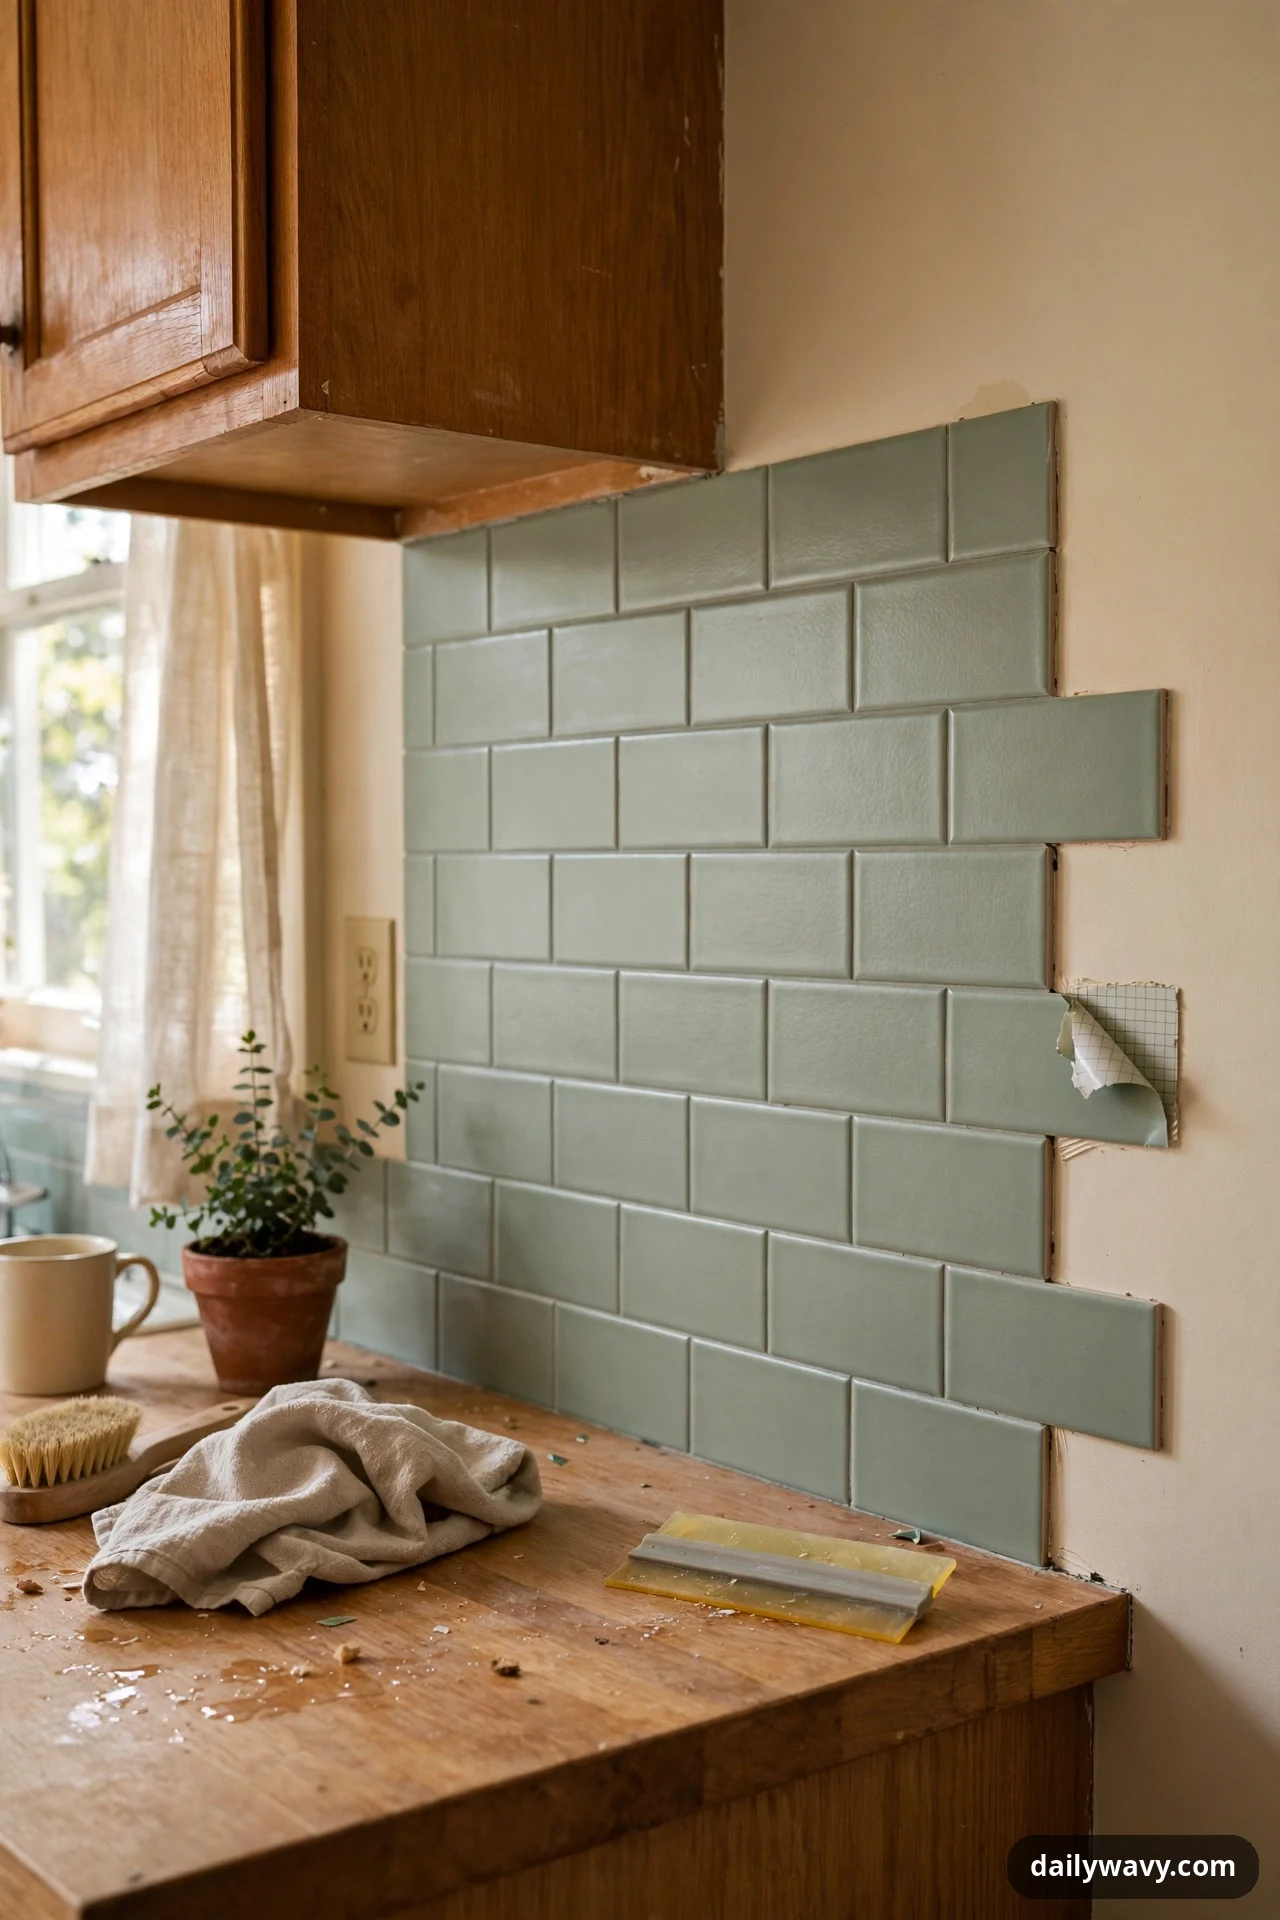
Removable wallpaper, peel-and-stick tile, and static-cling window film can transform a rental kitchen's backsplash, an accent wall, or a dated cabinet front, but only after a patch test. Apply a small square in a hidden spot, leave it for a full week through cooking steam and temperature swings, then remove it and inspect the surface. If the paint or finish lifts, that product does not belong in your kitchen. When the test passes, you get the biggest visual change on this list for the price of a roll.
What to measure: Measure the exact area in square feet and add 10 percent for pattern matching and mistakes. Note the surface type: smooth painted drywall and glass take removable products best; textured or chalky paint often fails the patch test.
Materials: Removable wallpaper, peel-and-stick tile, or window film rated as removable, a plastic smoothing tool, a sharp utility knife, and painter's tape for holding the top edge while you position.
Placement: Start at the most visible corner and work outward, smoothing as you go. On a backsplash, keep peel-and-stick products out of the direct heat and steam zone right behind the stove unless the product is rated for it. Photograph the original surface before you cover it.
Approximate effort: One to three hours depending on area size. Removal at move-out takes under an hour with gentle heat from a hair dryer.
Lower-cost alternative: Static-cling window film on a dated cabinet glass or a rental window adds pattern with zero adhesive at all.
18. A Compact Plug-In Light In A Suitable Dry Location

Rental kitchens are chronically under-lit, especially under the upper cabinets where you actually chop. A compact plug-in light, a slim LED bar or a small rechargeable puck set, adds task light with no wiring and no electrician. "Suitable dry location" matters: mount lights away from the sink splash zone and the stove's heat and steam, keep cords routed per idea 12, and never use a plug-in fixture where water pools. Battery and USB-rechargeable options remove the cord question entirely.
What to measure: Measure the under-cabinet run and the distance to the nearest outlet. LED bars come in 12, 18, and 24 inch lengths; one bar per 24 inches of counter gives even light. Note the cabinet bottom depth so the light sits back from the front edge and does not glare into your eyes.
Materials: Plug-in or rechargeable LED under-cabinet bars with removable mounting (adhesive or magnetic), a cord channel if plug-in, and warm-white 2700 to 3000K color temperature for food-friendly light.
Placement: Mount toward the front third of the cabinet bottom so light falls on the work surface, not the backsplash. Keep the fixture and its cord at least 12 inches from the sink edge and well clear of the stove. Charge rechargeable units monthly.
Approximate effort: Fifteen minutes per bar including mounting and cord routing.
Lower-cost alternative: A single rechargeable motion-sensor puck inside the darkest cabinet ends the era of groping for the cumin.
19. A Simple Artwork Display

Kitchens deserve art as much as living rooms do, and a small display makes a rental kitchen feel chosen rather than assigned. Lean framed prints on a shelf, hang one piece with a removable hook rated for its weight, or prop a small framed photo against the backsplash. Keep art away from direct steam and splatter, and choose pieces that survive humidity: prints behind glass, sealed canvases, or metal signs rather than raw paper.
What to measure: Measure the frame weight and match it to a removable hook rated at least double that weight. For leaned art, measure the shelf or counter depth so the frame sits fully supported with an inch to spare in front.
Materials: One to three framed prints or photos, removable picture-hanging strips or hooks rated for the weight, a small easel or plate stand for leaned pieces, and glass cleaner for the inevitable film.
Placement: Hang at eye level, about 57 inches to the center, or lean on an open shelf where steam never reaches. Group in odd numbers for a collected look. Keep every piece at least 18 inches from the stove.
Approximate effort: Fifteen minutes per piece. Rotate the art seasonally to keep the kitchen feeling fresh.
Lower-cost alternative: Frame pages from a beautiful calendar or cookbook, or print your own food photography at a drugstore, for gallery style at pocket change.
<20. A Movable Cart

The rolling cart is the hardest-working piece of furniture a renter can own. It is a prep station, a coffee bar, a pantry annex, and a serving trolley, and it rolls out of the way when the kitchen needs to breathe. Because nothing is installed, it moves apartment to apartment with you. Choose a cart with locking casters, at least one with a brake, because a cart that drifts mid-chop is a hazard, and keep the total loaded weight within the cart's rating.
What to measure: Measure your doorways and the parking spot: standard carts are about 18 inches deep and 30 inches wide, but verify yours fits through the kitchen doorway and beside the counter. Measure the height against your counter for comfortable prep; 34 to 36 inches matches standard counter height.
Materials: A rolling kitchen cart with locking casters, shelf liner to stop sliding, baskets or bins for the lower shelves, and a small cutting board that lives on top.
Placement: Park it where it extends your counter: beside the stove for prep, under a window for a coffee station, or against the wall as pantry overflow. Lock at least two casters whenever you chop or pour. Roll it clear for full floor mopping weekly.
Approximate effort: Twenty to forty minutes to assemble, then it simply works.
Lower-cost alternative: A thrifted bar cart or microwave cart with new locking casters does the same job for much less.
Frequently Asked Questions
Can I really not drill anything in a rental kitchen?
You can drill in many rentals, but the deposit math rarely favors it. Every hole must be filled, sanded, and touched up at move-out, and textured walls never match perfectly. The ideas above skip the question entirely: tension, adhesive, gravity, and freestanding solutions give you the same results with zero patching.
What if my landlord is strict about adhesive products?
Do a patch test first and keep the product packaging showing the "removable" and "damage-free" claims. Most landlord objections are about residue and pulled paint, both of which a proper patch test rules out. When in doubt, choose tension and freestanding options, which touch nothing at all.
How do I keep a rental kitchen from looking temporary?
Coordination is the difference between "temporary" and "curated." Matching containers, a consistent textile palette, and one metal finish repeated across small items make a kitchen look designed. The eye reads consistency as intention, even when every piece is removable.
Which upgrade should I do first on a tight budget?
Start with the rug and the coordinated containers. The rug changes how the room feels underfoot for very little money, and decanting five staples quiets the visual noise on open shelves and counters. Both together usually cost very little.
Are peel-and-stick products actually safe for deposits?
They are safe when the patch test passes and risky when it does not, which is why the test is non-negotiable. Smooth, well-cured paint and glass are the safest surfaces. Fresh paint (under 30 days), chalky flat paint, and textured walls are the most likely to fail. Photograph everything before and after.
How do I handle the original hardware I remove?
Put every original knob, pull, and screw in its own labeled zip bag, note which cabinet it came from, and store the bags together in one box. Photograph each cabinet before you start. Reinstallation at move-out then takes under an hour, and nothing gets lost between apartments.
Make it yours, then take it with you
A rental kitchen does not need permission to feel personal. It needs a plan that respects the lease and a few pieces chosen with care. Start with one idea this weekend, the rug, the cart, the hardware swap, and notice how the room changes around it. Most of these upgrades pack flat or roll straight into your next kitchen, which makes them upgrades you can reuse with every move. For the rooms beyond the kitchen, our guides to renter living room upgrades, small entryway decor, a narrow living room layout, and the home decor category offer more ideas for the rest of the home.



One Comment