13 Coastal Kitchen Ideas with Character and Practical Details
A coastal kitchen works when it feels like air and light, not like a themed restaurant. Soft blue that reads…
A coastal kitchen works when it feels like air and light, not like a themed restaurant. Soft blue that reads calm rather than cold. Warm white cabinets that stay crisp in afternoon sun. Light wood and natural fibers that bring the beach in without a single rope knot or painted anchor. The thirteen ideas below are built that way. Each one translates the coastal look into finishes, placement, and details you can actually live with, because a pretty kitchen still has to hold a hot pan, a fridge door swing, and a clear countertop when you are mid-recipe. Start with the primer, choose the ideas that fit your space and budget, and build a kitchen that feels breezy on purpose.
In This Guide
- A Backsplash With Subtle Texture
- A Shade Framing The Kitchen Window
- A Glass Jar Grouping In One Corner
- A Pitcher Holding Cooking Tools
- A Freestanding Cabinet For Extra Storage
- A Bowl Of Fresh Produce
- A Warm Accent Wall Near Dining
- A Simple Dish Display On A Shelf
- A Compact Breakfast Station
- A Small Brass Or Steel Accent Repeated Twice
- A Balanced Mix Of Closed And Open Storage
- A Wood Cutting-Board Grouping By The Counter
- Simple Hardware Repeated Across Cabinets
The Coastal Kitchen Rules Before You Start
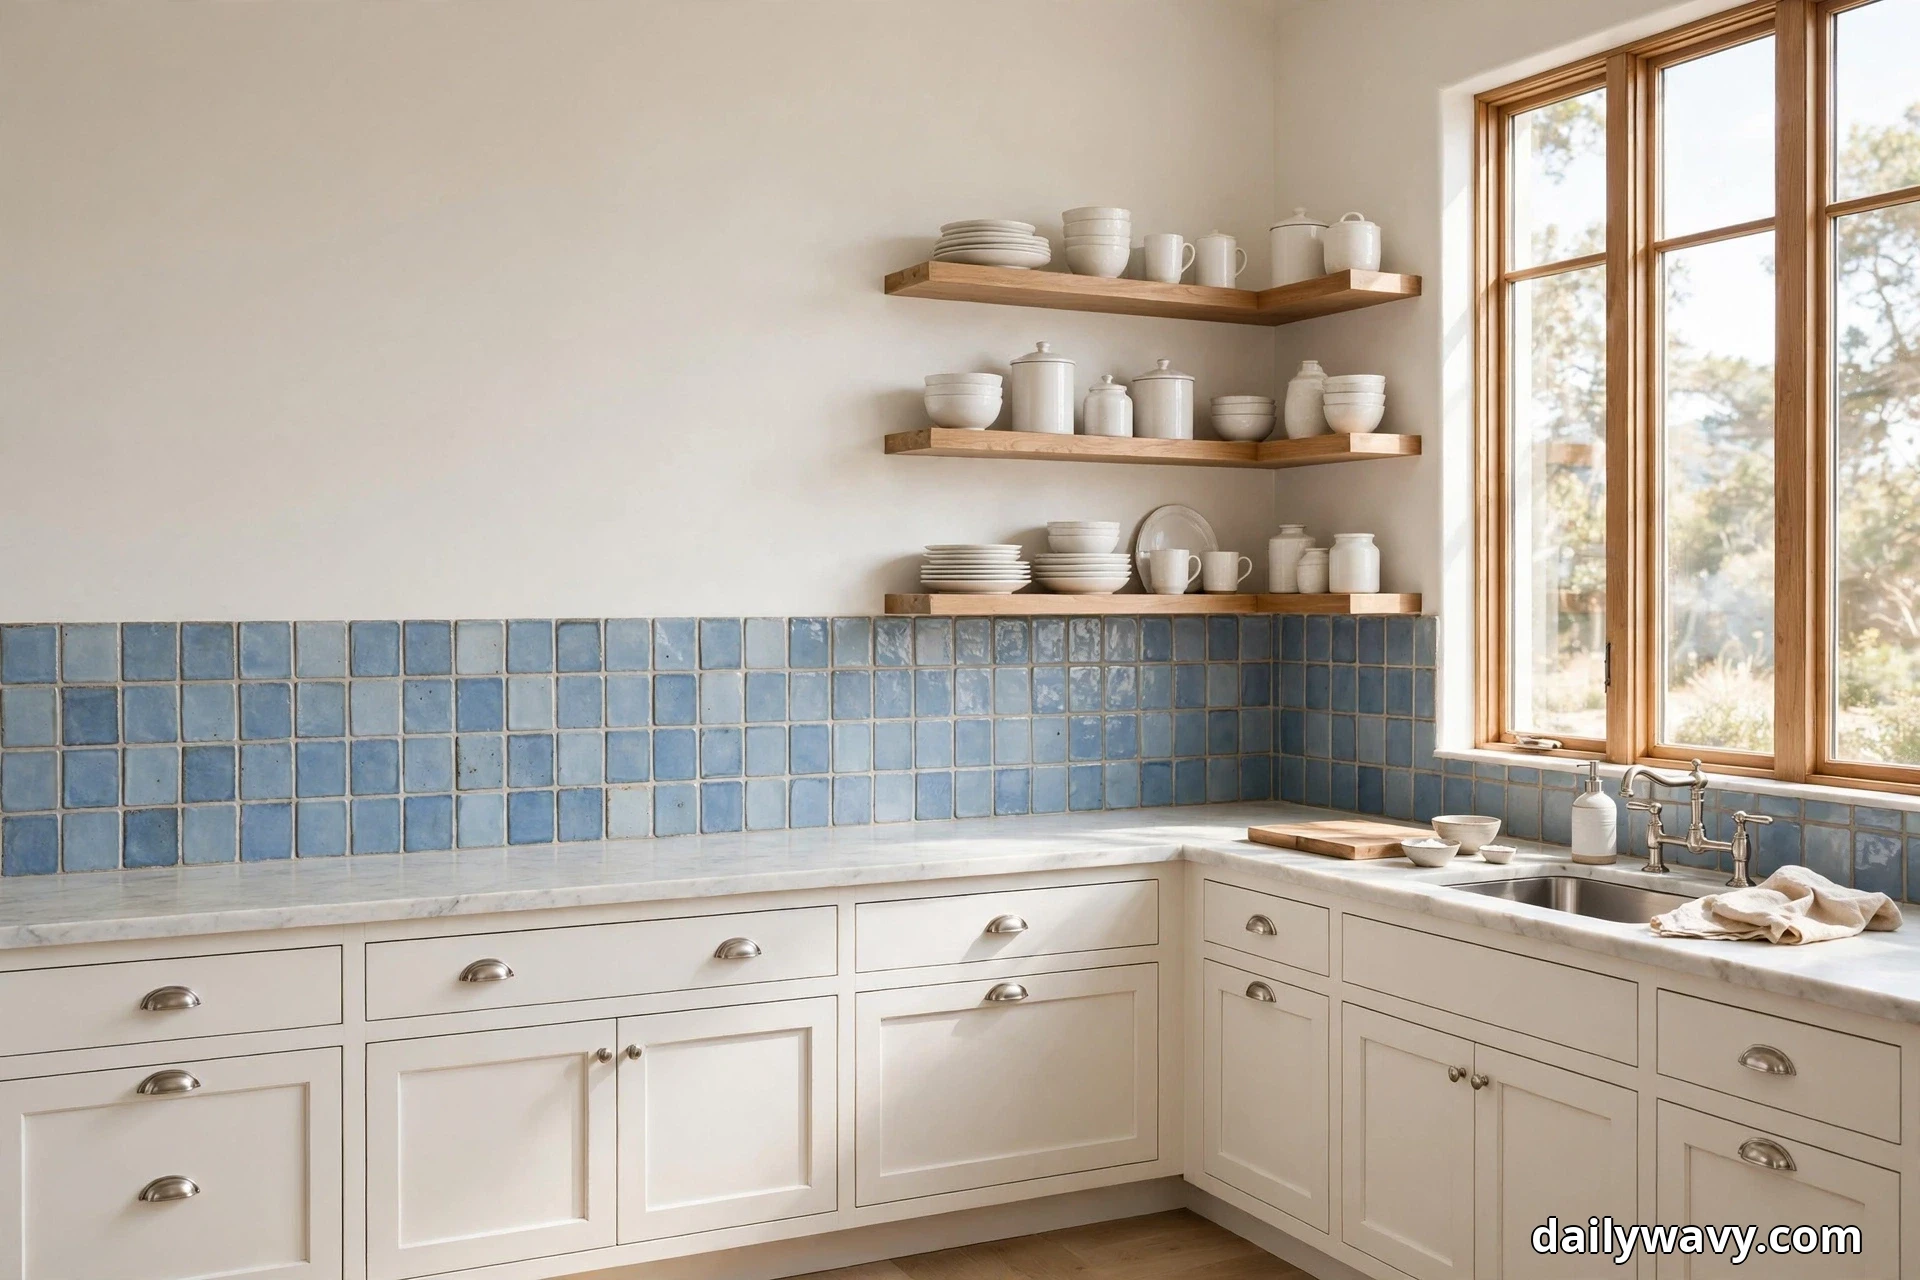
Coastal style has one enemy, and it is not blandness. It is novelty. The moment a kitchen reads like a gift shop, with painted starfish and rope everywhere, the calm disappears. Keep the palette disciplined: soft blue, warm white, light wood, and natural fibers. Three or four tones total. Everything else in this guide follows from that discipline.
Plan around how you actually work. Map your triangle before you change anything: fridge, sink, and stove should sit within a comfortable stride of each other, and every countertop needs a clear landing spot nearby. Keep appliance doors in mind too. A fridge door that swings into a new freestanding cabinet, or a dishwasher door that blocks your main walkway, will irritate you daily no matter how pretty the cabinet is. Measure door swings, write down your clearances, and keep at least 36 inches of walking width through the main paths.
A word on scope. The ideas below are finishes and styling, not construction projects. Tile, paint, shelves, and storage pieces you can buy or assemble are fair game. Anything involving wiring, plumbing, or load-bearing walls is not, and this guide makes no claims about building codes or permits. If an idea needs a professional, hire one and get the quote before you fall in love with the plan. Coastal calm starts with a realistic budget and a kitchen that still functions on a Tuesday night.
1. A Backsplash With Subtle Texture
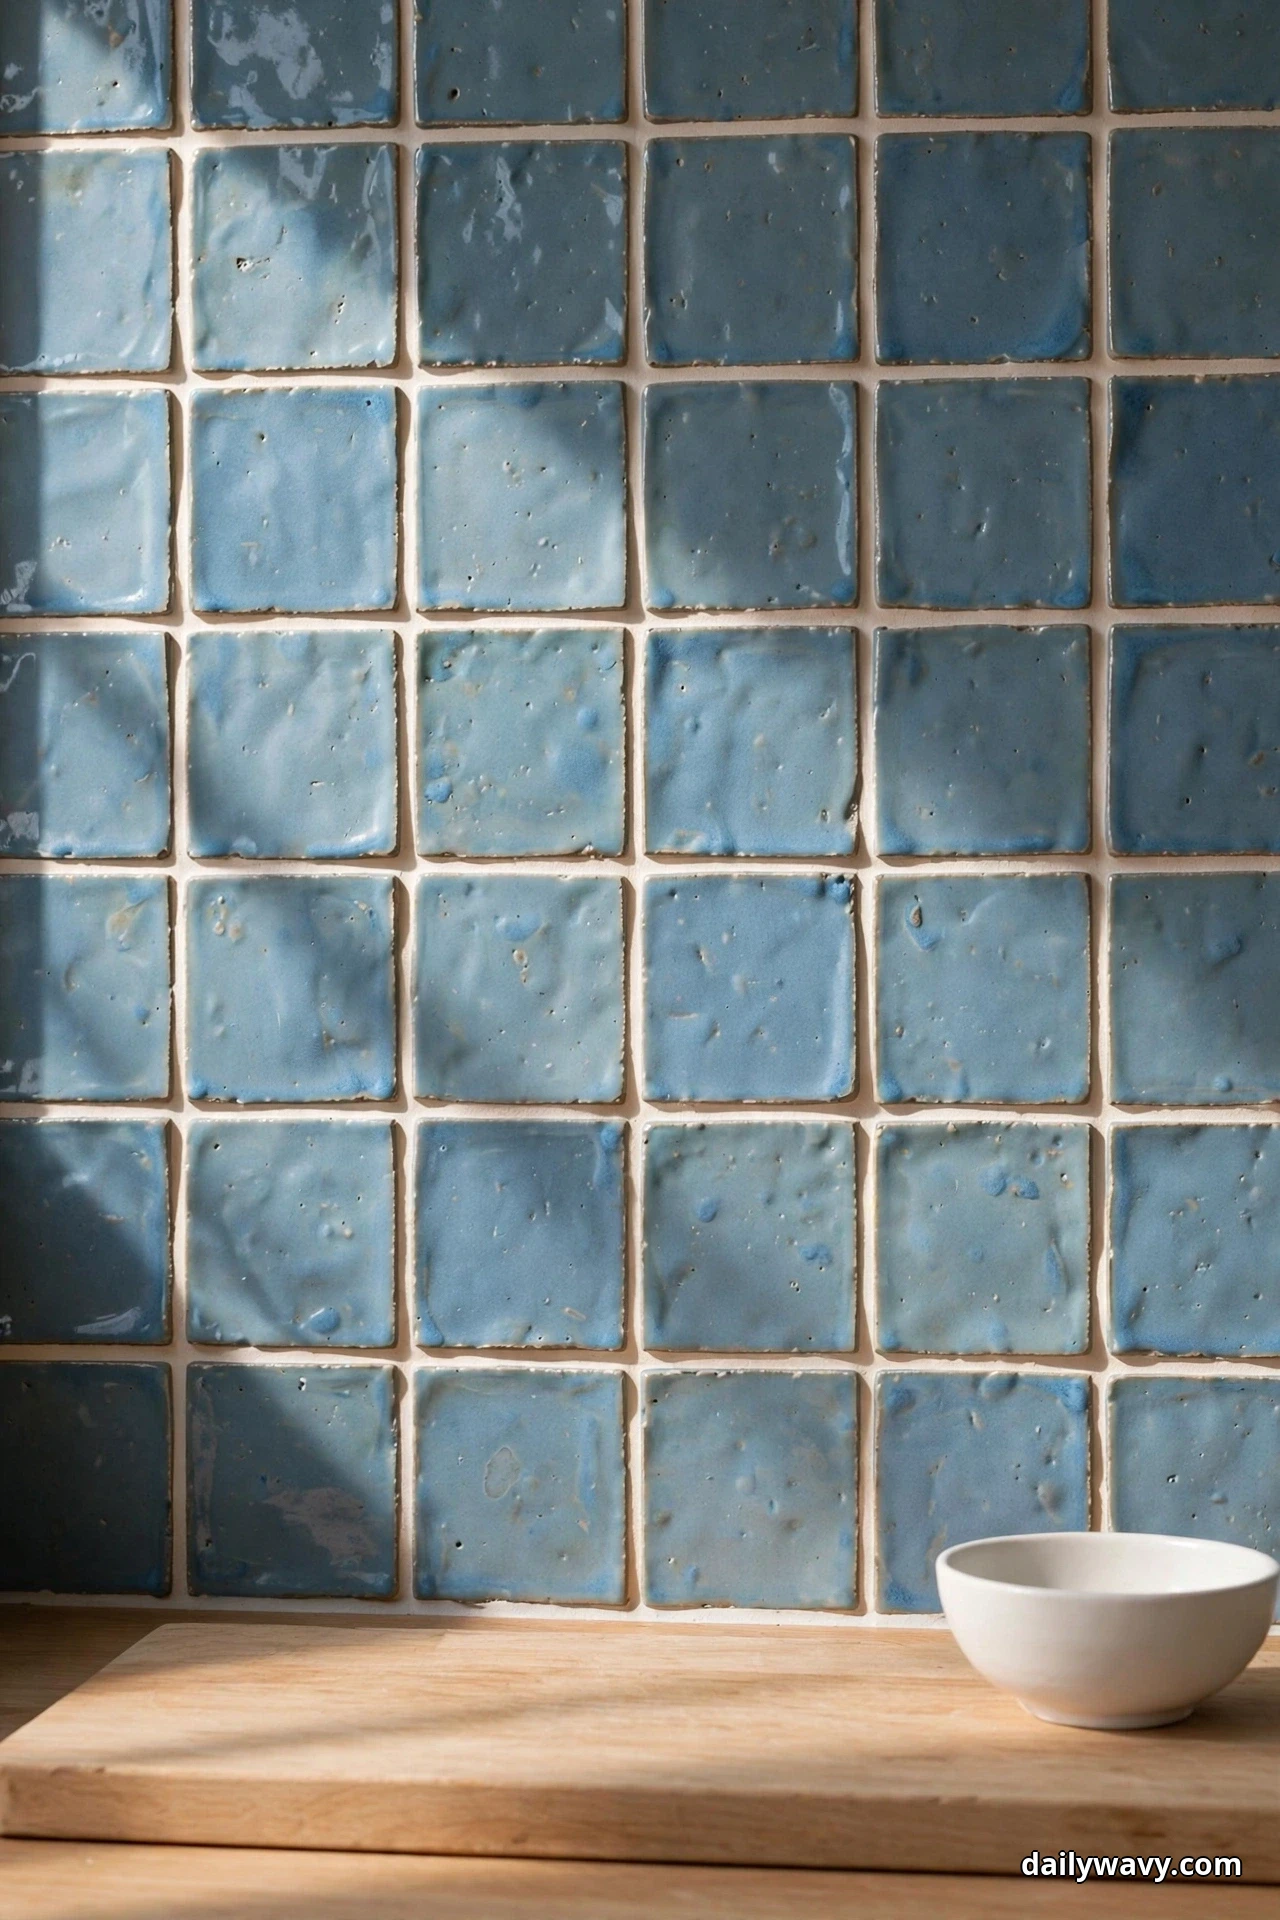
The backsplash is the largest vertical surface in most kitchens, which makes it the fastest way to set the coastal tone without repainting every cabinet. Subtle texture does the work of color: handmade-look tiles with gently uneven surfaces catch daylight differently across the wall, so the blue feels alive instead of flat. Zellige-style squares or a soft picket pattern in a dusty sea-blue glaze are the classic choices. The irregular glaze pooling is the whole point, so resist the urge to hunt for perfect uniformity.
Measure the wall from countertop to the underside of the upper cabinets, usually about 18 inches, and multiply by the run length to get your square footage. Order roughly 10 percent extra for cuts and breakage. Grout matters more than people expect: a warm white or soft sand grout keeps the look coastal, while bright white grout turns the same tile sharper and more modern. A sealer pen on the grout lines twice a year keeps grease from settling in.
Effort is moderate to high if you are tiling yourself: a long weekend, a wet saw rental, and patience. The lower-cost route is a peel-and-stick backsplash tile with a hand-glazed look. The good ones are thicker now and read convincingly from a few feet away, and they cost a fraction of real tile plus labor. If you rent, they are also removable. Either way, keep the tile behind the stove practical: glossy glazes wipe down far faster than matte ones when oil splatters.
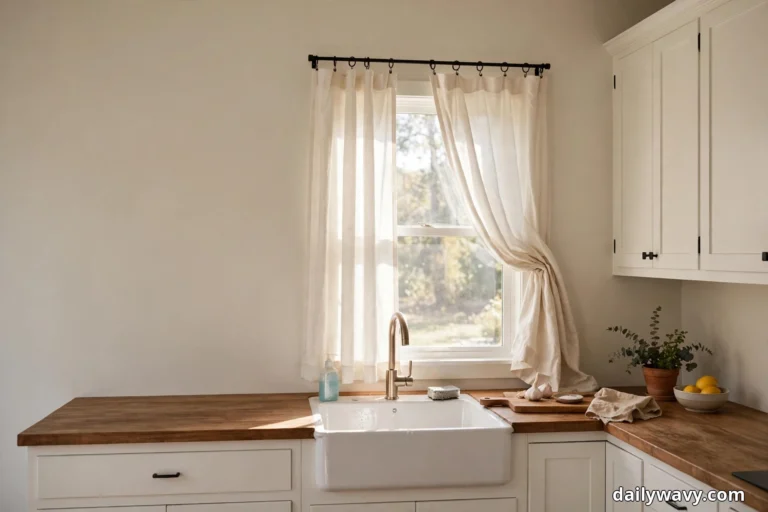
2. A Shade Framing The Kitchen Window
A kitchen window dressed in the right shade does double duty. It filters the harsh midday glare that makes food prep squinty work, and it frames the outdoors like art, which is the cheapest view upgrade a coastal kitchen can get. A woven wood shade or a linen-look roller shade is the move here: natural fibers that glow when the sun hits them and keep the palette warm against all that white tile. Skip heavy drapes in a kitchen; they absorb cooking smells and crowd the countertop.
Measure inside the window frame for an inside mount, which looks cleaner, or add two inches of overlap on each side for an outside mount if the frame is shallow. Light filtering keeps the room bright while cutting the worst of the glare; choose a top-down bottom-up style if the window faces a street or neighbor, since you can drop the top for light while keeping the bottom closed. Mount the shade high and wide enough that the folded shade clears the glass when fully raised, or you lose daylight you were trying to keep.
This is a genuinely easy project. An afternoon, a drill, and a level. For a lower-cost version, a simple white cotton Roman shade from a big-box store gives you the framed look for far less than custom woven wood. Add one more practical note: pick a fabric you can spot-clean, because kitchen windows collect a fine film of cooking residue over the months, and a quick wipe in spring keeps it fresh.

3. A Glass Jar Grouping In One Corner
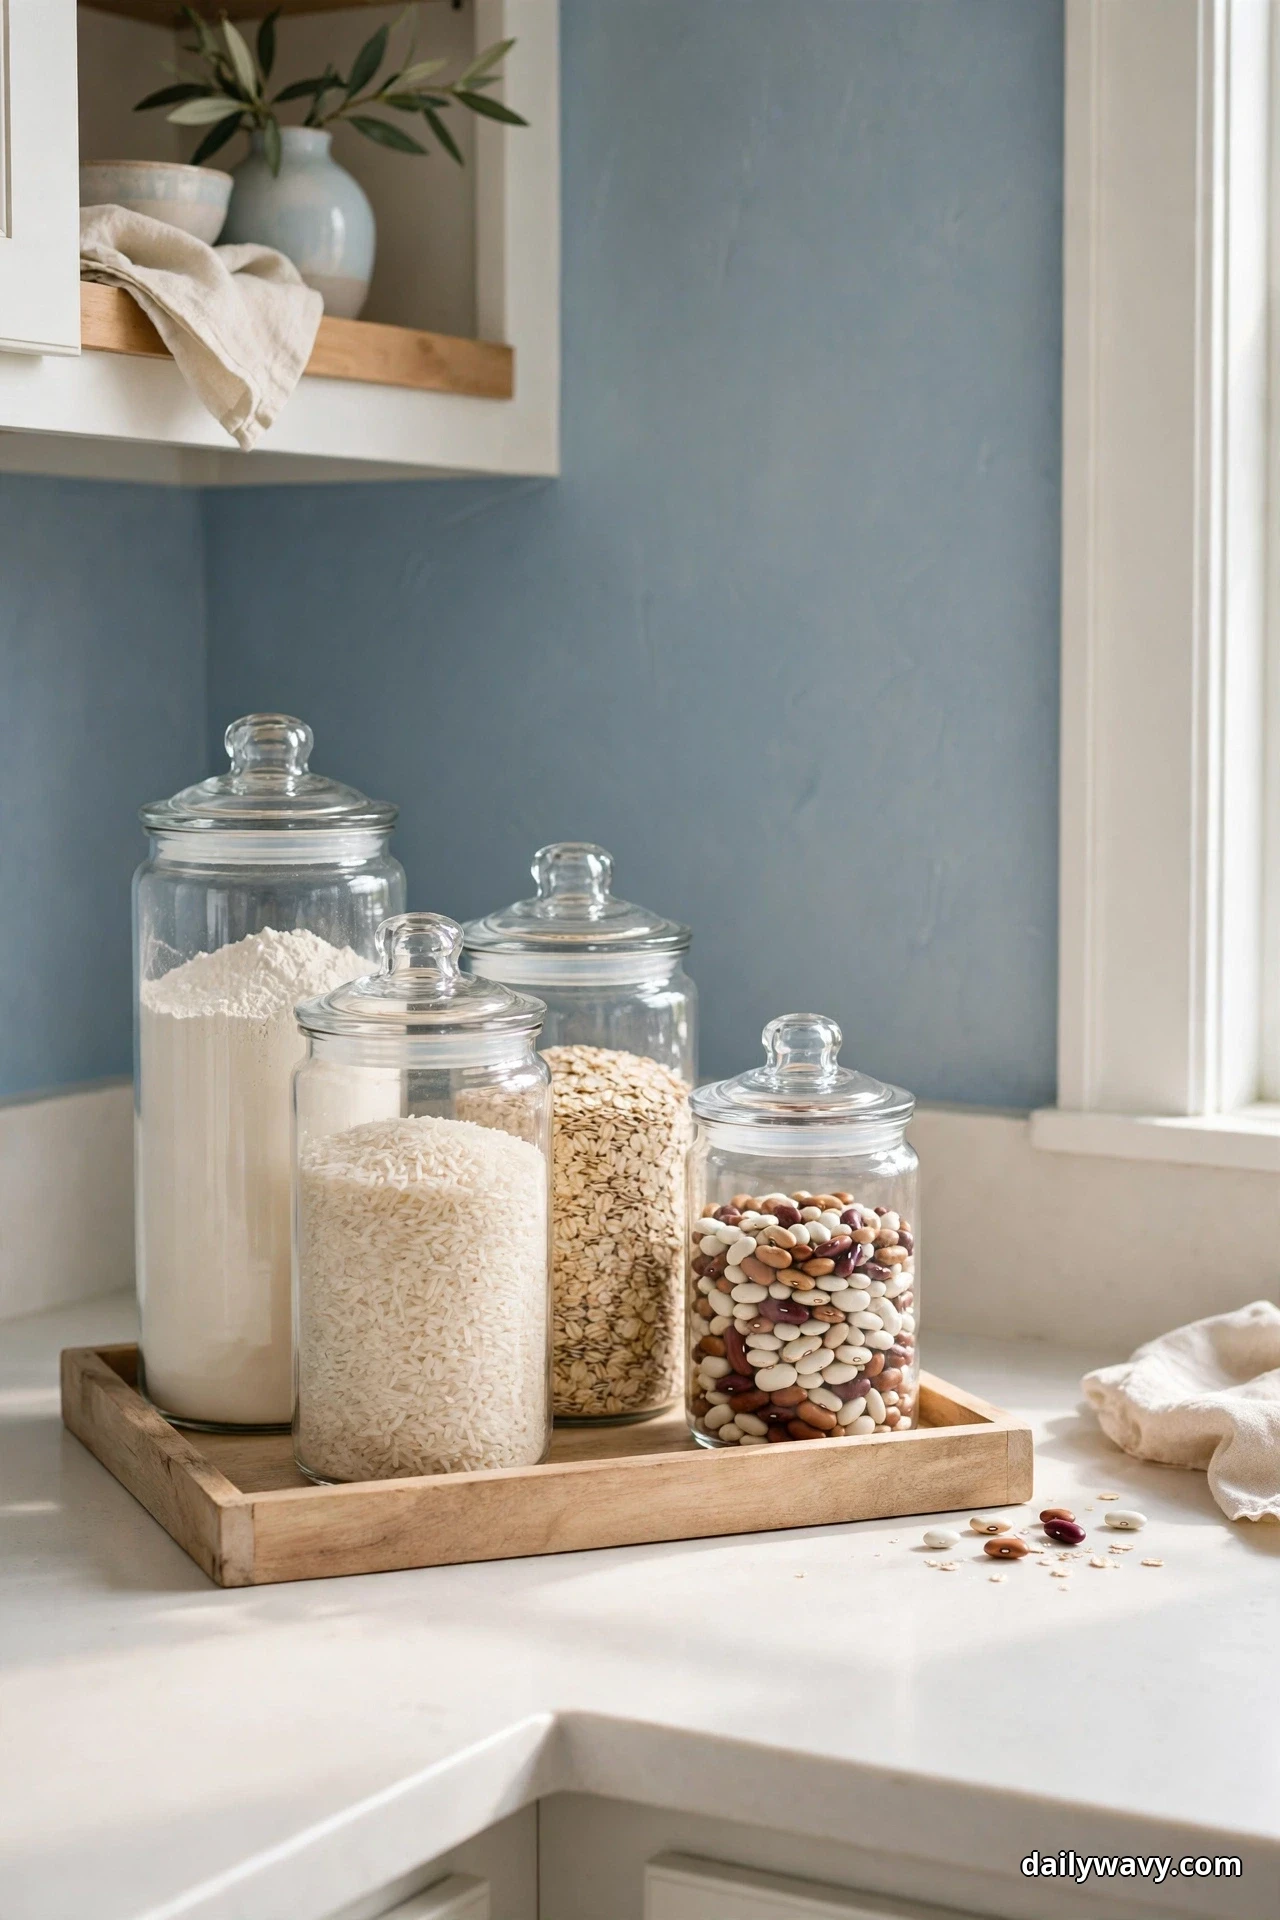
Glass jars are coastal kitchen styling that actually works for a living. Flour, rice, oats, pasta, dried beans: the pantry staples you reach for daily, decanted into glass, look beautiful and stay usable. Group them in one corner of the counter rather than scattering them along the whole run. Three to five jars of graduated heights make a composition; a lone jar looks like it got left out of the cabinet by accident.
Decant in order of use. The everyday grains and flours earn the front row. Label each jar on the bottom with the contents and the date you filled it, so the pretty top stays clean and the freshness info stays where it belongs. Wide-mouth jars with clamp or screw lids keep things airtight; decorative lids that do not seal are strictly for dry goods you burn through in a week or two. Keep the grouping away from the stove and oven end of the counter, because heat and steam shorten shelf life.
Cost is modest: a set of decent glass canisters runs less than a dinner out, and refilling from bulk bins often saves money over time. The lower-cost swap is keeping the original packaging but corraling the corner with a light wood tray so it reads intentional. One more thing: measure your upper cabinet clearance before you buy tall jars. Nothing kills the look faster than a beautiful canister that will not fit under the cabinet.
4. A Pitcher Holding Cooking Tools
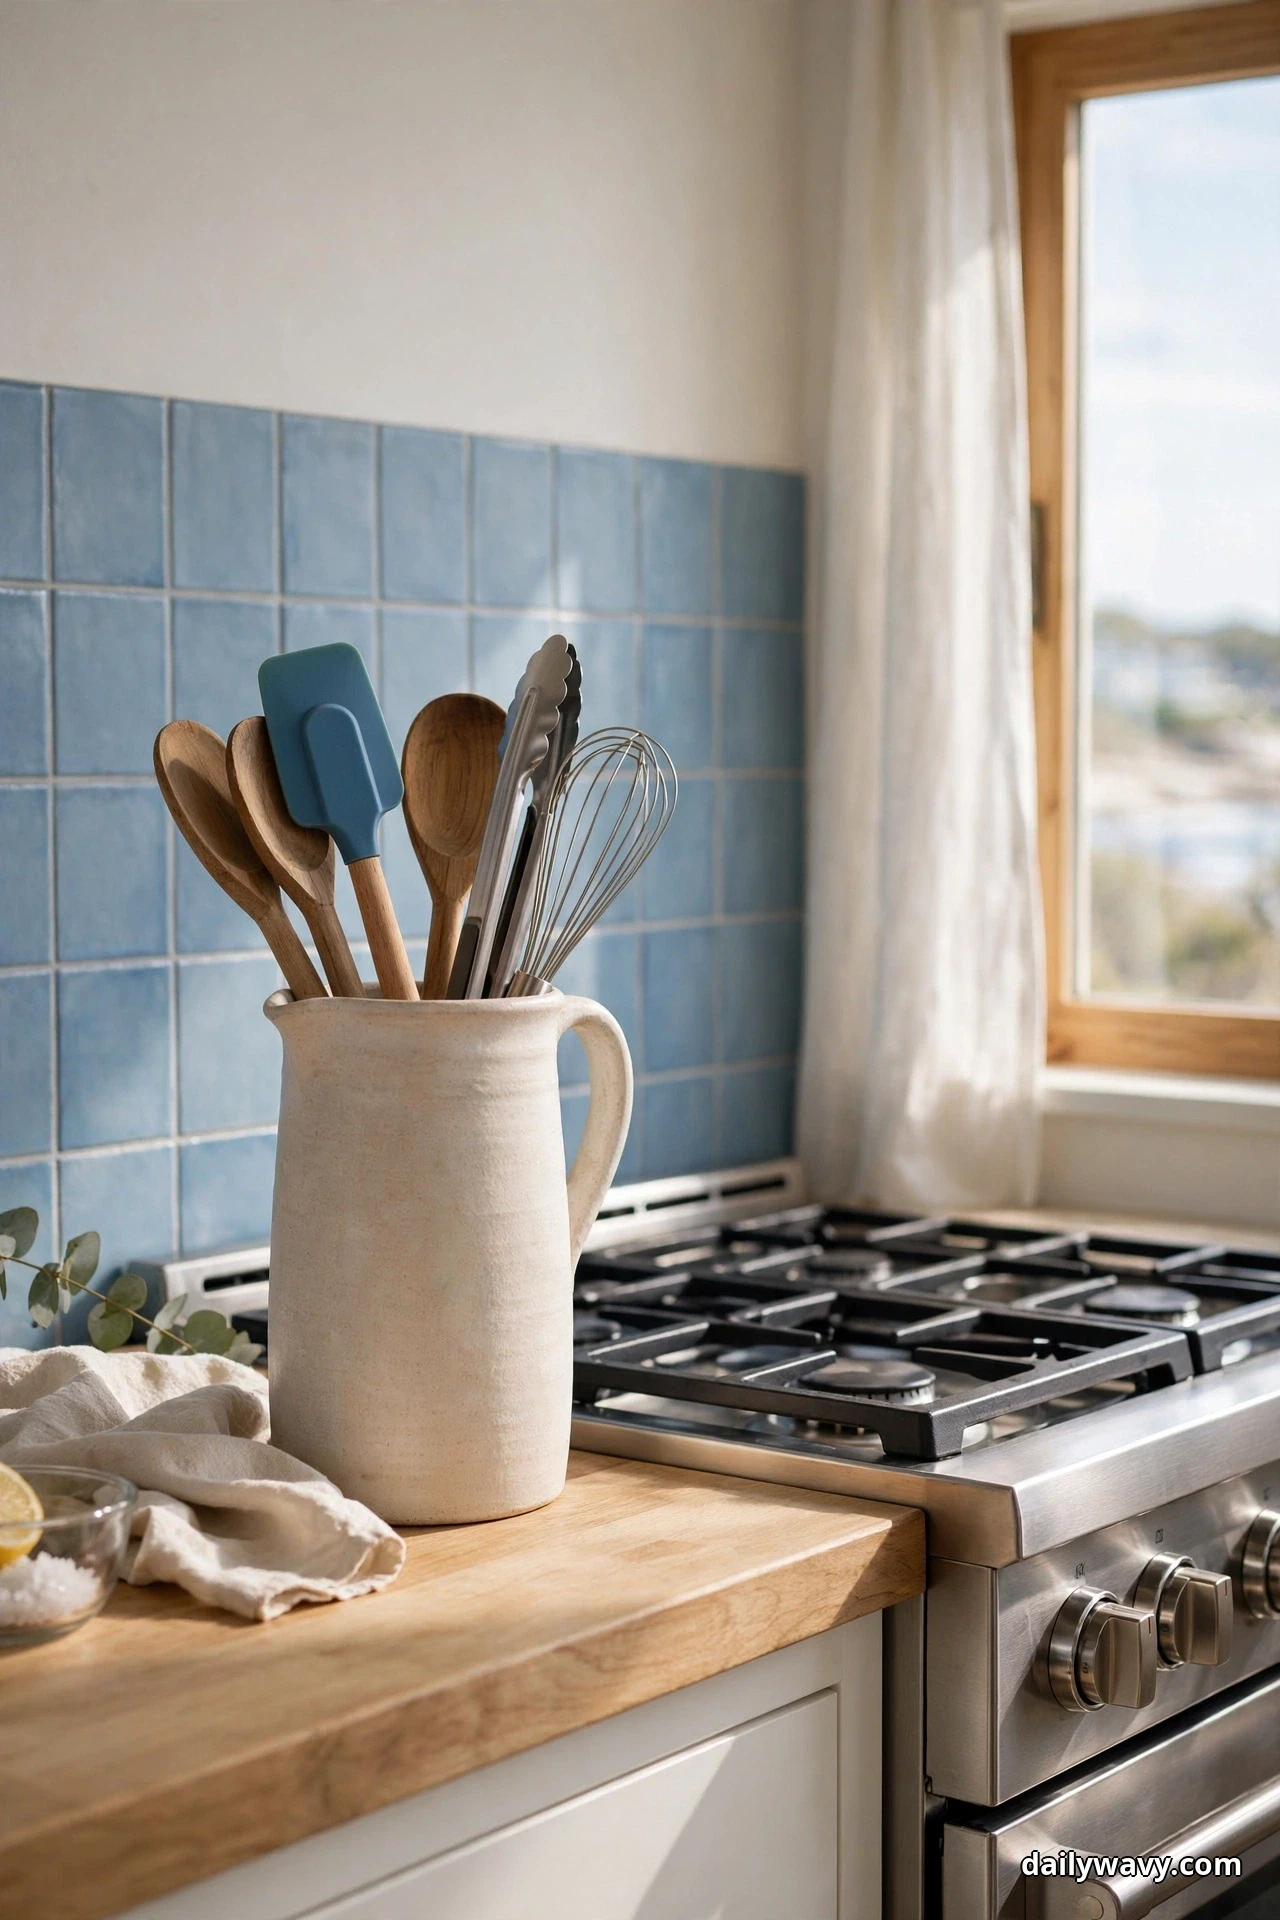
A pitcher full of cooking tools solves two problems at once. It gets the spatulas and wooden spoons out of a drawer where they jam, and it puts a sculptural object on the counter that happens to be useful. Choose a pitcher with some height, ten to twelve inches, and a wide, stable base. Stoneware or a glazed ceramic in warm white or soft blue fits the coastal palette; avoid anything top-heavy or tippy, since a full load of tools shifts the balance.
Sort your tools honestly. Keep the daily workers in the pitcher: the spatula, the wooden spoon, the tongs, the whisk. The specialty tools stay in the drawer. Place the pitcher within arm’s reach of the stove but not directly behind a burner, where steam will coat the handles and heat can warp cheap plastic. A spot just off to the side of the range, on a heat-safe patch of counter, is ideal. Wash the tools and the pitcher monthly, because kitchen film builds up even on things that look clean.
This is one of the cheapest upgrades in the whole guide. A pitcher from a thrift store costs next to nothing; a new stoneware one is still modest. The lower-cost version is repurposing any large crock or vase you already own. The character comes from restraint, though: five tools in a pitcher looks curated, fifteen looks like a utensil bomb went off. Edit, and let the pitcher breathe.
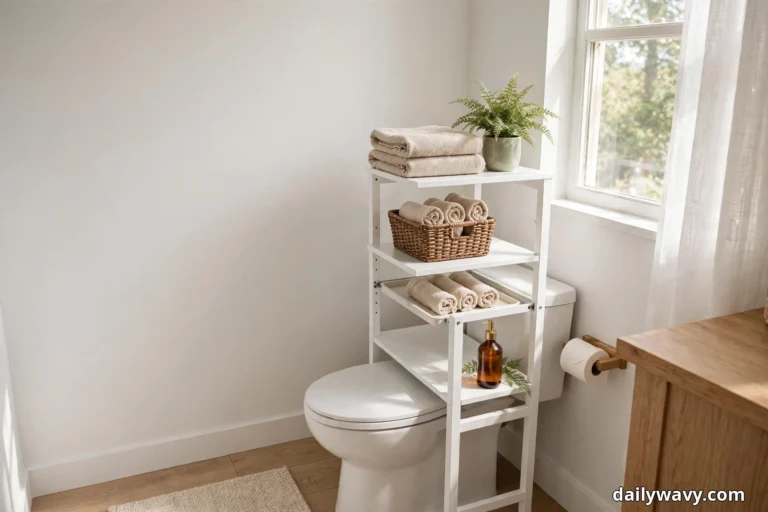
5. A Freestanding Cabinet For Extra Storage
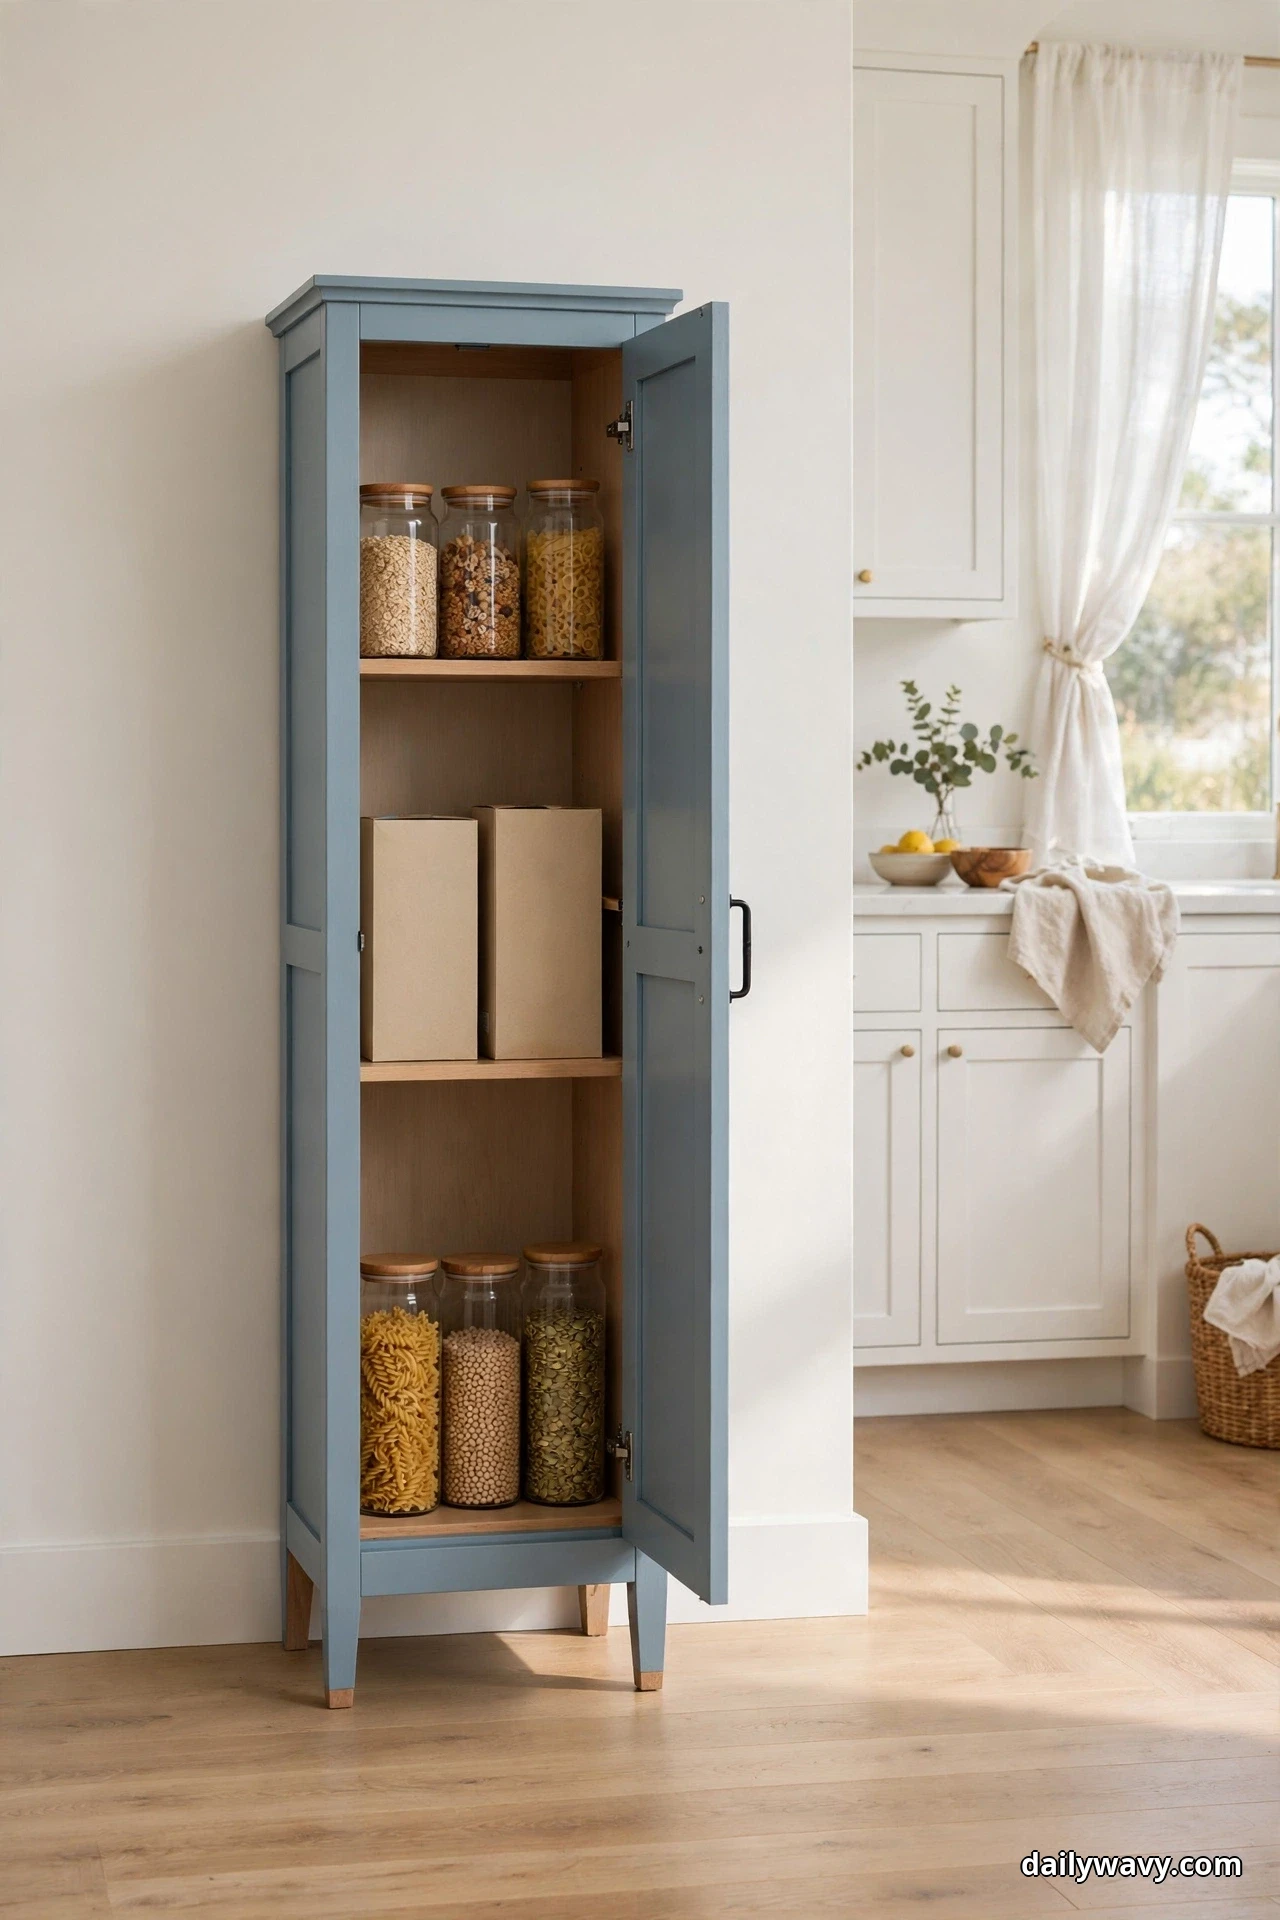
Not every coastal kitchen has generous built-ins, and a freestanding cabinet, a slim pantry cupboard, a small hutch, or even a converted dresser, adds storage without a single power tool. Painted soft blue or warm white with light wood tones inside, it becomes a furniture moment instead of an appliance-shaped compromise. Look for pieces 60 to 72 inches tall with adjustable shelves, so the cabinet adapts to cereal boxes and tall bottles alike.
Measure twice, because this one lives on your floor plan. Mark out the footprint with painter’s tape and live with it for two days before you buy. Check the fridge, dishwasher, and oven door swings against the tape outline, and confirm the main walkway keeps its 36 inches. Anchor the cabinet to the wall with an anti-tip kit, which costs a few dollars and takes ten minutes; a loaded freestanding piece in a house with kids or pets must not wobble. Keep the top styled light, a small plant and a jar, nothing heavy or tippy.
Thrift and marketplace finds make this the budget-friendly storage option. A solid wood dresser repainted in soft blue with new pulls reads coastal for a fraction of a built-in pantry. The lower-cost alternative is an open etagere or baker’s rack in the same footprint. Both give you the storage; the cabinet just hides the clutter better if that matters to you.
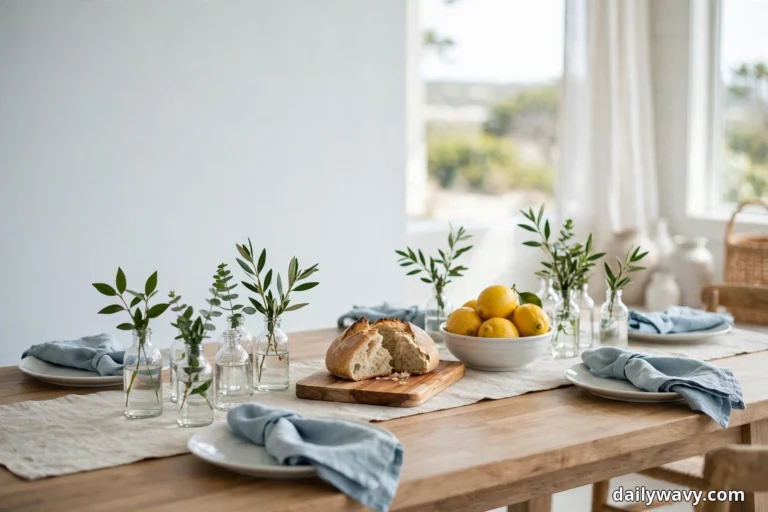
6. A Bowl Of Fresh Produce
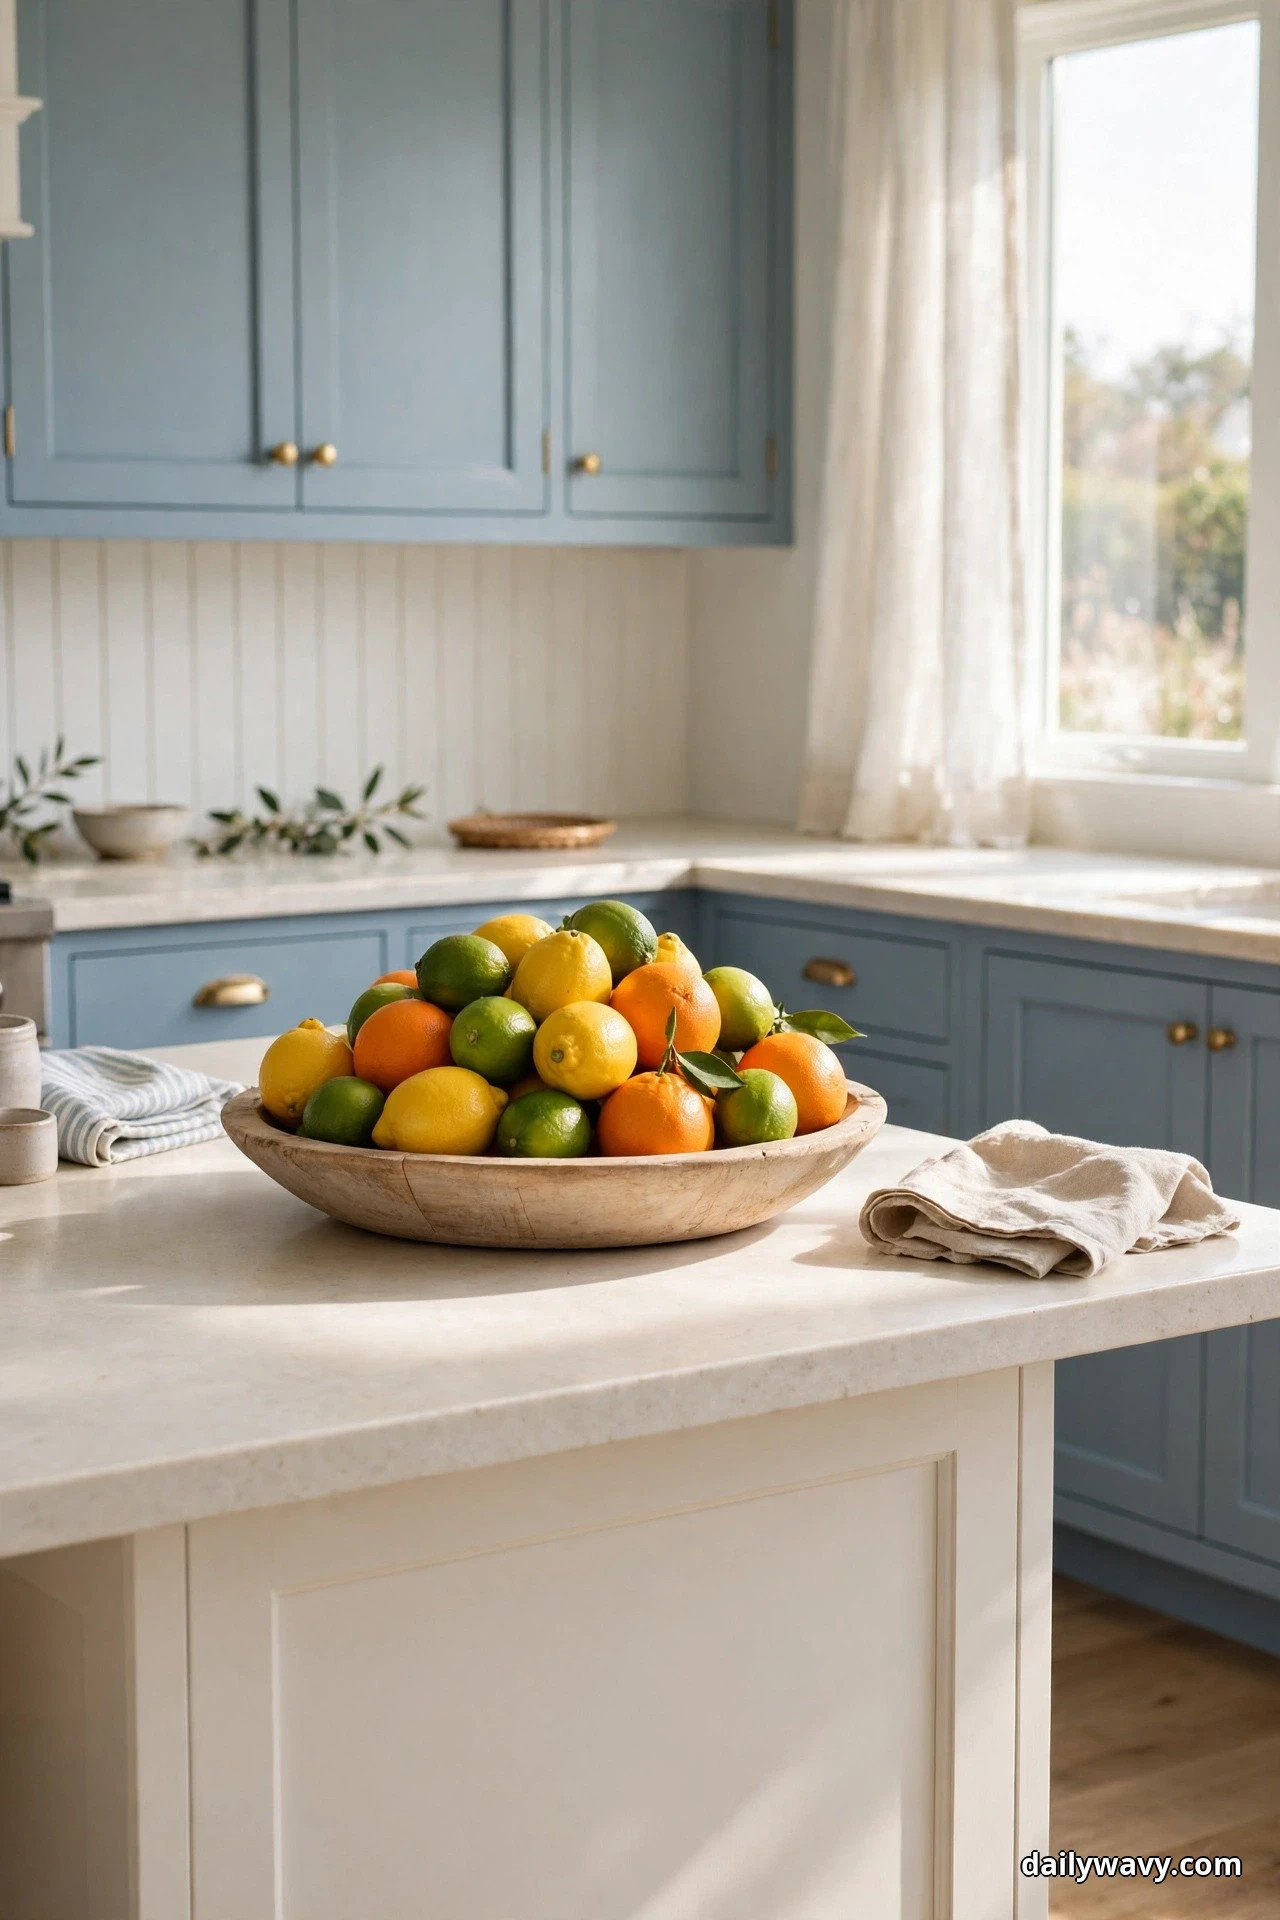
The oldest styling trick in the book still works because it is honest: a bowl of fresh produce on the counter says someone cooks here. Citrus reads especially coastal, a mound of lemons or a mix of limes and oranges against warm white is practically a color story by itself. Use a shallow bowl, ten to fourteen inches across, so the fruit sits in one layer and stays visible. A light wood dough bowl or a white ceramic piece fits the palette; avoid deep bowls where the bottom fruit bruises unseen.
Keep the bowl practical. Only display what your household eats in about a week, and rotate it. Stone fruit ripens fast on a sunny counter, and nothing ruins the effect like a shriveled lemon that has been auditioning as decor for a month. Place the bowl away from the stove’s heat and out of direct afternoon sun through a west window. A corner of the island or the far end of the main counter is usually right.
Cost is whatever the fruit costs, which is the point: this is styling you can eat. The lower-cost version is one dramatic piece of produce, a single pineapple or a big bunch of bananas, which costs almost nothing and still gives the counter a focal point. Swap the fruit seasonally and the kitchen always feels current without any redecorating at all.
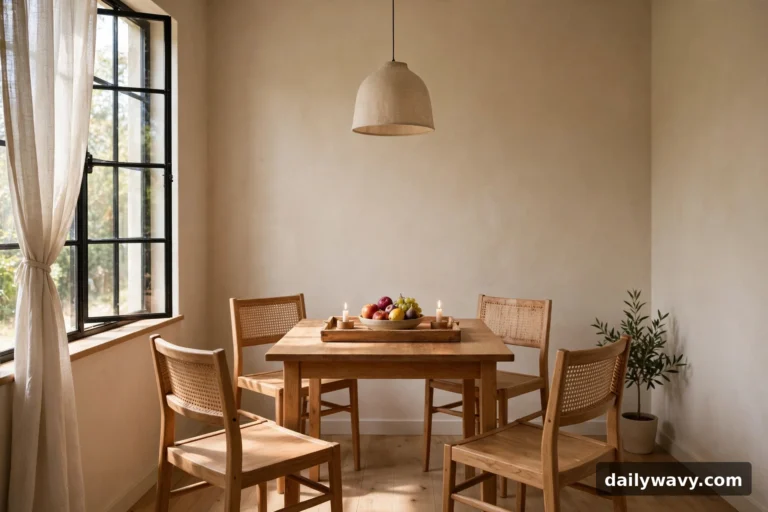
7. A Warm Accent Wall Near Dining
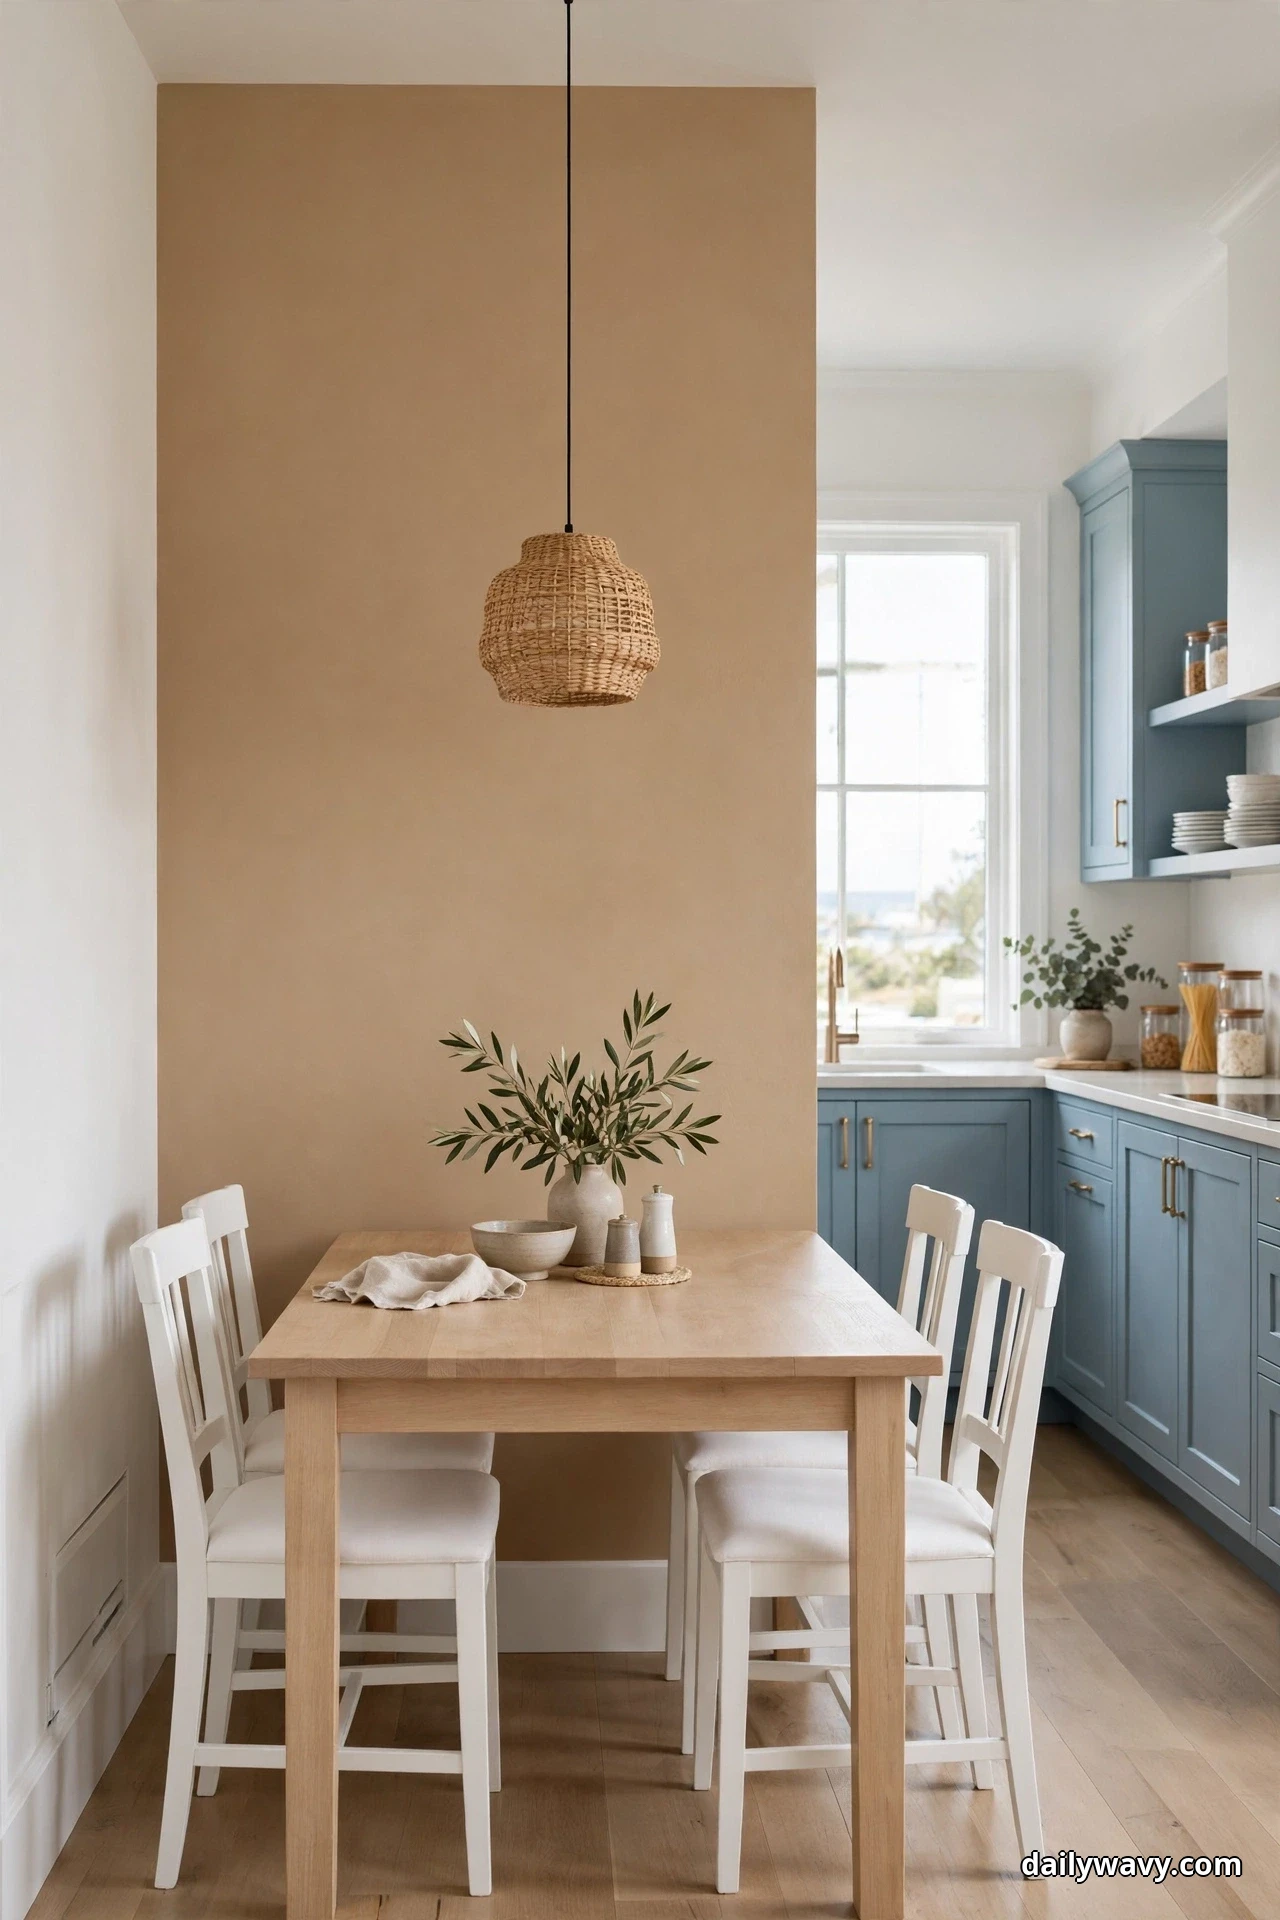
Most coastal kitchens open to a dining area, and one warm accent wall there does more than a dozen small accessories. A warm sand, pale clay, or muted driftwood tone on a single wall, the one behind the dining table, usually, anchors the eating zone and keeps the kitchen side feeling light by contrast. It is the warmth that balances all that soft blue and white. Sample first: paint two large poster boards, move them around the room, and look at them in morning and evening light before committing.
Choose the right wall. The accent should be a wall with a clear edge, a corner or a doorway, so the color change looks deliberate. Avoid the wall behind the range, where grease and heat will age paint fast, and avoid chopping the kitchen’s working walls into patches, which makes the room feel smaller. Prep matters: clean the wall, fill the nail holes, and use two coats. Warm tones show patchiness more than cool ones, so do not skip the second coat.
Effort is a weekend with a roller and drop cloths. Cost is a gallon or two of paint, which makes this the highest-impact-per-dollar idea in the guide. The lower-cost version is peel-and-stick grasscloth or a limewash-effect paint, both of which add texture without full repainting. Keep furniture placement unchanged during the project so you can see the effect in context as the coats dry.
8. A Simple Dish Display On A Shelf
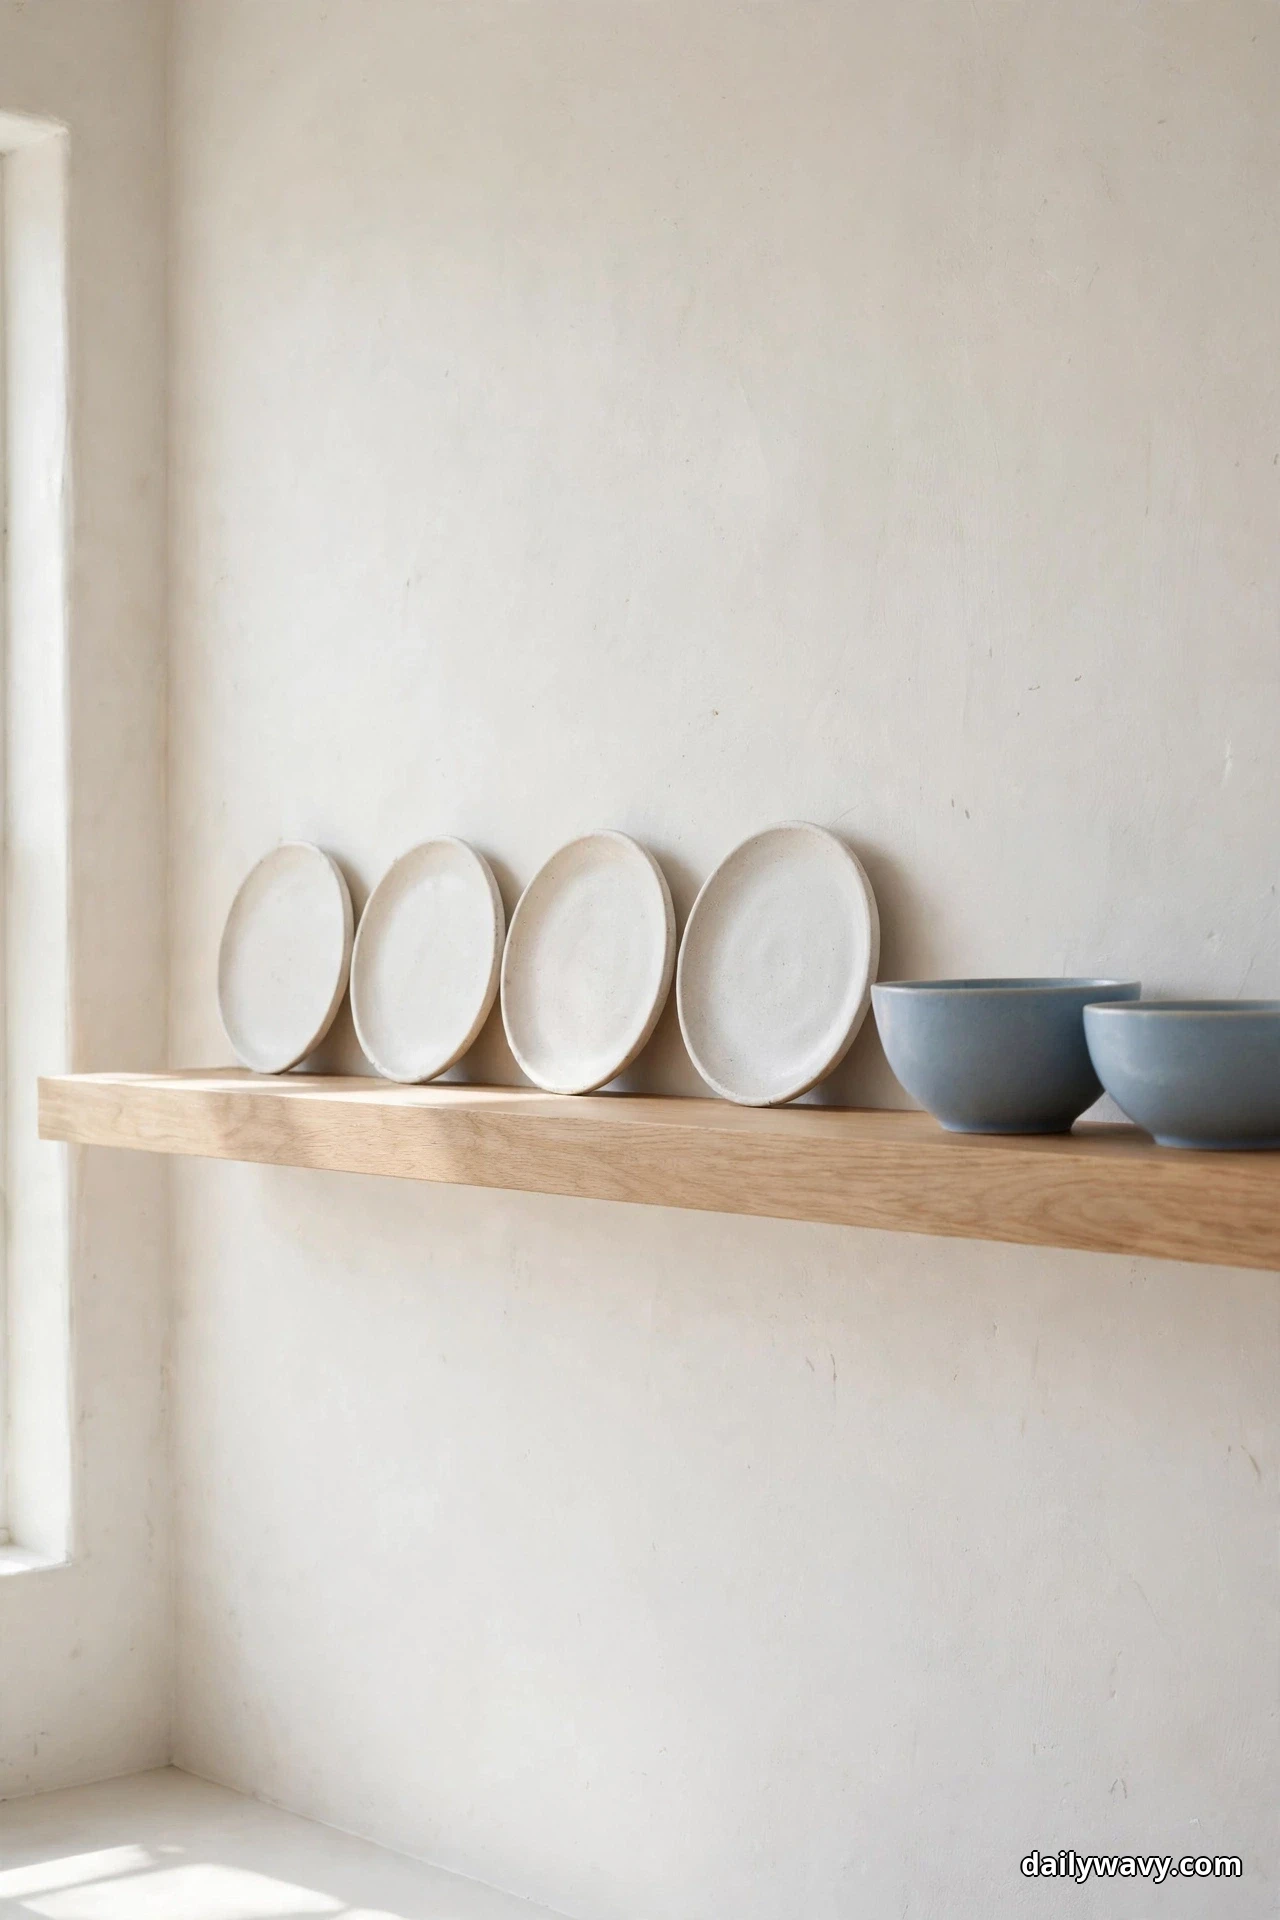
One open shelf with a simple dish display gives a coastal kitchen its collected, lived-in character. The trick is restraint: a short run of matching or tonal plates and bowls, a couple of small cups, and nothing else. White stoneware with a few soft-blue pieces mixed in reads coastal without trying. Leave the shelf ends and some breathing room between groups, because a shelf packed edge to edge reads as storage, not display.
Mount the shelf where you can reach it. Above a coffee station or beside the sink works; above the range does not, because grease coats everything there. Use real brackets into studs or proper anchors, and test the load before you style it. A shelf of dishes is heavy, and the display is only charming until it is on the floor. Keep everyday pieces on the shelf so they get used and washed regularly, and reserve the very top of a high shelf for the pieces you only reach seasonally.
A single floating shelf is an afternoon project with a drill and a level, and the shelf board itself can be light wood to echo the coastal palette. The lower-cost route is restyling an existing shelf you already own. Pull everything off, keep only the pieces in the palette, add two soft-blue bowls from a discount store, and the display transforms for the price of the bowls. Dust the shelf monthly; open storage shows dust fast in a kitchen.
9. A Compact Breakfast Station
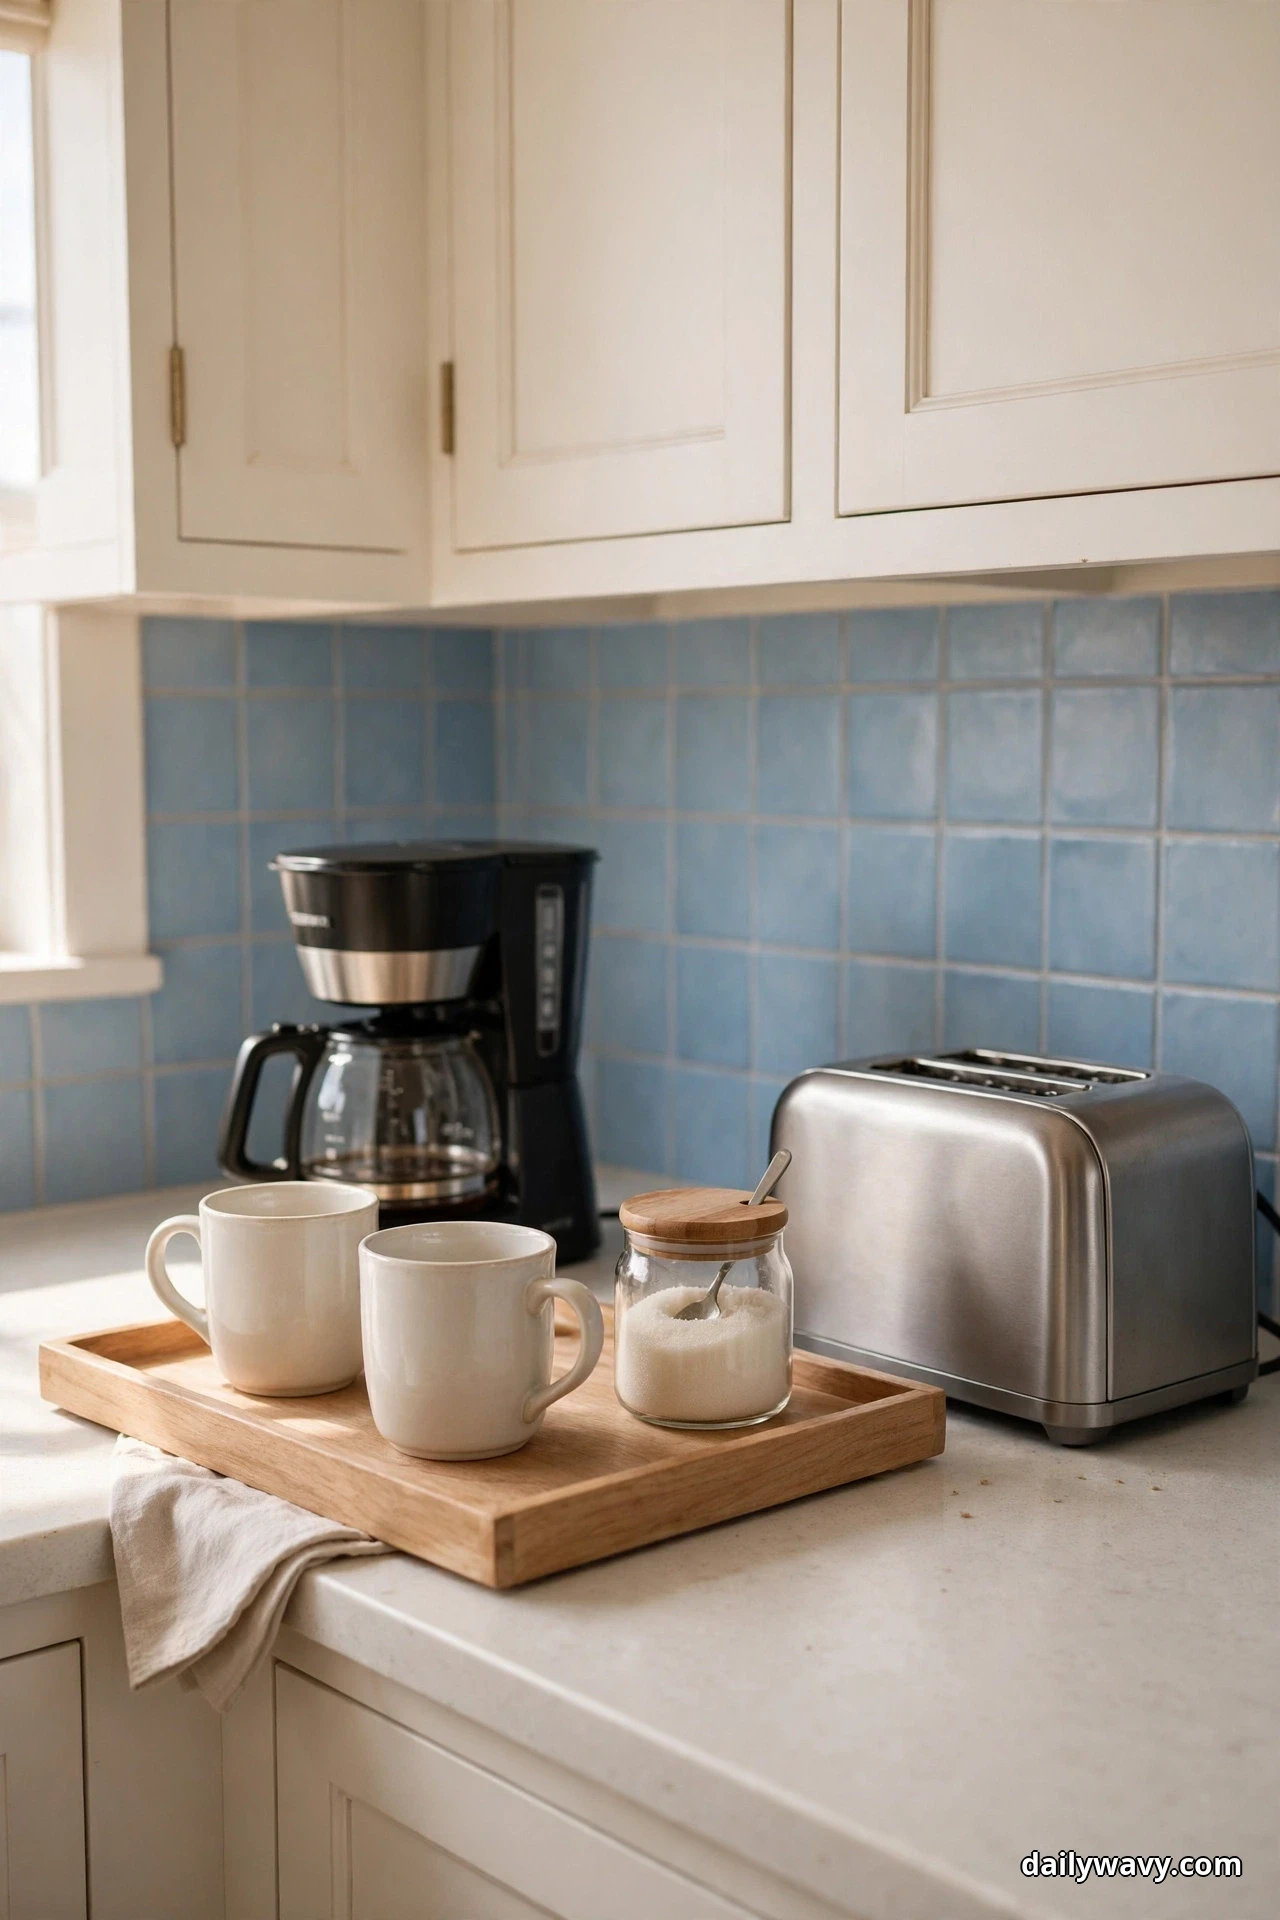
A breakfast station corrals the morning routine into one tidy zone: coffee maker or kettle, mugs, the sugar jar, and the toaster, all on one stretch of counter or a small tray. In a coastal kitchen this looks especially calm, because the daily clutter that usually spreads across the whole counter stays contained. Dedicate 24 to 30 inches of counter near an outlet, ideally close to the fridge and the mugs cabinet so the morning loop is short.
Build it on a light wood tray or a low runner if your counter is limited; the tray defines the station’s borders and makes the whole thing liftable for counter cleaning. Keep cords tucked: a small cord cover or a power strip mounted under the upper cabinet keeps the station from looking wired. Mugs hang from hooks under the cabinet above, or stack two or three on the tray. Everything else, the cereal boxes, the fruit, the vitamins, lives elsewhere so the station stays genuinely compact.
Cost is mostly what you already own, rearranged with intention. The one purchase worth making is the tray, which runs modestly. The lower-cost version is a large cutting board as the base, which you probably already have. A final practical note: wipe the station weekly. Coffee rings and crumbs concentrate exactly where a station lives, and a quick wipe keeps the calm look real.
10. A Small Brass Or Steel Accent Repeated Twice
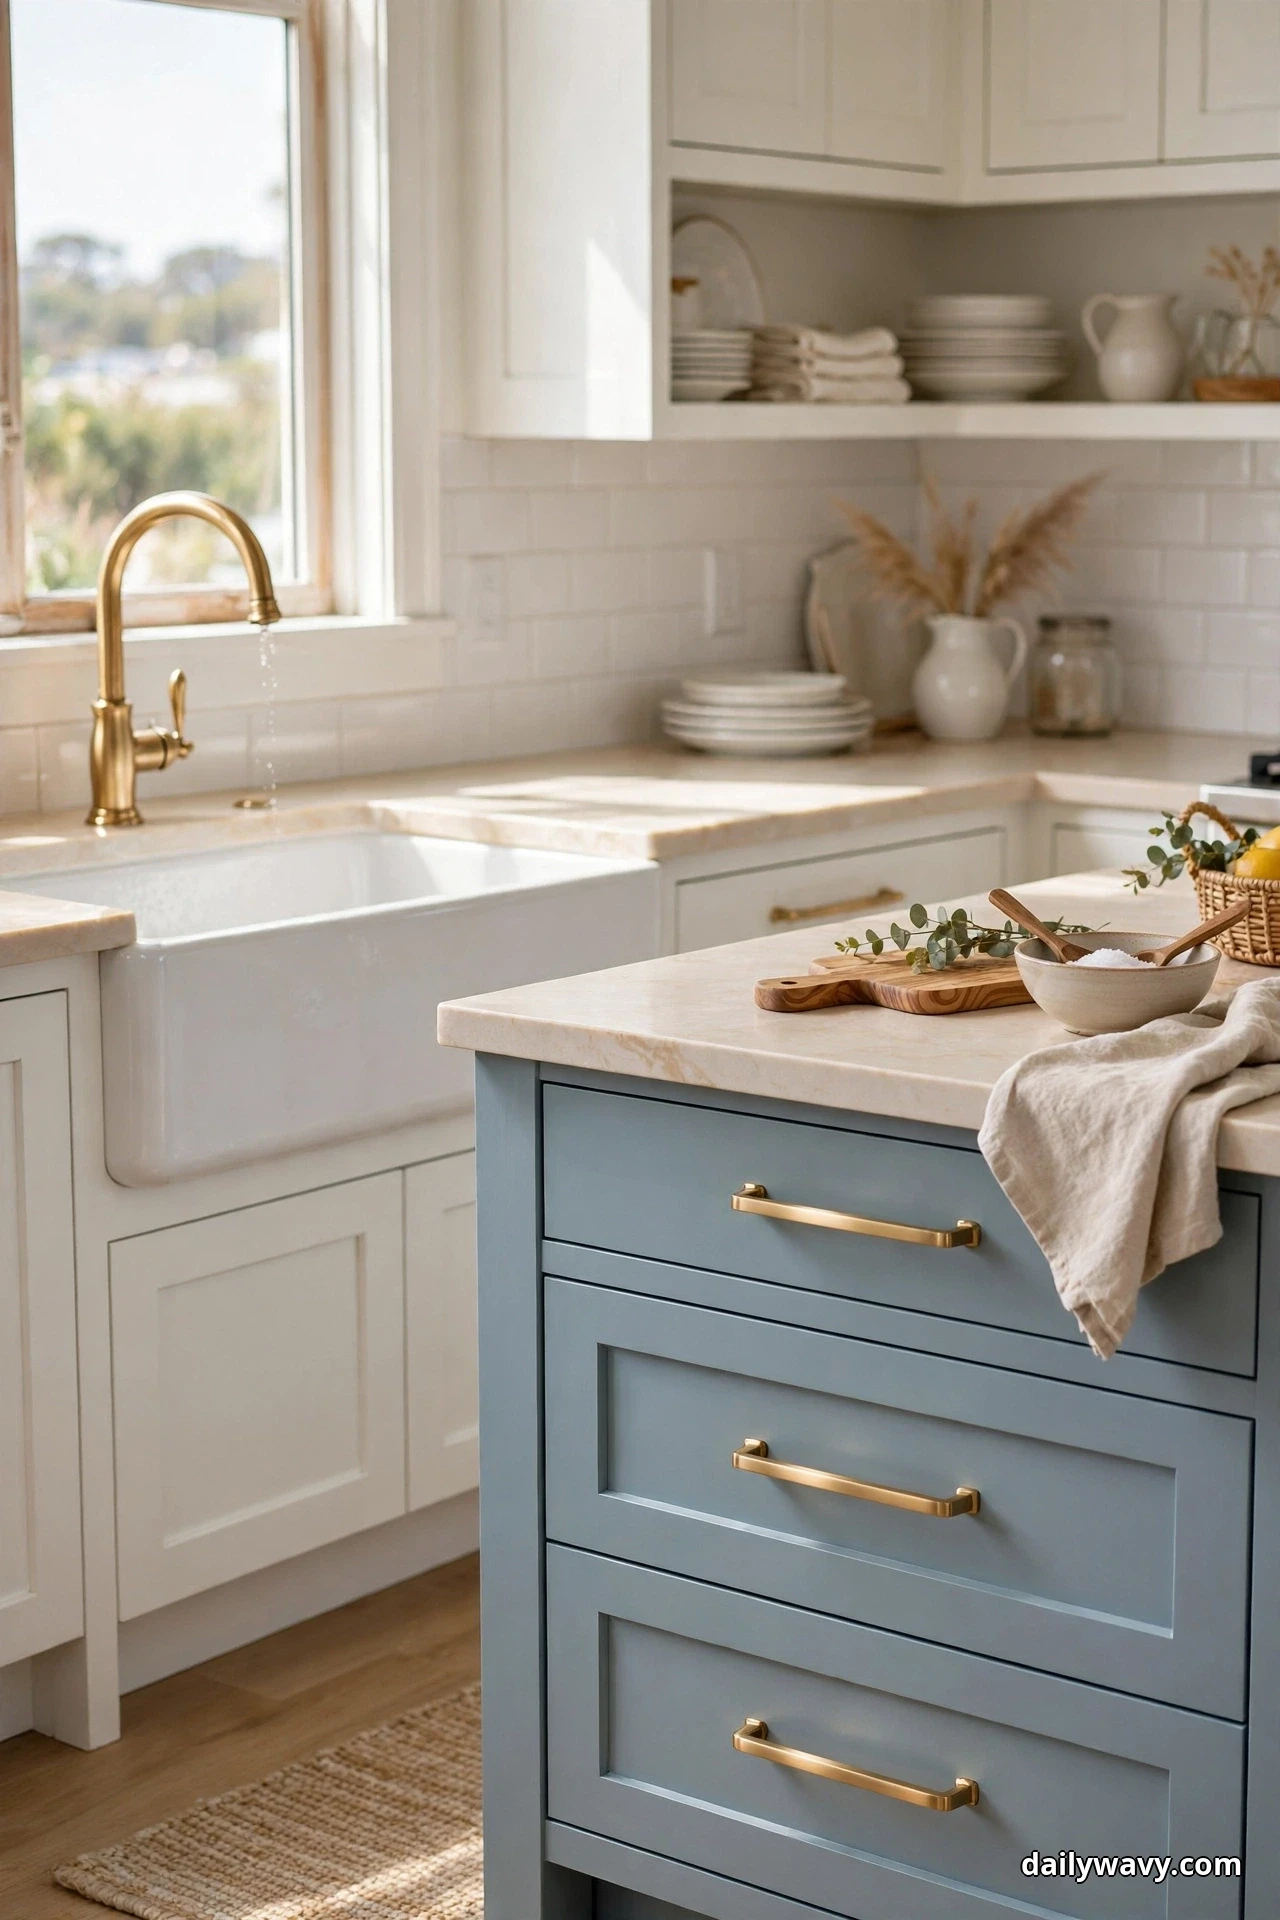
A small metal accent, repeated in exactly two places, is the detail that makes a coastal kitchen feel designed rather than decorated. Brass warms up the cool palette; brushed steel keeps it crisp. The repetition is the design move: one brass faucet plus one brass cabinet pull on the island, or steel shelf brackets plus a steel pendant cord, and the metal becomes a motif instead of a random object. Two is deliberate. Five is a theme, and themes are how kitchens get dated.
Pick your metal and commit. Mixing brass and steel everywhere muddies the effect, so choose one as the accent and let the other exist only in appliances. Apply the accent where hands and eyes land: a faucet, two pendant lights, the pulls on the island drawers. Keep the pieces small, because metal accents are punctuation, not the sentence. And check finishes in person. Brass ranges from polished gold to aged antique, and the wrong undertone against soft blue can look green in the wrong light.
Cost varies: a pair of pulls is cheap, a faucet is a weekend project with a plumber’s bill if you do not DIY. The lower-cost version is spray-painting existing pulls or a thrifted tray in a quality metallic paint, which reads surprisingly well at arm’s length. Whatever you choose, wipe metal accents monthly; kitchens are humid, and even good finishes spot over time.
11. A Balanced Mix Of Closed And Open Storage
The most livable coastal kitchens balance closed and open storage instead of choosing a side. Closed cabinets hide the mismatched reality of daily life; a few open shelves or a glass-front cabinet show the pretty stuff. The ratio that works for most households is roughly three closed to one open. All-open kitchens photograph beautifully and dust constantly. All-closed kitchens stay tidy but can feel flat. The mix gives you both.
Plan the open portion around your prettiest everyday pieces, the white bowls, the soft-blue mugs, the wooden boards, and keep the closed cabinets for everything else. Open shelves go where you can reach and clean them easily, beside the sink or over a coffee station, never over the range. If you are converting, one glass-front door on an existing cabinet is a smaller commitment than a full shelf run, and it keeps dust off the display while giving the same effect.
This is the priciest idea in the guide if it means new cabinetry, so consider the lower-cost versions first: remove one cabinet door and paint the interior soft blue, or add a single floating shelf beside the uppers. Both give you the open-closed mix for very little money. Whatever you do, keep the open portion styled and the closed portion honest. The balance only works if the open shelves get a quick wipe and re-style when they drift.

12. A Wood Cutting-Board Grouping By The Counter
A grouping of wood cutting boards, leaned against the backsplash near the prep zone, is coastal texture you can actually use. Mix two or three boards in different light woods, maple, beech, acacia, and different shapes: a rectangle, a round, one with a handle. The variety is what makes it a collection instead of clutter. They live at the counter end where you prep, so the prettiest storage is also the most practical.
Leaning boards need a safe spot. Tuck them between the backsplash and a stable anchor, like the side of the stove or a canister, where they cannot slide forward onto the countertop. Keep them out of the direct splash zone behind the sink unless you wipe them down, because standing water stains light wood. Oil the boards monthly with food-safe mineral oil; it takes five minutes and keeps the wood from drying and cracking, which matters for boards that double as decor.
Cost is whatever boards you buy or already own; many kitchens already have the makings of this grouping. The lower-cost version is exactly that: pull your existing boards out of the cabinet, lean them up, and see if you even need to buy anything. One caution: never store boards where they block an outlet or a switch you use daily. Practical access to your own kitchen outranks any styling idea, every time.

13. Simple Hardware Repeated Across Cabinets
Cabinet hardware is the jewelry of the kitchen, and the coastal version is simple: one knob or pull style, repeated across every cabinet and drawer. Consistency is the entire idea. A slim bar pull in brushed nickel or a round knob in warm white, used everywhere without exception, makes even builder-grade cabinets look considered. Mixing three styles across the kitchen is the fastest way to make new cabinets look accidental.
Count before you shop. Walk the kitchen with a notepad and count every door and drawer front, then add two spares. Standard pulls run 3 to 5 inches center to center; measure your existing holes before buying, because reusing the same spacing saves you from drilling new holes and filling old ones. Install with a simple cardboard template so every pull sits at the same height; uneven hardware is visible from across the room and impossible to unsee.
This is an afternoon project with a screwdriver and a template, and the cost is modest for the transformation it delivers. The lower-cost version is painting existing hardware: remove the pulls, clean them thoroughly, and spray them in a warm white or soft metallic. A can of quality spray paint covers a whole kitchen’s worth of hardware for very little. One rule either way: keep the finish consistent. The repetition is the design; the moment one cabinet has a different pull, the spell breaks.

Frequently Asked Questions
Can a coastal kitchen work in a small space?
Yes, and it may work better there. The coastal palette, soft blue, warm white, light wood, is inherently light-reflective, which makes tight kitchens feel larger. Choose the small-footprint ideas first: the glass jar grouping, the pitcher of tools, the produce bowl, the hardware swap. All four add the coastal feel without taking a single inch of floor space, and none of them blocks a door swing or shrinks your walkway.
How do I keep a coastal kitchen from looking like a beach gift shop?
Discipline. Keep novelty props out entirely: no rope knots, no painted anchors, no starfish on the walls. Let the palette do the work instead. Soft blue tile, warm white cabinets, light wood, natural fibers, and clean lines read coastal through color and material, not through symbols. If an object has to announce the theme out loud, it does not belong.
What is the best white for coastal kitchen cabinets?
A warm white, not a bright or blue white. Bright whites can go clinical under kitchen lighting, and blue whites fight with soft blue accents instead of supporting them. Sample three warm whites on a cabinet door and check them in morning and evening light. The right one will look creamy but still clean, like sunlight on paper.
Do open shelves make sense in a real cooking kitchen?
They can, if you keep them limited and practical. One or two shelves of everyday dishes that get used and washed regularly stay clean on their own. Full open shelving across the whole kitchen collects dust and grease, especially near the range. The balanced approach in idea 11, mostly closed storage with a small open section, is the realistic middle ground.
How do I add coastal style on a tight budget?
Start with the ideas that cost almost nothing: the produce bowl, the cutting-board grouping from boards you own, the hardware paint refresh, and a rearranged breakfast station. Then add one mid-cost move, like the woven window shade or the jar set. You can get most of the coastal feel for well under the cost of the backsplash tile, and you can phase the bigger projects across seasons.
Will these ideas work with stainless steel appliances?
Absolutely. Stainless steel is neutral and reads slightly cool, which actually suits the coastal palette. The warm white cabinets and light wood keep the steel from feeling cold. If you are adding the metal accent from idea 10, brushed steel or nickel will harmonize with the appliances, while brass gives a deliberate contrast. Either works; just pick one and repeat it.
Keep Exploring
If this coastal look has you thinking about storage, the guide to 10 Small Pantry Organization Ideas pairs naturally with the jar grouping and freestanding cabinet ideas above, since pantry storage is where most kitchens gain or lose their calm. For the entry side of an open plan, 13 Small Entryway Decor Ideas helps the kitchen flow into the rest of the house without a style break. And the Home & Decor archive has the full room-by-room collection if you want to keep the same palette going beyond the kitchen.