15 Open Clothing Rack Organization Ideas to Keep Everyday Items Easy to Find
An open clothing rack can feel like the simplest piece of furniture you own, until the morning rush turns it…
An open clothing rack can feel like the simplest piece of furniture you own, until the morning rush turns it into a blur of hangers and sleeves. The trick is not more stuff. It is a quiet system that keeps every sweater, scarf, and pair of jeans easy to spot and easier to return. These fifteen ideas work with the rack you already have, whether it stands in a bedroom corner, a hallway nook, or a laundry room. You will find spacing rhythms, risers, dividers, and low-cost swaps that turn open storage from a visual jumble into a calm, findable wardrobe. Grab a tape measure and let’s make getting dressed the easiest part of your day.
In This Guide
- A Repeated Spacing System Between Groups
- A Shelf Riser Making Two Usable Levels
- A Designated Return-To-Place Zone
- A Hanging Organizer Where Suitable
- A Breathable Bag For Delicate Items
- A Small Inventory Card At The Front
- A Basket For Items Awaiting Repair
- An Adjustable Divider In A Wide Section
- A Dedicated Travel-Packing Bin
- A Grouped Arrangement By Use Frequency
- A Clear Gap Preventing Overstuffing
- Matching Bins With Readable Labels Added In Editing
- Dividers That Keep Vertical Stacks Upright
- A Shallow Tray For Frequently Used Items
- Clear Containers With Contents Visible
Open Rack Rules Before You Arrange Anything
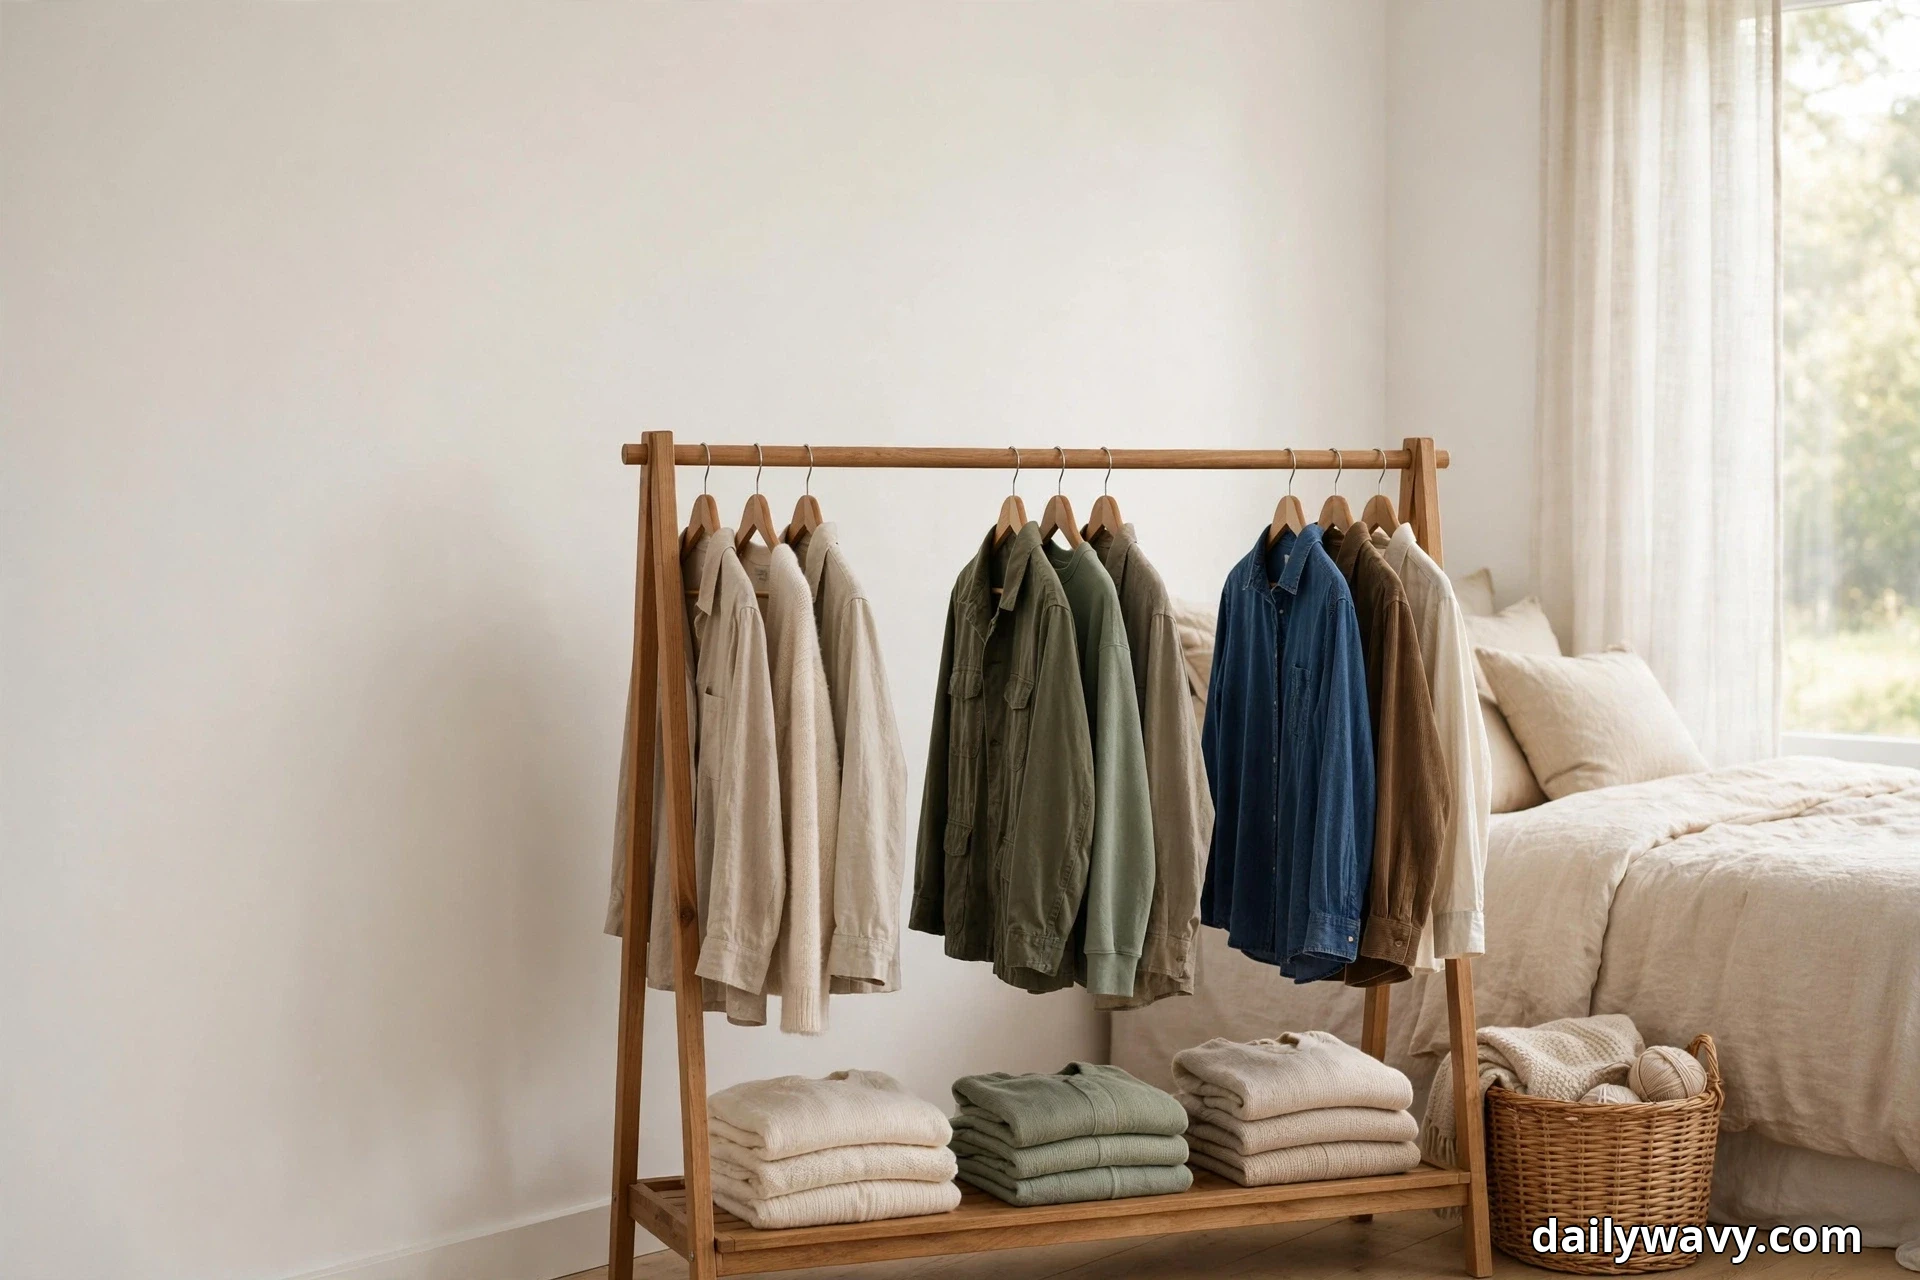
Spend ten minutes on measurements before you touch a hanger. Note the rail length, rail height, and shelf depth. Most single-rail racks run 36 to 60 inches wide with a rail around 60 to 64 inches high, and lower shelves are usually 14 to 16 inches deep. Keep a walking path of 30 to 36 inches in front of the rack, and keep doors, drawers, and heat sources fully clear. If the room is tight, the layout thinking in our 14 Narrow Living Room Layout Ideas helps keep that walkway honest.
Check the rack’s weight limit from its manual, and anchor tall freestanding racks to a wall stud with an anti-tip strap, or use wide anti-tip feet if you cannot drill. Keep heavy bins low and light shirts up top. That same earn-its-spot thinking runs through our 10 Small Pantry Organization Ideas. Plan for reach: daily items belong at chest to eye height, roughly 36 to 60 inches, with occasional items above or below. And never hang damp clothing here. Let wet pieces air dry elsewhere first, then move them to the rack once fully dry.
1. A Repeated Spacing System Between Groups
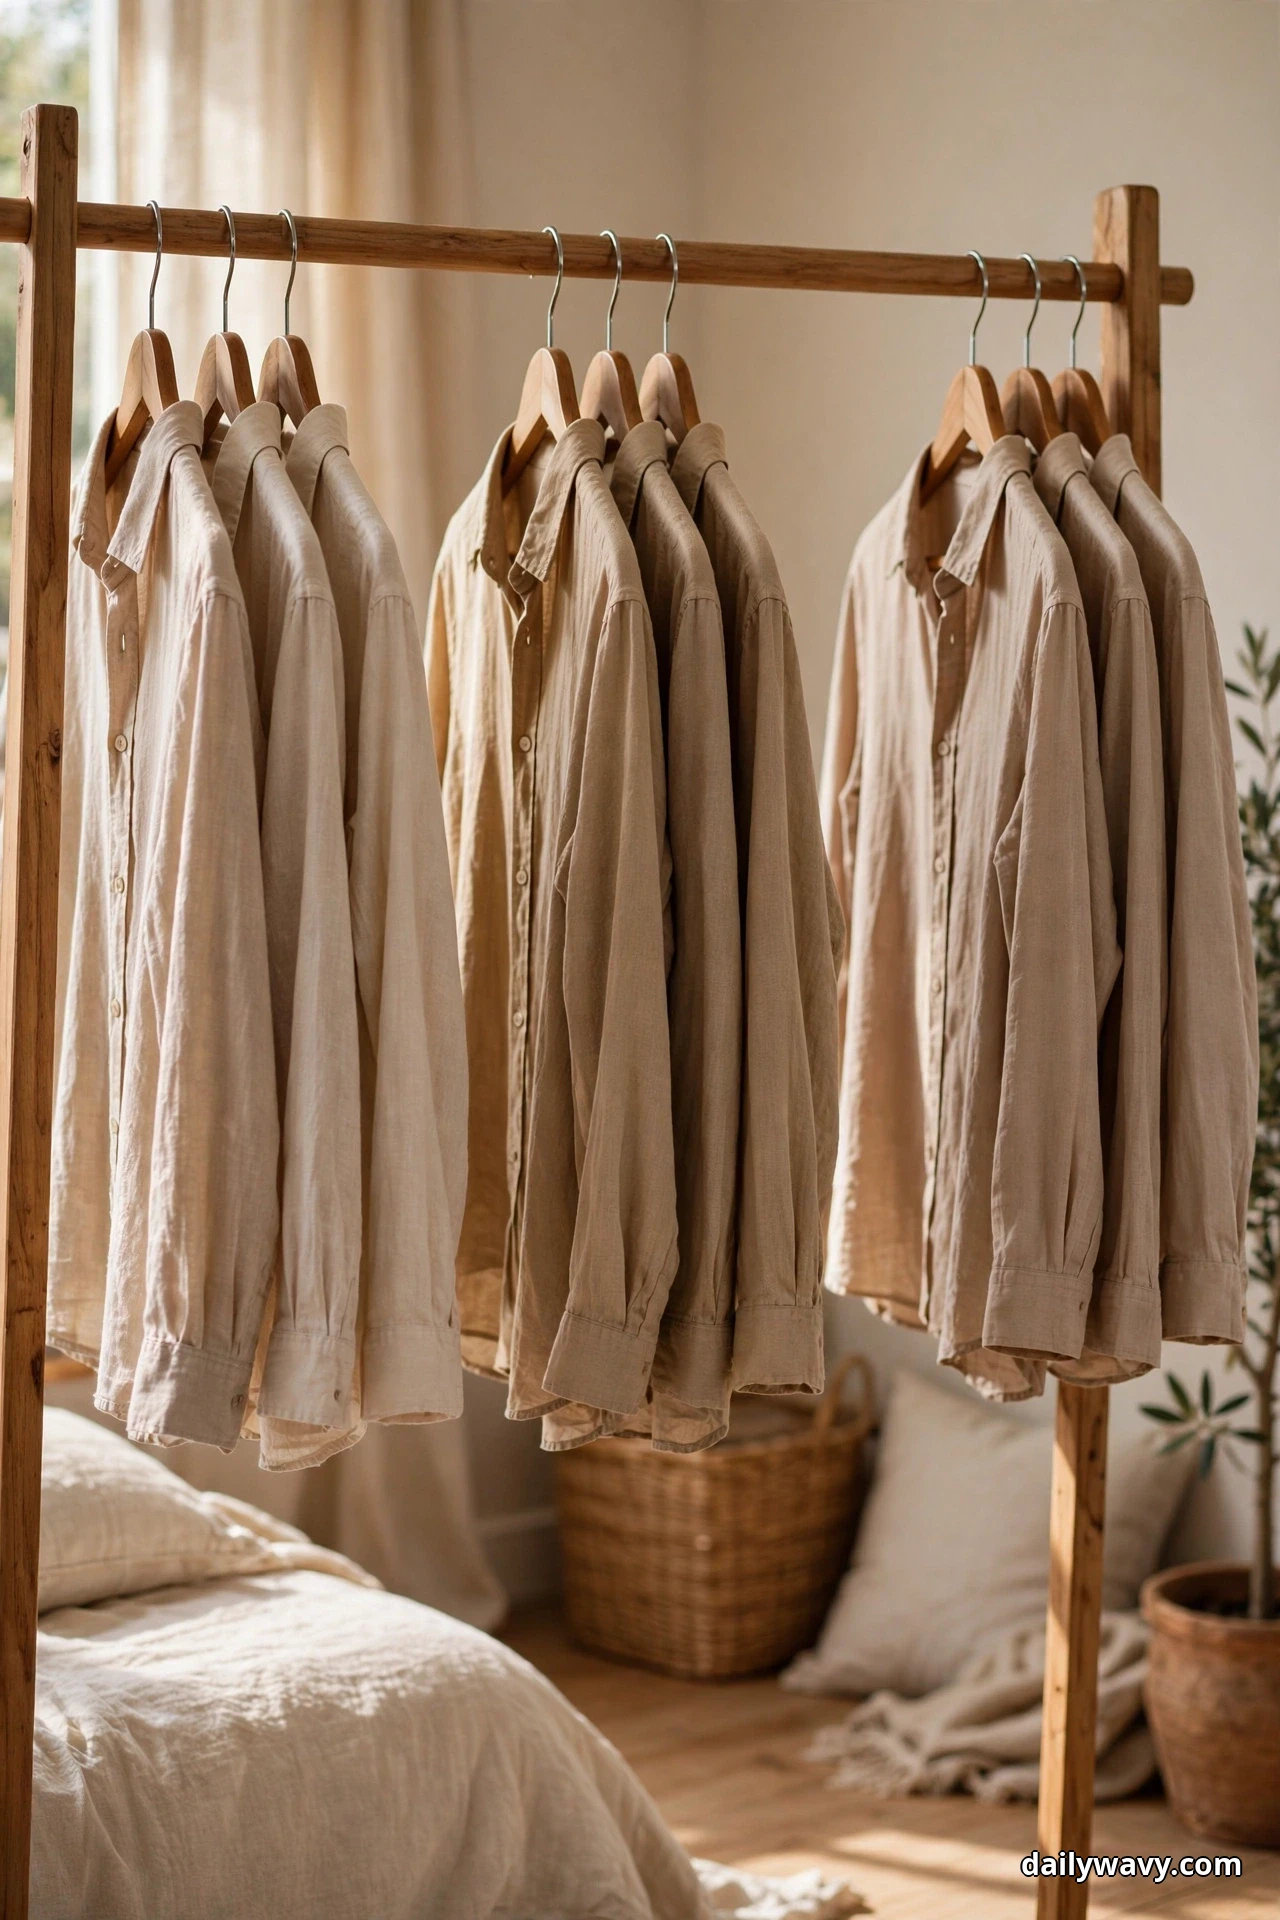
There is a small, satisfying sound when hangers glide along a rail that is not packed shoulder to shoulder. A repeated spacing system gives you that glide every morning: you divide the rail into visible groups with a consistent two to three inch gap between them, and your eyes learn where each group starts before you even touch anything.
What it does: The gaps act like punctuation on the rail. Work shirts form one block, casual tops another, jackets their own territory. You stop scanning the whole rail and start reaching for the right neighborhood.
What you need (materials): A tape measure, slim non-slip hangers, and ring-style hanger dividers or colored hook tags, about $8 to $12 USD for ten rings.
How to set it up: Measure the rail and count garments. Divide into groups of 8 to 12 hangers, with a divider ring sitting in the middle of each gap between groups. Hang pieces about one inch apart within groups, longest pieces at the far end so hems clear the floor by at least two inches.
Time and effort: About 20 minutes to measure and re-hang a full rail.
Lower-cost swap: Tie short pieces of contrasting ribbon or twine around the rail between groups instead of buying dividers.
2. A Shelf Riser Making Two Usable Levels
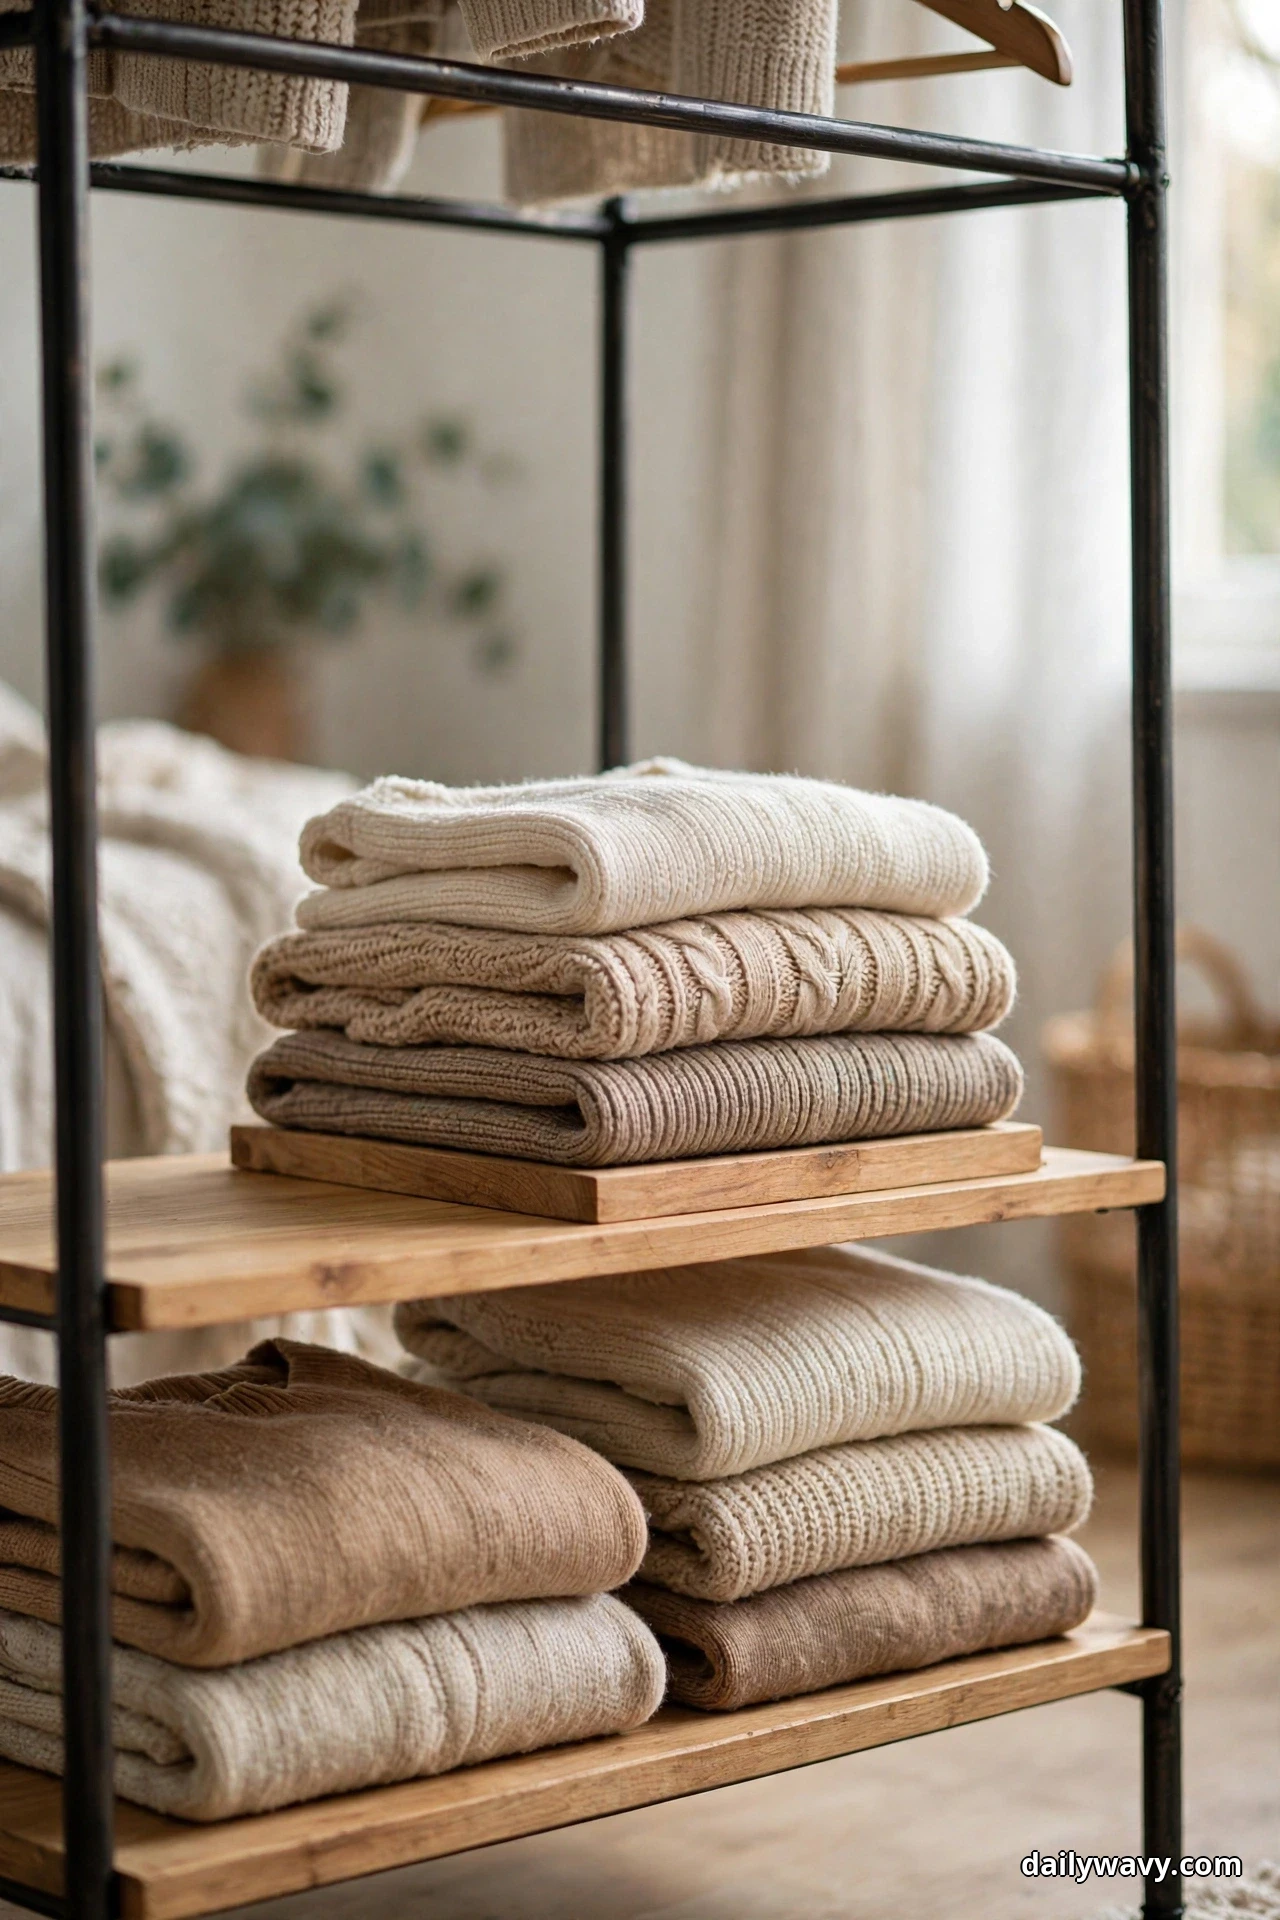
The bottom shelf of a clothing rack is often a cave where folded sweaters stack up and the bottom layers never see daylight. A simple shelf riser turns that one dark shelf into two bright levels, so nothing has to hide underneath anything else.
What it does: Raising half the shelf on a low riser puts two layers of folded clothes within sight at once. Short stacks stay stable, and the back row becomes visible without pulling anything out.
What you need (materials): A freestanding shelf riser, wire or bamboo, 16 to 20 inches long, 10 to 12 inches deep, 4 to 6 inches tall. Most cost $12 to $20 USD and need no tools.
How to set it up: Pick a riser two inches shallower than the shelf so your hands fit. Set it on the back half of the shelf, pushed to one side so taller items can still sit beside it. Fold tees and sweaters into 8 to 10 inch rectangles with stacks no more than four high, keeping daily pieces at 30 to 40 inches off the floor where your hands naturally rest.
Time and effort: Five minutes to place and fold; no assembly for most risers.
Lower-cost swap: A sturdy inverted storage box or a clean wooden crate gives the same lift.
3. A Designated Return-To-Place Zone
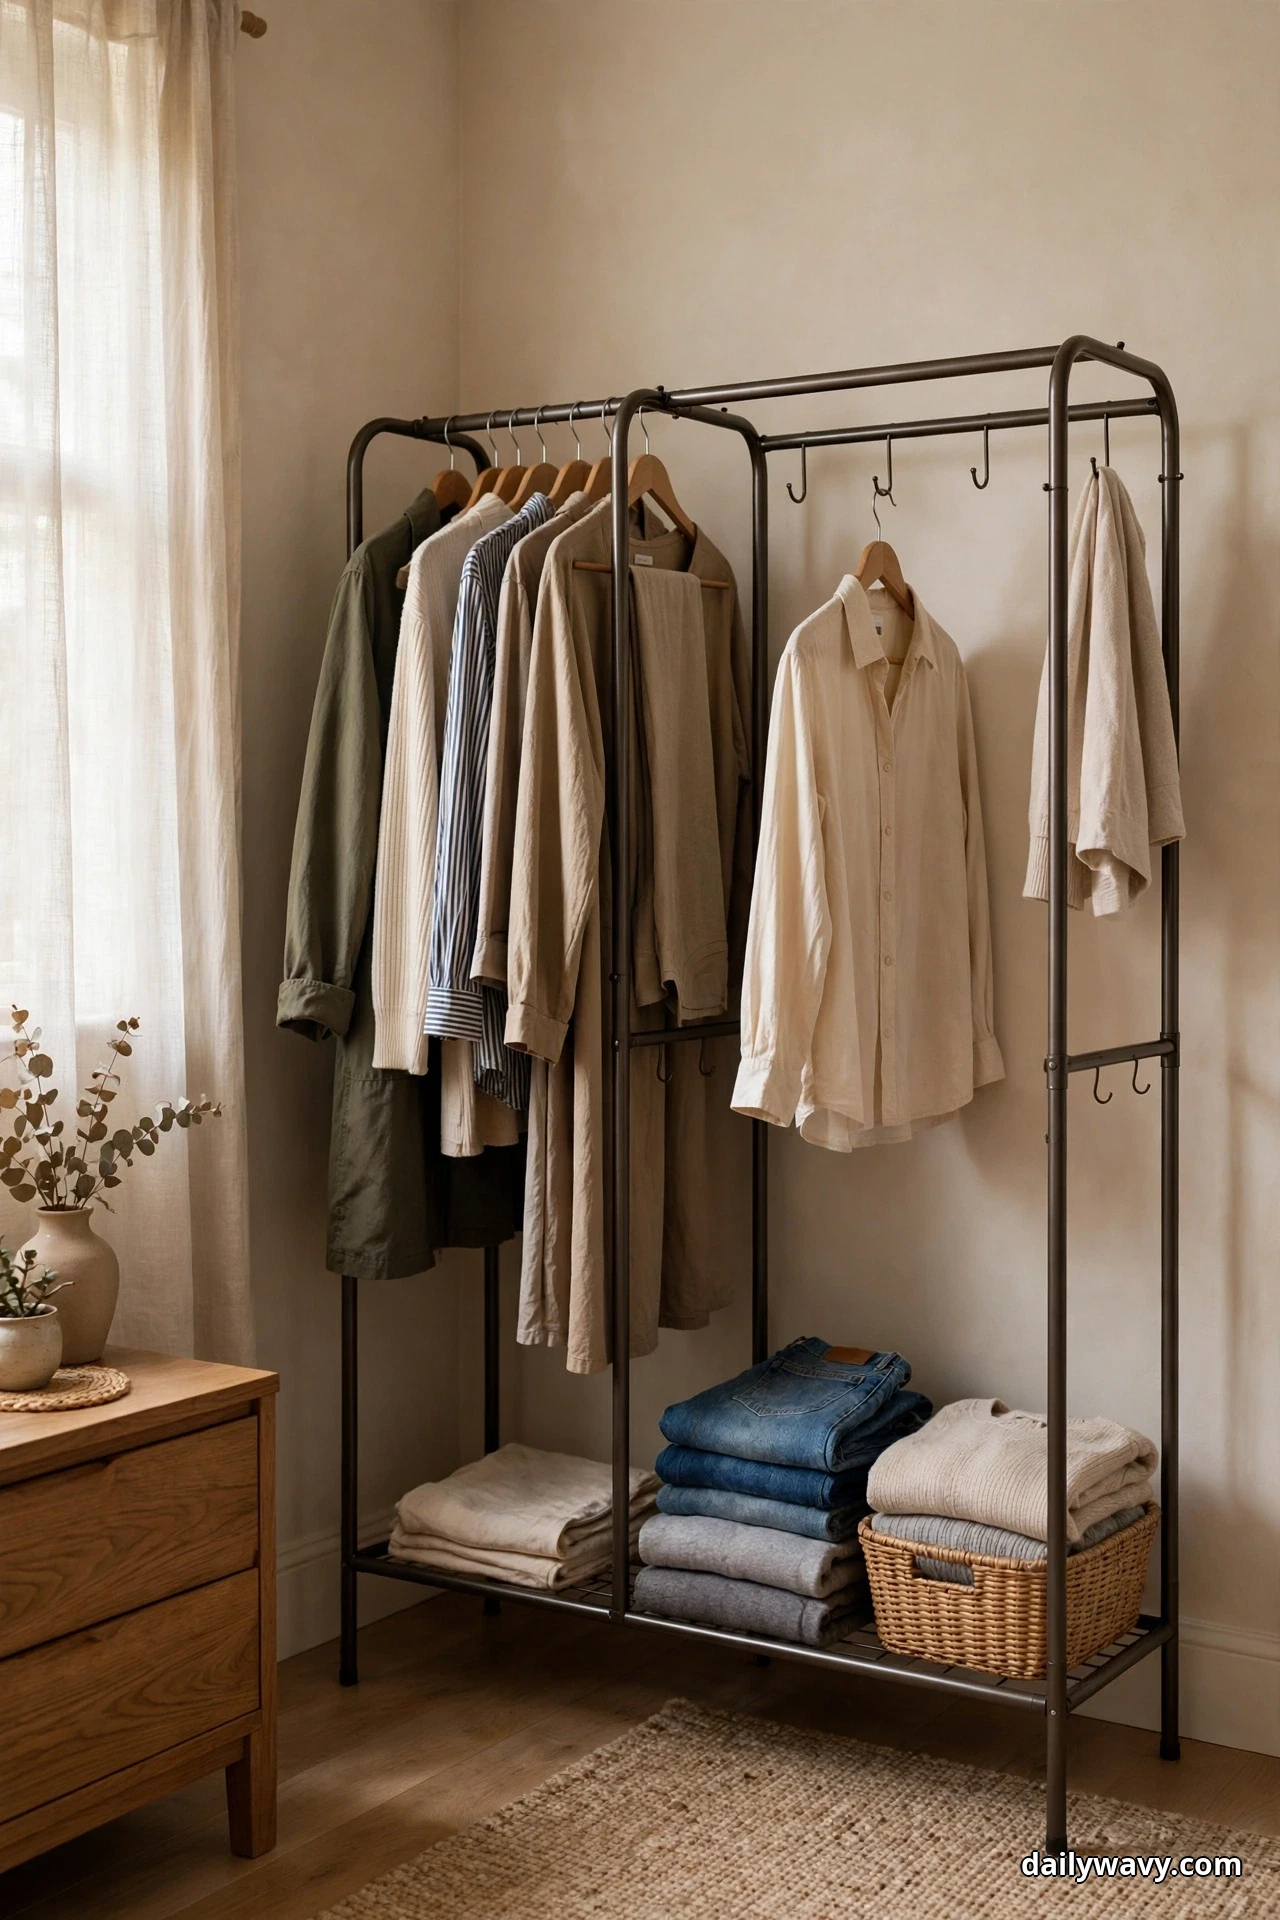
Every home has clothes in limbo: the jeans worn once that are not dirty, the cardigan draped over a chair at noon. Without a place for them, they drift across the room and the rack’s system slowly unravels. A return-to-place zone gives almost-clean clothes a home that is not the hamper and not the rack.
What it does: This zone catches rewears before they become clutter. A basket or marked rail section holds items headed for a second wearing and reminds you to move them back within a day or two.
What you need (materials): A shallow open basket about 12 to 14 inches wide, or three to four empty hangers plus a tag marked “Rewears.” A basket runs $6 to $12 USD; the rail section is nearly free.
How to set it up: Set the basket at one end of the bottom shelf, 18 to 24 inches off the floor. For a rail section, reserve 10 to 12 inches at one rail end with a divider and a small tag. Cap the zone at about five items, and each evening take thirty seconds to return everything to its place.
Time and effort: Ten minutes to set up, thirty seconds a day to maintain.
Lower-cost swap: A reusable shopping tote hung on a rail hook works as a zero-cost rewear catcher.
4. A Hanging Organizer Where Suitable
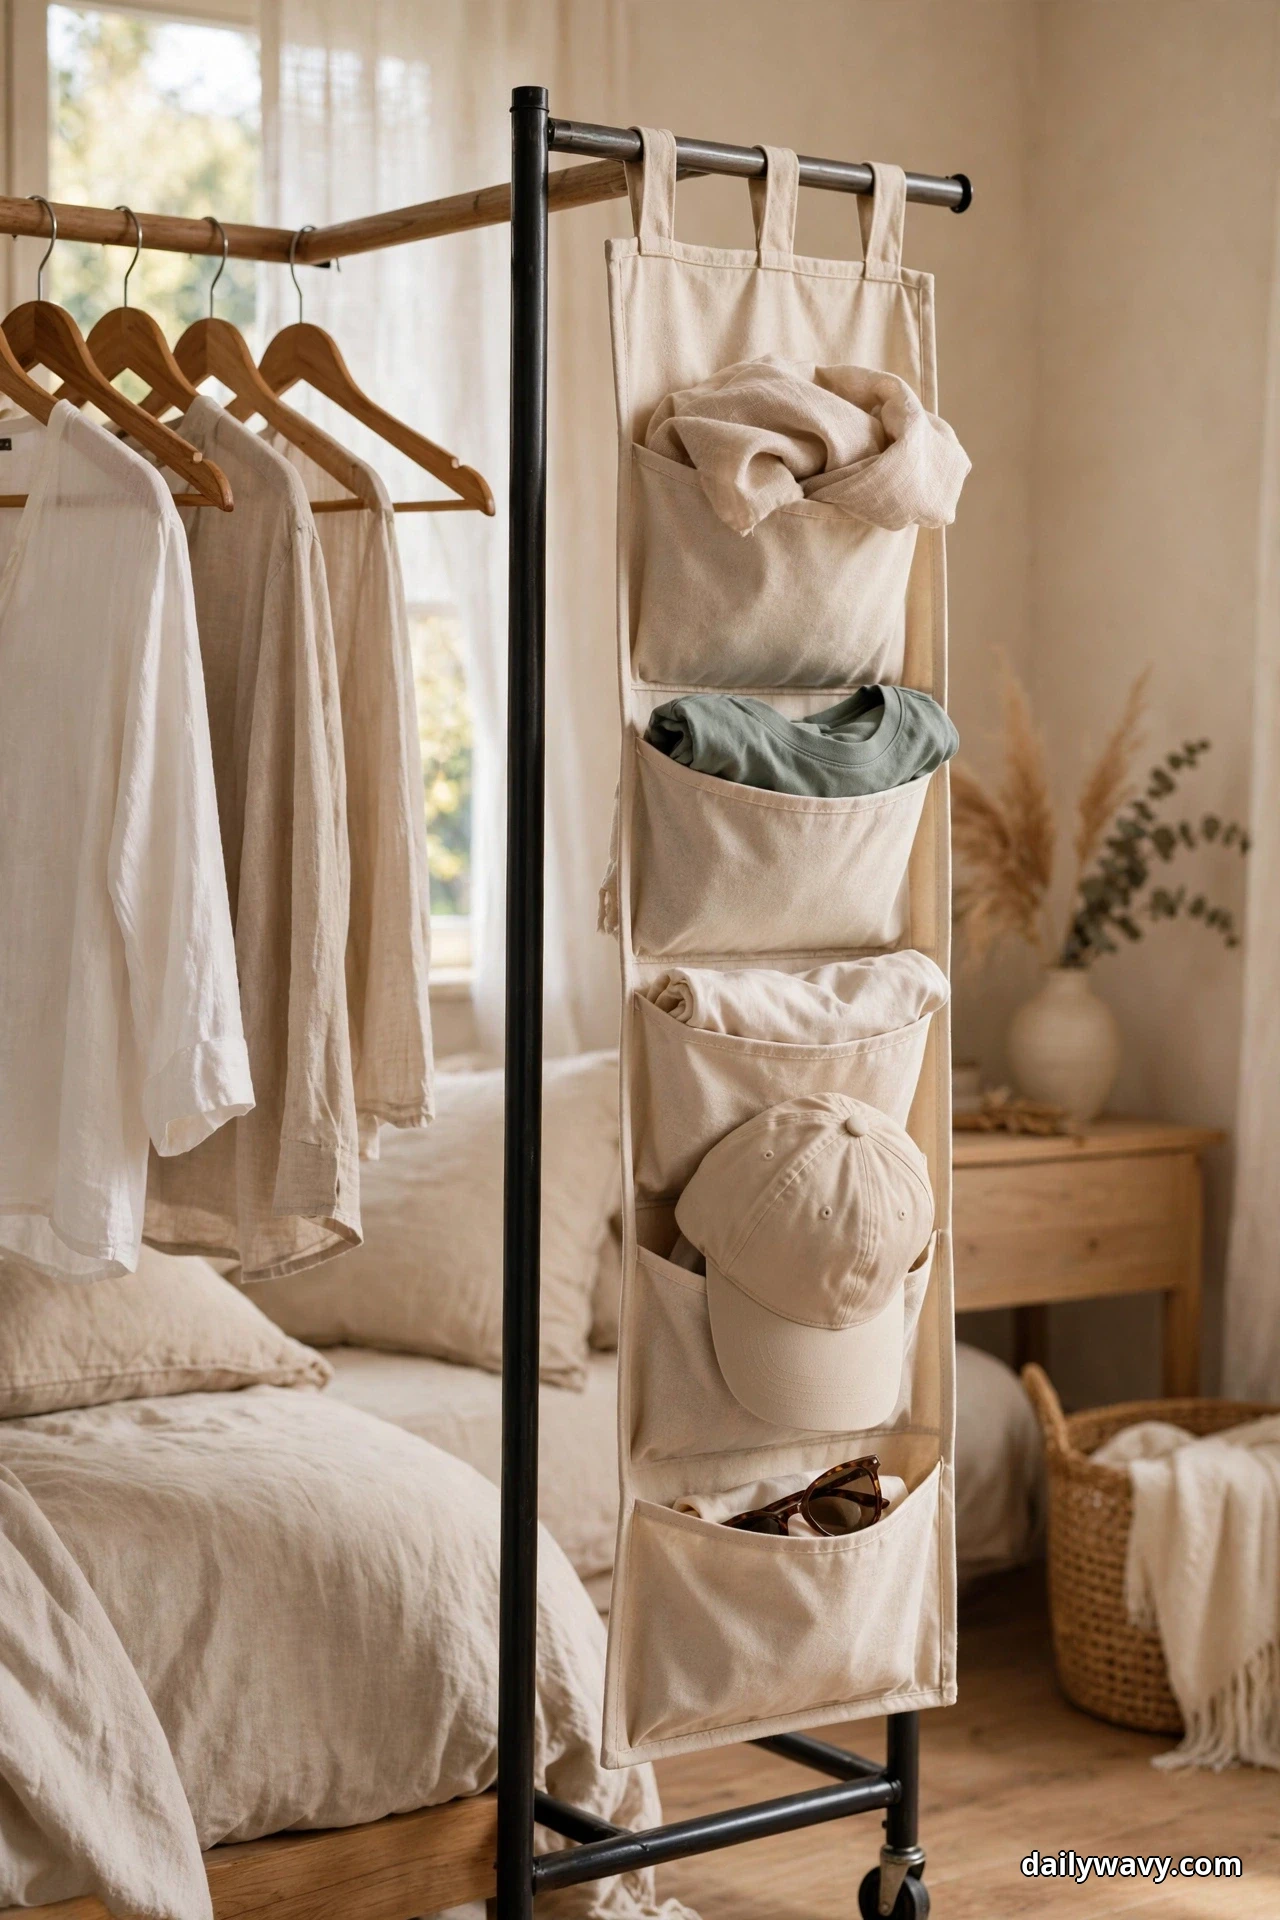
The rail eats all the attention, but a fabric hanging organizer with five or six slim shelves slips into the vertical space below it and turns dead air into homes for the small, floppy things that slide off regular shelves: rolled scarves, folded tees, hats, and belts.
What it does: It adds mini shelving without adding furniture. Light accessories get visible slots instead of disappearing into baskets.
What you need (materials): A fabric hanging organizer about 12 inches wide and 40 to 48 inches long with hooks fitting a standard 1 to 1.25 inch rail, $10 to $18 USD. Hang it so the top compartment sits at 54 to 60 inches.
How to set it up: Free up 12 to 14 inches of rail and check the rail’s weight limit first. Fill only with light items: scarves, rolled tees, hats, belts, keeping the total load under 5 to 8 pounds. Never hang heavy handbags, packed totes, or weights in it; a fabric organizer cannot carry that load, and a lopsided rail can pull a freestanding rack off balance. Put the lightest items at the bottom so compartments do not sag sideways.
Time and effort: Ten minutes to hang and fill.
Lower-cost swap: Two or three fabric grocery bags tied to the rail with short loops can stand in as compartments.
5. A Breathable Bag For Delicate Items
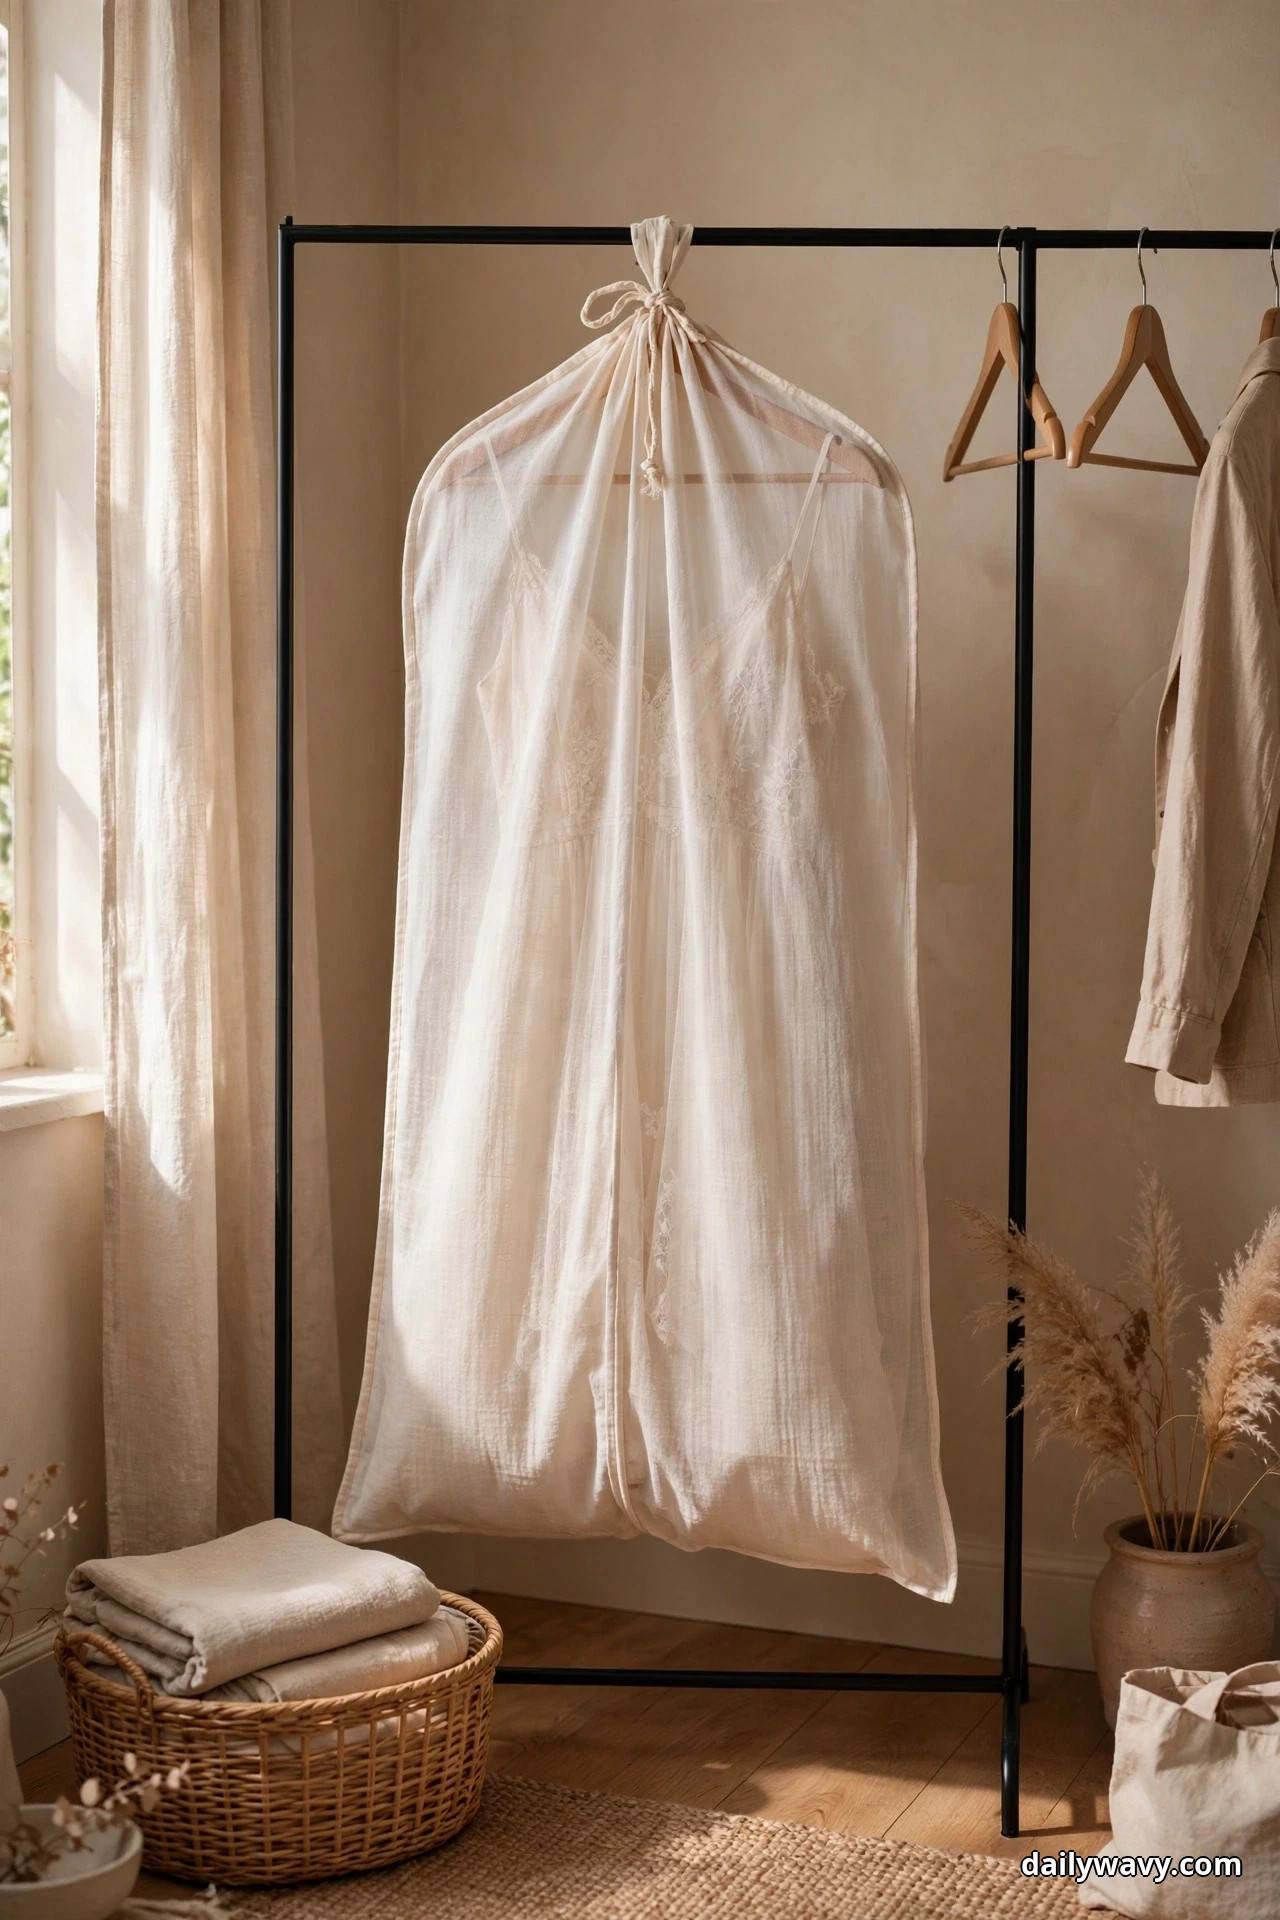
Open racks show everything, which suits daily tees but not silk scarves, lace tops, and fine knitwear that snag, stretch, or pick up dust. A breathable cotton garment bag keeps delicates on the rack, protected and dry, while staying findable in seconds.
What it does: The bag shields delicate fabrics from dust, snags, and light while letting air circulate, so pieces stay fresh instead of getting musty.
What you need (materials): One or two cotton muslin garment bags, full length 24 by 40 inches or half length 24 by 24 inches, with a zipper front. About $8 to $14 USD each.
How to set it up: One bag per hanger, with two to three inches of rail space on each side so nothing compresses. Keep bagged items in the middle of the rail at 48 to 60 inches, away from floor dust and passing zippers. Never store anything even slightly damp inside a bag; air dry elsewhere first so trapped moisture never settles into the fabric.
Time and effort: Five minutes per bag to sort and hang.
Lower-cost swap: A clean cotton pillowcase slipped over a hanger works as a single-item dust cover for free.
6. A Small Inventory Card At The Front
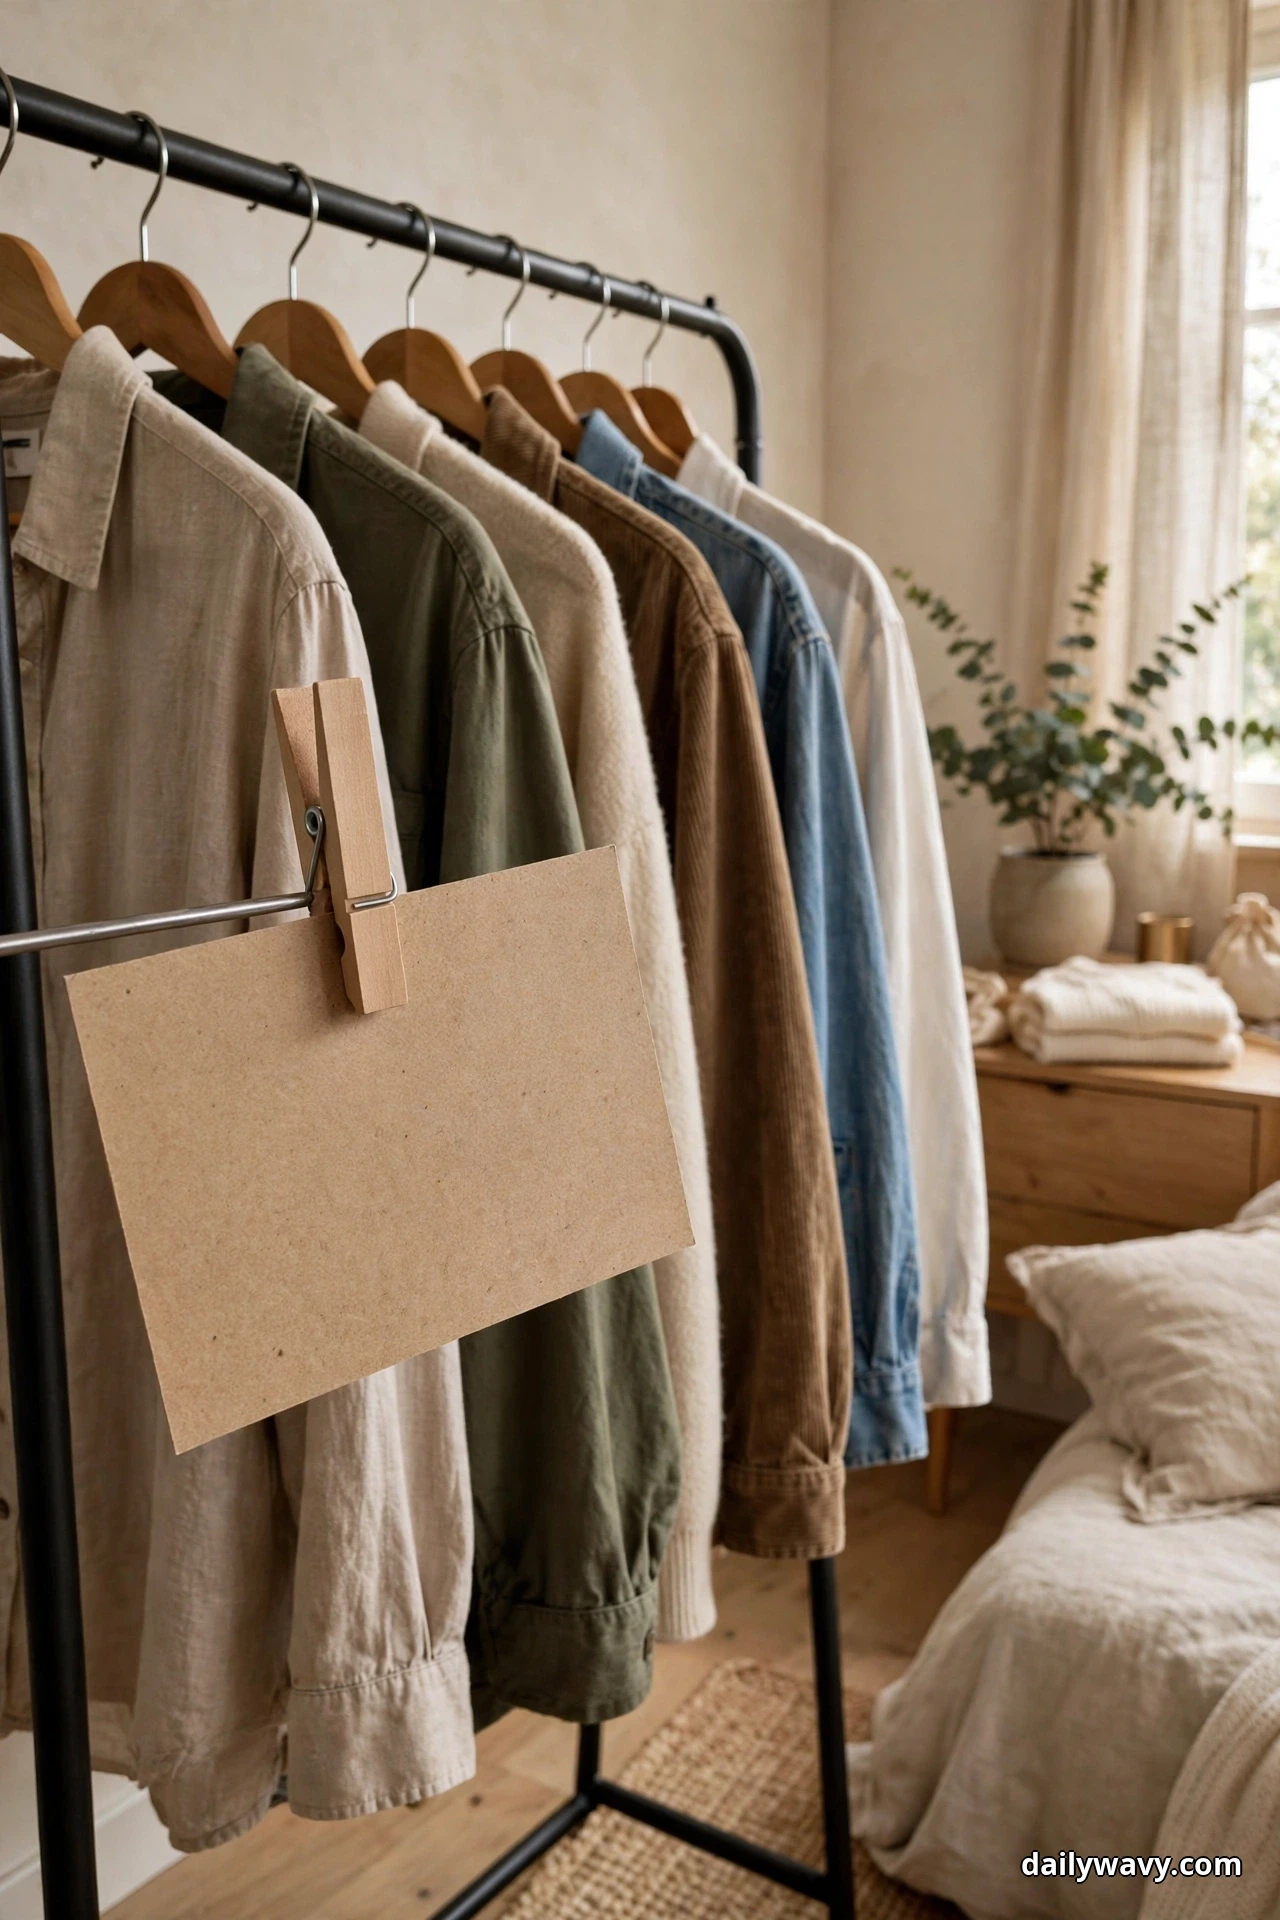
When a rack holds more than twenty items, even its owner forgets what lives at the back. A small inventory card at the front end of the rail works like a table of contents: one glance says what is where, and you stop rifling through everything to find the black sweater.
What it does: It maps the rack so you grab without searching, and it shows anyone else in the household where things belong.
What you need (materials): A 3 by 5 inch index card or small laminated card, a clip or ring, and a pen. Under $2 USD.
How to set it up: Clip the card at the front end of the rail, 60 to 64 inches high, or on the first hanger where your eye lands. Write the layout in five or six large lines: “Left: work tops, Middle: jeans, Right: jackets, Bins A to C: socks, accessories, seasonal.” Rewrite the card two or three times a year when you rotate clothes or change the layout.
Time and effort: Fifteen minutes for the first card, one minute per update.
Lower-cost swap: A folded sticky note hooked over the rail works until you make a sturdier card.
7. A Basket For Items Awaiting Repair

A missing button or loose hem should not earn a garment permanent exile in the laundry room, but repairs do not happen if the item vanishes into a pile. A small repair basket on the rack keeps these almost-ready clothes visible, and visibility is what gets the needle threaded.
What it does: It gathers repair candidates in one spot so they stop drifting, and a half-full basket becomes its own reminder to spend twenty minutes with a sewing kit.
What you need (materials): A medium open basket, about 8 to 10 quarts or 14 by 10 by 6 inches, fitting the bottom shelf, plus a tag marked “To fix” and a basic sewing kit. $8 to $15 USD for the basket.
How to set it up: Place the basket on the bottom shelf, 20 to 24 inches off the floor, at one end where it does not block daily bins. Fold each item with a scrap of paper noting what it needs: “sew hem,” “replace button.” Cap the basket at eight items; when it fills, sit down and clear it. Keep heavy items like broken-soled boots on the floor instead, so the shelf stays light and stable.
Time and effort: Ten minutes to set up, then whatever the repairs take.
Lower-cost swap: Any sturdy reusable tote or small laundry basket you already own does the job.
8. An Adjustable Divider In A Wide Section
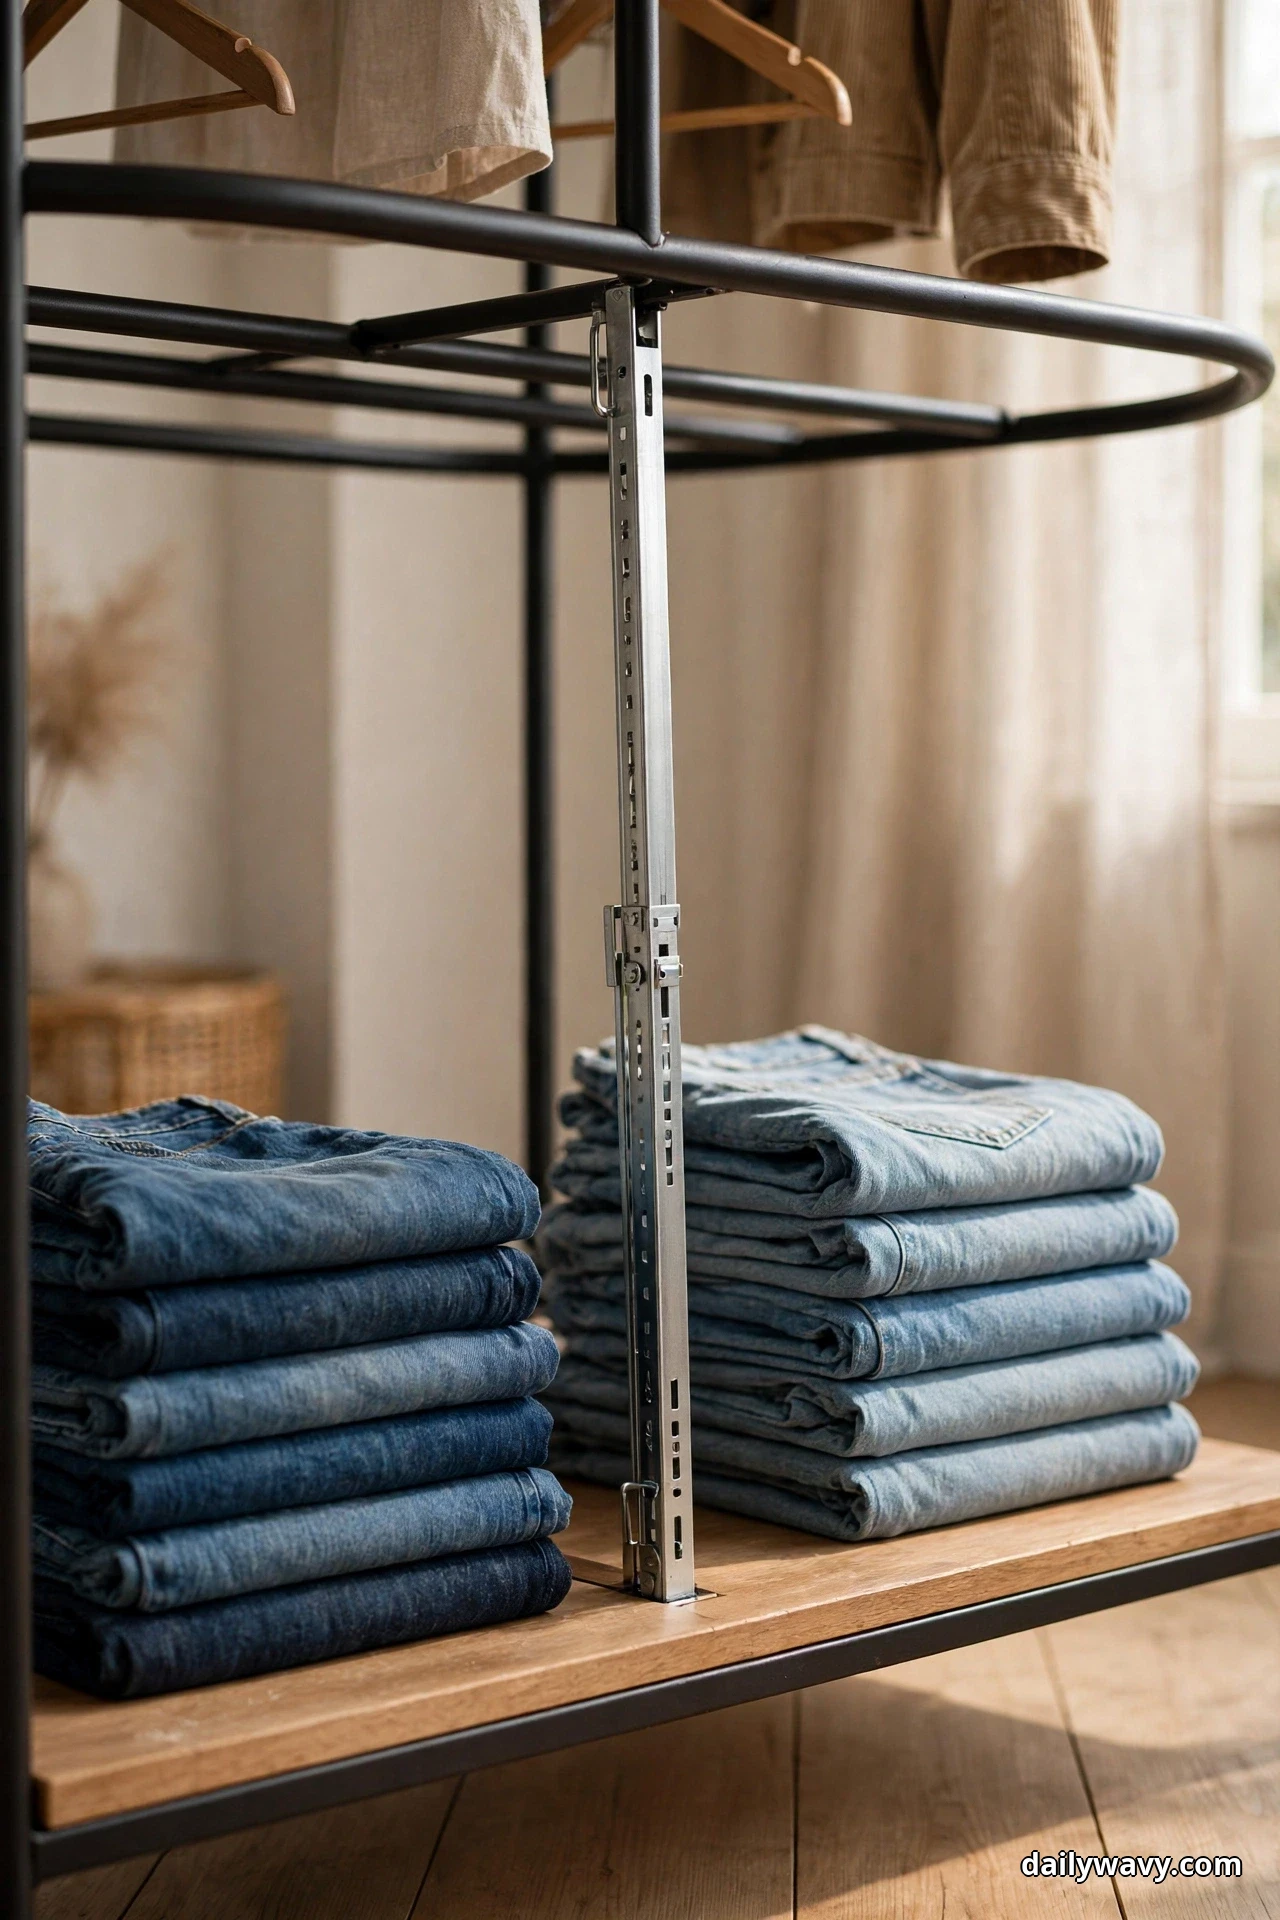
Wide open shelves are a blessing until folded stacks start leaning like dominoes. One row of sweaters tilts, drags the next row with it, and soon the whole shelf looks like a slow landslide. An adjustable divider in the middle of a wide section stops the slide.
What it does: It breaks a long shelf into fixed lanes so folded stacks stay upright. When one lane empties, the others hold their shape instead of collapsing into the gap.
What you need (materials): One or two adjustable shelf dividers, spring tension style for shelves 12 to 20 inches deep or clamp style for edges up to 1.25 inches thick. $10 to $16 USD each.
How to set it up: Measure the shelf and place a divider every 10 to 12 inches; three dividers make four even lanes on a 48 inch shelf. Keep them vertical, with half an inch of clearance above stacks so you can lift items out. Put the heaviest folded pieces, like jeans, in lanes nearest the supports or legs.
Time and effort: Ten to fifteen minutes to measure, place, and refold.
Lower-cost swap: Heavy hardcover books or filled water bottles on their sides make temporary lane markers.
9. A Dedicated Travel-Packing Bin
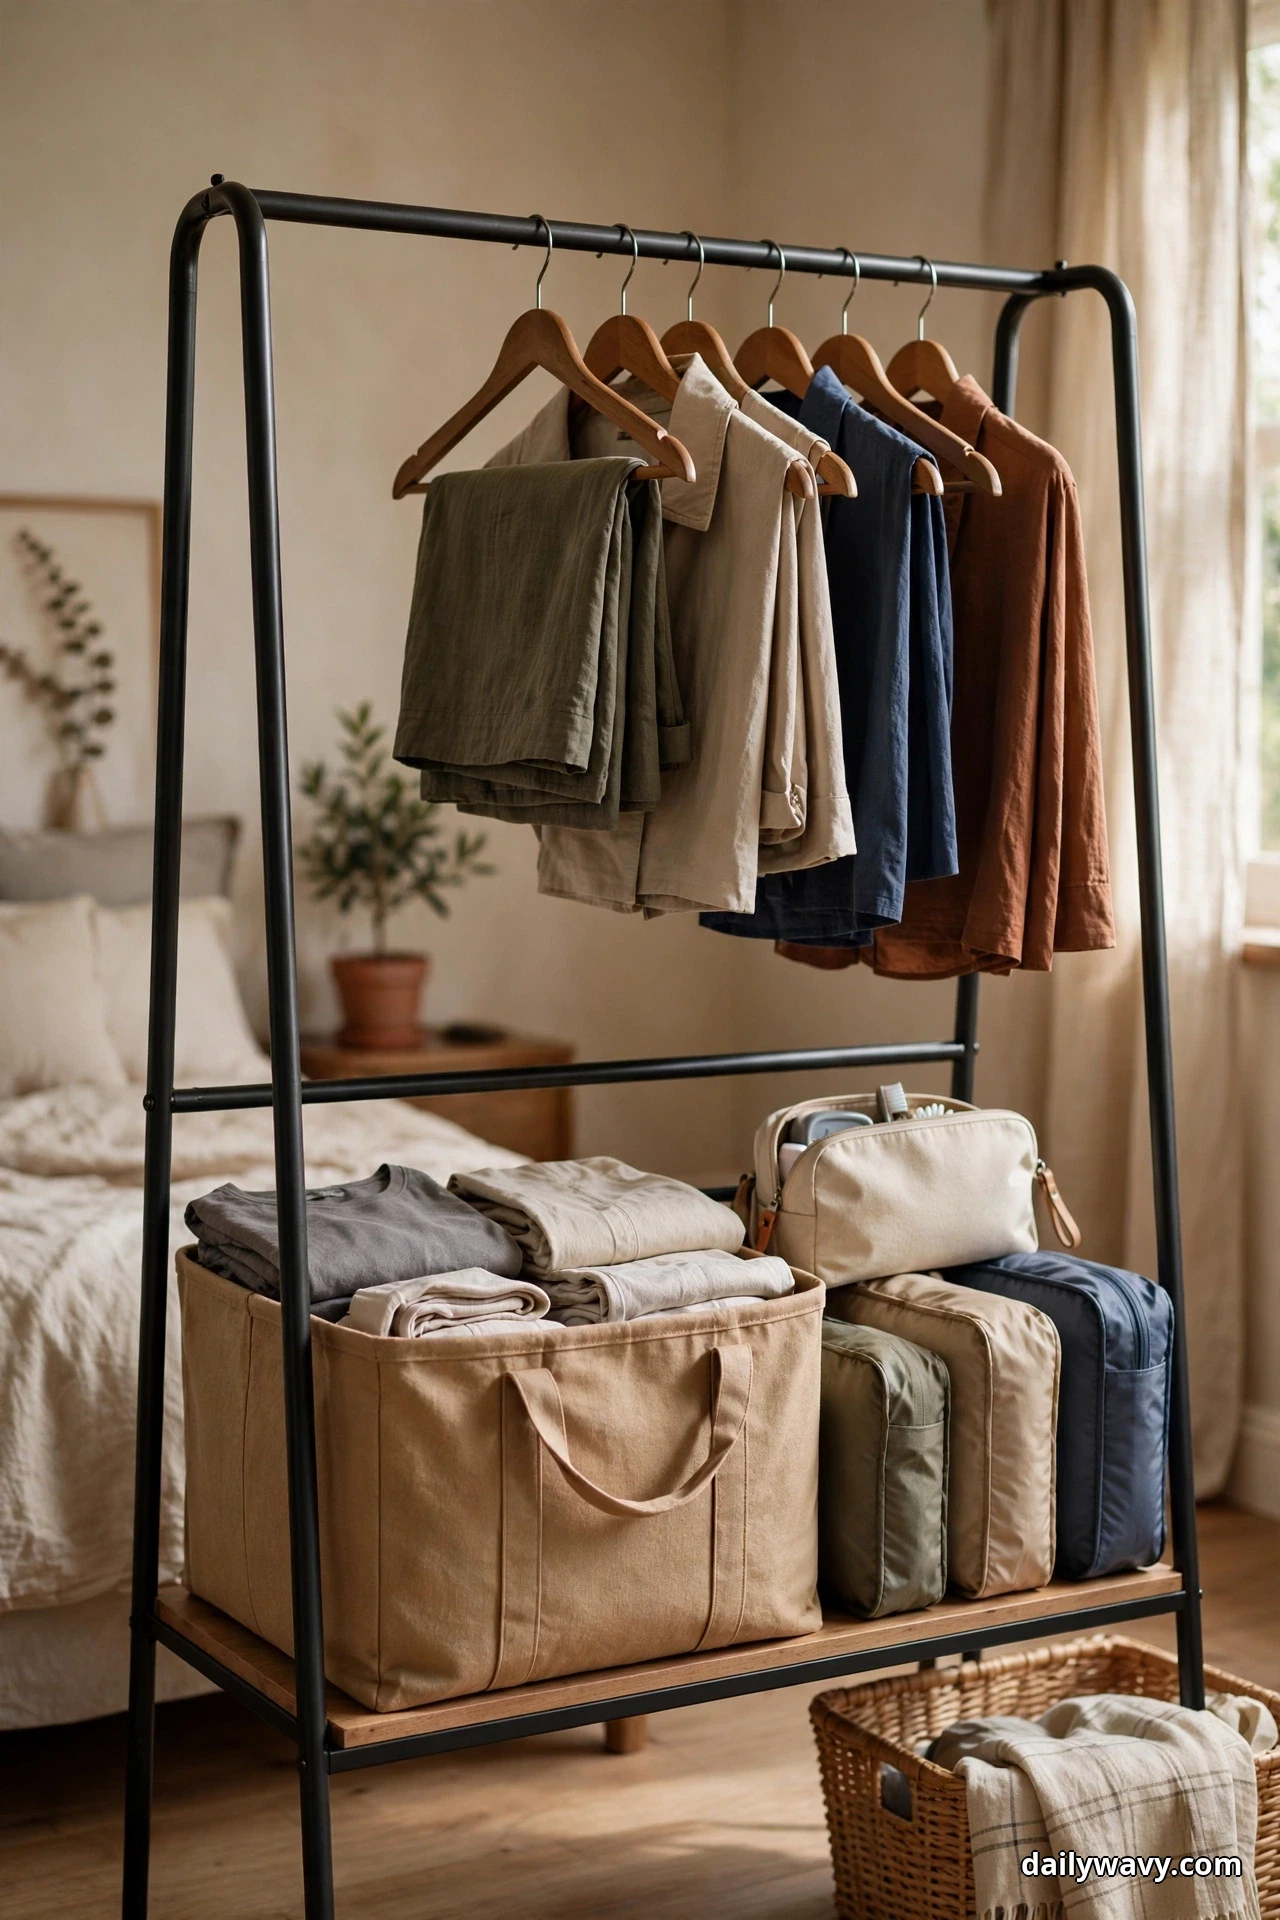
Packing for a trip usually starts with a frantic hunt for the toiletry pouch, the packing cubes, the cable bag. A dedicated travel-packing bin lives on the rack with all of it already gathered, so trip prep becomes a ten minute pull instead of an hour long search.
What it does: It keeps travel-only duplicates together so packing never raids your daily kit. When a trip comes up, you grab the bin and go.
What you need (materials): A lidded bin about 14 by 10 by 6 inches, plus a mini toiletry pouch, one or two packing cubes, a cable organizer, a passport holder, and a folded travel laundry bag. $15 to $30 USD depending on what you already own.
How to set it up: Put the bin on the top shelf, 60 to 68 inches high, or at the far end of the bottom shelf, labeled “Travel” on the front. Everything inside should be a duplicate or spare, never your only cable, so the bin is truly grab and go. Once a season, open it and check that everything still works.
Time and effort: Twenty minutes to gather and pack the bin once.
Lower-cost swap: A zippered tote bag or spare backpack holding the same items works for infrequent travelers.
10. A Grouped Arrangement By Use Frequency
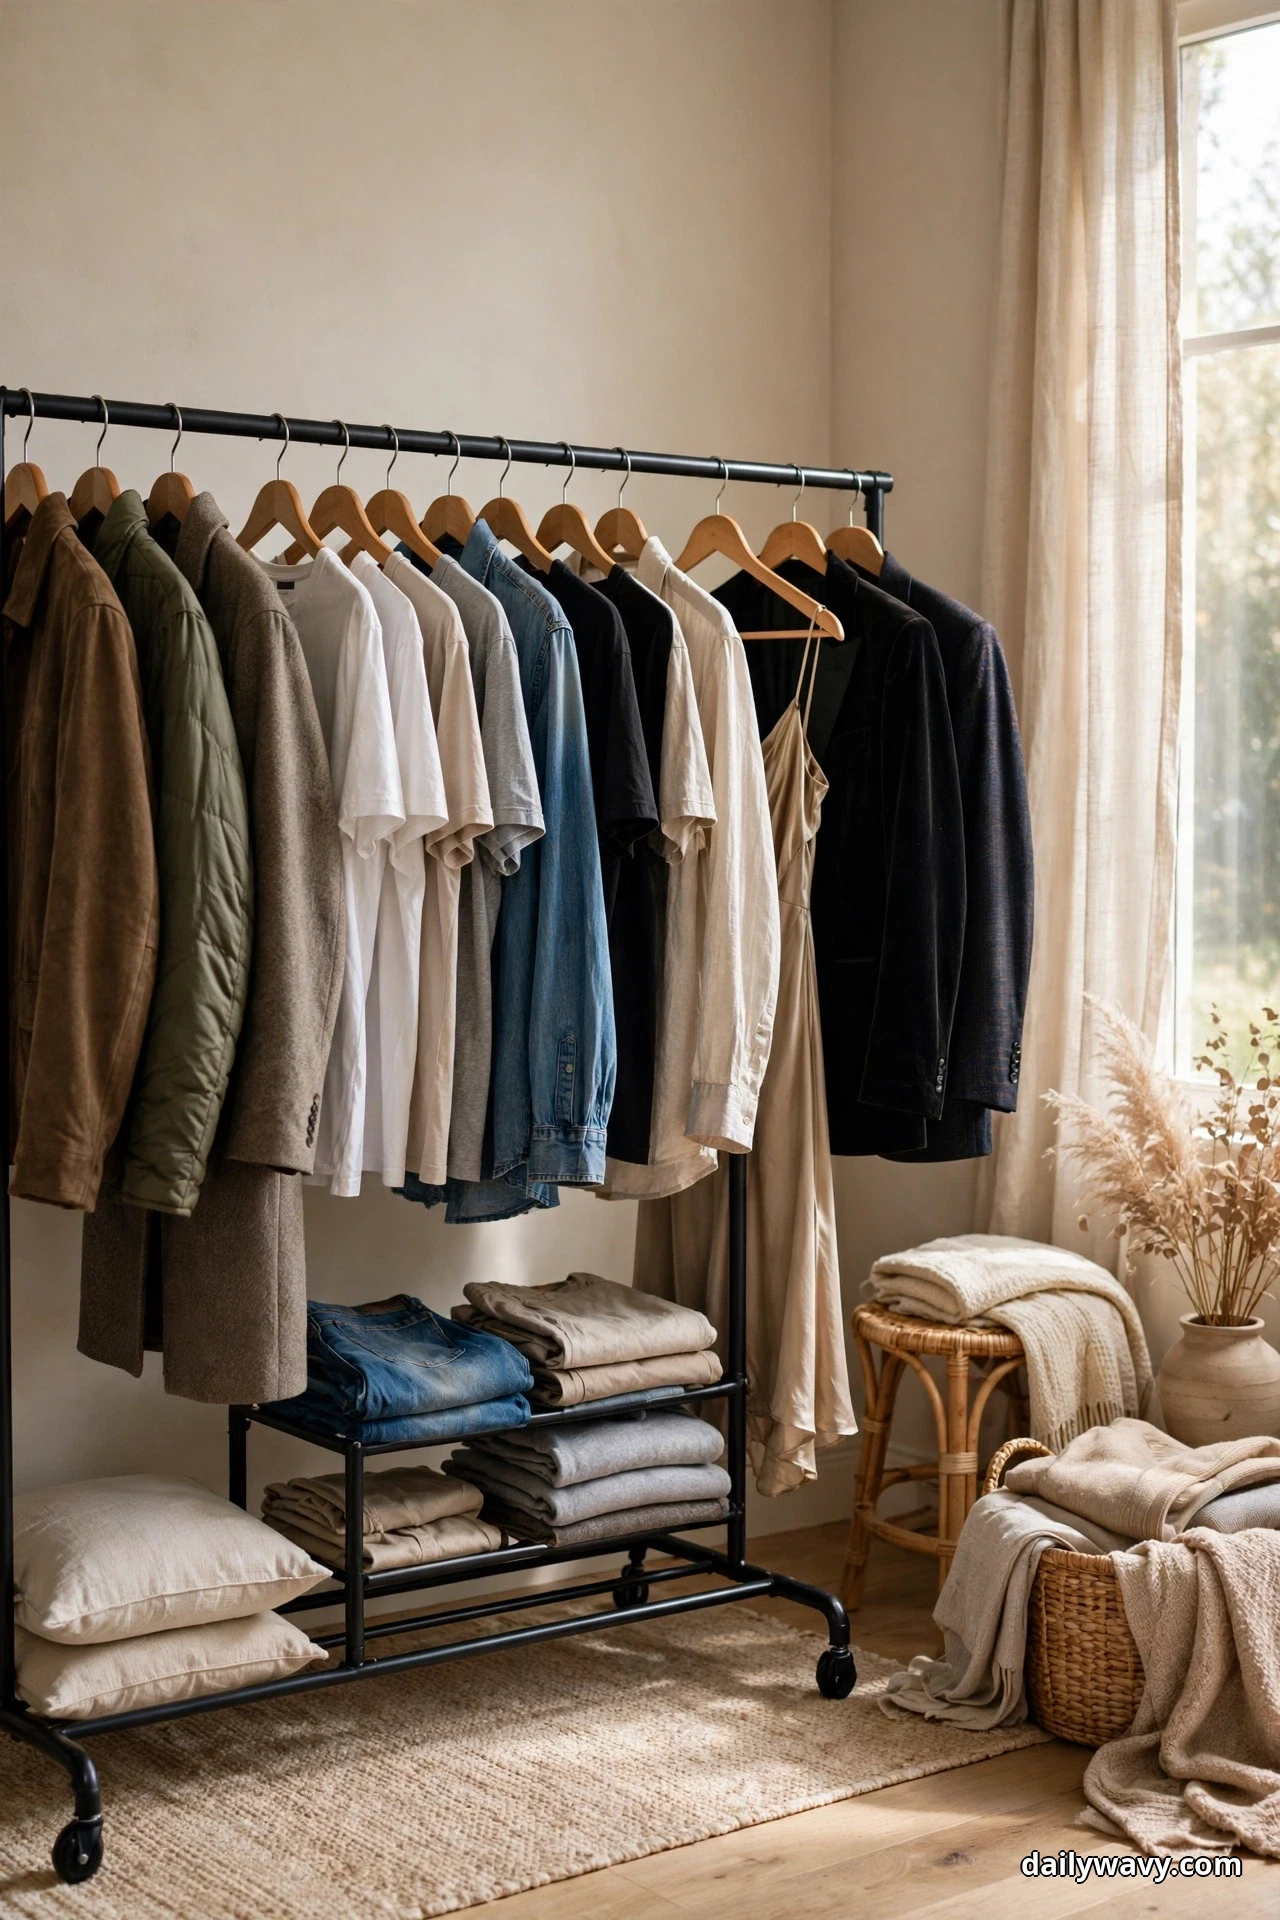
Not every garment earns equal rail time. The sweater you reach for four mornings a week deserves a better spot than the suit you wear twice a year. Grouping by use frequency puts your daily rotation exactly where your hands fall and moves the rare stuff to the edges, cutting the morning scan to almost nothing.
What it does: It matches the rack’s geography to your real routine. High frequency pieces get prime real estate at chest to eye height, 36 to 60 inches, while weekly and occasional items settle above or below without competing for attention.
What you need (materials): Nothing to buy. A notebook or phone notes app for a quick tally, and the divider markers from idea 1 if you want visible borders.
How to set it up: For one week, notice what you wear. Pieces grabbed three or more times count as daily, once or twice as weekly, less as occasional. Hang daily pieces in the center of the rail at 40 to 56 inches, the sweet spot for quick grabs. Move weekly items to one rail end and occasional pieces to the far end or top shelf. Recheck seasonally, since a summer daily becomes a winter occasional.
Time and effort: A week of noticing, then twenty minutes to rearrange.
Lower-cost swap: Already free; the only cost is honest observation.
11. A Clear Gap Preventing Overstuffing
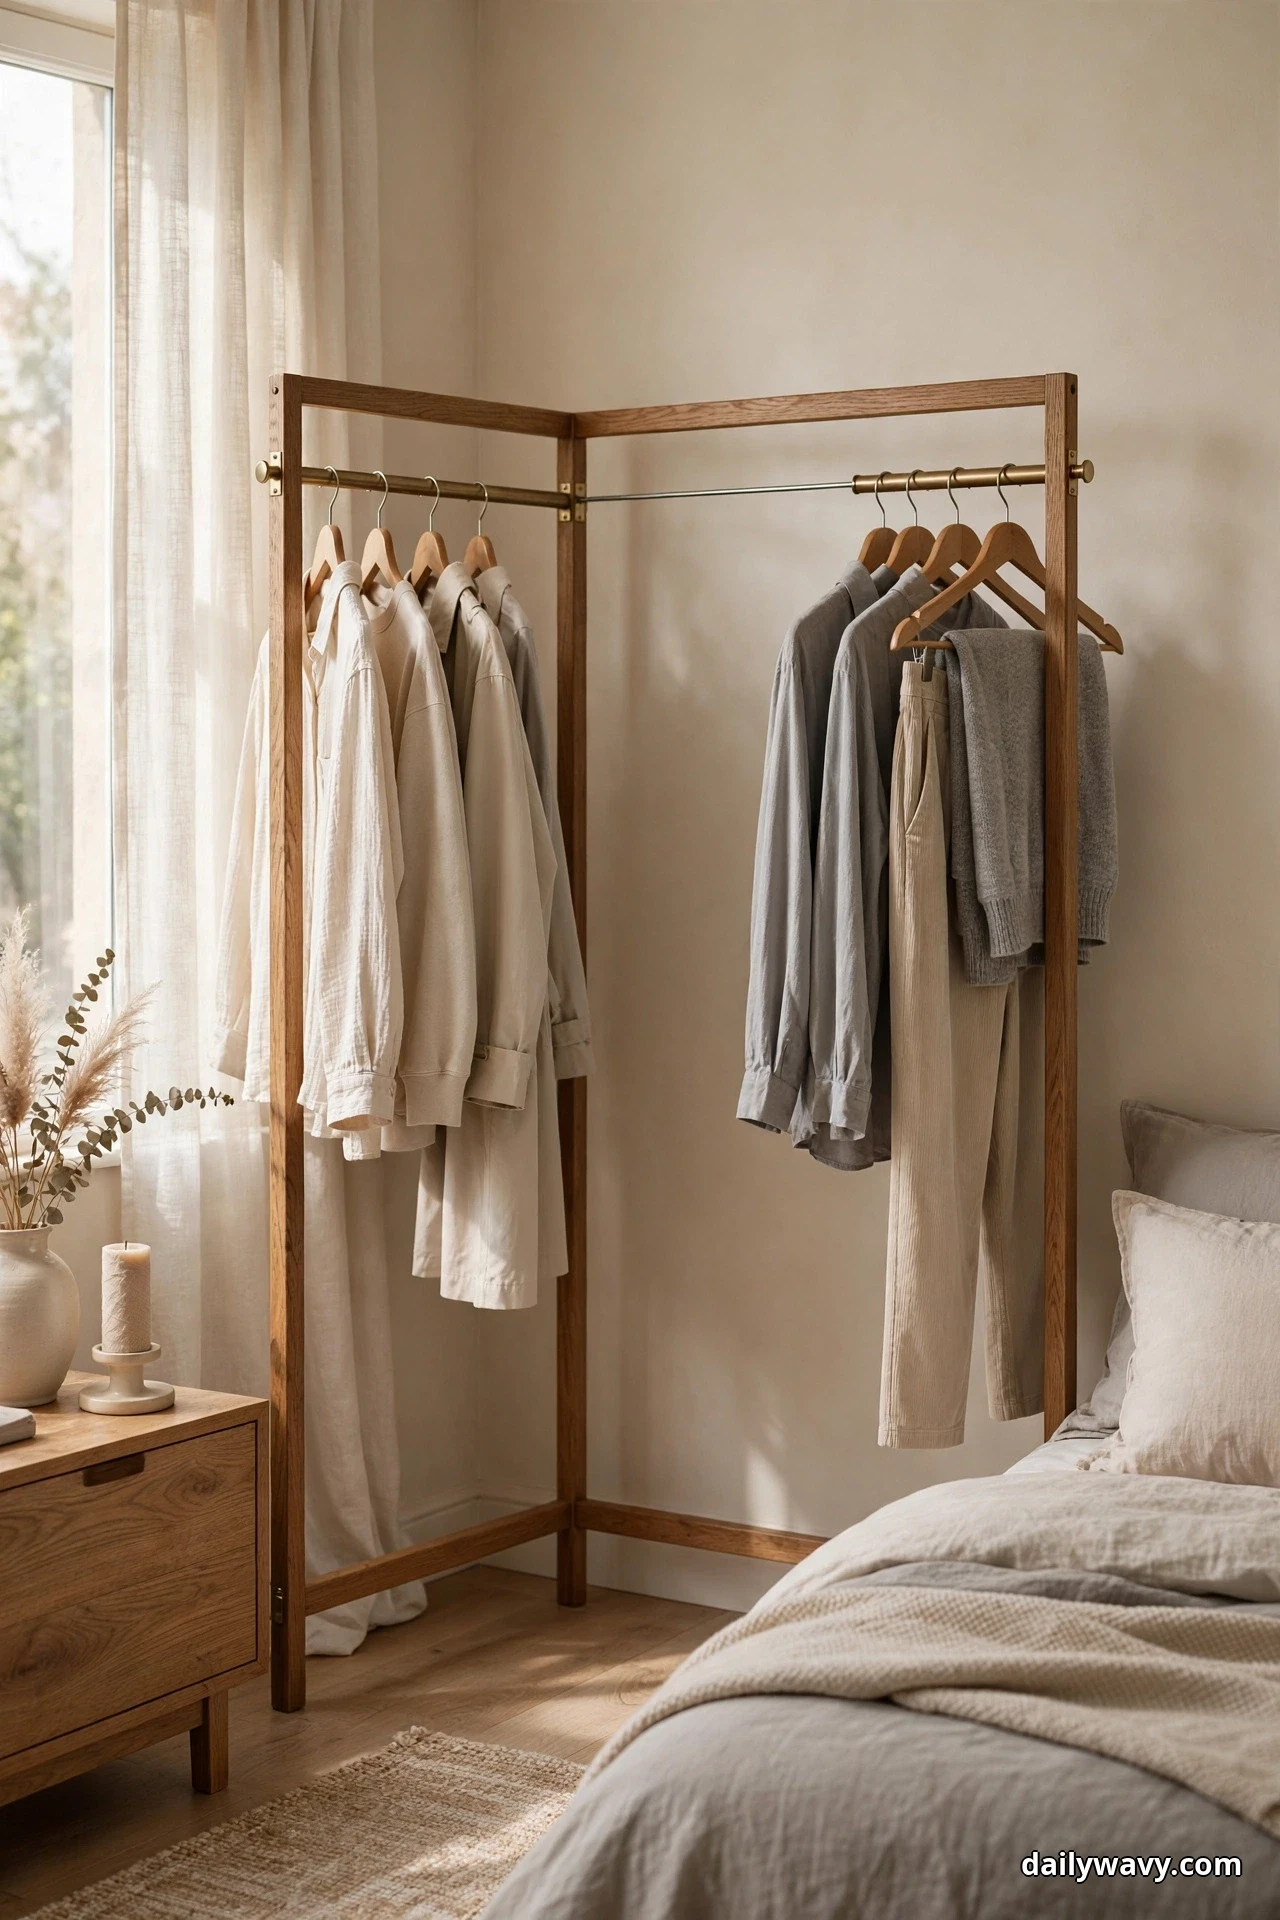
An open rack tempts you to keep adding “just one more” until hangers wedge together and clothes wrinkle against each other. The clear gap rule is your guardrail: a fixed amount of empty rail that must stay empty, so the rack can never quietly become a closet wall.
What it does: It sets a physical limit that eyes and habits respect. Empty space means air circulates, fabrics hang straight, and you can actually see what you own.
What you need (materials): A visible marker like a bright ribbon tied on the rail or a clip at the 8 inch mark of empty space. Essentially free.
How to set it up: Mark 6 to 8 inches of bare rail at one end and never fill it. Aim for roughly one inch of rail per garment; if you cannot slide two fingers between hangers, the rack is too full. When something new arrives, the rule enforces one in, one out. This also protects the rack’s weight limit, since overstuffed rails are often the heaviest.
Time and effort: Five minutes to set the gap, a habit to keep.
Lower-cost swap: The rule itself is the swap; no product can replace the discipline of leaving space.
12. Matching Bins With Readable Labels Added In Editing

Mismatched bins look busy even when they hold tidy things. Matching bins in one material and color calm the whole rack down, and readable labels on every bin mean you never lift a lid just to check what is inside. The “added in editing” part is the secret: you design the labels on your computer or phone first, in big clean type, then print and attach them.
What it does: Uniform bins turn visual noise into a quiet rhythm, and large printed labels turn guessing into reading. Designing labels in an editing step keeps them consistent and far more legible than handwriting.
What you need (materials): Matching fabric bins, 11 by 11 inches for cube shelves or 12 by 8 by 6 inches for rack shelves, $5 to $10 USD each. For labels: a free template in any editing app, cardstock or sticker paper, and clip-on label holders, about $8 USD a pack.
How to set it up: Measure the shelf and buy bins that fill it in a tidy row, usually three 11 inch bins across a 36 inch shelf. In your editing app, set labels in a plain sans serif font at 24 to 36 point with two or three words each: “Socks,” “Gym Gear,” “Winter Scarves.” Print, cut, and clip each label to the bin’s front edge at 30 to 40 inches high so the text reads at a glance. Keep each bin under 5 pounds if it sits above waist height.
Time and effort: Thirty minutes to design and print labels, five minutes per bin to attach.
Lower-cost swap: Folded index cards “laminated” with clear packing tape work as sturdy free labels.
13. Dividers That Keep Vertical Stacks Upright
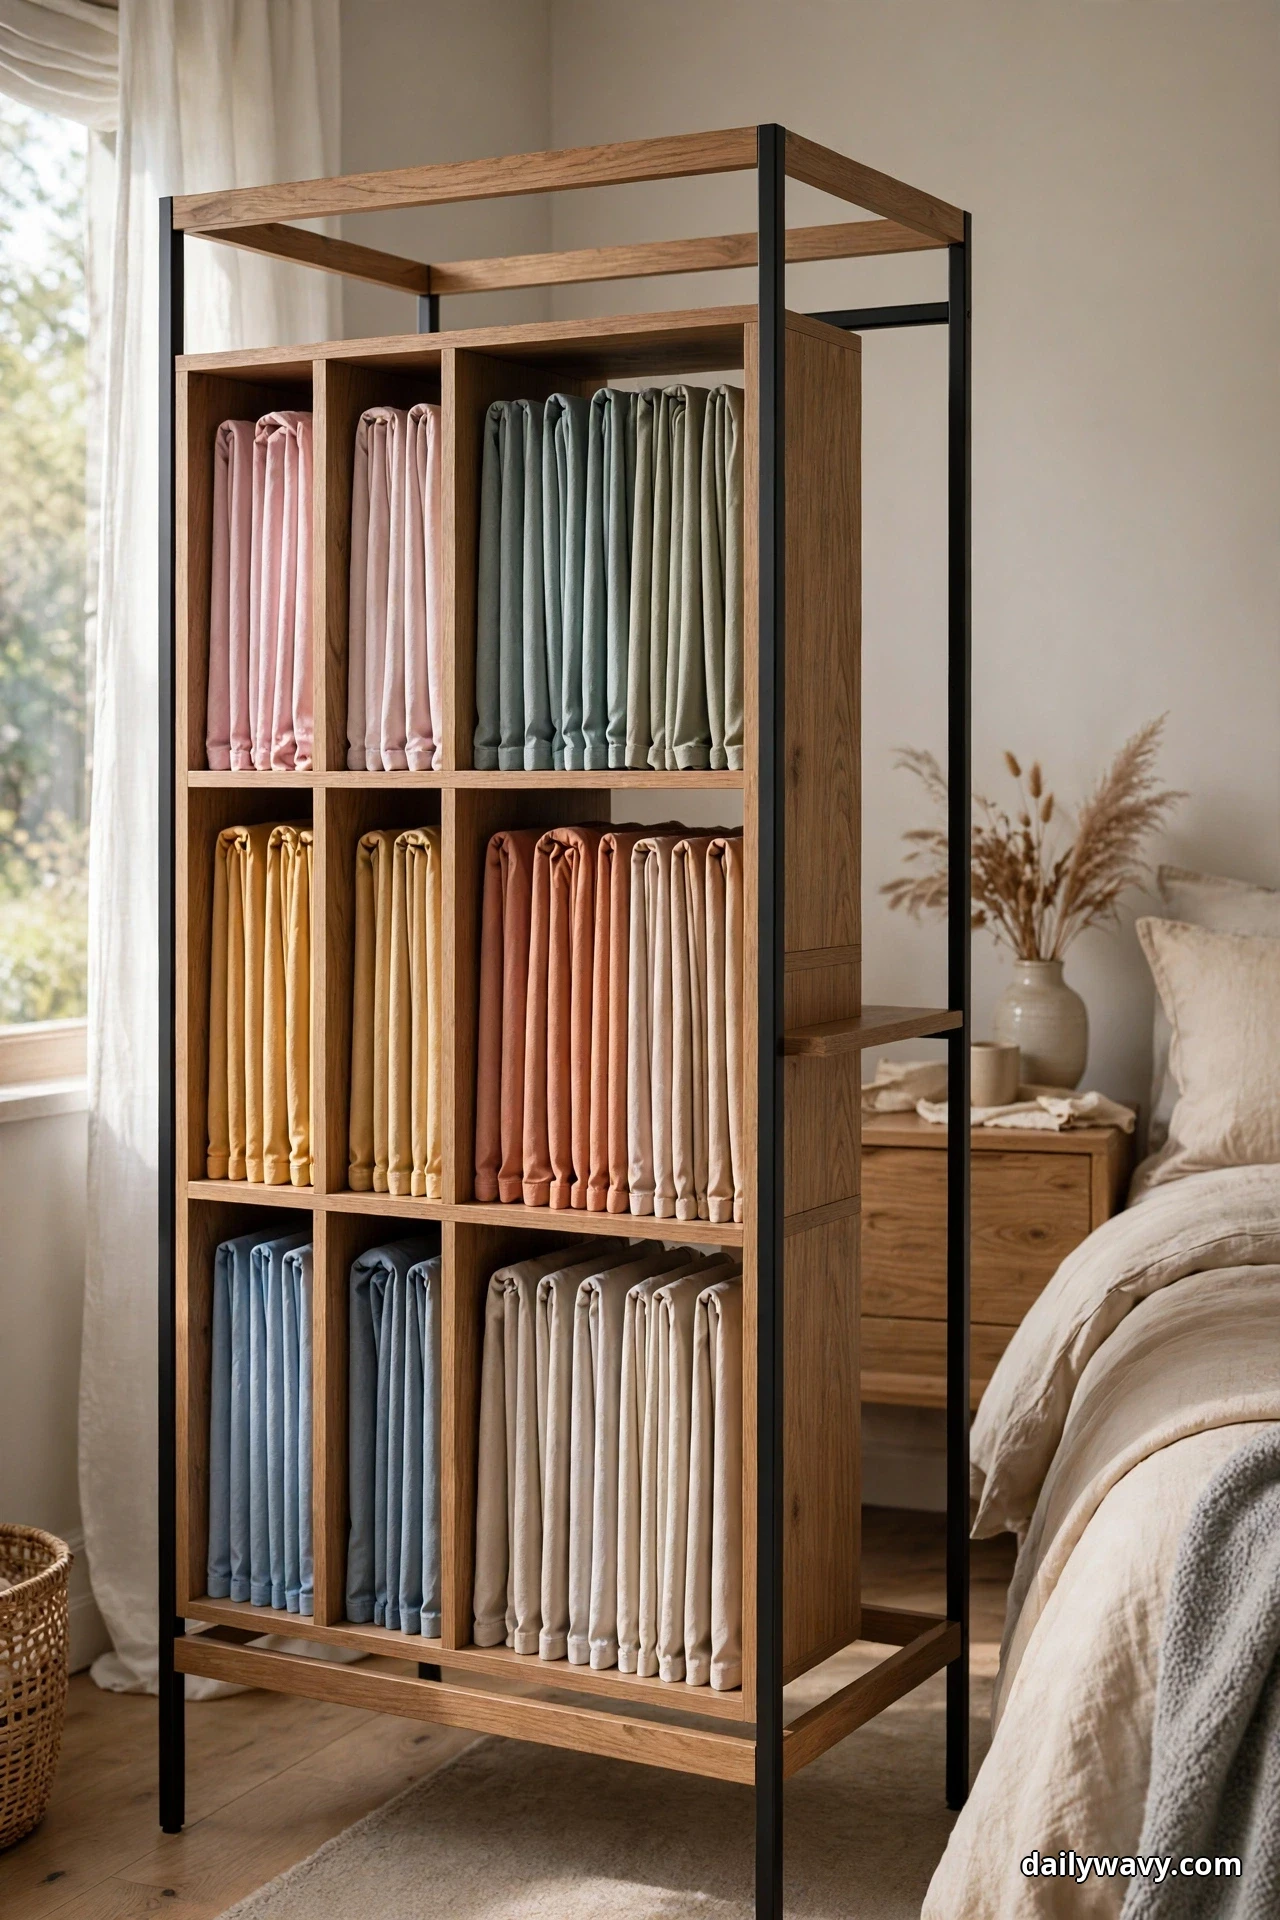
Folded tees stacked flat have a classic problem: you pull the third one down and the whole tower shifts. File folding, where garments stand upright like folders, solves the pull, but only if dividers keep the rows standing tall. Together they turn a deep shelf or bin into a browseable file of clothes.
What it does: It lets you see every item’s edge at once instead of only the top of the pile. You pull from the middle without toppling anything, and restocking is a simple slide.
What you need (materials): Vertical file dividers, spring loaded for shelves or rigid bookend style, spaced 6 to 8 inches apart in a bin or on a shelf 12 to 16 inches deep. About $10 to $15 USD for four.
How to set it up: Fold garments into 8 by 6 inch rectangles, about the size of a small book, and stand them spine up in rows between dividers. Place the set on the bottom shelf at 18 to 28 inches for easy browsing, with no more than ten items per row. Face folded edges toward you so patterns read at a glance, most worn items at the front of each row.
Time and effort: Twenty to thirty minutes to fold a drawerful of garments into file order.
Lower-cost swap: Sturdy cardboard rectangles wrapped in packing tape make serviceable dividers.
14. A Shallow Tray For Frequently Used Items
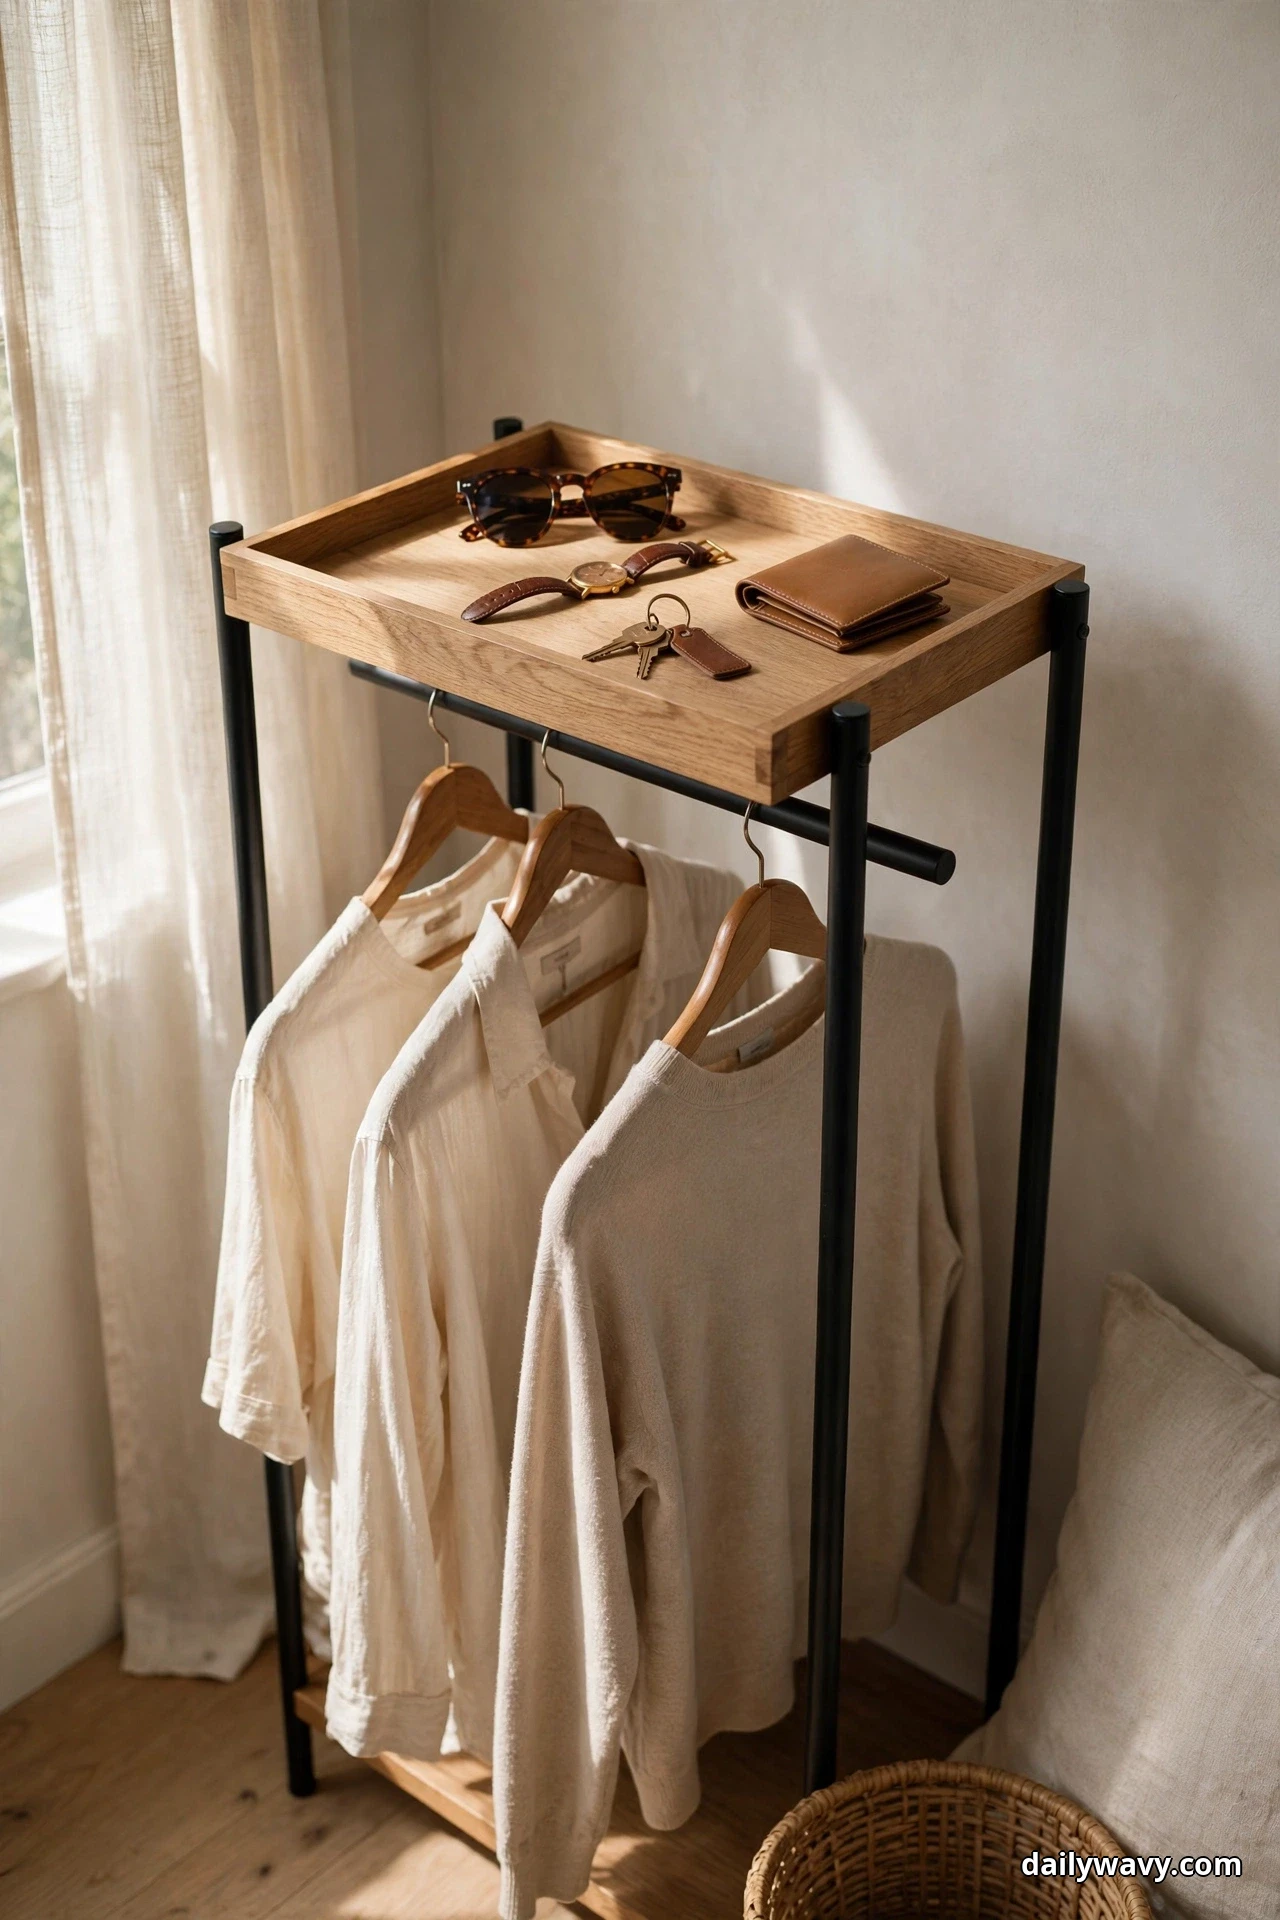
Getting dressed is not only about clothes. Sunglasses, a watch, keys, a wallet, and a lint roller all live somewhere, and when they scatter, the morning slows down. A shallow tray on the rack gathers those daily companions into one landing spot, right beside the clothes.
What it does: It ends the small-item scatter. Everything you grab after dressing sits in one visible rectangle, so nothing hides under a sleeve or slides behind a bin.
What you need (materials): A shallow tray about 10 by 14 inches and no more than 2 inches deep, in wood, bamboo, or sturdy plastic, $8 to $15 USD. A small dish inside adds order for tiny items.
How to set it up: Place the tray on a shelf at 40 to 48 inches high, near the rack end closest to the door. Keep it to five or six items: watch, wallet, keys, sunglasses, lint roller. Wipe it monthly with a damp cloth, since open racks collect dust at touch height. If it starts collecting receipts and loose change, empty it weekly. For more room guides built on the same flow, see our Home & Decor category page.
Time and effort: Ten minutes to place and load the tray.
Lower-cost swap: A clean baking sheet or a sturdy gift box lid works as a perfectly fine daily tray.
15. Clear Containers With Contents Visible

Opaque bins are where clothes go to be forgotten. Clear containers flip that: socks, undergarments, workout gear, and accessories stay visible without a lid lifted, which means you use what you own and stop rebuying what you cannot see.
What it does: It removes the guesswork tax. You find the gray socks in seconds, and the whole rack feels lighter because nothing hides.
What you need (materials): Clear stackable bins, 6 to 8 quarts for small items or 12 to 16 quarts for bulkier gear, $6 to $12 USD each. Choose lids that open one handed without force.
How to set it up: Place two or three bins on the bottom shelf at 16 to 26 inches high, where you can look down into them standing. Sort by type: socks, undergarments, workout accessories. Fill each to about three quarters so items stay loose enough to see. Stack at most two high, heavier bins on the bottom for stability, and replace any bin that cracks or yellows.
Time and effort: Fifteen minutes to sort and fill three bins.
Lower-cost swap: Clear zipper storage bags cost a fraction of rigid bins and show contents just as clearly.
Frequently Asked Questions
How much weight can an open clothing rack actually hold?
Check the rating printed on the rack or in its manual. Many single-rail steel racks are rated for 100 to 250 pounds, but that assumes even distribution. Anchor any tall or narrow freestanding rack to a wall stud with an anti-tip strap, or use wide anti-tip feet if drilling is not an option, and keep heavy bins on the bottom shelf.
Won’t my clothes get dusty on an open rack?
Some dust is unavoidable, but it is manageable. Leave breathing room between garments so air moves, wipe the rail and shelves monthly with a damp cloth, and store delicate or rarely worn pieces in the breathable bags from idea 5. Items you wear weekly barely collect dust because they are always in motion.
How do I keep clothes smelling fresh on an open rack?
Start with fully dry clothes only, never damp ones. Keep the spacing gaps from idea 1 and idea 11 honest so air circulates. A dried lavender sachet or cedar block on the shelf adds a gentle scent, and washing items before they get truly dirty keeps odors from building up.
Can I put slightly damp clothes on the rack to finish drying?
No. Even slightly damp garments raise the humidity around everything hanging nearby, which invites musty smells and can encourage mildew in a closed room. Air damp items on a drying rack or over a shower rod elsewhere first, then move them to the open rack once completely dry.
What works for renters who cannot drill into walls?
Choose a rack with wide, stable feet and a low center of gravity, and keep heavy items on the bottom shelf. Tension-style braces that press between the rack and the ceiling add stability without holes, and adhesive hooks on the rack frame itself need no wall damage at all.
How do I keep the rack from sliding back into clutter?
Protect the return-to-place zone from idea 3 and the clear gap from idea 11 like house rules. A two minute nightly reset, returning rewears and pushing hangers back into their groups, keeps the rack calm. When the repair basket from idea 7 fills up, treat it as a chore appointment rather than background noise.
An open clothing rack rewards the simplest habit of all: giving everything a place and leaving a little air around it. Start with the primer’s measurements, pick the three ideas that fit your morning best, and let the rest follow when the mood strikes. Your rack will look calmer, your mornings will run smoother, and the perfect outfit will stop playing hide and seek.