13 Corner Pantry Organization Ideas for Easier Everyday Access
A corner pantry is a gift and a puzzle. The shelves wrap around two walls, which means plenty of room…
A corner pantry is a gift and a puzzle. The shelves wrap around two walls, which means plenty of room for everything, and at least one shadowy corner where intentions go to expire. Cans migrate to the back, duplicates pile up because nobody can see what is there, and the shop ends with you buying a third jar of pasta sauce you did not need.
These thirteen ideas fix that, one corner at a time, built around real kitchens: hands reaching for the same things every morning, labels you can read, and nothing left hiding at the back. Measure your corner and pick what fits. If your whole pantry is small, start with our small pantry organization guide first.
Jump to the ideas
- A First-In-First-Out Row
- A Small Overflow Bin
- A Pull-Out Tray For Hard-To-Reach Items
- A Designated Weekly-Meal Basket
- A Light Shelf Label Strip
- A Zone For Open Packages
- A Narrow Divider Between Categories
- A Small Inventory Clipboard
- A Low-Access Shelf For Everyday Items
- An Upper Shelf For Light Rarely Used Items
- A Lidded Basket For Loose Accessories
- A Scale-Appropriate Tiered Rack
- A Consistent Container Height System
Corner pantry ground rules before you start
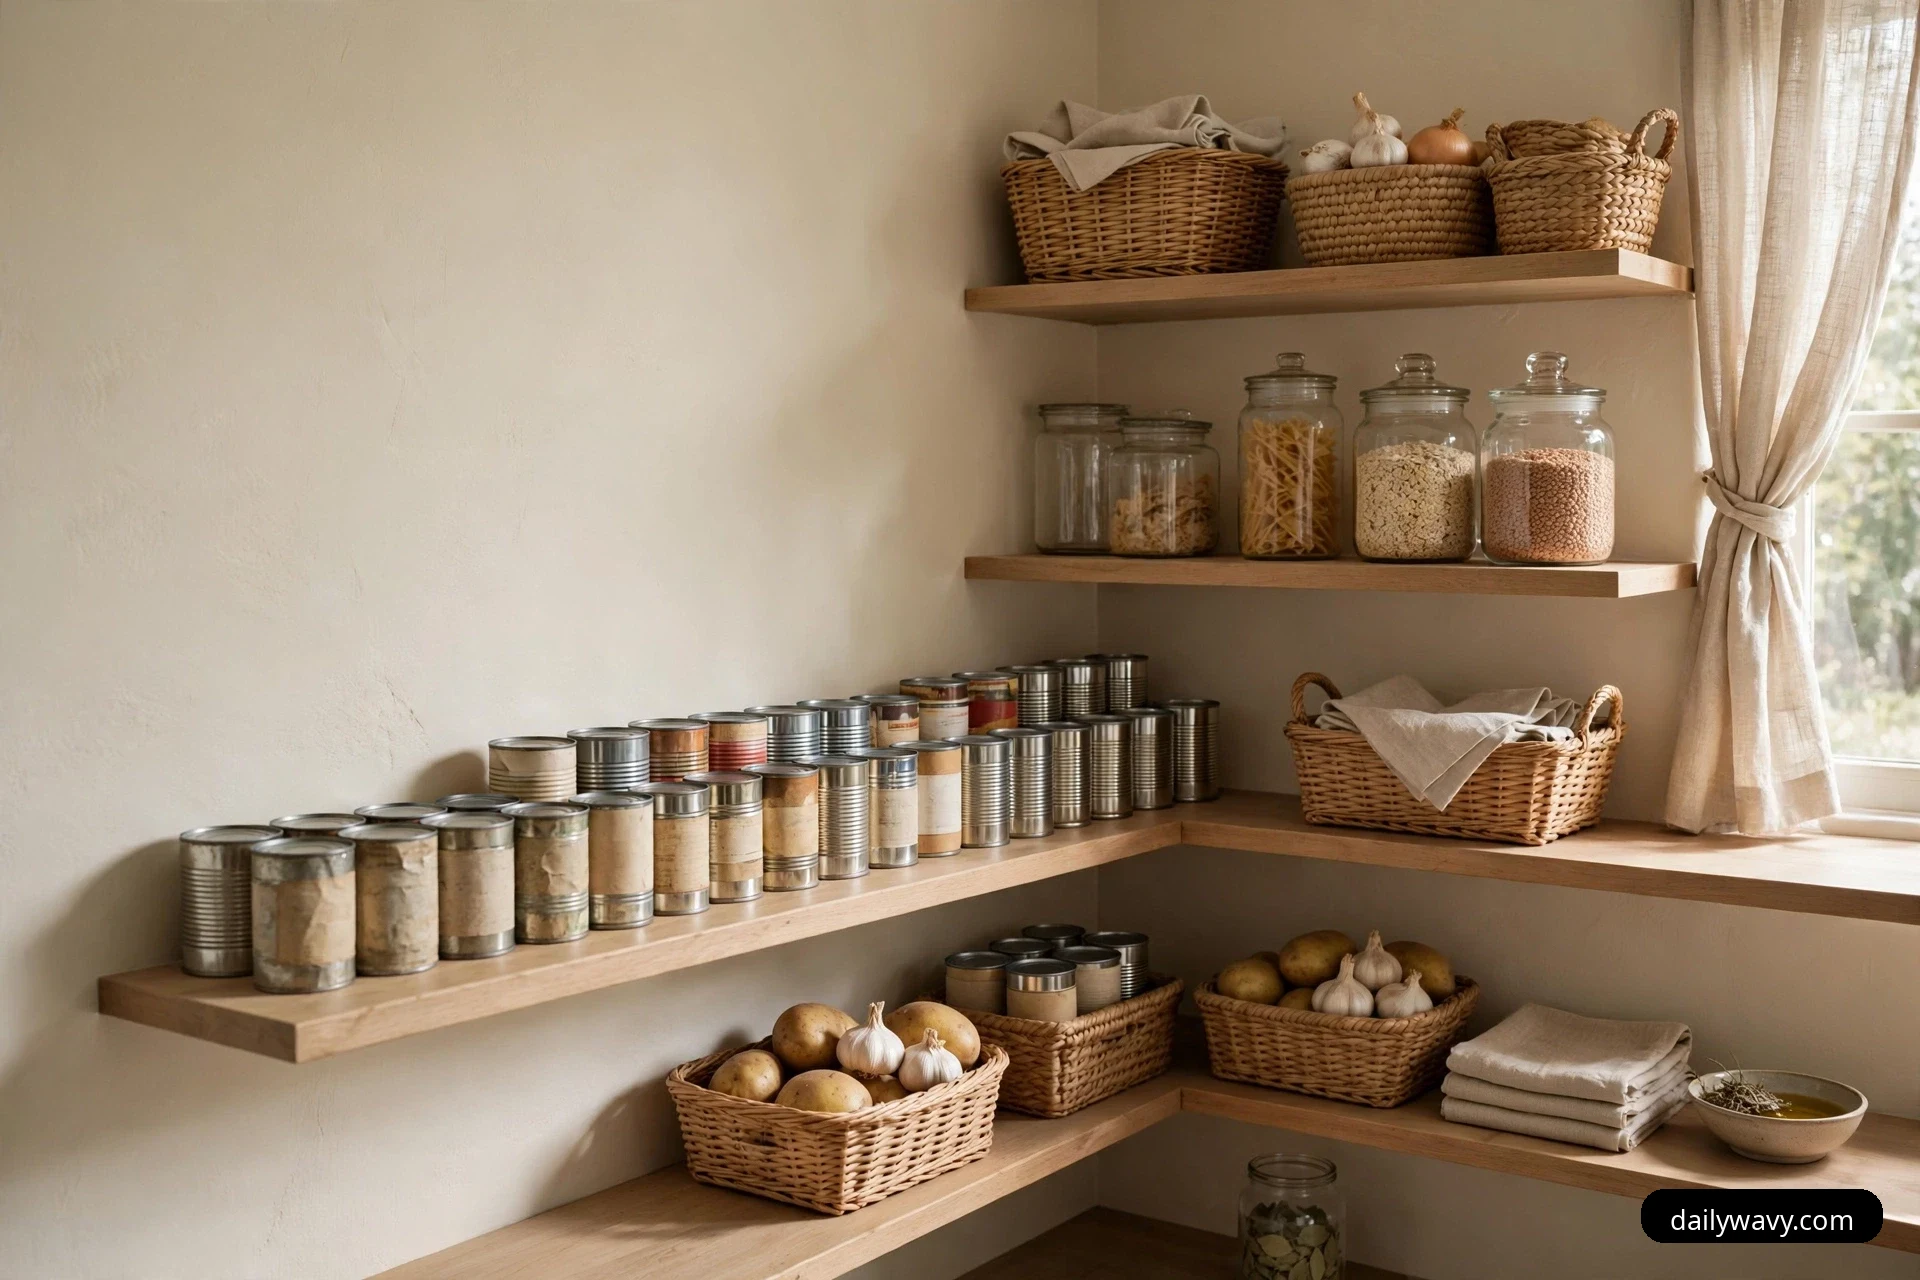
Before you buy a single bin, learn your corner. Corners punish guesswork, so spend twenty minutes with a tape measure and a notebook. Measure the depth of each shelf from the front edge to the back wall, and measure the height between shelves, because those two numbers decide which containers actually fit. Note where the light falls: the shelves closest to the door stay bright and easy to scan, while the inner corner shelves go dim and need help from labels and light colors.
Work with food packaging as it is. Keep original boxes and pouches upright so cooking instructions and allergen labels stay readable, and check expiry dates as you unload everything onto the table. Toss anything past its date and anything whose packaging is damaged. The corner should feel like a working kitchen shelf, not a styled photograph: realistic capacity, everything within reach, and nothing staged so full that you cannot pull one item out without the rest sliding forward.
1. A First-In-First-Out Row
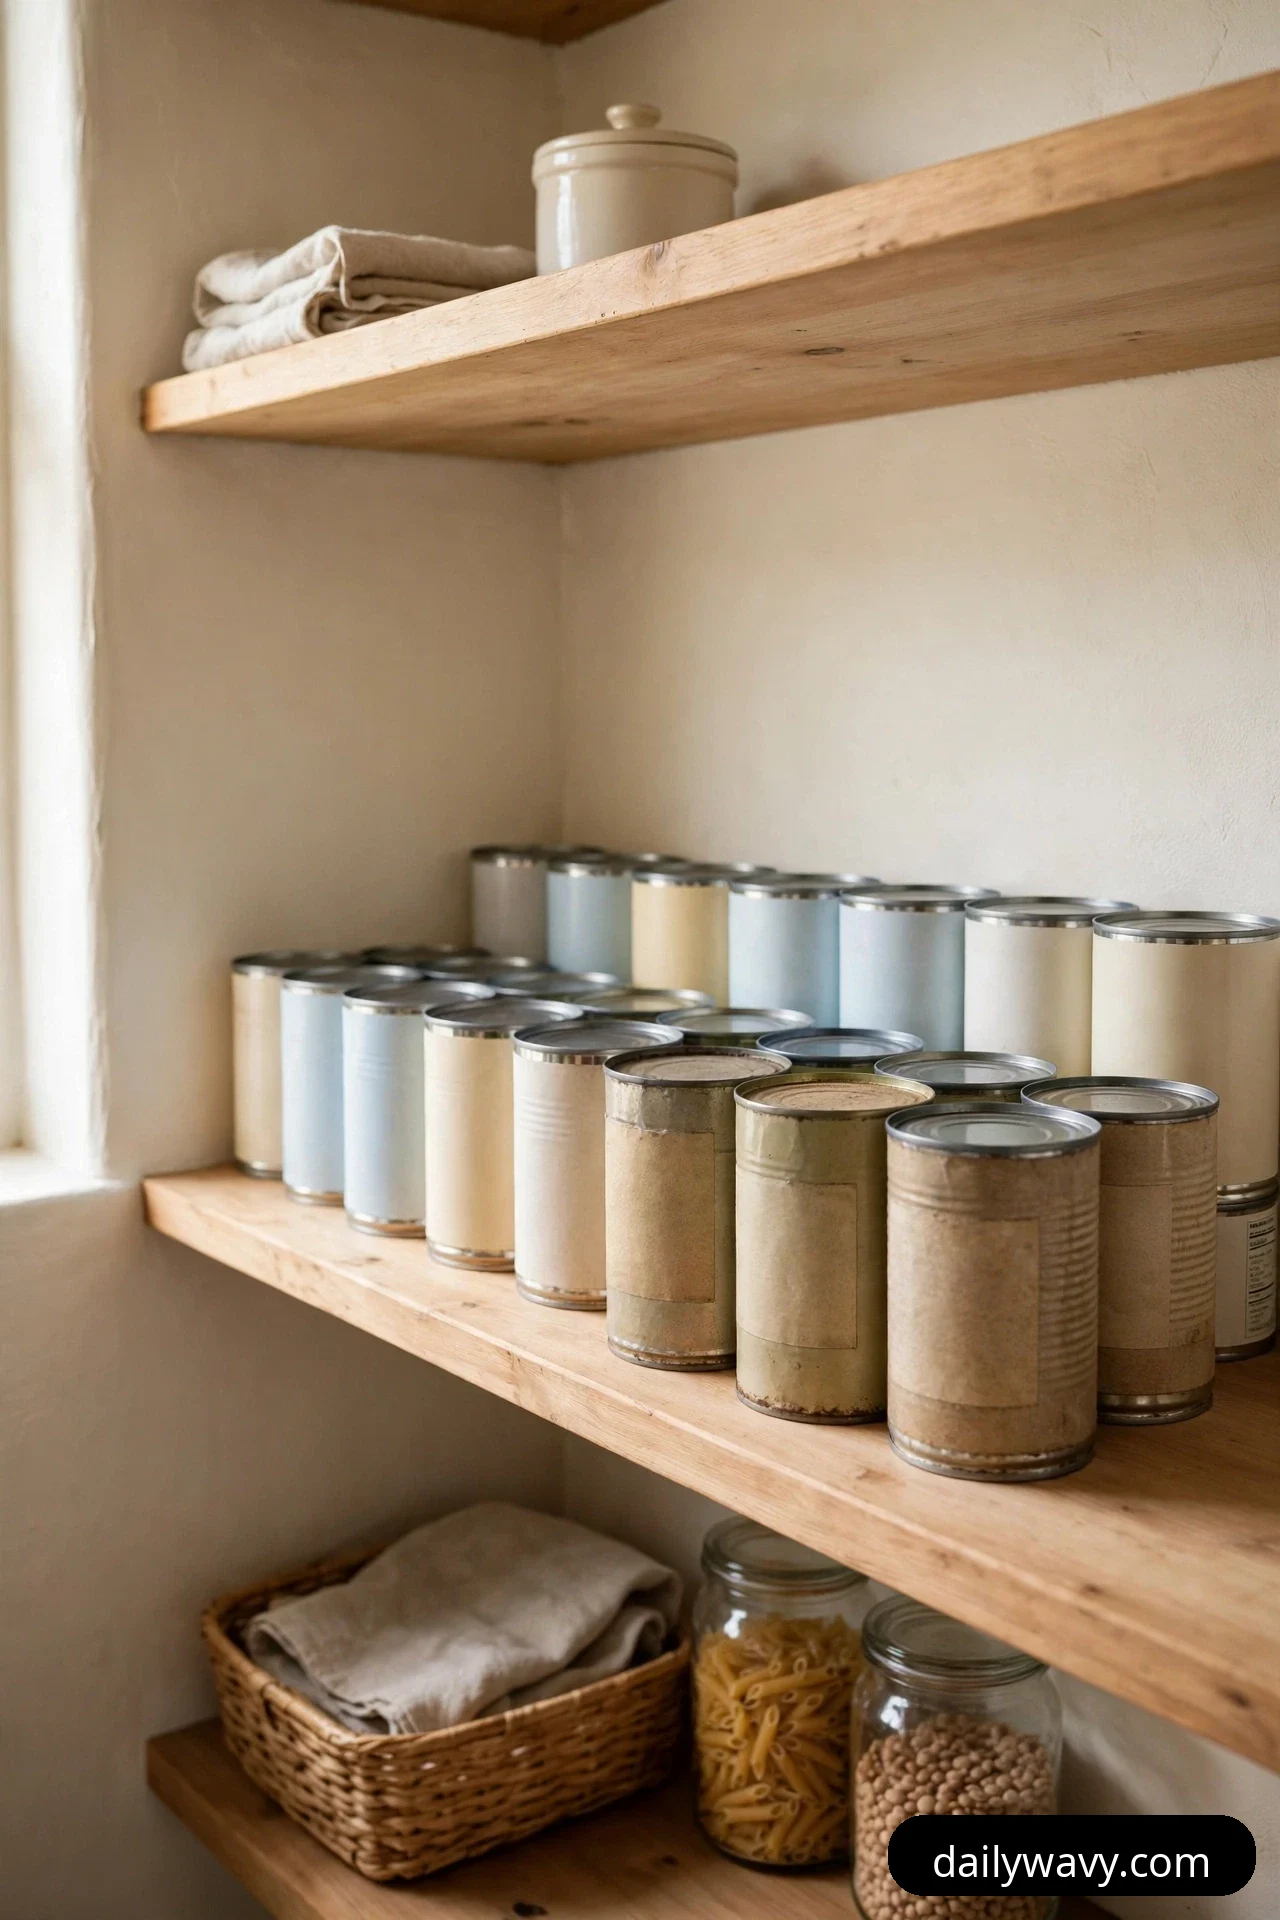
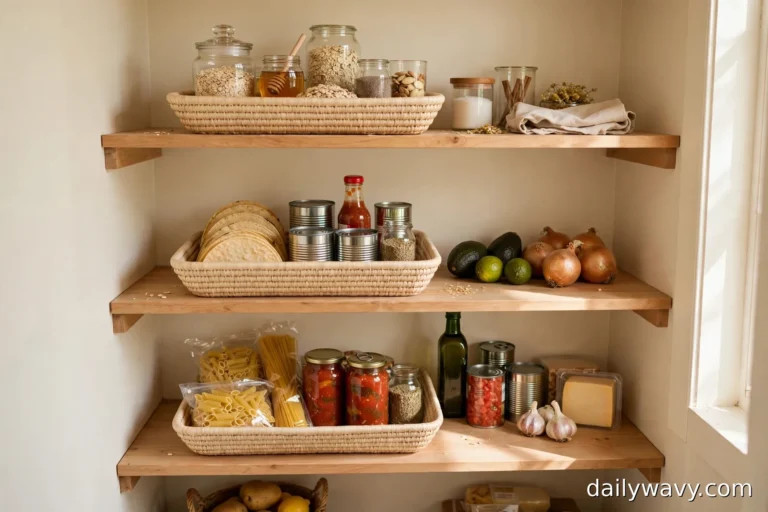
One of the most useful habits in any corner pantry is also the simplest. New cans and jars go behind, older ones stay in front, and everything gets used in the order you bought it. No more discovering a can of tomatoes with a 2023 date stamp hiding behind the new ones.
What to measure: Measure one shelf depth from front edge to back wall. Most pantry shelves run 12 to 16 inches deep, which fits several cans front to back in each line with room to slide.
What you need: Nothing to buy for the basic version. A low-front can riser or a shallow tray with a raised back edge makes the row tidier and is worth it if cans slide.
Where it goes: Pick one shelf at eye level for the row of your most-used cans: tomatoes, beans, broth, coconut milk. Line them up newest at the back.
Effort and cost: Fifteen minutes to set up, zero dollars without accessories, about $12 to $18 with a can riser.
Budget version: A folded dish towel under the back row tilts cans slightly forward so labels are easier to read, and it costs nothing.
2. A Small Overflow Bin
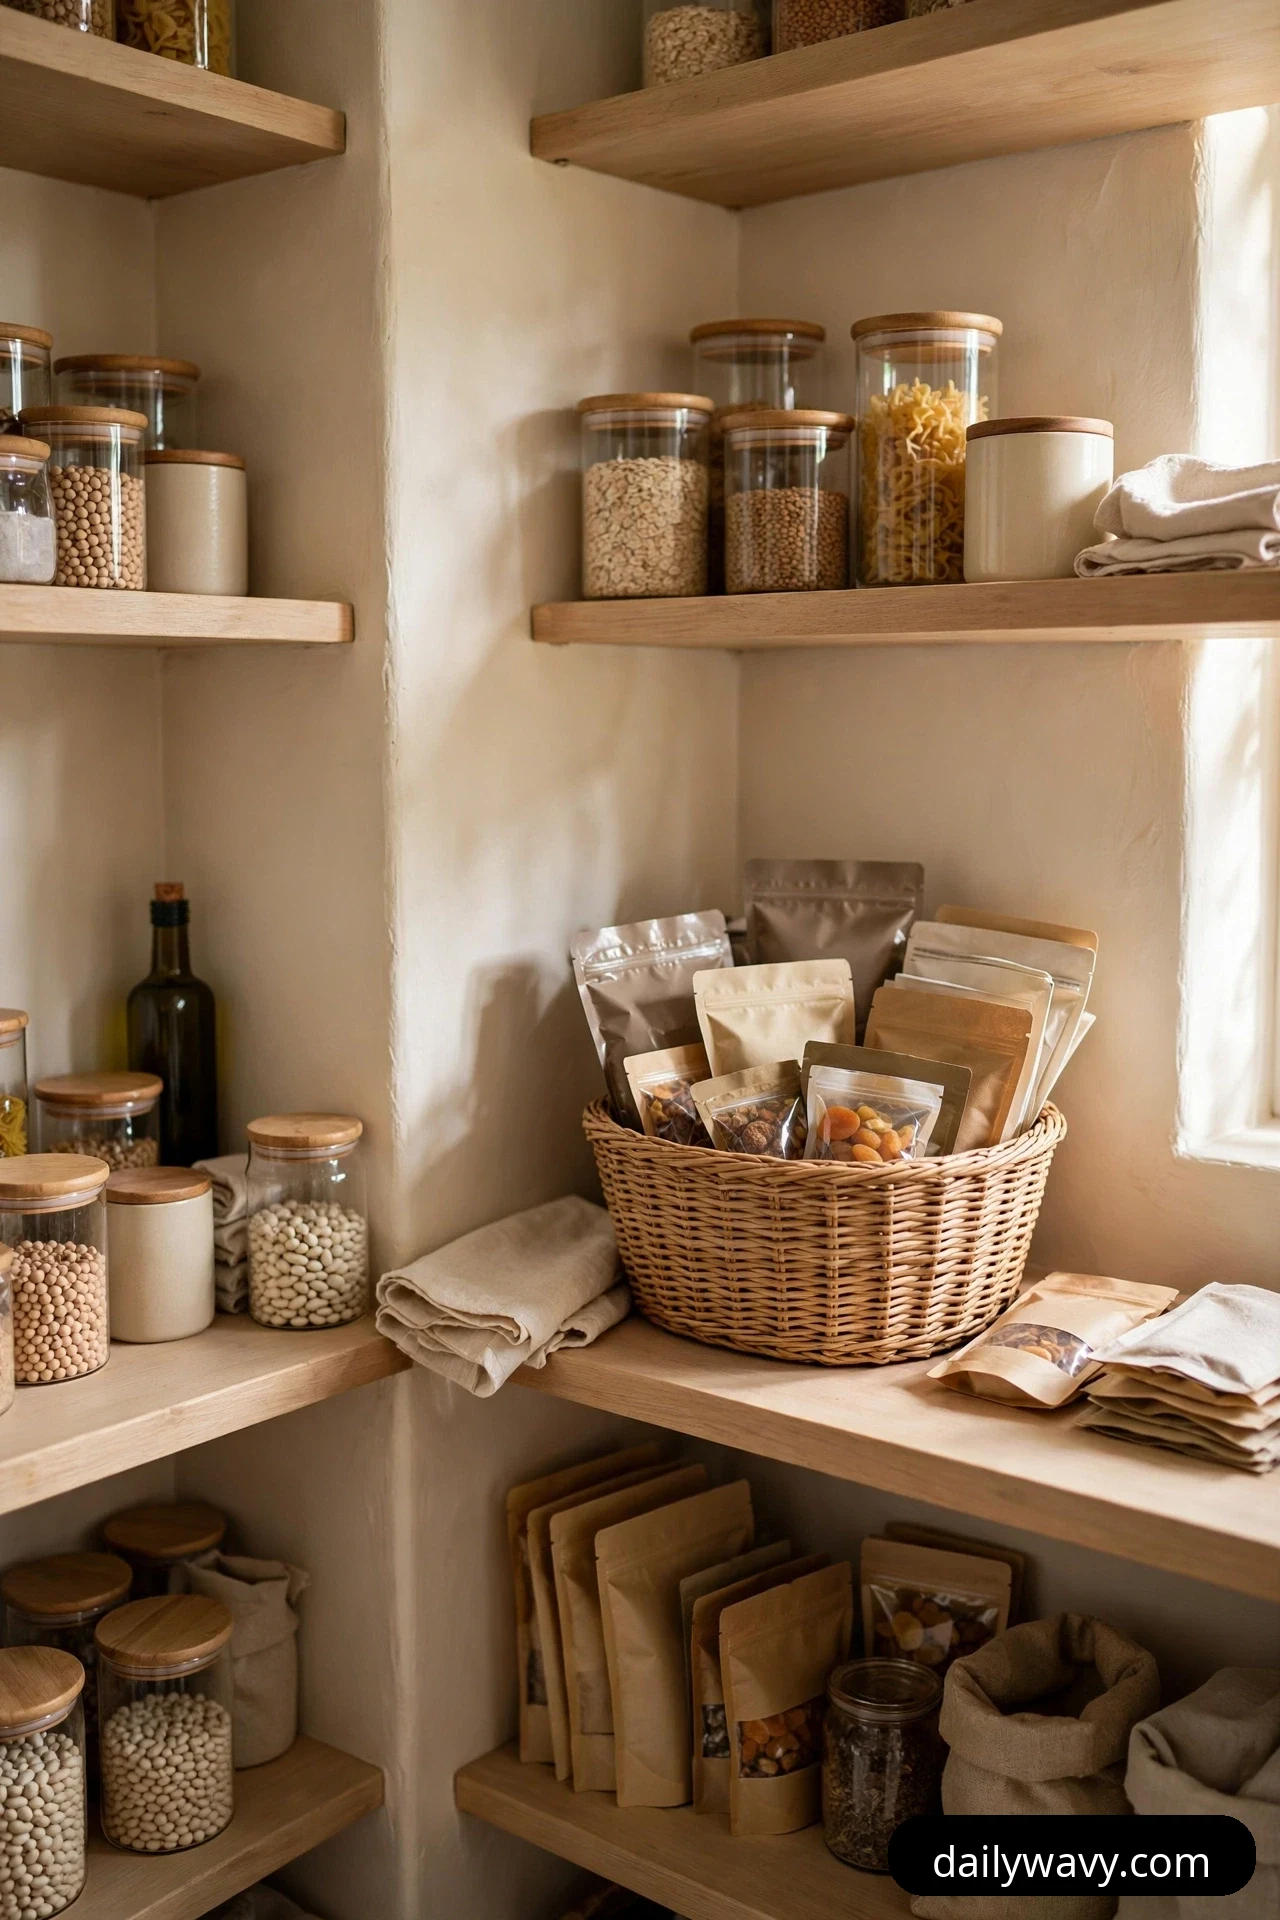
Every pantry needs a waiting room. The overflow bin holds the second jar of peanut butter, the backup bag of rice, and the extra pasta boxes that do not fit the main row yet. Without one, backups end up shoved behind daily items and forgotten.
What to measure: Measure the shelf where backups live and the width of the bin you plan to buy. A bin 8 to 10 inches wide fits most corner shelves without crowding the main rows.
What you need: One small open bin with handles, sturdy enough for a few pounds of packaged food. Woven or fabric bins look warm; clear plastic shows contents at a glance.
Where it goes: On a lower shelf or at the far end of an eye-level shelf, somewhere you pass it when restocking. When the main row runs out, the bin is your refill station.
Effort and cost: Ten minutes to label and fill, about $8 to $15 for a good bin.
Budget version: A clean shoebox wrapped in kraft paper works exactly the same way and costs nothing.
3. A Pull-Out Tray For Hard-To-Reach Items
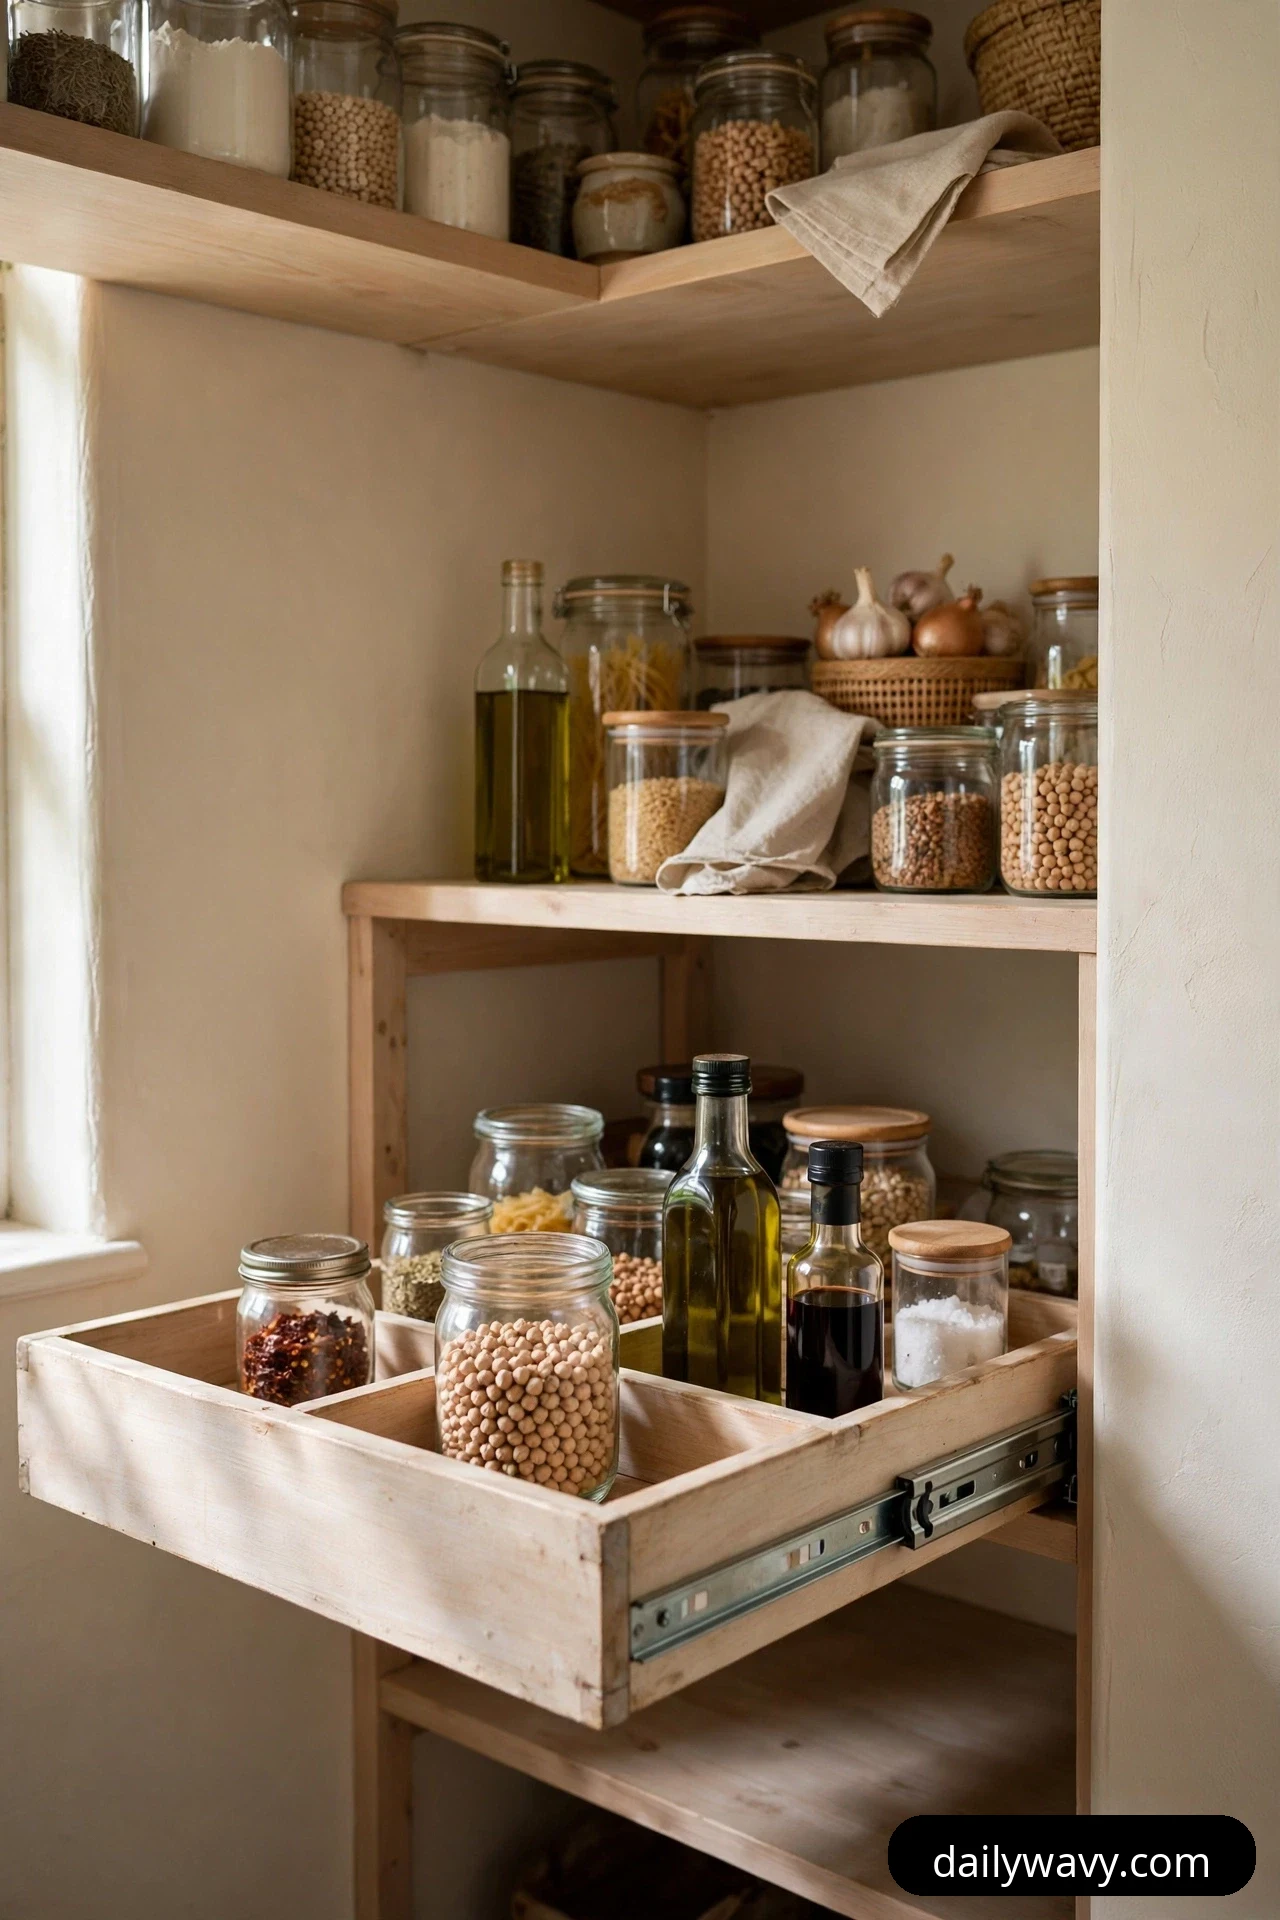
The back of a corner shelf is where things go to be forgotten. A pull-out tray turns dead depth into working depth: you slide the whole tray forward, grab what you need, and slide it back. Nothing gets lost behind the front row again.
What to measure: Measure shelf depth, shelf width, and the height between shelves. The tray and its tallest item need to fit under the shelf above with room to lift things out, and trays should be 1 to 2 inches narrower than the shelf for smooth movement.
What you need: One shallow pull-out tray or rolling under-shelf caddy sized to your shelf depth. Look for low sides so tall items stay visible.
Where it goes: On the deepest, darkest shelf in your corner, the one you currently avoid. Use it for oils, vinegars, sauces, and baking supplies you reach for weekly but not daily. Our deep pantry shelf organization ideas build on the same fix, pairing deep shelves with pull-outs and dividers so every item stays visible.
Effort and cost: Twenty minutes to install (most trays just sit on the shelf), about $15 to $30 depending on size.
Budget version: A rimmed baking sheet or shallow roasting pan works as a manual pull-out tray, and you probably already own one.
4. A Designated Weekly-Meal Basket
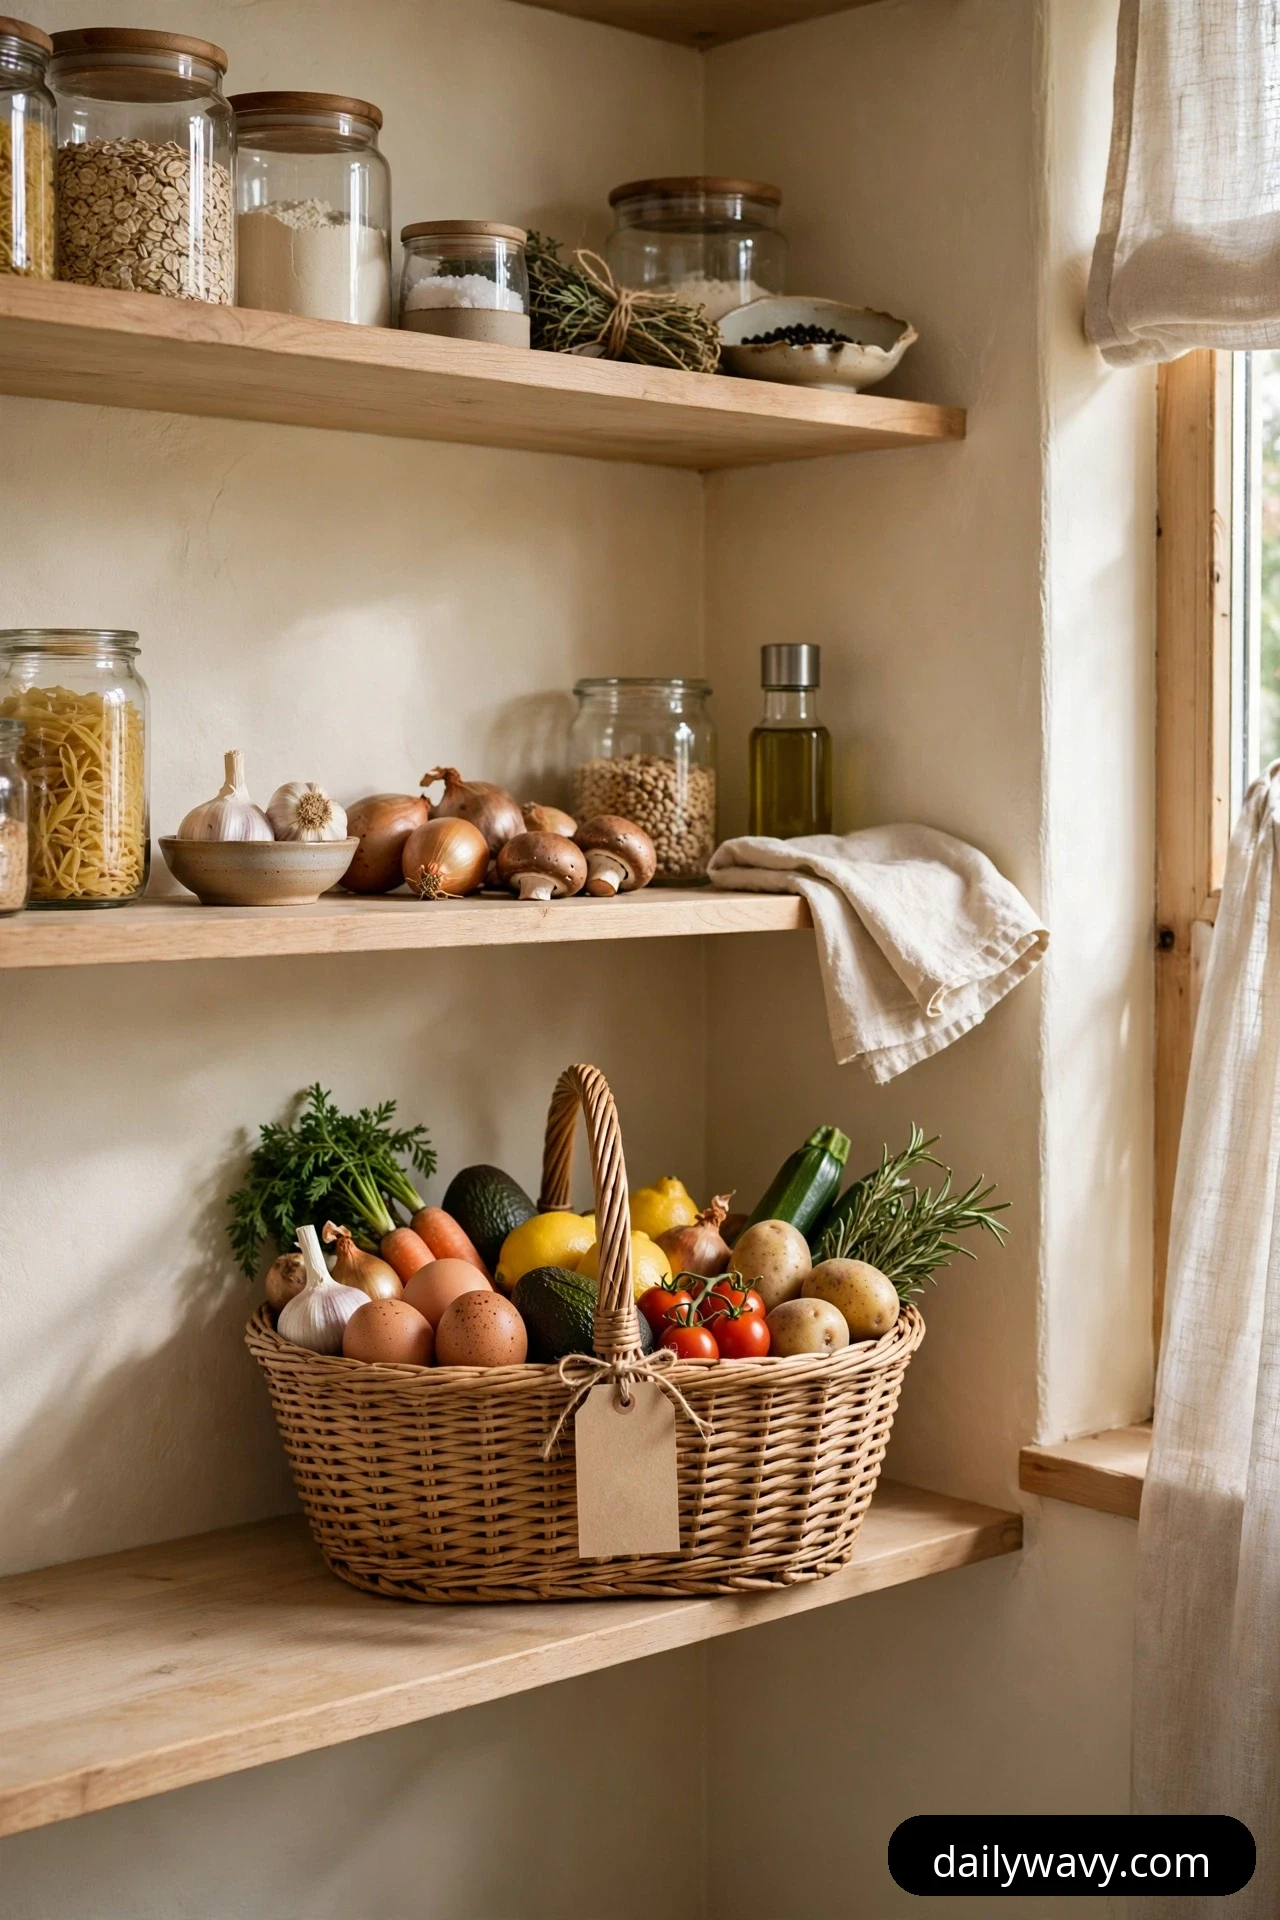
Meal planning only works if the plan survives contact with a busy Tuesday. A weekly-meal basket holds everything the plan needs, separated from the general stock: the grains, canned goods, and sauces for this week’s dinners, all in one grab zone.
What to measure: Measure a shelf section 10 to 14 inches wide at a comfortable height. Keep the basket at or below shoulder height so a full one stays easy to lift down.
What you need: One medium basket with a handle, plus a small tag or clip for a handwritten label with the week’s menu note.
Where it goes: On an easy-reach shelf, ideally the one you see first when you open the door. After the weekly shop, load the basket with that week’s ingredients and keep the rest of the pantry as backup stock.
Effort and cost: Ten minutes a week to reload, about $10 to $18 for the basket.
Budget version: Any sturdy tote bag or grocery bag with the top folded down does the job while you decide on a permanent basket.
5. A Light Shelf Label Strip
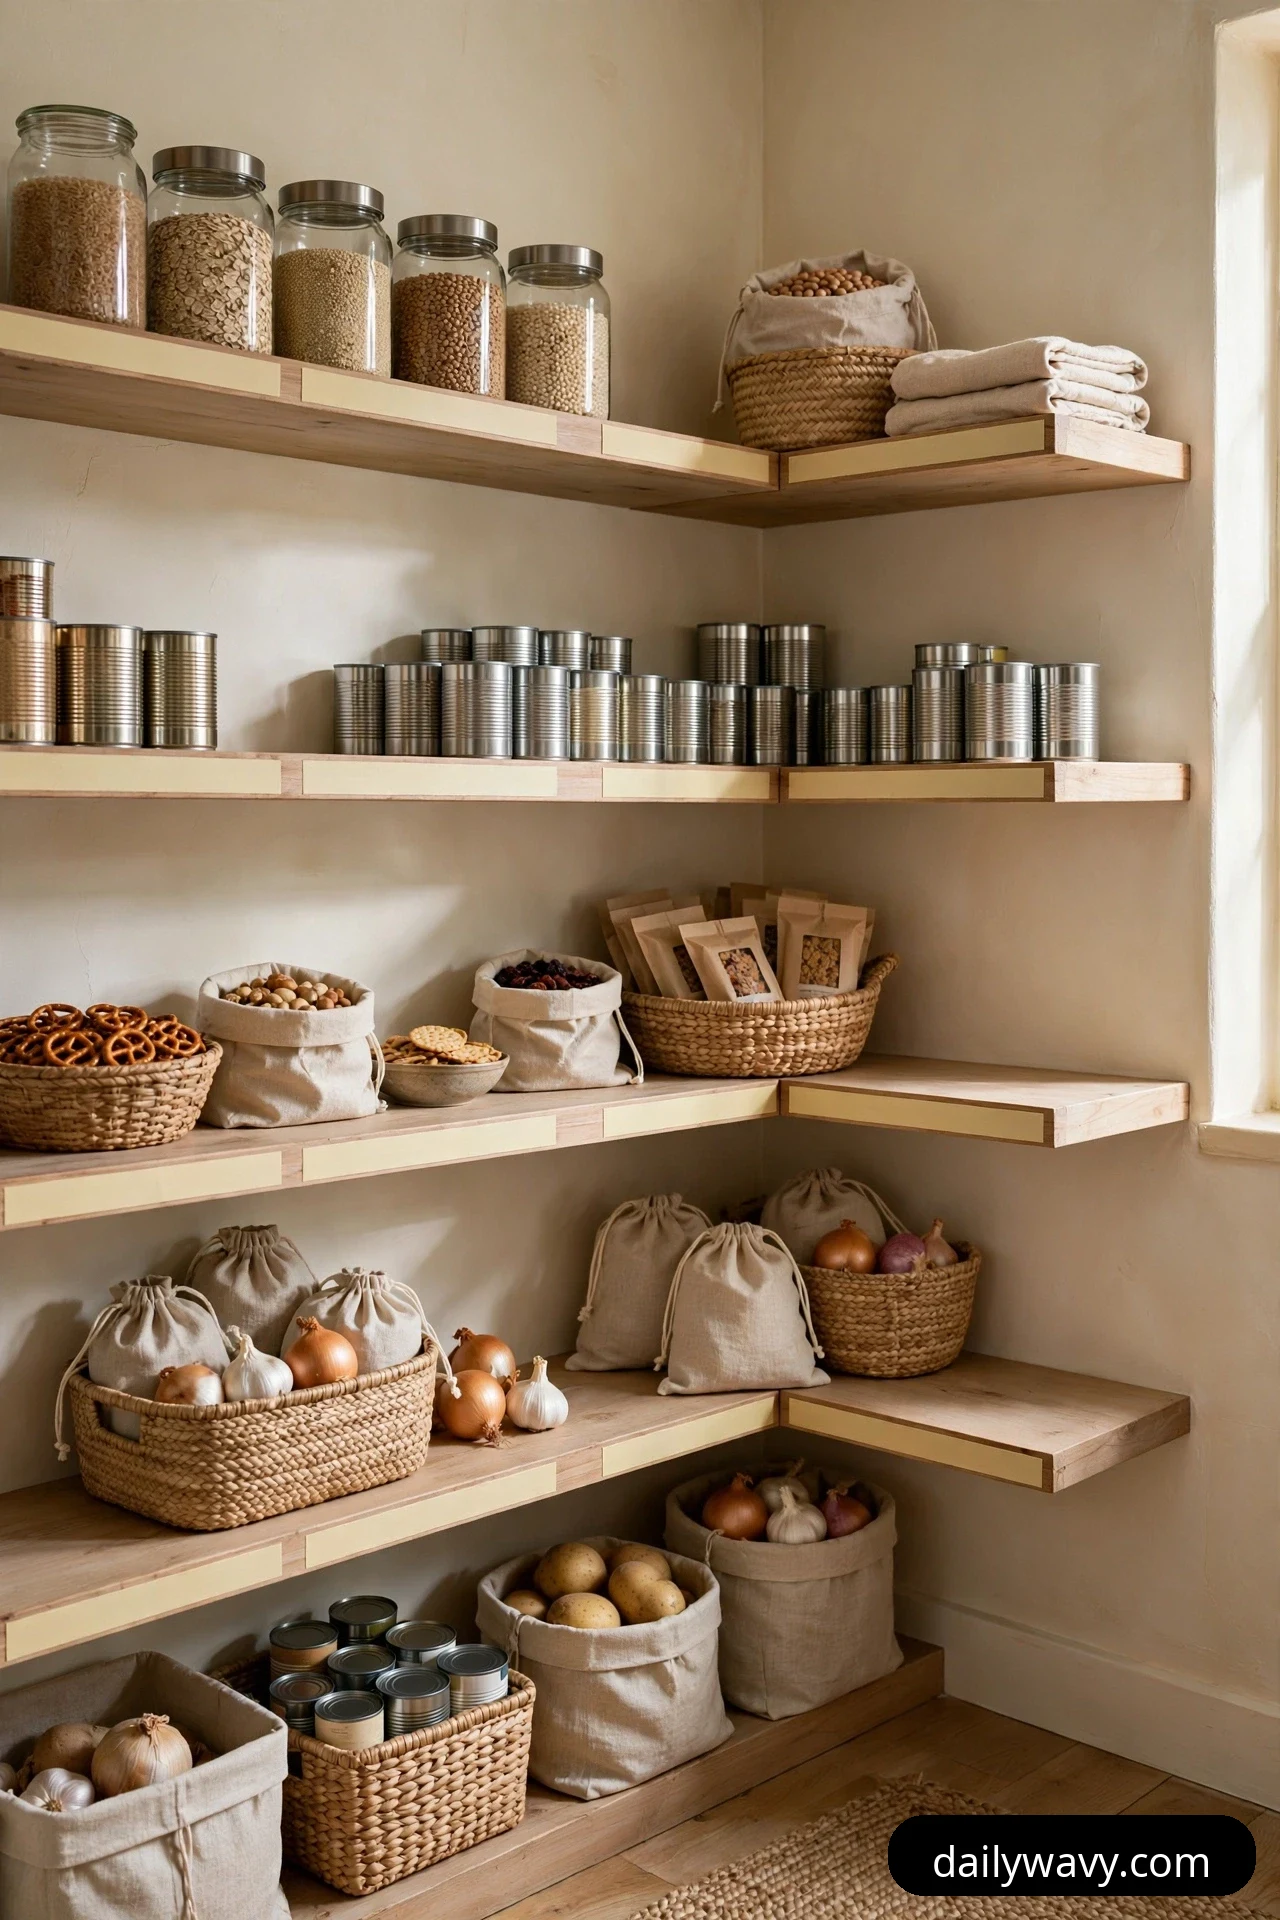
Labels are the difference between a pantry that stays organized and one that drifts back to chaos in a month. A light-colored label strip along the front edge of each shelf tells everyone in the house where things belong, including the teenager who puts the rice back wherever there is space.
What to measure: Measure the front edge length of each shelf you want to label. Strips come in rolls, so one roll usually covers several shelves.
What you need: Light-colored adhesive label strips or chalk tape, plus a marker with dark ink. Light strips matter in a dim corner because dark labels disappear in shadow.
Where it goes: Along the front edge of every shelf, centered on each zone: grains, cans, snacks, baking. Keep the wording short: two words maximum per zone.
Effort and cost: Thirty minutes for a full pantry, about $6 to $10 for strips and a marker.
Budget version: Masking tape and a ballpoint pen give you the same function and let you change zone names as your system evolves.
6. A Zone For Open Packages
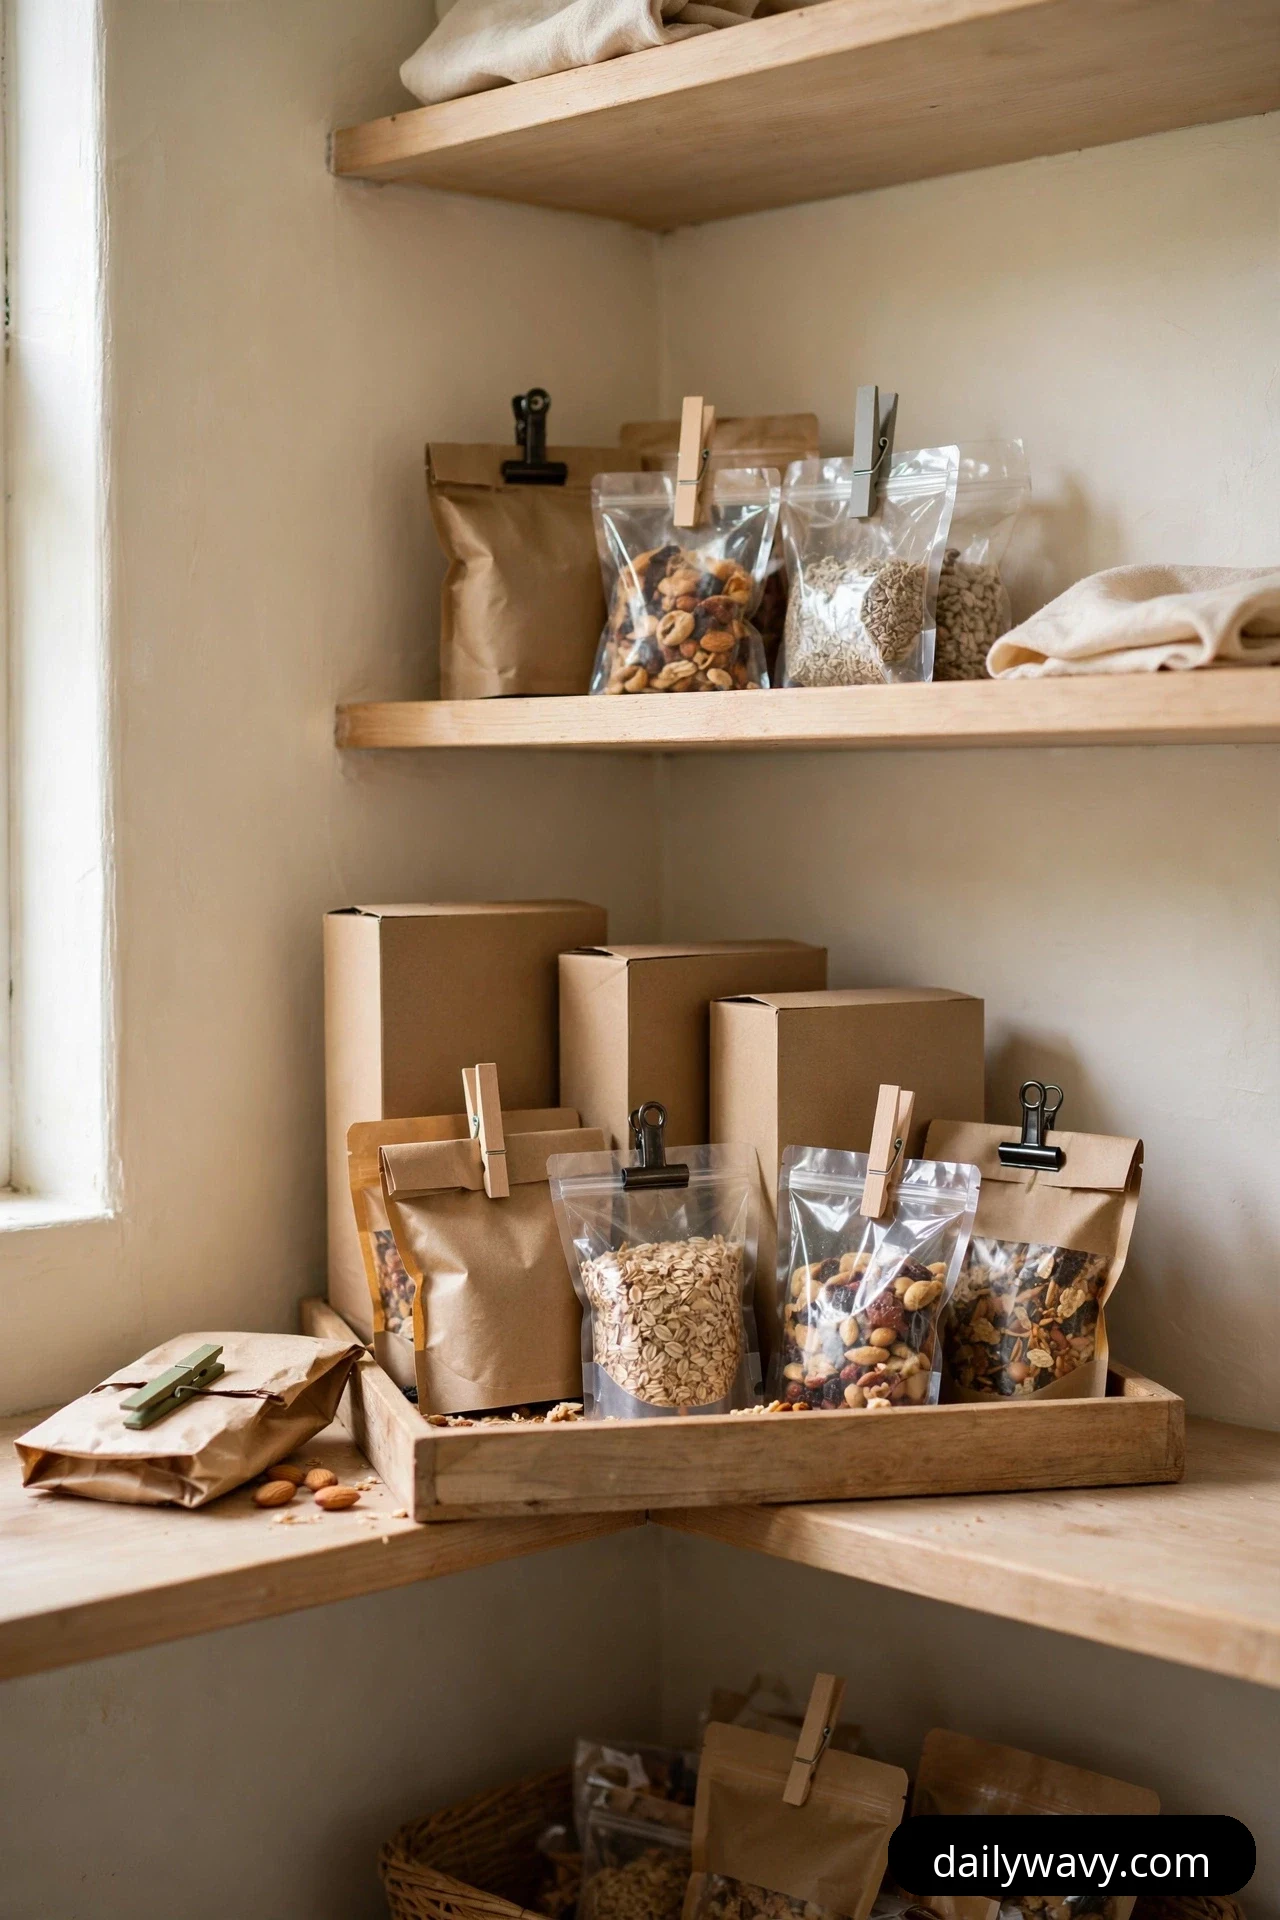
Open bags are the messiest citizens of any pantry. Chips, half-used flour, open cereal boxes, and snack pouches all need a home where they stay sealed and upright instead of spilling across the shelf. Group them in one zone and the rest of the pantry stays clean.
What to measure: Measure a shelf area about 12 inches wide with enough height for tall cereal boxes. Check that the shelf above leaves room to stand boxes upright.
What you need: Bag clips in two sizes, plus one shallow tray to catch any spills. Resealable bags for flour and sugar keep them fresh and stackable.
Where it goes: On a middle shelf where you can reach it without stretching. Keep allergen labels visible on every open package, and write the expiry date on a small piece of tape if the original date was on a flap you cut off.
Effort and cost: Fifteen minutes to clip and arrange, about $5 to $10 for clips.
Budget version: Binder clips from the desk drawer seal bags just as well as purpose-made food clips.
7. A Narrow Divider Between Categories
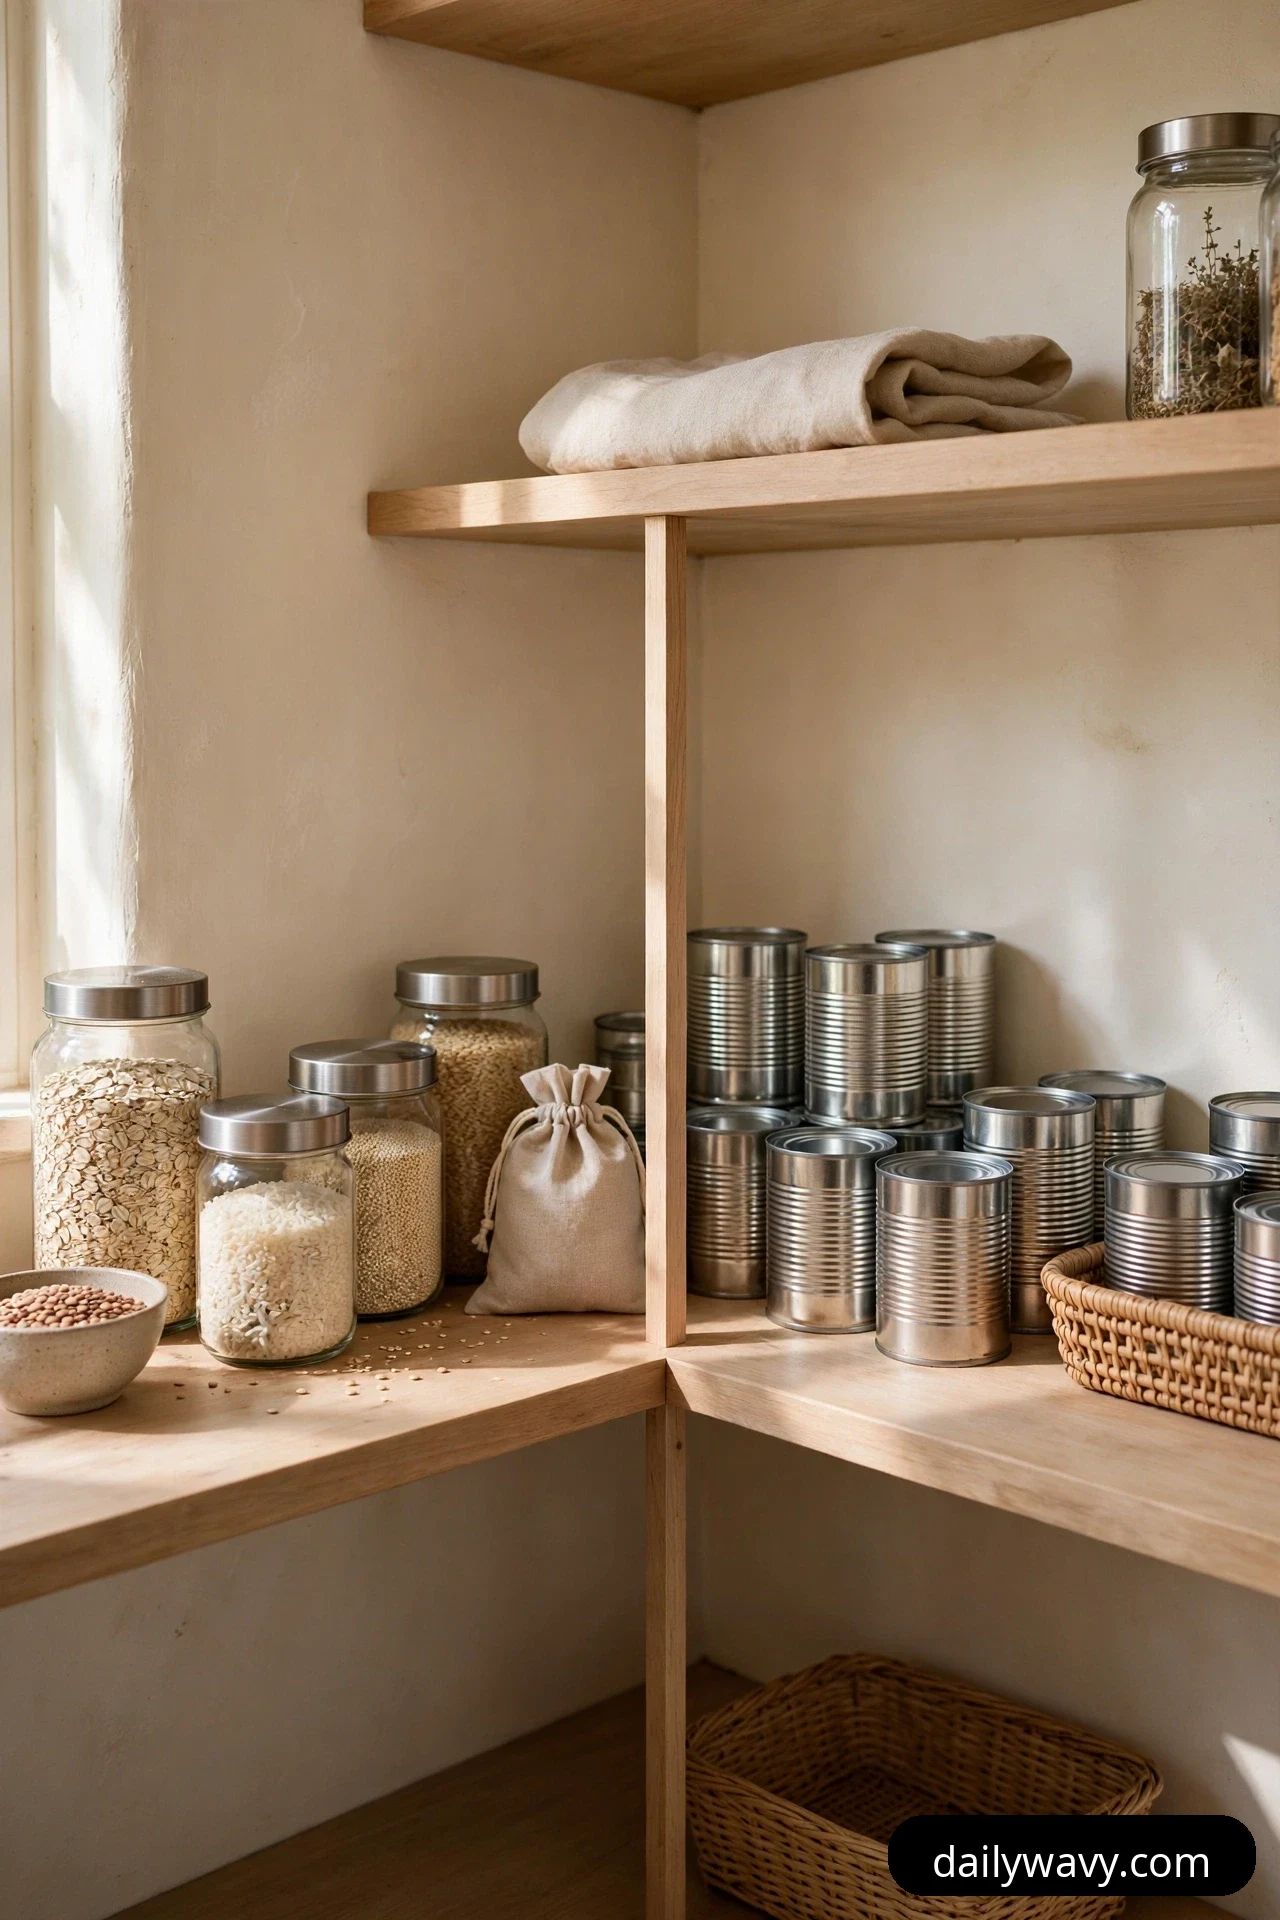
Categories drift. The baking supplies slowly invade the snack zone, and the canned goods spread toward the grains. A narrow divider holds the line: a slim vertical panel between zones that keeps each category in its own lane without taking up real shelf space.
What to measure: Measure the height between shelves and the depth of the shelf. Dividers should be at least 6 inches tall to actually contain items, and no deeper than the shelf.
What you need: Two or three narrow shelf dividers, either clip-on or freestanding. Acrylic dividers disappear visually; bamboo ones add warmth.
Where it goes: Between your main categories on the busiest shelves: between grains and cans, between snacks and baking. One divider per boundary is enough.
Effort and cost: Five minutes to place, about $10 to $16 for a set of two or three.
Budget version: A thick hardcover book stood on end works as a divider, or cut a piece of sturdy cardboard to height and wrap it in contact paper.
8. A Small Inventory Clipboard
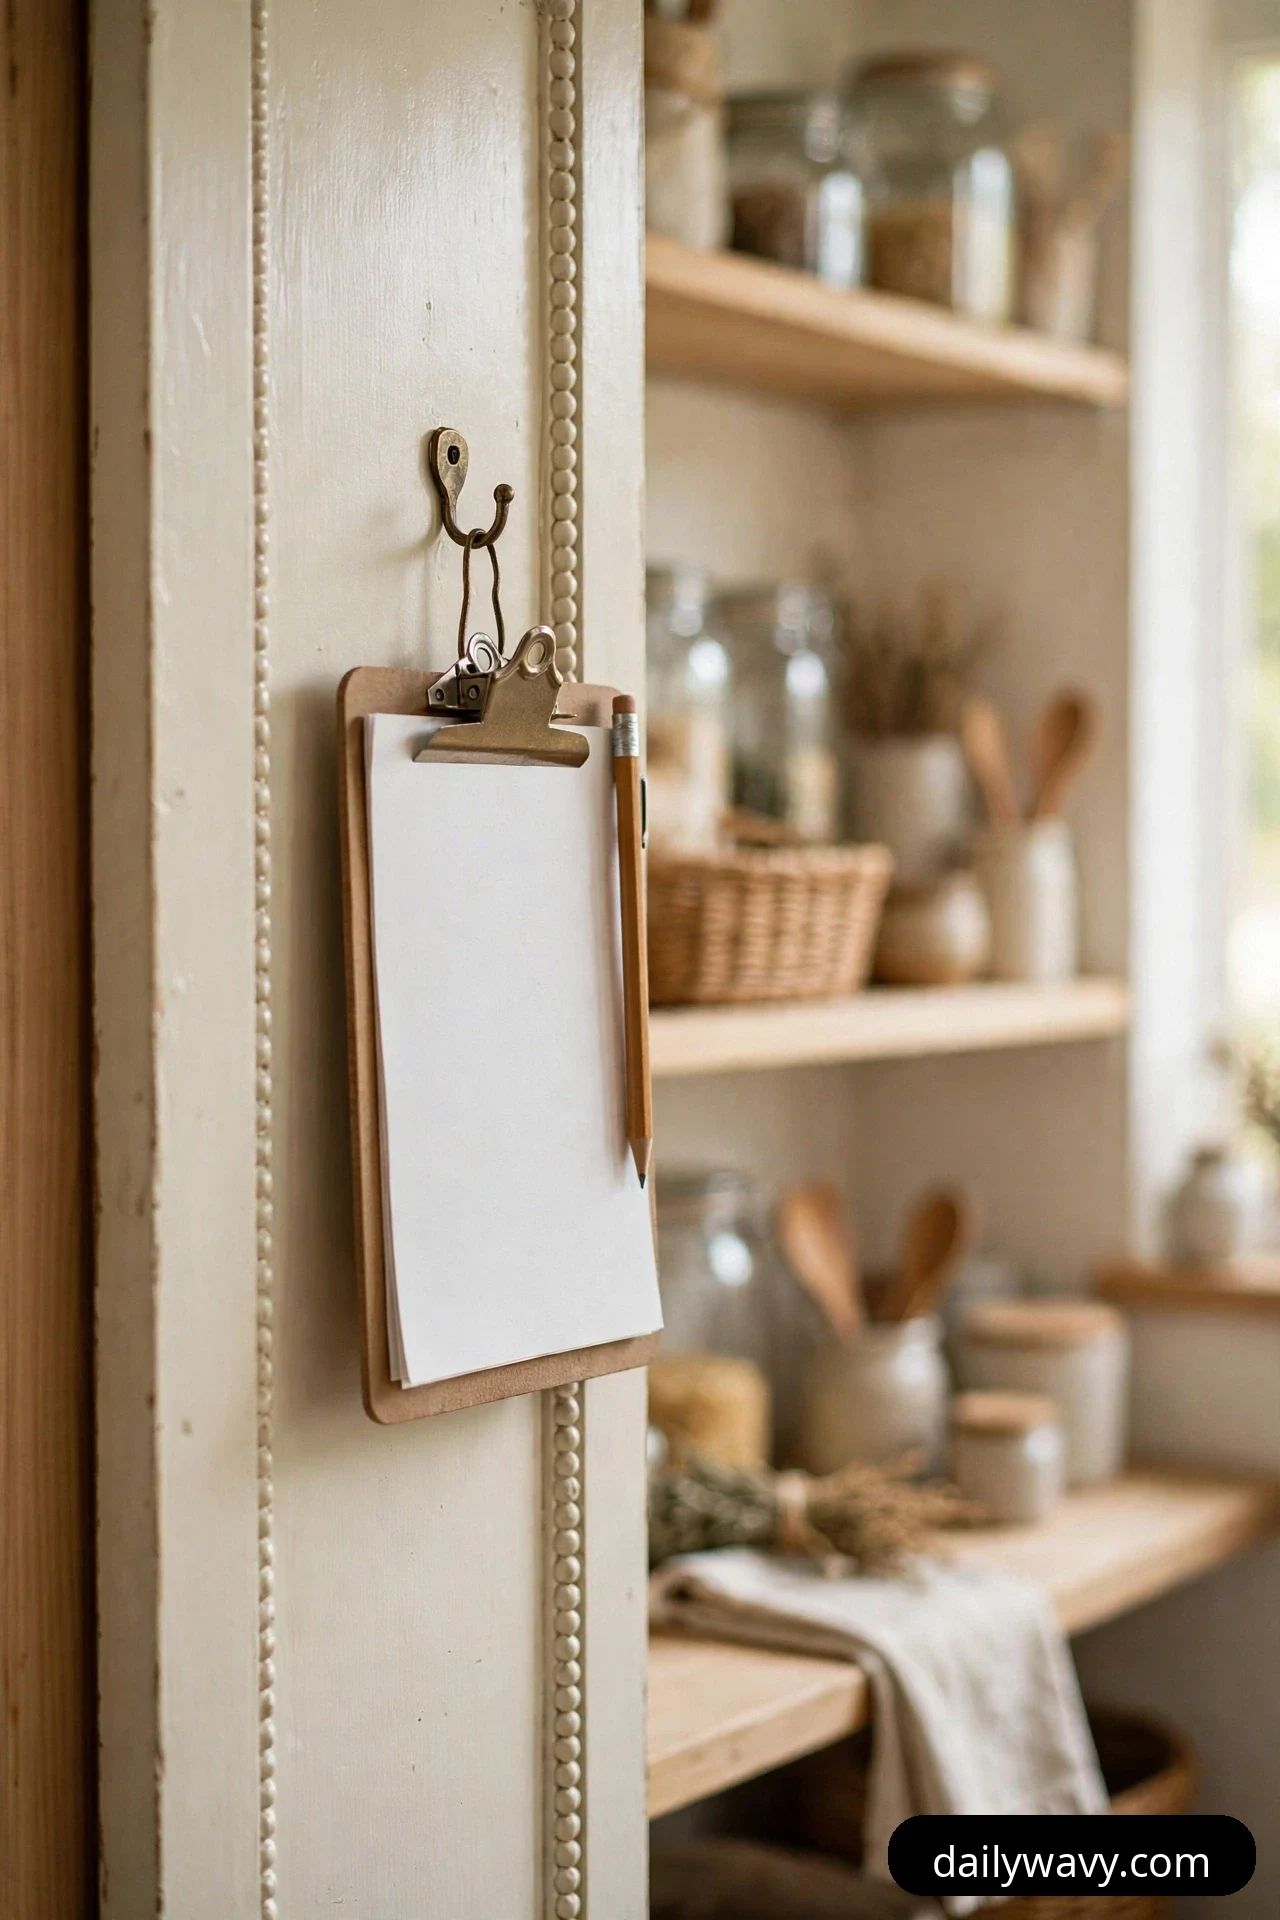
The clipboard is the pantry’s memory. A running list of what is in stock, what is running low, and what expires soon means you stop buying duplicates and stop discovering expired food during a deep clean. It takes only a moment to update after each shop.
What to measure: Measure the inside of the pantry door or a free stretch of wall. The clipboard needs about 9 by 12 inches of flat space and a hook or nail to hang from.
What you need: A small clipboard, a pen on a string, and a simple printed or handwritten list template with columns for item, quantity, and expiry.
Where it goes: Inside the pantry door at eye level, where you will see it every time you put groceries away. Cross items off as you use them and add new ones as they arrive.
Effort and cost: Twenty minutes to do the first full inventory, about $5 for a clipboard if you do not own one.
Budget version: A sheet of paper taped inside the door with a pencil nearby works until you find a clipboard you like.
9. A Low-Access Shelf For Everyday Items
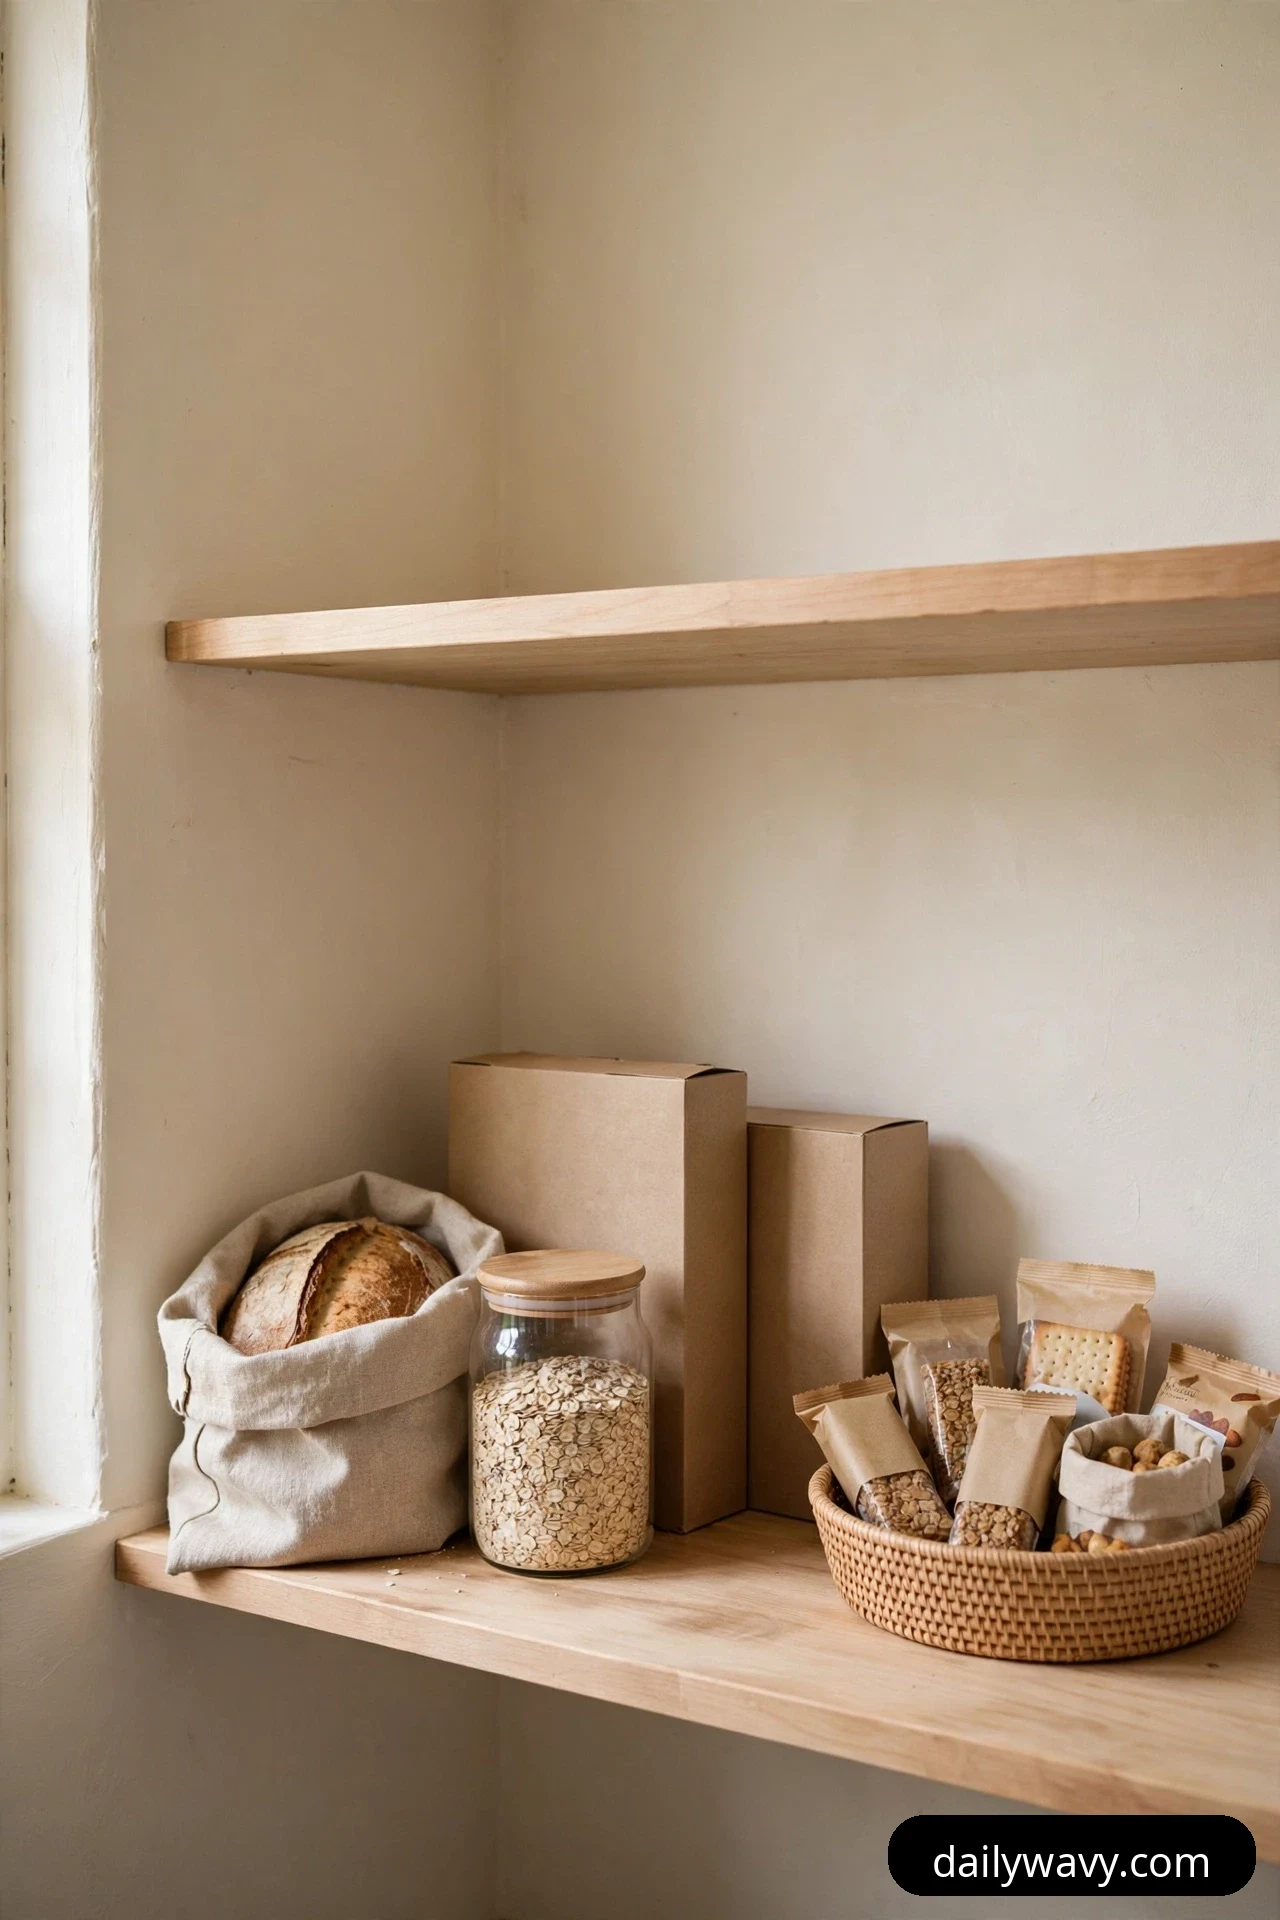
The things you touch every single day should never require a stretch or a step stool. Dedicate one low, easy shelf to breakfast and lunch supplies: bread, cereal, oats, lunchbox snacks, the coffee and tea. Mornings get noticeably calmer when the daily routine lives in one reachable place.
What to measure: Measure shelf height from the floor. Everyday items belong between knee and shoulder height, roughly 24 to 60 inches off the floor for most adults, lower if kids grab their own snacks.
What you need: Possibly nothing. This idea is about placement, not products. A small tray can corral lunchbox items if they scatter.
Where it goes: On the shelf closest to the door at a natural grabbing height. Keep it sparse: only true daily items earn a spot here.
Effort and cost: Ten minutes to rearrange, zero dollars.
Budget version: This one is already free. The discipline is the product.
10. An Upper Shelf For Light Rarely Used Items
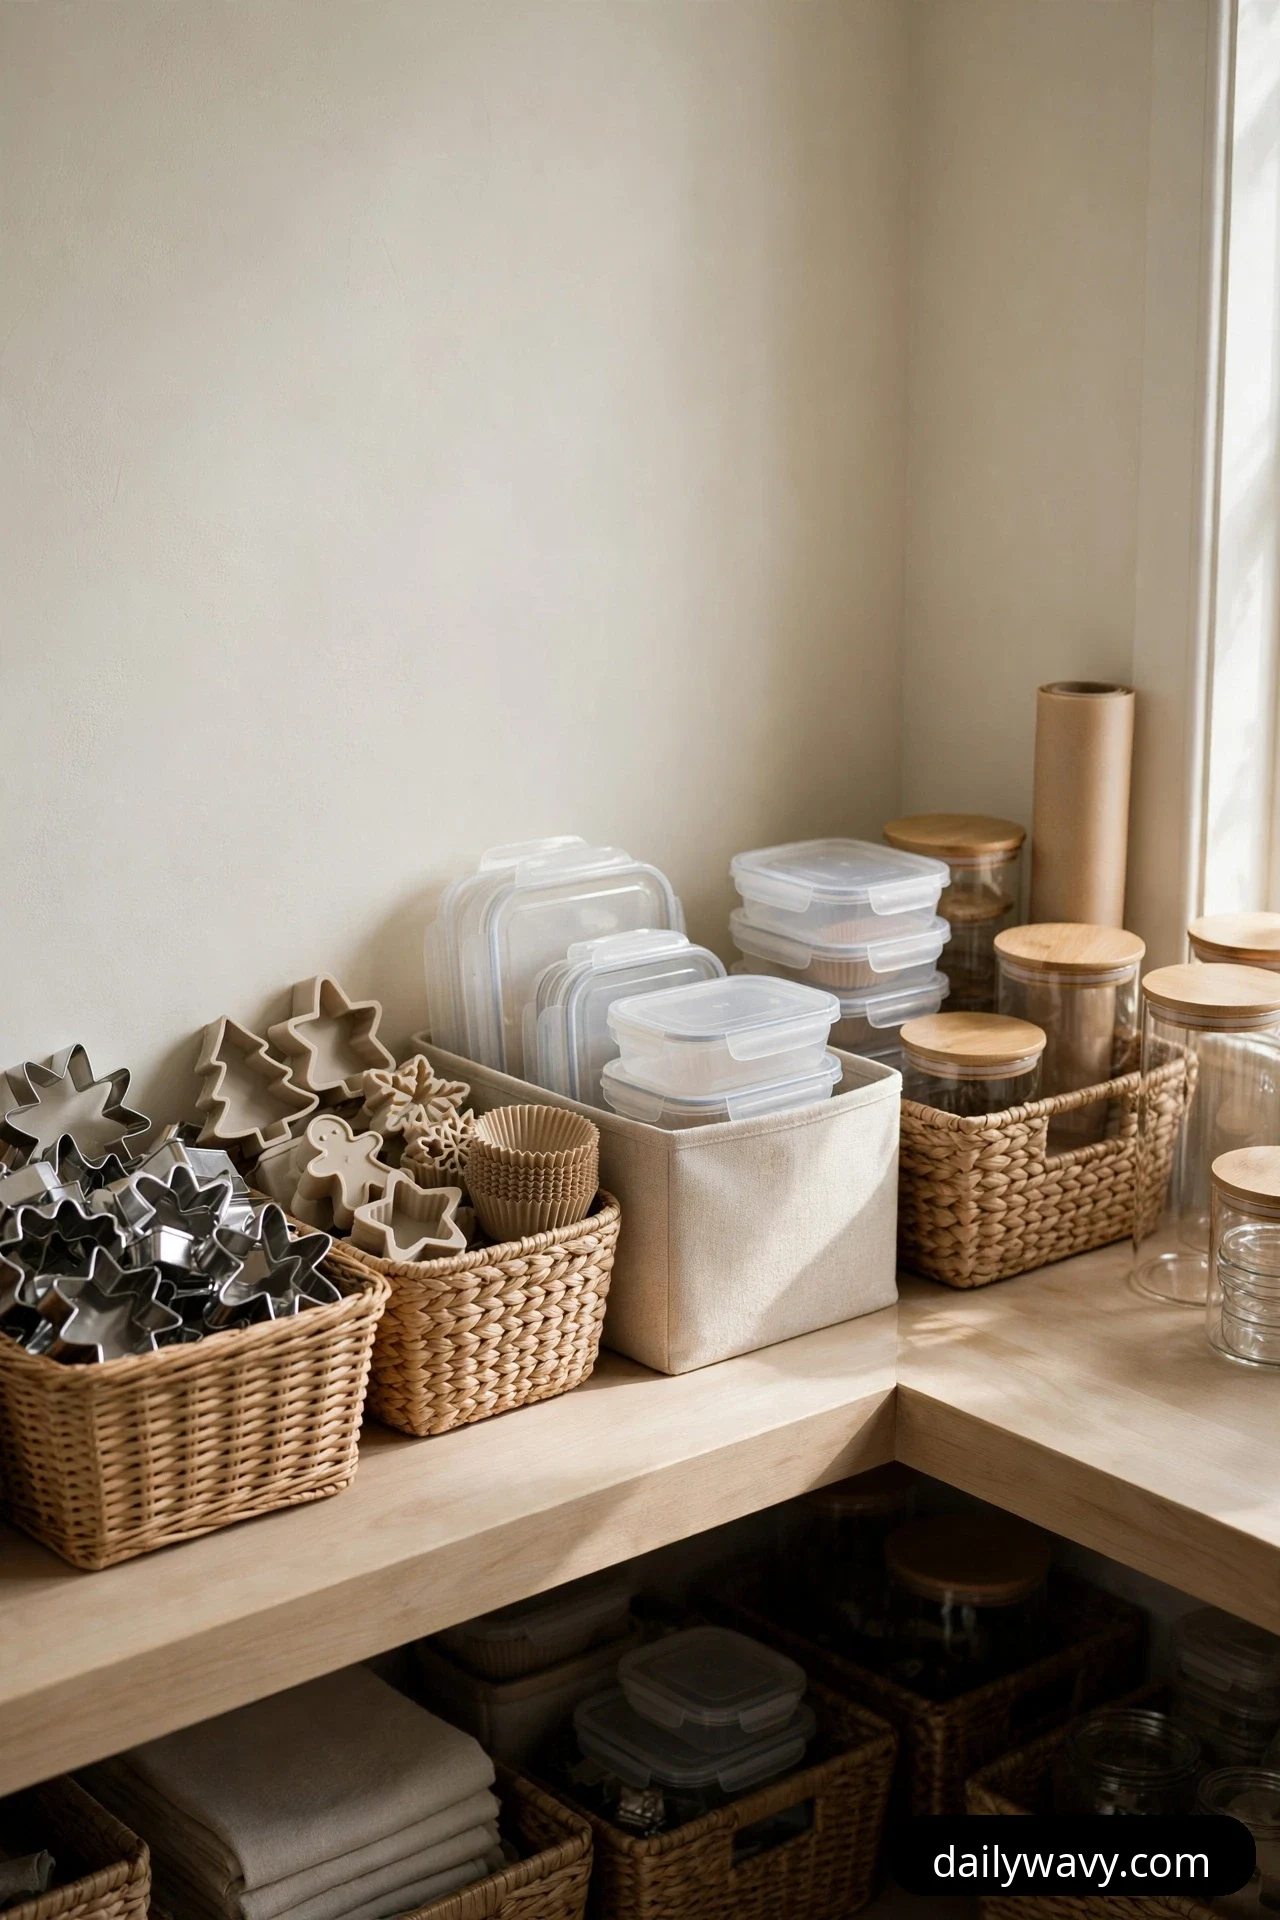
Every pantry has a top shelf, and every top shelf should hold only things you need rarely and that will not hurt if they fall. Holiday baking supplies, spare containers, and backup paper goods all belong up high, where they stay out of the daily traffic.
What to measure: Measure the height of the top shelf and your comfortable reach. If you need a step stool, that is fine, but reserve it for items you touch monthly at most.
What you need: One or two light bins to group small items so they do not scatter on a high shelf. Label the bins so you remember what is up there.
Where it goes: The highest shelf in the corner, ideally the one above the door-side shelves. Keep everything light: nothing heavy goes above shoulder height.
Effort and cost: Fifteen minutes to sort and bin, about $8 to $14 for bins.
Budget version: Grocery bags with the tops folded down corral light items on a high shelf just fine.
11. A Lidded Basket For Loose Accessories
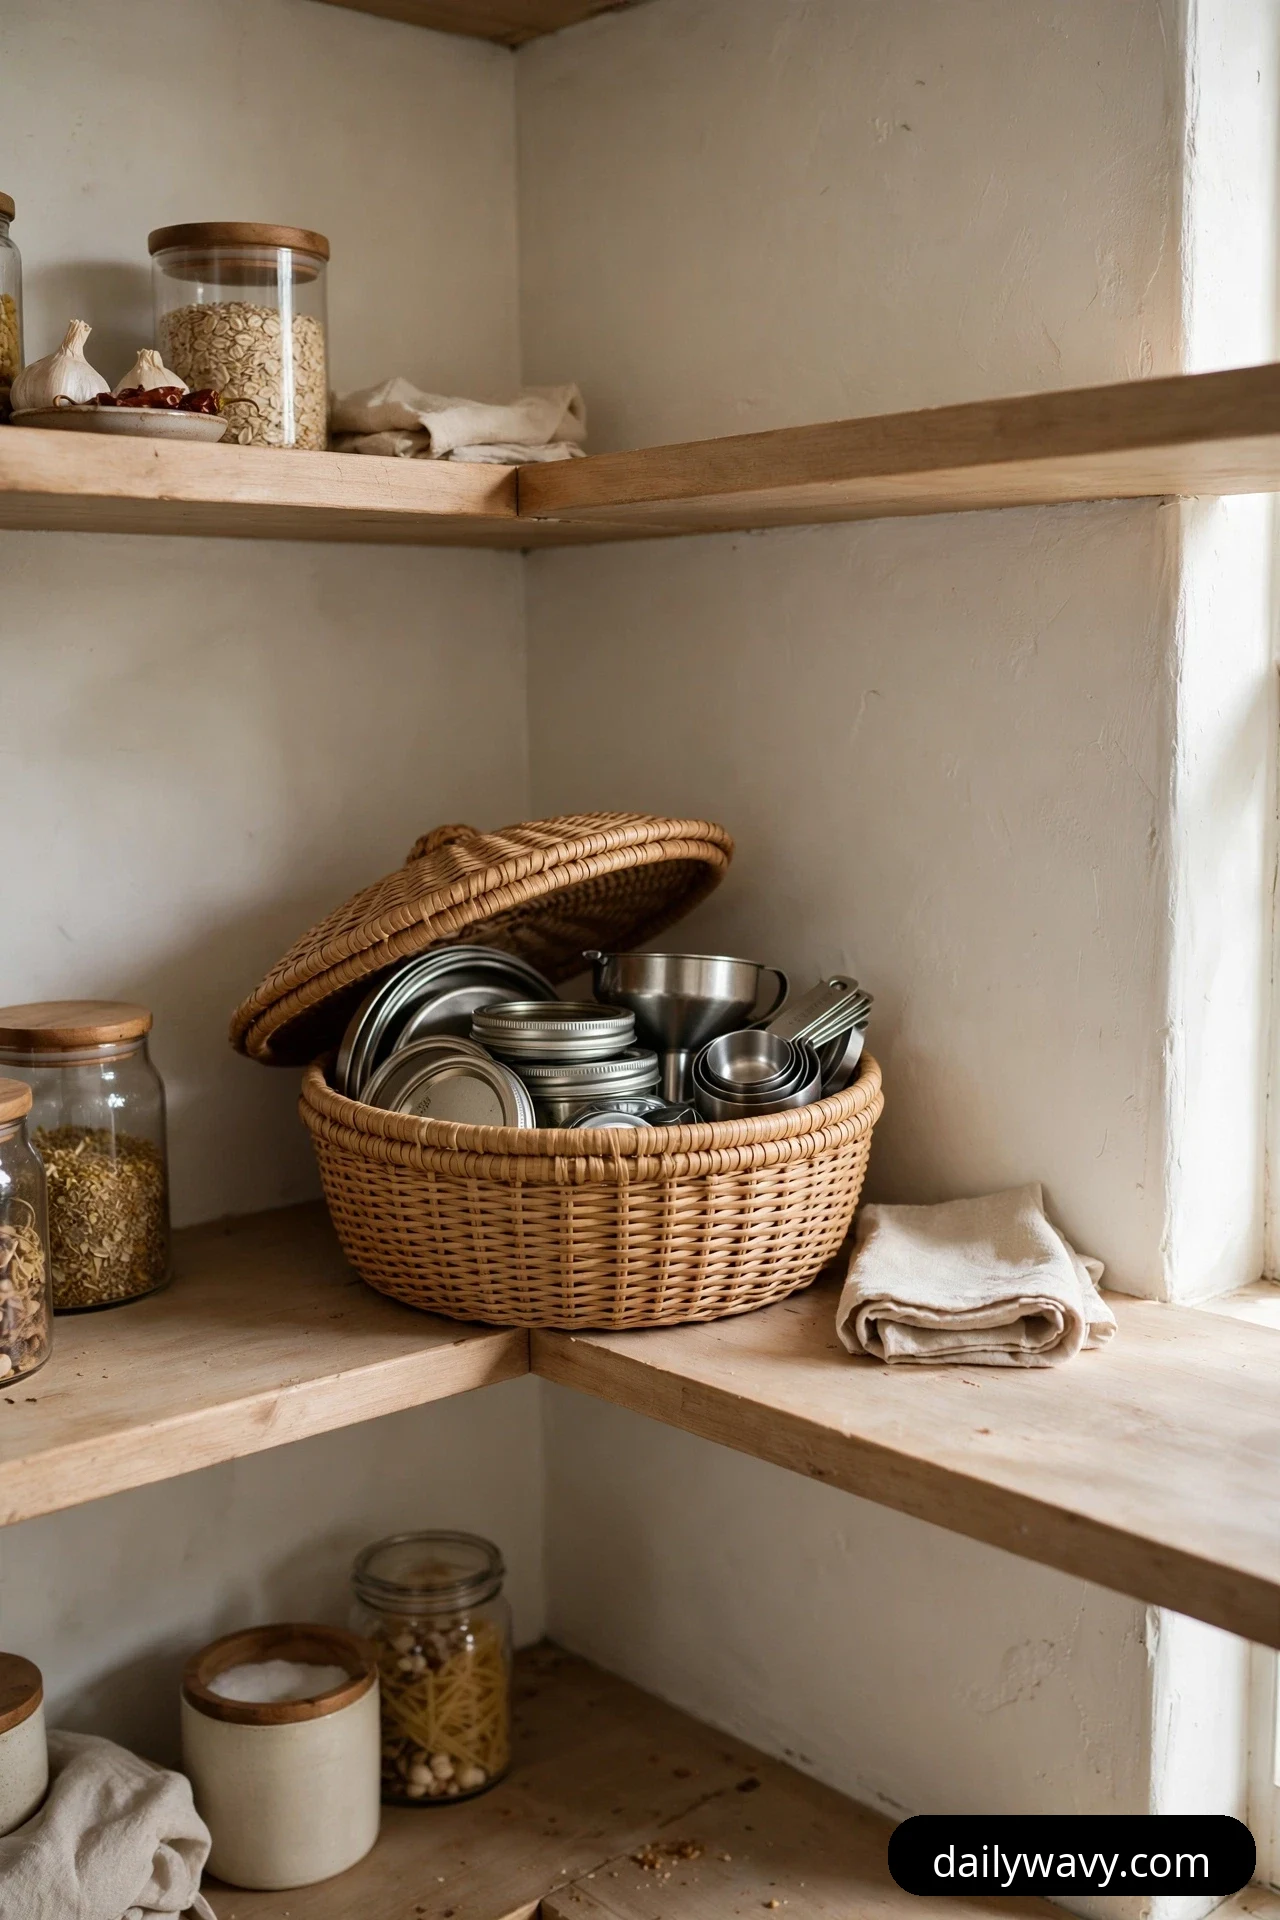
Spare lids, funnels, bag clips, measuring scoops, and rubber bands multiply quietly until they form a junk drawer inside your pantry. A lidded basket gives all of it one tidy home, and the lid keeps the visual noise down so the shelf still looks calm.
What to measure: Measure a shelf spot 10 to 12 inches wide and at least 10 inches tall so the basket plus lid fits with clearance.
What you need: One lidded basket, roughly shoebox-sized, with a handle or cutout for easy pulling. Natural materials look good on open shelves.
Where it goes: On a middle shelf near your containers or baking zone, wherever the accessories get used most. Review it twice a year and clear out anything you have not used.
Effort and cost: Ten minutes to gather and sort, about $10 to $16 for the basket.
Budget version: A lidded plastic storage box from the dollar store does the same job and wipes clean.
12. A Scale-Appropriate Tiered Rack
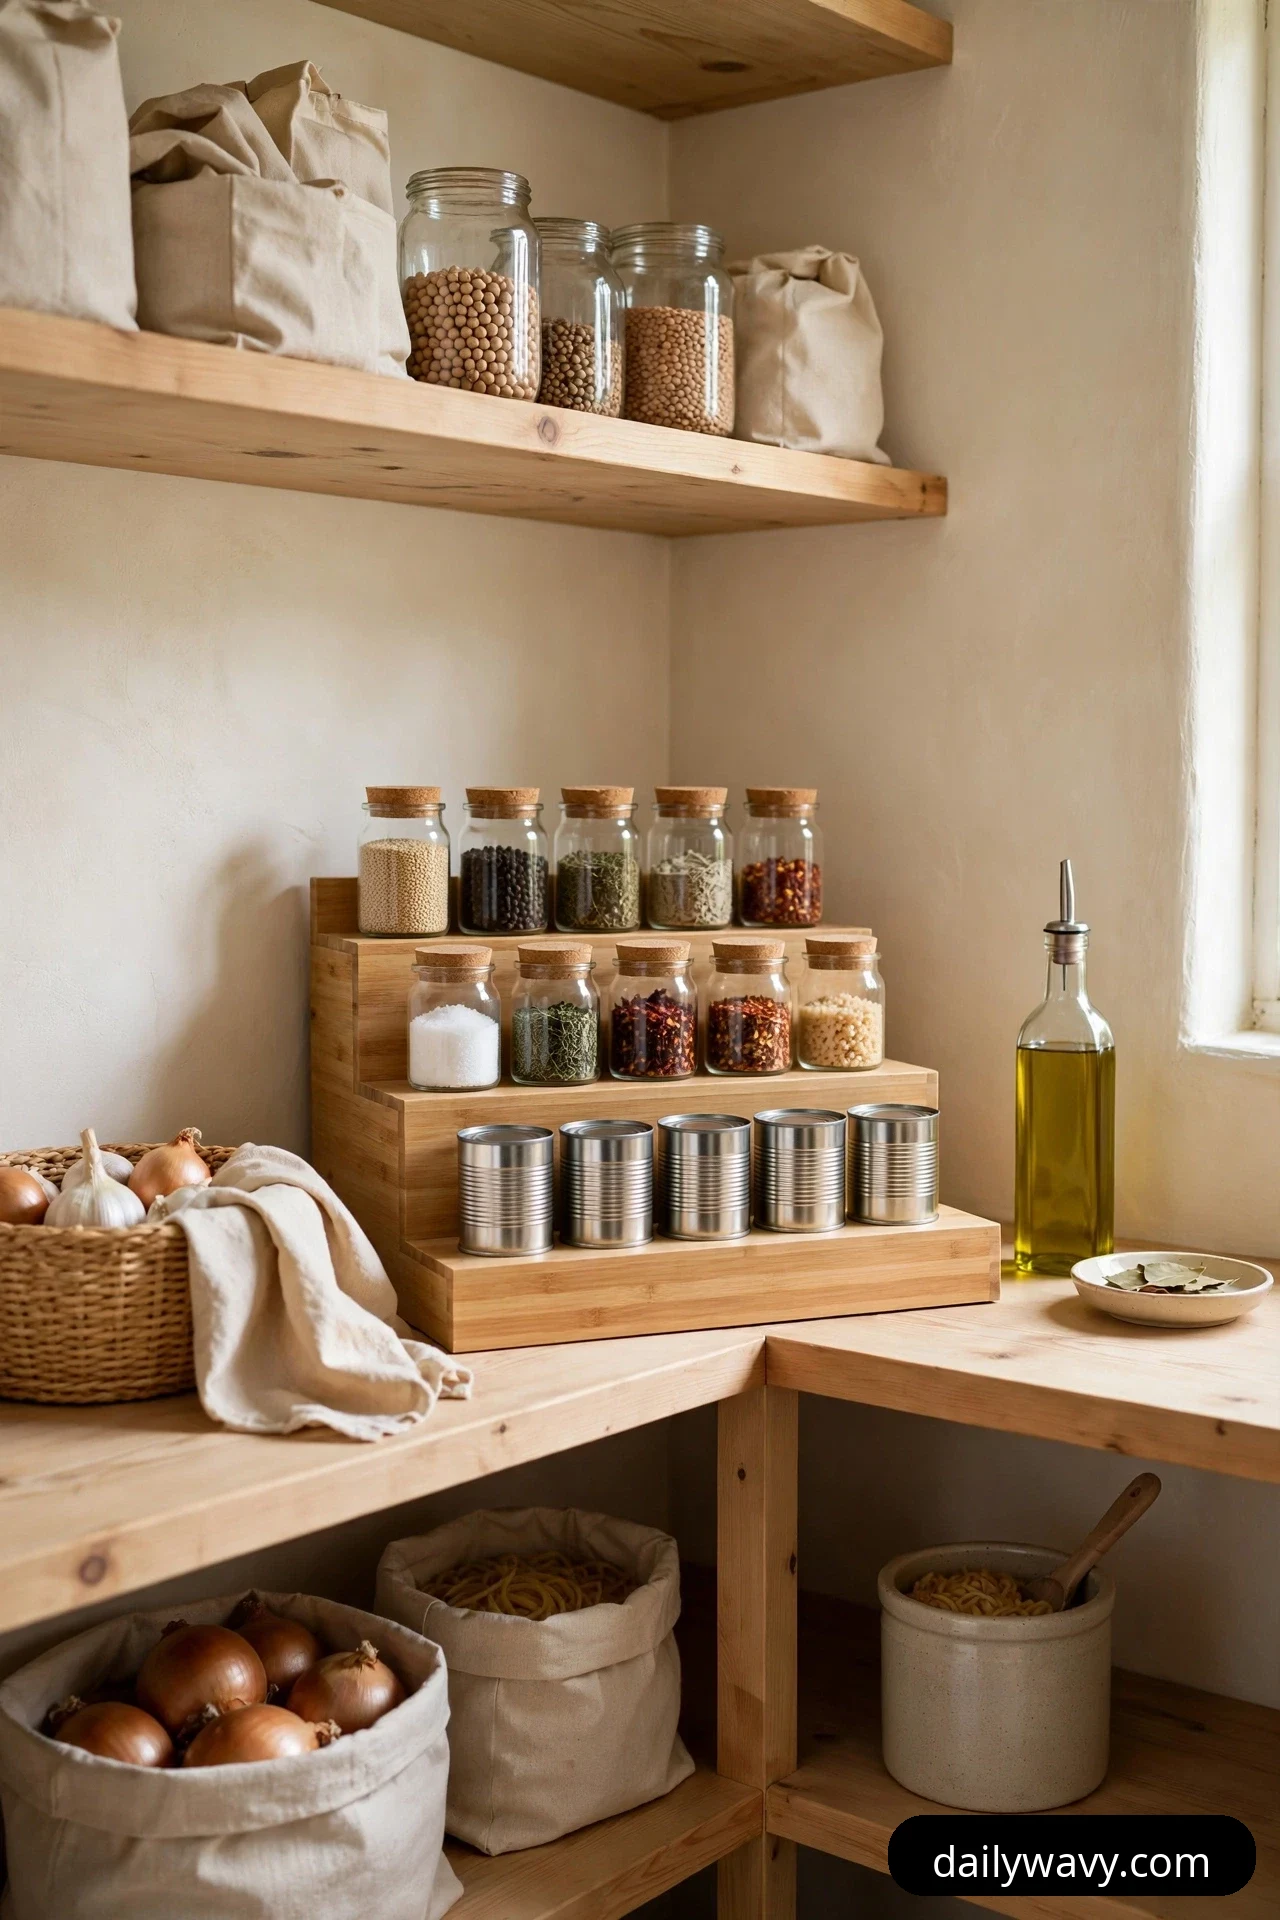
Corner shelves are deep enough that a single row of jars wastes the back half. A tiered rack steps items upward toward the back so every label stays visible, like stadium seating for your spices and small cans. The key word is scale-appropriate: a rack sized for your actual shelf, not a giant one that eats the whole depth.
What to measure: Measure shelf depth and the height between shelves. The rack should use about two-thirds of the depth and leave at least 2 inches above the tallest item on the top tier.
What you need: One tiered step rack, two or three tiers, in a width that matches your shelf zone. Bamboo and metal both hold up well in pantry conditions.
Where it goes: On an eye-level shelf for spices, small jars, and short cans. Keep it to one zone per shelf so the rack reads as intentional rather than crowded.
Effort and cost: Five minutes to place and load, about $12 to $20.
Budget version: Stack two sturdy boxes or books of different heights under a cutting board to make a free two-tier step.
13. A Consistent Container Height System
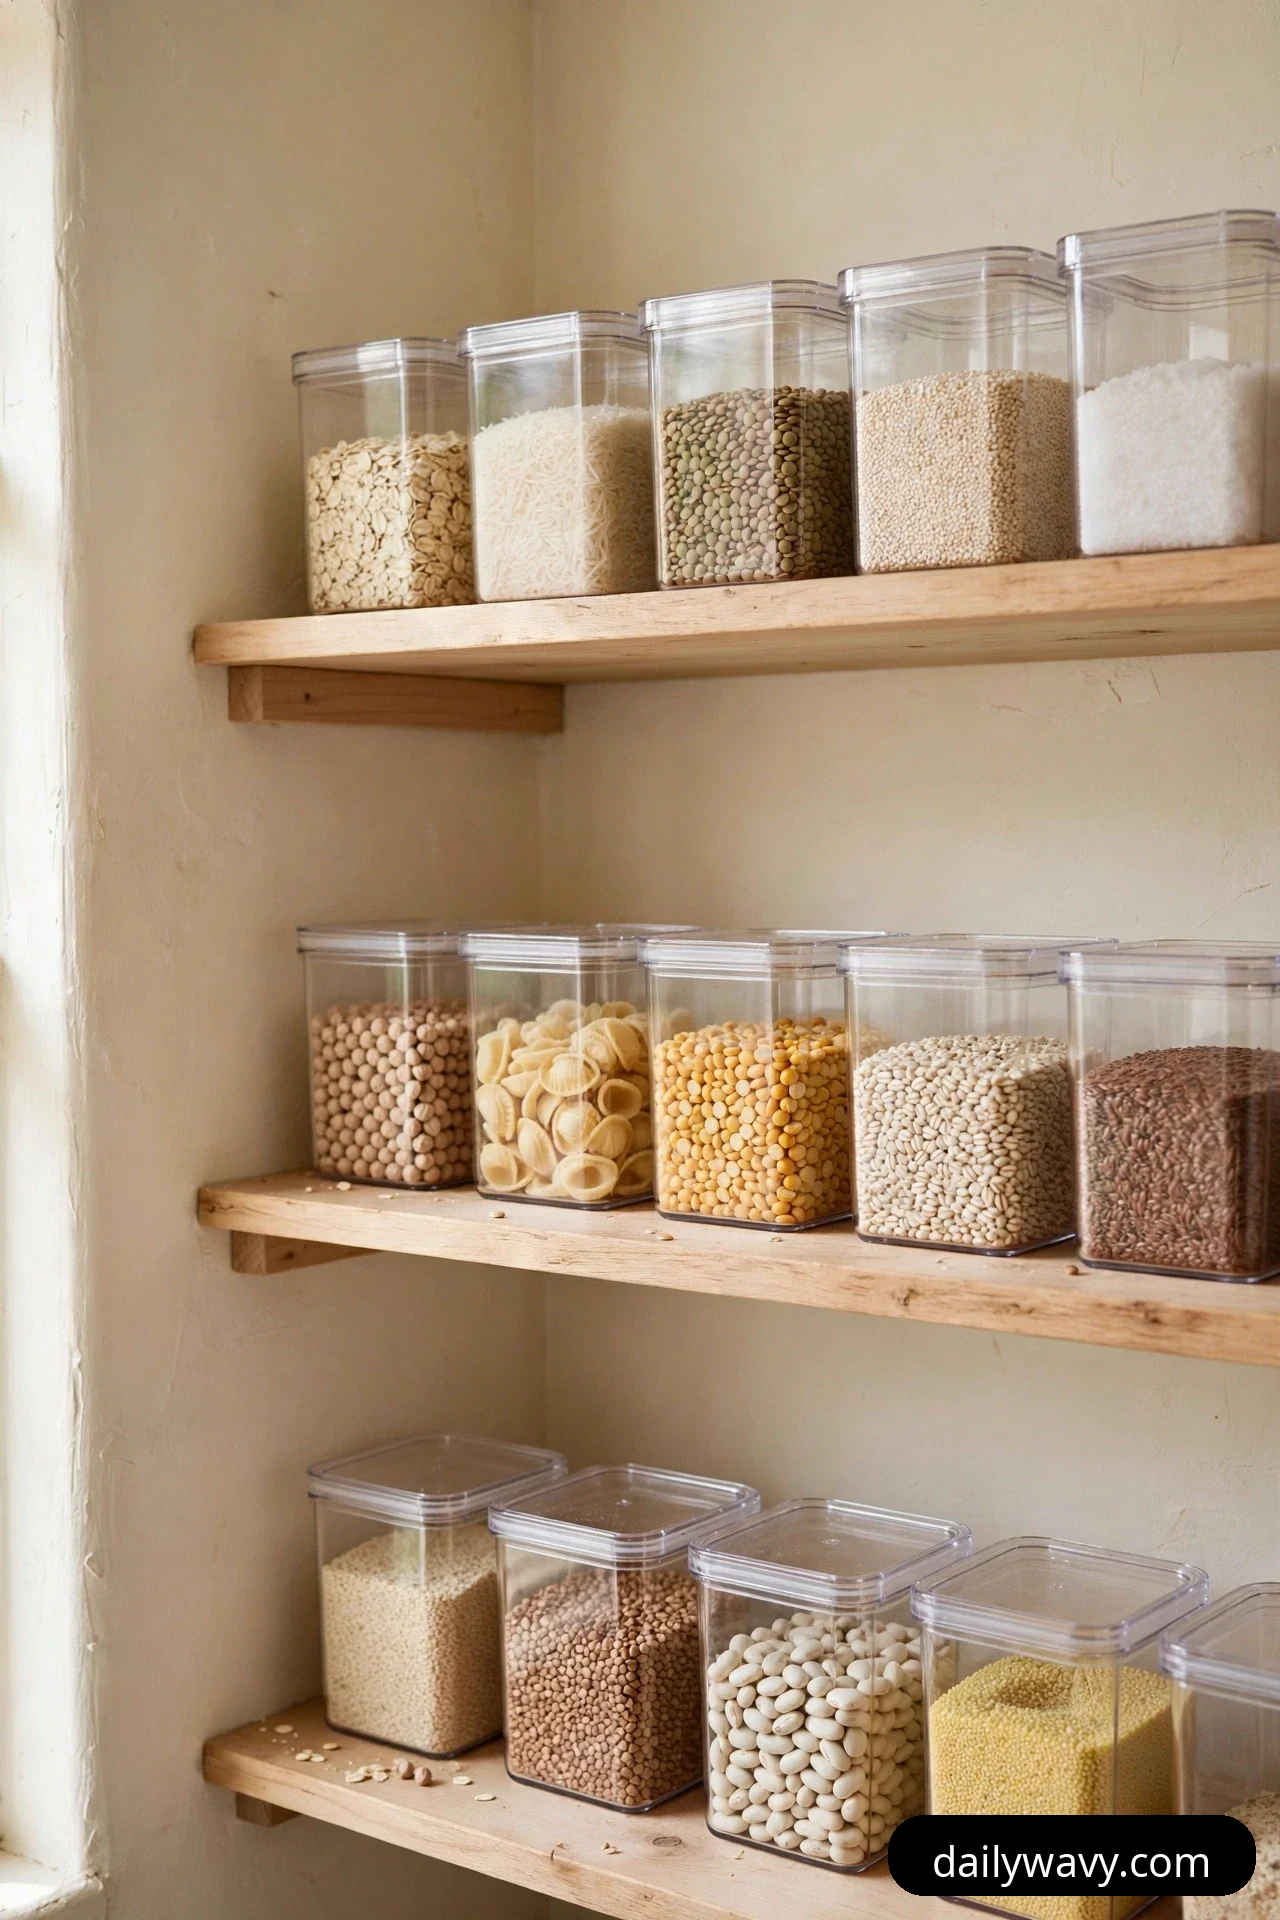
The calmest pantries all share one secret: their containers match. When every dry-goods container is the same height, shelves read as one clean line instead of a jagged skyline, labels sit at the same sightline, and you can fit more per shelf because no tall outlier wastes the vertical space above shorter ones.
What to measure: Measure the height between your shelves and subtract 2 inches for easy lifting. That number is your container height. Buy containers at or under that height, in one or two matching footprints.
What you need: A set of matching airtight containers, square or rectangular to avoid wasted gaps. Start with the six to eight dry goods you buy most: flour, sugar, rice, oats, pasta, cereal.
Where it goes: Across your dry-goods shelves, decanted and labeled with contents and expiry date. Keep original packaging folded inside large containers if you need the cooking instructions, and keep allergen information readable.
Effort and cost: One hour to decant and label a full set, about $25 to $45 for a starter set of containers.
Budget version: Buy two containers a month instead of a full set, starting with the ingredients you restock most often.
Corner pantry FAQ
How deep are corner pantry shelves usually?
Most run 12 to 16 inches deep, which is why the back corners become dead zones. Pull-out trays and tiered racks exist specifically to make that depth usable.
What should I keep in the darkest corner?
Things you restock from, not things you grab daily: backup cans, the overflow bin, rarely used baking supplies. Daily items belong near the door where the light is.
How do I stop buying duplicates?
The inventory clipboard handles it. One glance before you shop tells you whether you already have three cans of chickpeas, and the first-in-first-out row means older stock gets used before it expires.
Do I need to decant everything into matching containers?
No. Decant the dry goods you buy in bulk and use constantly. Keep everything else in its original packaging so labels, instructions, and expiry dates stay intact and allergen information stays available.
How often should I re-check expiry dates?
Do a quick scan when you put groceries away each week, and a full check every three to four months. The clipboard’s expiry column makes the full check take minutes.
What is the cheapest way to start?
The clipboard, the label strips, and the weekly-meal basket cost very little and change how the pantry feels immediately. Add bins and trays one at a time as you find the spots that need them.
A corner that works as hard as you do
A corner pantry stops being a puzzle the moment every item has a reason to be where it is. Start with the free wins: the clipboard, the label strips, the first-in-first-out row. Add one tray or rack where the dark corner swallows things. Within a weekend, the same shelves that used to hide expired cans will hand you exactly what you need for dinner.
If you are building an organization system that carries through the whole kitchen, our small pantry organization guide covers the foundations, and our small bathroom storage ideas show how the same zone-and-label thinking works in tight spaces. For more room-by-room ideas, browse the full Home & Decor collection.