12 Mid-Century Kitchen Ideas with Character and Practical Details
A mid-century kitchen does not ask for a full remodel. It asks for a few honest materials, a little restraint,…
A mid-century kitchen does not ask for a full remodel. It asks for a few honest materials, a little restraint, and light. Walnut tones, tapered legs, simple geometry, and a muted olive or rust accent can turn an ordinary kitchen into a room that feels calm, warm, and quietly stylish. The twelve ideas below are built for real kitchens with real worktops. Each one tells you what to measure, what to buy, where to put it, how much effort it takes, and a cheaper way to get the same feeling.
Jump to an idea
- 1. A Small Herb Pot Near Daylight
- 2. A Framed Print Away From Splashes
- 3. A Stool Pair At A Compact Counter
- 4. A Backsplash With Subtle Texture
- 5. A Shade Framing The Kitchen Window
- 6. A Glass Jar Grouping In One Corner
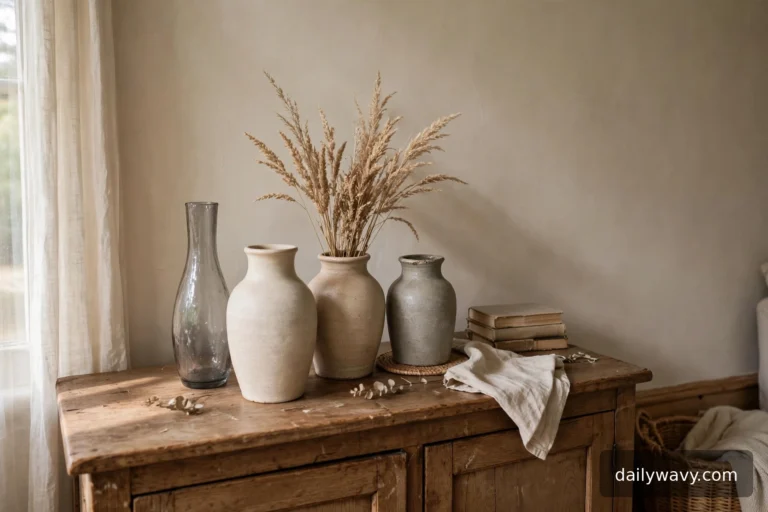
- 7. A Pitcher Holding Cooking Tools
- 8. A Freestanding Cabinet For Extra Storage
- 9. A Bowl Of Fresh Produce
- 10. A Warm Accent Wall Near Dining
- 11. A Simple Dish Display On A Shelf
- 12. A Compact Breakfast Station
Mid-century kitchen style, in finishes and details
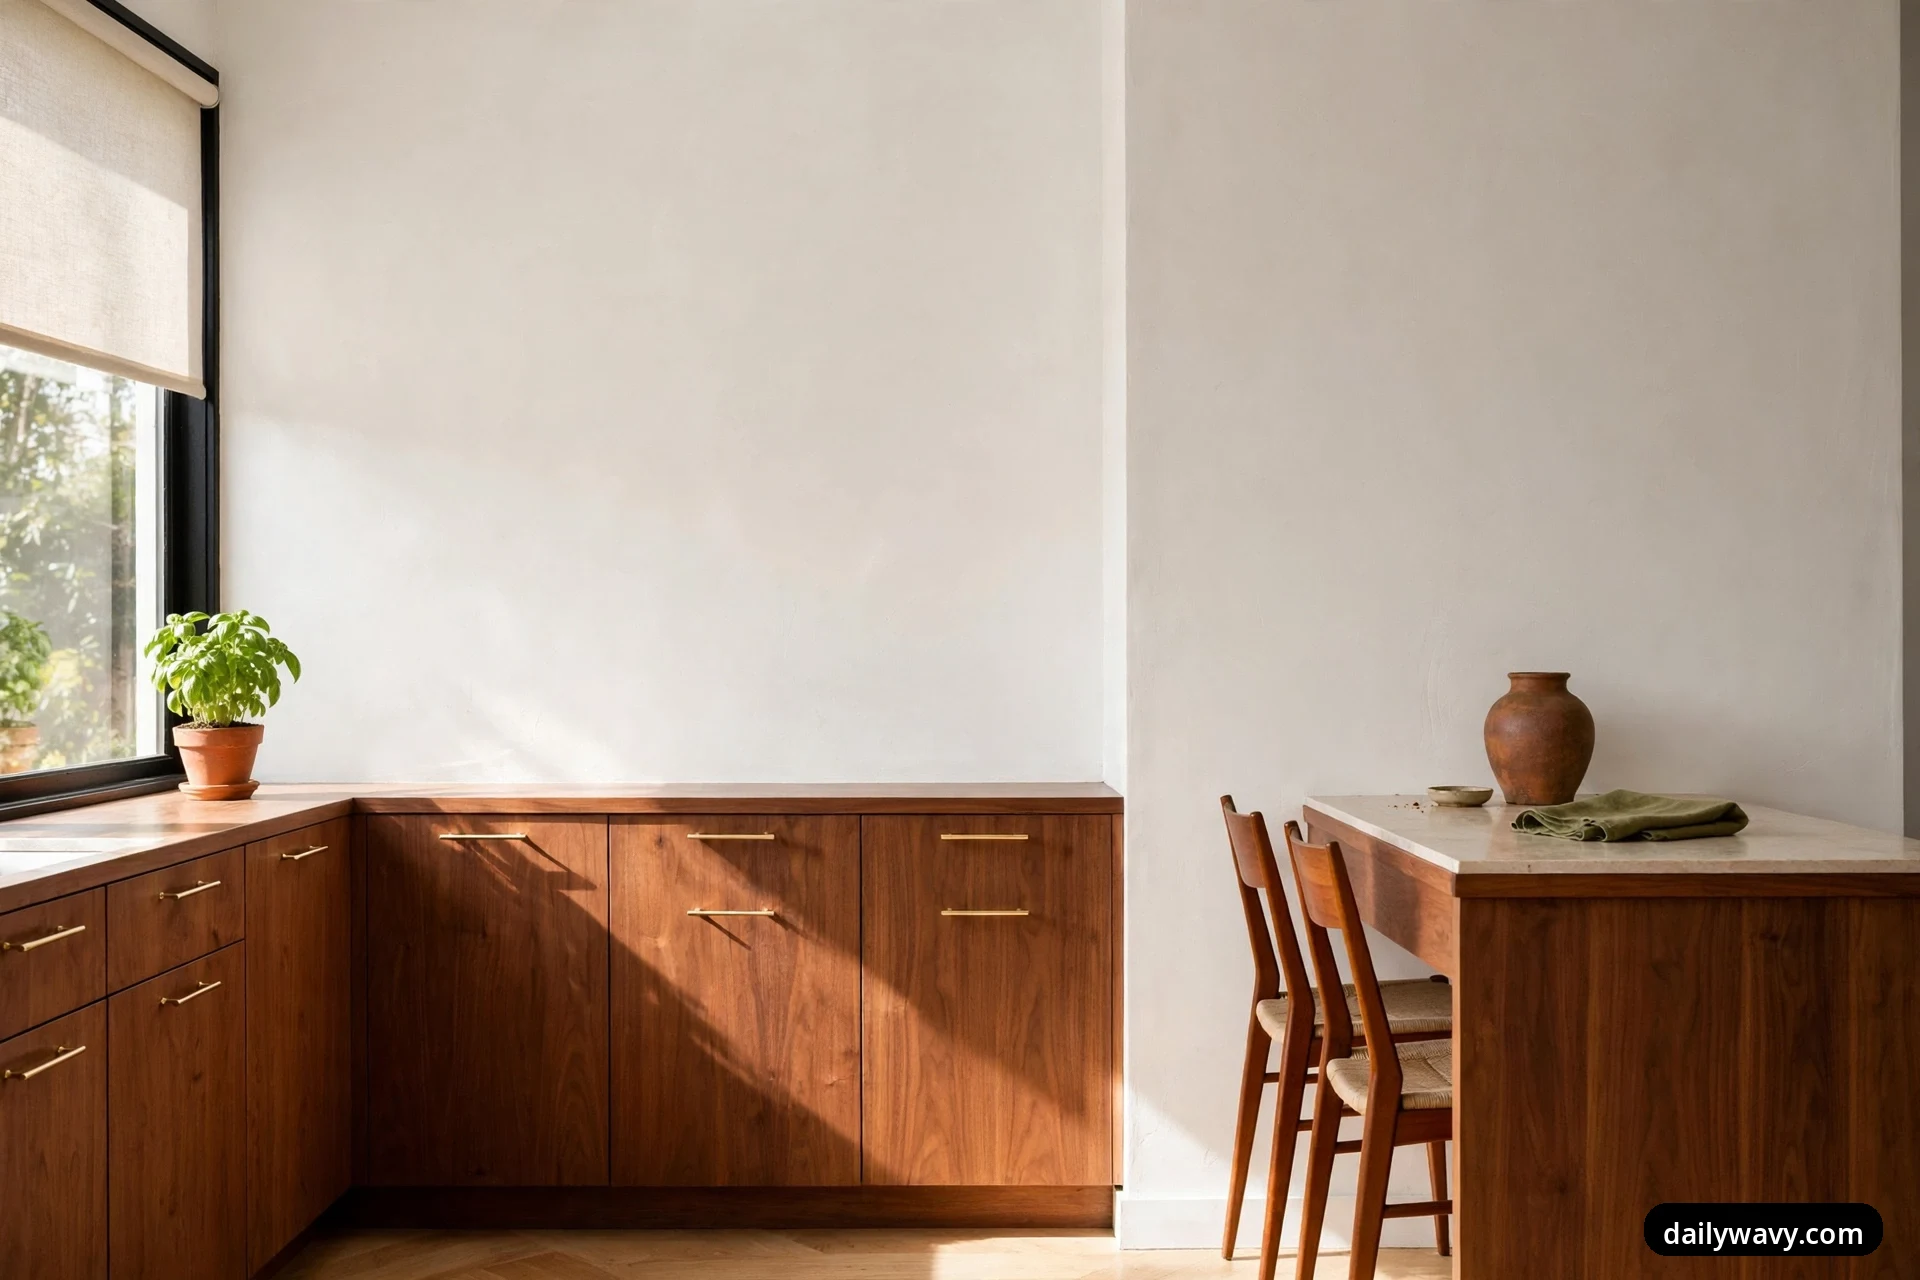
Mid-century design is easier to recognize than to describe, but it has a short list of habits. Cabinets are flat slabs with no raised panels. Wood shows its grain, and the favorite wood is walnut: warm, medium brown, never orange. Legs taper toward the floor, whether they belong to stools, tables, or a freestanding cabinet. Shapes stay simple. Rectangles, circles, and gentle curves do the talking, and decoration is kept to a minimum. Color comes in controlled doses: olive green, rust, mustard, and cream, usually one or two at a time against all that wood and white.
Before you start any of the ideas below, do a quick audit of your kitchen as it is. Mid-century style depends on clear worktops and easy appliance access, so the first move is always subtraction. Pull the small appliances you use once a month off the counter. Give the coffee maker, the toaster, and the knife block their own permanent homes and clear the rest. Measure the stretches of counter you actually prep on, because every idea below respects those working zones. Nothing here blocks a drawer, a dishwasher door, or the swing of an oven. And nothing here requires tearing out cabinets or touching plumbing or wiring. These are finishes, furniture, and styling: the layer of a room you can change in a weekend and change back if you hate it.
1. A Small Herb Pot Near Daylight
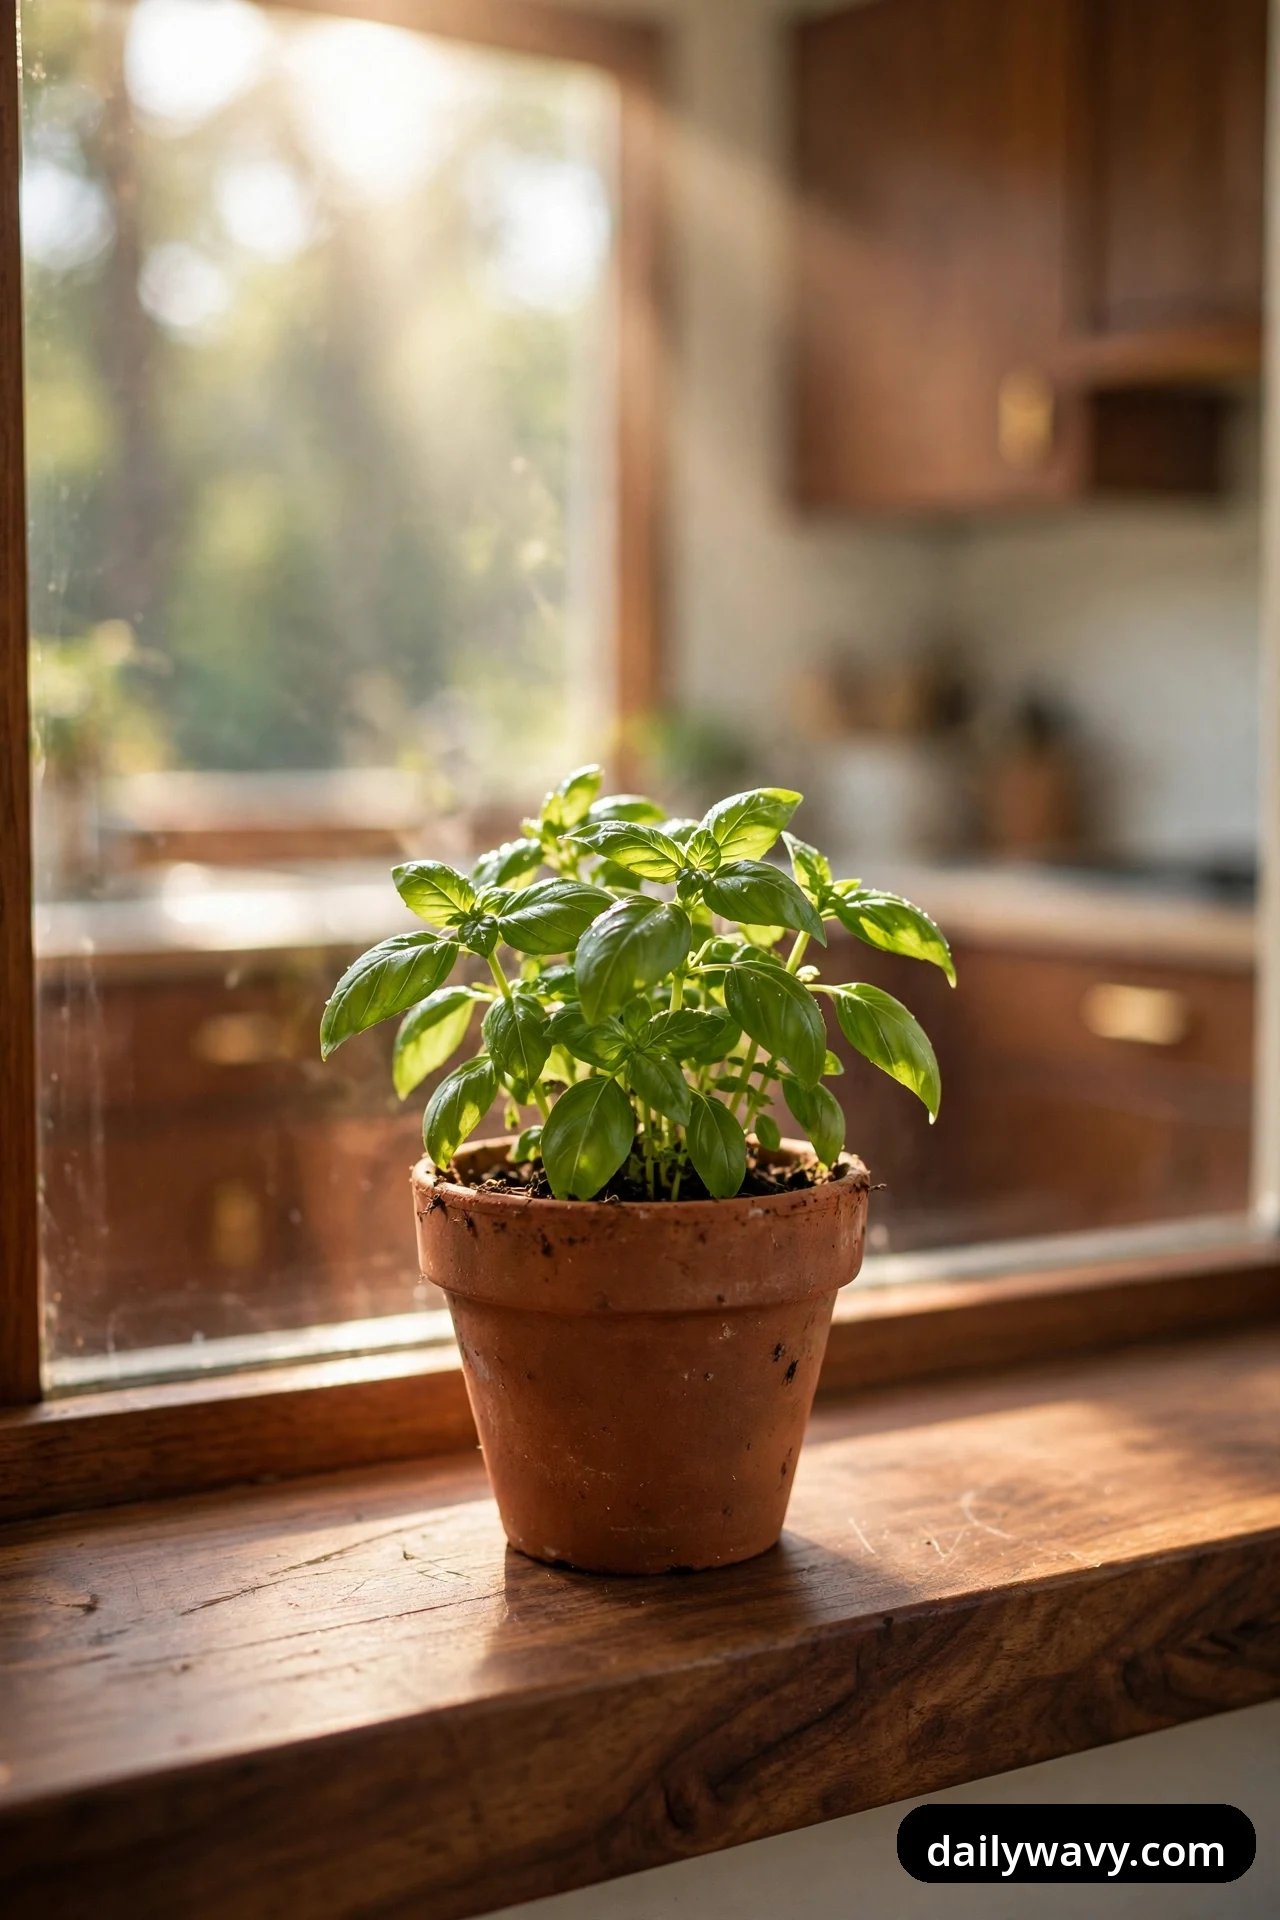
A single herb pot does more for a mid-century kitchen than almost any accessory, because the style loves living things in simple containers. A small terracotta pot of basil or parsley near the window reads as honest and unfussy, and it earns its keep at dinner.
What to measure: the depth of your windowsill or the counter nearest the window. You need at least 4 inches of depth for a stable 4 to 6 inch pot. If the sill is narrow, measure the counter 12 inches on either side of the window instead and keep the pot there, where it still catches the light.
Materials: one terracotta pot (4 or 6 inch) with a matching saucer, a small bag of potting mix, and a starter plant of basil, parsley, or chives from the garden center. Terracotta suits mid-century warmth better than glossy ceramic.
Placement: set the pot where it gets at least four hours of direct or bright indirect light. Turn it a quarter turn every few days so it grows evenly. Keep it clear of the sink splash zone so soil stays in the pot.
Approximate effort: twenty minutes, most of it potting.
A realistic lower-cost alternative: buy a living herb pot from the grocery store and slip it, plastic pot and all, into a plain terracotta pot. It looks identical and costs about half.
2. A Framed Print Away From Splashes

Mid-century rooms hang art where you would not expect it, including the kitchen. A framed print with simple geometry, a botanical study, or a muted abstract warms a blank wall and pulls the eye up, which makes small kitchens feel taller. The key word is away: art belongs on a wall that never sees grease or steam.
What to measure: the open wall space you are considering. A print that is 11 by 14 or 12 by 16 inches suits most kitchen walls; leave at least 24 inches between the frame and the stove or sink. Hold a piece of paper the size of the frame against the wall first to check the scale.
Materials: one print in muted tones (olive, rust, cream, charcoal) and a simple frame in walnut, black, or natural wood. A mat inside the frame makes even an inexpensive print look intentional.
Placement: hang the center of the frame at about 57 inches from the floor, the standard gallery height. If it hangs above a counter, keep the bottom of the frame 6 to 8 inches above the backsplash.
Approximate effort: thirty minutes, including measuring twice.
A realistic lower-cost alternative: print a public-domain mid-century poster at a copy shop and hang it with wooden magnetic poster hangers. No frame, no glass, same effect.
3. A Stool Pair At A Compact Counter

Nothing says mid-century like a pair of stools with tapered legs pulled up to a counter. They turn a peninsula or a short stretch of counter into a breakfast spot and give the kitchen the simple geometry the style is known for.
What to measure: the height of your counter and its usable width. Standard counters are 36 inches high, which pairs with 24 inch counter stools. Allow about 24 inches of width per stool, and check that tucked-in stools do not block a drawer or appliance door.
Materials: two counter stools with tapered wooden legs. Molded plywood seats in walnut veneer are the classic choice; simple upholstered seats in olive or rust also work. Look for a footrest, which makes a real difference in comfort.
Placement: center the pair on the counter overhang. If your counter has no overhang, skip this idea or use a narrow console table against a wall instead.
Approximate effort: thirty to sixty minutes for assembly.
A realistic lower-cost alternative: buy one good stool instead of two, and set a potted plant where the second would go. Asymmetric is fine in this style.
4. A Backsplash With Subtle Texture
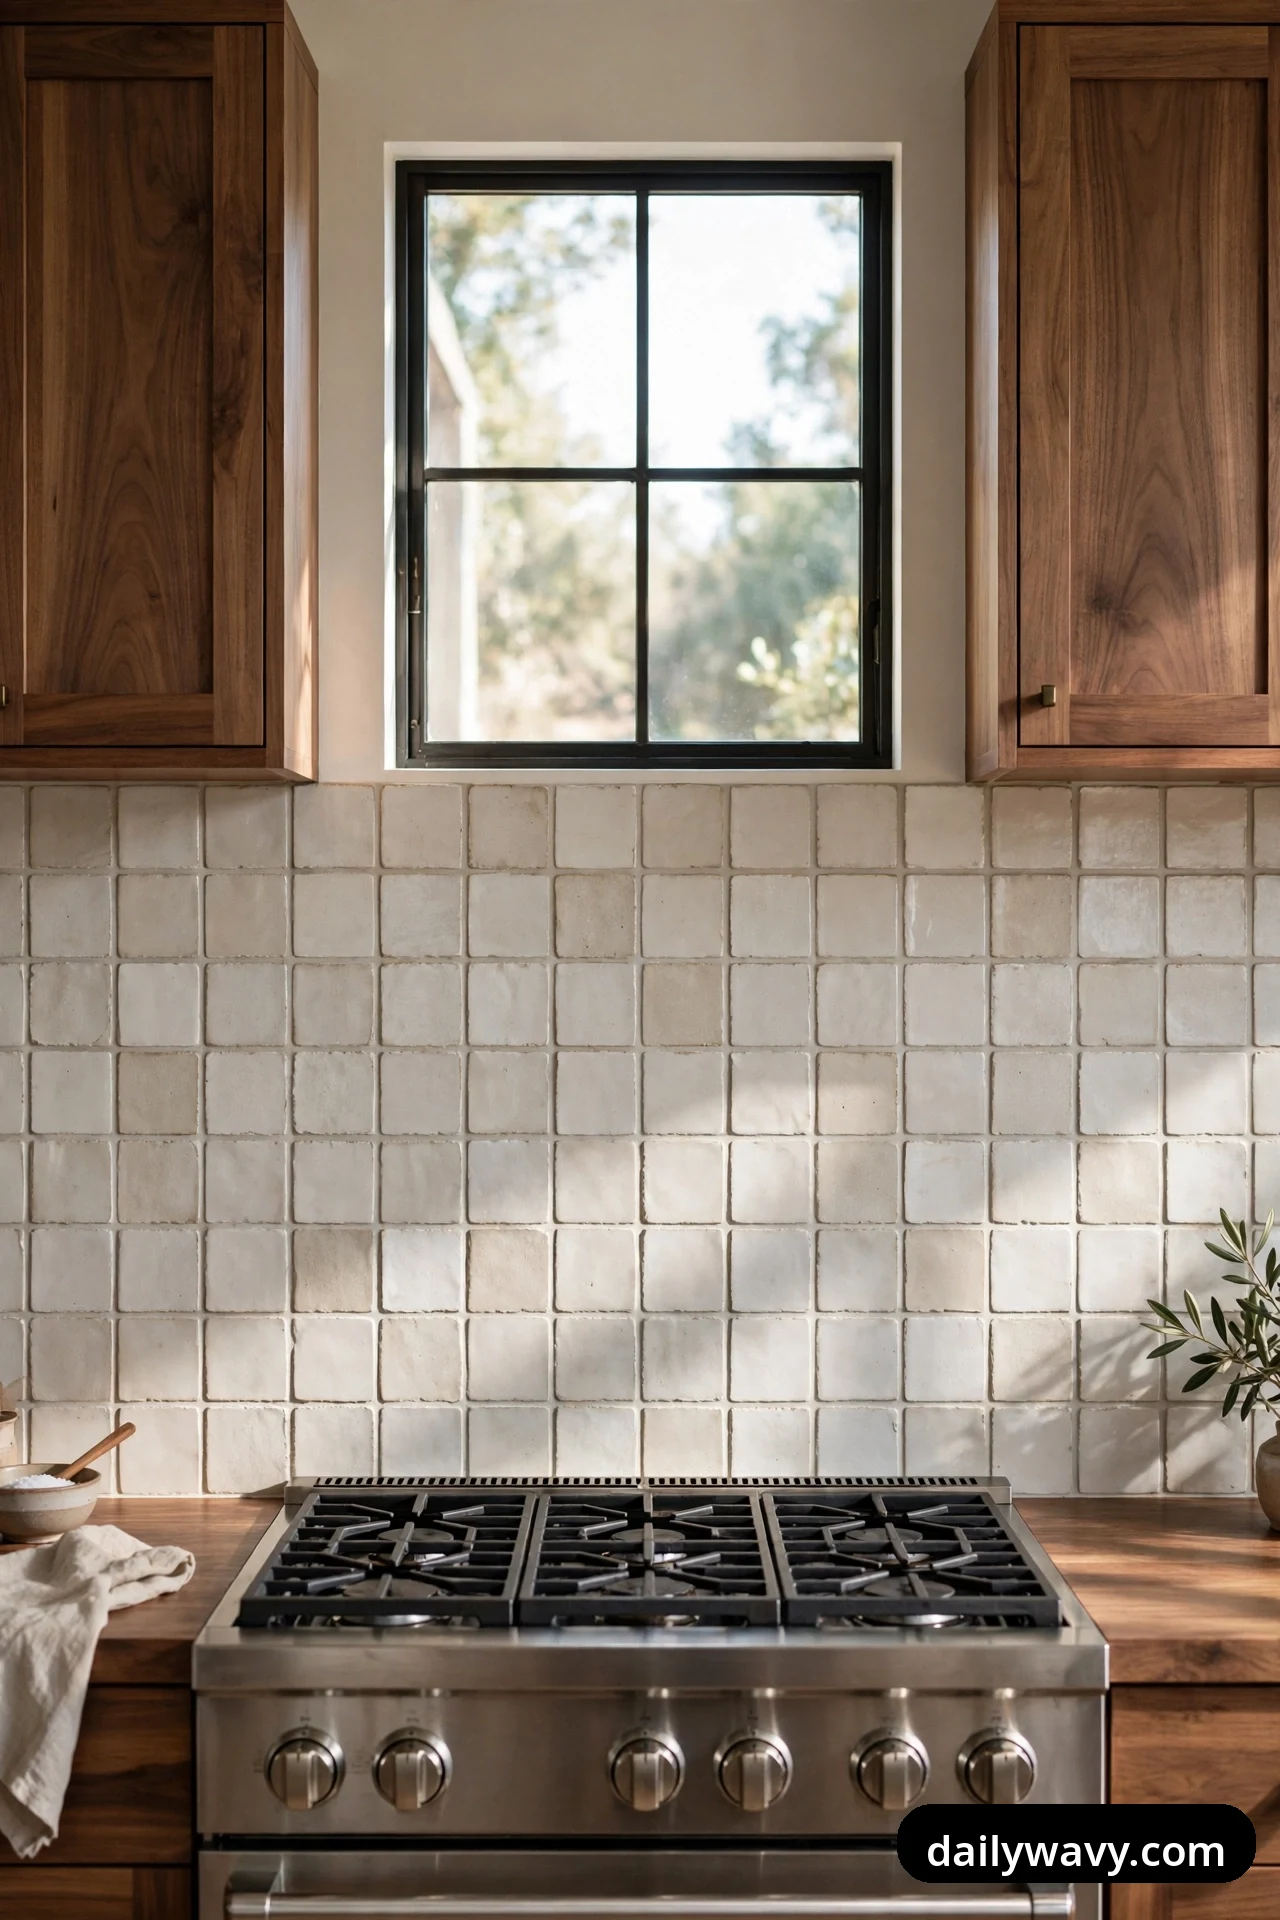
Mid-century kitchens usually keep the backsplash quiet, but quiet does not mean flat. A tile with a subtle handmade texture or a soft crackle glaze catches the light and adds depth without pattern, which is exactly the balance this style wants. If you would rather bring in color than texture, our green kitchen backsplash ideas compare green tones and tile sizes instead.
What to measure: the backsplash area, height by width, in square feet, plus 10 percent extra for cuts. Note the positions of outlets so you can plan tile cuts around them.
Materials: square or subway tiles in a soft white, cream, or pale sage with visible surface variation. For a non-permanent option, peel-and-stick panels in a zellige look are surprisingly convincing at a glance.
Placement: run the tile from counter to the bottom of the upper cabinets. Keep grout lines thin and use a grout color close to the tile so the texture, not the grid, is what you see.
Approximate effort: a full weekend for real tile, an afternoon for peel-and-stick.
A realistic lower-cost alternative: paint the existing backsplash area with a bonding primer and a washable satin paint in a warm white and add one textured element, like a handmade tile trivet, to suggest the look.
5. A Shade Framing The Kitchen Window
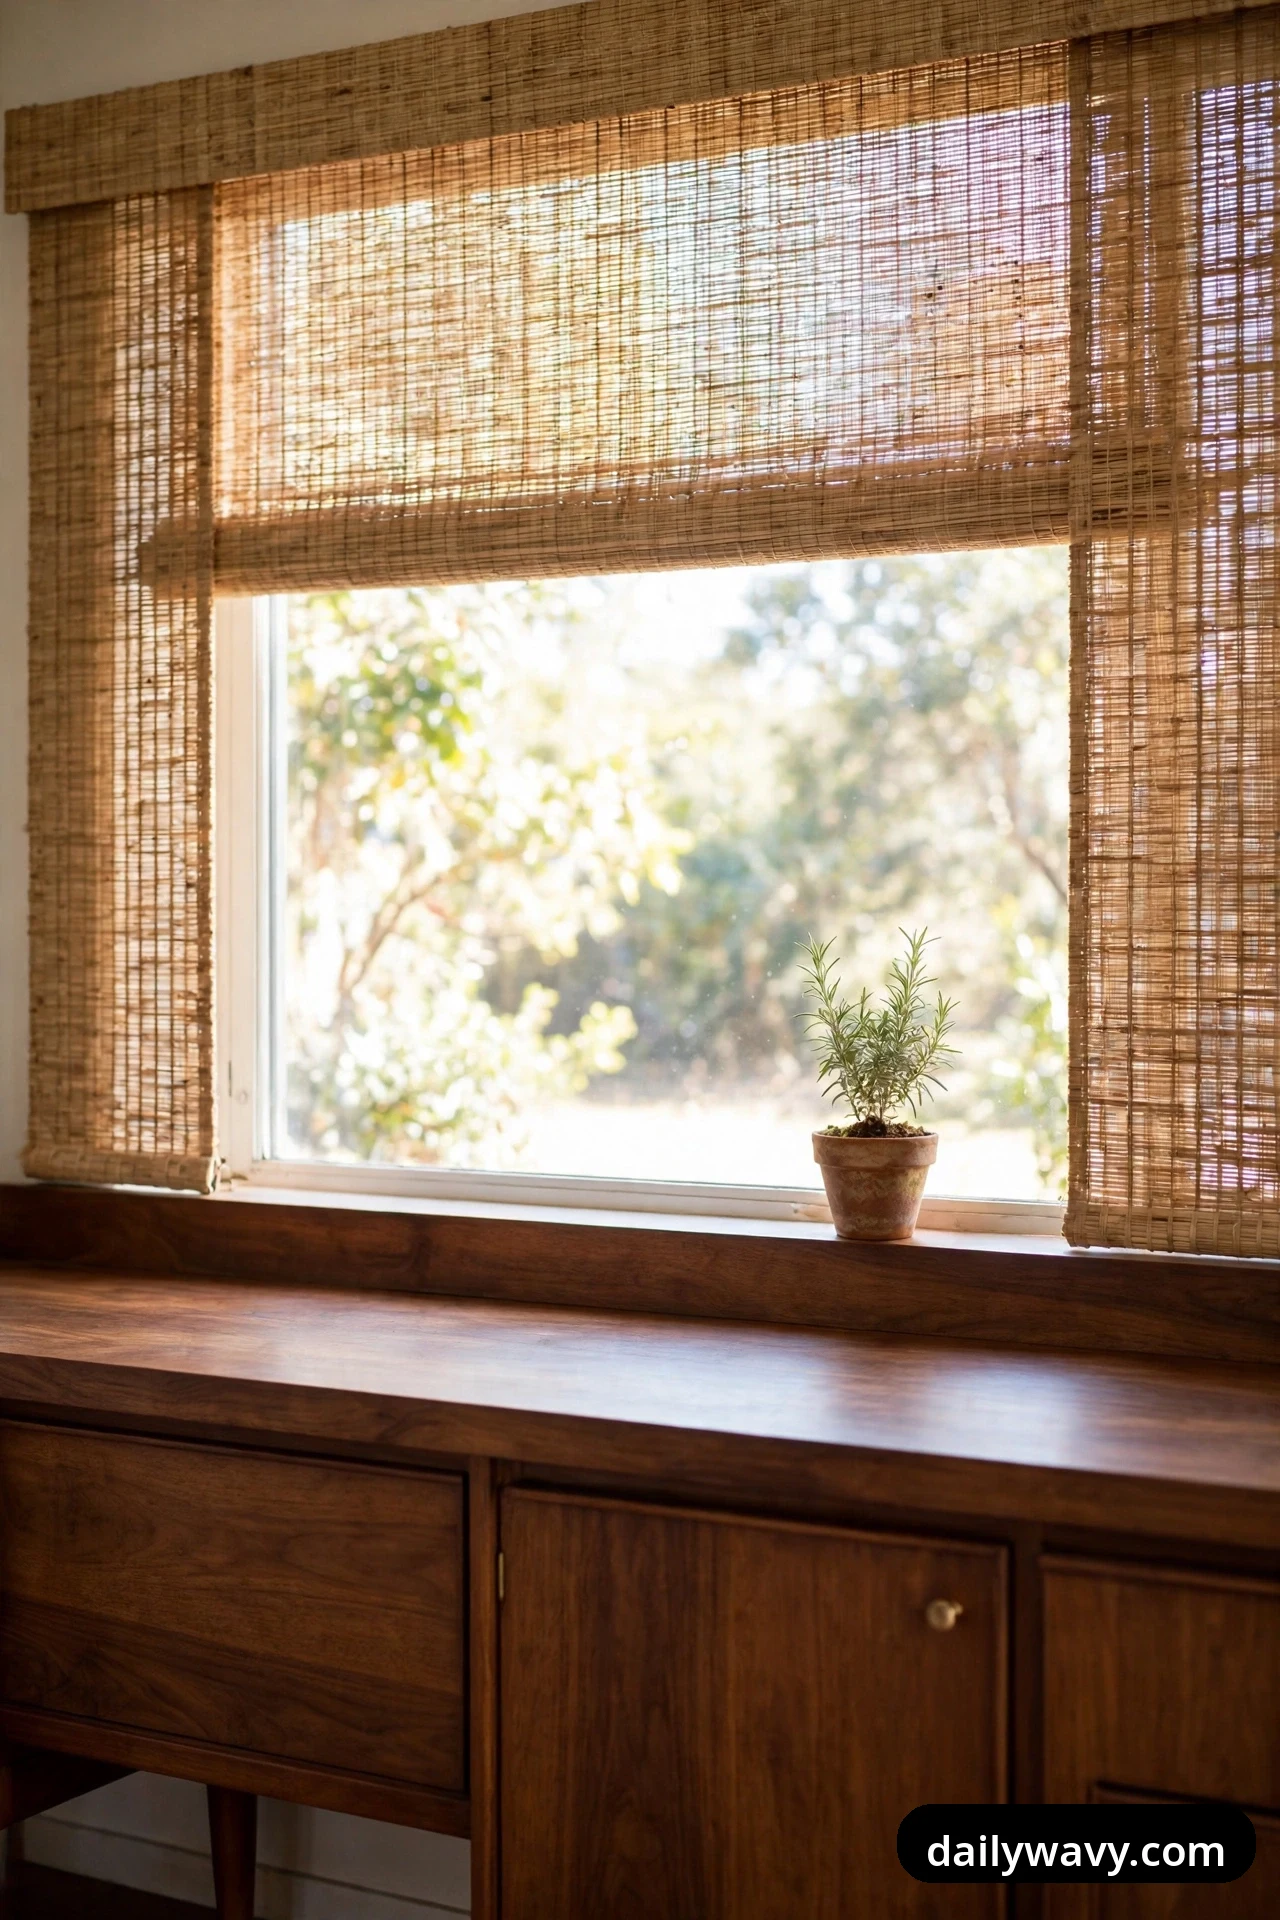
A plain window can look unfinished in a kitchen that otherwise has clean lines. A simple roller or woven wood shade frames the window, softens the light, and adds one more natural material to the room. Mid-century style favors shades that disappear when raised and add texture when lowered.
What to measure: the window opening. Decide between an inside mount (cleaner, needs at least 2 inches of frame depth) and an outside mount (covers more light, hangs on the wall or trim). Measure width in three places and use the smallest.
Materials: a cordless roller shade in natural woven wood or a simple linen-look fabric. Cordless matters in a kitchen: no dangling cords near food prep.
Placement: mount it so the fully raised shade sits just above the window opening, keeping the glass completely clear during the day.
Approximate effort: about thirty minutes with a drill and a level.
A realistic lower-cost alternative: a tension rod inside the frame with a simple cafe curtain in natural linen. No drilling, same softened light.
6. A Glass Jar Grouping In One Corner
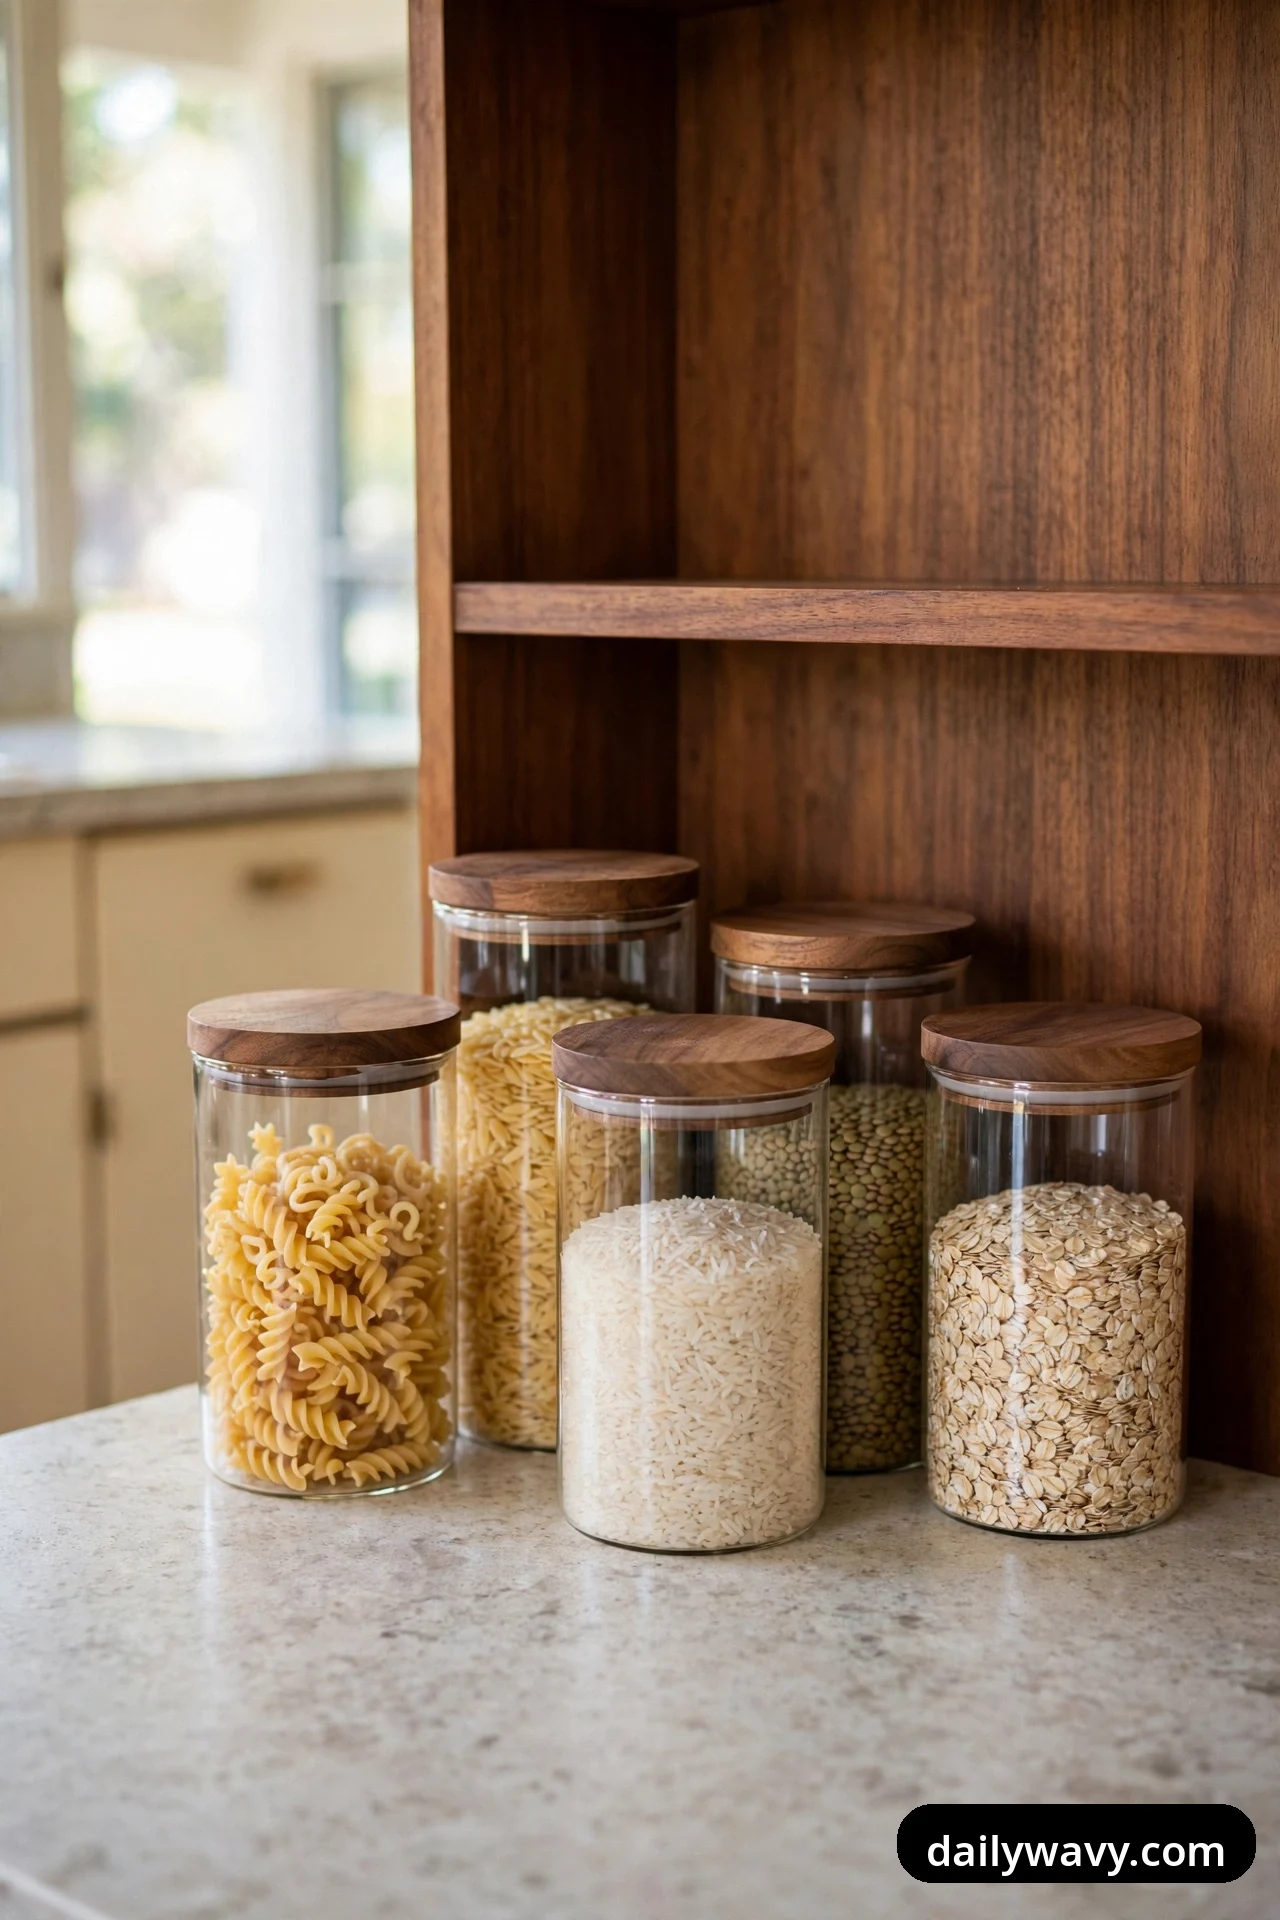
Decanting dry goods into glass jars is one of the fastest ways to make a kitchen look considered. A grouping of jars in one corner turns pasta, grains, and coffee into a display, and it frees you from the visual noise of mismatched packaging.
What to measure: the shelf or counter corner you plan to use, including the clearance above. Tall jars need at least 12 inches of height; check under upper cabinets before buying.
Materials: three to five glass jars with wooden or bamboo lids in graduated sizes. Wood lids tie the grouping to the walnut tones in the room.
Placement: cluster the jars in one corner rather than spreading them along the counter. Odd numbers look better. Keep the tallest jar at the back and leave the main prep stretch clear.
Approximate effort: about an hour, including decanting and labeling.
A realistic lower-cost alternative: reuse large glass jars from the pantry and fit them with matching wooden lids bought separately, which cost far less than a new jar set.
7. A Pitcher Holding Cooking Tools
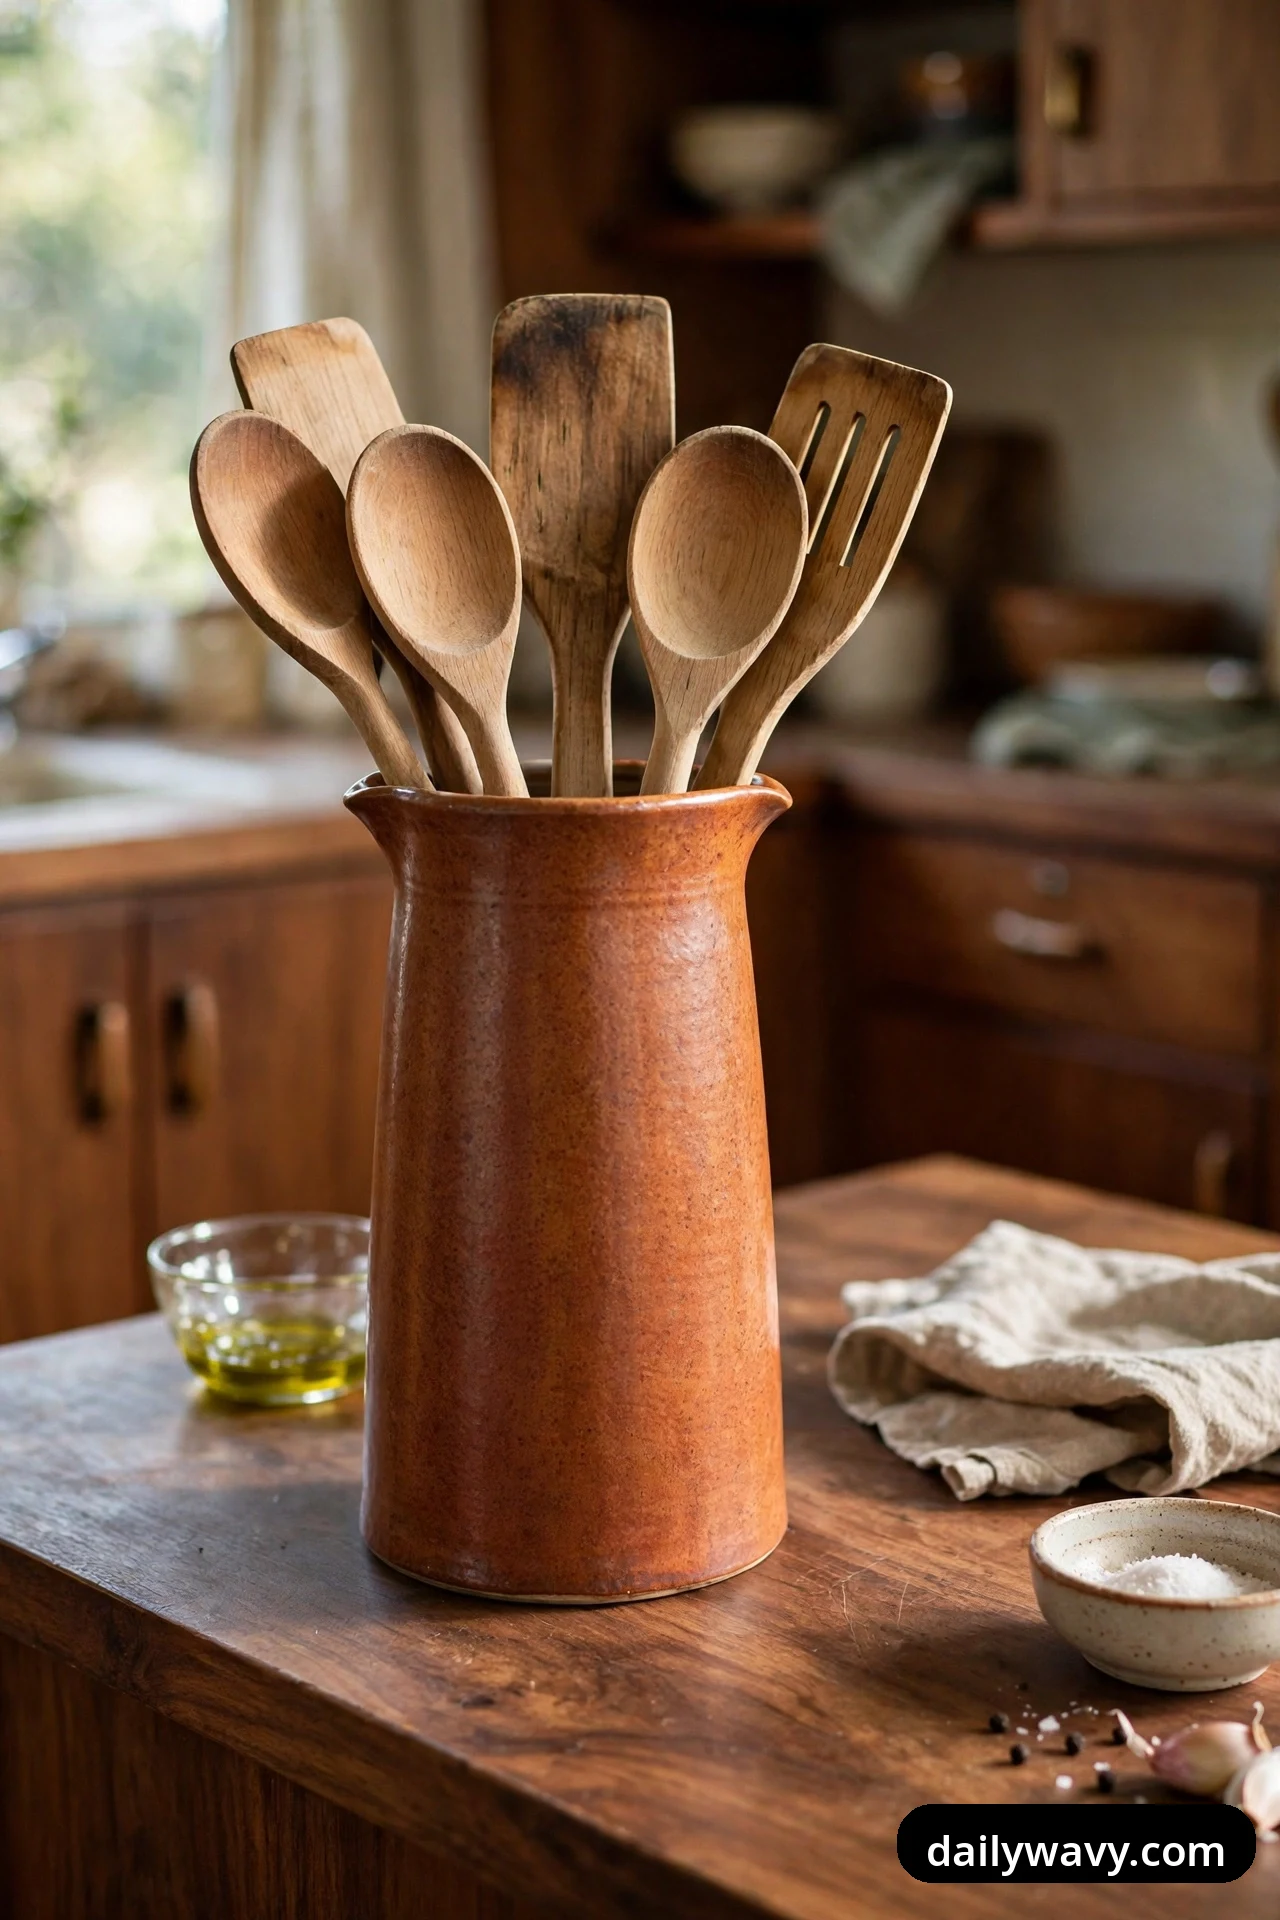
A heavy ceramic pitcher holding wooden spoons and spatulas keeps tools within reach and adds a sculptural shape to the counter. It is the mid-century answer to the utensil crock: same job, better silhouette.
What to measure: the counter space beside the stove. You need a footprint of about 6 by 6 inches, set back from the burners so handles stay cool.
Materials: one tall ceramic pitcher in rust, olive, or cream, plus the wooden tools you already own. A pitcher with a slightly flared rim holds tools at a pleasing angle.
Placement: put it on the dominant-hand side of the stove, close enough to grab a spatula without reaching over a hot pan, but far enough that heat and splatter do not reach it.
Approximate effort: ten minutes.
A realistic lower-cost alternative: a large mason jar or a plain stoneware vase you already own. The tools are the point; the vessel just needs to be heavy and simple.
8. A Freestanding Cabinet For Extra Storage
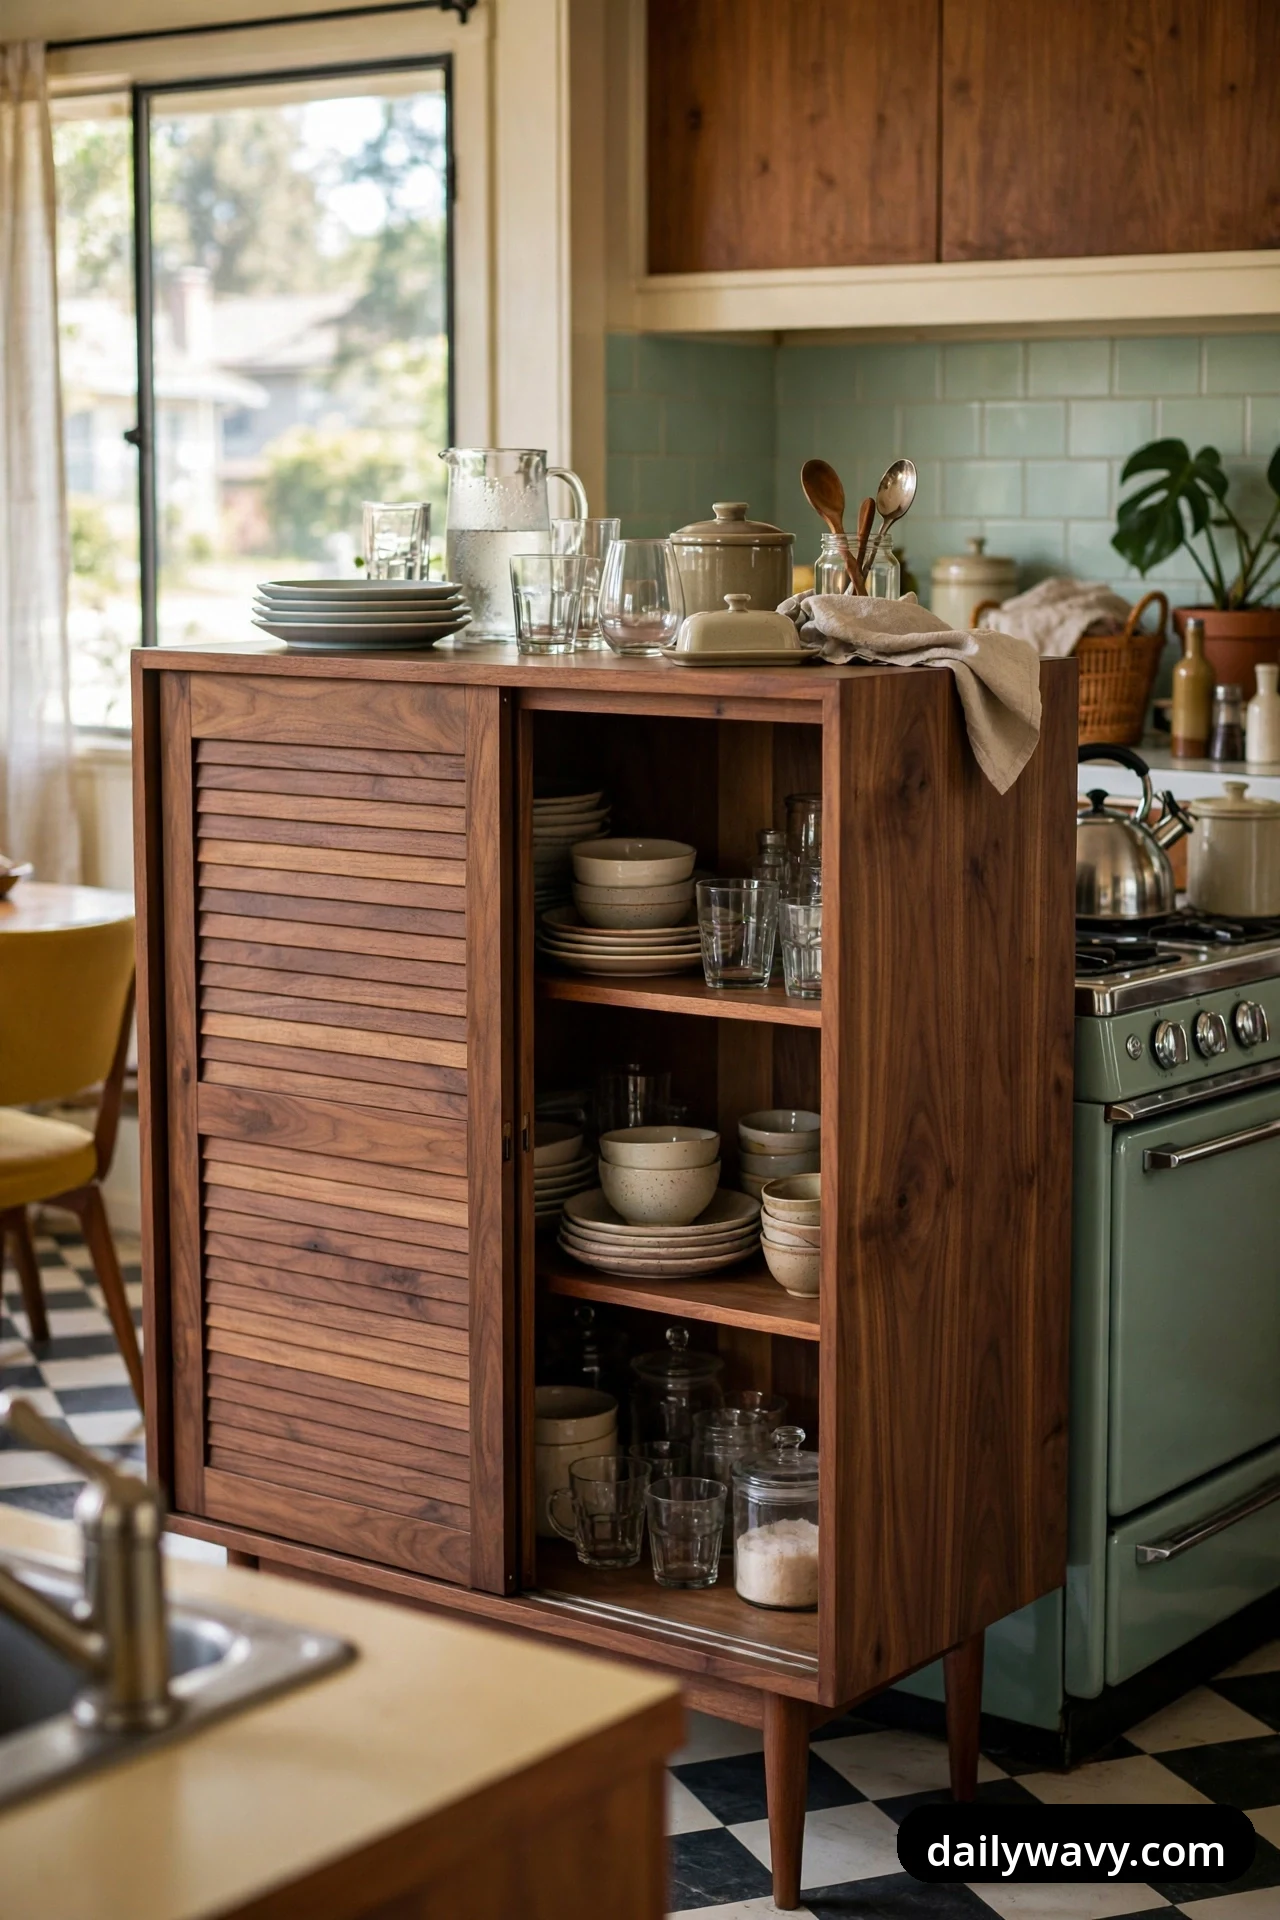
Many mid-century kitchens gain their character from a freestanding piece rather than more built-ins. A walnut hutch or sideboard with tapered legs adds closed storage, a display surface, and the unmistakable silhouette of the era, all without touching the existing cabinets.
What to measure: the wall or corner where it will stand, plus the doorway and hallway it must travel through on delivery day. A piece 30 to 40 inches wide suits most kitchens; check that its depth, usually 16 to 18 inches, does not pinch the walking path below 36 inches.
Materials: a walnut-veneer or solid walnut cabinet with sliding or hinged doors and tapered legs. Inside, use it for the things that clutter counters: small appliances, serving dishes, table linens.
Placement: set it against a wall that is not the main work wall, so the kitchen reads as two zones rather than one long run of storage. Anchor it visually with a small piece of art or a plant on top. If the cabinet is tall or small children climb nearby, secure it to the wall with an anti-tip strap.
Approximate effort: half a day, including delivery and leveling the legs.
A realistic lower-cost alternative: a simple open shelf unit in walnut-look finish. It gives the freestanding feeling and the display space at a fraction of the price.
9. A Bowl Of Fresh Produce

A wooden bowl of fruit or vegetables is the oldest styling trick in the book, and it belongs in a mid-century kitchen because the style trusts natural materials to do the decorating. A low wooden bowl on the counter adds color, shape, and a reason to keep produce visible and used.
What to measure: the counter spot you have in mind. A bowl 10 to 14 inches across needs a clear area about 16 inches square so it does not crowd the prep zone.
Materials: one low wooden bowl in acacia, teak, or walnut, plus whatever is in season: lemons, apples, pears, tomatoes. Avoid tall arrangements that block sight lines across the counter.
Placement: center it on an island or set it at the end of a counter run where it acts as a full stop. Keep it away from the stove so heat does not ripen the fruit too fast.
Approximate effort: ten minutes, most of it choosing the fruit.
A realistic lower-cost alternative: a shallow basket lined with a linen napkin. Same abundance, softer shape, almost no cost.
10. A Warm Accent Wall Near Dining
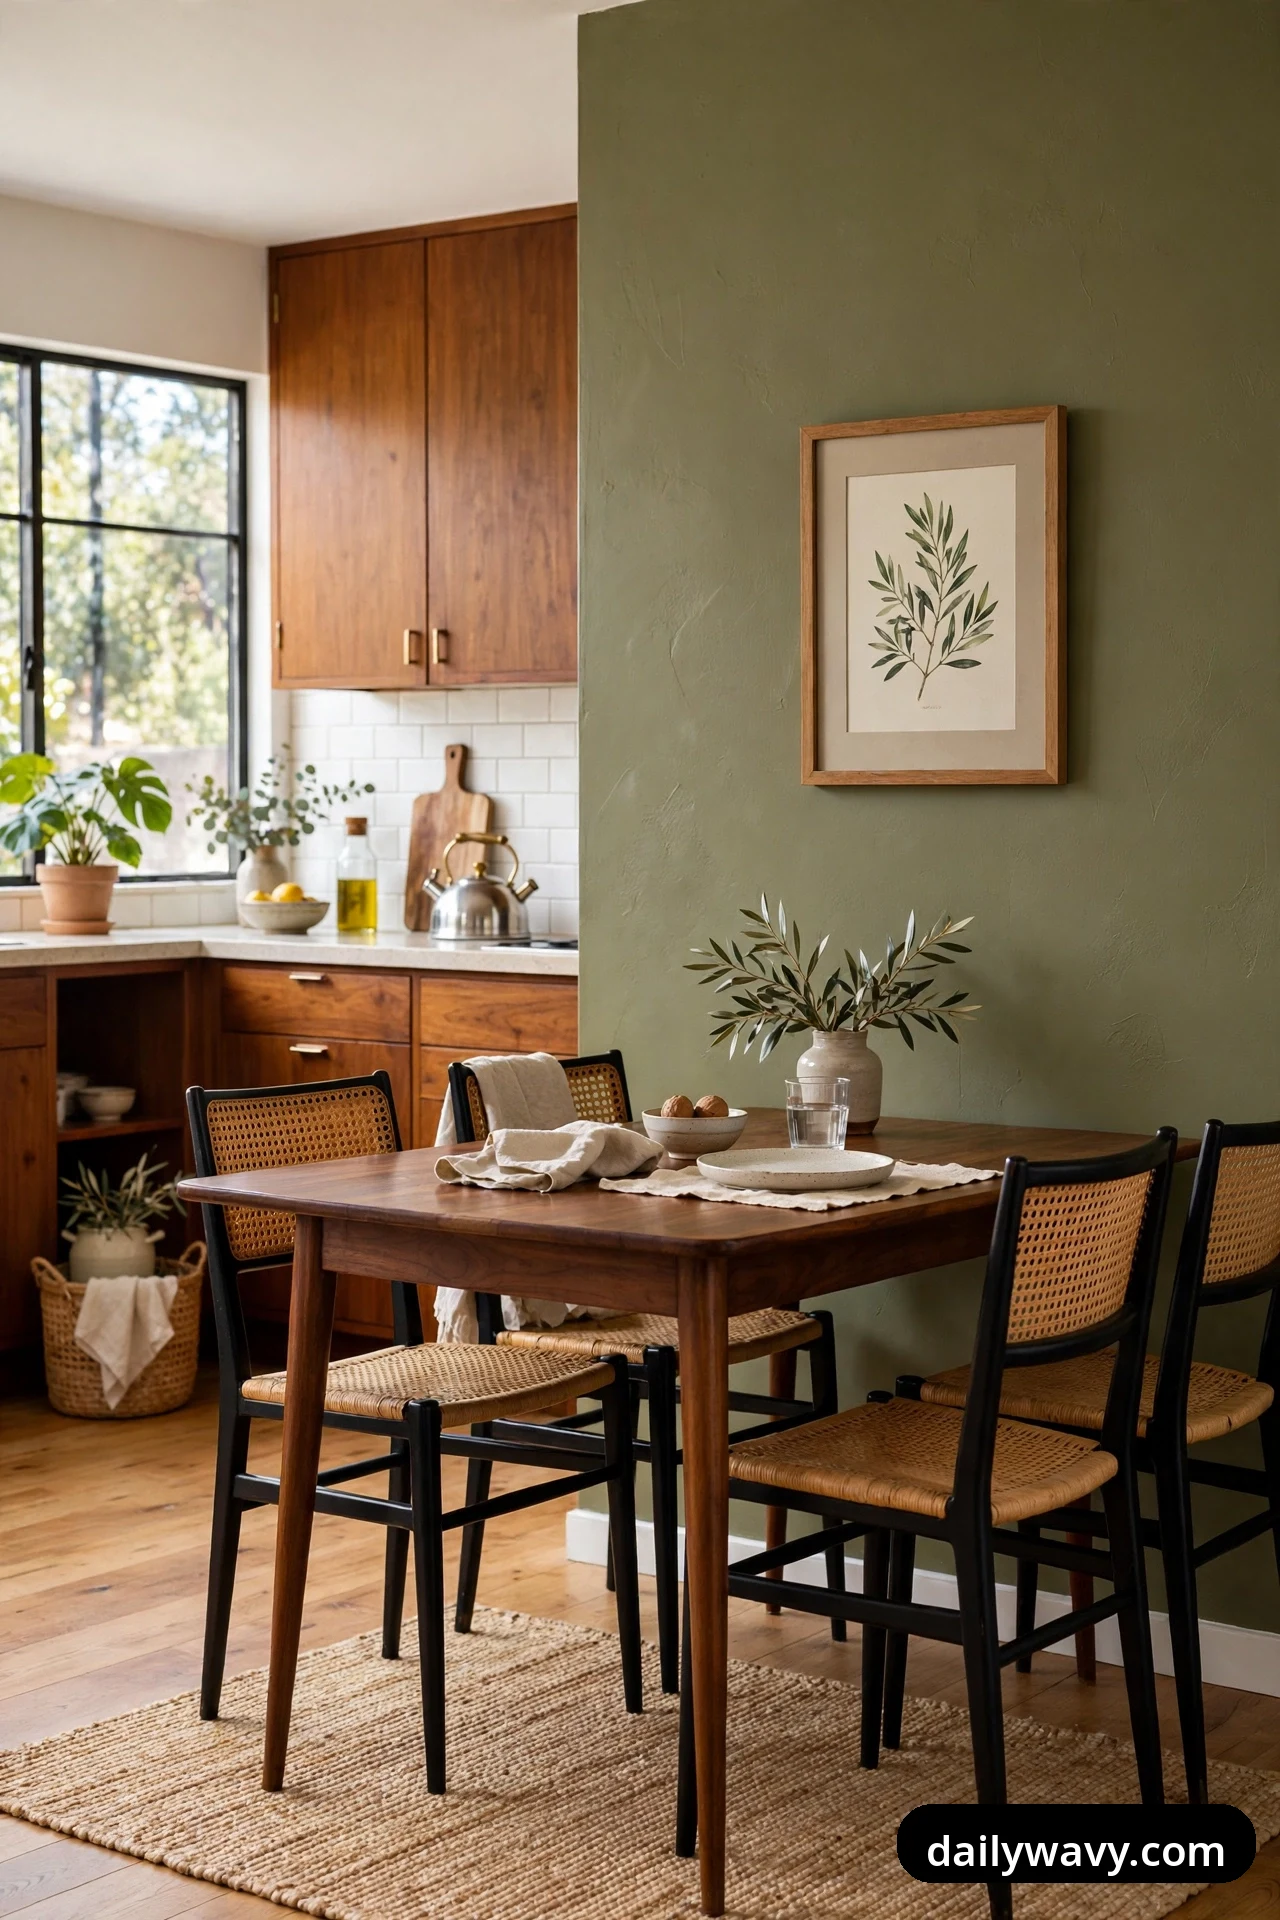
If your kitchen opens to a dining nook or eating area, one warm accent wall can carry the whole mid-century mood. Olive green, rust, or warm terracotta behind a walnut table creates the layered, collected feeling the style is loved for, and paint is the cheapest transformation in decorating.
What to measure: the wall, height by width, to buy the right amount of paint. One gallon covers about 350 square feet; most accent walls need one gallon plus a sample pot for testing. Tape off the edges and test the color in morning and evening light before committing.
Materials: interior paint in a muted olive, rust, or clay tone with an eggshell or satin finish, plus painter’s tape, a roller, and a brush for edges. Eggshell is easier to wipe clean than flat in a room that gets cooking splashes.
Placement: choose the wall the dining table faces or the wall behind it, not the wall with the uppers and appliances. One accent wall is the rule; two starts to feel like a theme.
Approximate effort: a weekend, including drying time between coats.
A realistic lower-cost alternative: hang a large textile, like a flat-weave throw or a simple woven wall hanging, on the wall instead. It adds the same warmth with zero paint.
11. A Simple Dish Display On A Shelf

Open shelving gets a bad reputation from cluttered examples, but one shelf with a simple, repeated display of dishes looks calm and intentional. A short run of walnut shelving holding cream or white dishware echoes the clean lines of mid-century cabinetry.
What to measure: the wall space and the stud positions behind it. Brackets need solid anchoring, so locate studs first and plan the shelf length around them, typically 24 to 36 inches. Allow 12 to 15 inches of clearance above the shelf for the tallest stack.
Materials: one or two walnut shelves with simple metal brackets, and a set of dishes you actually use. Uniform color matters more than matching patterns: all cream or all white reads as designed.
Placement: hang the shelf near the dishwasher or the plating area so the dishes earn their visibility. Keep the display to two or three repeated shapes, like stacked bowls and plates, and resist adding small objects.
Approximate effort: about two hours, including finding studs and leveling.
A realistic lower-cost alternative: a narrow picture ledge instead of a full shelf. It holds a row of small bowls or cups and needs only two screws.
12. A Compact Breakfast Station
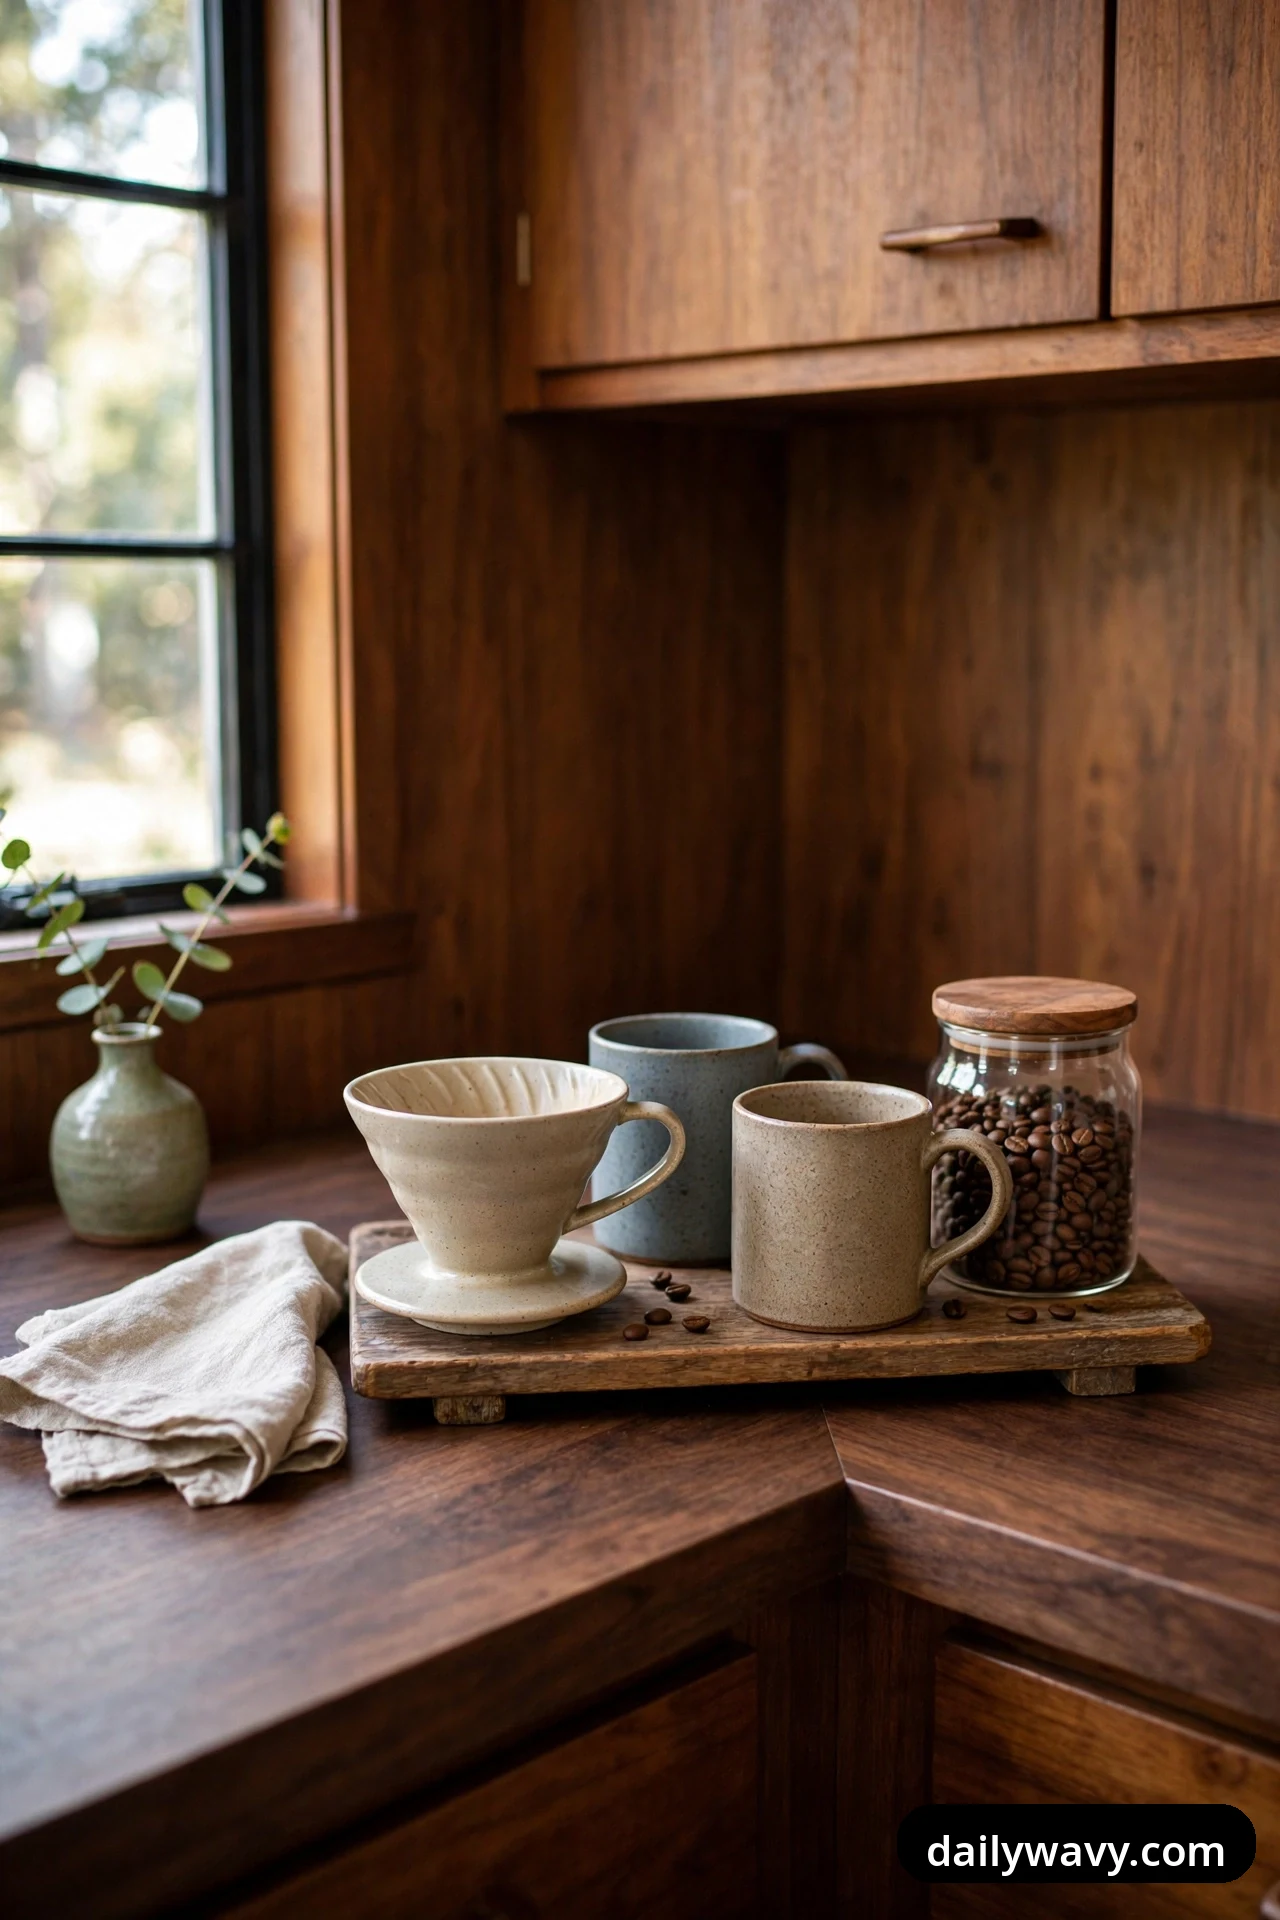
A small, dedicated breakfast station gathers the morning routine into one tidy spot: coffee gear, mugs, and a few staples on a single tray. It keeps the main worktop clear and gives the kitchen a composed corner that feels straight out of a mid-century morning.
What to measure: the counter corner or cabinet top you will use. A tray 12 by 18 inches fits most setups; confirm the depth of the counter so the tray sits fully on it with room to spare.
Materials: a wooden or leather tray, your coffee maker or dripper, two or three stoneware mugs, and a small jar for beans or tea. A tray with raised edges keeps everything contained and makes the whole station portable for cleaning.
Placement: choose a spot near an outlet and away from the main prep stretch, so morning coffee never competes with cooking. Group everything on the tray, not scattered beside it.
Approximate effort: about thirty minutes to arrange and edit.
A realistic lower-cost alternative: use a cutting board you already own as the tray. It defines the station just as well and costs nothing.
Mid-century kitchen questions, answered
How much does it cost to give a kitchen a mid-century feel?
Most of the ideas above cost between $20 and $300 each, and many cost nothing if you shop your own home first. A freestanding cabinet, a pair of stools, or a full tile backsplash can cost more than that range. Start with the free moves: clear the counters, rearrange what you own, and add one plant.
Can I do this in a rental?
Yes, with care. Most of the ideas here are fully reversible: stools, jars, art, plants, trays, and freestanding furniture come with you when you leave. For the backsplash, accent wall, shade, and shelf, use peel-and-stick, tension-rod, or picture-ledge options, or ask the landlord before drilling or painting; many allow paint if you repaint before moving out.
What if my cabinets are not walnut?
You do not need walnut cabinets to get the feeling. White or cream cabinets with walnut accessories, a walnut shelf, walnut stools, and warm accents read as mid-century just as clearly. The style is about the combination of materials, not one single finish.
How do I keep the counters usable?
Protect the prep zones first. Every idea above either lives on a windowsill, a wall, a corner, a defined tray, or a spot beside the work zone, and none of them sits in the main chopping and cooking stretch. If a surface gets crowded, remove something before adding anything new.
Where should I start?
Start with light and subtraction. Clear the counters, add the herb pot near daylight, and hang the shade. Those three moves change how the room feels in a single afternoon, and everything else builds on them.
Will walnut-look pieces clash with real wood floors?
Usually not, as long as the tones are in the same family. Warm wood floors and walnut cabinetry or furniture sit together comfortably. If your floor runs orange or red, lean toward walnut pieces with a cooler, browner stain rather than a reddish one.
Bringing it together
A mid-century kitchen is not a museum piece. It is a working room with a point of view: honest materials, simple shapes, and light doing most of the work. Pick two or three ideas from this list that suit your space and your budget, and let the room settle before adding more. The style rewards restraint, and the best mid-century kitchens look like they were collected over time, not installed in a weekend.
For more ways to make small spaces work harder, see our guide to small pantry organization, which pairs well with the jar grouping and freestanding cabinet ideas. If your kitchen opens to a tight living area, the layout thinking in narrow living room layout ideas uses the same measure-first approach. And for the full collection of room ideas, browse Home & Decor.