18 Renter Bedroom Upgrades Ideas to Personalize Your Space
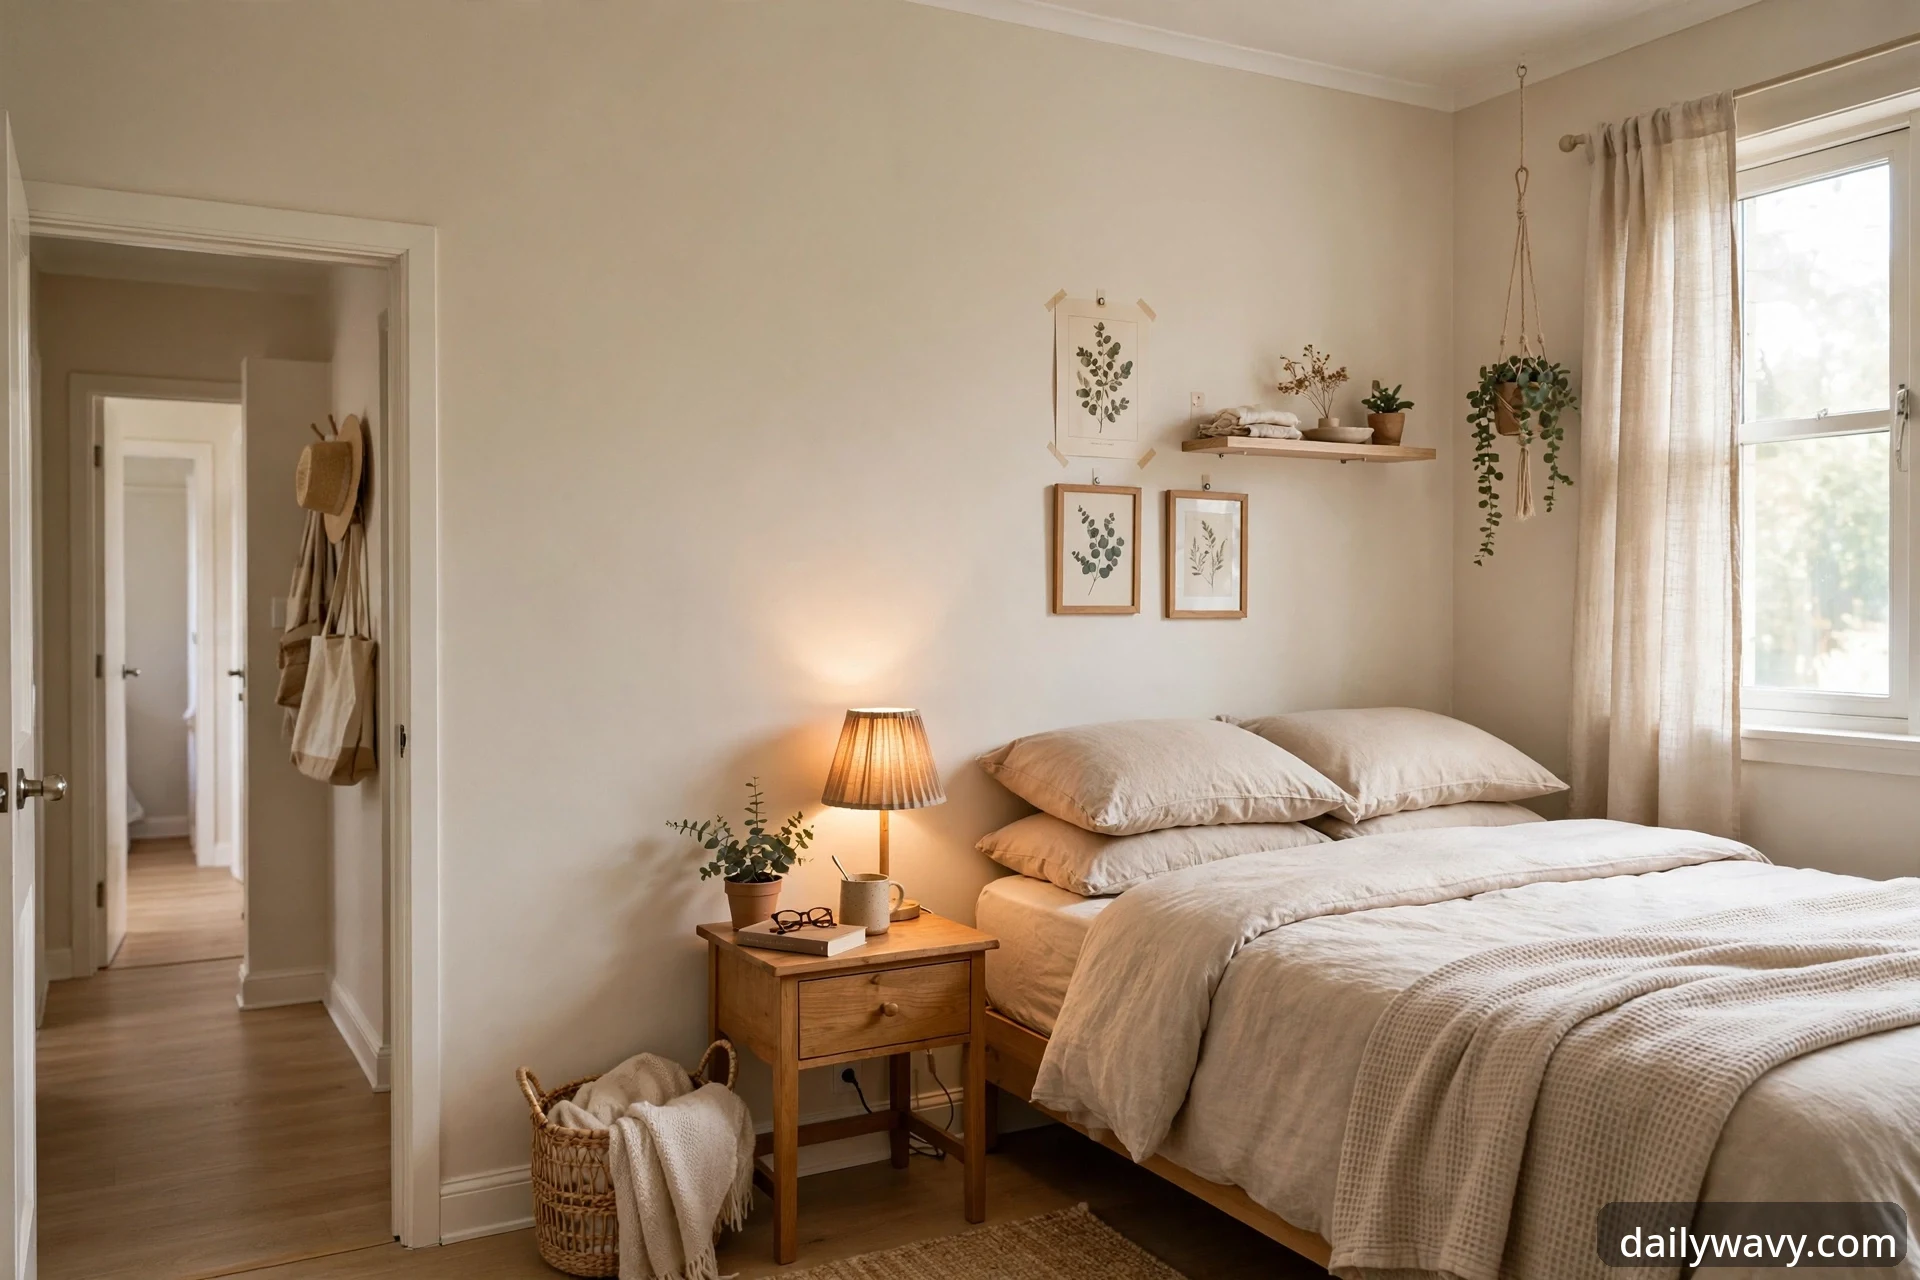
Renting does not mean your bedroom has to look temporary. The right upgrades add warmth, function, and personality without touching…
Renting does not mean your bedroom has to look temporary. The right upgrades add warmth, function, and personality without touching the paint, the walls, or anything your landlord would notice on move-out day. This guide walks through eighteen ideas that renters can actually pull off: plug-in lighting that flatters a room, hardware you can swap and restore, organizers that come off clean, and pieces that move with you to the next place. Each idea lists what to measure, what it costs in effort, and where permission or a patch test matters. Pick the ones that fit your space and make the room feel like yours.
Jump to an idea
- Compact plug-in light in a dry location
- Simple artwork display
- Movable cart
- Soft rug with a suitable pad
- Basket grouping daily essentials
- Low-risk hardware swap with originals retained
- Tension-based solution where suitable
- Small plant in a stable pot
- Removable organizer with checked load limits
- Freestanding mirror secured appropriately
- Table-top display with useful objects
- Fabric panel adding color
- Shelf insert that does not alter cabinetry
- Lightweight divider
- Tidy cable-routing solution
- Coordinated container set
- Portable seating or surface solution
- Freestanding storage piece
Before you start: the renter’s ground rules
Three habits make every upgrade on this list safe for your deposit. First, know where permission is needed. Anything that screws into a wall, alters wiring, or changes a fixed finish is a landlord conversation before it becomes a project. Adhesive, tension, and freestanding solutions almost never are, but leases vary, so skim the alterations clause once. Second, run a patch test. Stick your chosen adhesive on a hidden spot, like the wall behind a door or inside a closet, and leave it for a week. Then remove it and check the finish. Paint brands and wall finishes behave differently, and no adhesive is damage-free on every surface, so a five-minute test is worth more than a manufacturer’s promise. Third, respect load limits. Every organizer and hook lists a maximum weight, and bedroom walls are often not the surface doing the holding: it is the adhesive or the tension, which has its own rating. Keep heavy items on freestanding furniture. Photograph the room on move-in day too; dated photos of the original finishes settle more deposit arguments than anything else. With that handled, here are eighteen upgrades that make a rental bedroom feel like it was chosen, not assigned. This is the same measure-first thinking behind our small bedroom with a queen bed ideas, where every addition earns its place by fitting the actual space.
1. A compact plug-in light in a suitable dry location
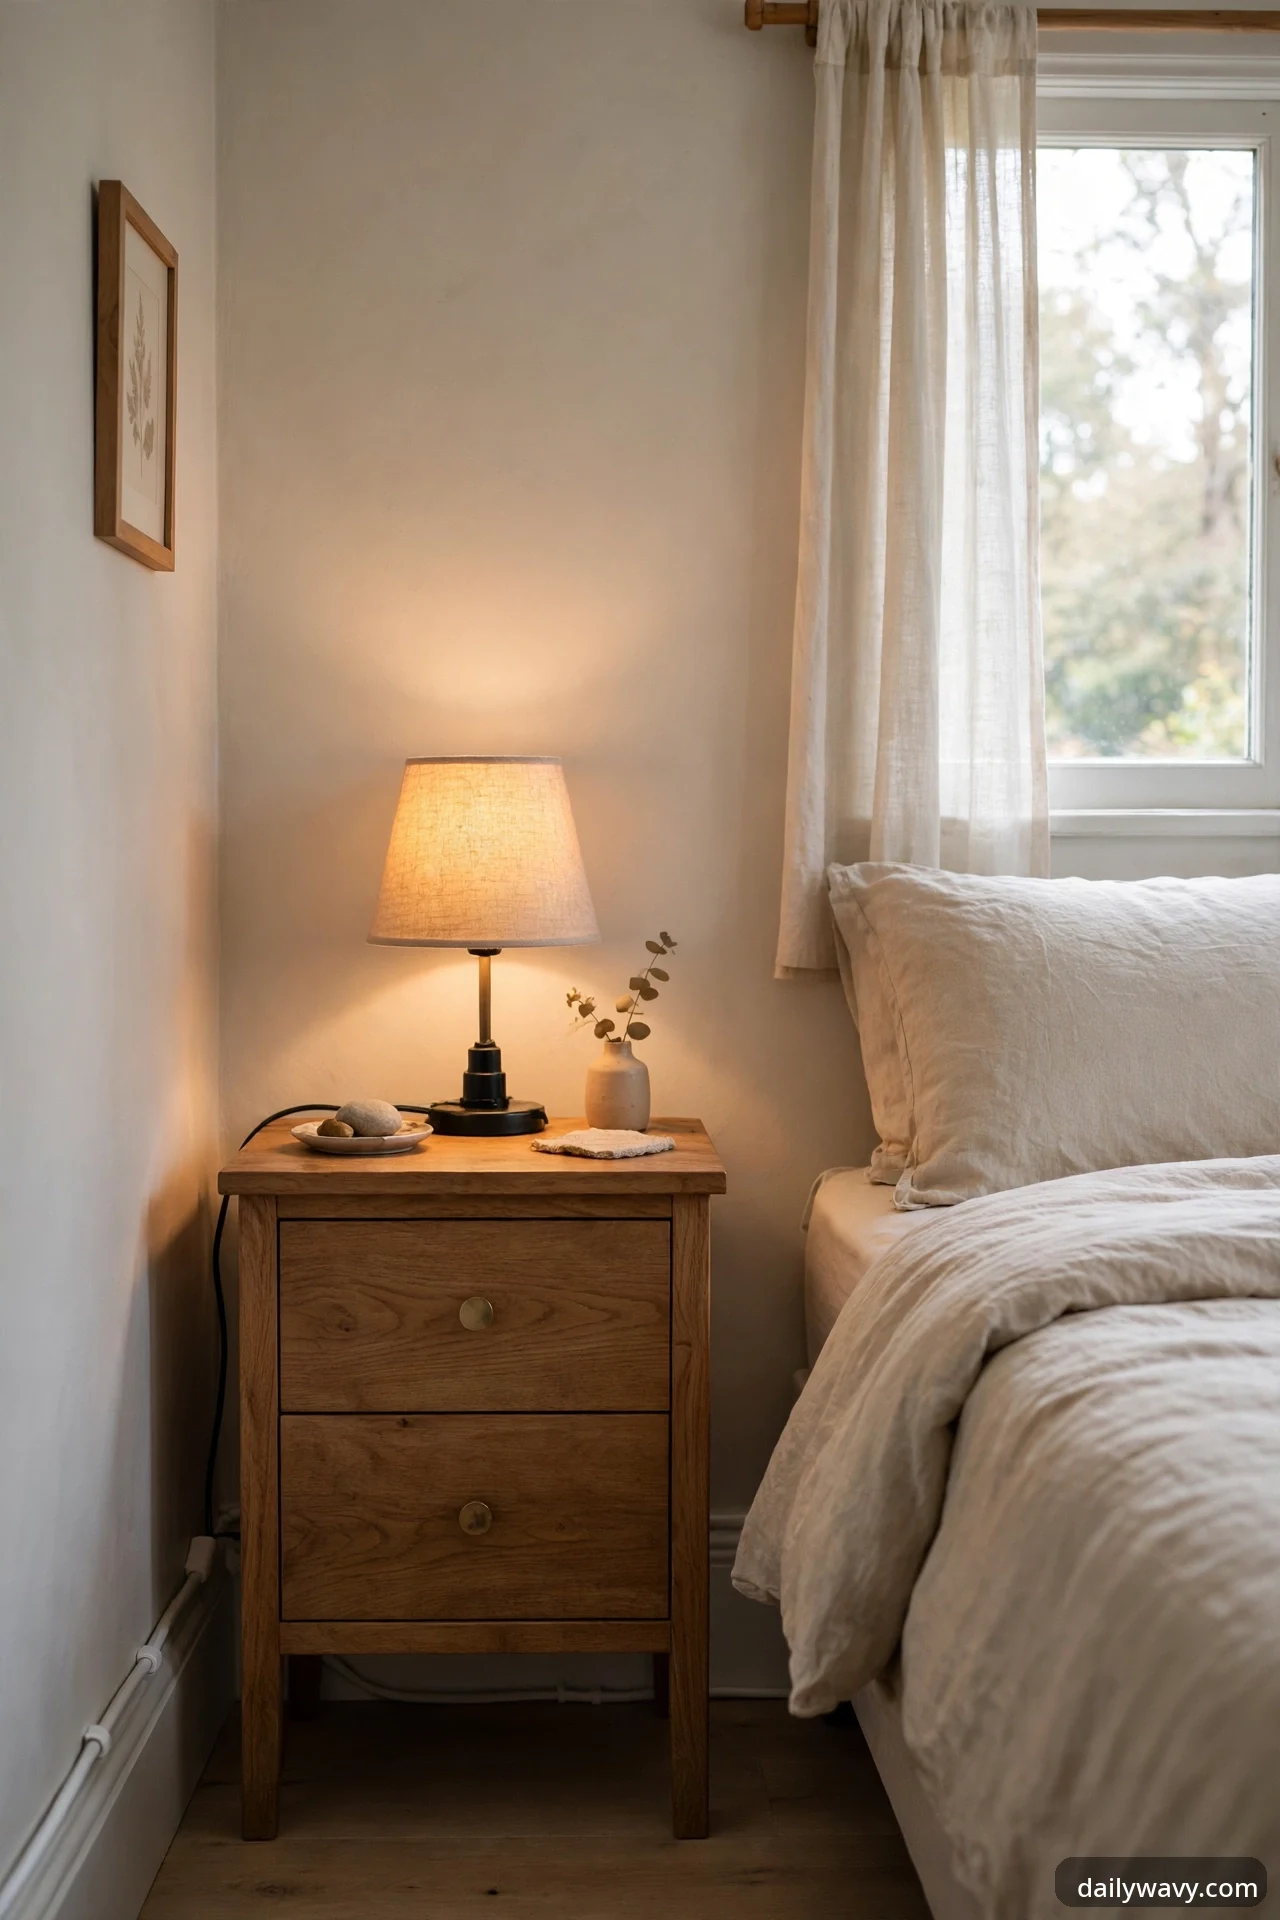
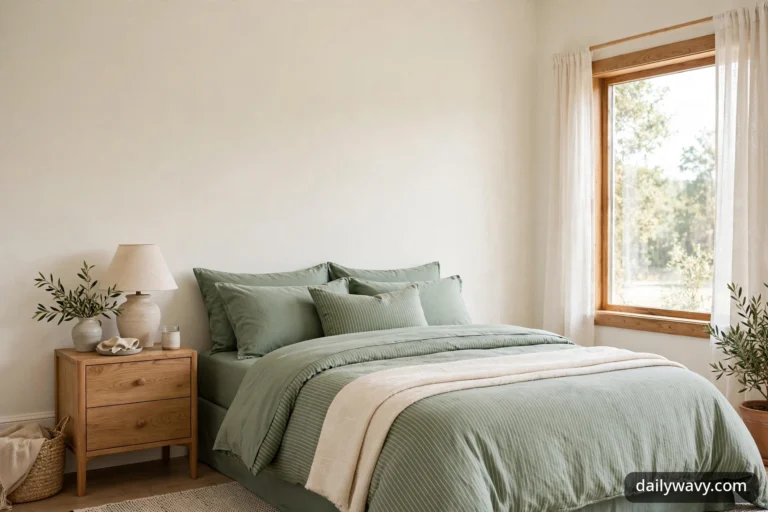
Overhead rental lighting is almost always the same: a bright ceiling fixture that flattens everything it touches. A compact plug-in lamp changes the whole mood in one move. Think a small table lamp with a fabric shade on a nightstand, or a slim plug-in wall light beside the bed. Warm light, around 2700K, makes walls glow instead of glare, and a lamp you plug in means no wiring changes, no electrician, and nothing to explain to your landlord.
What to measure: the distance from your chosen spot to the nearest outlet, and the surface the lamp will sit on. A nightstand lamp should stand roughly 24 to 28 inches tall so the bottom of the shade sits near shoulder height when you are in bed.
Materials: a plug-in lamp with a stable base, an LED bulb in warm white, and a cord cover that matches the wall color if the cord runs along the baseboard.
Placement: keep lamps in dry locations away from the bathroom humidity zone and well clear of bedding that could touch a hot shade. LED bulbs run cool, which makes this safer and simpler.
Approximate effort: fifteen minutes, including positioning the cord.
Lower-cost alternative: a battery-operated LED puck light tucked under a shelf gives a soft glow for a few dollars, though you will replace batteries every few months with regular use.
2. A simple artwork display
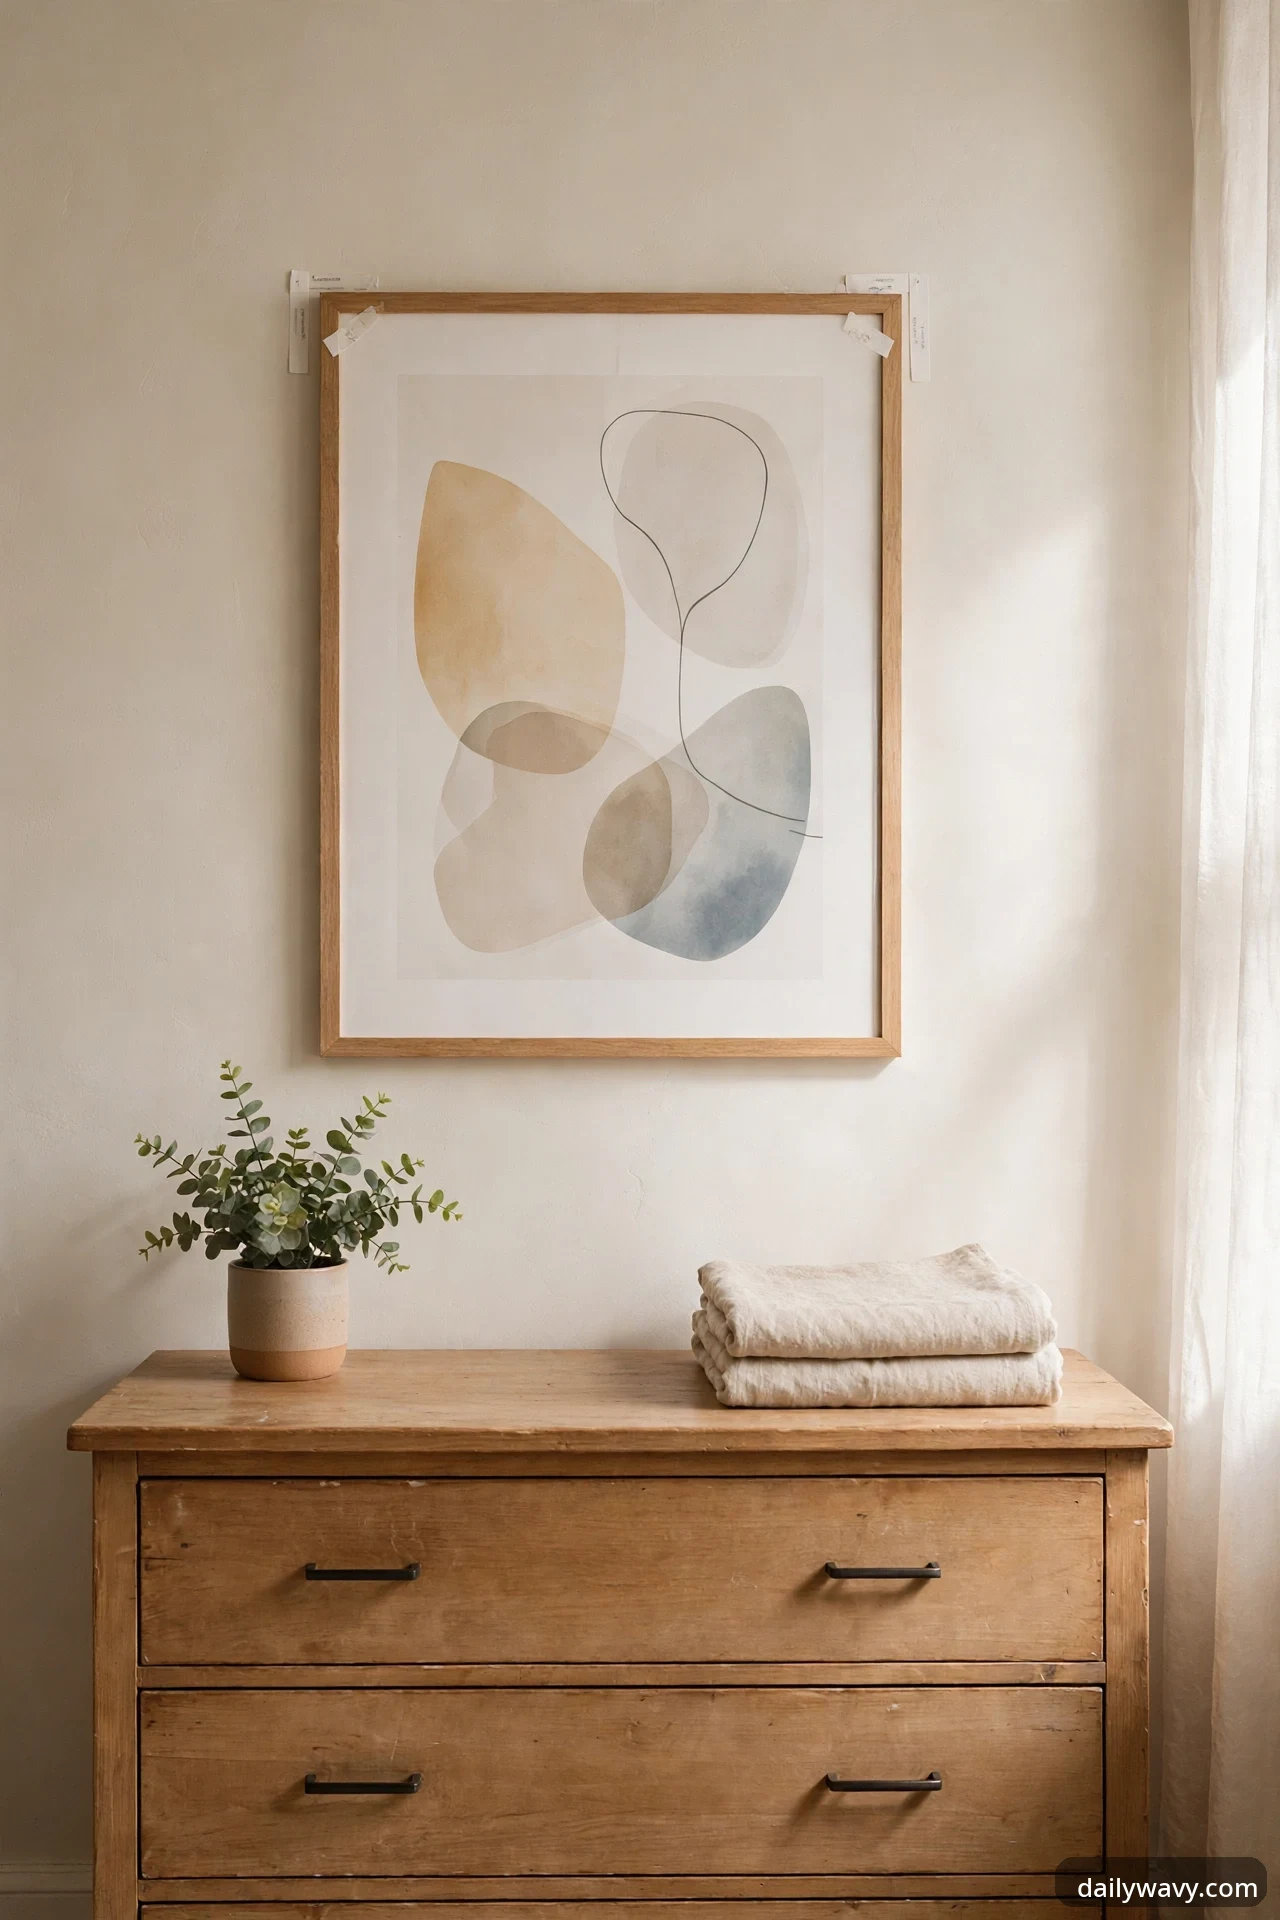
Bare walls are the surest sign of a rental you have not moved into yet, mentally speaking. One framed print above the bed or the dresser changes that faster than almost anything else in this guide. Keep it simple: one large piece, or two matching frames, rather than a full gallery wall that needs dozens of holes. Damage-free hanging strips rated for the frame’s weight do the real work here.
What to measure: the width of the furniture below the art. Aim for the frame or pair to span about two-thirds of that width. Mark the top edge with painter’s tape before you commit, and step back to check.
Materials: a print or poster, a frame with a sealed back, and hanging strips matched to the frame’s actual weight, not your guess.
Placement: center the piece 6 to 8 inches above the headboard or dresser. Above eye level it feels decorative; at eye level it feels intentional.
Approximate effort: twenty minutes, including the patch test on a hidden wall section.
Lower-cost alternative: lean a framed print on the dresser against the wall. No hanging hardware at all, and the casual look suits a bedroom.
3. A movable cart
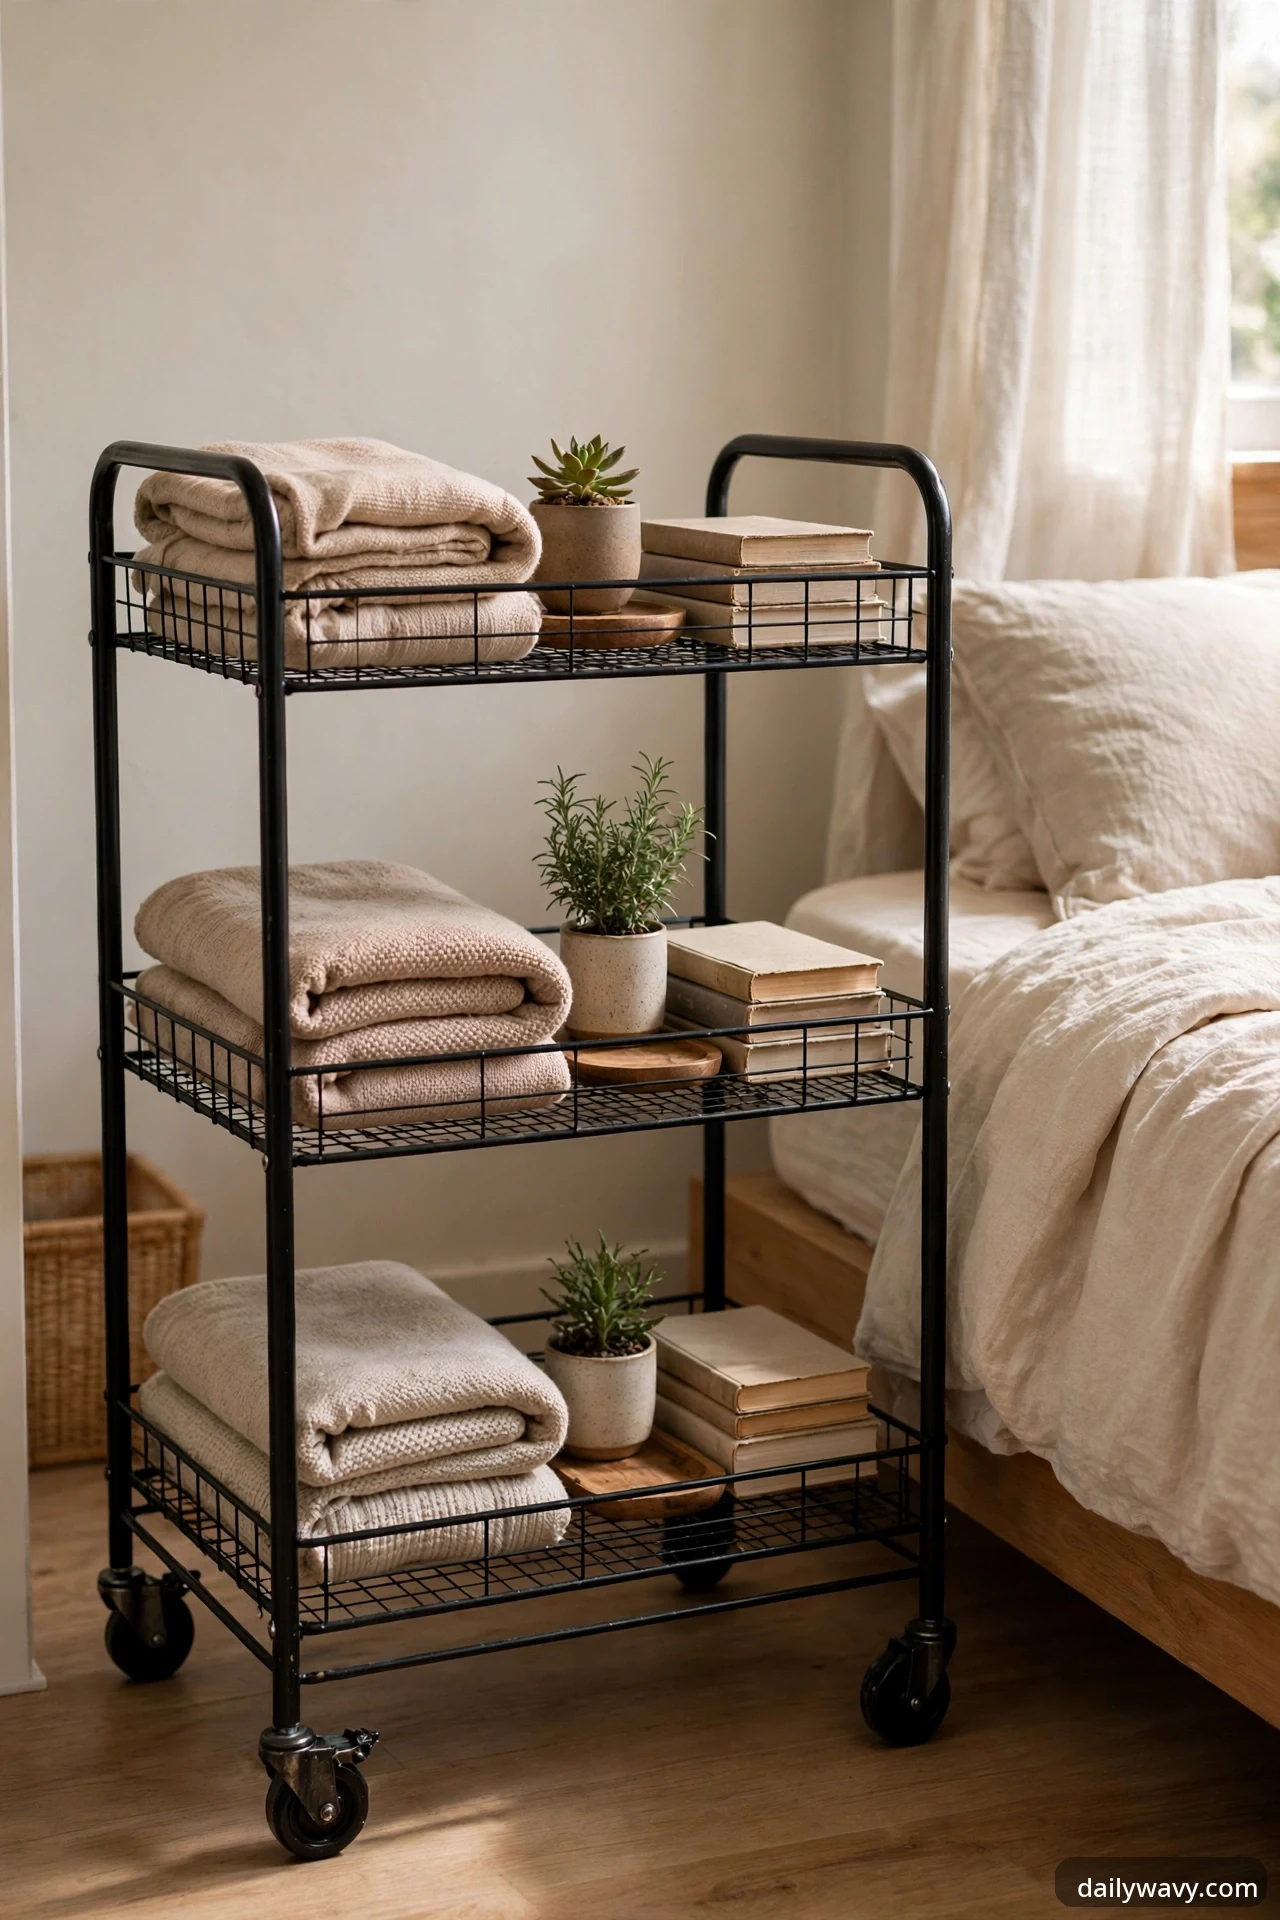
A three-tier rolling cart is the renter’s extra room. It works as a nightstand in a tight bedroom, a tea-and-book station beside a reading chair, or a rolling closet annex for folded basics. Because it stands on casters and attaches to nothing, it moves with you to the next apartment without a second thought. Metal carts with open shelves keep things visible, which means you actually use what is on them.
What to measure: the gap you plan to park it in, minus an inch on each side for easy rolling. Standard carts run about 15 inches wide by 12 inches deep by 32 inches tall.
Materials: a three-tier metal utility cart, small trays or cups to corral tiny items on each shelf, and felt pads under nothing, because the casters do the moving.
Placement: beside the bed, in a closet corner, or against the wall under a plug-in light. Lock the casters once it is parked so it does not drift on hard floors.
Approximate effort: twenty minutes to assemble, five to style.
Lower-cost alternative: a wooden crate on its side works as a single open cubby, though it holds less and cannot roll.
4. A soft rug with a suitable pad

Cold floors make a rental bedroom feel unfinished no matter what else you do. A rug fixes the feeling and the sound: rooms with rugs absorb echo, which helps explain why furnished rentals feel calmer than empty ones. The pad underneath matters more than the rug itself. A proper pad keeps the rug from creeping, protects the floor finish from dye transfer and grit, and adds the softness your feet actually feel.
What to measure: the rug should extend at least 18 inches beyond each side of the bed. For a queen bed that usually means a 5 by 8 foot rug turned with its long side across the bed, or an 8 by 10 if the room allows.
Materials: a low-pile washable rug (much easier in a bedroom that sees daily traffic) and a non-slip rug pad cut about an inch smaller than the rug on all sides.
Placement: center the rug under the lower two-thirds of the bed so your feet land on softness in the morning, and keep rug edges clear of door swings.
Approximate effort: thirty minutes, including moving the bed.
Lower-cost alternative: two smaller matching runners, one on each side of the bed, cost less than one large rug and are easier to wash.
5. A basket grouping daily essentials
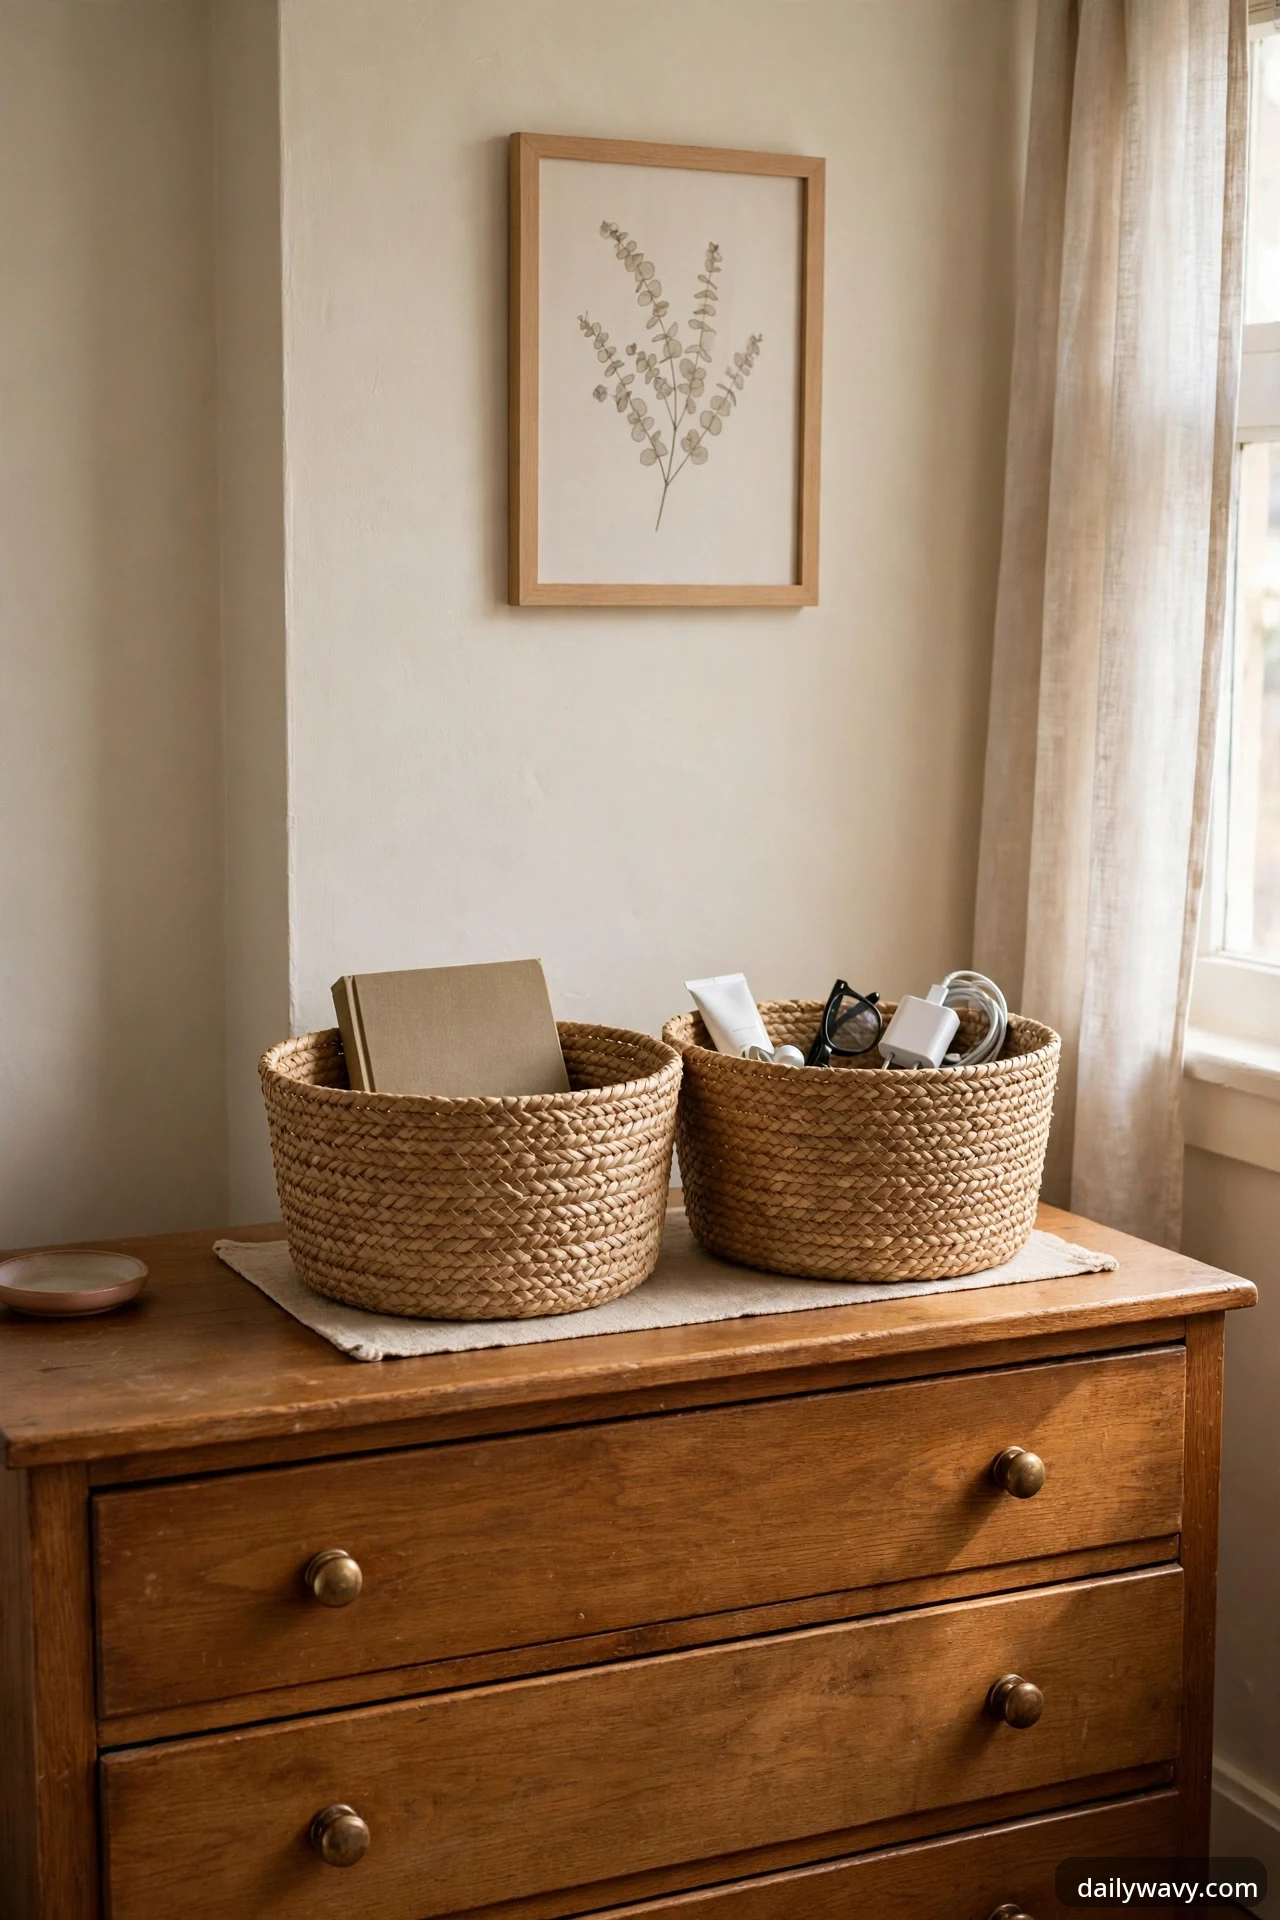
Clutter is what makes a rental bedroom look tired, and most of it is the same handful of daily objects: the book, the hand cream, the charger, the reading glasses. A small grouping of baskets on the dresser or inside an open shelf gives those objects a home without any new furniture. Two or three baskets in the same material look deliberate; five mismatched ones look like storage.
What to measure: the shelf or surface depth so baskets do not overhang. Most dresser tops fit baskets 8 to 10 inches deep comfortably.
Materials: woven seagrass or fabric baskets in one color family, sized for what they hold: shallow for glasses and remotes, deeper for books and chargers.
Placement: dresser top, open closet shelf, or the bottom tier of a rolling cart. Keep one basket’s contents to one category so putting things away takes seconds.
Approximate effort: ten minutes to sort and arrange.
Lower-cost alternative: sturdy paper grocery bags, folded down to a uniform height, work as temporary catchalls while you decide on permanent ones.
6. A low-risk hardware swap with originals retained

Rental dressers and closet doors often wear the cheapest knobs the builder could find. Swapping knobs or pulls is a fifteen-minute upgrade that changes the furniture’s whole personality, and it is fully reversible as long as you keep the originals. A set of brass or matte black knobs on a plain dresser reads custom; the original screws go back in on moving day.
What to measure: the diameter or screw spacing of the existing hardware. Most single knobs use a standard 8-32 screw; pulls vary, so measure center to center between the two holes.
Materials: replacement knobs or pulls, a screwdriver, and a labeled zip bag for the originals with a note about which room they came from.
Placement: wherever the originals were. Do not drill new holes; if the new hardware does not fit the existing holes, pick different hardware.
Approximate effort: fifteen minutes for a six-drawer dresser.
Lower-cost alternative: paint the existing knobs with a metal-finish spray paint after a light sanding, keeping one original unpainted so you can match it at move-out. Spray outdoors or in a well-ventilated area and let the paint cure fully before reinstalling.
7. A tension-based solution where suitable

Tension rods are the closest thing renters have to a magic wand. Inside a window frame they hold a curtain without a single bracket; inside a closet they add a second hanging tier; inside a wide shelf nook they divide the space. They work by pressure, which usually leaves no marks on sound finishes, but they only work where the span is short and the load is light.
What to measure: the exact inside width where the rod will sit, then buy a rod whose minimum length is just under that width. A rod stretched to its maximum has the weakest grip.
Materials: a steel tension rod rated for the span, lightweight curtains or a fabric panel, and nothing heavier than folded scarves on a closet application.
Placement: inside window frames for privacy curtains, or between closet walls for a second tier of light clothing. Avoid long spans over 48 inches, where sag and slipping are likely.
Approximate effort: ten minutes per rod.
Lower-cost alternative: a spring-loaded shower rod works in the same way for wider closet openings, though it is bulkier to look at.
8. A small plant in a stable pot

One living thing in a bedroom makes it feel inhabited in a way objects cannot. A small pothos or snake plant in a stable, weighted pot survives the low attention of a busy week and tolerates the medium light most bedrooms offer. Pothos and snake plants can upset a pet’s stomach if eaten, so keep them out of reach if pets chew plants. The pot matters more than the plant: a stable base that cannot tip onto the floor, plus a saucer or waterproof liner so watering never reaches the sill or the flooring.
What to measure: the surface the pot will sit on and the plant’s mature spread. Keep foliage at least a foot from walls to avoid moisture marks on paint.
Materials: a low-light tolerant plant, a ceramic or weighted pot with drainage, a saucer, and a waterproof mat under the pot if it sits on wood furniture.
Placement: on a dresser near natural light, never on the floor where it can be kicked, and never where watering drips onto the rental carpet.
Approximate effort: twenty minutes to pot and place, then a weekly watering check.
Lower-cost alternative: a cutting propagated in water on the windowsill costs nothing and looks intentional in a simple glass jar.
9. A removable organizer with checked load limits
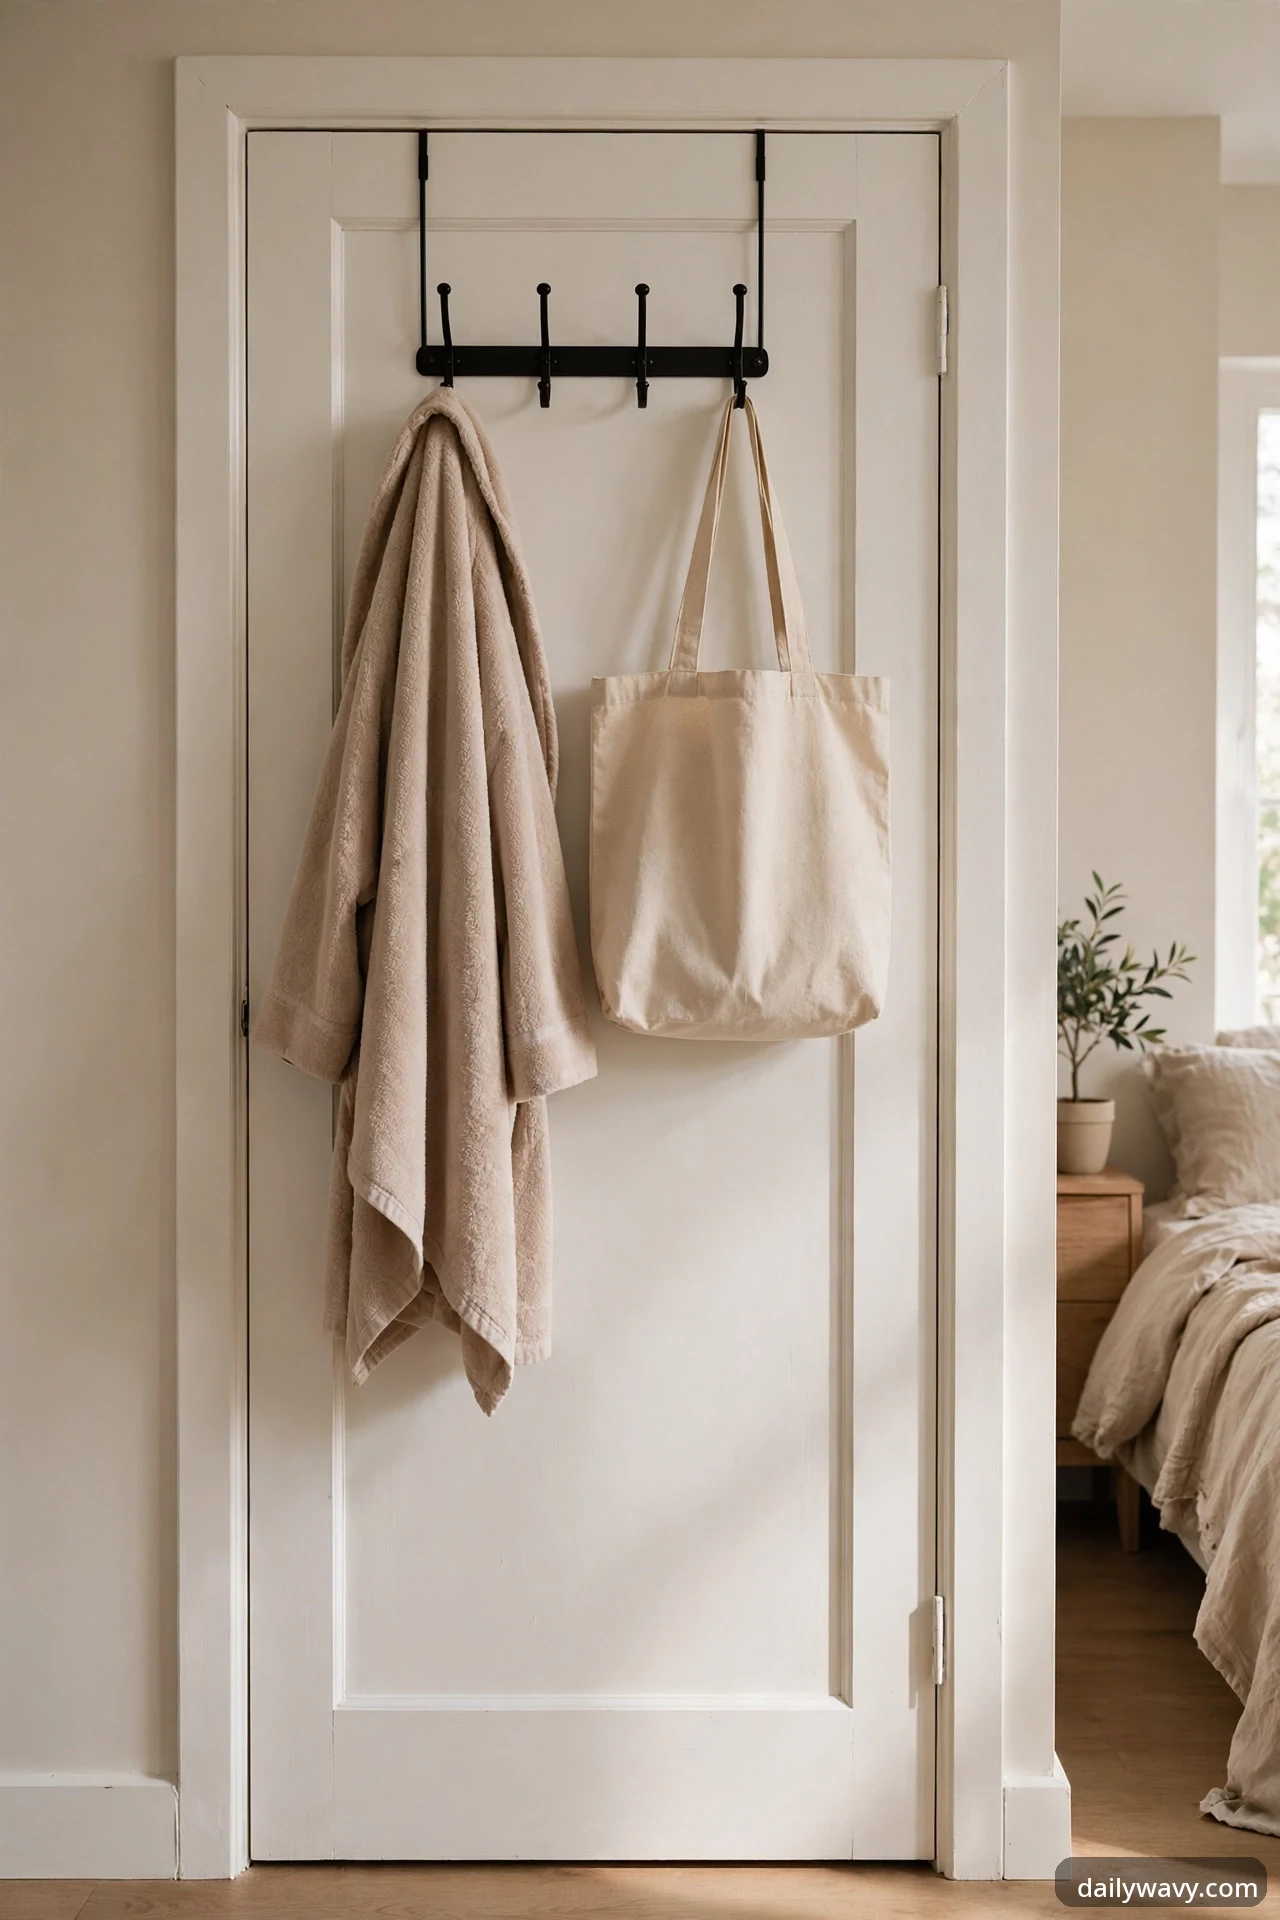
Over-the-door hooks, hanging closet organizers, and adhesive-mounted shelf units multiply a small bedroom’s storage without touching a wall with a drill. The one rule that governs all of them is the load limit. A hook rated for 3 pounds holds a robe; the same hook holding a winter coat will be on the floor by morning, possibly taking paint with it. Check the rating on the package, then load it lighter than that rating, because bedroom doors get slammed and adhesive ages.
What to measure: the door’s top clearance (over-door hooks need about a quarter inch of gap above the door) and the weight of what each organizer will hold, using a kitchen scale if you are unsure.
Materials: an organizer with a clearly printed load rating, the mounting type matched to the surface (door, smooth wall, or closet rod), and a patch test for any adhesive version.
Placement: over-door racks on doors that close cleanly without rubbing the frame; adhesive organizers on smooth painted surfaces that passed your hidden-spot test.
Approximate effort: fifteen minutes per organizer.
Lower-cost alternative: a single sturdy S-hook over the closet rod holds tomorrow’s outfit with zero mounting of any kind.
10. A freestanding mirror secured appropriately
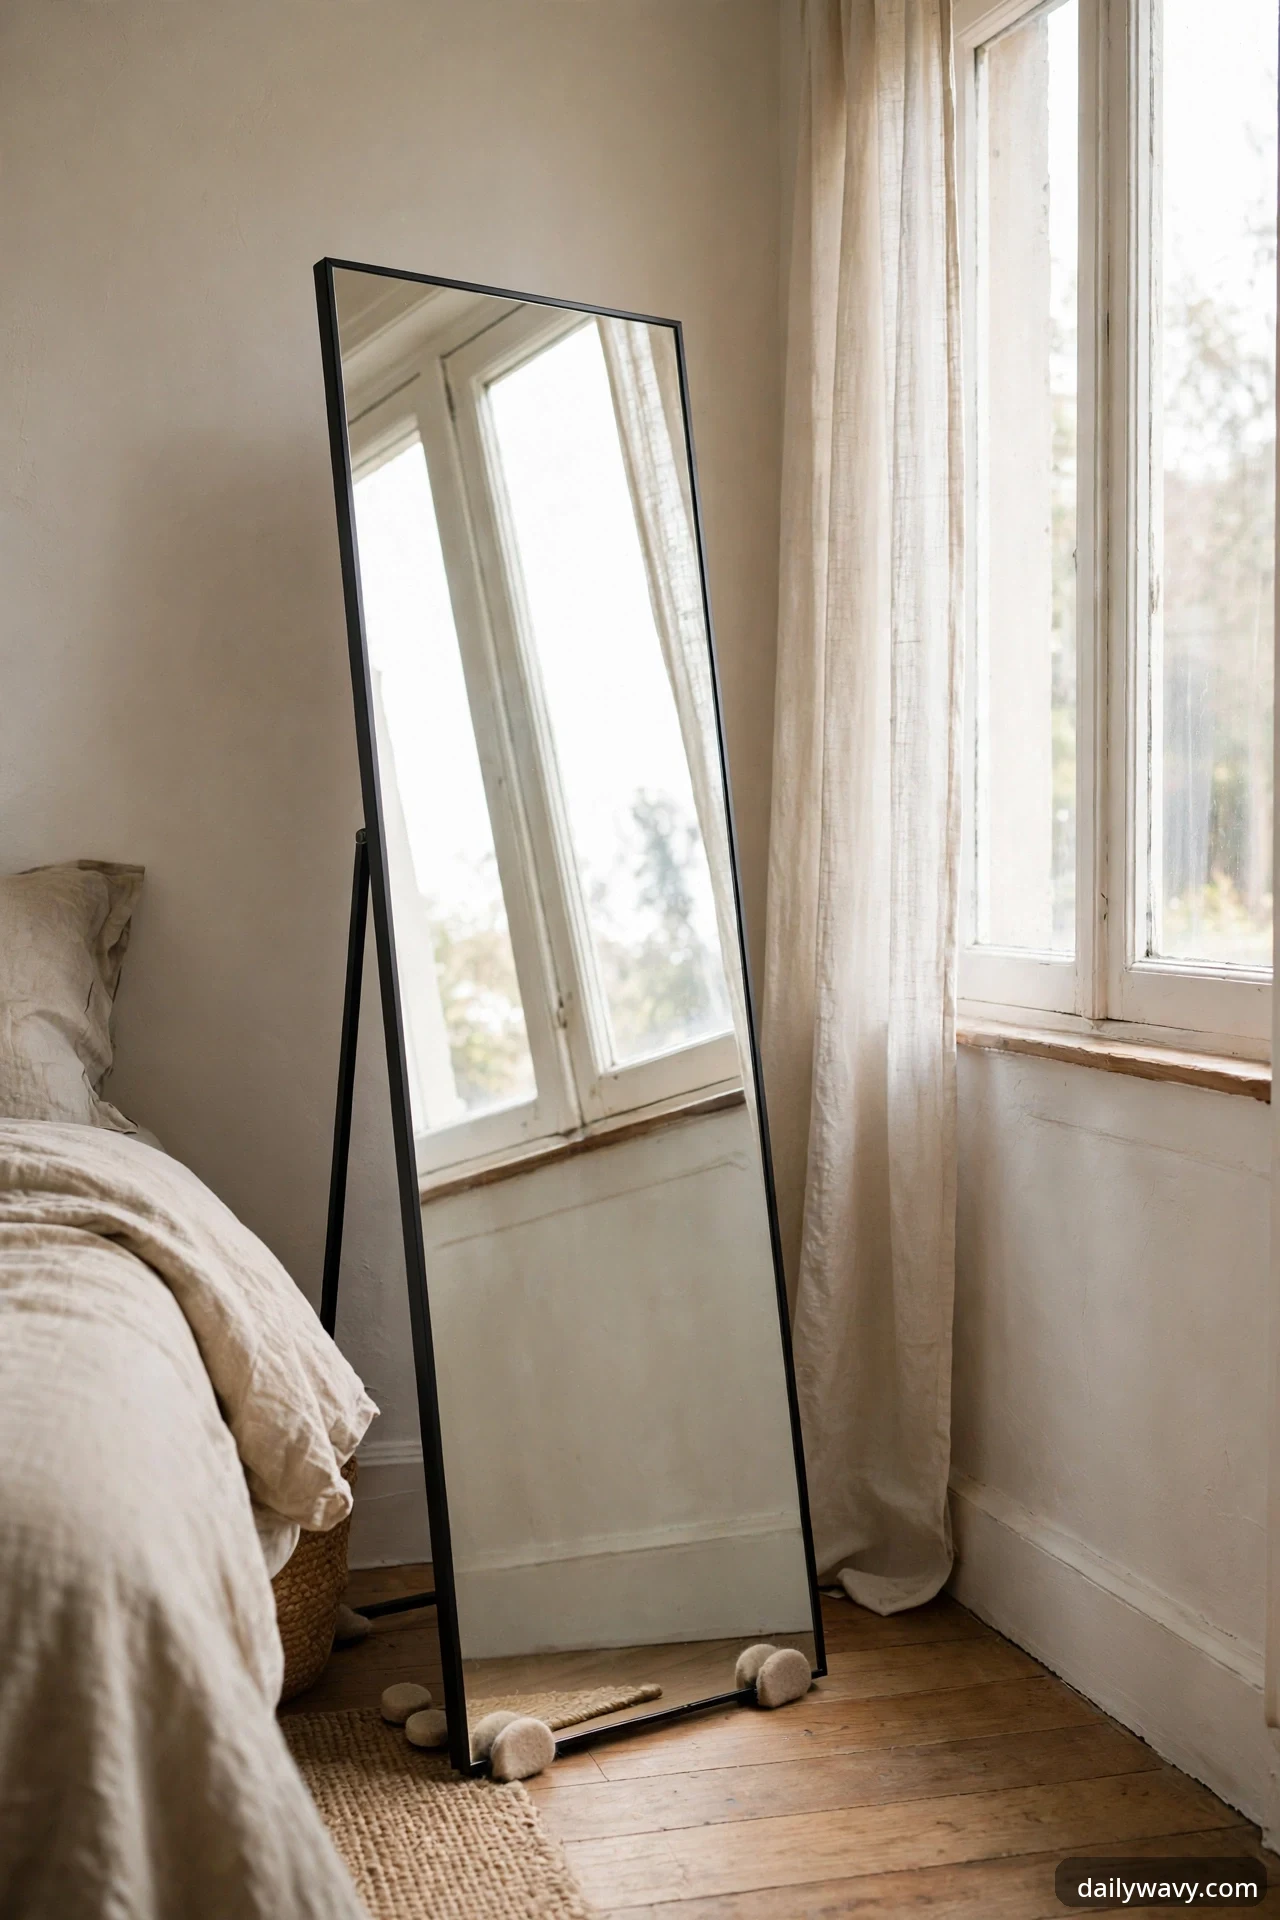
A full-length mirror makes a small rental bedroom feel twice its size, and a freestanding one needs no wall mounting at all. Lean it against the wall at a slight angle, or choose a cheval-style mirror with its own stand. The safety step renters skip is securing it: a tall mirror on a slick floor can walk or tip, so anchor the top to the wall with a removable adhesive strap or wedge the base so it cannot slide.
What to measure: ceiling height where the mirror will stand (leave at least 6 inches of clearance) and the floor space for the base, typically 2 feet wide by 18 inches deep at the lean angle.
Materials: a freestanding full-length mirror, furniture straps or adhesive wall anchors rated for the mirror’s weight, and felt pads where the frame meets the floor.
Placement: opposite or beside the window so it bounces daylight around the room, angled slightly to catch the bed rather than the ceiling.
Approximate effort: twenty minutes, including securing.
Lower-cost alternative: a large mirror tile grouping from a discount store, mounted with removable strips on a smooth wall, costs a fraction of one big mirror.
11. A table-top display with useful objects
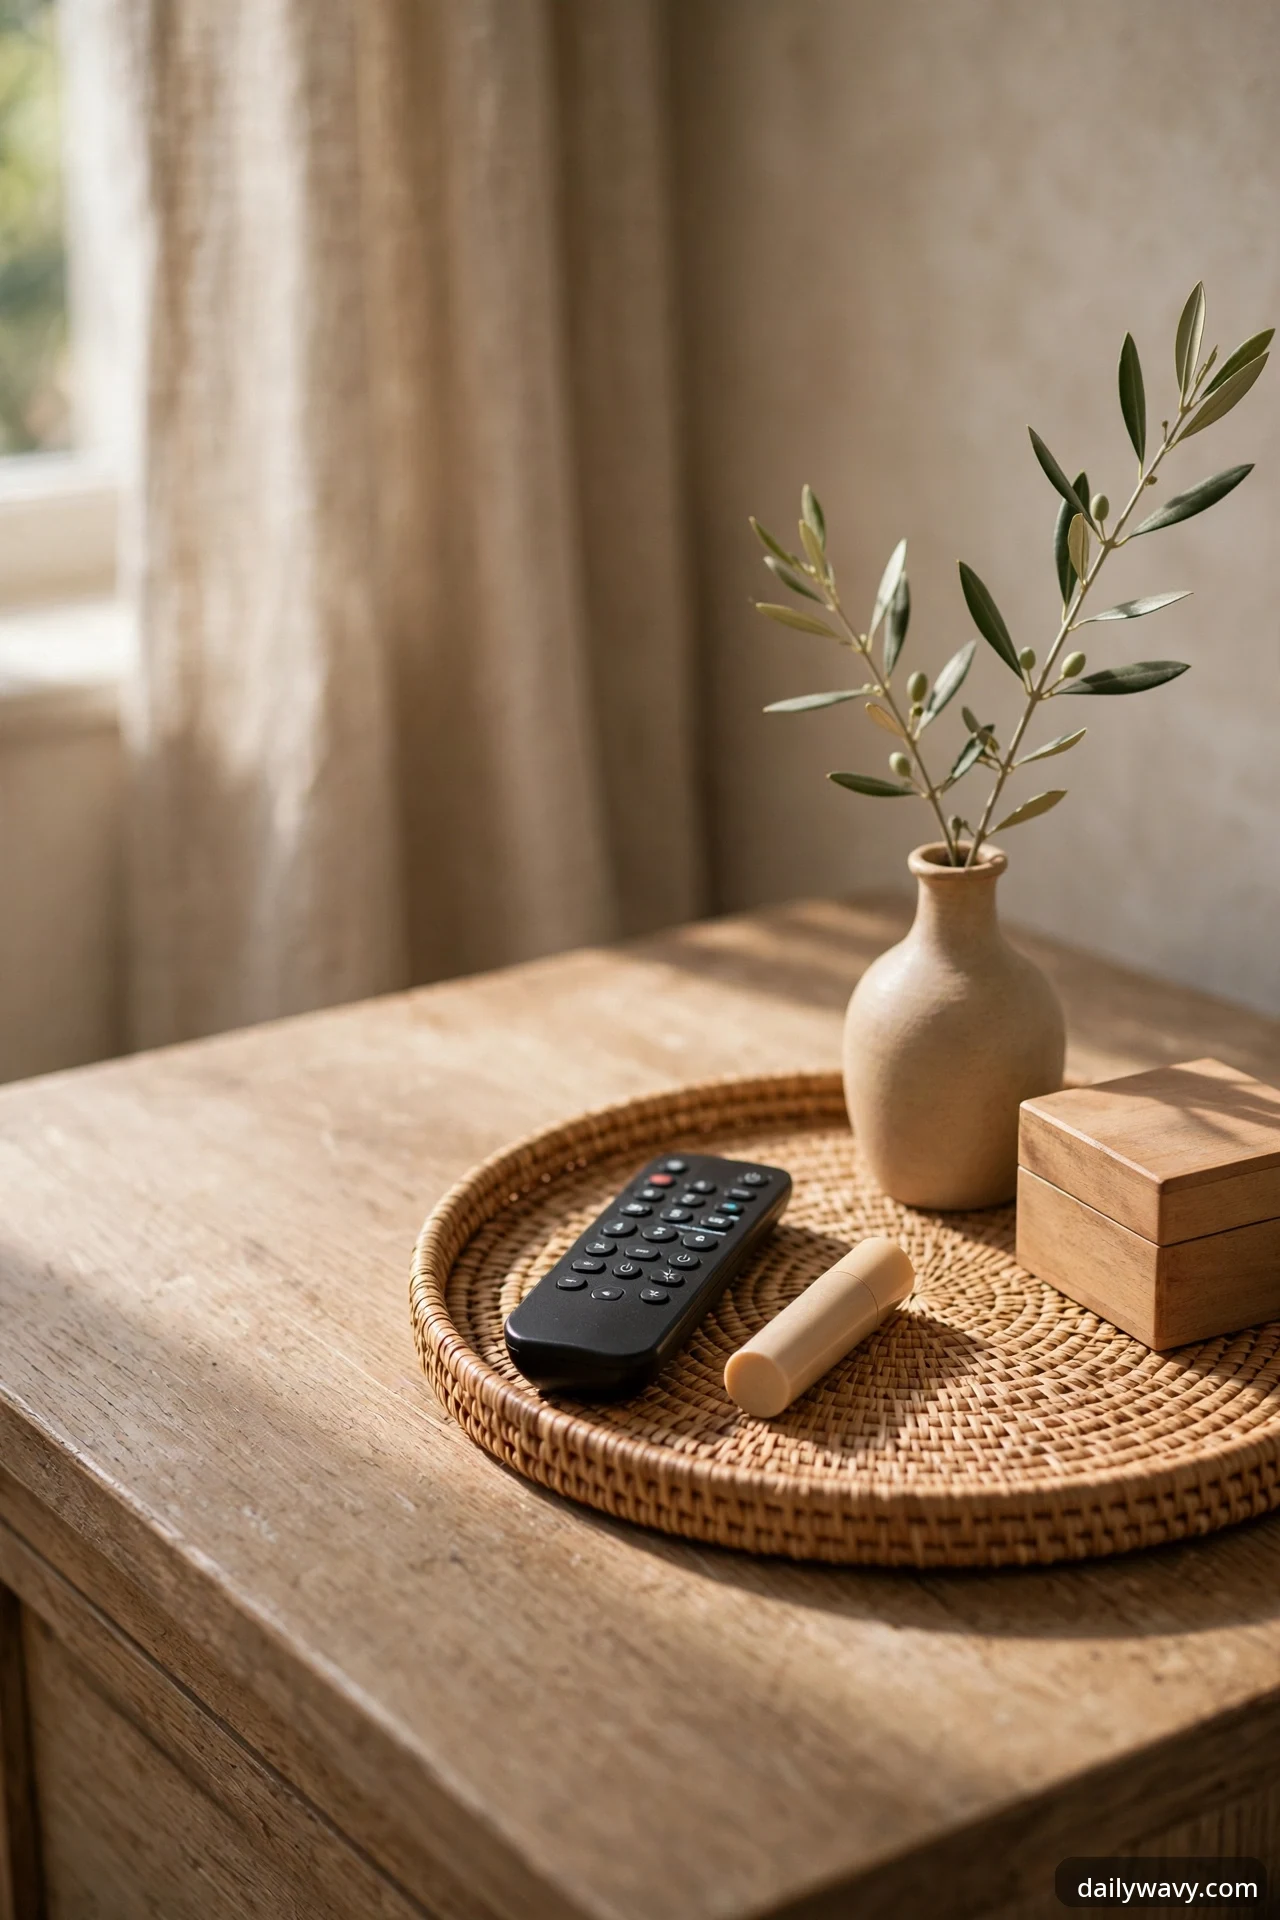
A nightstand or dresser top styled as a small display makes the whole bedroom feel considered. The trick is that everything on it earns its place by being useful: a small tray holding the lamp remote and lip balm, a bud vase with one stem, a lidded box for rings and earbuds. Useful objects arranged with intention look like styling; decorative objects with no job look like clutter after a week.
What to measure: the surface area and keep at least one-third of it clear. A nightstand that is fully covered becomes a drop zone within days.
Materials: a small tray to define the display zone, one lidded container, and one natural element like a stem, a stone, or a small framed photo.
Placement: group items in odd numbers on the tray, keeping daily-grab items at the front edge where your hand lands.
Approximate effort: fifteen minutes to gather and arrange.
Lower-cost alternative: a dinner plate from the kitchen works as a display tray in a pinch and looks surprisingly good.
12. A fabric panel adding color
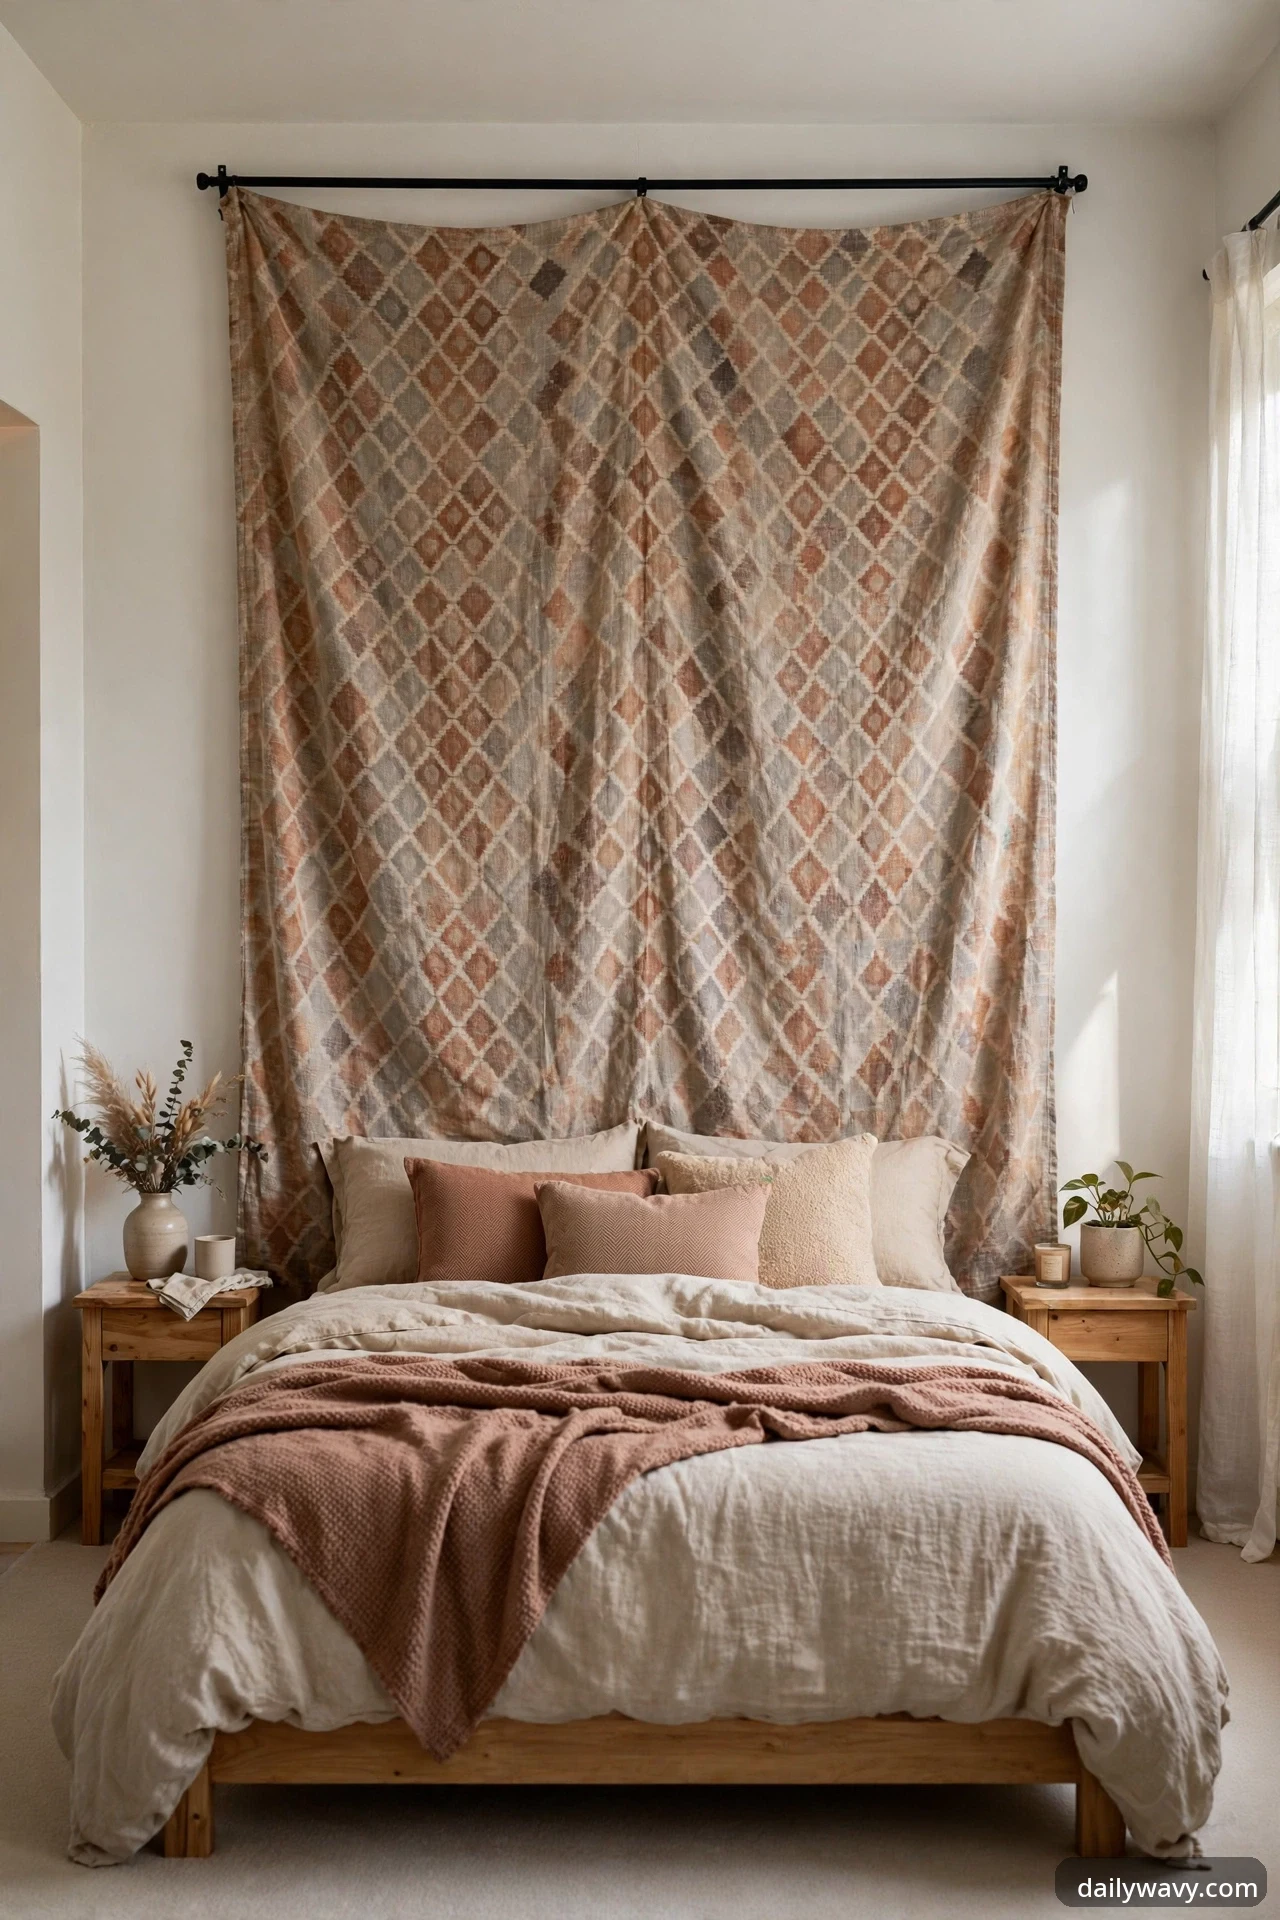
When you cannot paint, fabric is your paint. A large fabric panel hung from a tension rod, clipped to removable hooks, or simply draped over a curtain rod adds a whole field of color or pattern to a plain wall. It softens echo too, which is a real bonus in minimally furnished rentals. Choose a length that nearly reaches the floor for the most finished look.
What to measure: the wall area you want to cover and the rod or hook span. Fabric panels look best when they are at least two-thirds the width of the furniture below them.
Materials: a flat sheet, tapestry, or length of fabric; a tension rod or clip rings on an existing rod; removable hooks if you are hanging from the wall.
Placement: behind the bed as a headboard alternative, or on the largest empty wall. Keep fabric clear of heaters and lamps.
Approximate effort: thirty minutes, including hemming or clipping the top edge.
Lower-cost alternative: a flat bedsheet in a color you love, ironed and hung with clip rings, costs less than any tapestry.
13. A shelf insert that does not alter cabinetry
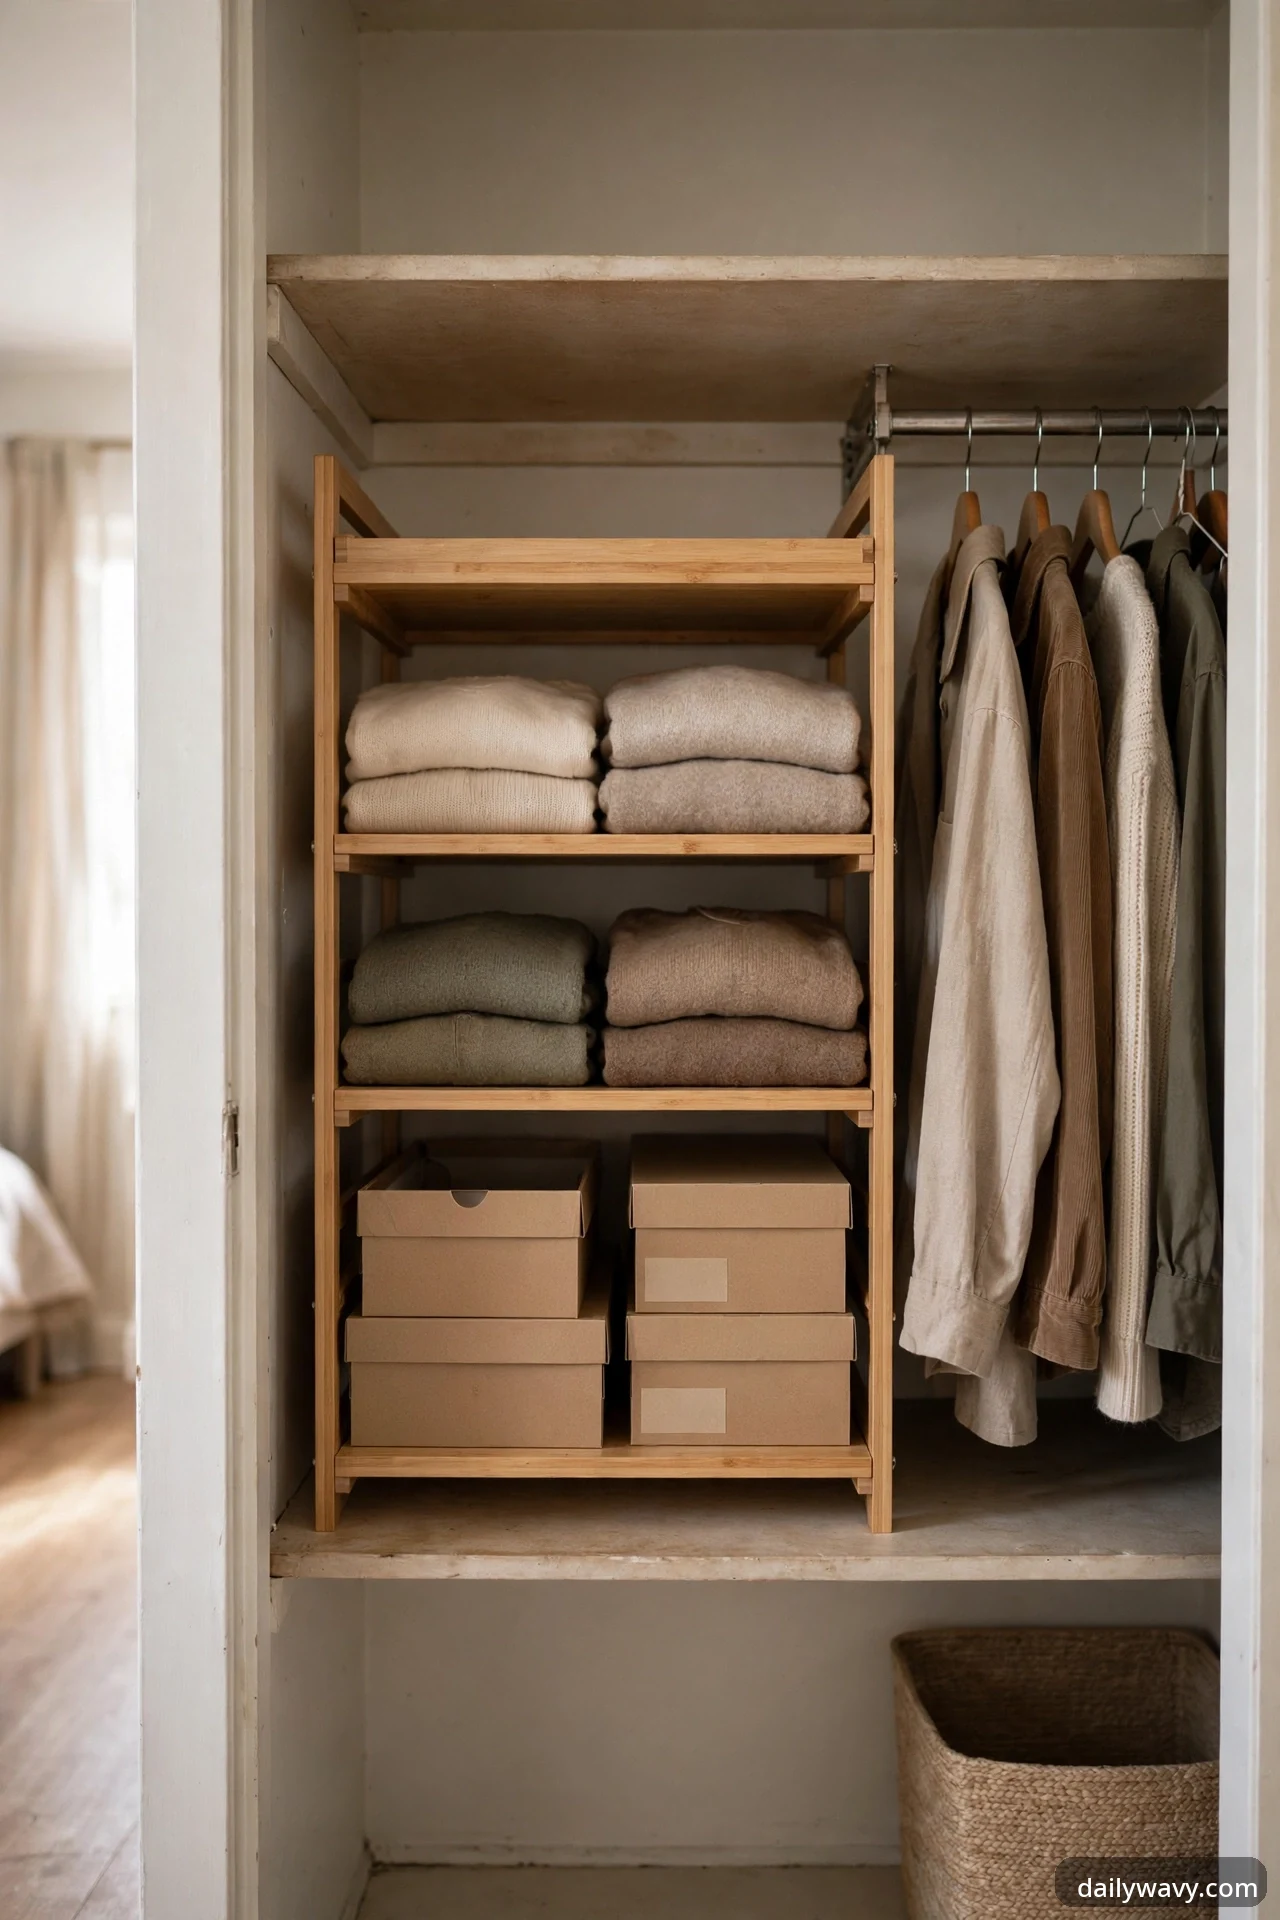
Rental closets usually offer one long shelf and a rod, which wastes the vertical space above folded clothes. A freestanding shelf insert, the kind that sits on the existing shelf and needs no screws, doubles that space instantly. Use it for folded sweaters, bags, or shoe boxes. Because it rests on the shelf by gravity alone, it comes out the day you move with no evidence it was ever there.
What to measure: the clear height from the existing shelf to the closet ceiling, and the depth of the shelf. Inserts typically need at least 12 inches of clear height to be useful.
Materials: a freestanding stackable shelf unit sized to the closet shelf, no mounting hardware at all.
Placement: centered on the closet shelf with heavier items on the bottom tier. Keep the insert’s back a half inch from the wall so air circulates behind it.
Approximate effort: ten minutes to set up and load.
Lower-cost alternative: two sturdy shoe boxes stacked with a small board across them create a makeshift second level for light items.
14. A lightweight divider
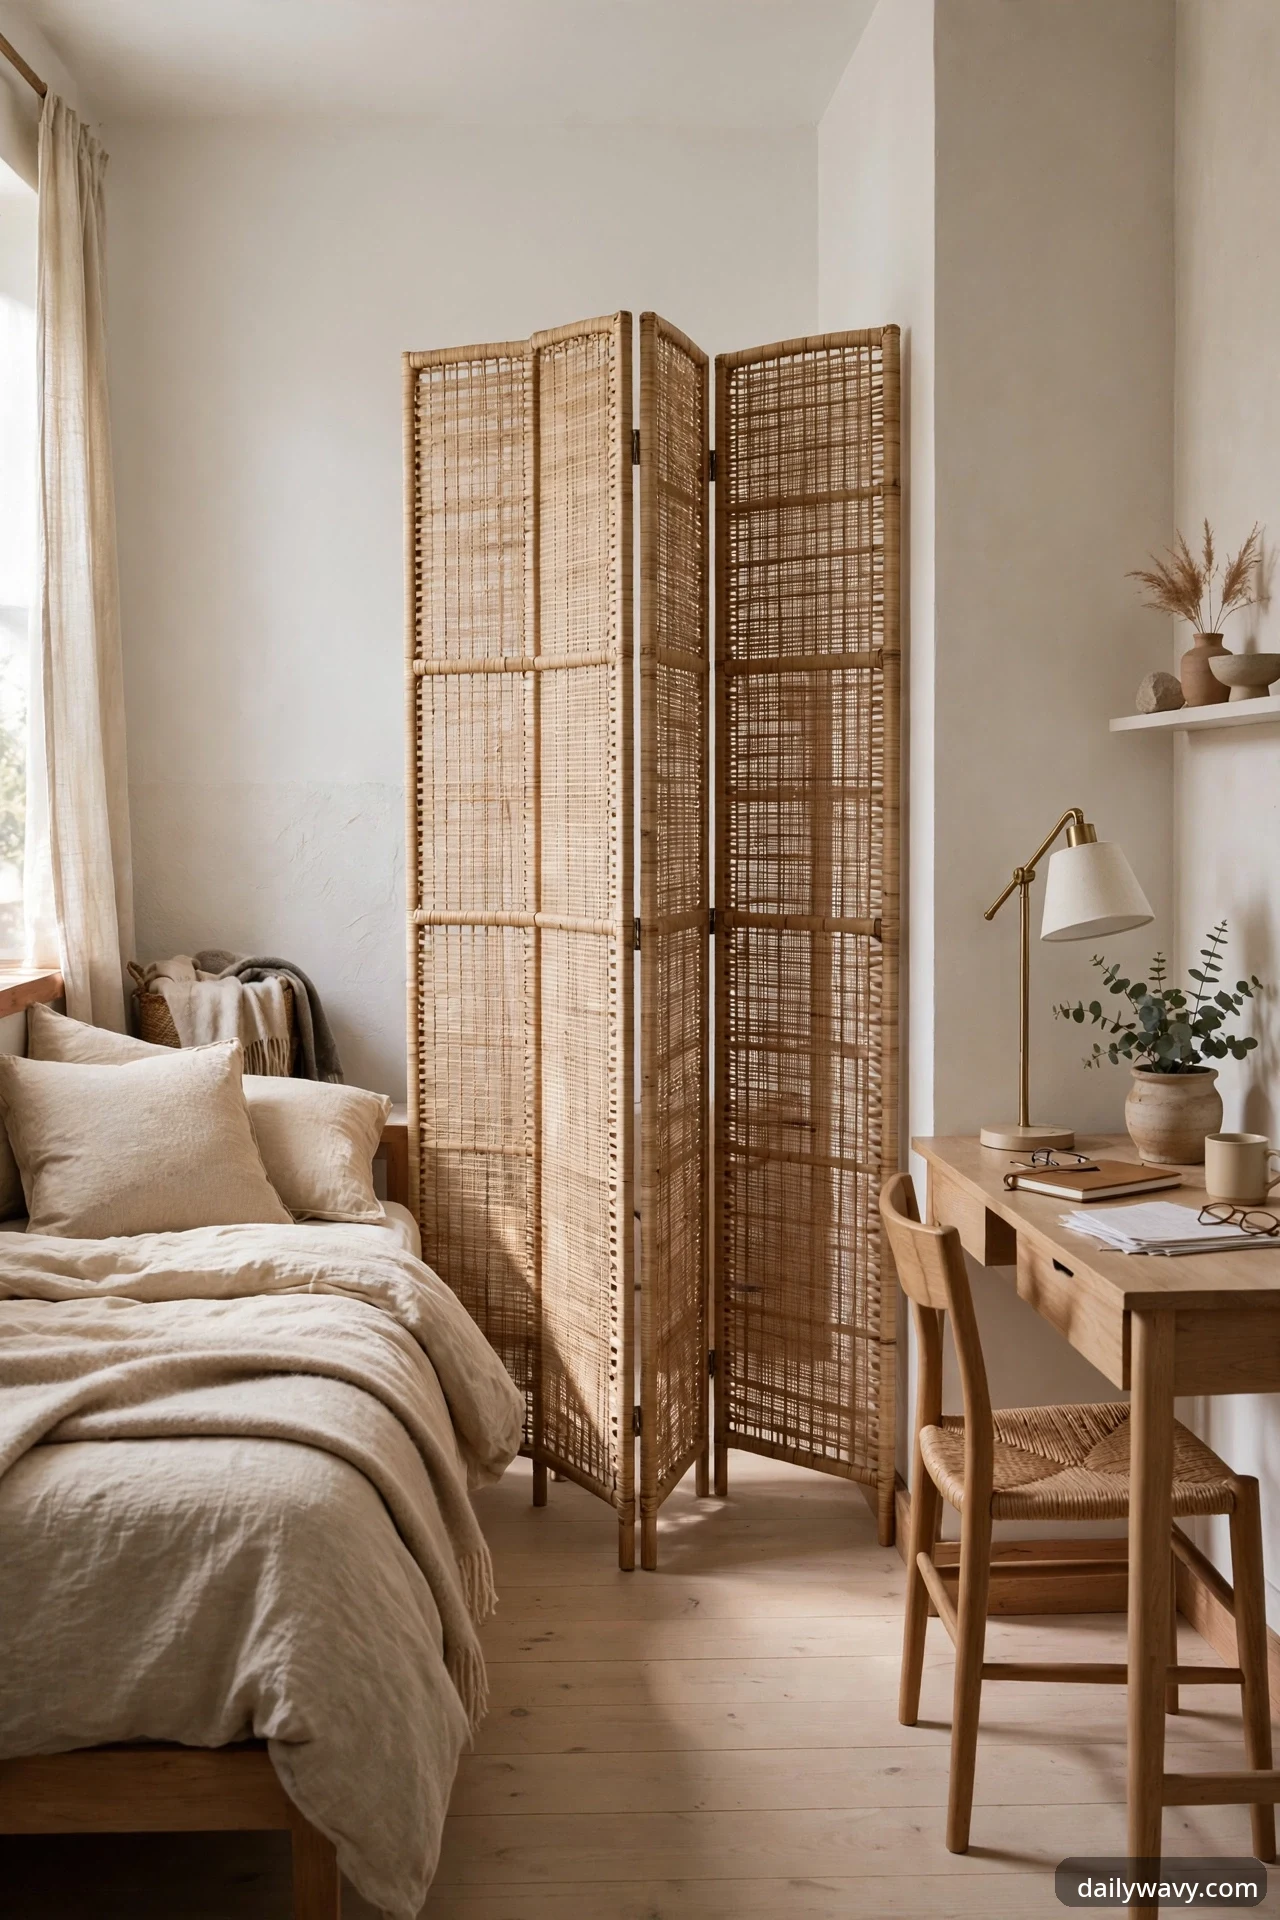
In a studio or a shared bedroom, a lightweight divider creates a sense of separate zones without a single screw. A folding screen, a tall open bookshelf, or even a curtain on a tension-mounted rod can separate the sleeping area from a work corner. Open-backed pieces are better than solid ones here: they divide the space visually while letting light and air pass through.
What to measure: the length of the zone you want to define and the ceiling height. Screens typically stand 5 to 6 feet tall, which reads as a divider without blocking light.
Materials: a folding screen or an open-backed bookcase, plus furniture pads under the feet so it cannot scuff the floor when repositioned.
Placement: perpendicular to the longest wall, never blocking a door swing, a window, or a heating vent. Leave at least 30 inches of walking space on each side.
Approximate effort: twenty minutes, including arranging what sits against it.
Lower-cost alternative: a curtain panel on a tall garment rack divides a corner for a fraction of a screen’s price.
15. A tidy cable-routing solution
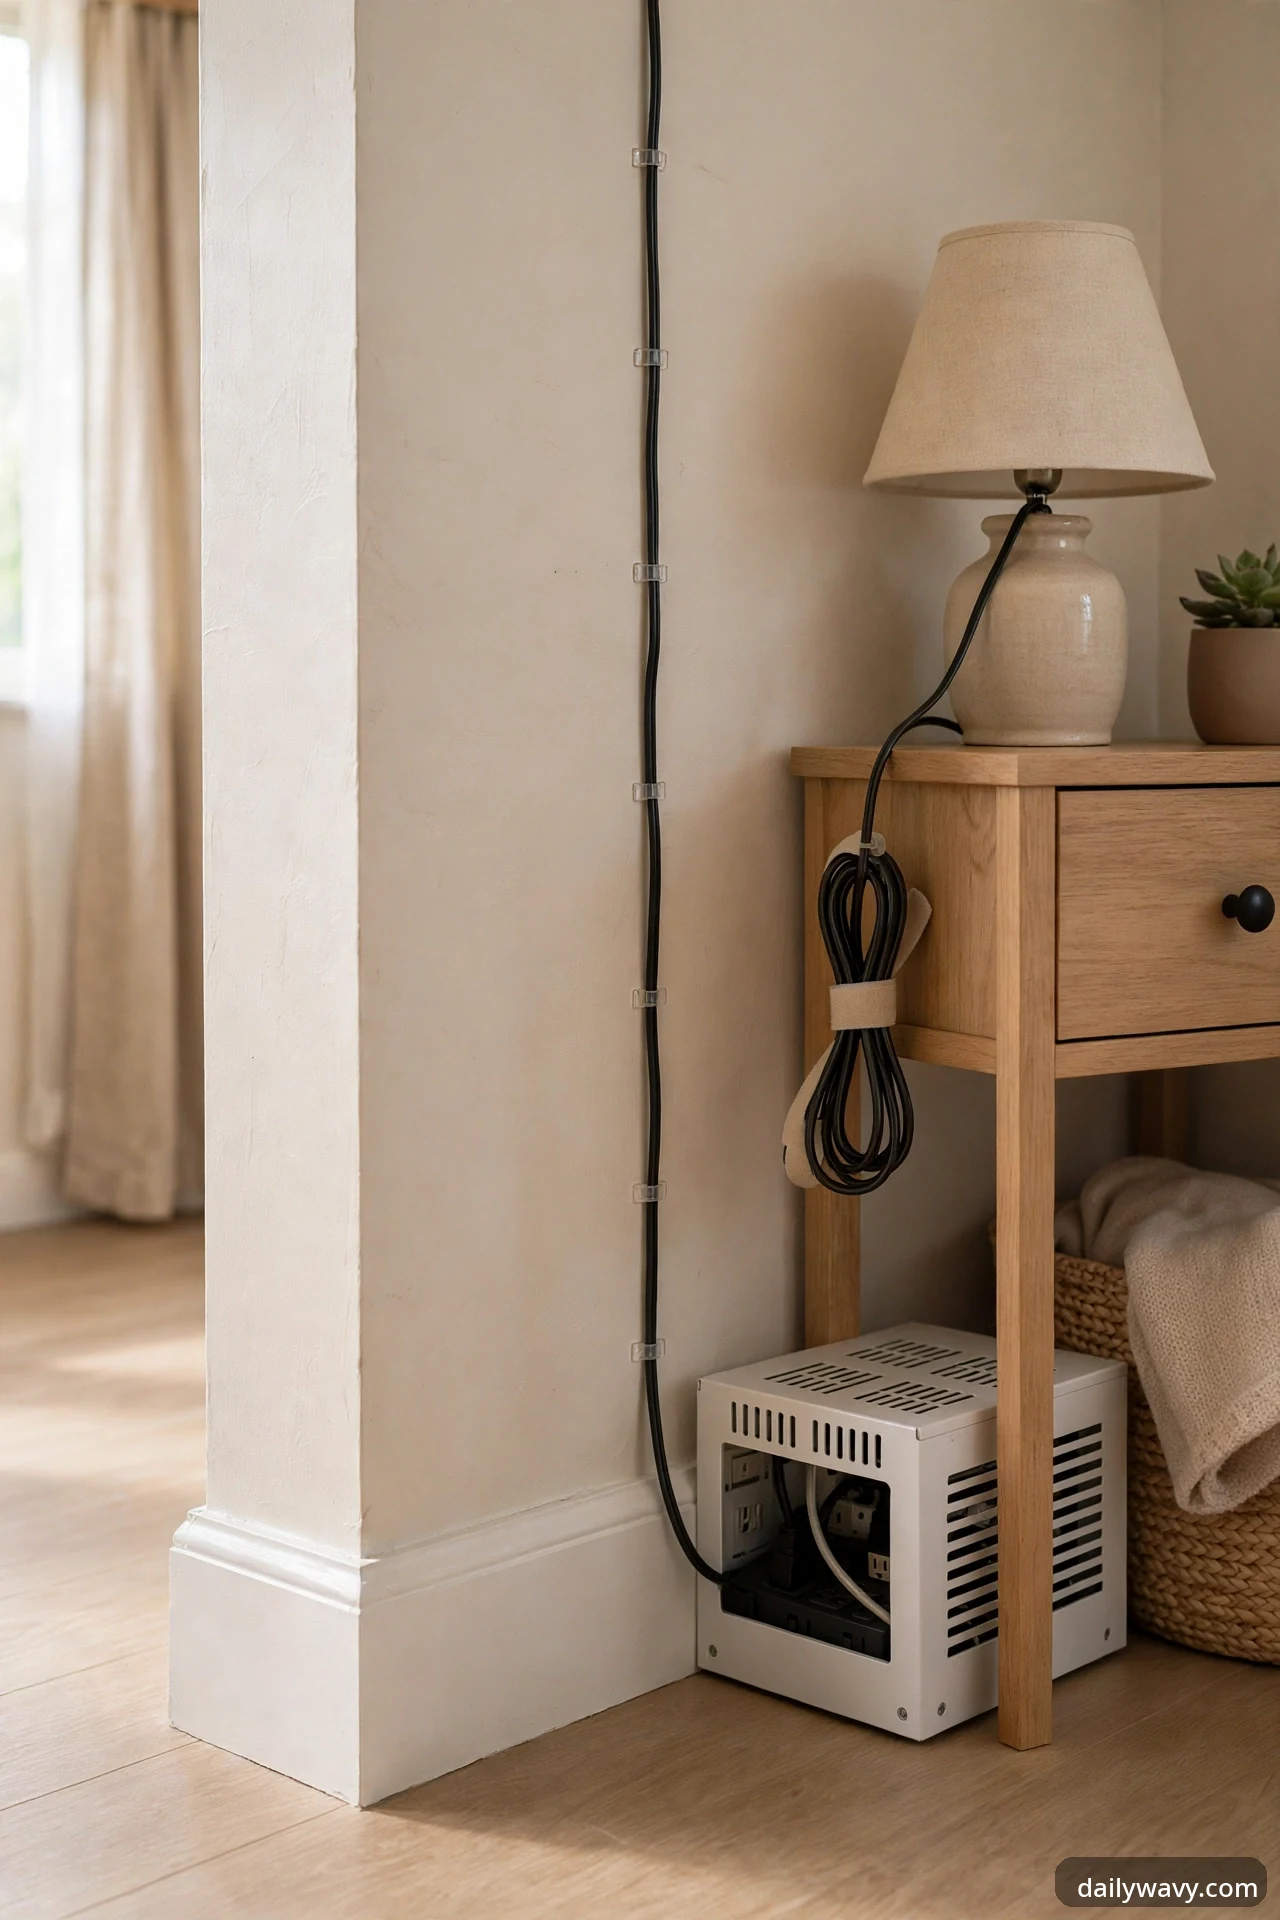
Chargers, lamp cords, and the inevitable extension cord turn a rental bedroom’s corners into a tangle that reads as mess even when everything else is tidy. A cable-routing solution is unglamorous and transformative: adhesive cord clips along the baseboard, a small cable box that hides a power strip, and one short cable per device instead of a six-foot tangle. Nothing here touches the wall permanently.
What to measure: the length of the cord run and the number of devices sharing the outlet. Buy clips in packs; you will use more than you expect.
Materials: adhesive-backed cord clips rated for the surface, a cable management box with ventilation slots, and hook-and-loop ties to bundle slack.
Placement: run cords along baseboards and behind furniture, never across walkways. Keep the power strip ventilated and accessible, not buried under bedding. Use an extension cord only as a short-term fix, never as permanent wiring, and never run one under a rug or bedding.
Approximate effort: thirty minutes for a full bedroom tidy.
Lower-cost alternative: binder clips hooked over the edge of the nightstand keep charging cables from sliding behind furniture for almost nothing.
16. A coordinated container set

Open closet shelves and dresser tops look calm when the containers match. A coordinated set, same color, same material, different sizes, turns visible storage into a design choice instead of an apology. This is one of the cheapest ways to make a rental bedroom look pulled together: the eye reads repetition as intention. Keep the set to what you can see; closed drawers do not need the treatment.
What to measure: the shelves and surfaces where containers will be visible, noting depth so nothing overhangs.
Materials: a matching set of lidded boxes or open bins in a neutral tone, sized for their contents: large for linens, medium for accessories, small for daily items.
Placement: group visible storage in the same material family on open shelves and dresser tops. Label the ones that hold seasonal or rarely used items.
Approximate effort: twenty minutes to decant and arrange.
Lower-cost alternative: spray-paint mismatched boxes in one color for a coordinated look at a fraction of the cost, letting each coat dry fully before stacking.
17. A portable seating or surface solution
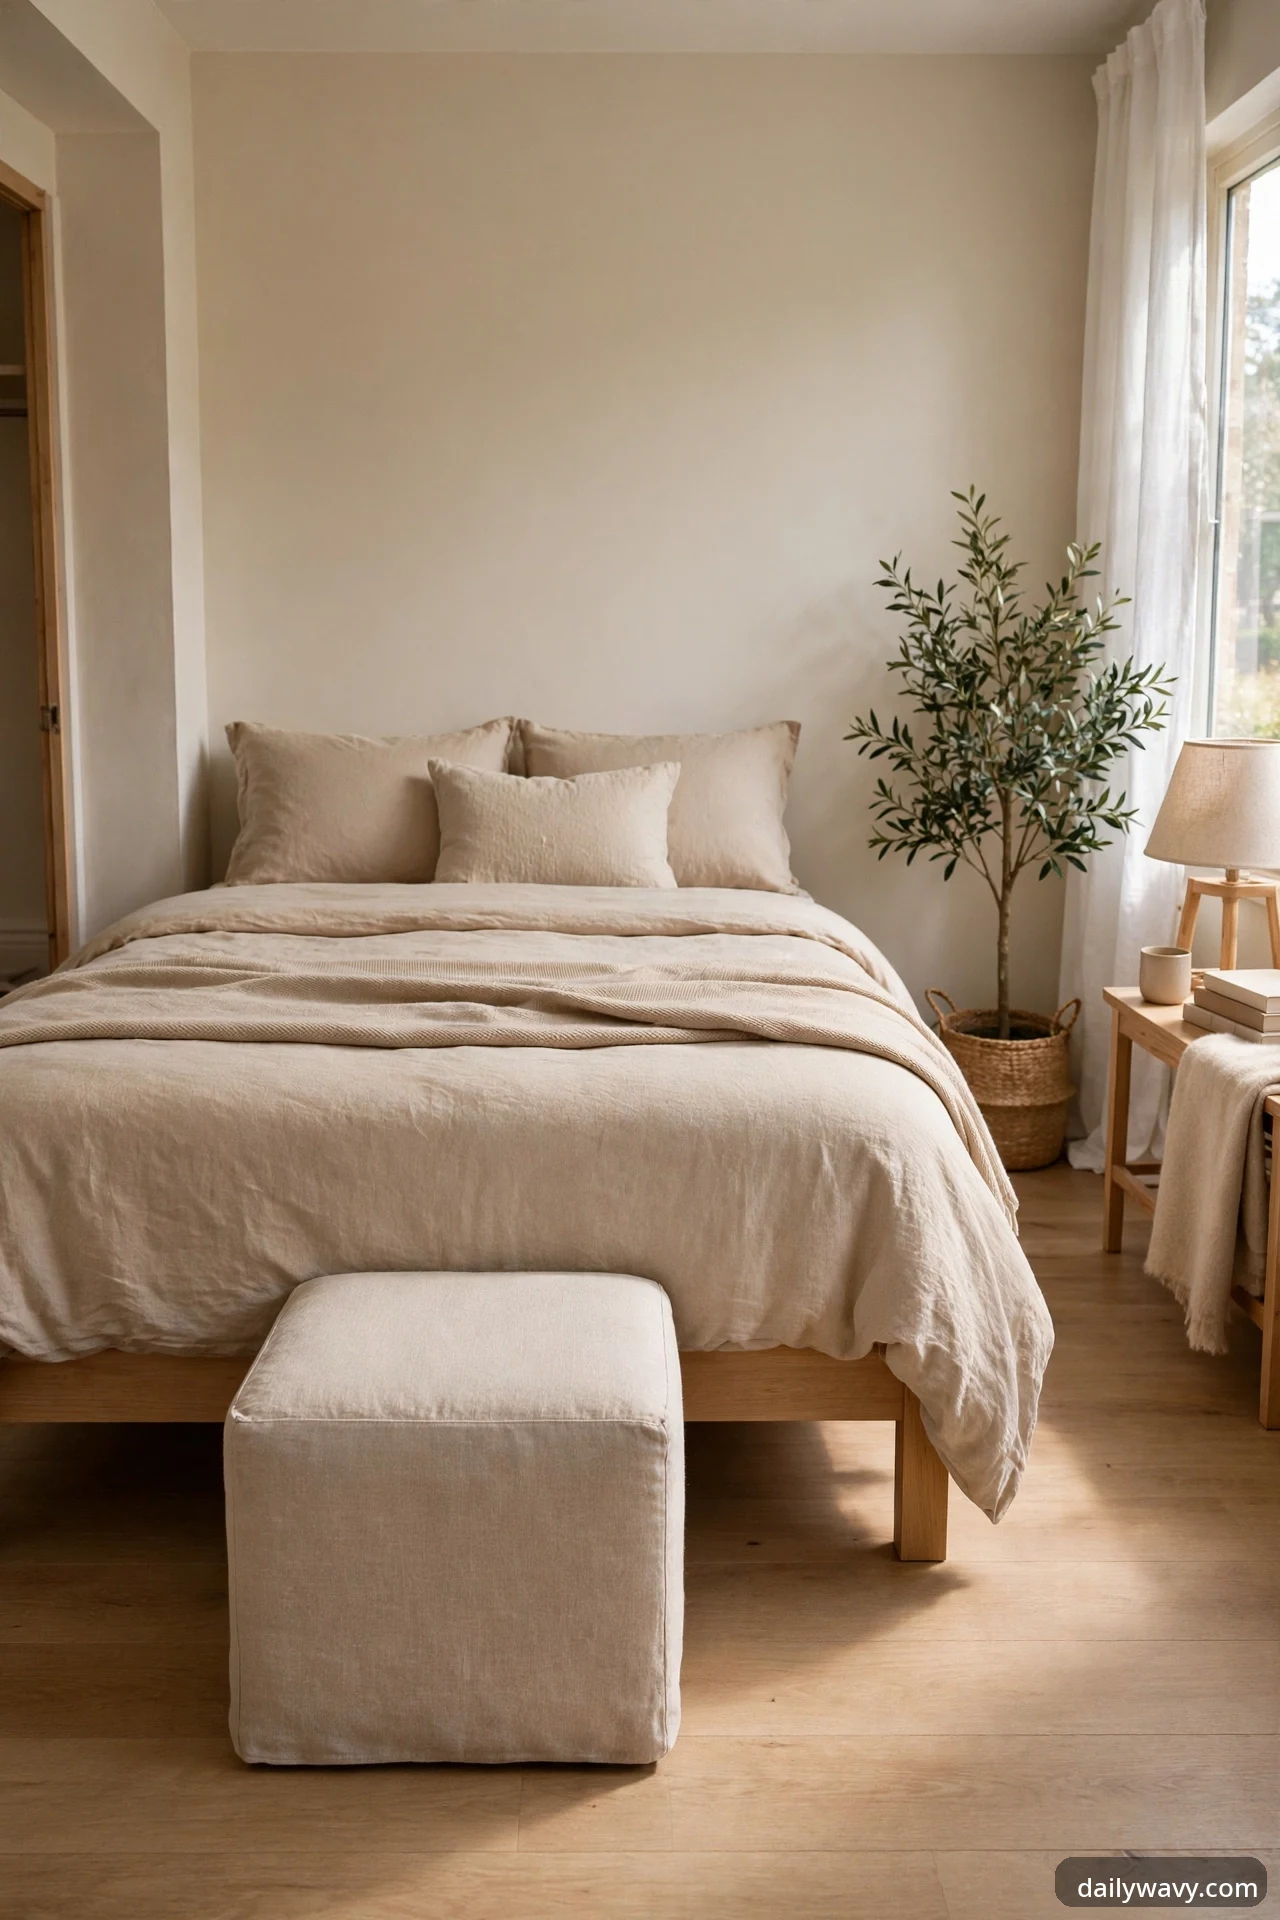
A bedroom that only has a bed feels like a place you sleep, not a place you live. A portable seat or surface, a small ottoman, a folding stool, or a lightweight side table, gives you somewhere to sit while you put on shoes and somewhere to set a cup of tea. Portability is the point: it moves to the living room for guests, to the next apartment without effort, and out of the way when you need floor space.
What to measure: the spot it will live in and the door widths it must pass through if you plan to move it between rooms. Most ottomans run 15 to 18 inches square.
Materials: a small ottoman with interior storage, a folding stool, or a lightweight side table. Storage ottomans earn double credit in a rental.
Placement: at the foot of the bed, beside a reading chair, or in the corner that currently collects laundry. Keep it light enough to lift with one hand.
Approximate effort: five minutes to place and style.
Lower-cost alternative: a sturdy pouf or a large floor cushion does the job for less and stacks in a closet when guests arrive.
18. A freestanding storage piece

When the rental closet is too small, and it usually is, a freestanding storage piece closes the gap without altering anything. A small dresser, a garment rack, or an open shelving unit adds real capacity and moves with you. The renter’s version of built-in storage is furniture that behaves like it was made for the room: sized to the wall, finished to match, and attached to nothing.
What to measure: the wall where it will stand, the ceiling height, and the depth the room can spare without blocking circulation. Keep at least 30 inches of walking space in front of it.
Materials: a freestanding dresser, garment rack, or shelving unit; anti-tip straps if the piece is tall and the household includes children or pets. Adhesive anchors are a weaker substitute for a screwed anchor; if your lease allows a small screw into a stud, that is the safer anchor for a tall piece. Otherwise keep tall pieces low and load the heaviest items at the bottom.
Placement: against a solid wall, never in front of a window or a vent. Anchor tall pieces appropriately even when the anchor is removable.
Approximate effort: forty-five minutes to assemble and position.
Lower-cost alternative: a simple garment rack with a canvas shoe organizer hung from the rod costs little and holds a surprising amount.
Frequently asked questions
Which upgrades actually need my landlord’s permission?
Anything that screws into a wall, alters wiring or plumbing, or changes a fixed finish. Adhesive, tension-based, and freestanding upgrades almost never require permission, but check your lease’s alterations clause once so you know where your line is.
Do adhesive strips work on every wall?
No, and this is the promise to be careful about. They work best on smooth, clean, painted drywall and worst on textured walls, brick, wallpaper, and fresh paint less than a few weeks old. Always patch test on a hidden spot for a week, and follow the weight rating on the package. This is the same honest approach we recommend when styling narrow living room layouts, where the right solution always starts with the actual surface you have.
How do I hang things without nails?
Damage-free hanging strips for light frames, removable hooks for medium items, tension rods inside window frames, and leaning large pieces against the wall. Match the method to the weight: strips list a maximum per set, and exceeding it is the most common cause of wall damage.
Can I really swap cabinet hardware as a renter?
Yes, as long as you keep the originals and the new pieces fit the existing holes. Photograph the original hardware in place, store screws in a labeled bag, and reverse the swap on move-out day. Do not drill new holes.
Is a plug-in lamp safe to leave on?
Use LED bulbs, which run cool, keep shades and cords away from bedding and curtains, and plug into a grounded outlet in a dry location. Unplug or switch off lamps when you leave for long stretches, the same as any small appliance.
How do I reverse everything at move-out?
Work backward through your upgrades: remove adhesives slowly with the pull-tab method, fill any accidental marks with a dab of matching touch-up paint only if your lease allows it, reinstall original hardware, and compare against your move-in photos. Most of the ideas in this guide take under an hour total to reverse.
Make it yours, then take it with you
The best renter upgrades share one quality: they leave with you. Every idea in this guide either moves to the next apartment or comes off the wall without a trace, which means the money and effort you put in keeps paying off long after this lease ends. Start with the one change that would make tomorrow morning better, a warmer light, a calmer corner, a drawer that finally closes, and build from there. If you are thinking beyond the bedroom, similar renter-friendly thinking applies to renter living room upgrades, and you will find more small-space thinking in our home decor ideas.