
12 Deep Pantry Shelf Organization Ideas for Easier Everyday Access
Deep shelves hold a lot, and that is exactly the problem. Items slide to the back, boxes stack sideways, and…
Deep shelves hold a lot, and that is exactly the problem. Items slide to the back, boxes stack sideways, and something you bought in spring turns up in autumn behind the rice. A deep pantry works well once it respects one rule: everything you reach for regularly must come forward on its own, without digging. The twelve ideas below were planned for shelves roughly 16 to 24 inches deep. Each one tells you what to measure, what to buy, where to put it, and what it costs in effort and dollars. If your whole pantry is small rather than just deep, our small pantry organization guide covers layouts where every inch counts.
Jump to an idea
- A narrow labeled basket
- Clear airtight containers for suitable dry food
- Original packets grouped upright
- A first-in-first-out row
- A small overflow bin
- A pull-out tray for hard-to-reach items
- A designated weekly-meal basket
- A light shelf label strip
- A zone for open packages
- A narrow divider between categories
- A small inventory clipboard
- A low-access shelf for everyday items
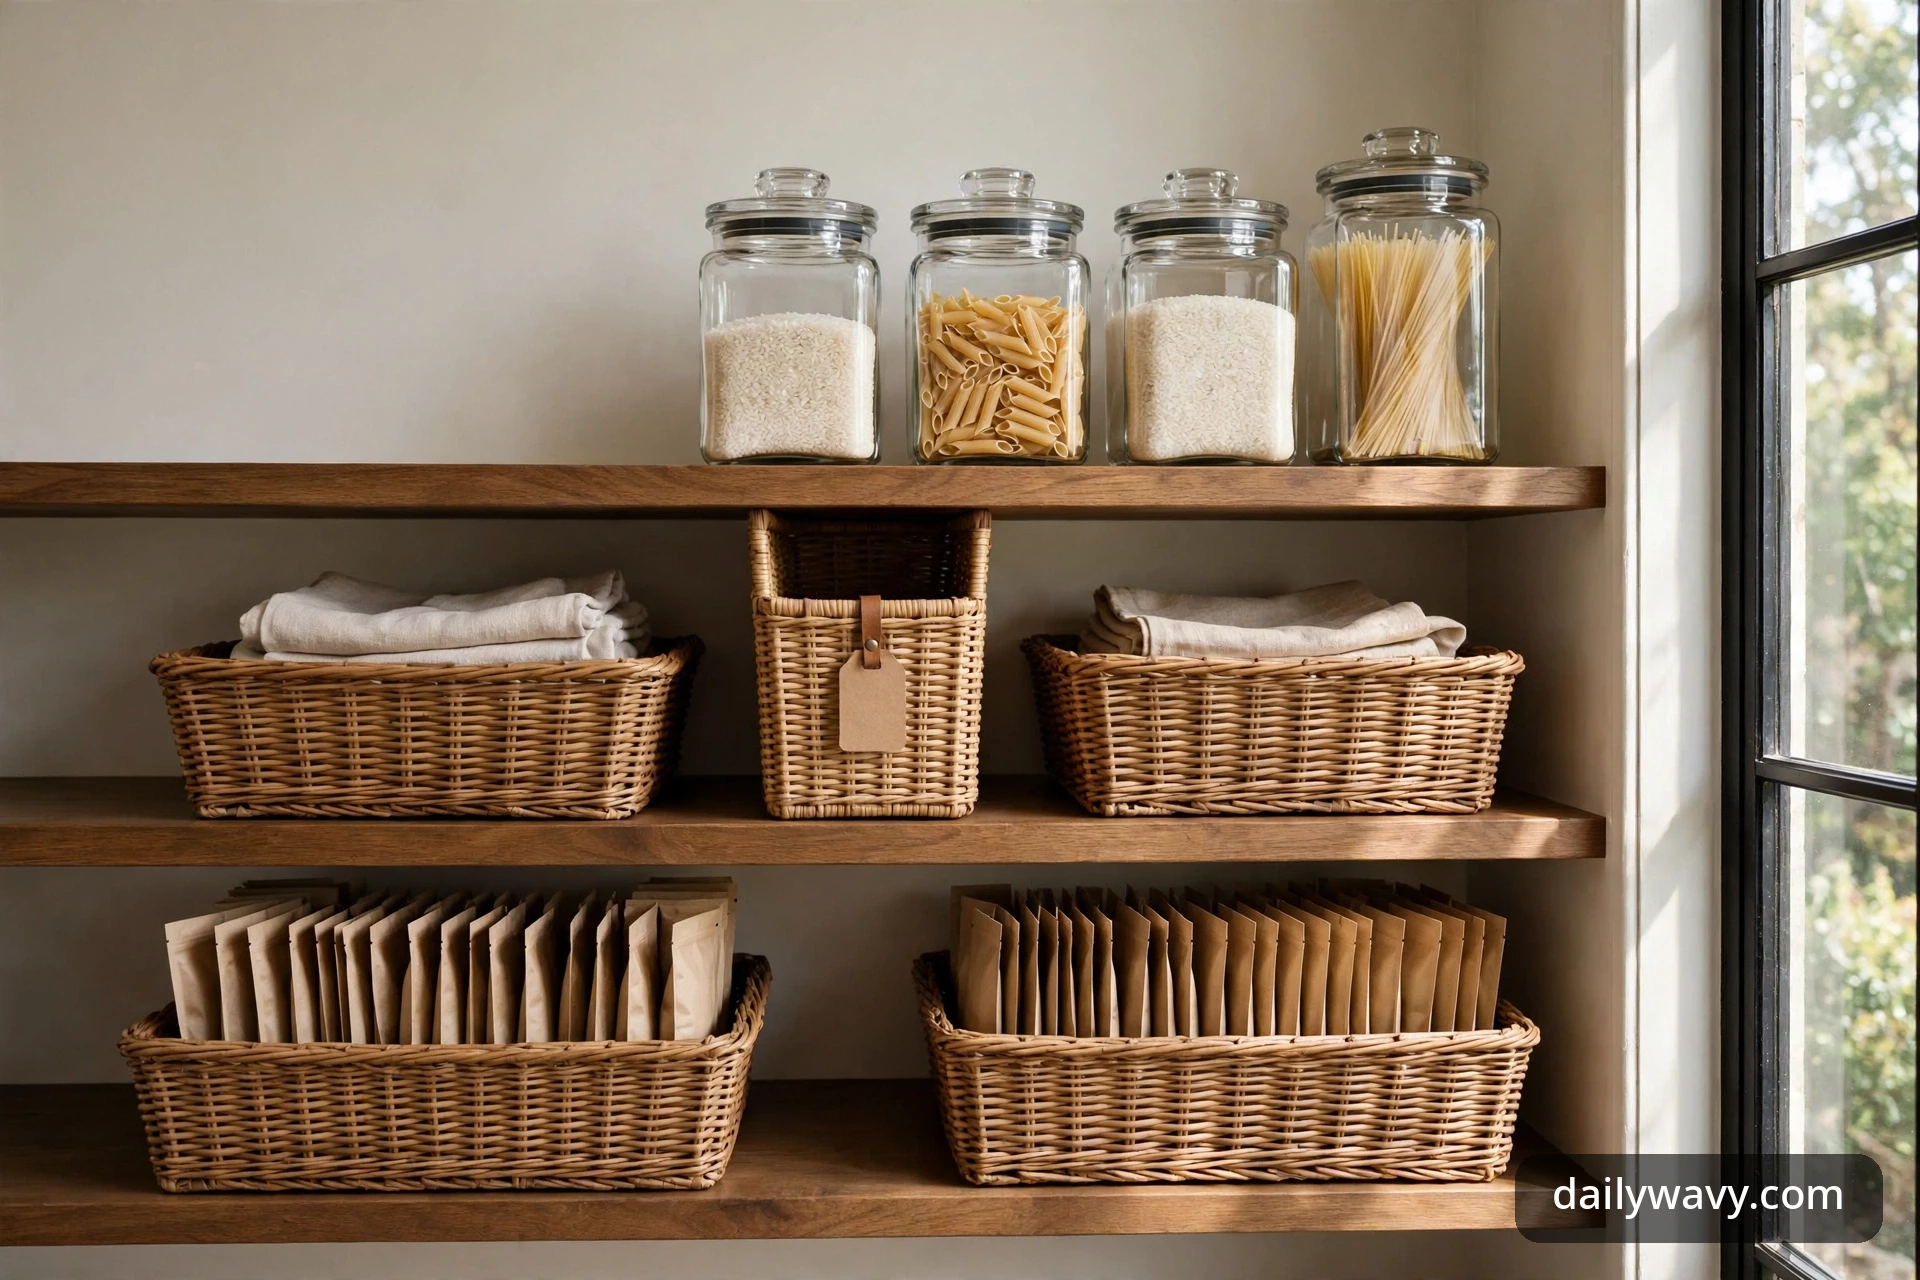
How a deep shelf actually works
Before the ideas, it helps to understand the geometry. Your comfortable reach runs about 20 to 24 inches from the shelf edge. On a 20-inch-deep shelf, the back row is at the edge of your reach. On a 24-inch shelf, the last four inches are blind and unreachable without bending or stepping up. That is why the back of deep pantries fills with forgotten food.
The fix has two parts. First, keep back-row residents passive: backstock, duplicates, and items you use monthly, not daily. Second, give daily and weekly items a carrier that slides forward so you never chase them. Baskets, trays, and pull-outs are carriers. Labels are the memory.
A few ground rules apply to every idea below. Never decant food into a container without its date. When you pour cereal, rice, or flour into an airtight jar, write the best-by date from the original package on a small label and stick it to the jar. Keep allergen information visible too: if a cookie mix or soup base contains wheat, dairy, or nuts, that note stays readable. The front of each shelf belongs to this week. The back belongs to backups. And every shelf keeps one inch of clearance at the front edge so nothing tumbles when you pull a basket forward. Check that each shelf is rated for the weight you plan to store, and keep the heaviest jars and cans on the lowest shelves.
1. A narrow labeled basket

There is something quietly satisfying about a basket that fits its shelf like it was measured for it, because it was. A narrow labeled basket turns the front twelve inches of a deep shelf into a drawer you can grab with one hand. Cans, sauce packets, seasoning mixes, and snack bars stop sliding around and start behaving like a category.
What to measure: Measure the usable depth of your shelf from the front edge to the back wall, then subtract one inch for clearance. Choose a basket 10 to 12 inches deep so it slides out without catching. Measure shelf height between shelves too, so tall bottles do not get in the way when the basket slides.
Materials: One narrow rigid basket, about 5 to 7 inches wide and 10 to 12 inches deep. Stiff woven baskets, plastic bins, or canvas bins with rigid inserts all work. Add a label: adhesive labels, a small chalk tag, or a clip-on tag holder.
Placement: Set it in the front of the shelf, grouped by category. One basket might hold canned tomatoes and tomato paste; another might hold breakfast items. Push one basket per category into each front position so you can pull exactly what dinner needs.
Approximate effort and cost: About 15 minutes per basket including labeling, and most narrow baskets cost 6 to 14 dollars each. A six-basket shelf usually lands between 36 and 84 dollars.
Troubleshooting tip: If the basket slides too stiffly or tips when pulled, add low-friction strips or a thin non-slip pad under it. Non-slip pads also stop the basket from drifting backward over time.
A realistic lower-cost alternative: Cut down a sturdy shipping box to a 10-inch depth, wrap it in contact paper, and write the label on the front with a marker. It does much of the same job for about two dollars.
2. Clear airtight containers for suitable dry food
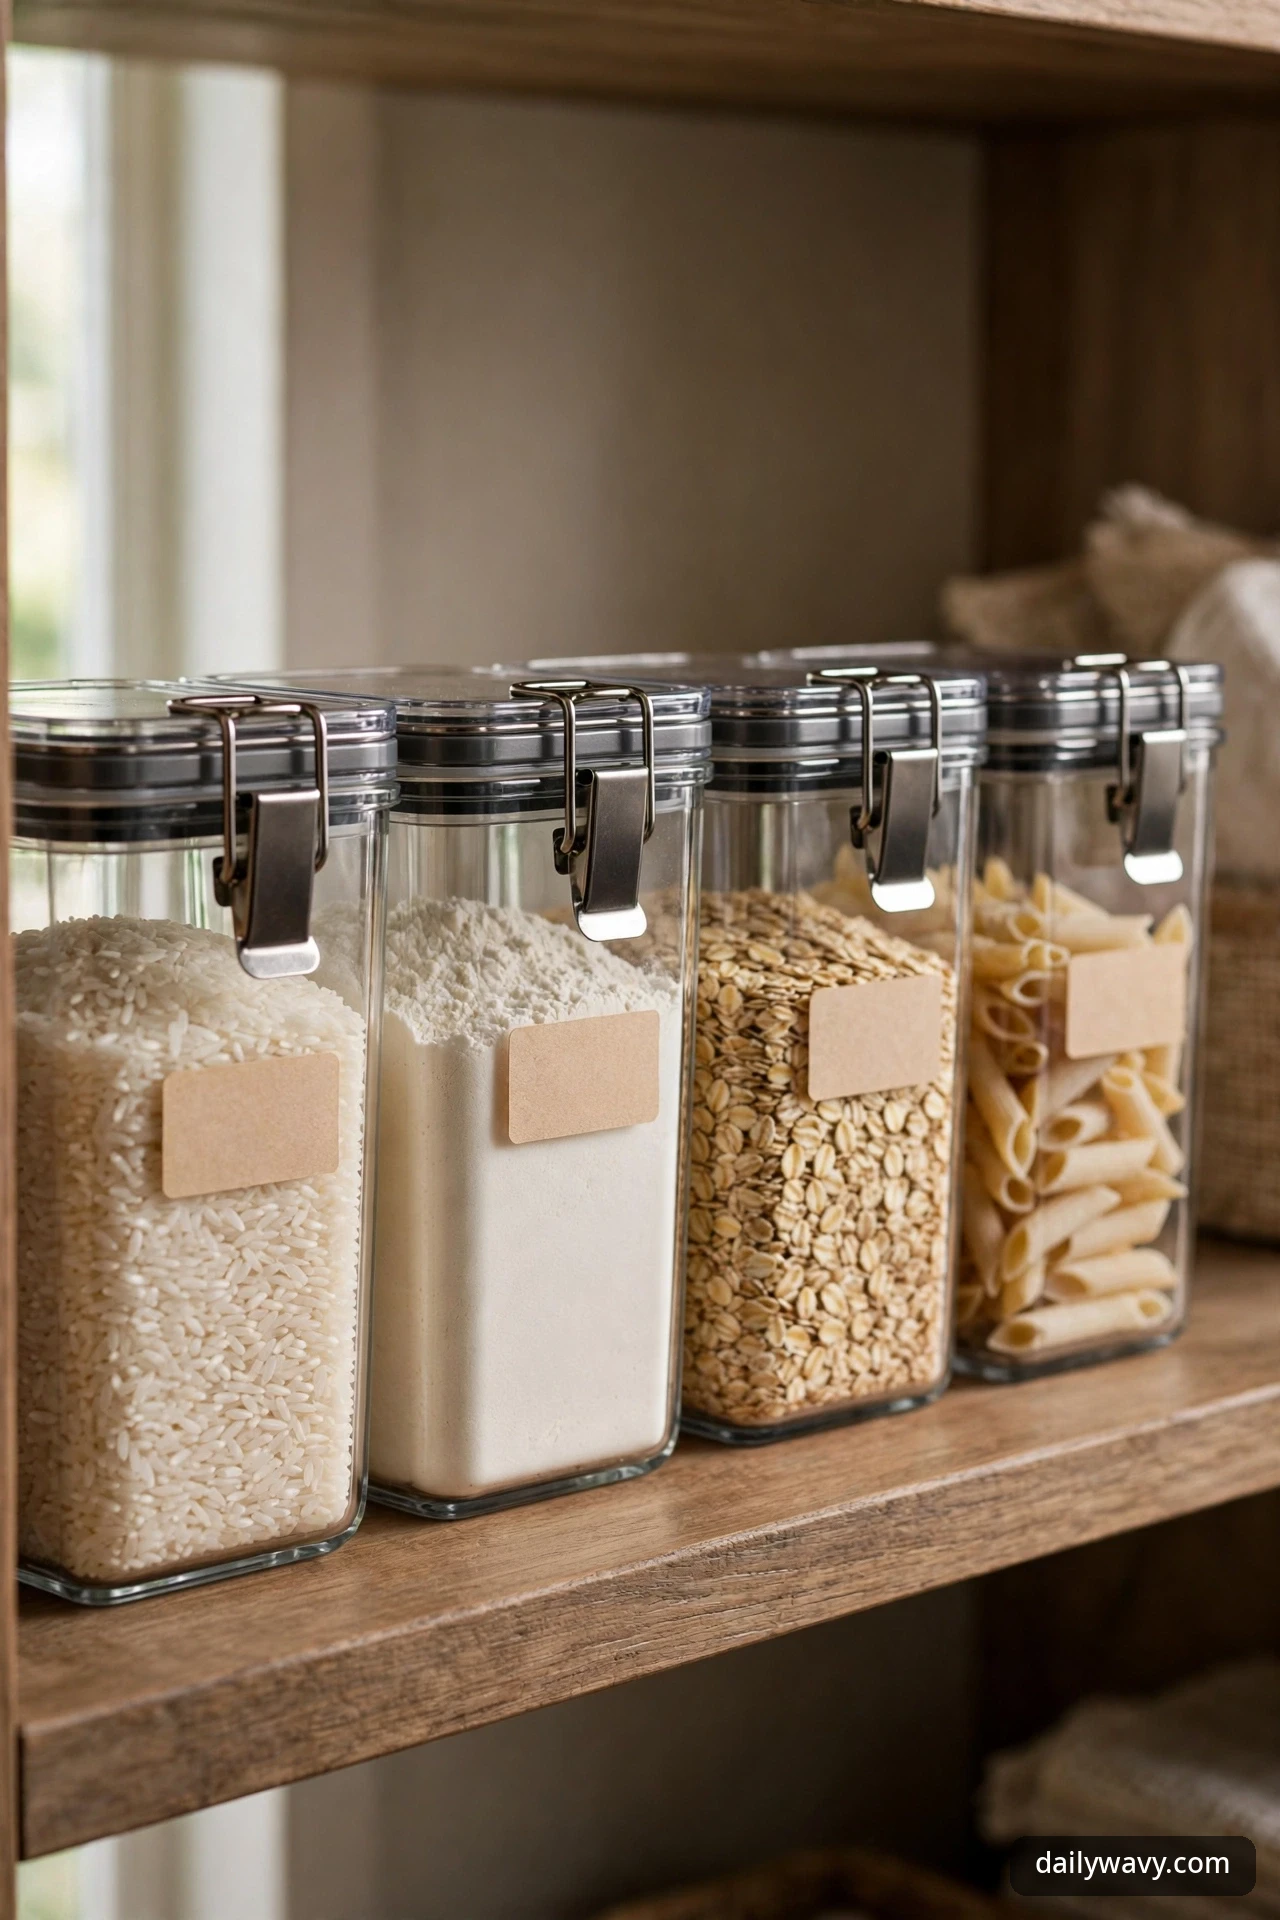
Pouring rice, pasta, flour, or oats into a clear airtight container does three useful things. It shows you exactly what is inside, it shows you how much is left, and it protects dry food from pantry moths and stale air. On deep shelves, the clarity matters even more because you are scanning rows from several feet away.
What to measure: Measure the gap between shelves to pick a container height that slides in and out with the lid on. For deep shelves, pick containers 10 to 12 inches deep so they sit flush at the front. Measure your most-used quantities: a five-pound bag of flour needs roughly a 5-quart container, and a standard rice bag needs about 3 quarts.
Materials: Square or rectangular clear containers with locking lids. Square shapes waste less shelf space than round ones. Add small date labels and a marker kept nearby.
Placement: Line them in a single row at the front of a mid-height shelf, lids at the same level so the row reads like a tidy skyline. Group by use: baking flours together, grains together, snacks together.
Approximate effort and cost: About 30 minutes to decant and label a full shelf. A set of six to eight locking containers usually runs 30 to 60 dollars.
Troubleshooting tip: Decant only dry goods with a generous shelf life. Salt, sugar, flour, rice, oats, dried beans, pasta, and coffee all suit airtight jars. Keep the original package’s best-by date on a label on each container, and keep allergen notes readable for anything that contains wheat, dairy, nuts, or soy.
A realistic lower-cost alternative: Save large clear glass or plastic jars from pasta sauce and pickles. Wash them, dry them completely, and label them. The containers are free and the visibility is just as good.
3. Original packets grouped upright

Not everything should be decanted. Taco seasoning, gravy mixes, soup bases, tea bags, gelatin, and yeast packets keep their directions, allergen labels, and expiry dates right on the package. Grouping original packets upright in a slim holder keeps those labels readable and stops packets from sliding flat and disappearing under larger boxes.
What to measure: Measure the height between shelves and pick a holder 5 to 7 inches tall, leaving room to reach in from above. Depth matters less here; 8 to 10 inches is plenty. Count your packet categories to size the holder: spice mixes, hot drinks, and baking aids usually fill one row.
Materials: A slim upright organizer, an acrylic file-sorter style bin, or a small tension basket. A magnetic memo clip can hold a “use first” note on the front.
Placement: Put this organizer on a shallow section of an upper-mid shelf, close to where you actually cook. Packets stand upright like files, facing forward so you can read them at a glance.
Approximate effort and cost: About 20 minutes to sort and stand every packet. Upright holders run 8 to 18 dollars; file-sorter bins from office supply aisles work well.
Troubleshooting tip: Packets with allergen warnings go facing forward and stay in their original packaging. Never toss a half-used packet loose into a basket; it migrates to the bottom and becomes a mystery pouch.
A realistic lower-cost alternative: A small cardboard box cut to a 6-inch height and divided with a piece of folded card works as a packet file for about a dollar in materials.
4. A first-in-first-out row

The first-in-first-out row is the quiet engine of a low-waste pantry. New cans and boxes go in at the back of the row. You always take from the front. Far less expires behind something newer, and you are far less likely to find three-year-old soup behind the broth you bought last month.
What to measure: Measure shelf depth and mark a row 12 to 14 inches deep. Anything deeper stops reading as one row and becomes two zones. Measure the tallest can in the row and keep clearance of at least an inch above it.
Materials: No special gear is required, though a low-profile shelf riser or a narrow can organizer helps. The real tool is a simple rule everyone in the house can follow.
Placement: Dedicate one front row per shelf to the highest-turnover categories: canned tomatoes, canned beans, broth, and coconut milk. When groceries come home, slide the row forward, add the new stock at the back, and push it back into place.
Approximate effort and cost: About 20 minutes to set up the first time, then five minutes per grocery run. The organizer is your habit, and it is free.
Troubleshooting tip: When a row mixes can sizes, tall cans migrate to the back and short cans vanish behind them. Keep one row per size class: tall cans together, short cans together, jars in their own row.
A realistic lower-cost alternative: The method needs no purchase at all. Start with the rule itself. If it holds for a month, then spend money on organizers to make it easier.
5. A small overflow bin

Every pantry has a pressure valve problem: groceries arrive before last week’s stock is used up. A small overflow bin gives incoming duplicates a legal parking spot instead of letting them wedge into the back of the shelf where they become archaeology. When the front row empties, the overflow bin feeds it.
What to measure: Size the bin to one shelf position, about 10 inches wide and 12 inches deep, so it fits where a category basket would sit. Keep it low enough to see inside: 8 to 10 inches tall is right.
Materials: One medium bin with handles and a visible label like “Overflow” or “Backstock”. Handles matter because you will lift it out to check what is inside.
Placement: Give the bin a fixed home at the end of a shelf or on the lowest shelf. Treat it as the pantry’s waiting room. When you shop, the bin is the first place you check before buying more of something.
Approximate effort and cost: About 10 minutes to set up and label. A handled bin costs 8 to 16 dollars.
Troubleshooting tip: An overflow bin becomes a junk bin if you never look inside it. Check it before every grocery run. If something sits in overflow for more than a month, move it to the front row or admit it was an optimistic purchase.
A realistic lower-cost alternative: A clean, rigid shopping tote with the handles folded inside works as a temporary overflow bin. It costs nothing and encourages the same discipline.
6. A pull-out tray for hard-to-reach items

On the deepest shelves, few things beat a tray that comes to you. A pull-out tray holds oils, vinegars, sauces, and tall bottles in a single sliding unit. Pull the handle and the entire back row of a 22-inch shelf glides into reach. Push it back and the shelf looks calm again.
What to measure: Measure the full shelf depth, side to side, and the clearance between shelves. The tray should run 14 to 20 inches deep, stopping an inch short of the back wall. Leave one inch of clearance at the front. Measure the tallest bottle it will hold so the top shelf does not block the slide.
Materials: A low-sided sliding tray or under-shelf pull-out basket, ideally with a handle cutout. Look for smooth-rolling rails or low-friction runners. A thin liner keeps bottles from sliding inside the tray.
Placement: Install or set the tray on the deepest shelves, usually the middle shelf where bottles live. Heavy bottles go toward the middle of the tray so the weight stays centered when you pull it.
Approximate effort and cost: About 30 minutes to fit and load. Sliding pantry trays run 15 to 35 dollars each depending on width and rail quality.
Troubleshooting tip: If the tray tips forward when loaded, the heaviest items are too far toward the front. Shift bottles back a few inches and keep the heaviest row centered. Check that tall bottles cannot knock into the shelf above when the tray moves.
A realistic lower-cost alternative: A shallow baking sheet or cafeteria tray with a folded towel as a liner slides almost as well on a smooth shelf. Add a loop of ribbon as a pull handle for under two dollars.
7. A designated weekly-meal basket
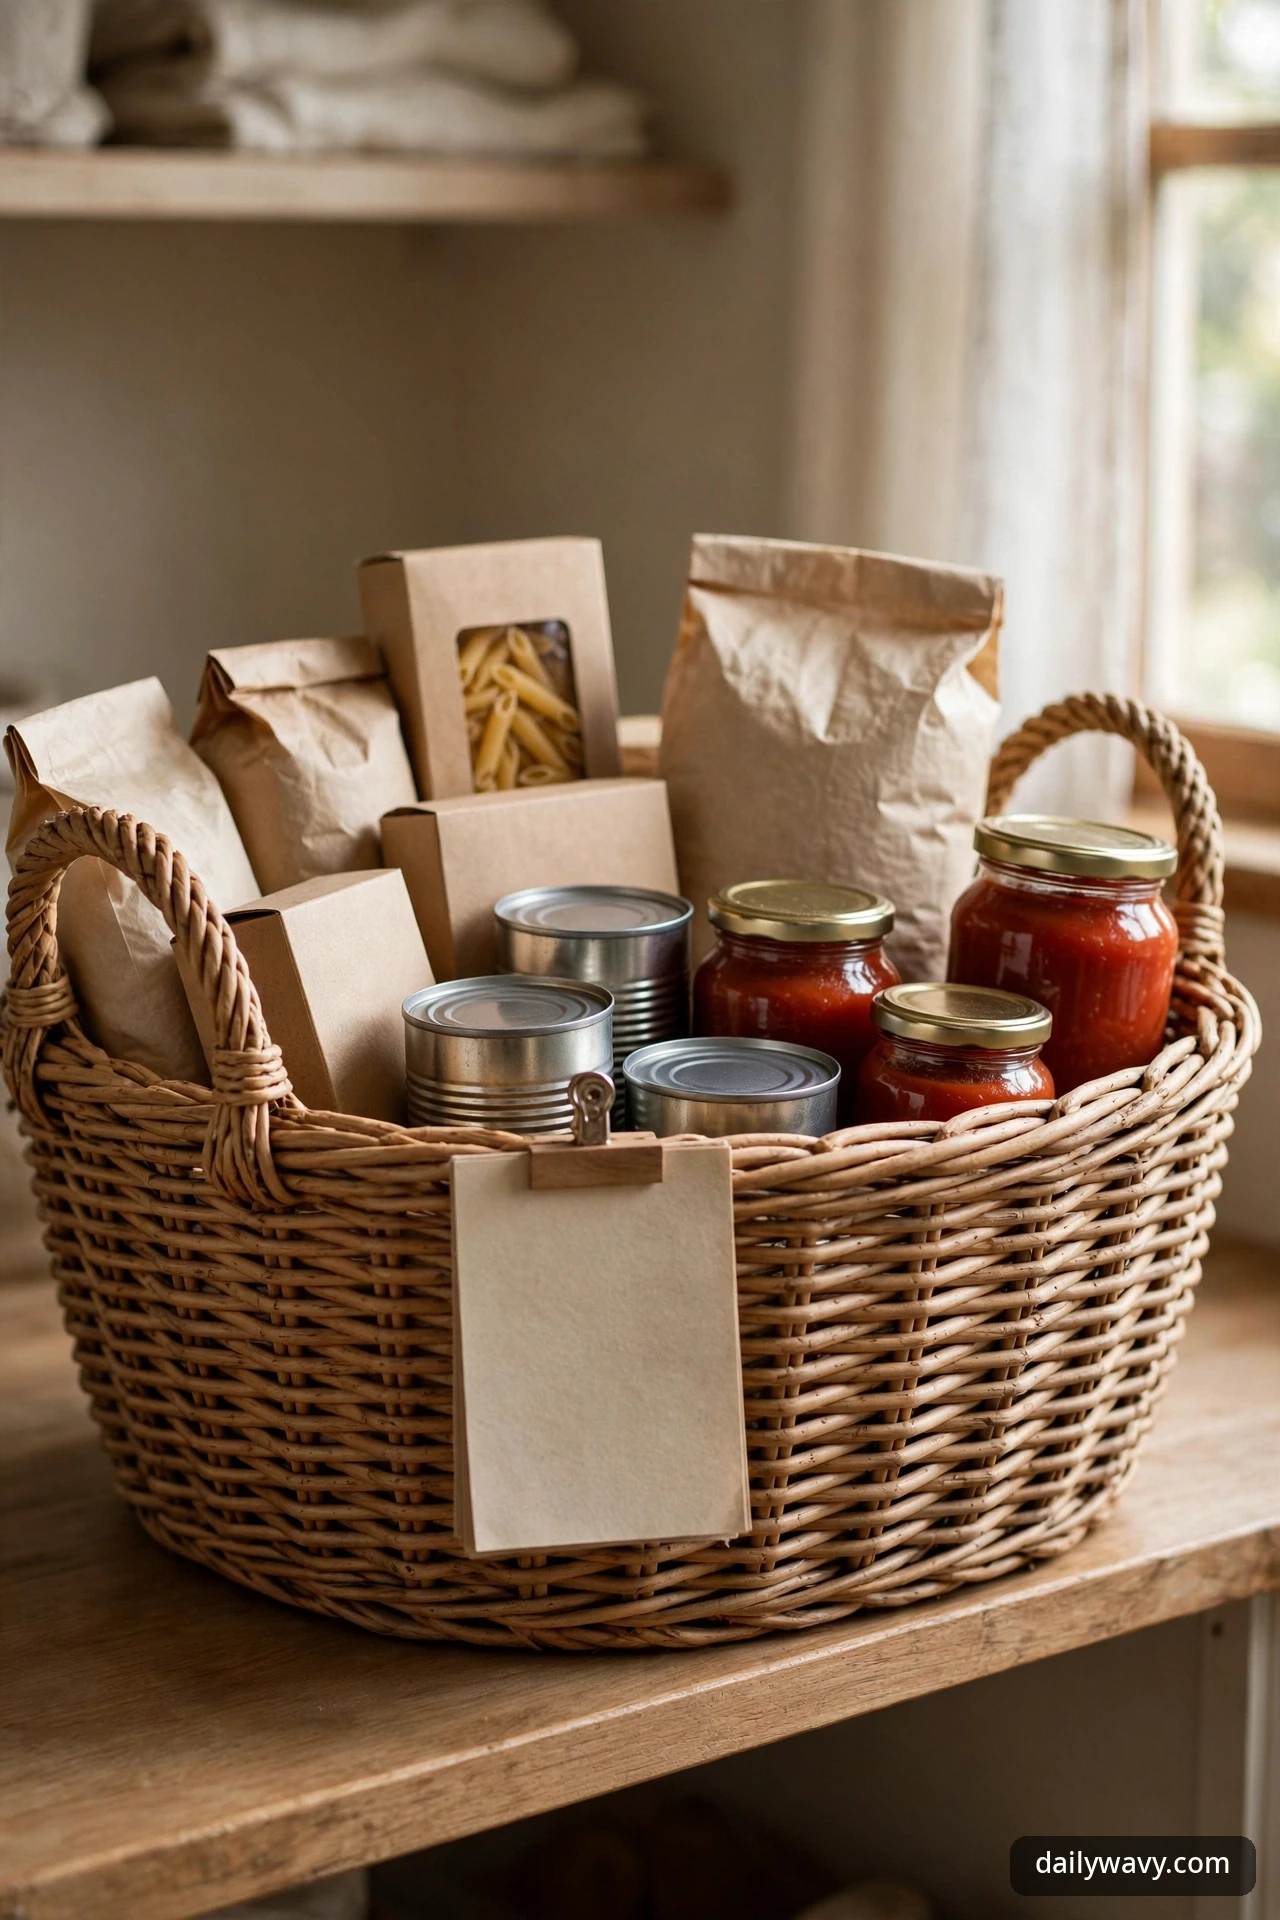
Meal planning lives or dies on one question: where are this week’s ingredients? A designated weekly-meal basket holds exactly what the next five to seven dinners need. On shopping day, it fills. On cooking nights, you pull one basket instead of opening the pantry five times. At the end of the week, whatever remains tells you what to plan around next.
What to measure: Size it generously, about 12 inches wide and 12 inches deep, since it holds whole meals. Make sure it fits through the pantry doorway comfortably and slides onto its shelf without lifting over other items.
Materials: One large handled basket or bin and a removable label or clip where you write the week’s start date. A small notepad inside the basket holds the meal list.
Placement: Keep it on the most reachable shelf, usually middle height near the door. It should be one of the first things your hand finds when you walk in hungry.
Approximate effort and cost: About 10 minutes a week to fill and label. A large handled basket costs 10 to 20 dollars.
Troubleshooting tip: If the basket overflows, you are planning too far ahead or shopping without a list. Five to seven meals is the sweet spot. Perishables like dairy and produce stay in the fridge, not in this basket; the basket holds dry and canned components.
A realistic lower-cost alternative: A reusable grocery tote bag hung on the pantry door can hold a week’s dry ingredients too. The visibility is lower, so keep the meal list pinned to the front.
8. A light shelf label strip
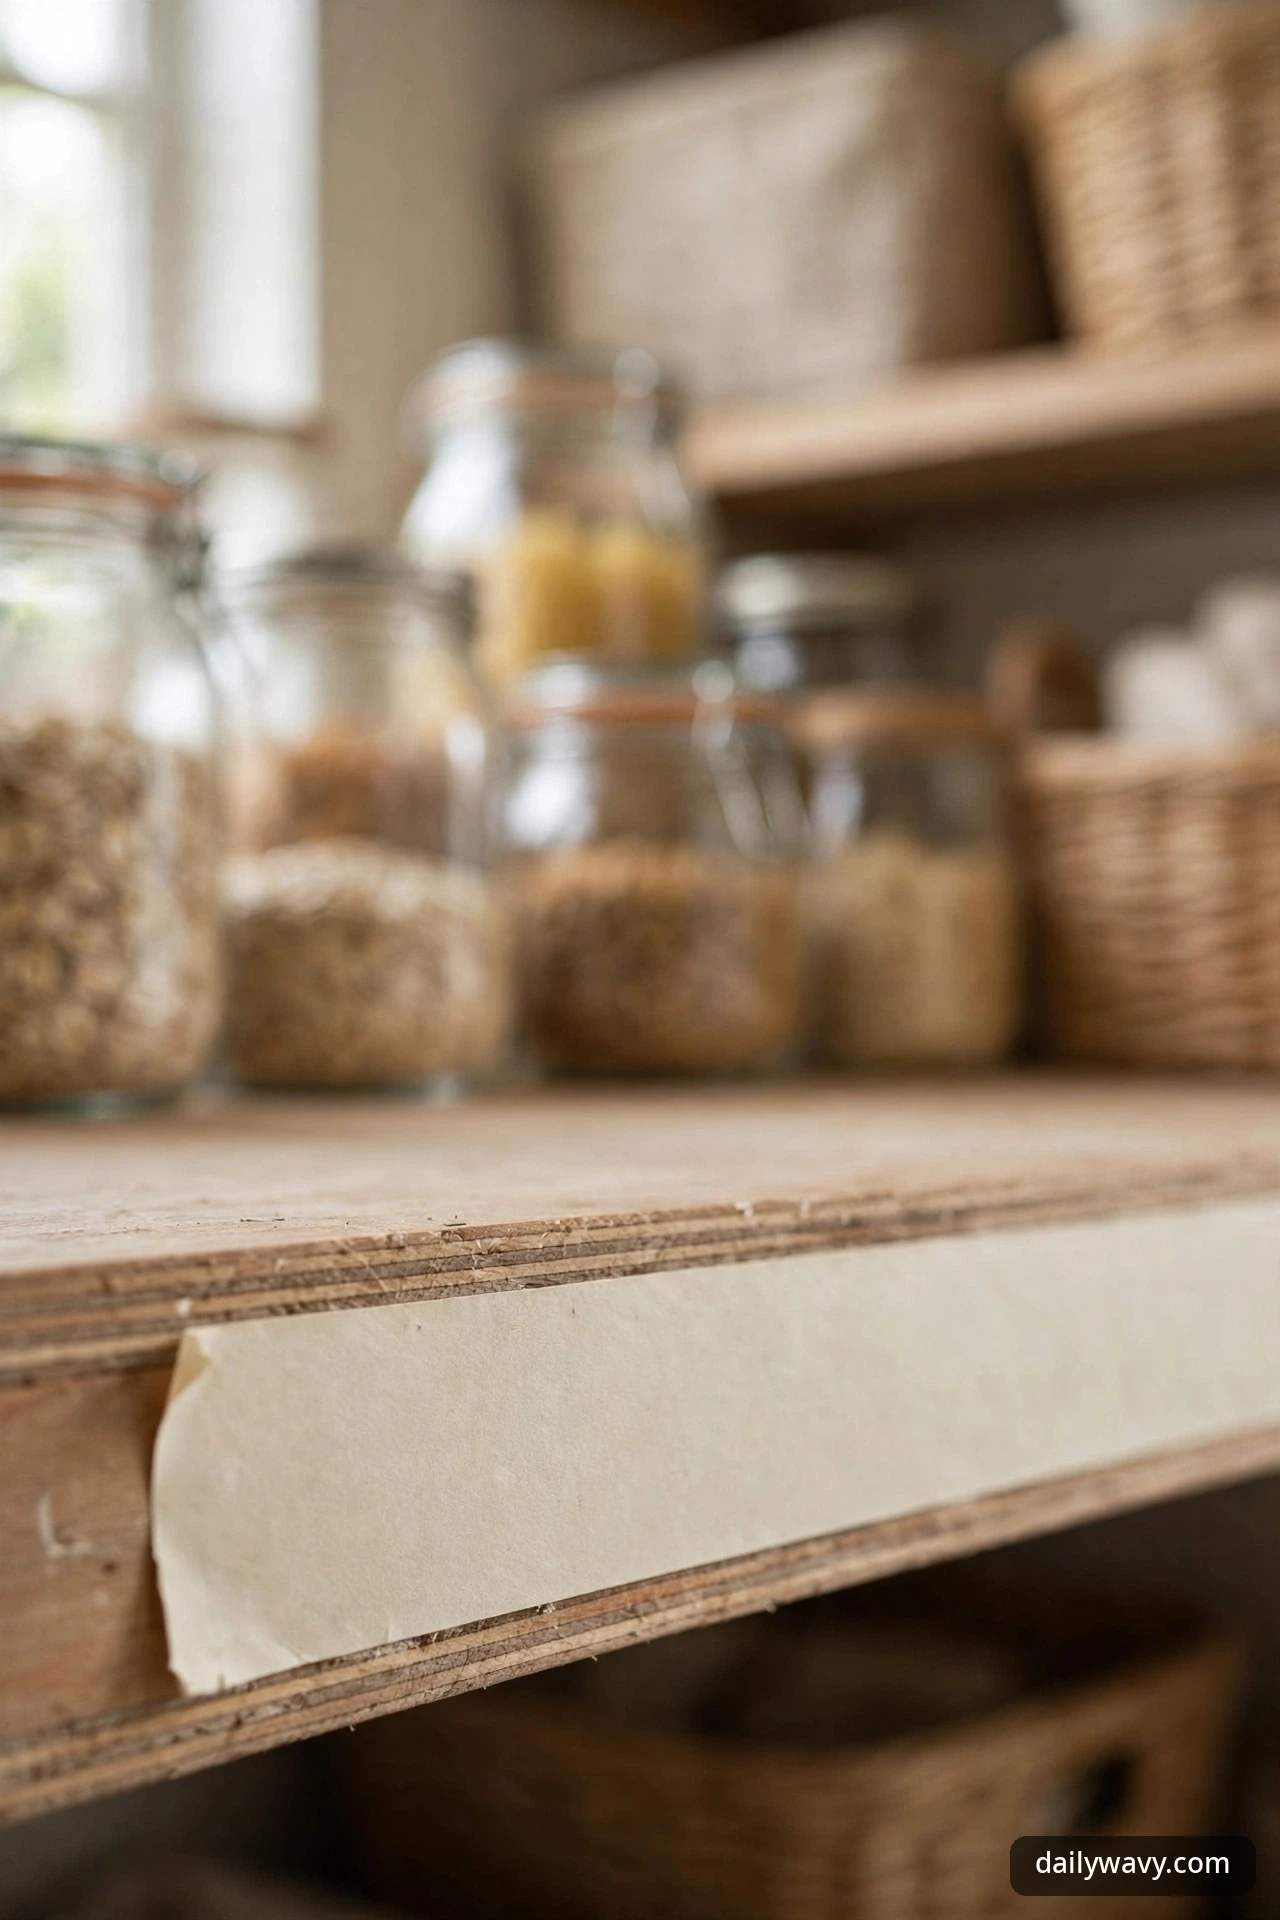
You open the pantry, you scan, and your eyes decide quickly. A light label strip on the front edge of each shelf turns that scan into a map. “Grains,” “Baking,” “Snacks,” “Cans.” Most people in the house, including guests and teenagers, are more likely to put things back in the right place because the shelf itself says where things belong.
What to measure: Measure the front edge of each shelf. Label strips run the full width, usually 24 to 36 inches. Pick a strip height you can read from a few feet away: half-inch letters are the minimum.
Materials: Adhesive label tape, a label maker, or reusable magnetic label strips. For wood shelves, small clip-on sign holders work without adhesive. Light-colored strips on dark shelves read well.
Placement: Apply strips to the front vertical edge of each shelf, centered on its zone. Match the strip to the zone behind it, not to the container. When a zone moves, the strip moves with it.
Approximate effort and cost: About 30 minutes to label a full pantry. A label maker is 15 to 25 dollars; adhesive strips cost a few dollars per shelf.
Troubleshooting tip: Labels rot when zones change and nobody updates them. Review labels seasonally. A label that says “Holiday Baking” in March is a small lie your pantry tells every day.
A realistic lower-cost alternative: Painter’s tape and a marker make excellent temporary labels. They peel off cleanly when zones change, which can make them a better choice than permanent labels during the first month.
9. A zone for open packages
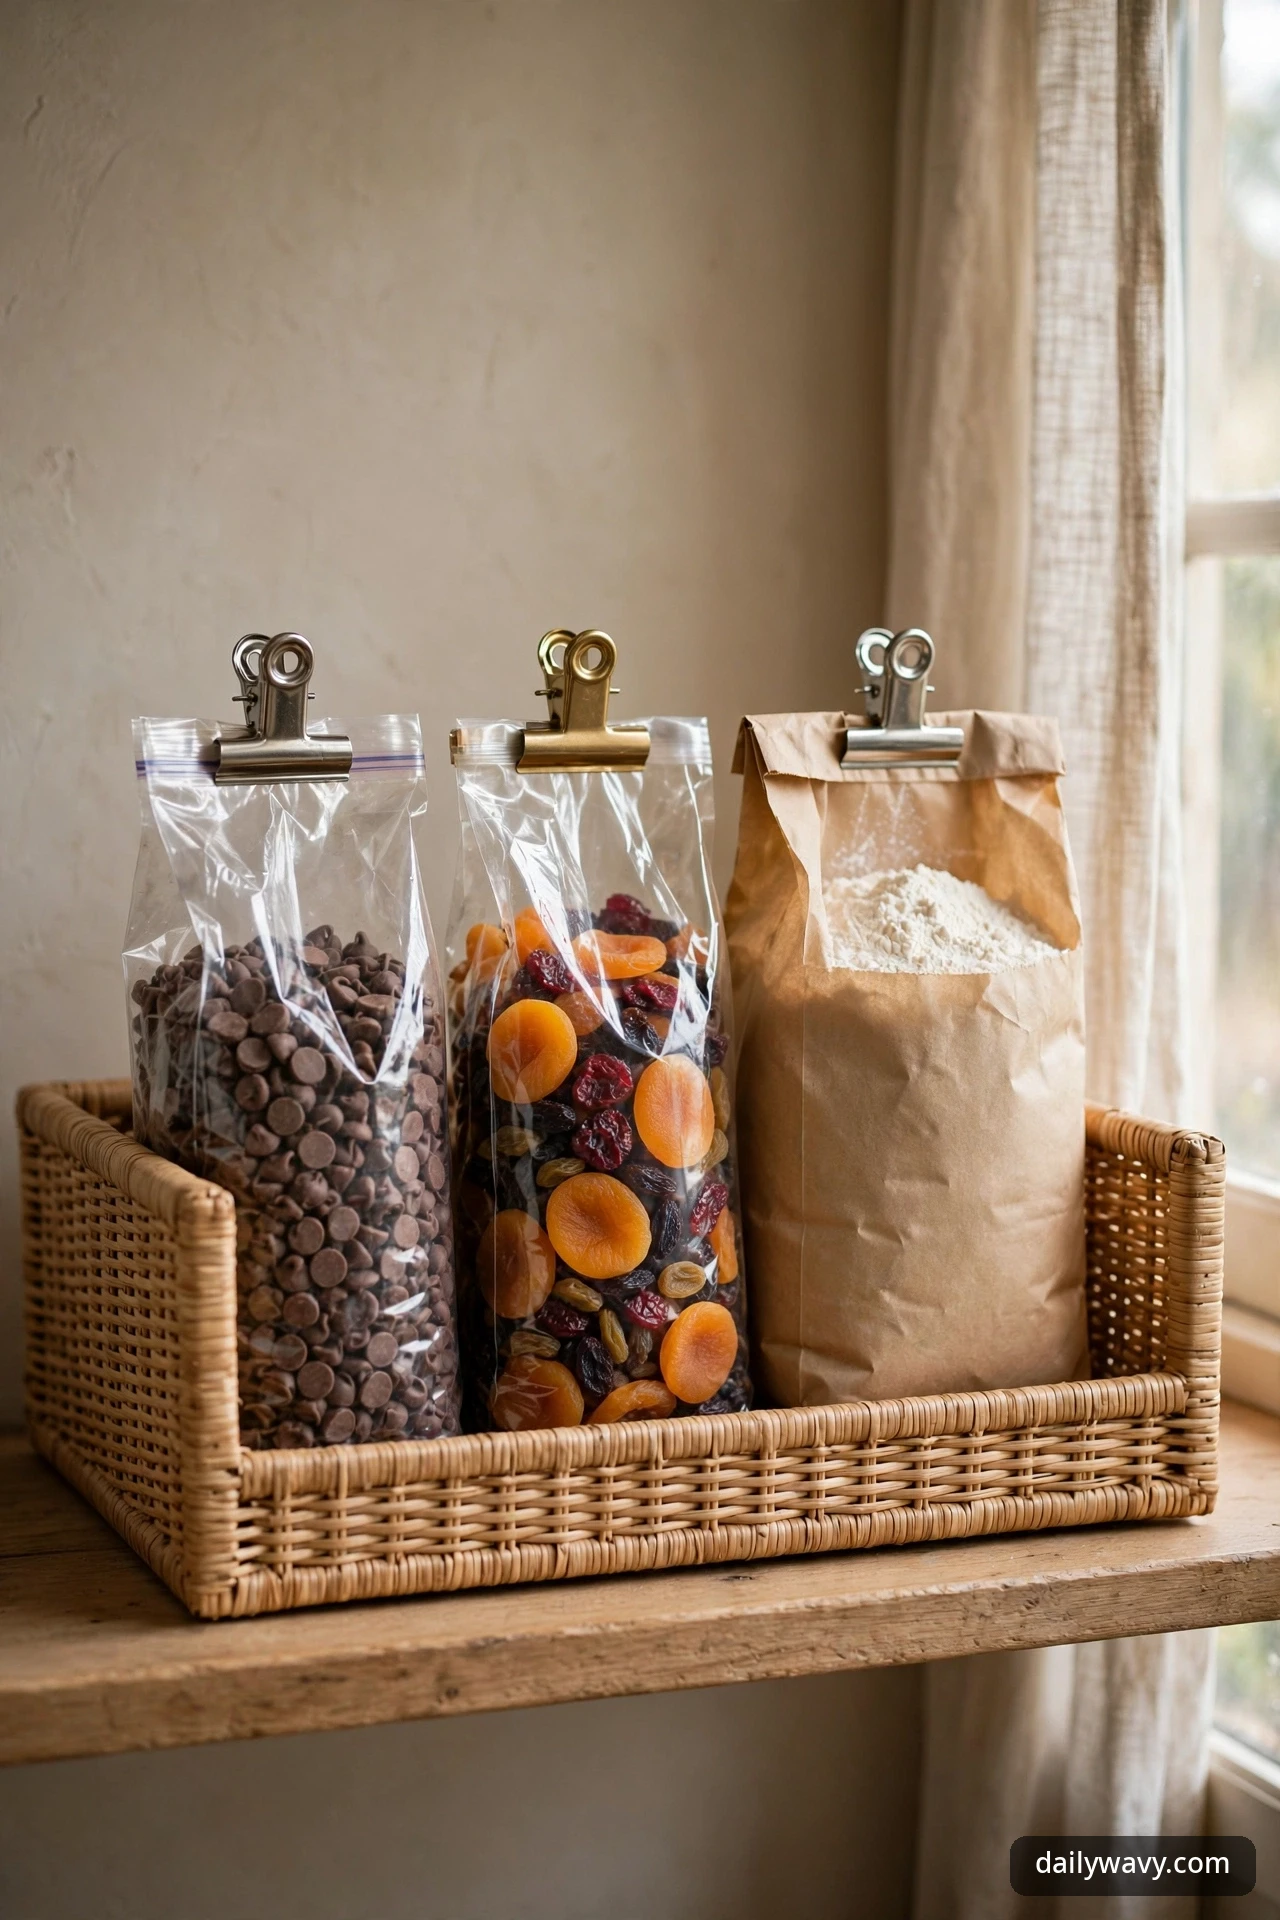
Opened bags are the pantry’s wandering population. Half a bag of chocolate chips, a torn corner of flour, a bag of dried fruit with a clip on it. Without a home, they drift to the back and go stale or spill. A dedicated zone for open packages, one basket or one shelf section, keeps every open bag visible, clipped, and reachable.
What to measure: Reserve a zone about 12 inches wide at the front of a mid shelf. It should be shallow enough that you can see every bag without moving one: 10 to 12 inches deep is right.
Materials: One shallow open-front bin plus sturdy bag clips. Clips matter more than the bin; a bag that cannot reseal is likely to spill.
Placement: Put the open-package zone at the front of an easy shelf, at or above counter height. Open packages are high-traffic items and belong where your eyes land first.
Approximate effort and cost: About 15 minutes to gather every open package in the house into one zone. A shallow bin is 6 to 12 dollars; a bag of sturdy clips is a few dollars.
Troubleshooting tip: Allergen labels must stay visible on open packages. If you decant part of an opened package into a jar, the jar gets the date and the allergen note from the original bag. Never leave an unclipped open bag in the zone; it is likely to spill.
A realistic lower-cost alternative: Any shallow box or tray with a folded towel inside works as the open-package zone. Spend your money on good clips instead of a pretty bin.
10. A narrow divider between categories

Deep shelves invite categories to lean into each other until everything is one blended crowd. A narrow divider, a slim acrylic panel or a simple bookend, keeps pasta on its side of the line and canned goods on theirs. It is a small piece of architecture with an outsized effect on order.
What to measure: Measure shelf depth to pick a divider long enough to matter: 10 to 12 inches. Measure the tallest item on either side so the divider stands high enough to separate them: 6 to 8 inches is typical.
Materials: Slim acrylic shelf dividers, metal bookends, or tension-style dividers. Two per shelf is usually enough; every boundary does not need one.
Placement: Set dividers at the borders between categories: where grains end and snacks begin, where baking stops and breakfast starts. Leave each zone wide enough for its contents plus a little growth room.
Approximate effort and cost: About 10 minutes per shelf. A set of four slim dividers costs 10 to 18 dollars.
Troubleshooting tip: Dividers only work if categories stay honest. If snacks keep invading the baking zone, the zones are wrong, not the divider. Resize the zones to match how you actually shop.
A realistic lower-cost alternative: Heavy books or a small clean flowerpot work as category bookends. They are free, they hold their ground, and few people question a bookend in a pantry.
11. A small inventory clipboard
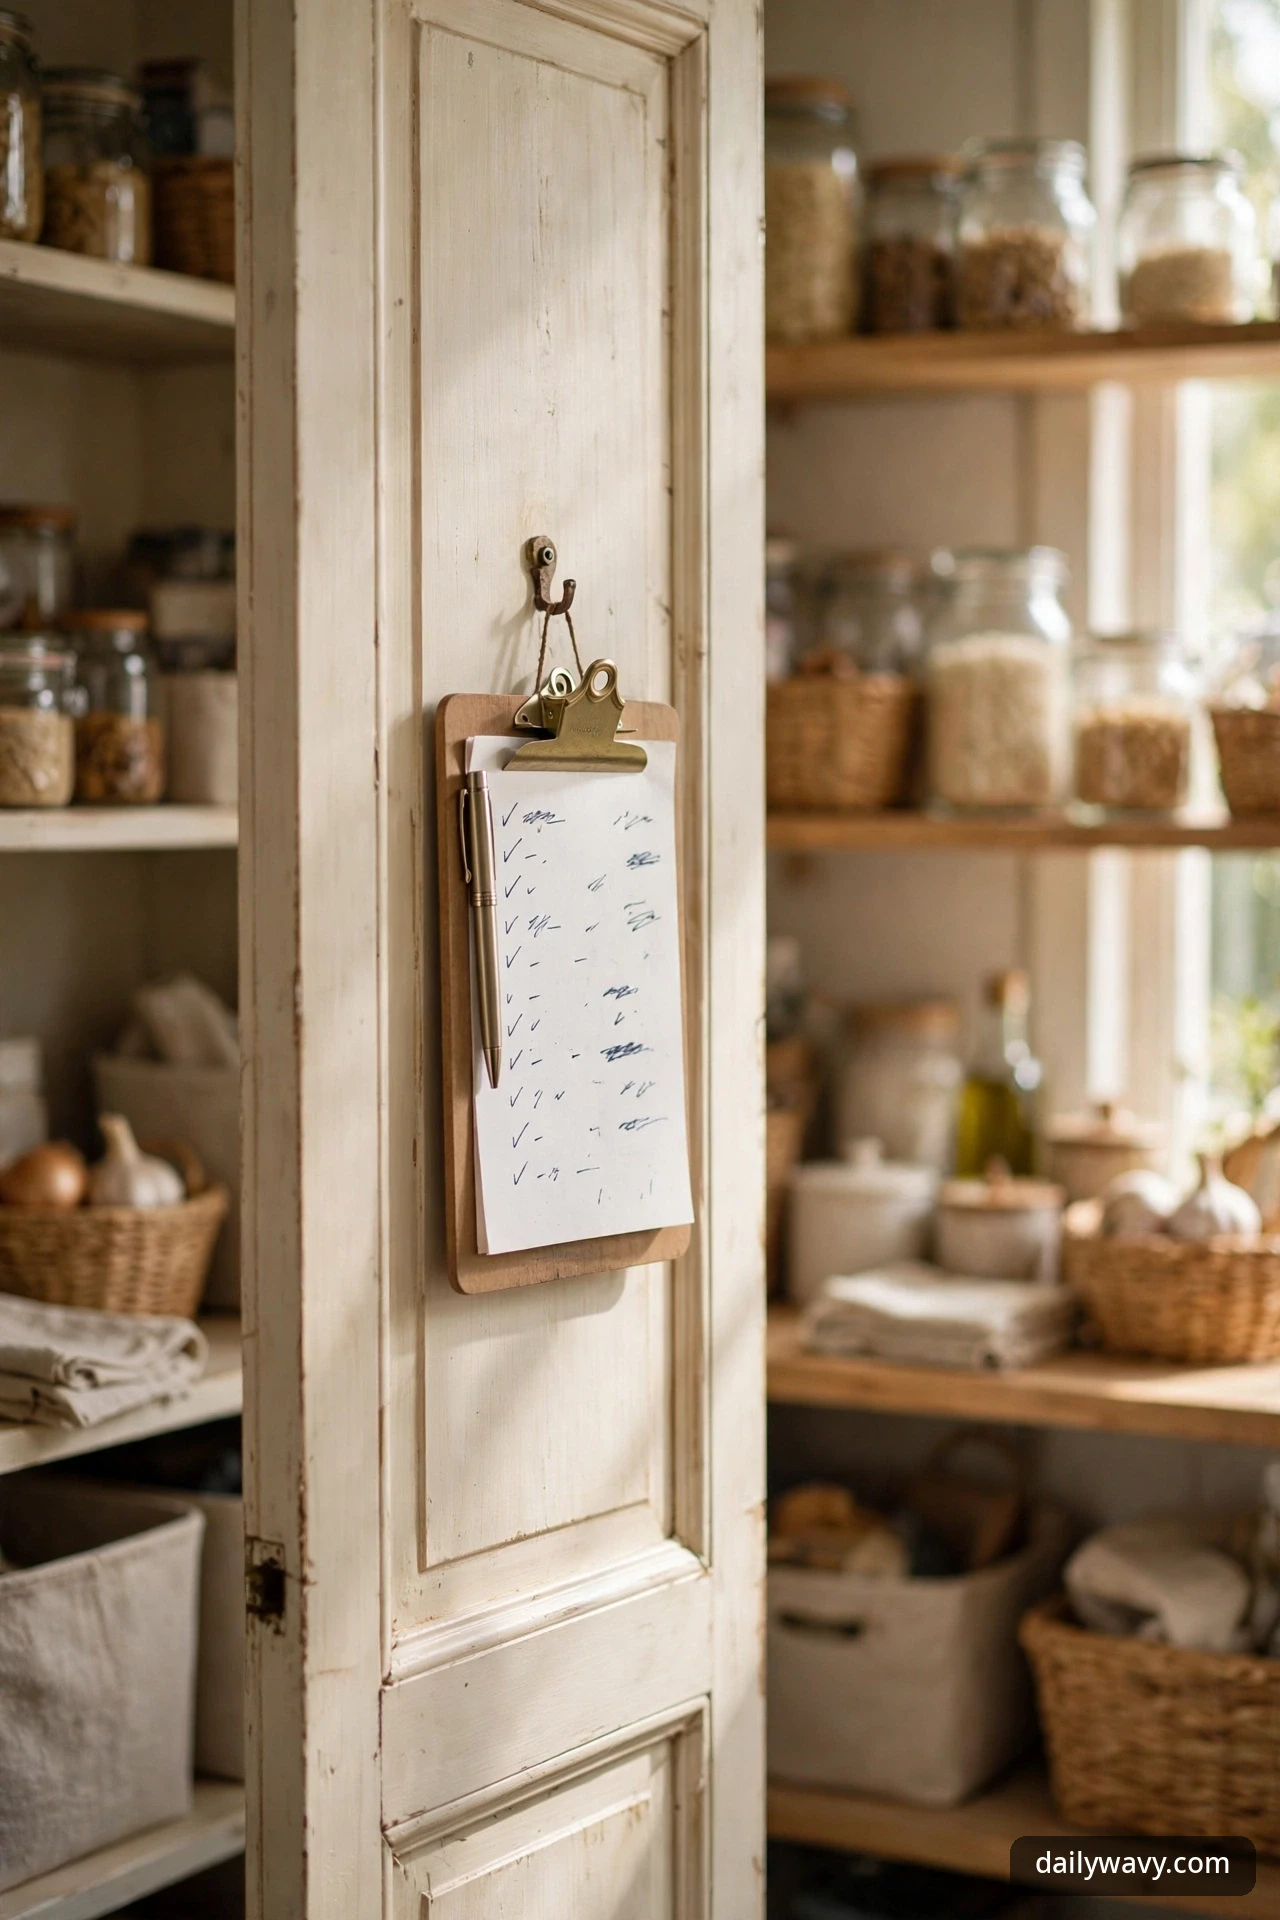
An inventory clipboard is the pantry’s memory. A running list of what you have, what is running low, and what expires soon hangs right inside the door or on the end of a shelf. It can turn “do we have chickpeas” from a dig-through-the-shelf question into a glance-at-the-list question.
What to measure: The clipboard should fit where you will actually look at it: inside the pantry door, on a side wall, or clipped to the end of a shelf. A half-sheet clipboard, about 6 by 9 inches, is big enough to read and small enough to hang anywhere.
Materials: A small clipboard, a pen on a string or clipped holder, and a printed or handwritten inventory sheet divided into categories. A magnetic clip lets it live on a metal pantry door.
Placement: Hang it at eye level inside the pantry door or on the most visible side panel. If the pantry has no door, clip it to the end of the most-used shelf.
Approximate effort and cost: About 30 minutes to write the first full inventory, then five minutes a week to update it. A small clipboard and pen cost under 10 dollars.
Troubleshooting tip: An inventory only works if updating it is faster than ignoring it. Keep the list short: category and count is enough. Date the top of the sheet and rewrite it monthly; crossed-out lists tend to get ignored.
A realistic lower-cost alternative: A sheet of paper taped inside the door and a pen in a cup on the shelf does much of the same job. The clipboard just survives longer.
12. A low-access shelf for everyday items
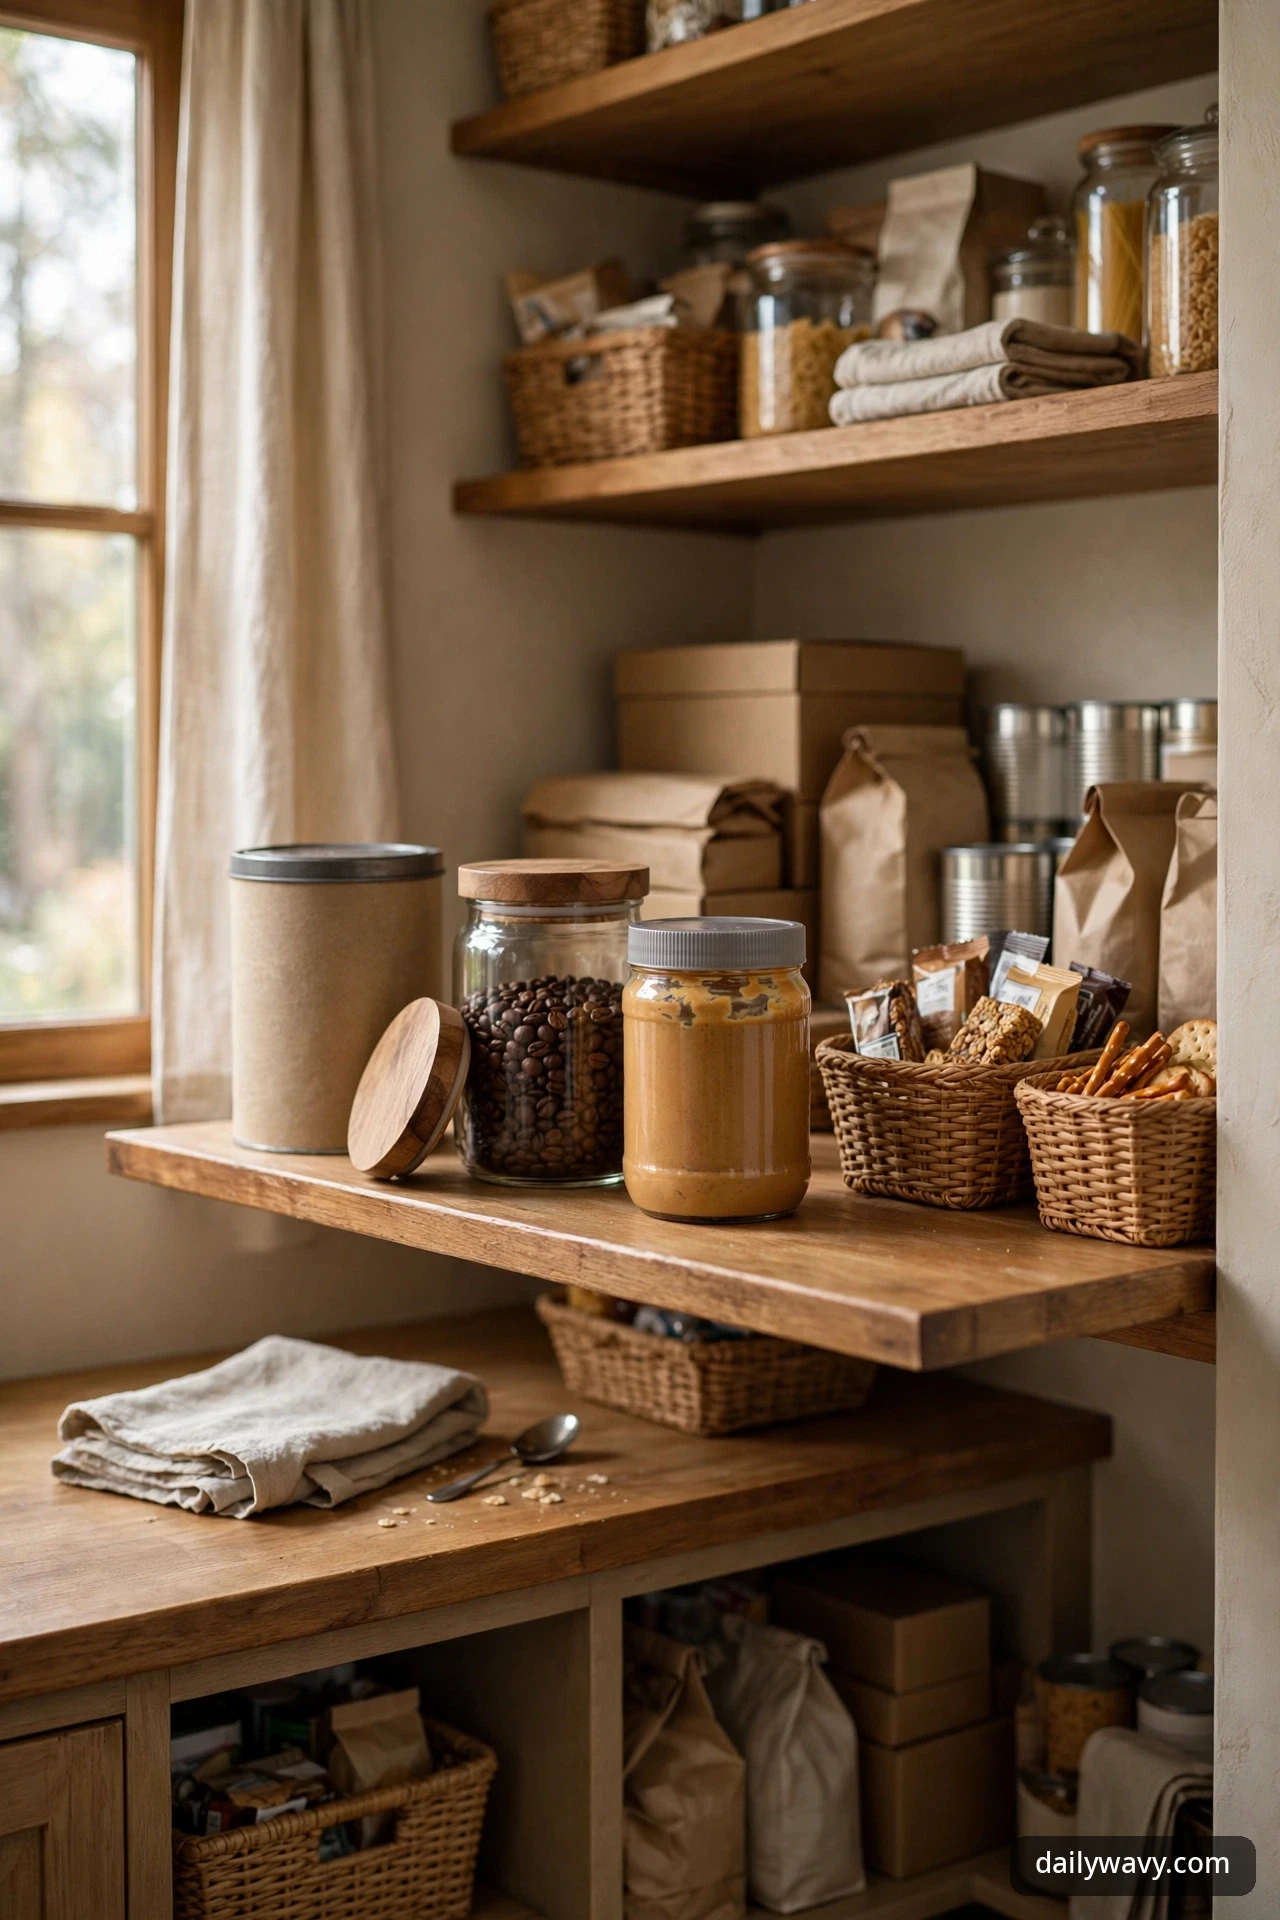
The most reachable shelf in your pantry should not hold backstock. It should hold this morning’s oatmeal, tonight’s pasta, the coffee, the peanut butter, the snacks the kids reach for themselves. Designating one low, easy shelf for everyday items means the whole household can move through the pantry with less climbing, bending, or asking where things are.
What to measure: Pick a shelf between waist and shoulder height for adults, and lower for households with kids. Measure its depth; even on a 24-inch shelf, the everyday zone occupies only the front 12 to 14 inches, with backstock pushed behind it or moved to a higher shelf.
Materials: No new materials are strictly needed. This idea is mostly editing: move daily items forward and down, move monthly items up or back. A low basket or two keeps the everyday items contained.
Placement: The everyday shelf sits at your most comfortable grabbing height. Breakfast items cluster at one end, dinner components at the other, snacks in the middle where small hands can reach.
Approximate effort and cost: About 30 minutes of rearranging. Cost is zero if you reuse existing bins.
Troubleshooting tip: The everyday shelf creeps upward over time as items accumulate. Once a month, pull everything off it and put back only what gets used weekly. Everything else moves to its proper zone.
A realistic lower-cost alternative: This one is free by design. The discipline of one shelf for daily life costs nothing and changes how the whole pantry feels.
Deep pantry FAQ
How deep is too deep for a pantry shelf?
Most reach-in pantries run 16 to 24 inches deep. Up to about 20 inches stays manageable with baskets and trays. Beyond 22 inches, the back four inches become a blind zone, and that zone should hold backstock or pull-out trays rather than daily items.
Should I decant everything into matching containers?
No. Decant high-turnover dry goods where visibility helps: flour, rice, oats, pasta, coffee. Keep original packaging for anything with directions, allergen warnings, or short shelf lives after opening. A mix of decanted staples and upright original packets is one of the most practical setups.
How do I keep track of expiry dates on deep shelves?
Use the first-in-first-out row for cans and boxes, write best-by dates on every decanted container, and check the inventory clipboard before shopping. Anything you would not notice expiring should live in the front half of the shelf.
What belongs at the very back of a deep shelf?
Backstock and duplicates: the second bag of rice, the extra cans, the bulk olive oil you will open next month. Items you touch monthly or less often. If you reach past the front row more than twice a week for something, it is not backstock; promote it forward.
How do I keep allergen information visible?
Keep allergen labels on the front of original packages facing out. On decanted jars, copy the allergen note onto the date label. In shared pantries, consider a small symbol system: a dot sticker for common allergens, explained on the inventory clipboard.
My deep shelf is dark. What helps?
Light makes a real difference on deep shelves. Battery-powered motion-sensor puck lights, one or two per shelf, cost a few dollars each and make the back row visible. Place them at the front edge of the shelf so light falls toward the back.
A calm pantry, one shelf at a time
A deep pantry feels far less cavernous once every shelf has a job. Start with the front rows: baskets that slide, labels you can read, and a first-in-first-out habit for cans. Then work backward: pull-out trays for the deep middle, overflow and backstock zones for the rear. Keep dates and allergen notes visible everywhere, and let the everyday shelf stay sacred. For more small-space storage thinking, see our small entryway ideas and the full Home & Decor collection.




One Comment