18 Travel Souvenir Display Ideas to Give Your Finds a Place
Every trip leaves you with something small: a ceramic cup from Lisbon, a carved figure from a market in Marrakech,…
Every trip leaves you with something small: a ceramic cup from Lisbon, a carved figure from a market in Marrakech, a smooth stone from a shoreline you walked at dusk. These objects carry the whole journey in their weight and texture, but too often they end up in a drawer or scattered on a windowsill where nobody notices them. A little intention changes everything. The eighteen ideas below show how to give your travel finds a real place in your home, with styling that respects the objects, the room, and the way you actually live.
Jump to an idea:
- A Compact Corner Display
- A Repeated Shape With Varied Finishes
- A Wood-And-Ceramic Pairing
- A Dark Backdrop For Light Objects
- A Light Backdrop For Dark Objects
- A Small Arrangement Beside A Lamp
- A Seasonal Variation Using The Same Base
- A Monochrome Display With One Accent
- A Framed Or Bounded Composition
- A Functional Object Used Decoratively
- A Simple Giftable Version
- A Small Tonal Grouping
- A Single Focal Object With Negative Space
- A Low Tray-Based Arrangement
- A Vertical Display In A Narrow Nook
- A Balanced Pair With Different Heights
- A Small Tabletop Cluster
- A Restrained Shelf Vignette
The Souvenir Display Rules Before You Start
Before you arrange a single object, a few ground rules keep the whole thing honest. First, give the collection a boundary: one shelf, one tray, one corner. A defined zone reads as curation; objects spread across every surface read as clutter. Second, respect the room’s job. A display on a working desk or a crowded hallway shelf will annoy you within a week, so choose spots that do not fight daily life. Third, plan for dust. Souvenirs with deep carving, woven fibers, or open tops collect it fast, so keep fragile or intricate pieces behind glass or on easy-to-lift surfaces. Fourth, let the objects breathe. Crowding flattens the story each piece carries, and a little negative space makes every item feel more precious.
1. A Compact Corner Display
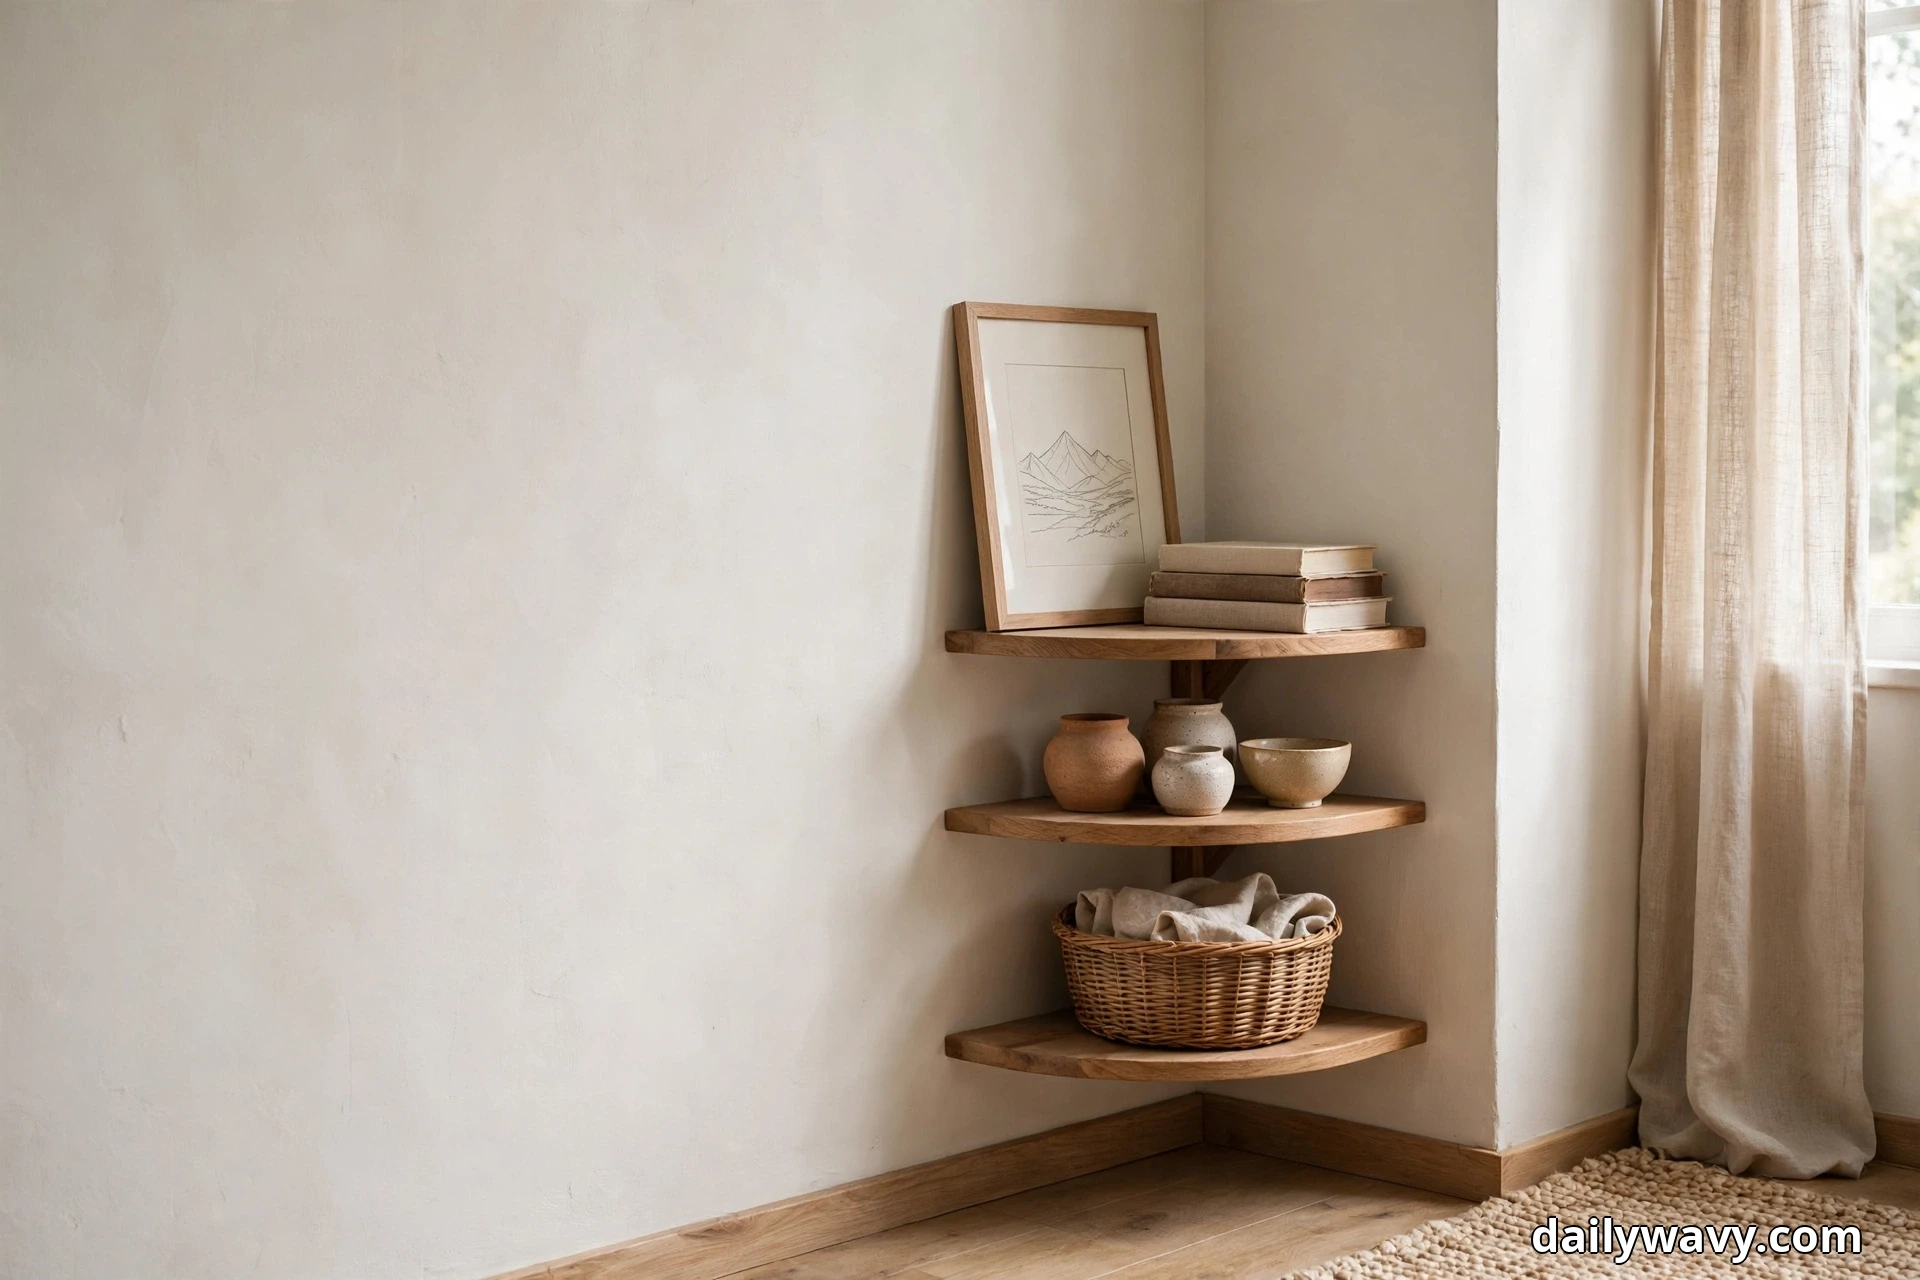
A corner is the easiest place to start because it is naturally framed on two sides, so even three or four small objects look deliberate there. Tuck a slim shelf unit, a corner etagere, or simply a small side table into the angle, then arrange your finds in a loose triangle: tallest piece at the back, medium in the middle, smallest forward.
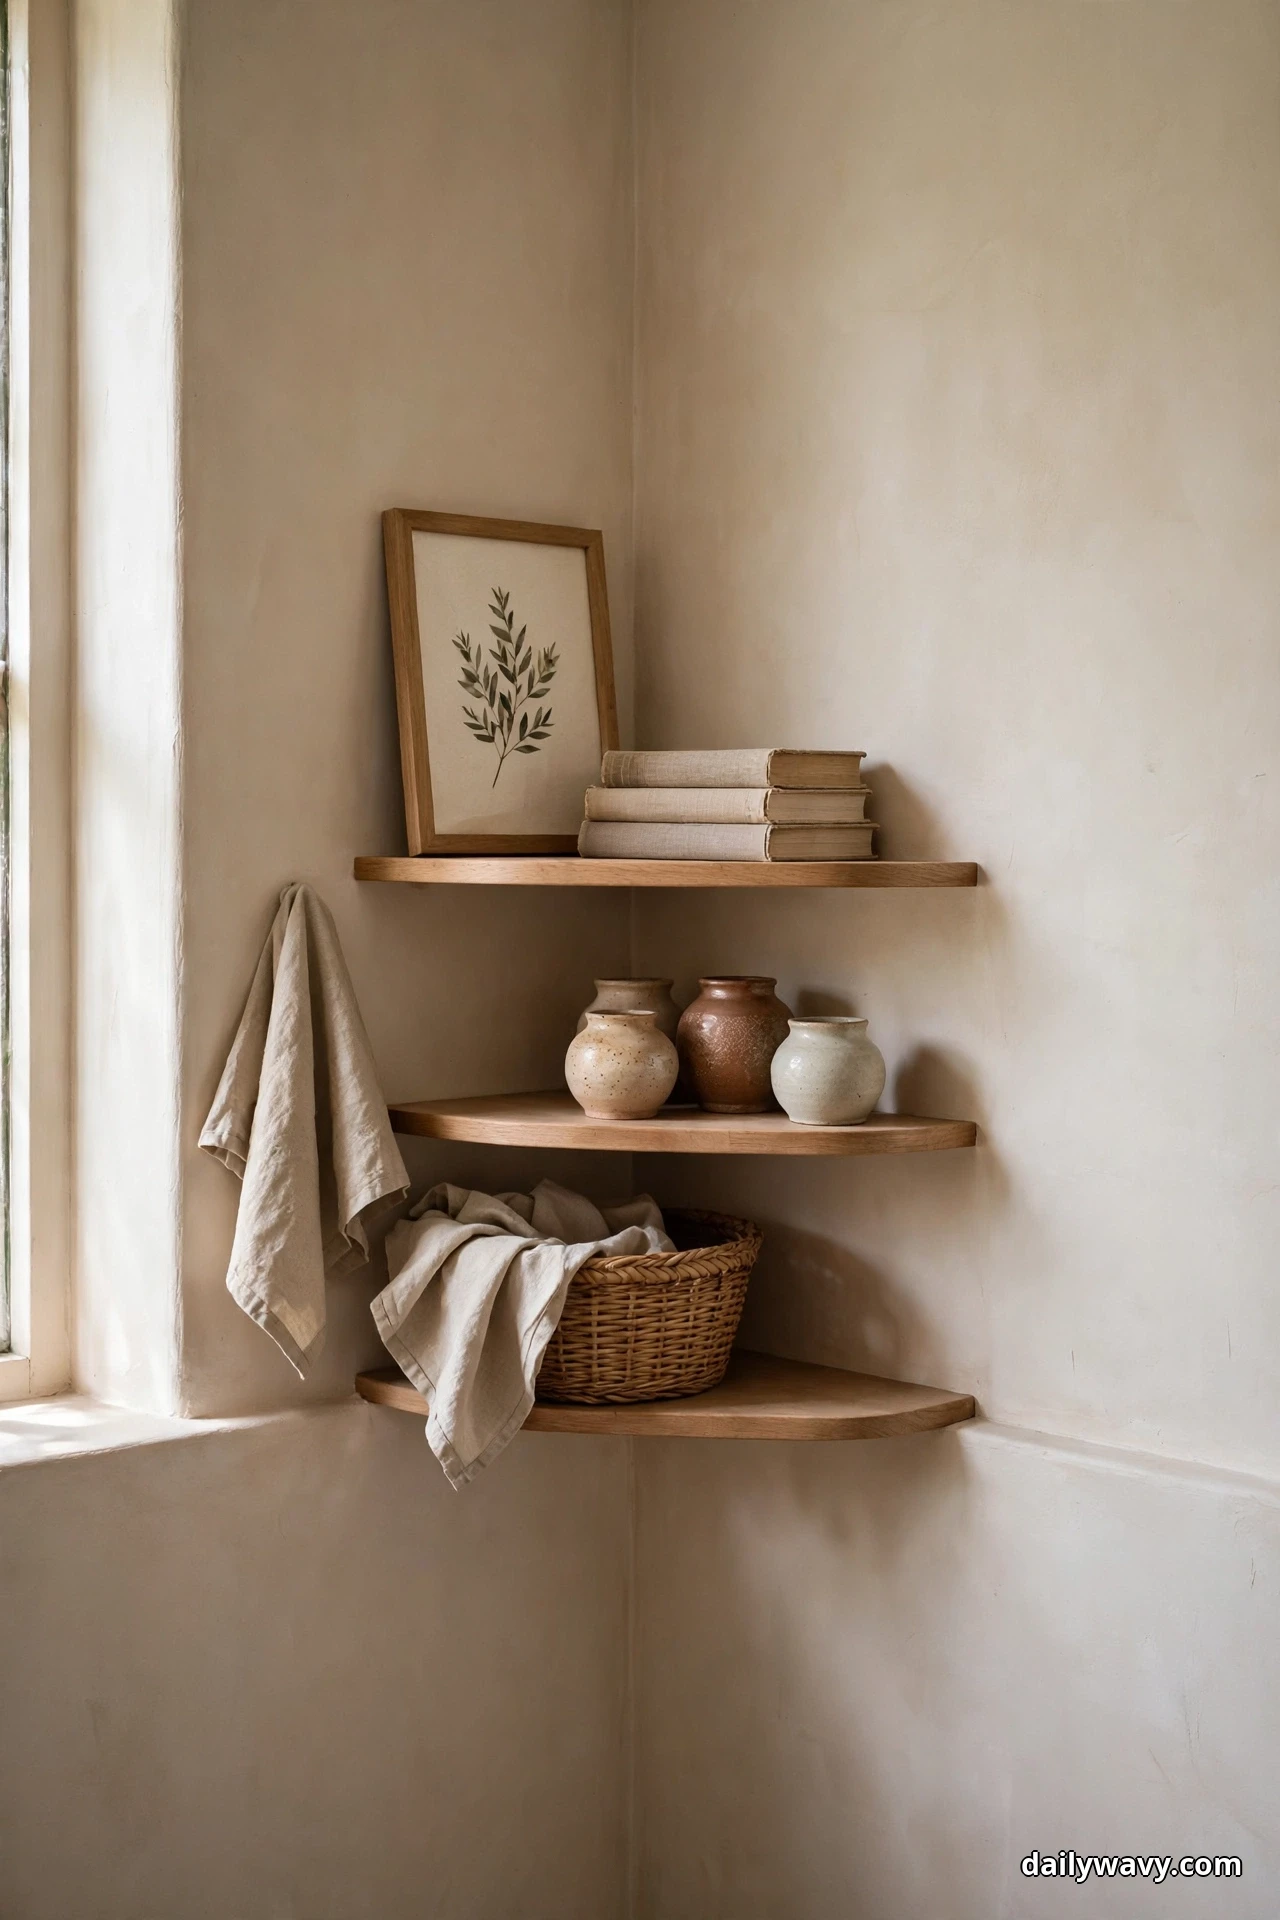
What to measure: the corner’s usable width on each wall and the distance to the nearest door swing, so the display never blocks movement. Materials: a corner shelf or small table, felt pads under each object to protect surfaces, and a small lamp or a framed photo to anchor the back corner. Placement: keep the tallest item at the rear where the walls meet and step heights down toward the room. Approximate effort: an afternoon of sorting and arranging. A realistic lower-cost alternative is clearing one existing corner shelf and restyling it instead of buying anything new. Practical tip: rotate one object out each season so the corner always feels fresh without growing.
2. A Repeated Shape With Varied Finishes
When several souvenirs share one silhouette, a row of small ceramic bowls, a set of miniature masks, a lineup of tiny vases, the repetition does the styling work for you. Line them along a shelf with small gaps, and let the differing glazes, patinas, and carving styles provide the variety.
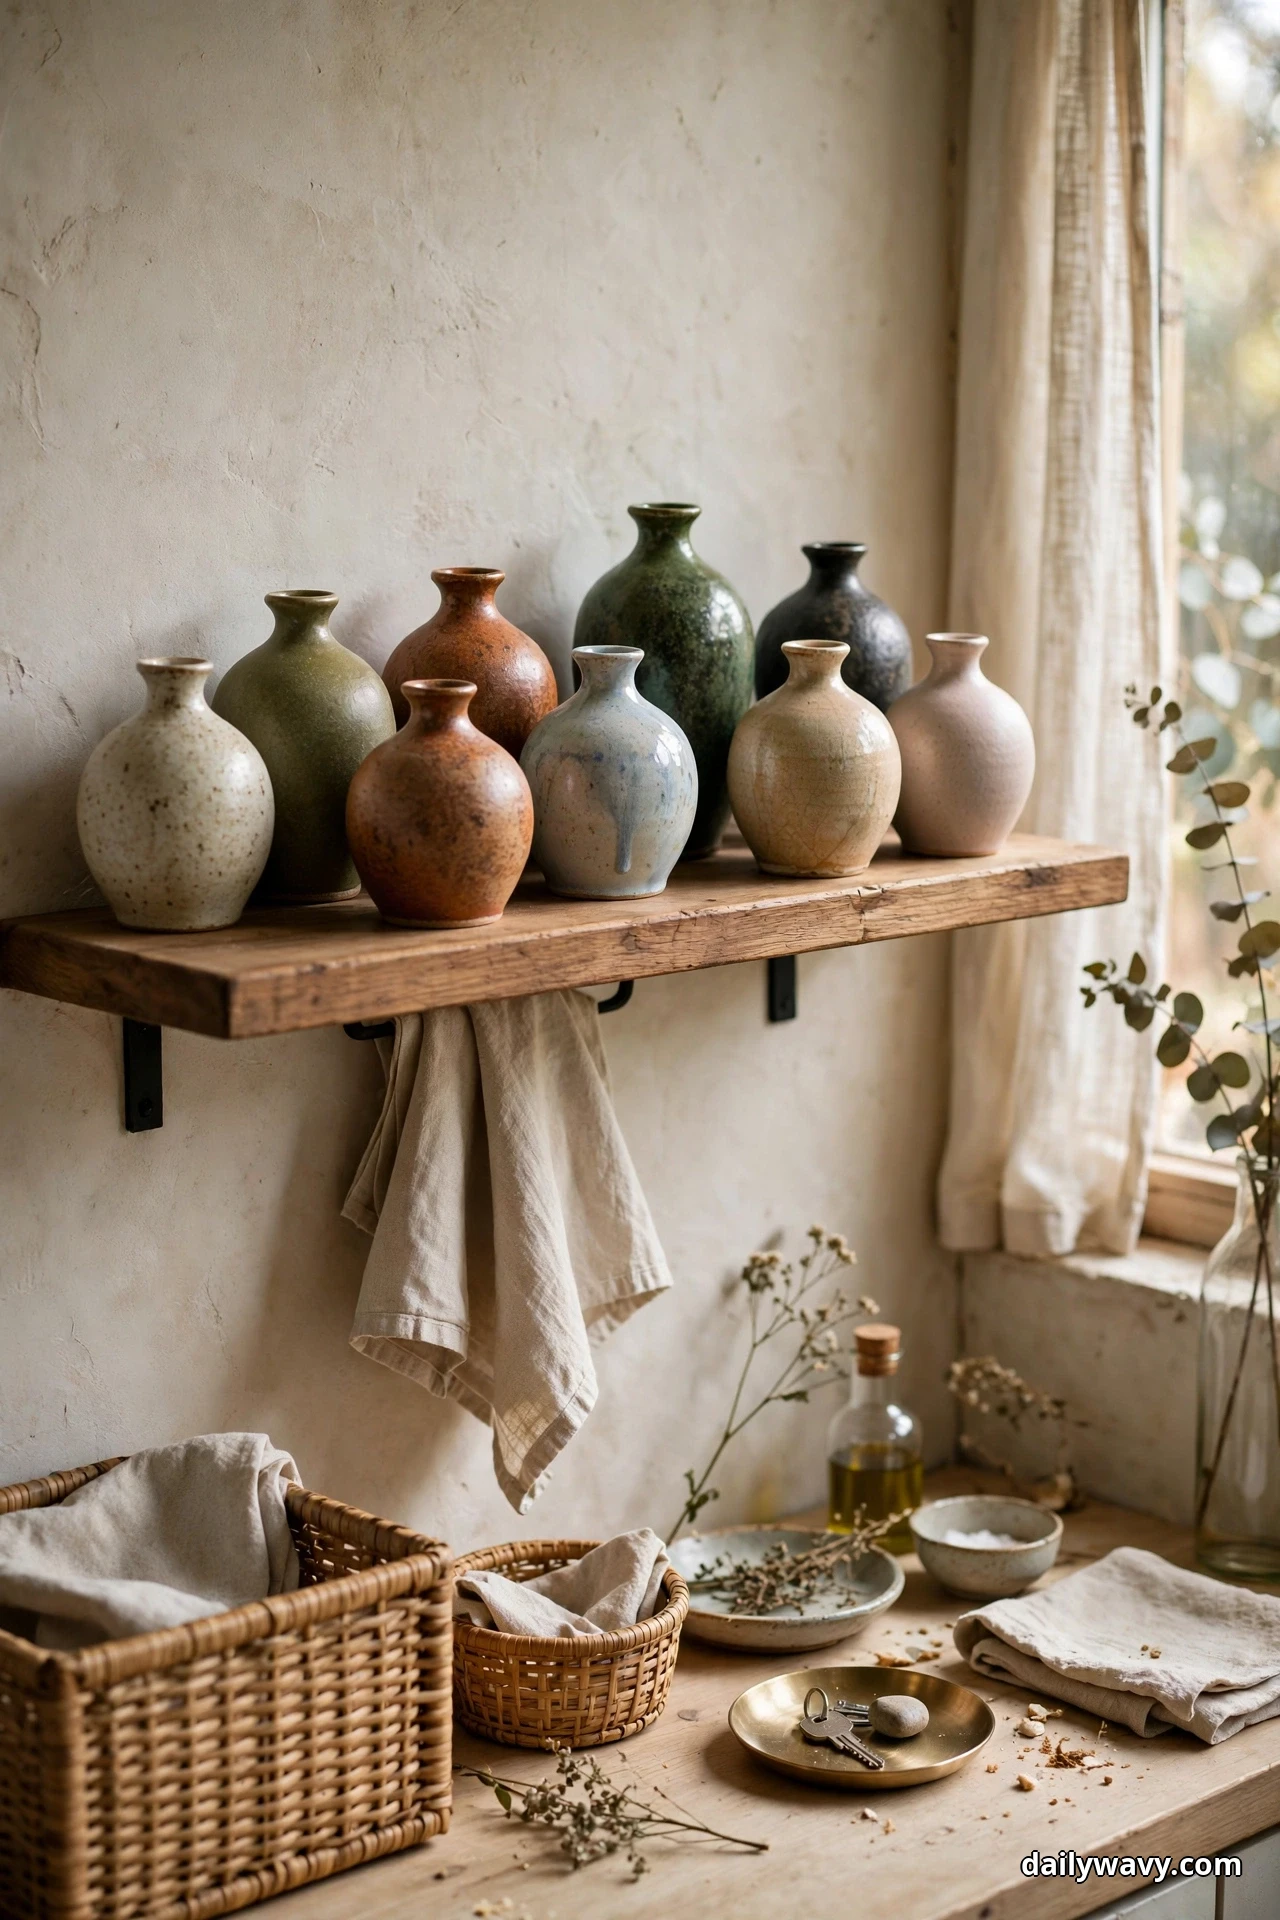
What to measure: the total width of the row at your chosen spacing so the line ends cleanly instead of trailing off. Materials: museum putty or clear adhesive dots for pieces that wobble, plus a soft cloth for regular dusting. Placement: a mantel, a long low shelf, or the top of a bookcase all suit a linear repeat. Approximate effort: under an hour once the pieces are gathered. A realistic lower-cost alternative is gathering same-shape items you already own, even empty jars or candle holders, and mixing in the travel pieces. Practical tip: place the darkest finish in the middle and graduate toward lighter ones at the ends for a calm, composed rhythm.
3. A Wood-And-Ceramic Pairing
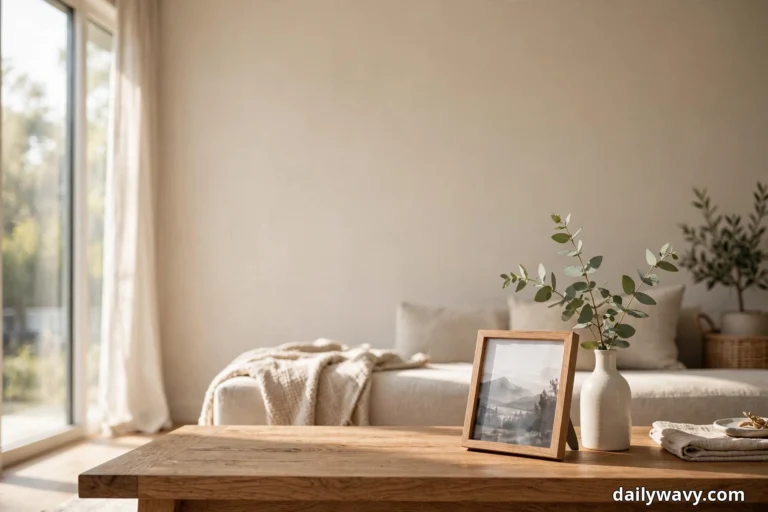
Wood and glazed ceramic are natural partners: the matte grain of a carved figure or wooden box sets off the shine of a glazed cup or tile. Put one wooden piece and one ceramic piece together on a small stack of books or a low plinth, and you have a complete vignette.
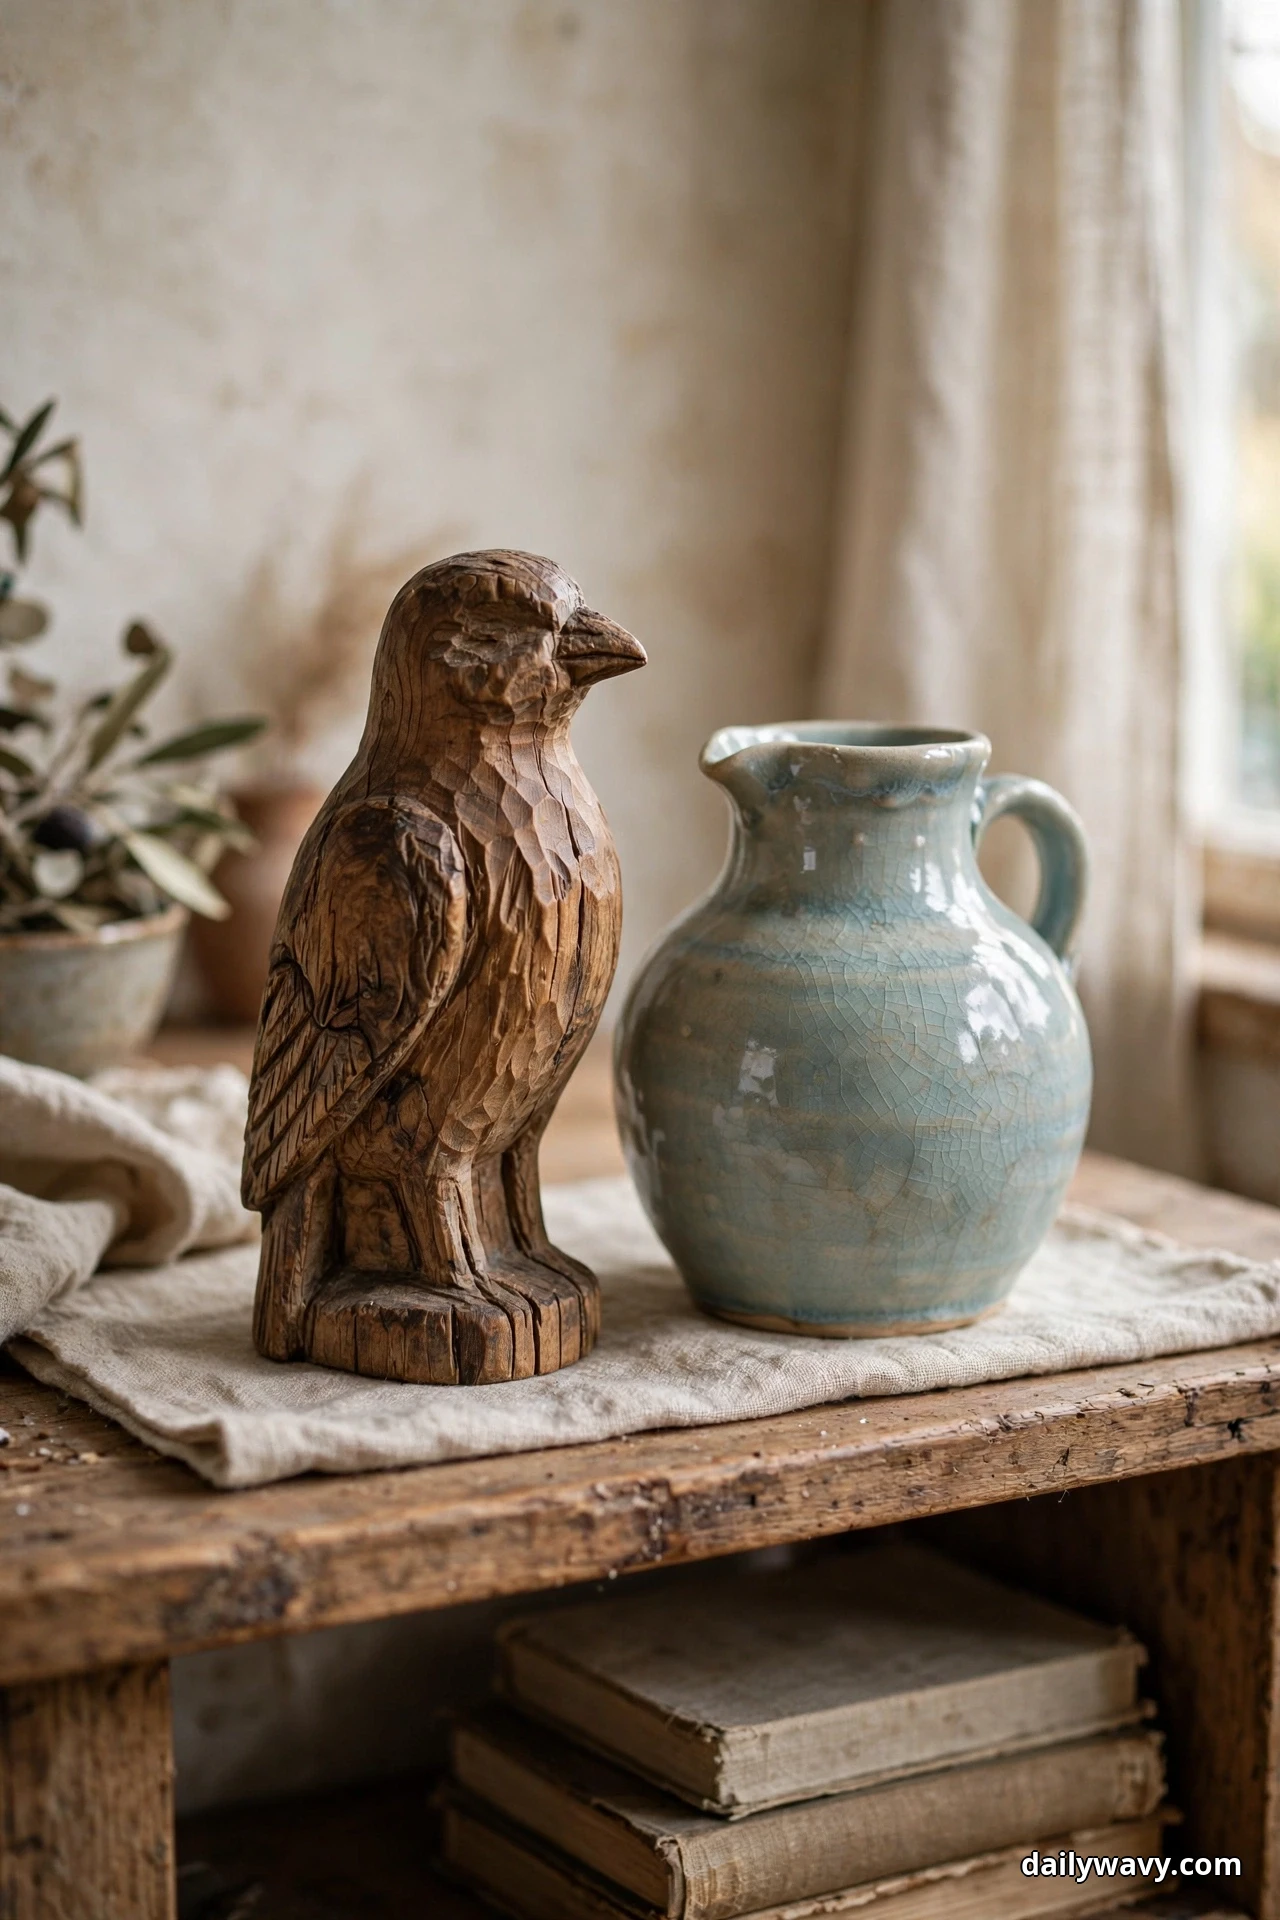
What to measure: the footprint of the pairing so it fits the shelf or table with breathing room on all sides. Materials: a small stack of neutral books or a wood slice as a riser, and coasters or felt pads to protect wood from ceramic’s hard base. Placement: a side table, a nightstand, or the corner of a desk. Approximate effort: minutes. A realistic lower-cost alternative is using a cutting board or a folded linen cloth as the base instead of buying a riser. Practical tip: keep the wooden piece slightly in front so its warm texture catches the light first.
4. A Dark Backdrop For Light Objects
Pale souvenirs, shells, light stone, bone-white ceramics, ivory textiles, glow against a dark ground. A charcoal-painted wall section, a black-stained shelf, or even a piece of dark slate laid behind the objects makes every pale detail pop without adding a single new item.

What to measure: the area the backdrop needs to cover, plus how the dark tone meets the surrounding wall so the edge looks intentional. Materials: matte paint sample pots, a dark-stained floating shelf, or a large dark tray or slate board used as a portable backdrop. Placement: a dim hallway wall or a north-facing corner where pale objects would otherwise wash out. Approximate effort: a weekend if you paint; an hour if you use a tray or board. A realistic lower-cost alternative is a large piece of dark fabric or kraft paper pinned neatly behind the shelf. Practical tip: add one warm light source nearby, because dark backdrops absorb light and a small lamp keeps the scene from feeling gloomy.
5. A Light Backdrop For Dark Objects
The reverse works just as well. Bronze figures, carved ebony, dark pottery, and black-and-white photographs gain presence against a pale plaster wall, a whitewashed shelf, or a linen runner. The contrast gives each dark object a clear outline so its shape reads instantly.

What to measure: the sightline from the room’s main entry point, since a light backdrop works best where daylight hits it. Materials: a pale shelf, a white tray, or a length of natural linen as a runner under the objects. Placement: near a window or on a light-painted wall. Approximate effort: under two hours. A realistic lower-cost alternative is repainting just one shelf in a warm white you already have on hand. Practical tip: dust dark objects more often than pale ones, because every speck shows on a light ground.
6. A Small Arrangement Beside A Lamp
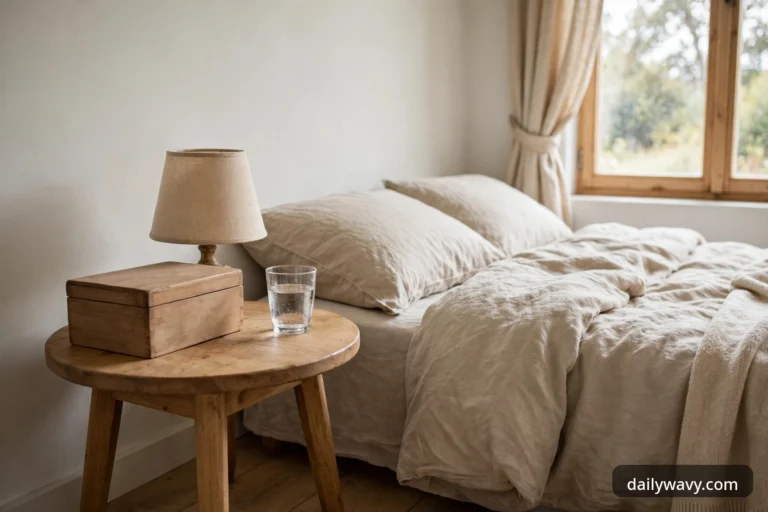
A table lamp turns a few small souvenirs into an evening feature. The warm pool of light gives the objects a glow they never have in daylight, and the lamp’s height anchors the group so it reads as one composition instead of scattered bits.

What to measure: the lamp’s base footprint and the shade’s lower edge, so souvenirs sit clear of heat and the shade. Materials: a warm-white bulb (2700K flatters wood, brass, and ceramics), a small tray to corral the pieces, and cord clips to keep cables tidy. Placement: a side table, a console, or a nightstand. Approximate effort: an hour of arranging. A realistic lower-cost alternative is moving an existing lamp to a new spot and building the arrangement around it. Practical tip: keep flammable materials like dried grasses or paper at least a few inches from the bulb, and switch to LED for cooler, safer light.
7. A Seasonal Variation Using The Same Base
Keep the same tray, shelf, or shadow box year-round and swap just one or two elements with the seasons: a sprig of evergreen in winter, a dried bloom in summer, a small gourd in autumn. The souvenirs stay put, but the display feels alive and current.
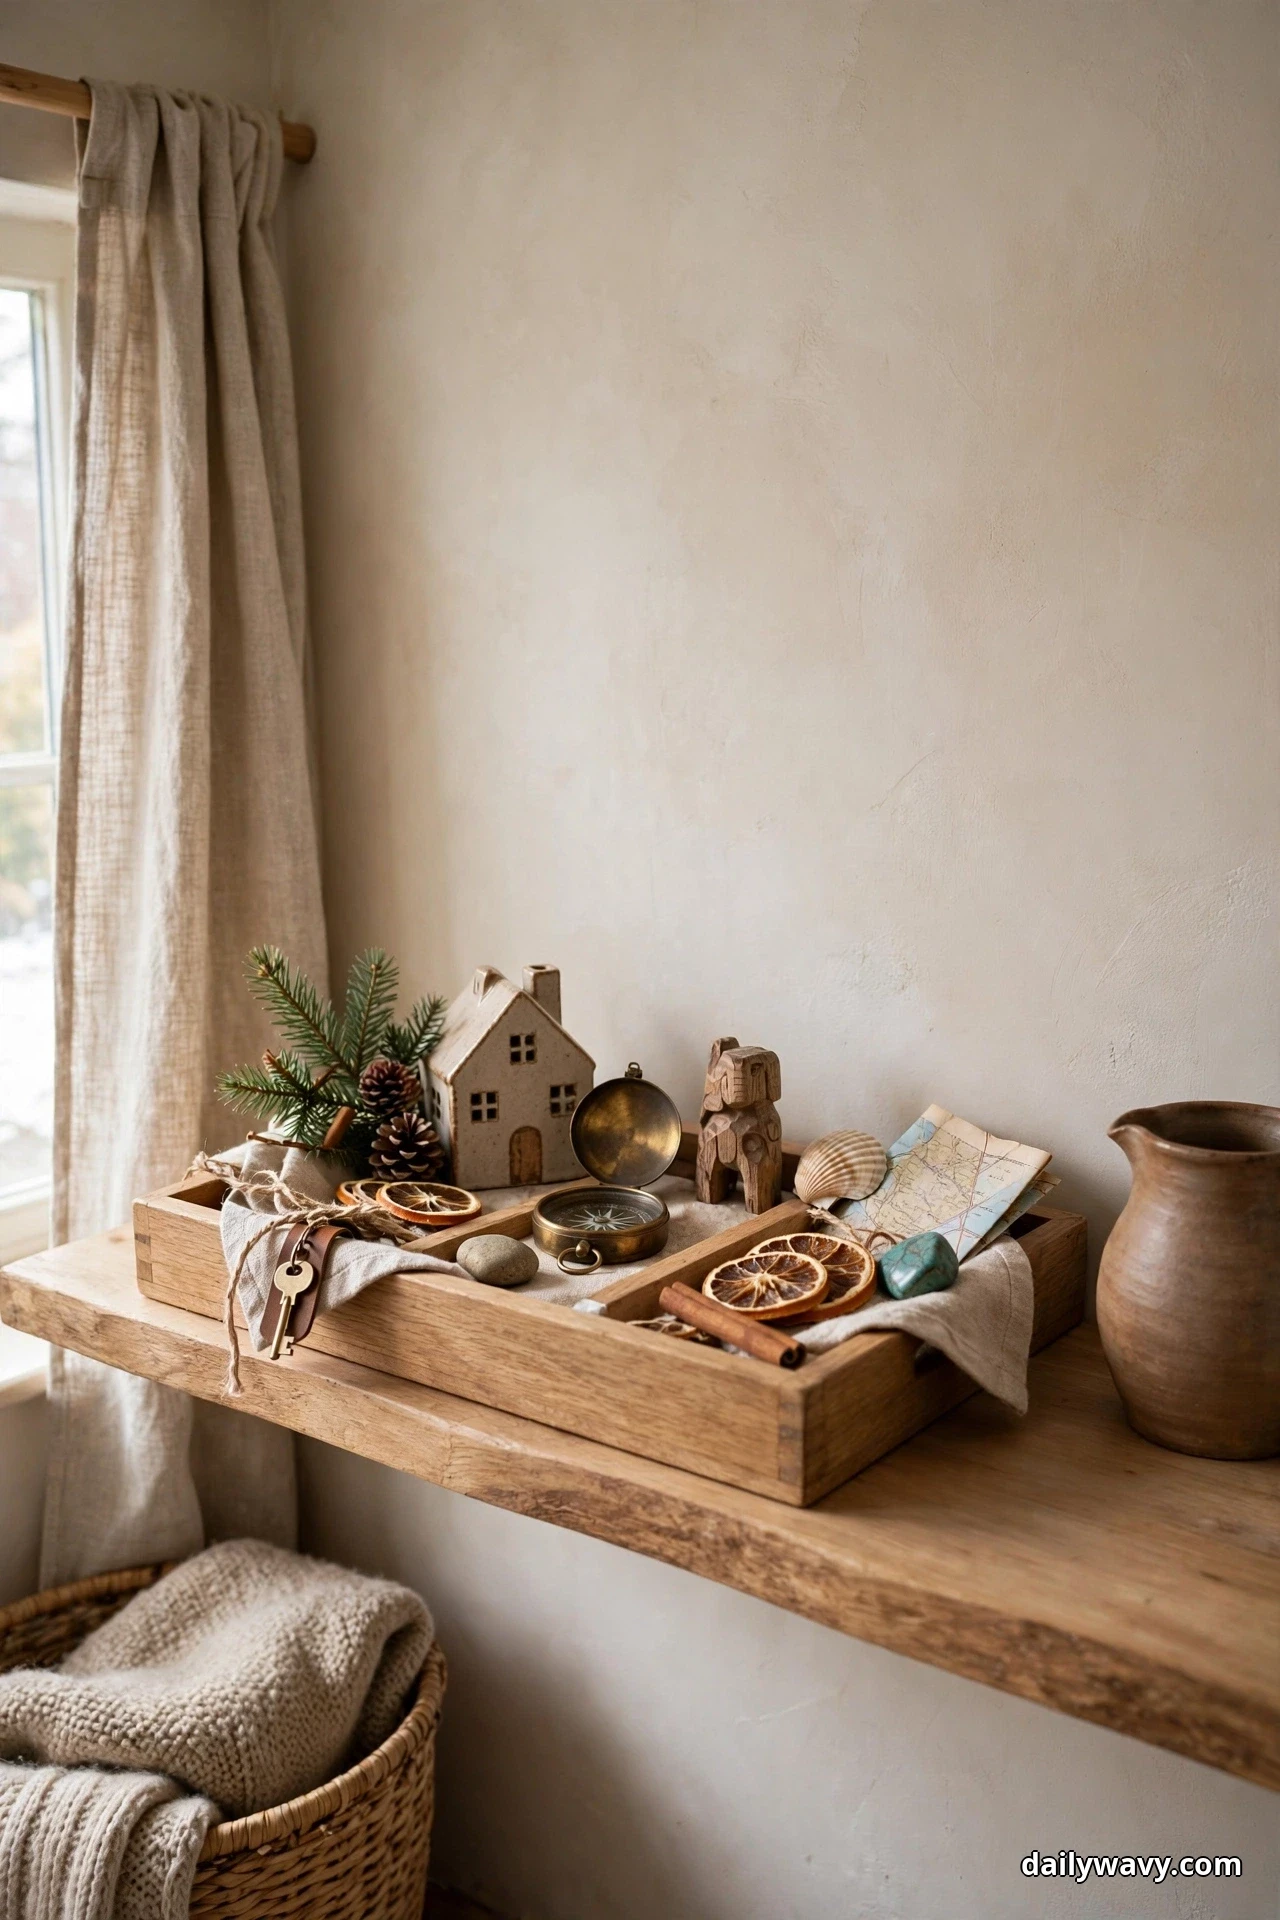
What to measure: nothing structural; just note which pieces are the permanent core and which are the seasonal swaps. Materials: a sturdy base tray or shelf, plus a small box of seasonal naturals you collect or buy cheaply. Placement: wherever the main display lives. Approximate effort: twenty minutes per season. A realistic lower-cost alternative is foraging: pinecones, seed heads, and interesting twigs cost nothing and suit the aesthetic. Practical tip: photograph each seasonal version so you remember the combinations that worked best.
8. A Monochrome Display With One Accent
Choose souvenirs in one muted family, sand, stone, clay, driftwood tones, and add a single contrasting piece: one painted tile, one cobalt glass bead, one vivid textile. The restraint makes the accent feel electric, and the whole display stays calm.

What to measure: the tonal range of your pieces; lay them on white paper first to see which truly belong to the neutral family. Materials: a plain shelf or tray, and one accent piece you genuinely love. Placement: a quiet wall or a bedroom shelf where calm matters. Approximate effort: an hour of editing and arranging. A realistic lower-cost alternative is temporarily removing the pieces that clash rather than buying anything. Practical tip: let the accent sit slightly off-center; centered accents can look staged, while an off-center one feels discovered.
9. A Framed Or Bounded Composition
A shadow box, a deep tray, or a simple frame turns loose souvenirs into one deliberate composition. The boundary tells the eye where to look, which is why a few shells in a shadow box feel like art while the same shells on a bare shelf feel like clutter.
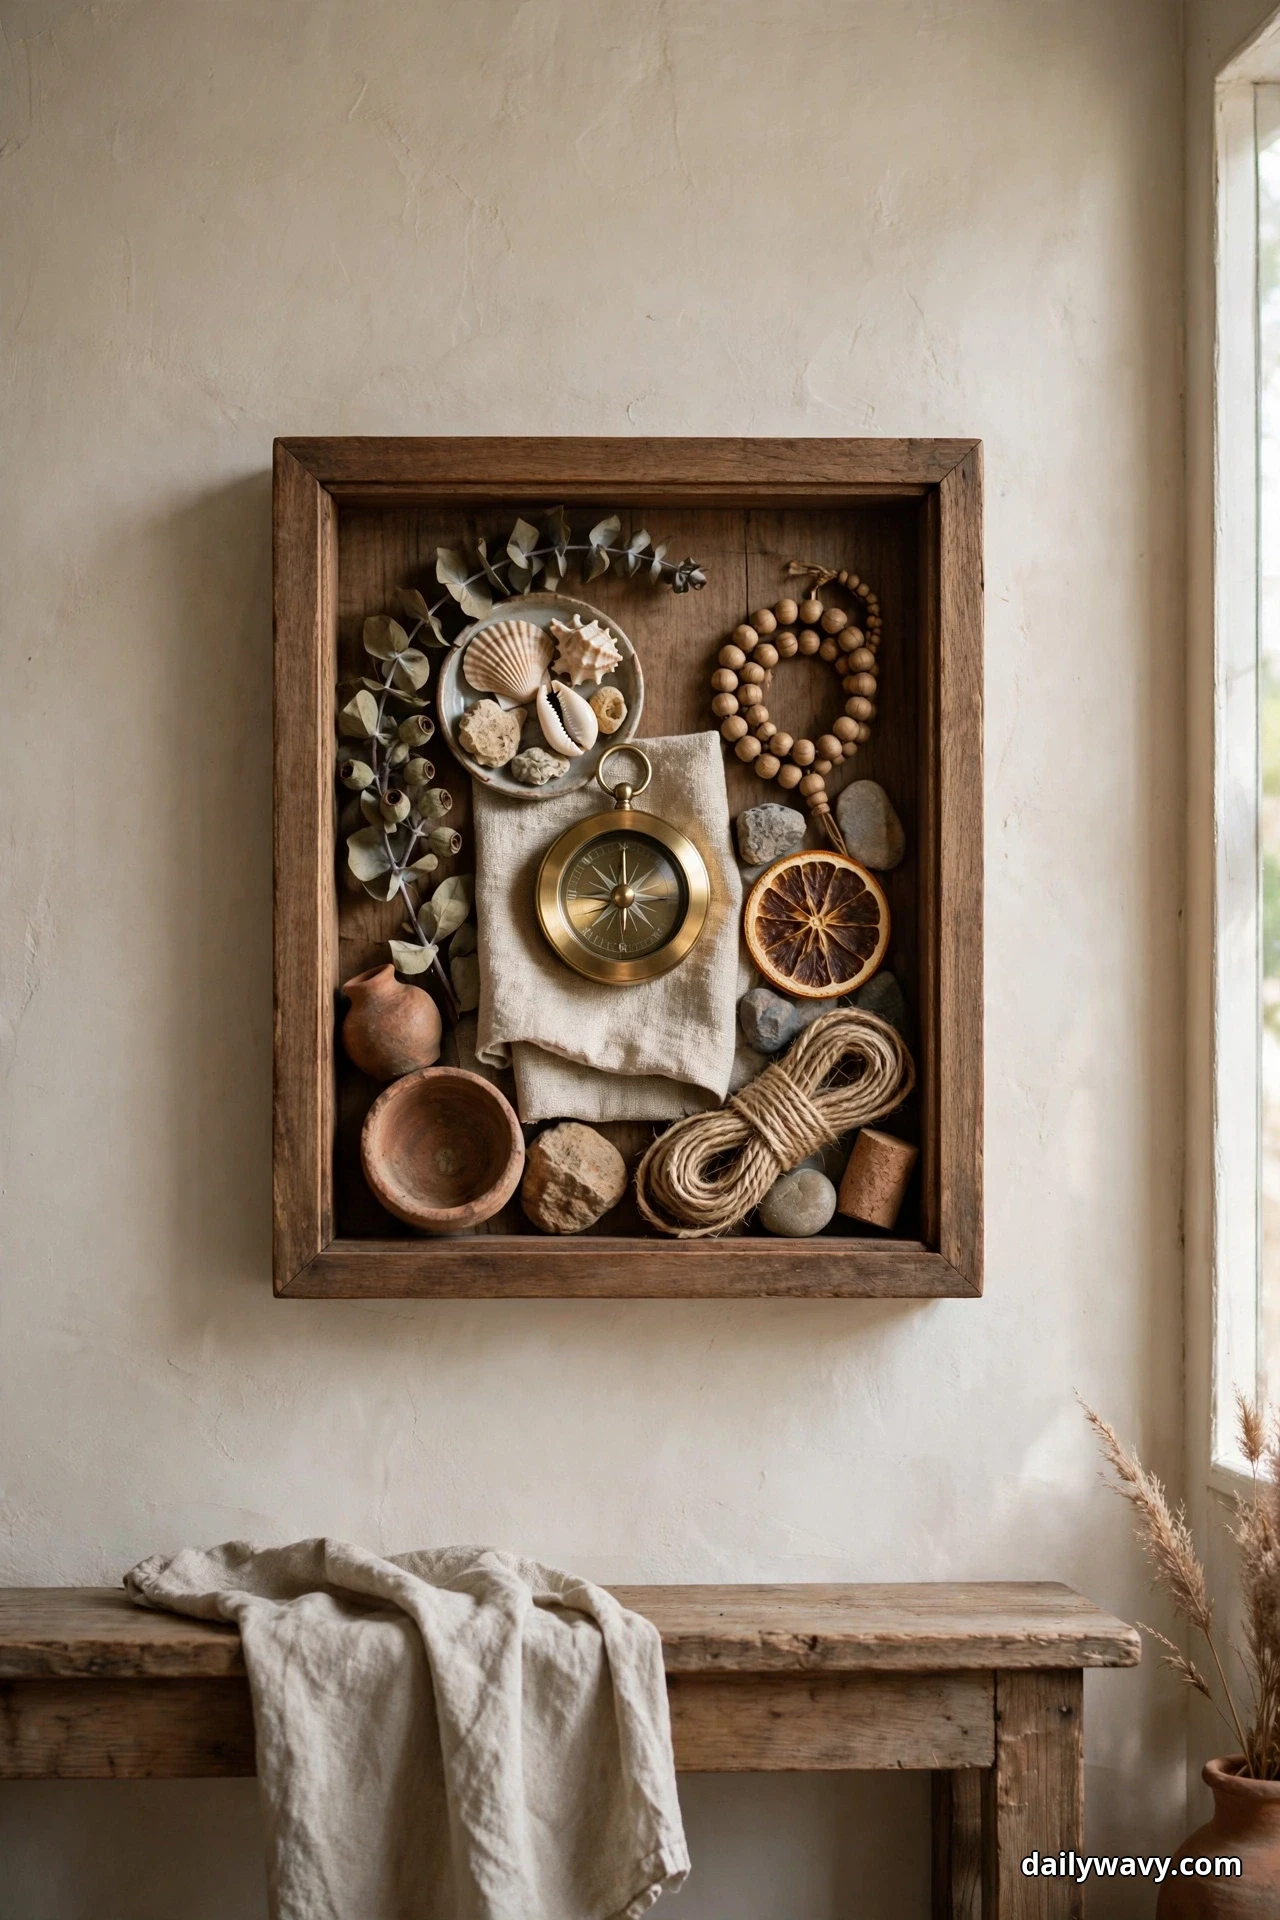
What to measure: the interior depth of the box or tray, since chunky objects need at least an inch of clearance. Materials: a shadow box frame, acid-free backing board, small pins or museum putty for mounting, and a glass cleaner for the front. Placement: a wall at eye level or a shelf where the frame can lean safely. Approximate effort: an afternoon including mounting. A realistic lower-cost alternative is a deep picture frame from a thrift store with the glass removed. Practical tip: arrange the composition on the backing board before fixing anything, and live with it for a day to be sure.
10. A Functional Object Used Decoratively
Some of the best souvenir displays do double duty. A woven basket from a market holds throws or magazines; a lidded ceramic jar from a pottery town stores cotton balls or keys; a carved bowl corrals the remote controls. The object earns its place and stays visible.
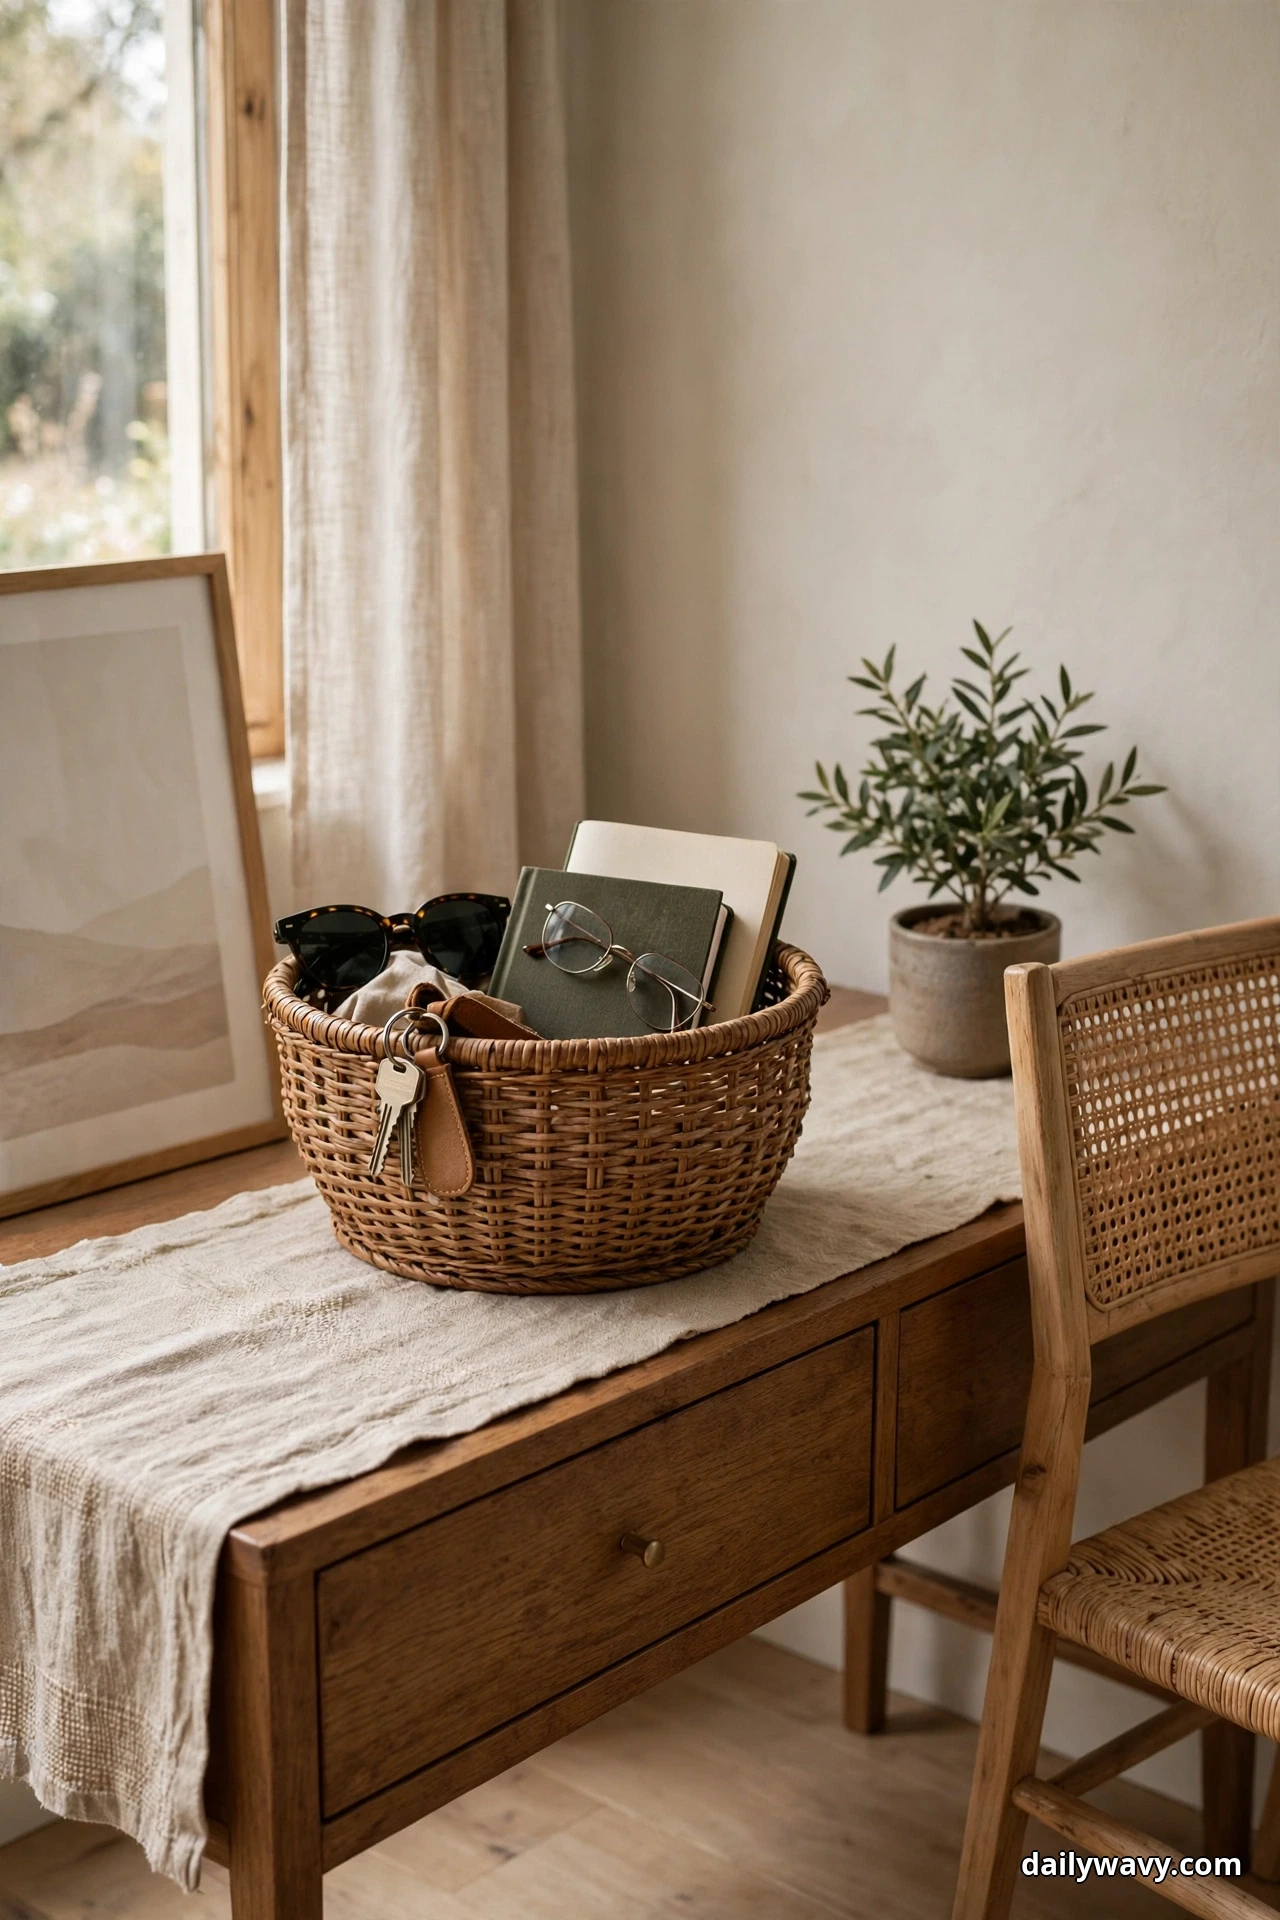
What to measure: what the object needs to hold, so size and opening suit the job. Materials: the souvenir itself, plus a liner if it holds anything damp or crumbly. Placement: wherever the function is needed, an entry console, a bathroom counter, a coffee table. Approximate effort: minutes. A realistic lower-cost alternative is reassigning an existing souvenir instead of buying a storage piece. Practical tip: choose sturdy, washable souvenirs for functional roles and keep fragile ones purely decorative.
11. A Simple Giftable Version
Travel finds make wonderful gifts when they are presented as a set: three miniature ceramics in a small box, a trio of printed postcards in a simple frame, a tiny bottle of local olive oil with a handwritten tag. Style the gift version on a tray so it photographs beautifully before it leaves your hands.
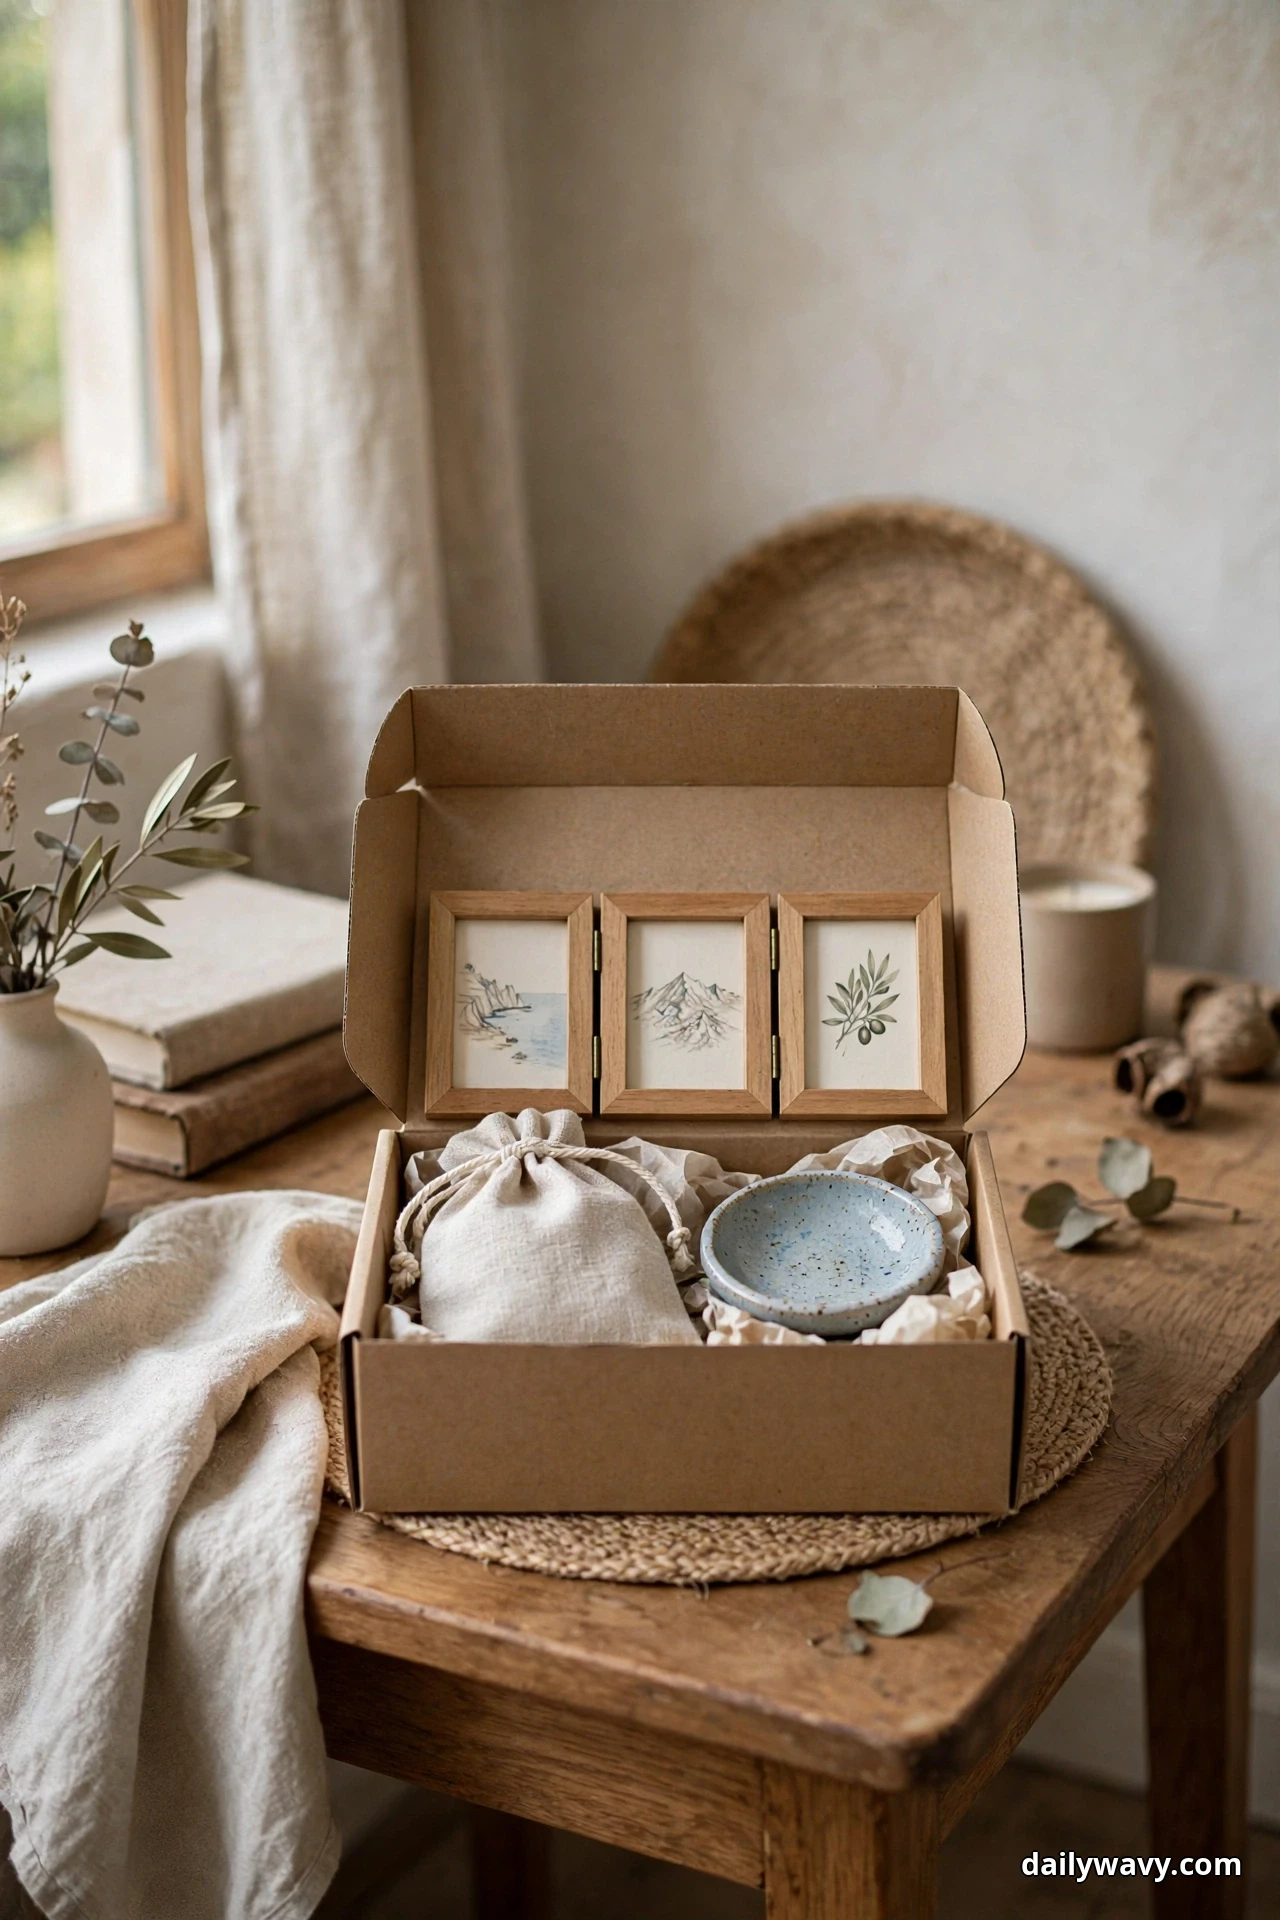
What to measure: the box or frame interior so the pieces fit snugly without rattling. Materials: a small gift box, tissue paper, a tag, and optionally a frame for flat items. Placement: style it on a table or tray for the photo, then wrap it. Approximate effort: under an hour. A realistic lower-cost alternative is a kraft box with a ribbon and a hand-written note, which suits the personal nature of the gift. Practical tip: buy small duplicates of favorite finds while traveling specifically for future gifts; they are cheaper abroad than any equivalent at home.
12. A Small Tonal Grouping
Group souvenirs by color rather than by trip: all the sand-toned pieces together, all the deep blues together. Trips blur and the palette takes over, which makes wildly different objects, a Greek worry bead, a Moroccan tile, a Japanese tenugui, feel like they were always meant to share a shelf.
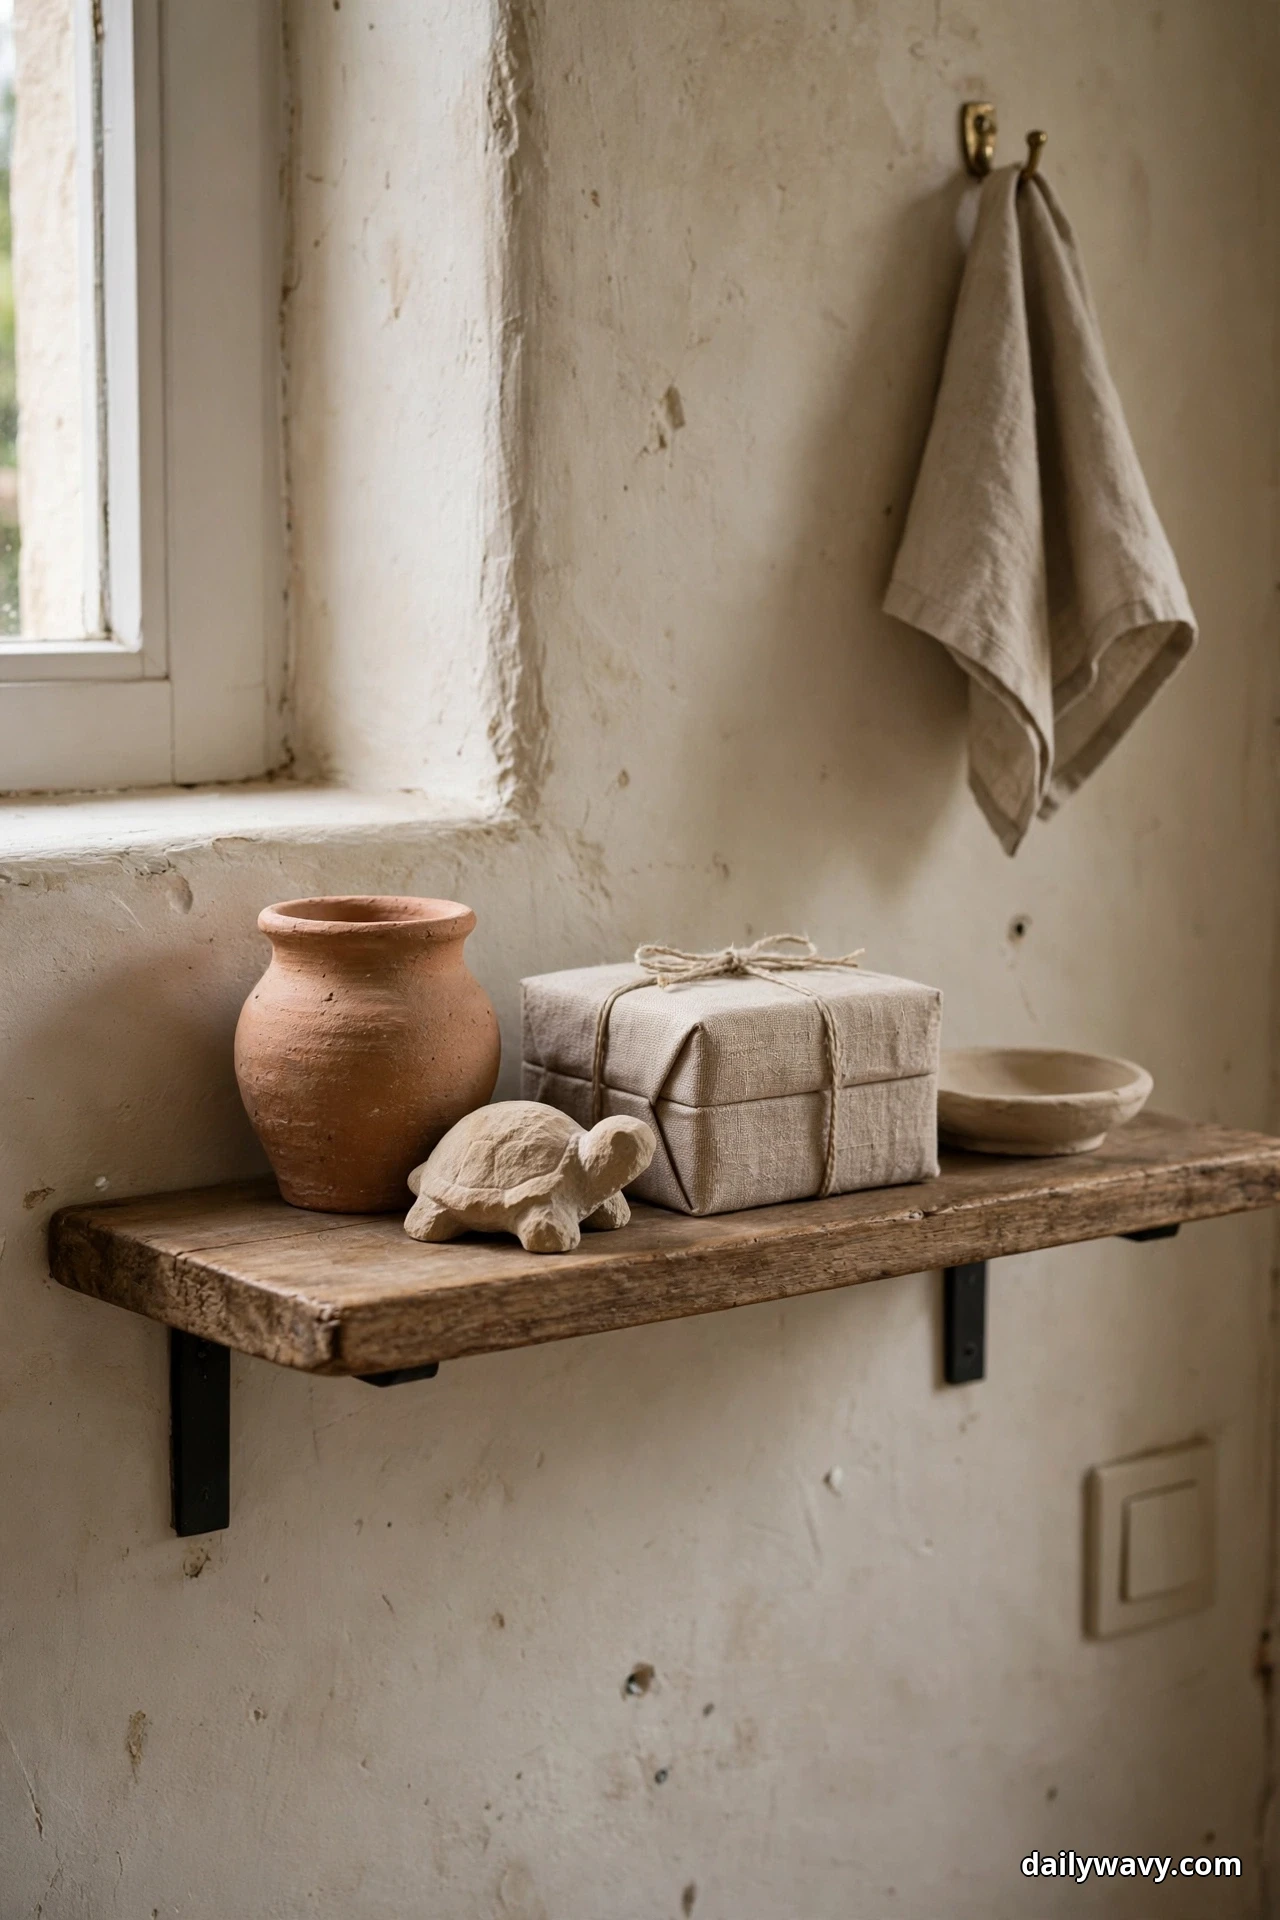
What to measure: the shelf length the grouping will occupy, keeping it to one compact cluster. Materials: a plain shelf or low bookcase section; no special hardware needed. Placement: a hallway shelf, a living room bookcase, or a bedroom dresser. Approximate effort: an afternoon of sorting by color. A realistic lower-cost alternative is simply regrouping what you already display. Practical tip: limit each tonal group to five or fewer pieces; more than that and the color story gets muddy.
13. A Single Focal Object With Negative Space
One extraordinary piece deserves a stage, not a crowd. Place a single striking souvenir, a large carved mask, a dramatic vase, an intricate textile, alone on a wide shelf with empty space around it. The emptiness is the styling; it says this object matters.

What to measure: the object’s height and width, then choose a shelf at least twice as wide so the negative space is generous. Materials: a wide shelf or mantel, a stable base or stand if the object needs one, and good lighting, natural or a picture light. Placement: a focal wall, above a fireplace, or the main living room shelf. Approximate effort: under an hour. A realistic lower-cost alternative is clearing an existing shelf completely and placing the one piece. Practical tip: resist adding “just one small thing” beside it; the power of this idea is the restraint.
14. A Low Tray-Based Arrangement
A low tray on a coffee table or ottoman keeps souvenirs together, portable, and at conversation height. Guests pick pieces up, ask about them, and the tray makes tidying a one-motion job when the table is needed.
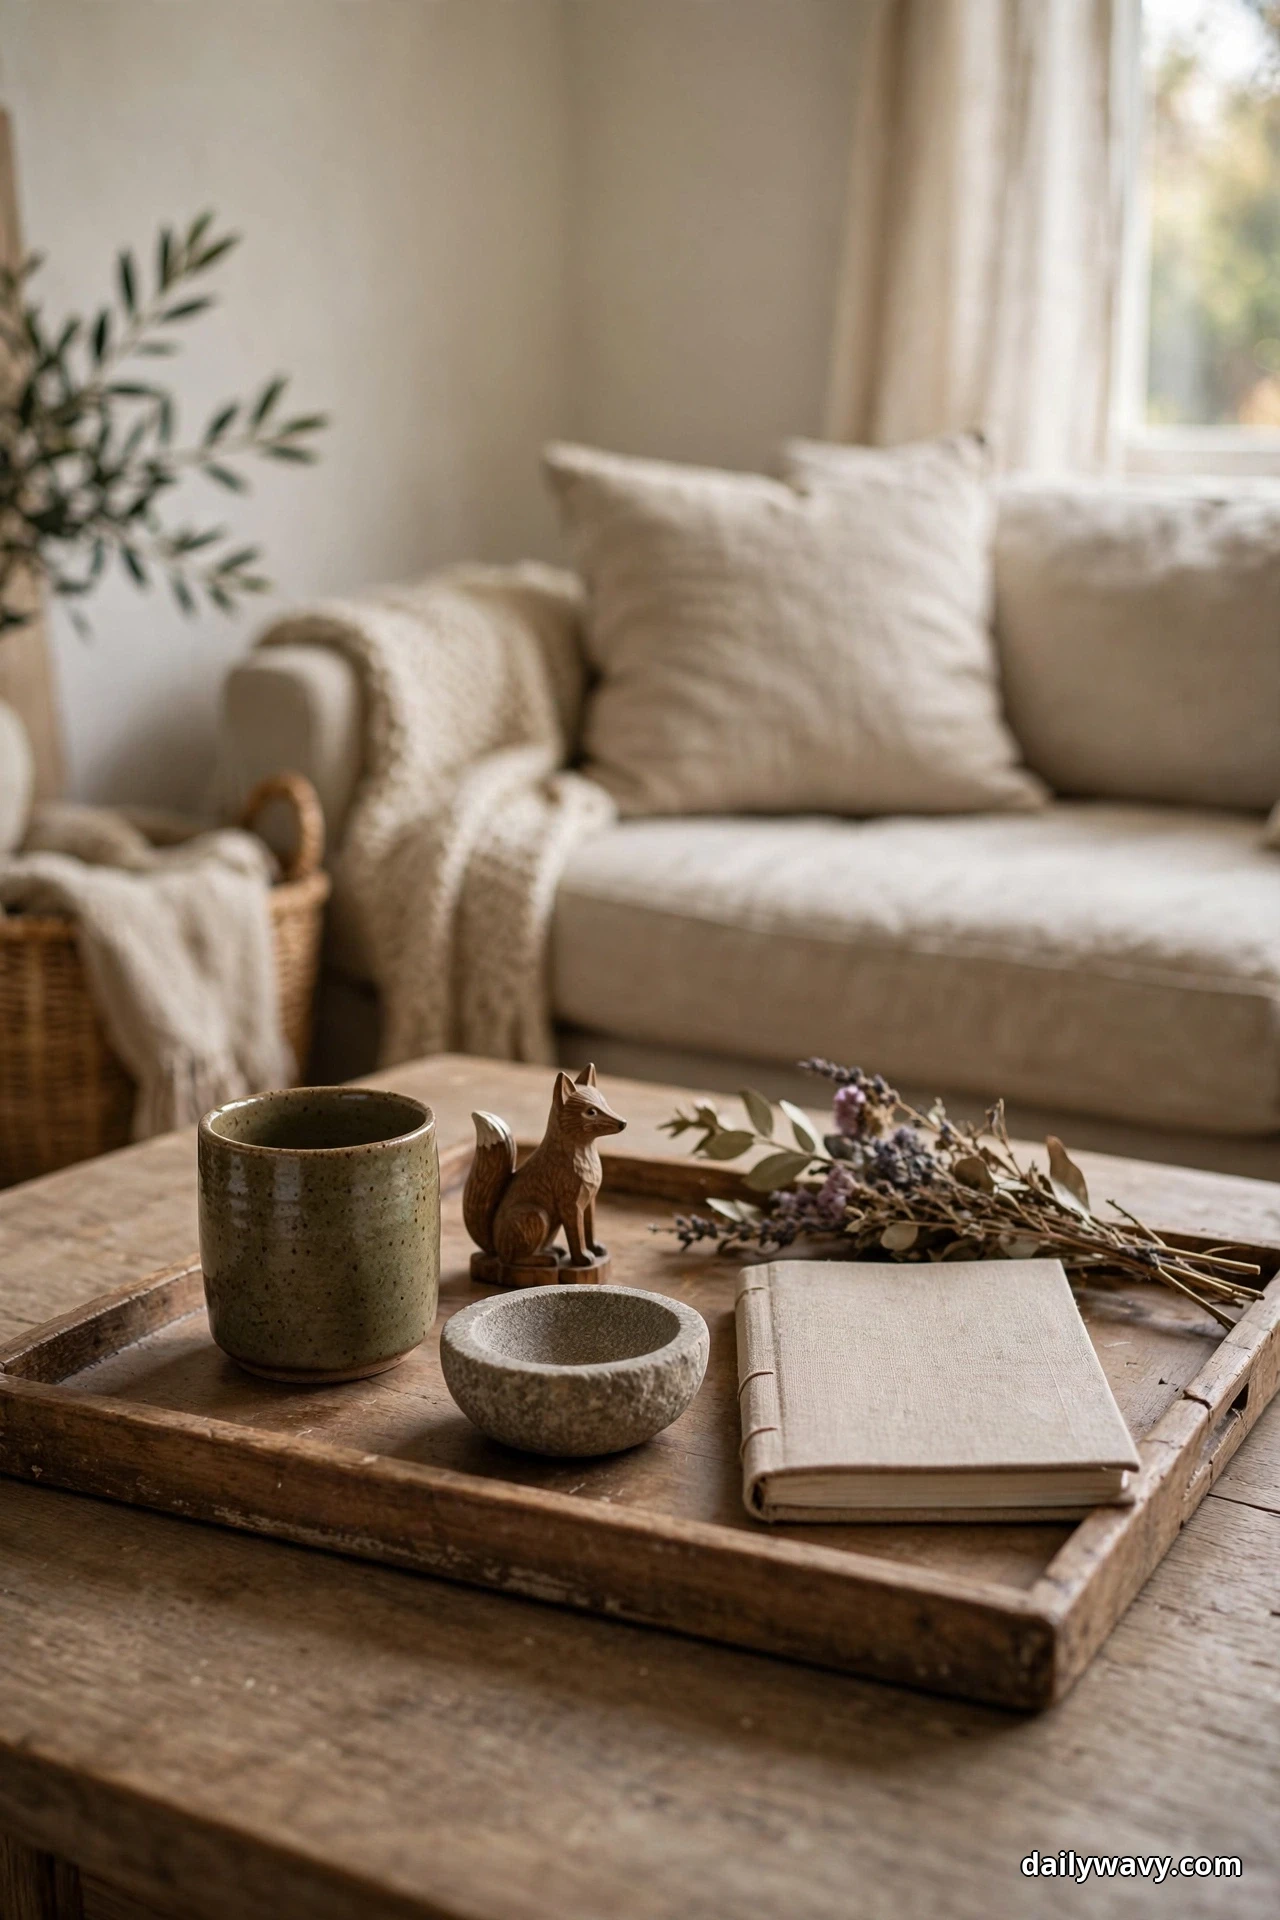
What to measure: the coffee table’s usable surface so the tray leaves room for drinks and books. Materials: a low wooden, stone, or woven tray with handles for easy lifting, and felt dots under fragile pieces. Placement: a coffee table, an ottoman, or a low bench. Approximate effort: under an hour. A realistic lower-cost alternative is a rimmed baking sheet or a large charger plate used as a tray. Practical tip: choose a tray with a lip so small pieces do not migrate across the table.
15. A Vertical Display In A Narrow Nook
Narrow nooks, the gap beside a bookshelf, a slim hallway recess, a stairwell wall, are perfect for vertical displays. Stack two or three tiny shelves, hang a narrow ladder shelf, or mount a series of small brackets climbing the wall, then place one or two small souvenirs on each level.
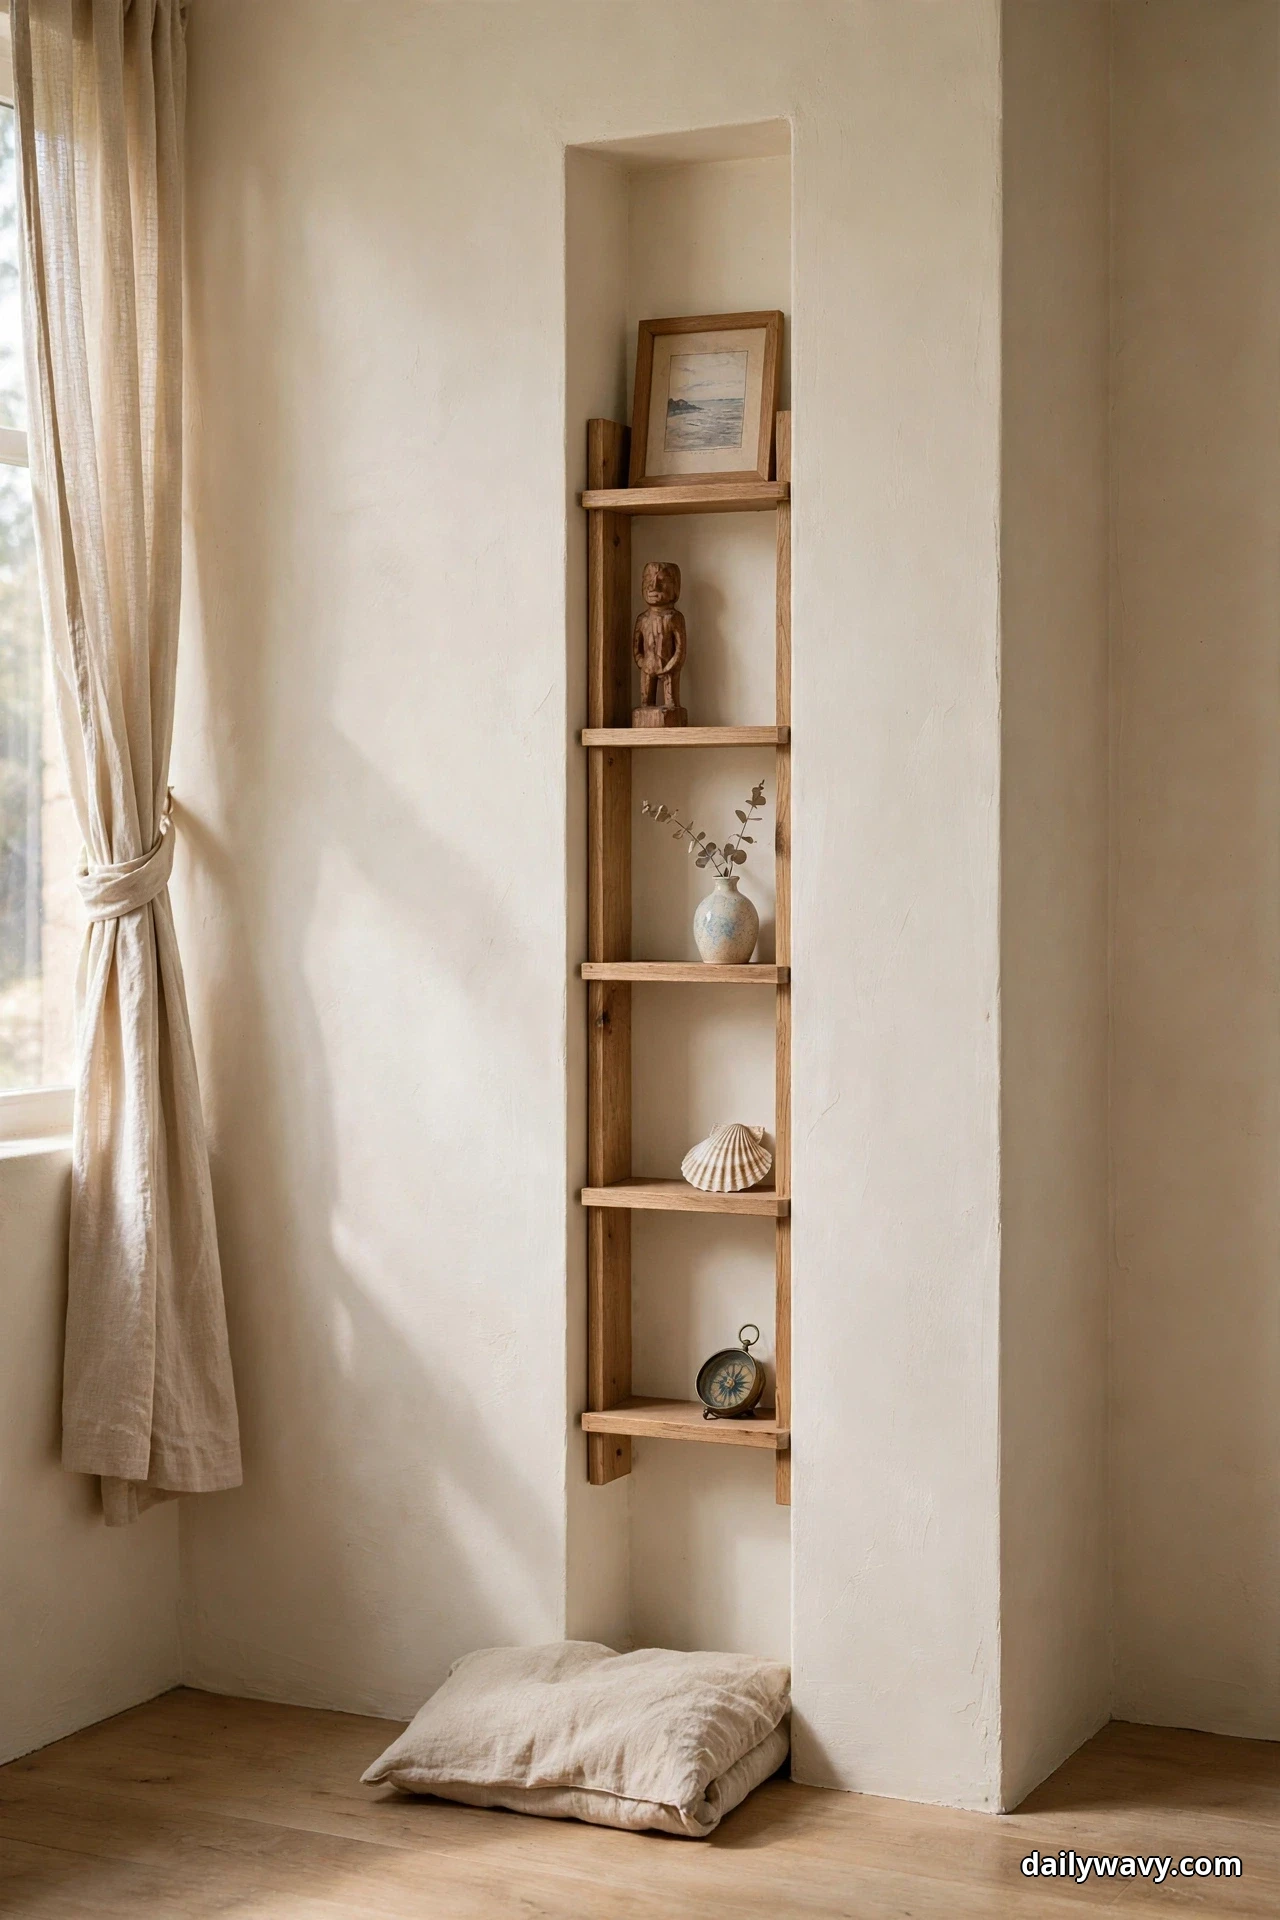
What to measure: the nook’s width and the wall’s stud or masonry locations for secure mounting. Materials: small floating shelves or brackets, a level, wall anchors suited to your wall type, and museum putty for the objects. Placement: any underused vertical sliver of wall. Approximate effort: a weekend including mounting. A realistic lower-cost alternative is a tall narrow picture ledge leaned securely or a hanging organizer repurposed for display. Practical tip: keep the heaviest pieces on the lowest shelf for stability and visual grounding.
16. A Balanced Pair With Different Heights
Two objects of different heights, a tall candlestick beside a low bowl, a standing figure next to a flat stone, balance each other like a seesaw. The height difference creates movement, and the pair reads as one intentional unit on a mantel or shelf.
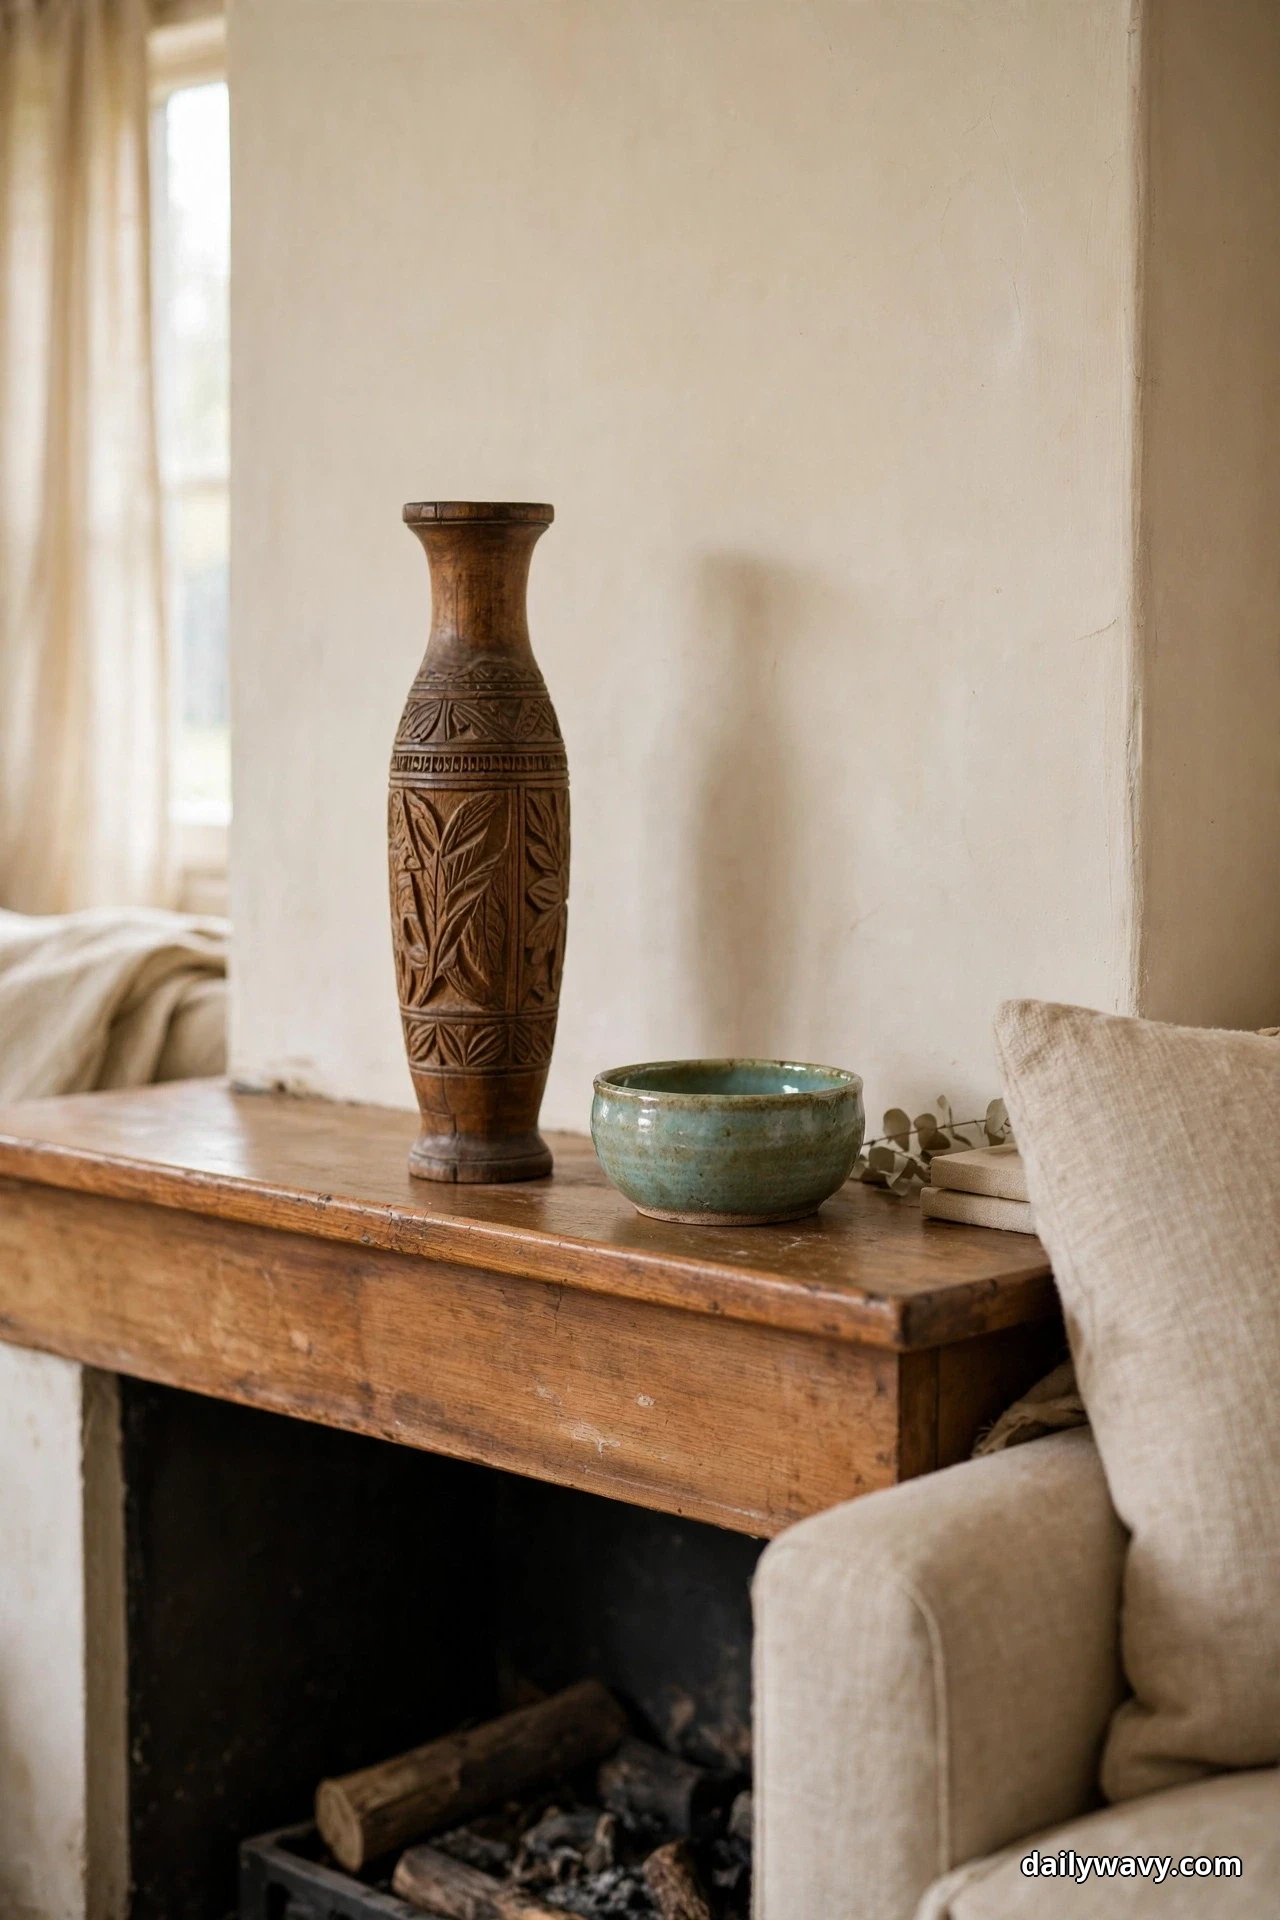
What to measure: the height ratio; a roughly 2:1 difference looks natural, while equal heights can look stiff. Materials: the two objects and optionally a small riser under the shorter one to fine-tune the ratio. Placement: a mantel, a console, or a wide shelf. Approximate effort: minutes. A realistic lower-cost alternative is stacking books under the shorter piece. Practical tip: angle the pair slightly toward each other rather than lining them up in a rigid row.
17. A Small Tabletop Cluster
Odd numbers please the eye, so cluster three or five small souvenirs on a side table: a tiny brass bell, a painted pebble, a miniature frame, a shell, a bead. Keep the cluster tight enough to read as one group, with the table’s remaining surface clear.
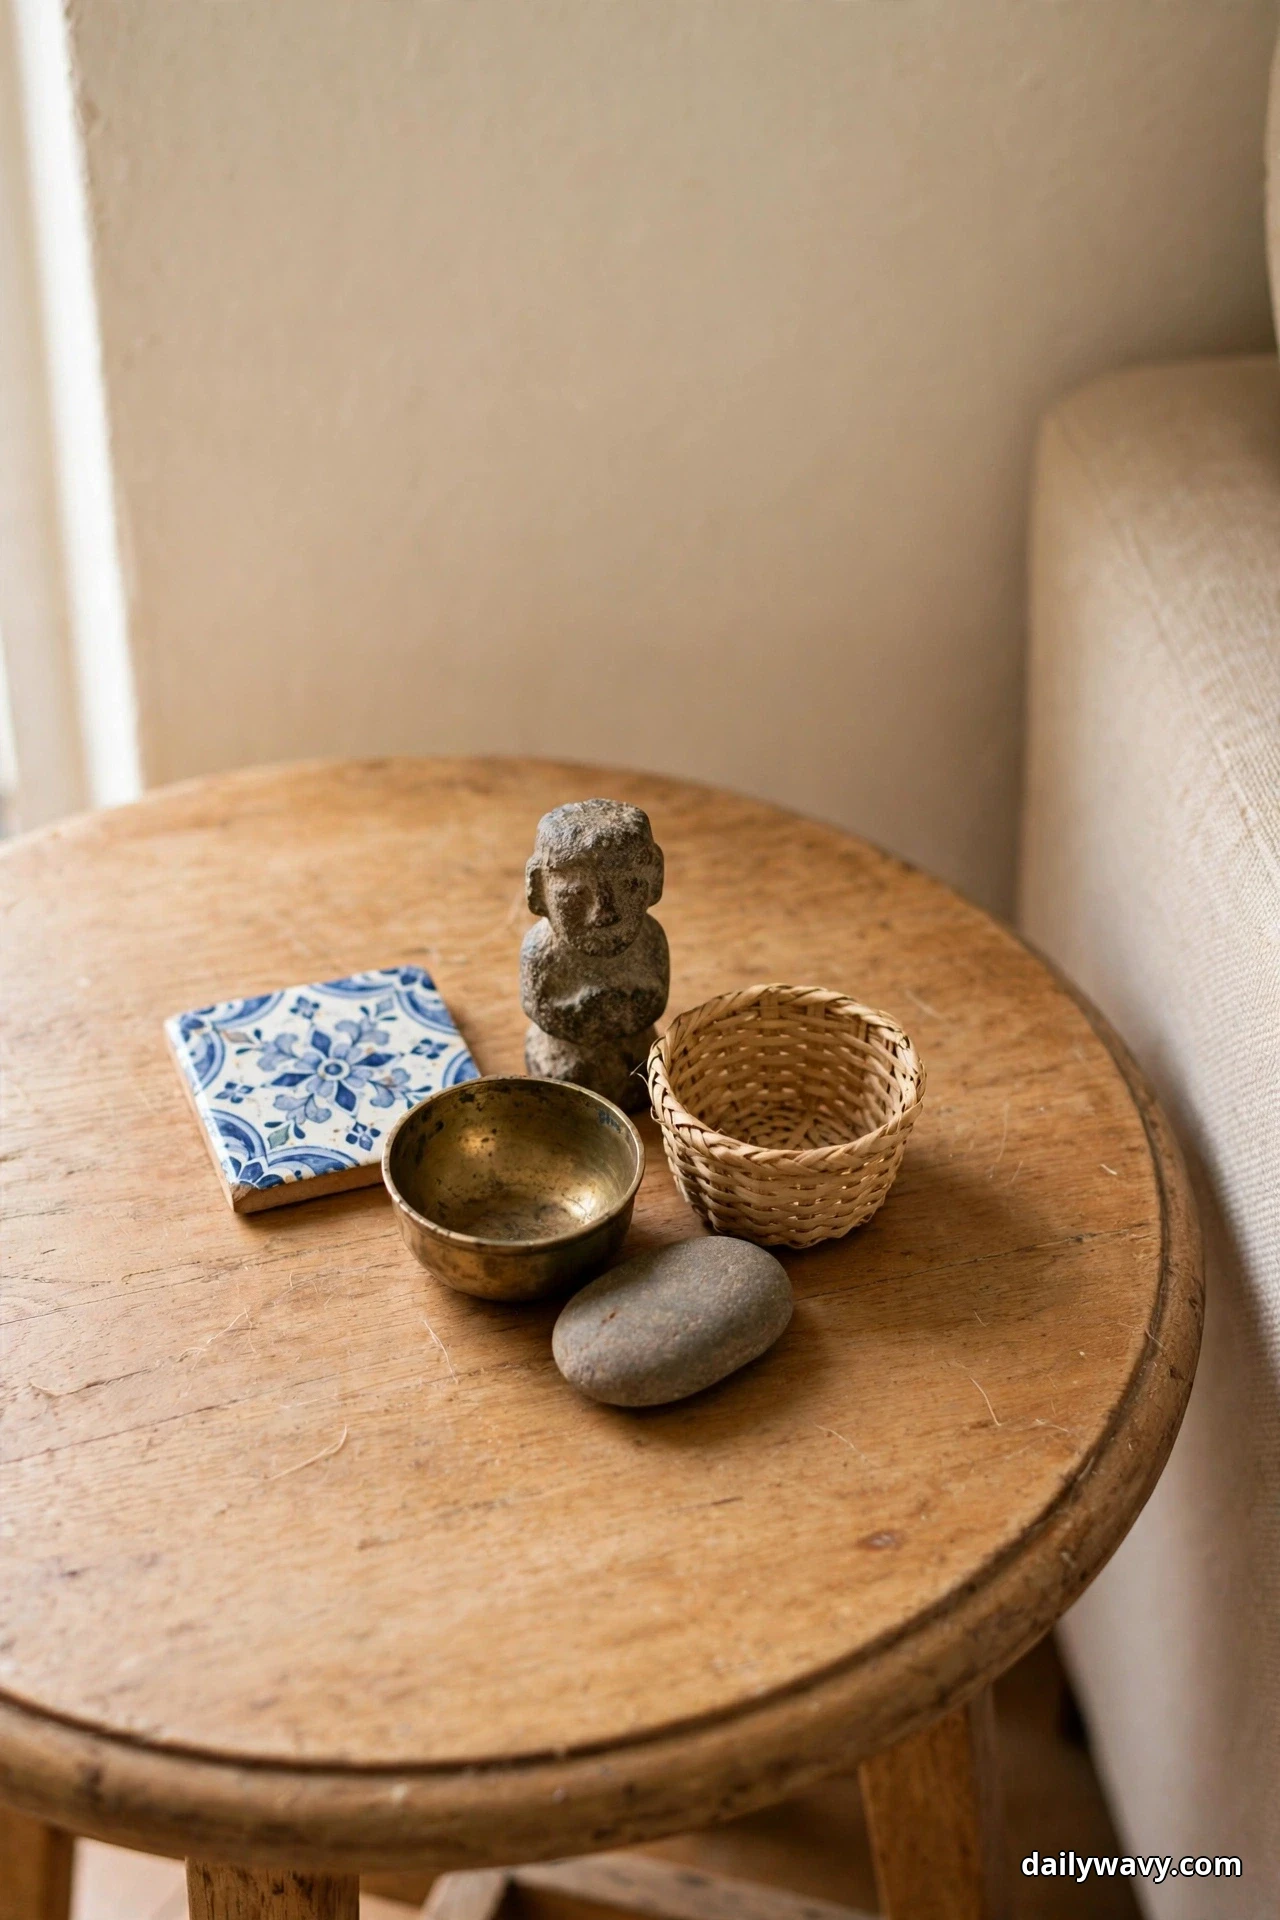
What to measure: the cluster’s footprint, aiming for no more than a third of the tabletop. Materials: a small tray or doily to define the cluster’s boundary, and felt pads under metal pieces. Placement: a side table, a nightstand, or a plant stand. Approximate effort: under half an hour. A realistic lower-cost alternative is using a folded cloth napkin as the cluster’s base. Practical tip: vary the heights within the cluster so it reads as a little skyline rather than a flat row.
18. A Restrained Shelf Vignette
The quietest idea is often the strongest. On one shelf, place three or four souvenirs with generous space between them and nothing else. No books, no plants, no filler. The restraint gives each piece museum-like importance and the shelf a calm, gallery feel.

What to measure: the spacing between pieces; a hand’s width of empty shelf between objects is a good starting point. Materials: the shelf itself and good light, nothing more. Placement: a prominent shelf where the vignette can be appreciated daily. Approximate effort: minutes of editing, which is the hardest part. A realistic lower-cost alternative is removing items rather than adding any. Practical tip: step back and squint; if the shelf still reads as one calm shape, the spacing is right.
Frequently Asked Questions
How do I keep souvenir displays from looking cluttered?
Give the collection a boundary, one tray, one shelf, one corner, and leave negative space between pieces. Editing is more powerful than arranging: fewer objects, better spaced, always look intentional.
What is the best way to dust delicate souvenirs?
Use a soft natural-bristle brush for carved or textured pieces and a microfiber cloth for smooth ceramics and glass. Keep intricate or fragile items on surfaces you can lift easily, or behind glass, so dusting is a quick job rather than a chore you avoid.
Can I display souvenirs in a humid bathroom?
Only moisture-tolerant pieces: glazed ceramics, stone, glass, and sealed wood. Keep paper, textiles, and raw wood out of bathrooms, and make sure the room is ventilated. When in doubt, choose another room.
How do I hang heavy souvenirs like masks or plates safely?
Use hardware rated for at least twice the object’s weight, anchor into studs or use proper masonry anchors, and add a secondary safety wire for anything irreplaceable. Plate hangers with padded grips work well for ceramics.
Should I group souvenirs by trip or by color?
Both work. Grouping by trip tells a story about one journey; grouping by color creates a calmer, more designed look across many journeys. Try color grouping if your shelves currently feel busy.
What do I do with souvenirs I love but that do not fit my decor?
Rotate them. Keep a small storage box of off-season pieces and swap a few into your displays every couple of months. You get to enjoy everything over time without crowding your rooms.
A Home That Remembers
Souvenirs are memory made solid, and they deserve better than a drawer. Start with one idea from this list, the corner display, the low tray, the single focal piece, and give your finds the stage they earned on the road. If you are styling a whole room around collected pieces, our guide to small entryway decor shows how to make a first impression with meaningful objects, and narrow living room layout ideas help when display space is tight. For keeping the rest of the house as calm as your new vignettes, see small pantry organization and browse the full Home & Decor collection.