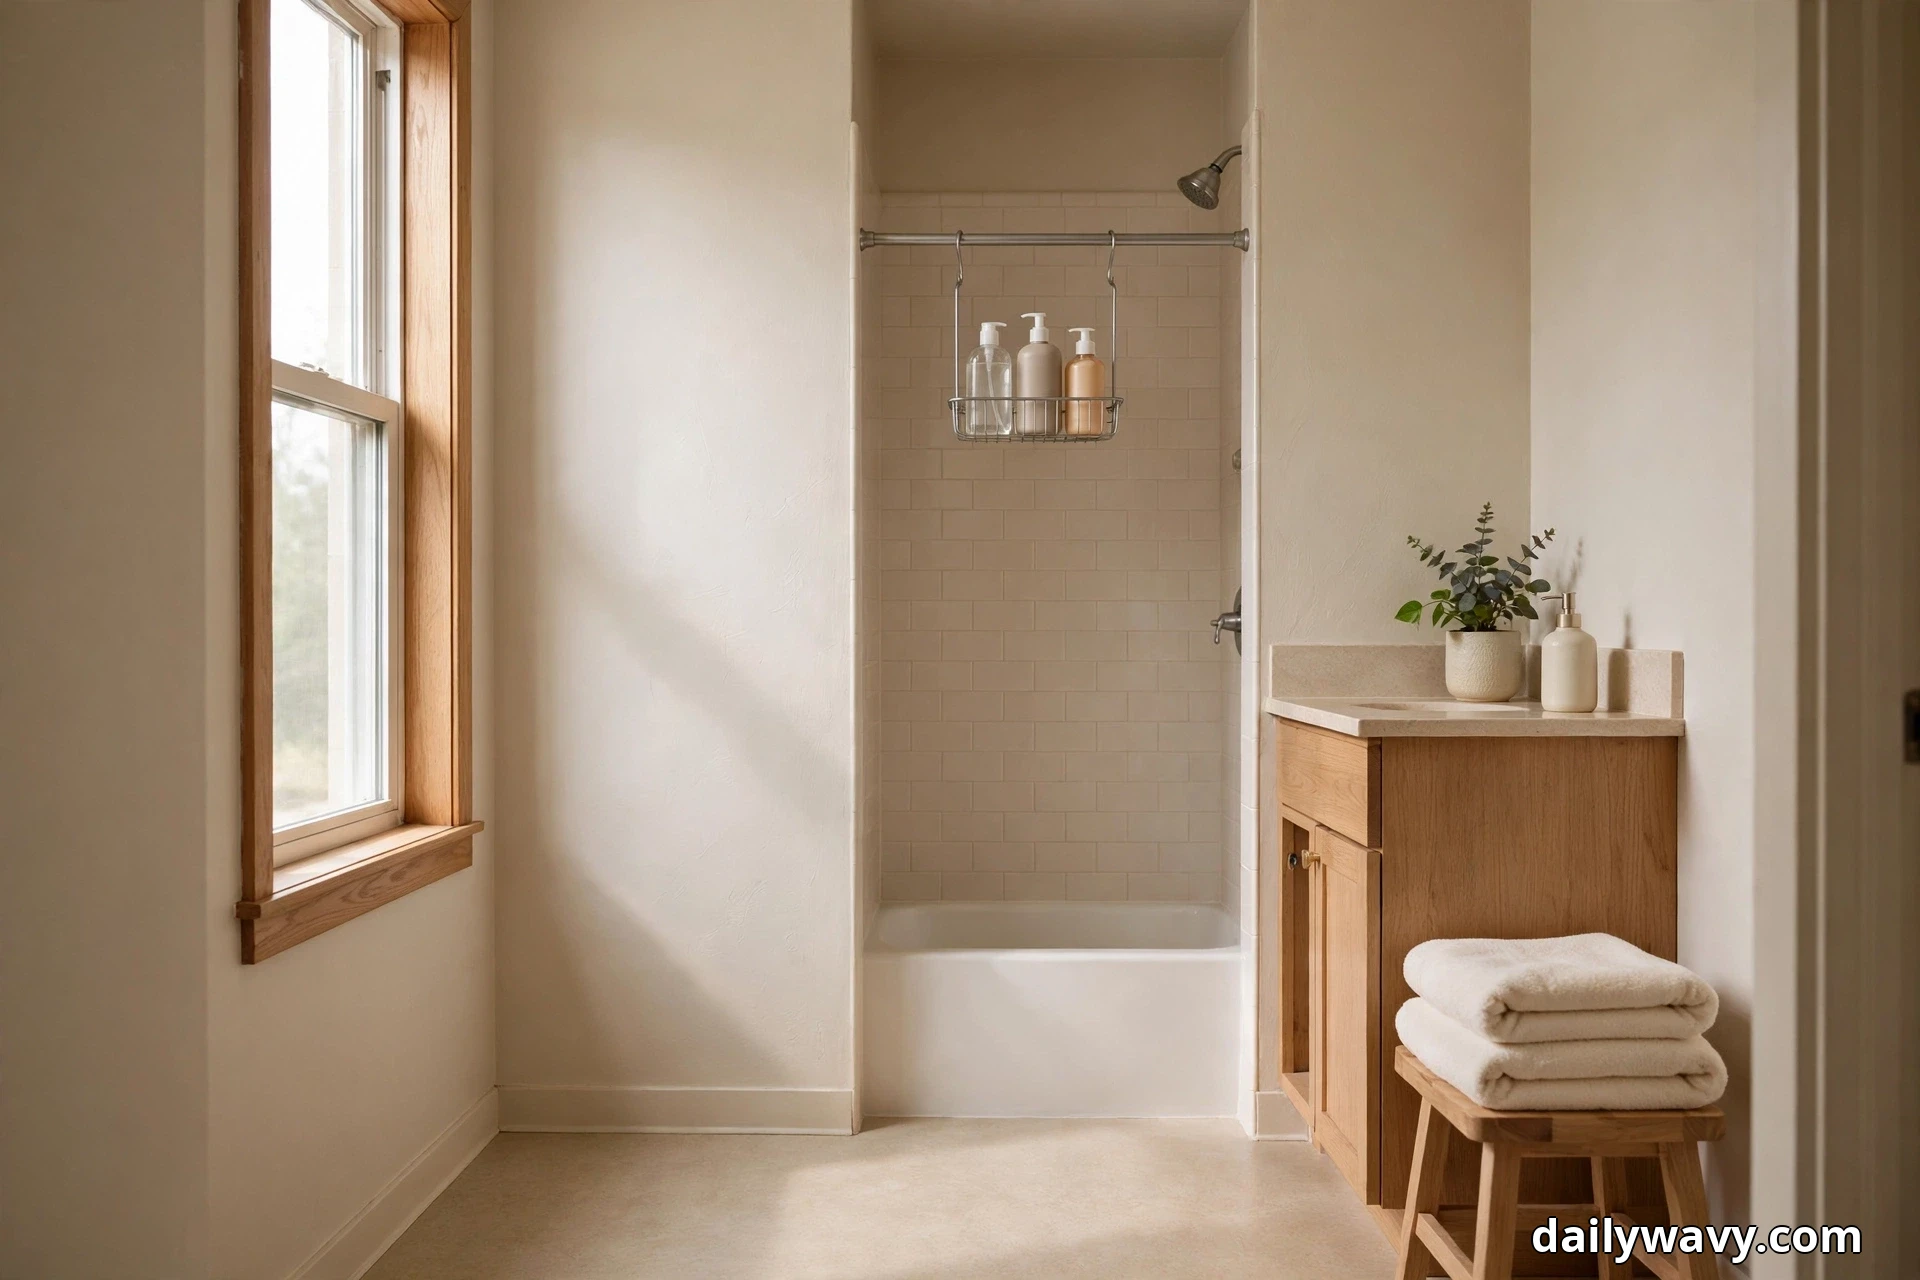
10 Renter Bathroom Upgrades Ideas to Personalize Your Space
Your bathroom is the first room you see in the morning and the last one you visit at night, so…
Your bathroom is the first room you see in the morning and the last one you visit at night, so it deserves to feel like yours even when the lease says otherwise. These ten upgrades are all fully reversible, which means no drilling, no permanent changes and, with the patch tests and permission checks below, nothing that should put your deposit at risk. Each idea relies on freestanding pieces, tension-based hardware or removable fasteners, and the sections give you the practical details as you go: what to measure, how much effort it takes, and when to check with your landlord first. Start with one corner this weekend and see how different the whole room feels.
Jump to an idea:
- A Tension-Based Solution Where Suitable
- A Small Plant In A Stable Pot
- A Removable Organizer With Checked Load Limits
- A Freestanding Mirror Secured Appropriately
- A Table-Top Display With Useful Objects
- A Fabric Panel Adding Color
- A Shelf Insert That Does Not Alter Cabinetry
- A Lightweight Divider
- A Tidy Cable-Routing Solution
- A Coordinated Container Set
The Renter Bathroom Rules Before You Start
Before you buy a single hook, take five minutes to set yourself up for a smooth move-out later. Read your lease for the exact wording on walls, adhesive products and plumbing fixtures. Many leases allow removable fasteners but forbid anything screwed into tile or drywall, so get permission in writing (an email counts) for anything that touches a fixed surface. Photograph the bathroom as it is today, including inside cabinets and the caulk lines, so you have a clear record of the original condition.
Patch-test every adhesive product on a hidden spot first, behind the toilet or inside a cabinet door, and leave it for a full day before loading it. Bathroom humidity and steam weaken many adhesives, and no product on the market is damage-free on every surface, so test on your actual tile or paint rather than trusting the packaging. Check the load limit on the box and stay well under it. Keep every original fixture you remove, like the shower head or the toilet paper holder, in a labeled bag so you can reinstall it before you move out. With those habits in place, everything below is genuinely reversible.
1. A Tension-Based Solution Where Suitable
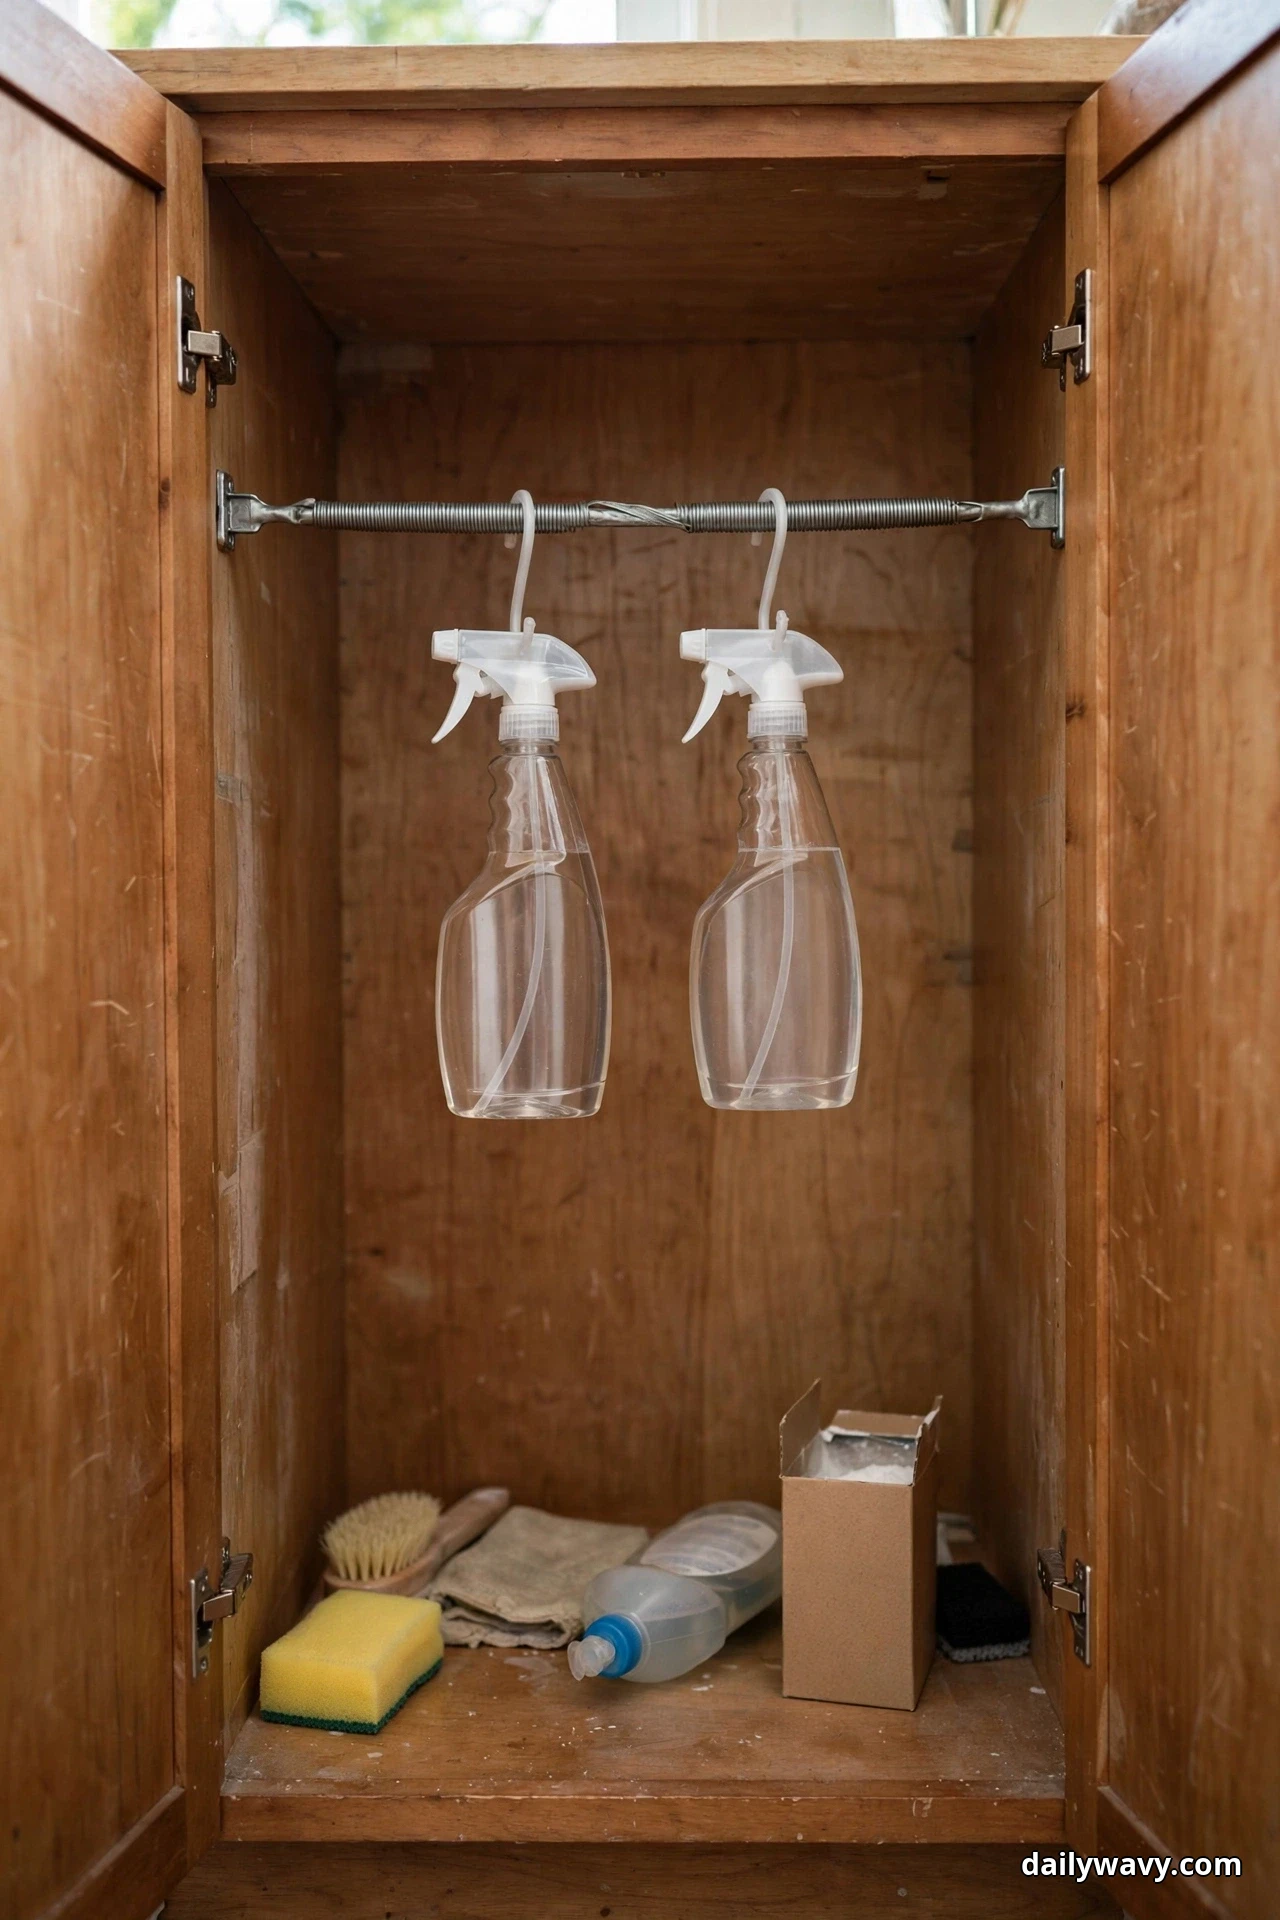
A tension rod is the renter’s quiet workhorse. Twisted between two walls it holds itself in place with spring pressure, which means storage or hanging space appears without a single screw. Inside a vanity cabinet, a short rod hung a few inches below the top shelf gives spray bottles and tall cleaners a place to hang by their triggers, freeing the cabinet floor. Stretched across a shower alcove it carries a hanging caddy or a second curtain. Across a narrow window recess it holds a lightweight cafe curtain for privacy.
Measure the span before you shop, wall to wall or inside the cabinet, and choose a rod that lists your span within the middle of its range rather than at the maximum. Twist it snugly into place and check that the rubber end caps sit flat. Most household rods are rated for roughly 5 to 10 pounds, so keep loads light and centered. A rod is a poor choice for heavy tile walls with uneven grout lines, so press the caps firmly and recheck the tension after the first steamy shower. This upgrade needs no landlord permission in most leases since nothing is fastened, and it takes about ten minutes.
The look is invisible hardware doing a visible job. In a lived-in bathroom the rod disappears behind what it holds, which is exactly the point. A lower-cost alternative is a spring-loaded curtain rod from a discount store, which works the same way for half the price. Practical tip: wipe the contact points with rubbing alcohol first so the rubber caps grip instead of sliding on soap film.
2. A Small Plant In A Stable Pot
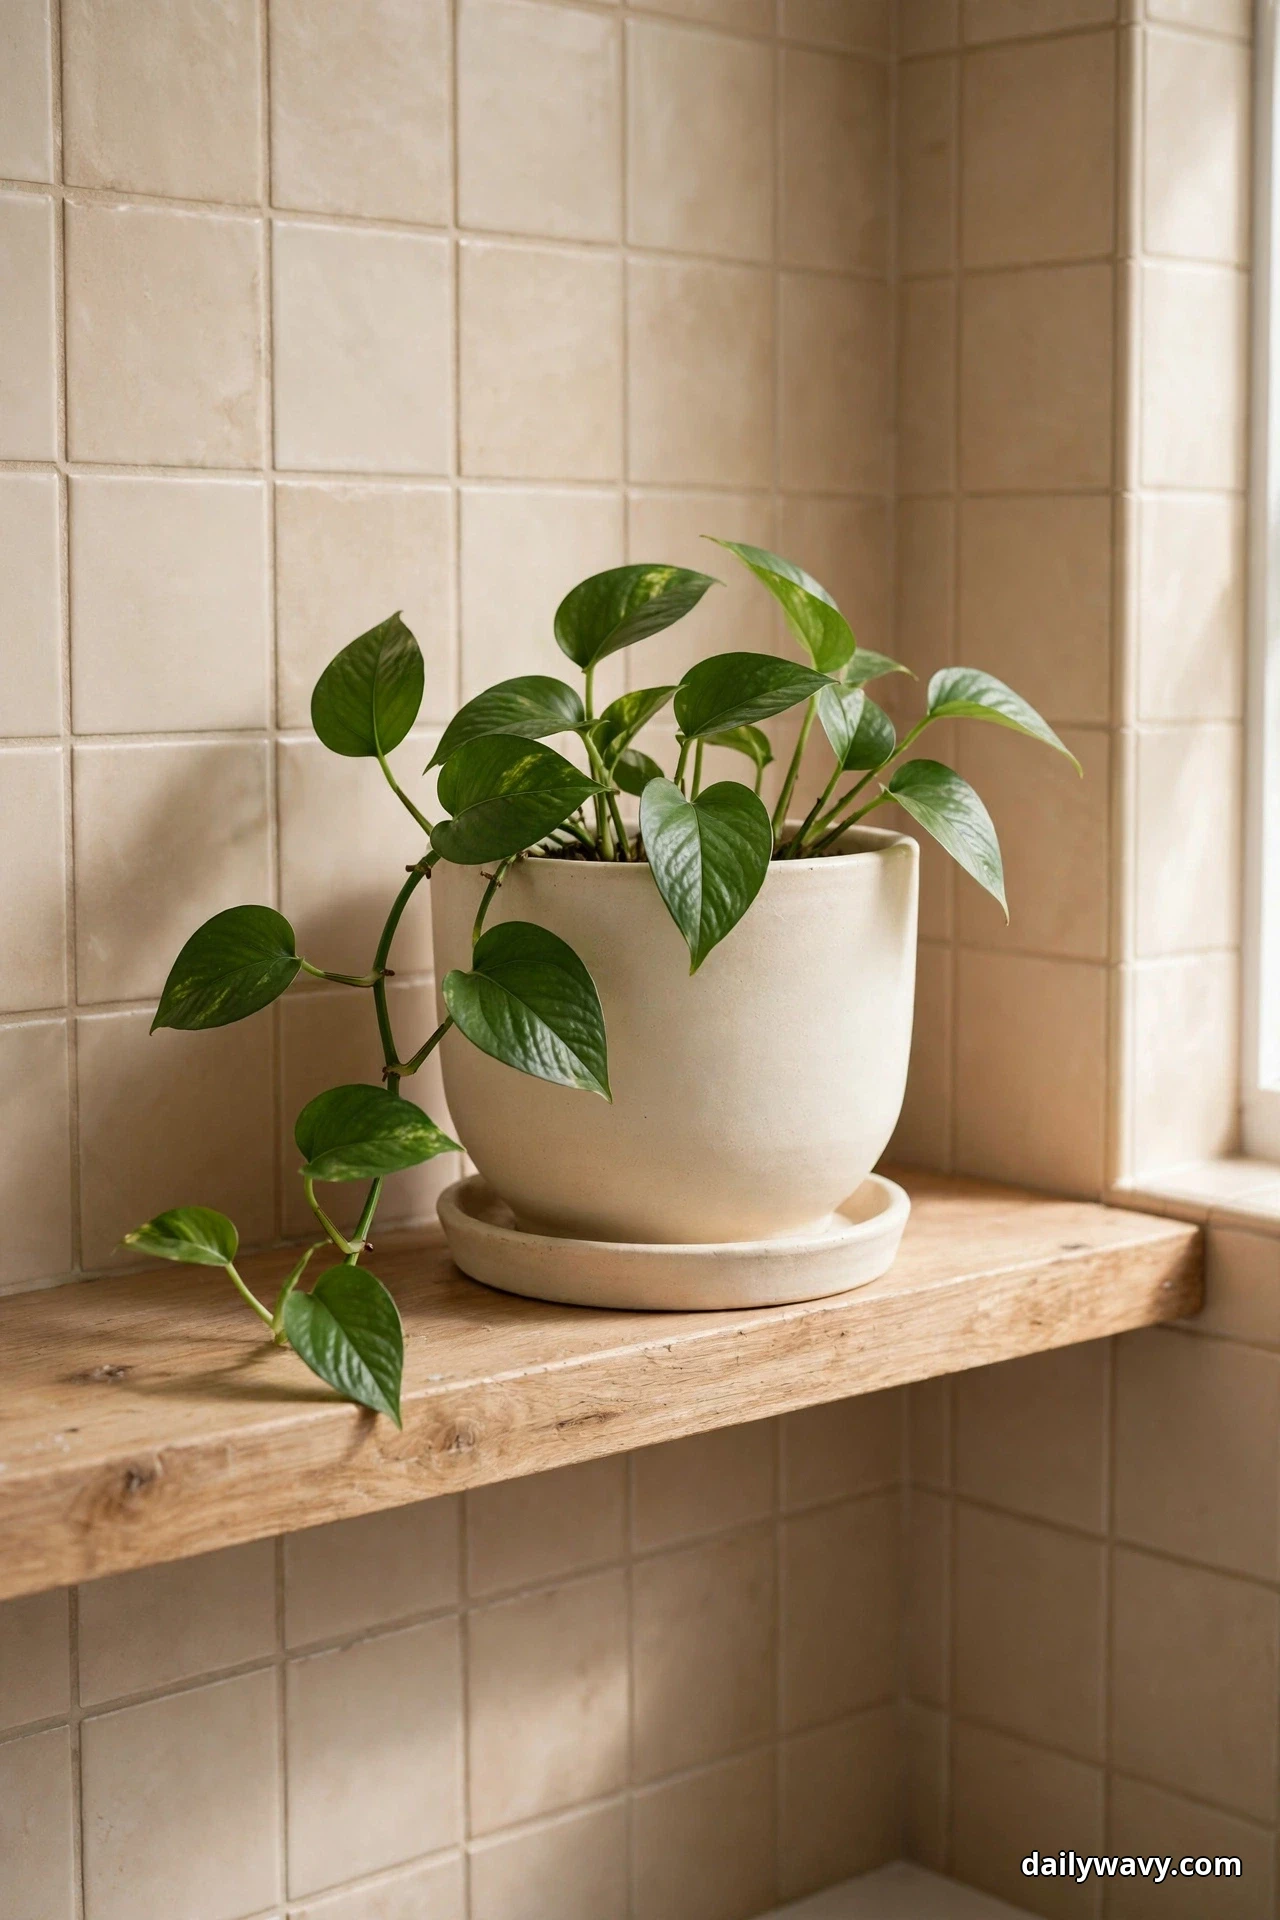
Nothing softens a rental bathroom faster than something alive. Bathrooms are naturally humid, which makes them surprisingly good homes for tropical plants like pothos, spider plants and Boston ferns. The trick for renters is the pot, not the plant. Choose a small plant in a stable, wide-based ceramic pot that cannot tip off a narrow shelf or the back of the toilet, and set it on a saucer or a small tray so condensation never reaches the landlord’s paint or woodwork.
Match the plant to your light. A frosted window still gives bright indirect light that pothos and philodendrons love. A windowless bathroom needs a plant that tolerates low light, or a small grow bulb in an existing fixture, and even then keep expectations modest. Water sparingly, since humid air slows evaporation, and check that the pot has drainage so roots never sit in water. Measure the shelf or surface first and keep the plant’s footprint to about half the surface width so it looks intentional rather than crowded.
This is a five-minute upgrade with real payoff. The green against warm neutrals makes tile feel less institutional and gives your eye somewhere pleasant to land. A lower-cost alternative is a cutting of pothos rooted in a small glass jar, which costs almost nothing and looks lovely until it needs a proper pot. Practical tip: rotate the pot a quarter turn each week so the plant grows evenly toward the light instead of leaning.
3. A Removable Organizer With Checked Load Limits

A shower niche would be lovely, but your rental probably has flat tile and a corner caddy that rusts. A removable organizer, either suction-cup or adhesive-mounted, gives you real shelf space exactly where you reach for it. Suction versions press onto smooth, non-porous tile and release with a tab. Adhesive versions use removable strips that peel away with a pull tab. Both come off without tools, which is what makes them renter-appropriate.
The critical step is respecting the load limit printed on the packaging. Most shower organizers are rated for 3 to 8 pounds total. That covers two or three standard bottles, not a full apothecary collection. Clean the tile with rubbing alcohol and let it dry completely before mounting, since soap film is the main reason suction cups fail at 6 a.m. Patch-test adhesive strips on a hidden tile for 24 hours first, because steam and heat cycle the bond and no adhesive is damage-free on every surface. Press suction cups onto flat tile centers, never across grout lines.
Keep the organizer to daily essentials and decant oversized bottles into smaller ones so the weight stays honest. The effort is about fifteen minutes including the cleaning and waiting. A lower-cost alternative is a hanging mesh caddy that loops over the shower head, which needs no wall contact at all. Practical tip: once a month, press each suction cup firmly again and wipe the tile behind it, because slow creep is how organizers end up in the tub.
4. A Freestanding Mirror Secured Appropriately
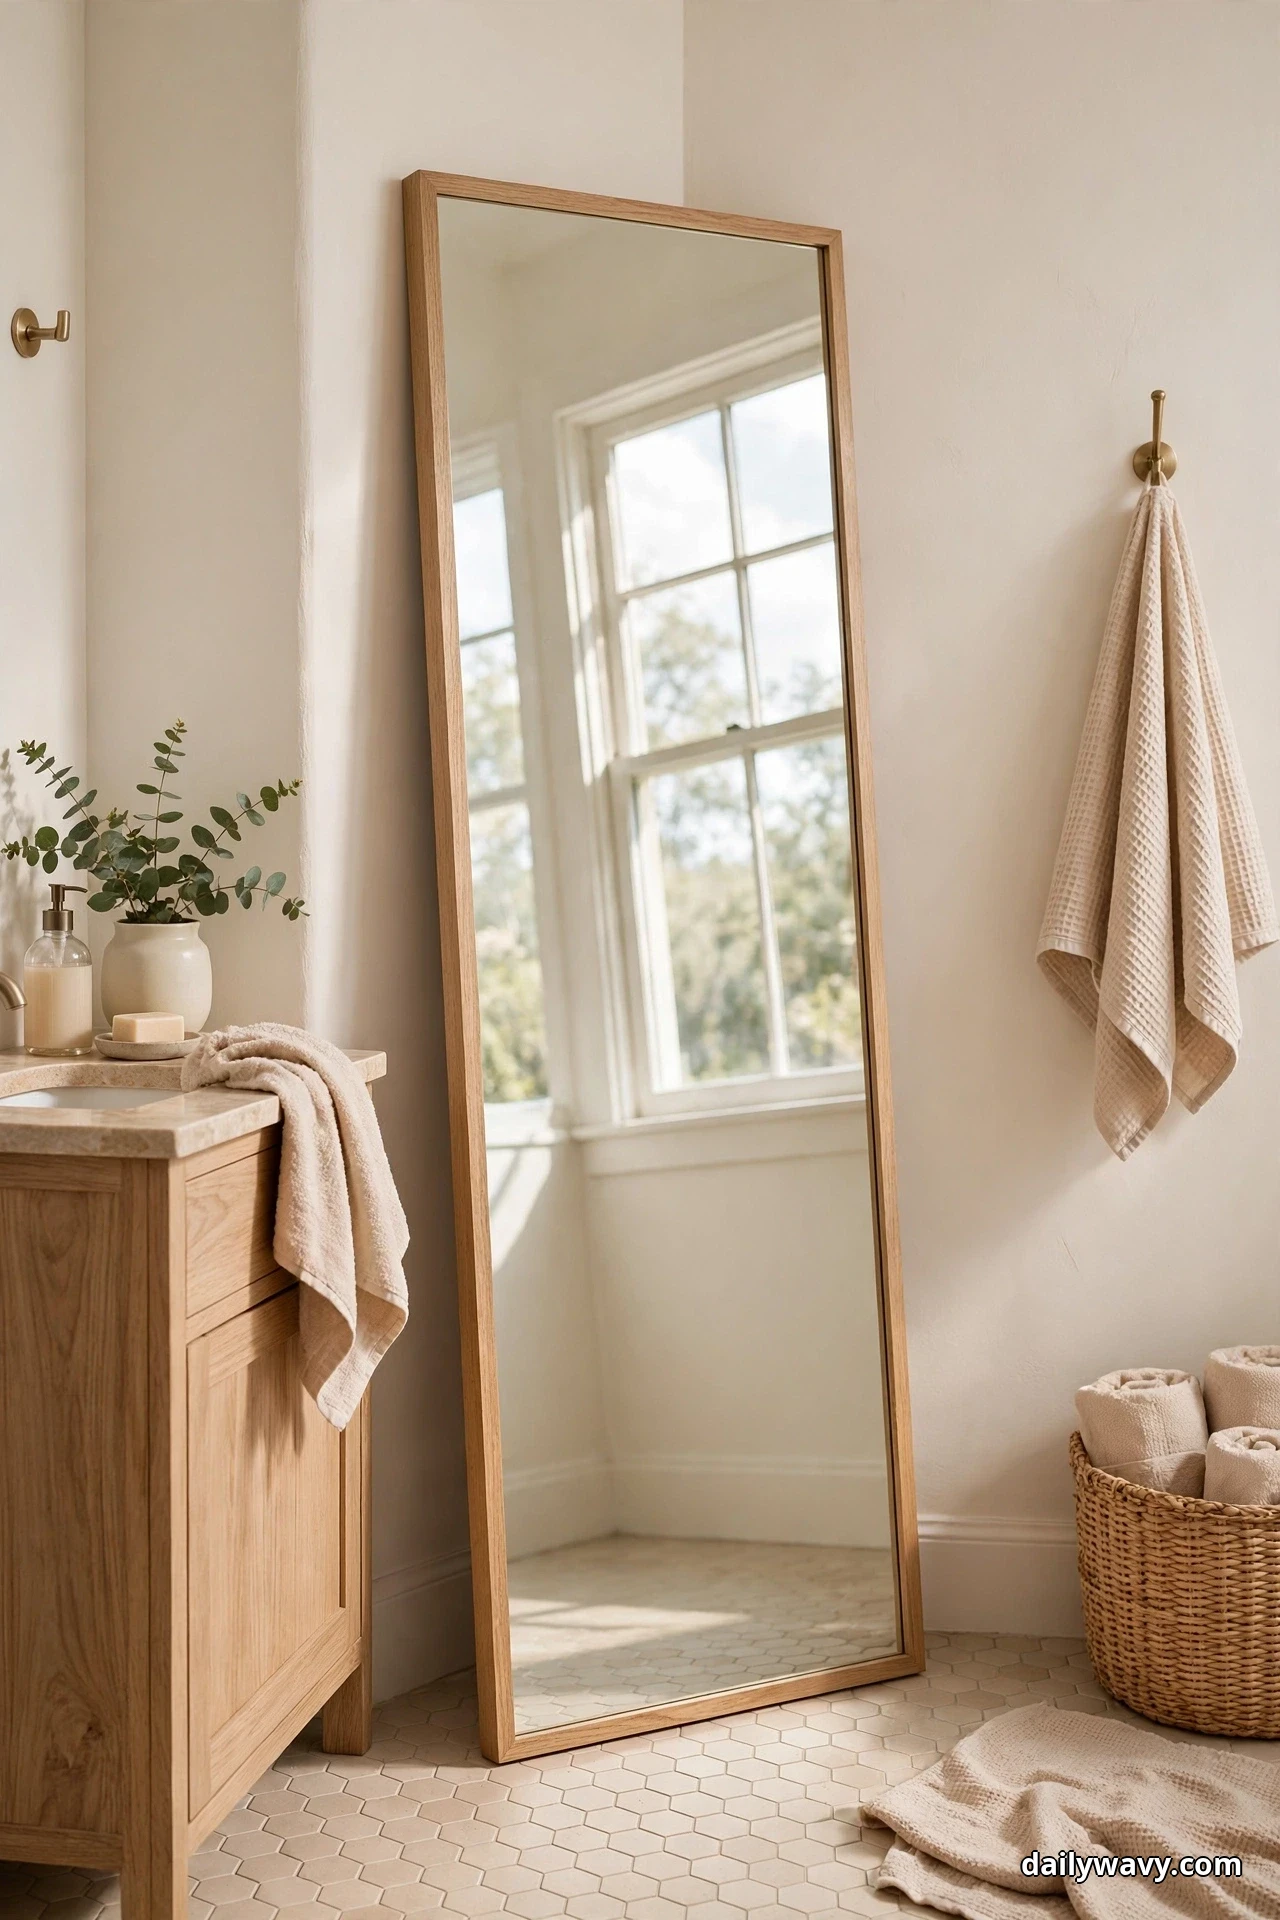
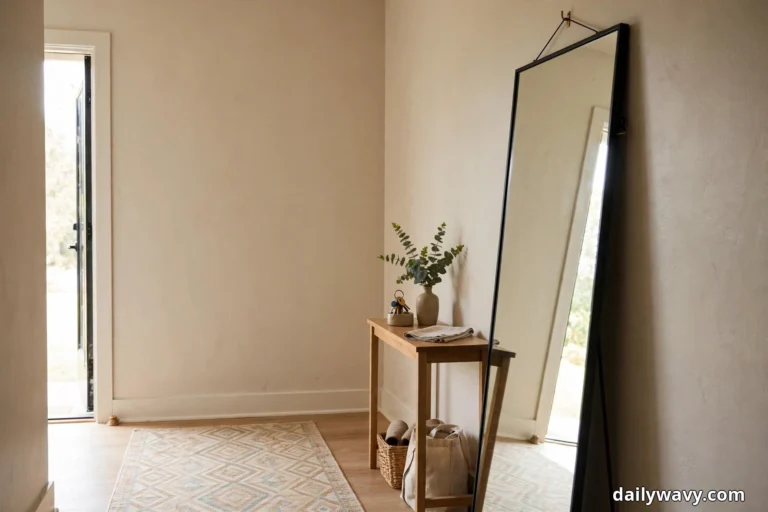
Rental bathrooms often come with a single small builder-grade mirror, and you are not allowed to swap it. A freestanding mirror solves the problem without touching a wall. A full-length cheval mirror or a leaning floor mirror in a slim frame bounces light around a small bathroom and makes the whole room feel twice as big. On a vanity, a freestanding tabletop mirror with a weighted base gives you a proper close-up mirror for makeup or shaving without mounting anything.
Secured appropriately means respecting physics. A leaning mirror must rest at a slight angle with its base firmly on the floor, never balanced on a rug edge. If the mirror is tall or the household includes kids or pets, add an anti-tip furniture strap to the wall using a removable adhesive anchor rated for the weight, and get your landlord’s written okay first since this one does touch the wall. For a tabletop mirror, choose a base heavy enough that the mirror cannot tip forward when you adjust the angle. Measure the spot: you need the mirror’s full width plus a few inches of clearance, and the floor in front of it must stay clear so nobody backs into it.
This is a same-day upgrade with outsized visual impact. The reflected window light does more for a dim bathroom than any accessory. A lower-cost alternative is a large standing mirror from a secondhand shop, which often costs less than a new small one. Practical tip: clean both sides of the glass and the wall behind it, because a mirror doubles every smudge and dust line.
5. A Table-Top Display With Useful Objects
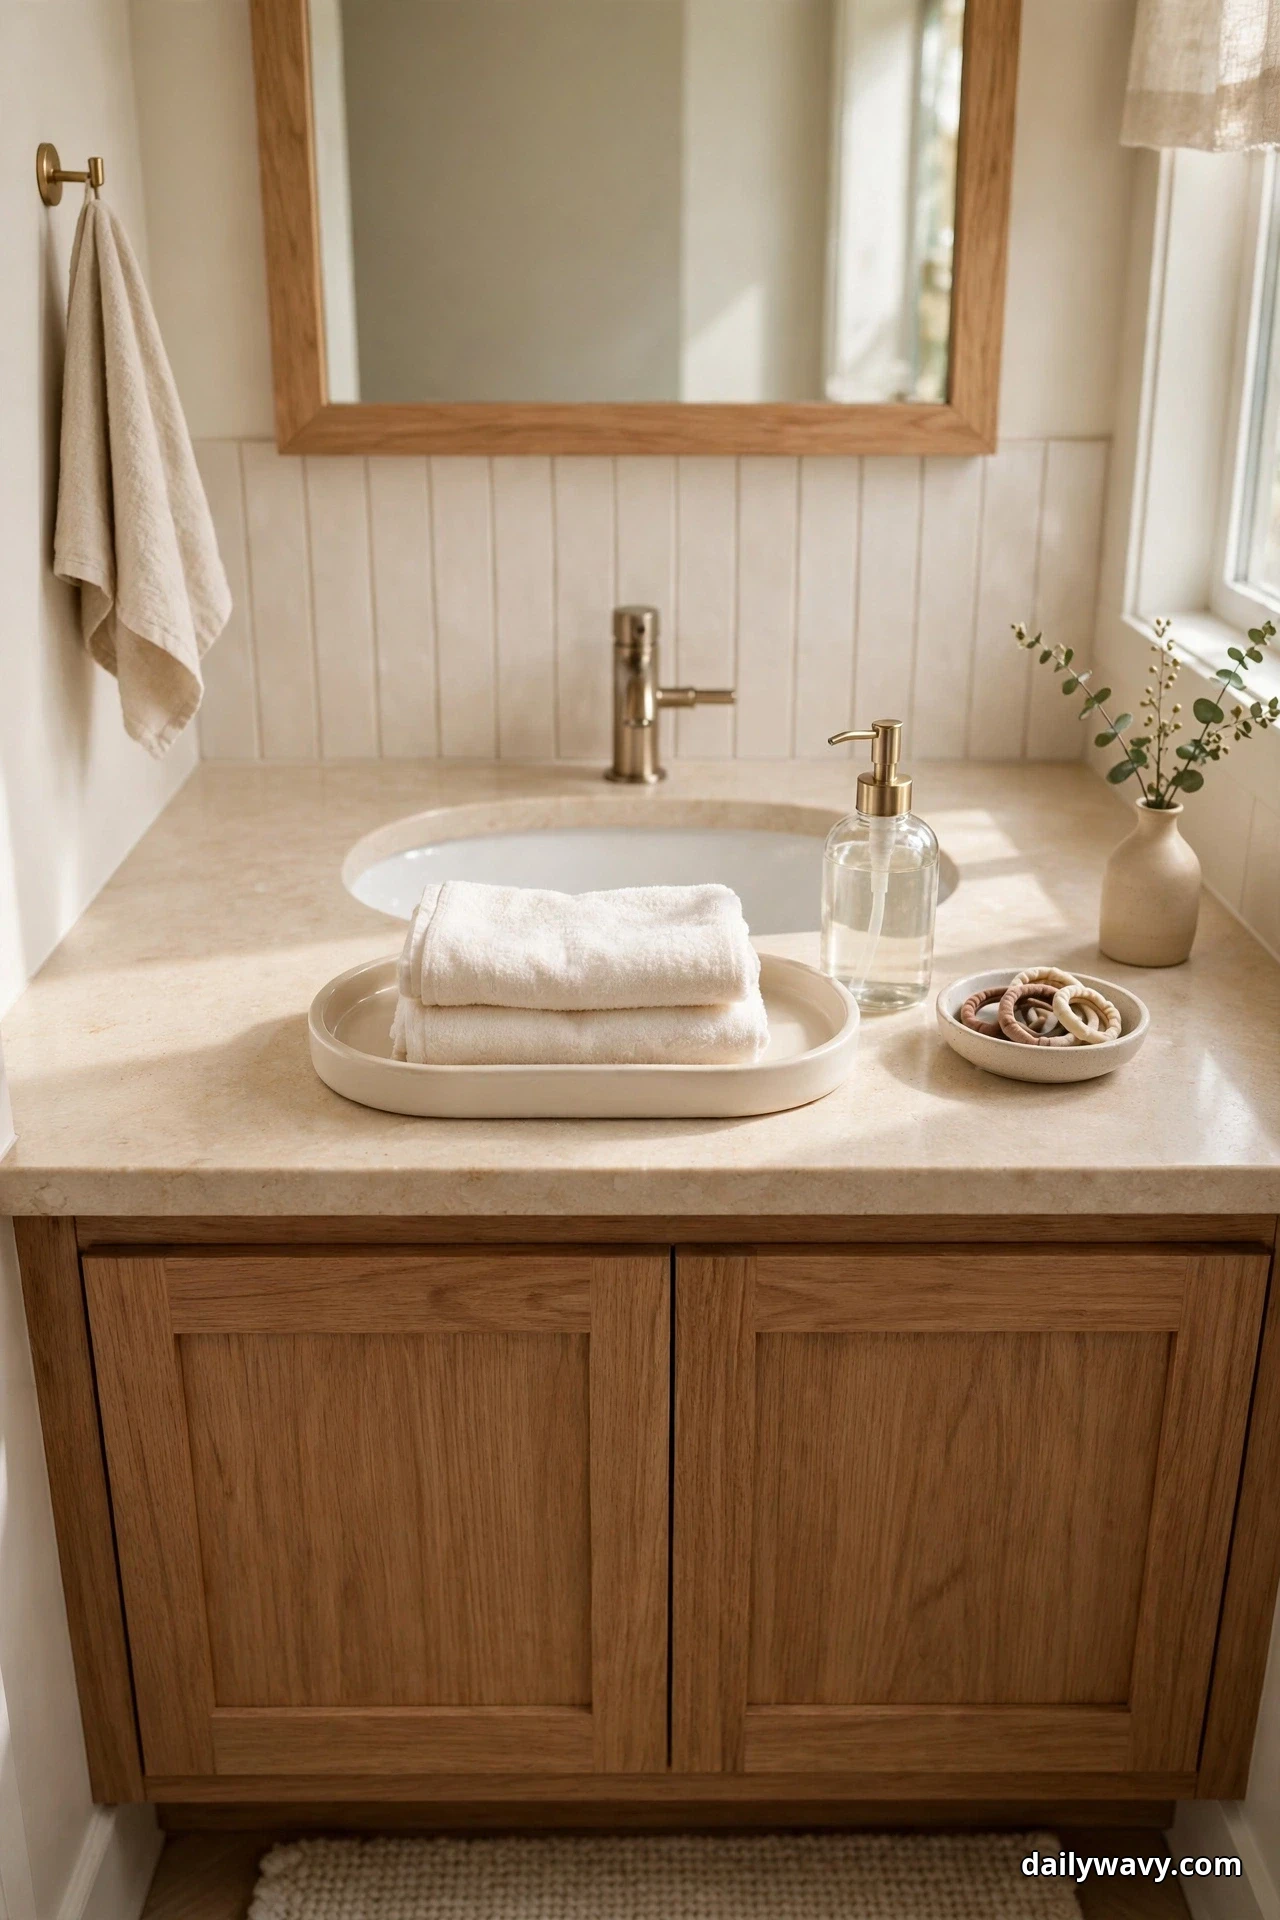
The fastest way to make a rental bathroom feel personal is also the simplest: style the surfaces you already have. A small tray on the vanity top corrals the everyday objects into one intentional-looking group. On it, place a folded hand towel or two, a soap dispenser you actually like, a small dish for rings or hair ties, and one decorative object such as a candle or a bud vase. Everything stays useful, nothing is glued down, and the whole arrangement lifts off in seconds for cleaning.
Keep the display to one tray or one zone per surface. Bathrooms collect clutter faster than any other room, so the rule is that every object on display must earn its place daily. Choose a tray with a lip or raised edge so bottles do not slide off when the counter gets wet, and pick materials that tolerate humidity: ceramic, stone, sealed wood or powder-coated metal rather than raw wood or paper. Measure the vanity depth first so the tray leaves working room around the faucet. If the vanity is tiny, use the back of the toilet tank or a small stool beside the tub as your display surface instead.
This upgrade costs whatever a tray and a dispenser cost and takes ten minutes. The payoff is a bathroom that looks considered in listing photos and in real life. A lower-cost alternative is a cutting board or a large dinner plate used as a tray, which works just as well. Practical tip: once a week, lift the tray and wipe underneath, because trapped moisture is what stains rental counters.
6. A Fabric Panel Adding Color
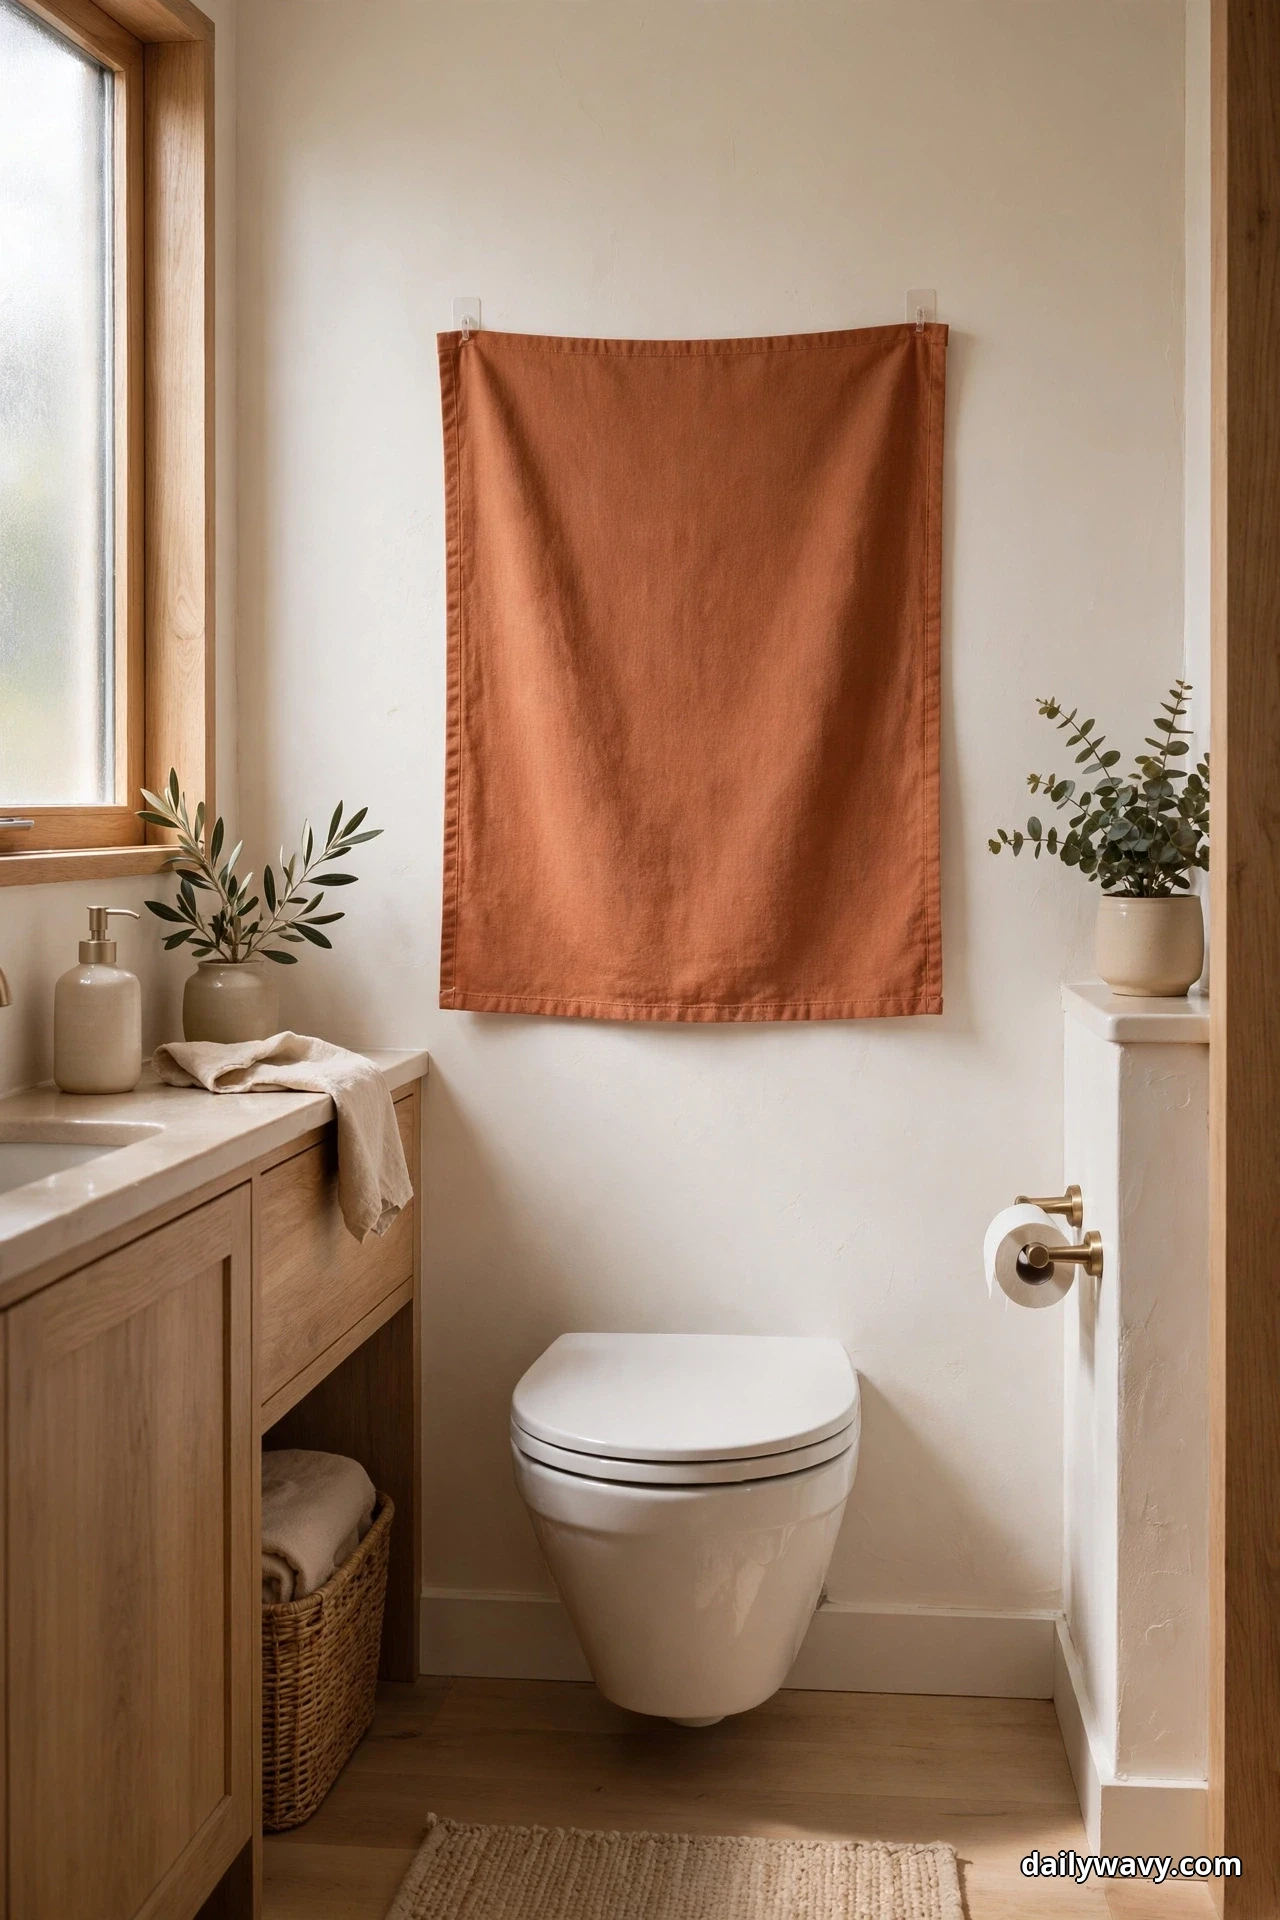
Rental bathrooms tend to be all hard surfaces in one cautious color, and a fabric panel is the gentlest way to add warmth and color without paint. A length of fabric, a flat-weave tapestry or even a beautiful scarf hung on the wall above the toilet or beside the mirror introduces pattern and softness that tile cannot provide. Because it hangs from removable hooks or a small tension rod, it comes down without a trace when you move.
Choose a fabric that tolerates humidity: cotton canvas, linen blends or outdoor-rated fabrics resist mildew far better than silk or velvet. Keep the panel away from direct splash zones, so above the toilet or on the wall opposite the shower rather than inside it. For hanging, use two or three removable adhesive hooks rated for the fabric’s weight, and patch-test the hooks on a hidden spot for 24 hours first, since steam weakens some adhesives and no hook is damage-free on every paint. Measure the wall area and keep the panel to about two-thirds of the wall width so it looks like art rather than a cover-up.
Hem or finish the fabric edges so they do not fray in the damp air, or buy a ready-made tapestry with finished edges. The effort is under half an hour. A lower-cost alternative is a colorful flat bedsheet folded to size, which gives the same softness for almost nothing. Practical tip: take the panel down monthly and air it out, because fabric in a bathroom absorbs odors and moisture silently.
7. A Shelf Insert That Does Not Alter Cabinetry
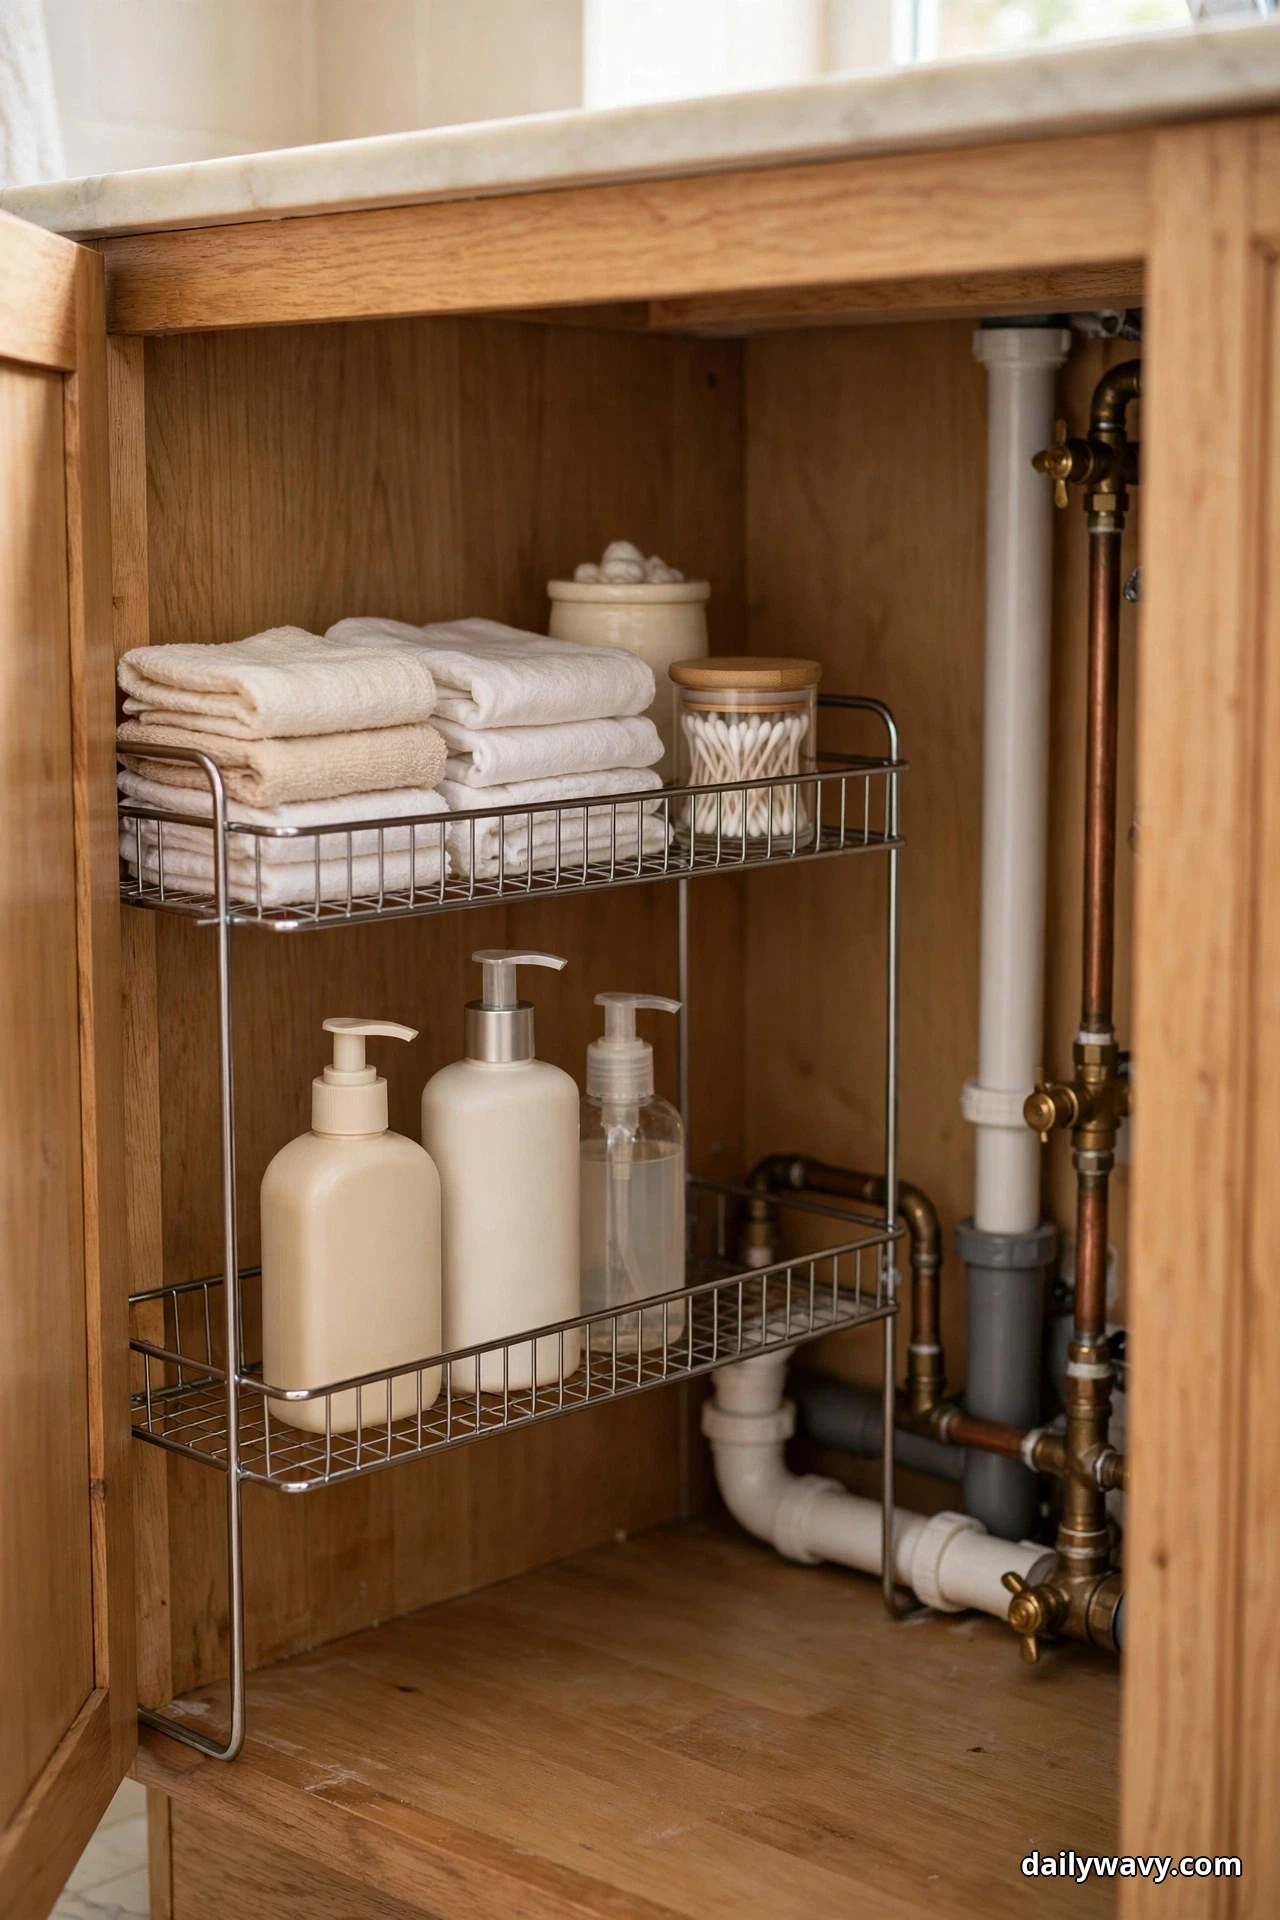
The cabinet under a rental sink is usually one dark cavern where bottles fall over and expire unseen. A freestanding shelf insert, a small stackable shelf or a two-tier riser that simply sits inside the cabinet, doubles the usable space without a single screw into the landlord’s cabinetry. On the counter, the same kind of insert creates a second level for daily items above the backsplash clutter. Nothing is attached, so the cabinet stays exactly as you found it.
Measure the inside of the cabinet before you buy: width, depth and the height to the plumbing. Bring those numbers to the store or keep them on your phone. Choose a freestanding insert made of plastic-coated wire, bamboo or sealed wood that tolerates the damp microclimate under a sink, and make sure it clears the P-trap and supply lines. Arrange by frequency: daily items on the insert’s top level, backups below. If the cabinet has no shelf at all, a tension rod plus hanging baskets (see idea 1) pairs beautifully with an insert on the floor.
This is a twenty-minute upgrade that ends the archaeological dig under your sink. A lower-cost alternative is a small plastic dish rack or a wire office organizer, which fits most cabinets and costs very little. Practical tip: put a washable liner on the cabinet floor under the insert, because leaks announce themselves on the liner instead of swelling the cabinet base.
8. A Lightweight Divider
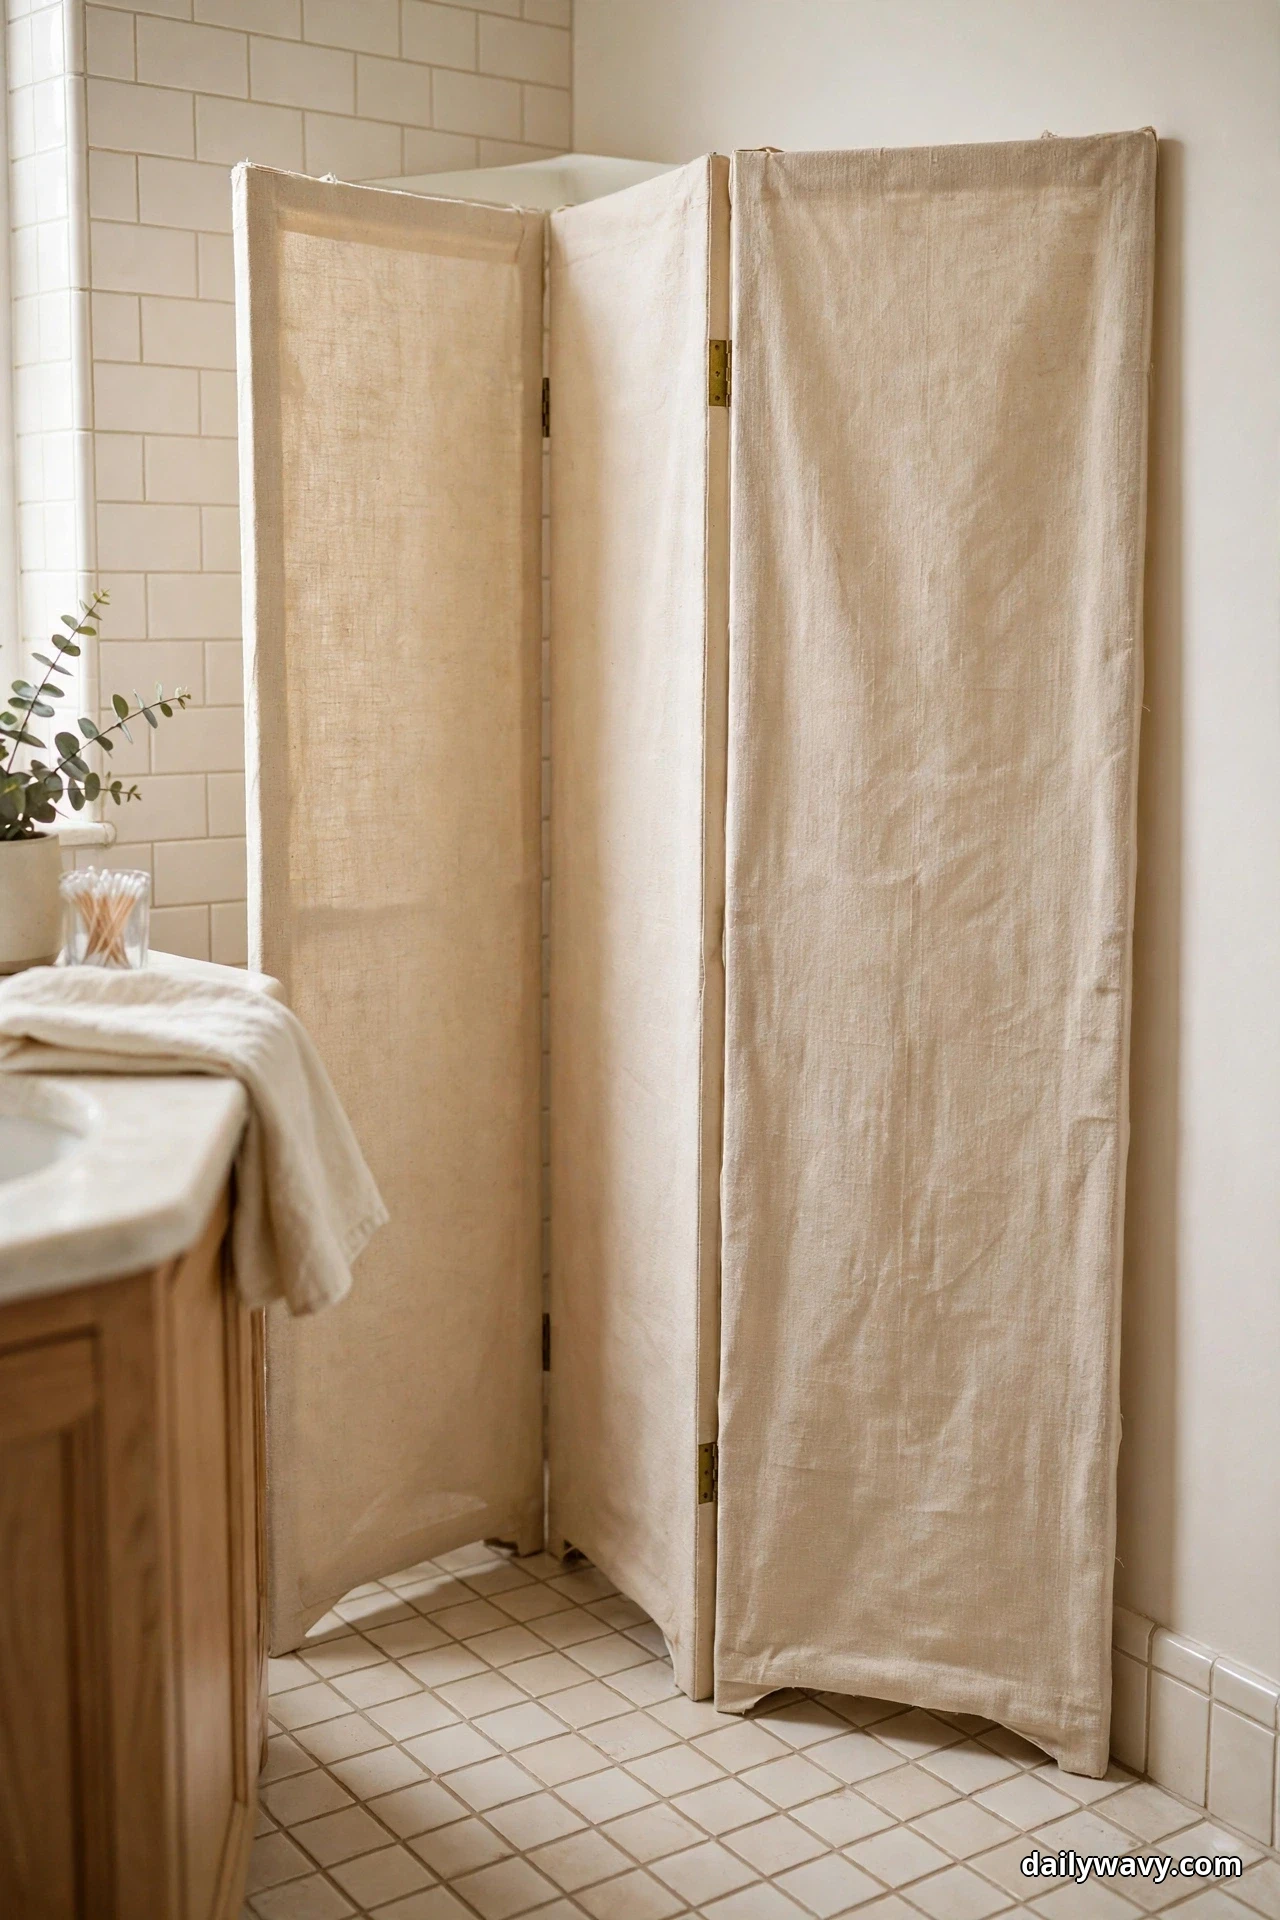
Some rental bathrooms have an awkward corner: exposed pipes, a stacked washer and dryer, or a litter box that has nowhere else to go. A lightweight divider hides the awkwardness without any mounting. A folding screen, a freestanding curtain panel on a tension rod, or a tall narrow bookcase used as a room divider all create a visual boundary that makes the rest of the bathroom feel calm and intentional.
Keep it genuinely lightweight so you can move it for cleaning and so it cannot hurt anyone if bumped. A three-panel folding screen in canvas or rattan weighs only a few pounds and folds flat on moving day. Position it to block the sightline from the door rather than sealing off the corner completely, because bathrooms need airflow to fight mildew. Measure the corner and the door swing first so the divider never interferes with either. Choose materials that tolerate humidity and wipe clean, and keep fabric dividers away from the shower’s direct spray.
This upgrade takes minutes to set up and changes how the whole room reads. A lower-cost alternative is a tension rod with a shower curtain used as a soft divider, which costs little and washes easily. Practical tip: leave a few inches of gap at the bottom and top of any divider so air keeps moving behind it and moisture never gets trapped.
9. A Tidy Cable-Routing Solution

Hair dryers, straighteners and electric toothbrushes all come with cables, and in a rental bathroom those cables end up draped across wet counters. A tidy cable-routing solution keeps electrics organized and away from water using only removable parts. Small adhesive cable clips guide the dryer cord along the side of the vanity to a hook. A ventilated basket or a heat-resistant silicone mat gives a hot styling tool a safe landing spot. A short extension cord with a flat plug, kept well away from the sink, can bring power to the right spot without rearranging the room.
Safety comes first with this idea. Keep all electrics and their cables away from water sources, never route a cable across the sink or the tub edge, and unplug heat tools after use. Patch-test adhesive clips on a hidden spot for 24 hours, since humidity affects the bond, and check each clip’s rating. Never overload a single outlet with a dryer and a straightener running together; if the breaker trips, that is the house telling you the limit. Get your landlord’s written permission before attaching anything to a fixed surface, and keep the original setup easy to restore.
The effort is about half an hour and the result is a bathroom that looks calmer and is genuinely safer. A lower-cost alternative is a simple fabric cable tie set, which bundles each cord neatly with no wall contact at all. Practical tip: coil the dryer cord loosely rather than wrapping it tight around the dryer, because tight wrapping breaks the cord’s internal wires over time.
10. A Coordinated Container Set

The final upgrade is the one that ties all the others together. A coordinated container set, matching jars, canisters or bottles in one material and color family, turns a scattered collection of drugstore packaging into a calm, intentional display. Cotton balls, cotton swabs, bath salts, spare soap and even toothbrush heads all look better decanted into matching vessels. Everything lifts off the counter on moving day, so this is pure renter territory.
Choose containers with lids or narrow openings to keep humidity out, and pick materials that wipe clean: glass, ceramic or BPA-free plastic rather than open wicker or cardboard. Measure your available surface and buy the set to fit it, not the other way around, since oversized sets recreate the clutter problem. Keep labels minimal: a small tag or a uniform label style preserves the calm look. Decant only what you will use within a few months, and keep the original packaging with expiry dates stored inside the cabinet.
This upgrade takes an afternoon of pleasant sorting and costs as little as a few matching jars. A lower-cost alternative is a set of identical jam jars with the labels soaked off, which looks remarkably chic for almost nothing. Practical tip: wash and fully dry every container before filling it, because trapped moisture in a bathroom jar turns cotton products musty within weeks.
Frequently Asked Questions
Can I use adhesive hooks in a rental bathroom?
Yes, with two conditions. First, patch-test the exact hook on a hidden spot for 24 hours, because steam and temperature swings weaken many adhesives and no product is damage-free on every surface. Second, stay well under the printed weight limit, since bathroom humidity adds stress the rating may not account for.
Will a tension rod damage my walls?
On smooth tile, a tension rod with rubber end caps rarely leaves a mark. On painted drywall it can leave a ring or scuff, so place a small felt pad under each cap and avoid overtightening. Check the tension monthly, since rods slowly loosen.
What if my landlord says no to anything on the walls?
Stick to the fully freestanding ideas in this guide: the plant, the tabletop display, the shelf insert, the divider and the container set need no wall contact at all. A written no to walls still leaves you plenty of room to personalize.
How do I keep a small rental bathroom from looking cluttered?
Edit to daily essentials, corral them on trays or in matching containers, and store backups inside cabinets. One coordinated surface beats five scattered objects every time. Our guide to small bathroom storage has more ideas for tight spaces.
Should I keep the original fixtures I remove?
Yes. Put the original shower head, toilet paper holder or any other fixture in a labeled bag with its screws, and store it where you will find it on moving day. Reinstalling originals is the simplest way to protect your deposit at move-out.
Do these upgrades work in a bathroom with no window?
Most of them do. The plant is the one idea to adjust: choose a low-light tolerant plant or skip it in favor of a high-quality faux stem in a real vase, and lean on the mirror and fabric ideas to add life and light instead.
A Bathroom That Feels Like Yours
None of these ten ideas requires permission from a contractor or a fight with your lease. They work because they respect the golden rule of renting: everything you add should come back out cleanly. Start with the idea that solves your biggest daily annoyance, whether that is the chaos under the sink or the tangle of dryer cords, and add the pretty ones after the practical ones are working. If you are tackling the rest of the rental too, the same reversible thinking applies in the entryway, the kitchen and the bedroom. And when your lease is up, you will pack up every upgrade and take the whole look with you, which is the best kind of decorating. For more room-by-room ideas, browse the Home & Decor collection.