16 Entryway Bench Styling Ideas for a Welcoming First Impression
Your entryway bench is the first thing guests touch and the last thing you see when you leave. It catches…
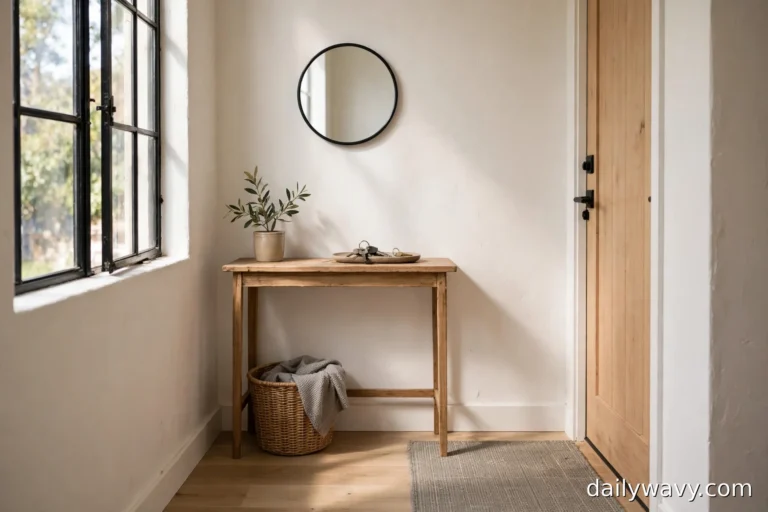
Your entryway bench is the first thing guests touch and the last thing you see when you leave. It catches keys, bags, shoes, and mail, and somehow it is also supposed to look welcoming. The good news is that a hardworking bench can be a beautiful one, even if your entryway is a narrow strip of wall instead of a proper mudroom. These sixteen ideas each focus on one styling move that makes the bench area work harder, look better, or both. Pick the two or three that solve your actual problems, and your front door area will start working like a real landing zone.
In This Guide:
- The Entryway Bench Rules Before You Start
- A Framed Print Beside The Door
- A Washable Seat Cushion
- A Narrow Shelf Above A Clear Walkway
- A Vertical Storage Arrangement
- A Small Plant Outside The Traffic Path
- A Basket For Outgoing Items
- A Designated Mail-Sorting Tray
- A Repeated Hardware Finish
- A Shallow Decorative Bowl
- A Simple Coat Rail With Clear Spacing
- A Folded Blanket On A Bench Corner
- A Narrow Tray For Keys
- A Basket Tucked Beneath A Bench
- A Mirror Over A Shallow Surface
- A Durable Mat At The Door
- A Compact Closed Shoe Cabinet
- Frequently Asked Questions
The Entryway Bench Rules Before You Start
Before styling anything, measure the space the way a carpenter would. First, check the door swing: open your front door fully and mark where it reaches, because anything in that arc will get hit, pushed, or at least annoyed daily. Leave the door’s full swing clear, plus a comfortable walkway of 30 to 36 inches between the bench and any opposing wall or furniture. A bench is typically 14 to 18 inches deep, and most small entries have between 36 and 48 inches of wall to work with, so know your numbers before buying a thing.
Second, plan a landing zone even if you have no mudroom. Every household needs three things by the door: a place for keys, a place for shoes, and a place for things leaving the house. Those three jobs are what turn a bench from decoration into infrastructure. Finally, style from the wall outward, not from the bench upward. Hooks, mirrors, and shelves change the look more than anything sitting on the bench, and they cost almost nothing compared to new furniture.
1. A Framed Print Beside The Door
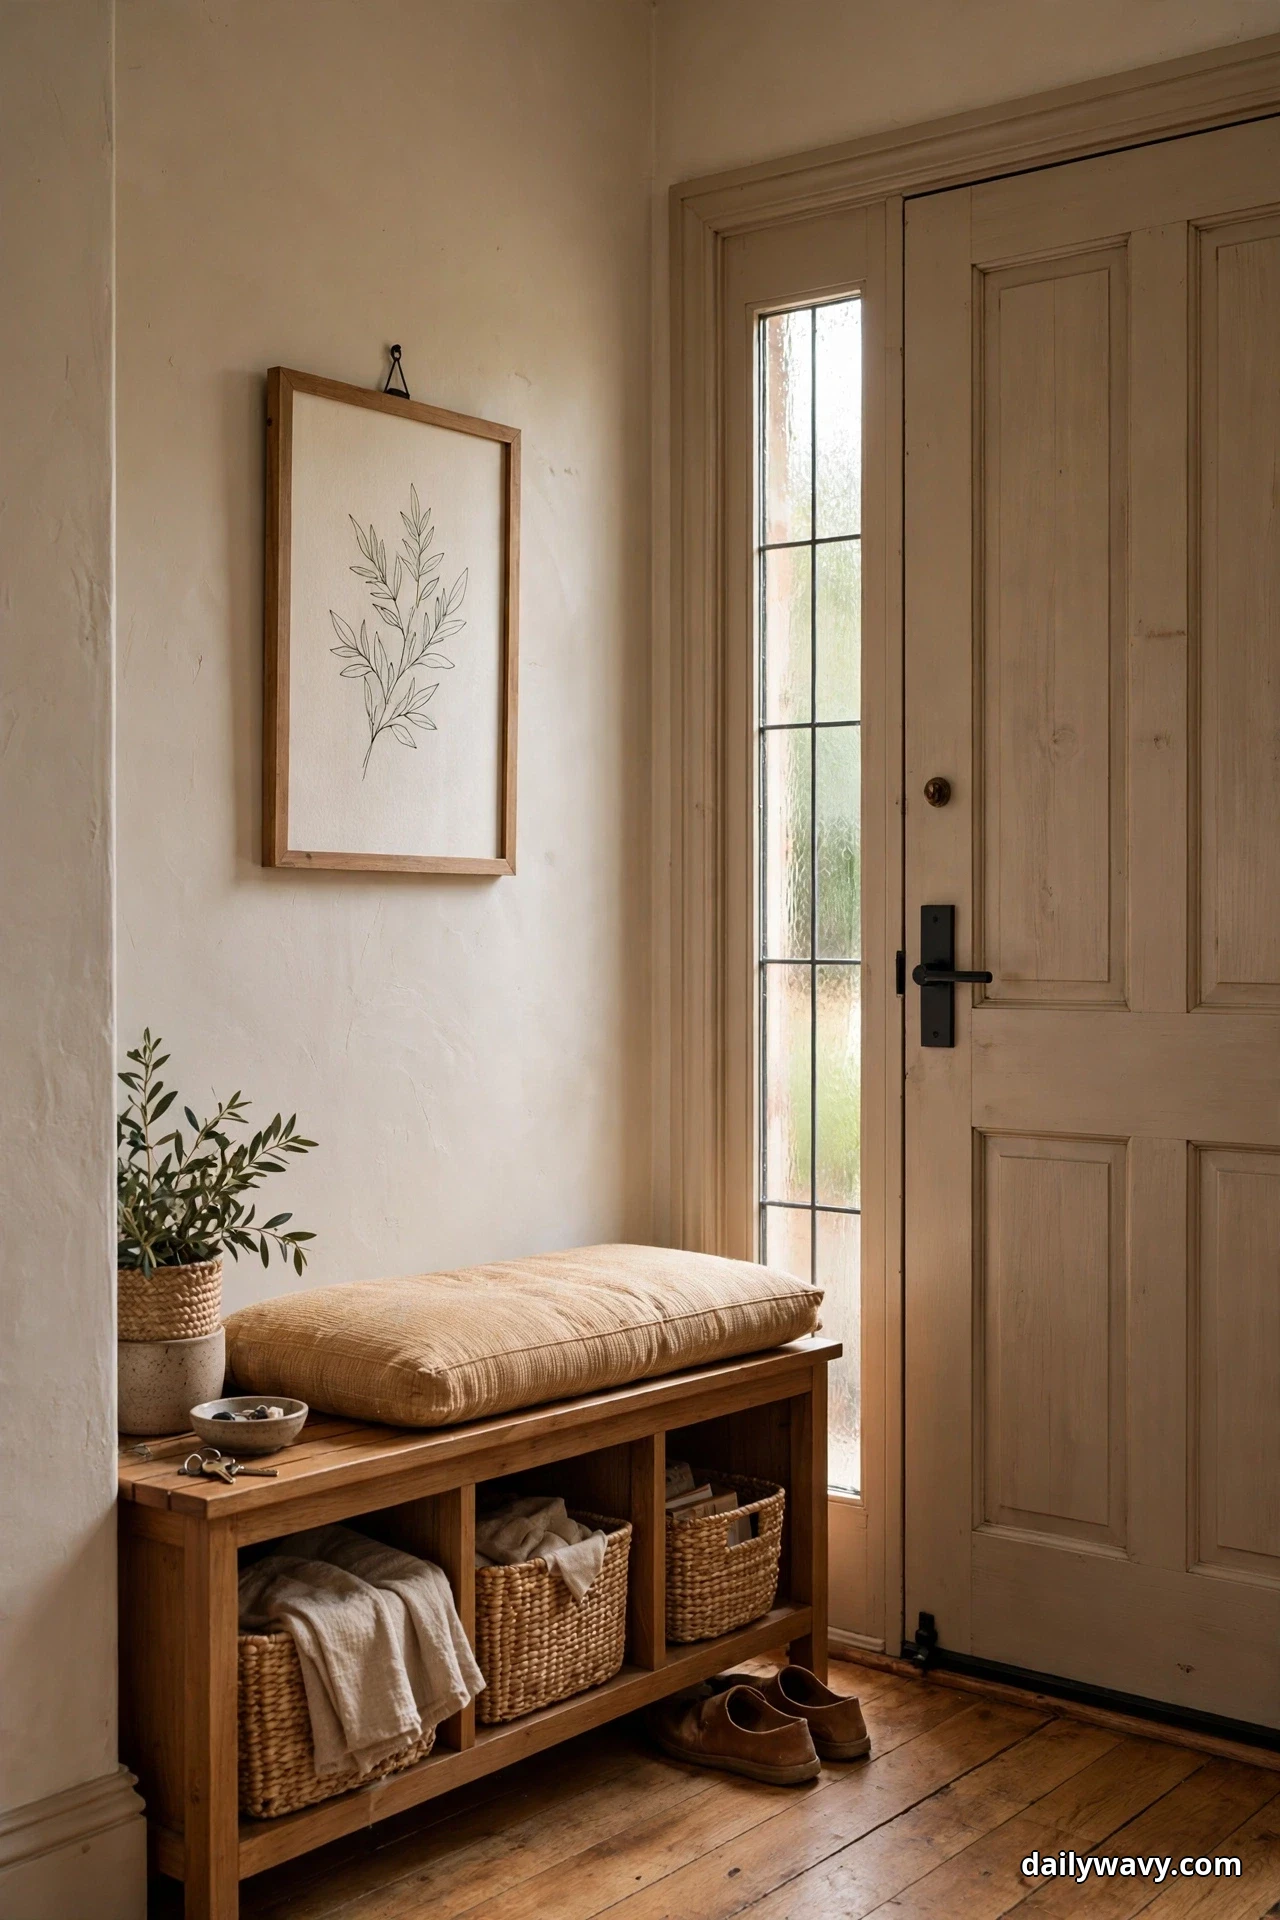
A single framed print gives a plain entryway wall a finished, intentional feeling faster than anything else. Hang it beside the door rather than over the bench, so it reads as part of the entry and not as bench decoration. The frame adds height and draws the eye up, which makes a low-ceilinged hallway feel taller.
What to measure: The print’s width should be about half to two-thirds the width of the bench it sits near, and its center should hang at 57 inches from the floor, the gallery standard that looks right whether you are standing or sitting on the bench.
Materials: One frame with a shatter-resistant acrylic front (glass is heavy and risky near a door that slams), a sturdy D-ring hanger, and a wall anchor rated for the frame’s weight if you are hanging into drywall.
Placement: Hang the frame on the wall beside the door, roughly 6 to 8 inches from the door trim, with the bottom edge at least 4 inches above anything the bench might knock into. If the door swings inward, confirm the open door clears the frame’s lower corner.
Approximate effort: About 30 minutes including leveling and patching the odd failed nail hole.
Lower-cost alternative: Print a favorite photo at 11 by 14 inches at a drugstore and mount it in a thrifted frame. A mat cut to fit makes even an inexpensive print look collected and deliberate.
Practical tip: Choose art with the same undertone as your walls. A print that shares the wall’s warmth blends in even when its colors are bold, which is why one piece works where a cluttered gallery wall fails.
2. A Washable Seat Cushion

A cushion turns a wooden bench from a pass-through ledge into a place where you can actually sit to pull on boots. Washability matters more than the pattern: an entryway cushion collects shoe dust, pet hair, and the occasional muddy smudge, so a zip-off cover you can throw in the laundry is the feature that makes this idea last.
What to measure: Measure the bench seat, then order a cushion 1 to 2 inches shorter on each side so it does not overhang. Most entryway benches take a standard 36 by 14 inch or 48 by 14 inch bench cushion. Note the seat depth too, because cushions deeper than the seat slide around and invite fidgeting.
Materials: A cushion with a foam core (at least 2 inches thick for real comfort) and a removable, machine-washable cover in a tight weave like canvas or denim. Tie-on straps help in homes where the cushion gets a workout.
Placement: Center the cushion front to back, then leave about 2 inches of bare wood at each end. That exposed wood reads as intentional styling and keeps the bench from looking swallowed by fabric.
Approximate effort: A 10-minute unbox-and-place, or one laundry cycle to wash a cover the first time.
Lower-cost alternative: Fold a washable flat-weave rug or a canvas drop cloth doubled over to bench length. It gives the cushioned look for a fraction of the price, and you can wash it as often as you like.
Practical tip: Keep a second cover in the closet. Swapping a soiled cover in thirty seconds beats scrubbing a spot on a Sunday night when guests are coming.
3. A Narrow Shelf Above A Clear Walkway
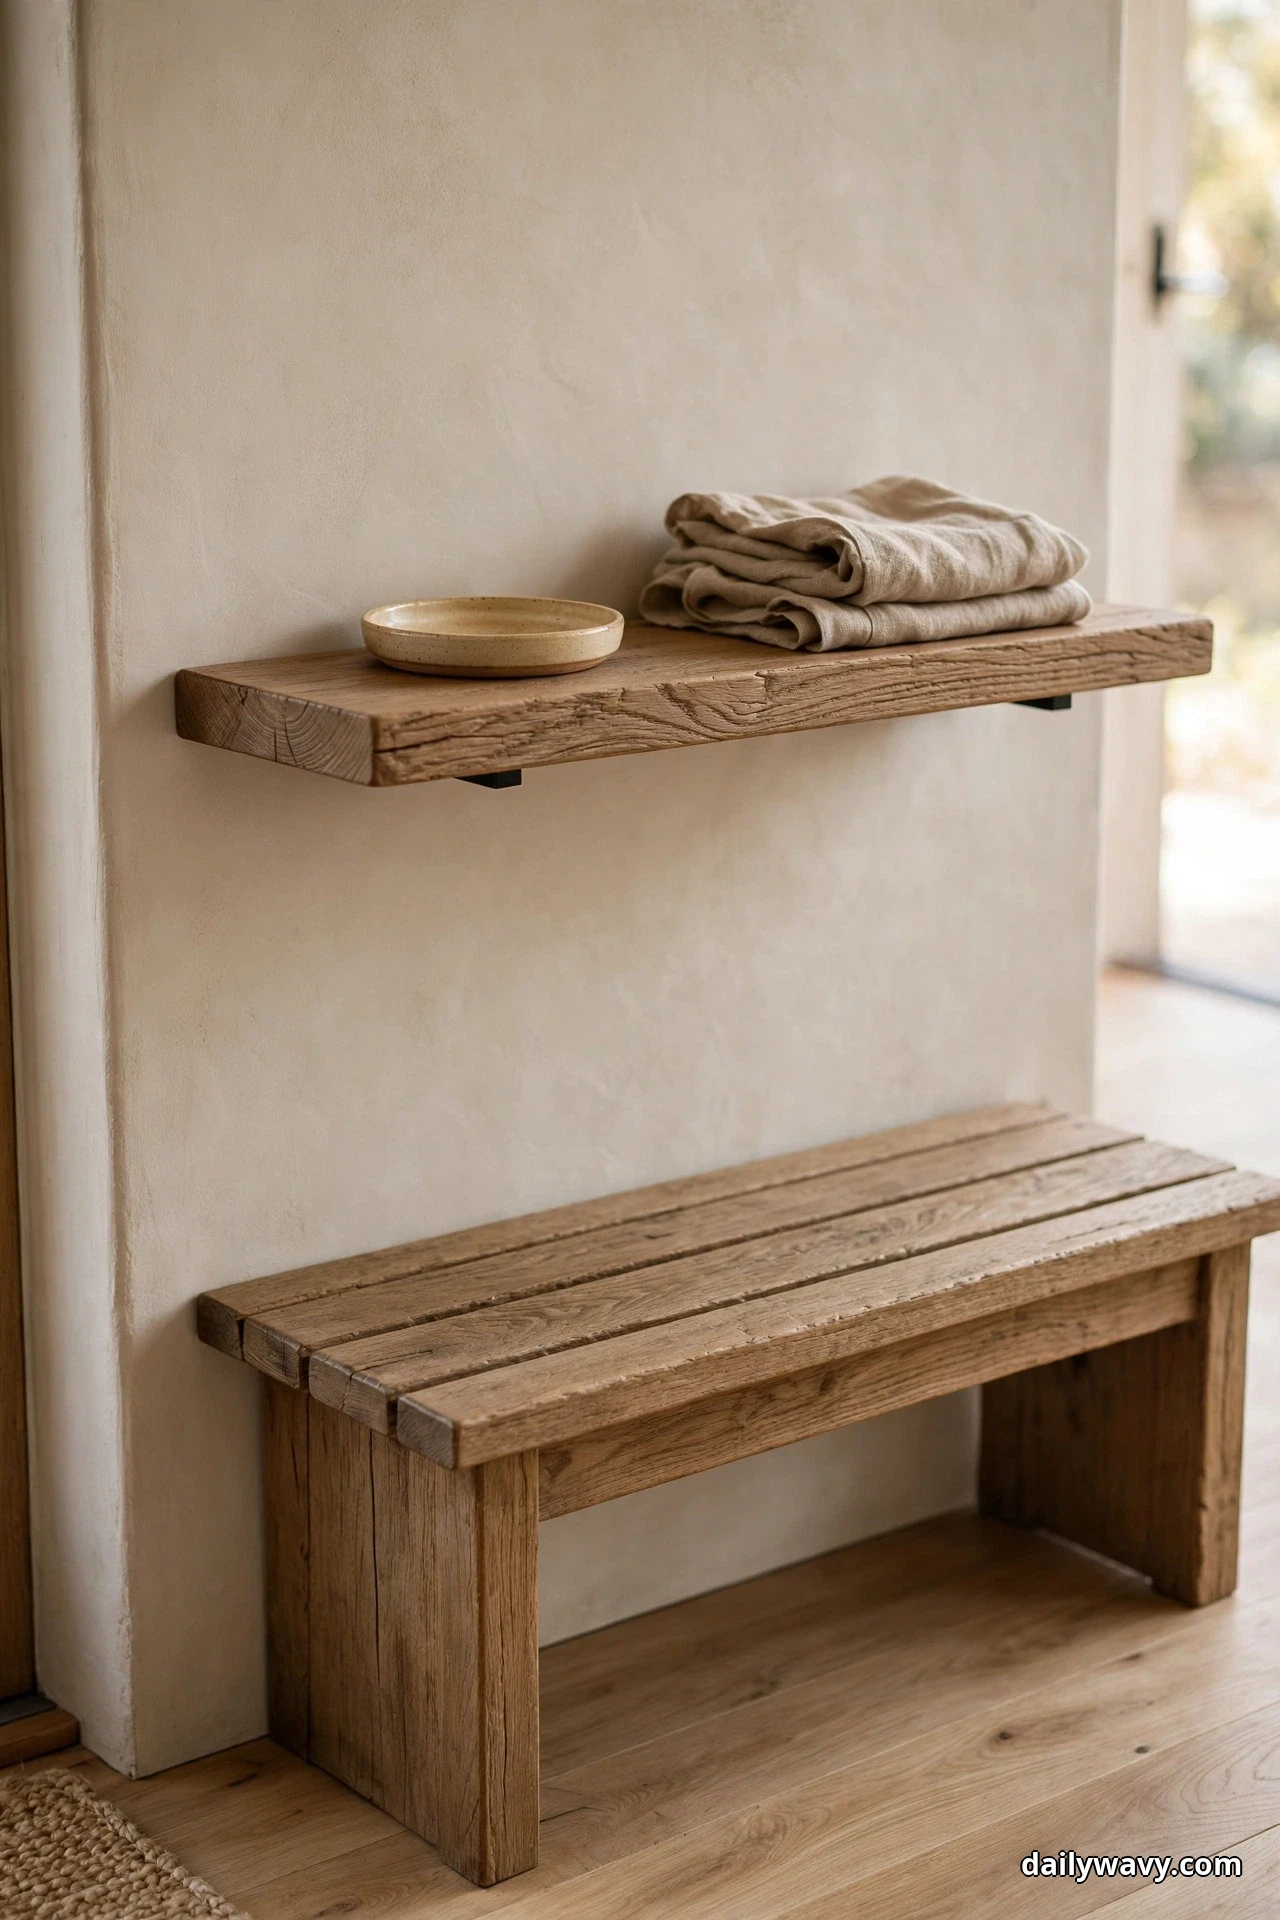
A slim shelf above the bench adds display and storage without touching the floor plan at all. It works best in narrow entries where every floor inch is spoken for. Keep it to about 5 inches deep: deep enough for a folded scarf and a small tray, shallow enough that nobody catches a forehead or a bag strap.
What to measure: Mount the shelf 48 to 54 inches from the floor, which keeps it above seated head height on the bench while still reachable. Confirm the walkway below stays at least 30 inches clear from the bench’s front edge to the opposite wall.
Materials: A floating shelf at least as long as the bench, two concealed brackets rated for 25 pounds each if the studs do not line up, and wall anchors as backup. A narrow picture ledge is an excellent ready-made option.
Placement: Center the shelf over the bench, and style it lightly: two or three small items with breathing room. A crowded shelf above a bench collects dust and visual noise.
Approximate effort: About 45 minutes with a stud finder, level, and drill.
Lower-cost alternative: A length of stained 1-by-6 pine with two simple L brackets, sanded and wiped with a neutral finish. Paint it the wall color for a built-in look.
Practical tip: Put one functional thing on the shelf, like the spare house keys in a small dish, so the shelf earns its keep instead of becoming a dust museum.
4. A Vertical Storage Arrangement

When floor space is scarce, storage goes up. A slim tower, a stack of wall-mounted cubbies, or a tall narrow cabinet beside the bench holds what a full mudroom would swallow: scarves, hats, dog leashes, reusable bags. The vertical format keeps everything visible without widening the footprint.
What to measure: Vertical pieces should be no deeper than 12 inches so they do not eat the walkway. Leave 2 inches of air between the unit and the bench so doors and baskets do not scrape. Confirm the top is reachable for daily items, roughly 60 to 72 inches, and use higher shelves only for seasonal storage.
Materials: A narrow bookcase, a wall-mounted cubby unit, or a stack of open boxes in one material. Add labeled baskets for the shelves so the contents look uniform even when they are a jumble of gloves and chargers.
Placement: Set the unit at the end of the bench, not behind the door swing. If it must go on the wall, anchor it to studs: tall narrow storage tips more easily than it looks.
Approximate effort: One to two hours for assembly, anchoring, and basket loading.
Lower-cost alternative: Stack two sturdy milk crates or wooden wine boxes on their sides and anchor them to the wall. Paint them one color and they read as intentional furniture.
Practical tip: Assign one shelf per person. A household rule of one shelf each keeps a shared vertical unit from becoming a shared junk drawer.
5. A Small Plant Outside The Traffic Path

One living plant changes how an entryway feels the moment you walk in. It adds softness that wood and hardware cannot. The trick is placement: set it beside the bench, outside the line between the door and the hallway, so coats and bags never brush it.
What to measure: A plant in a 6 to 8 inch pot is the sweet spot for an entryway bench corner. It should sit at least 12 inches from the walkway edge so elbows and swinging bags clear it, and no higher than the bench’s backrest if you are working with limited space.
Materials: A low-light-tolerant plant like a pothos, snake plant, or ZZ plant, in a ceramic or stoneware pot with a saucer. A plastic nursery pot inside the decorative pot makes watering clean and simple.
Placement: Put it on the floor beside the bench, or on a low stool at the bench’s far end. Either way, water it over the sink, never over the bench, because one sloshed watering can stains a cushion cover.
Approximate effort: Fifteen minutes to pot and place, plus a few seconds of watering a week.
Lower-cost alternative: Root a pothos cutting in water and plant it in a cleaned jam jar or tin. It costs nearly nothing and looks charming in a small entry.
Practical tip: If your entry has no window, pick a snake plant and water it monthly. It tolerates dim light and neglect better than almost anything, and it still looks sculptural.
6. A Basket For Outgoing Items
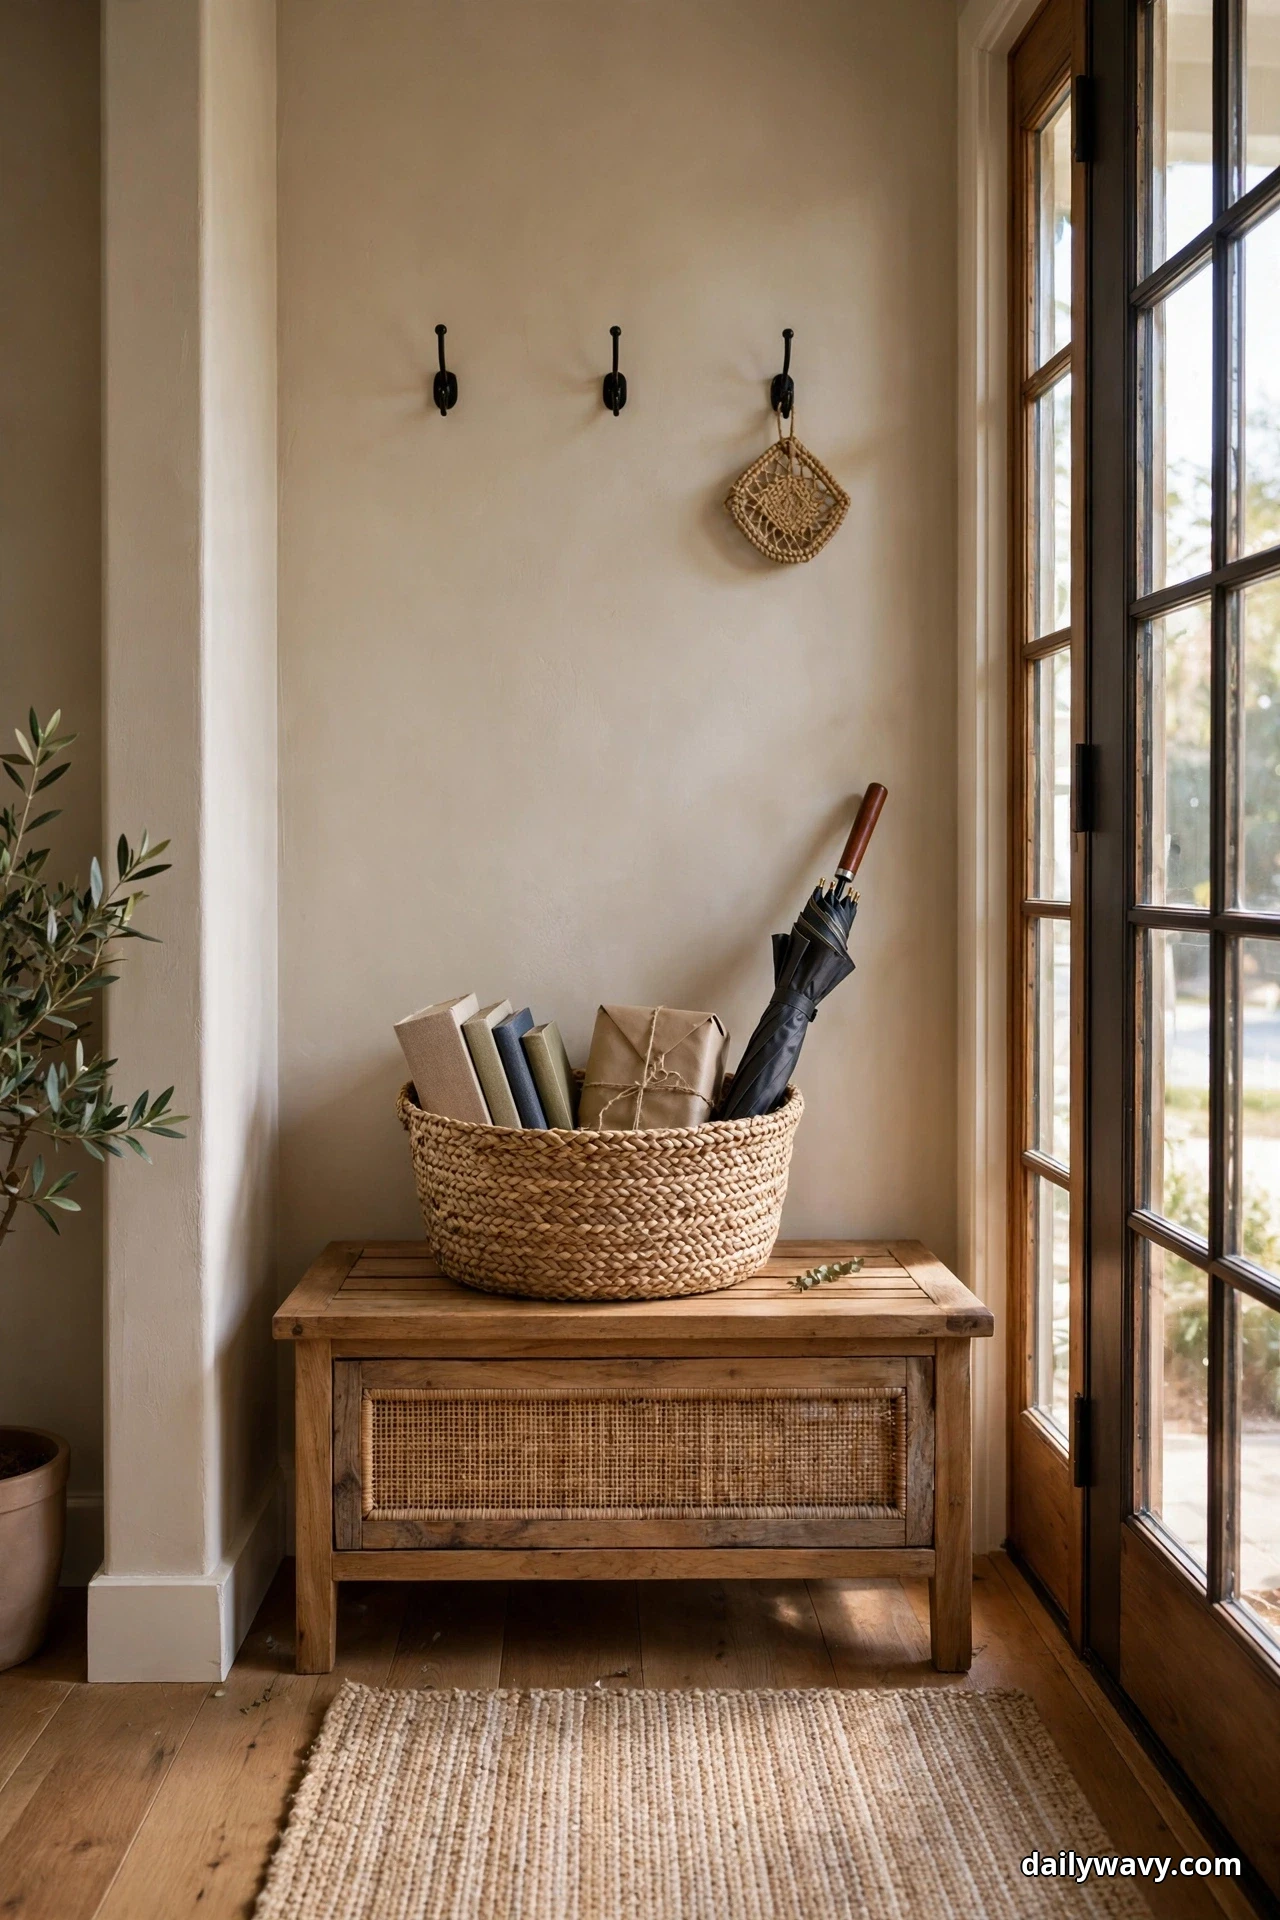
Library books, packages to return, the umbrella you keep forgetting: outgoing items need a home by the door or they migrate to the kitchen counter. A dedicated basket on the bench keeps them visible and contained, so leaving the house with them becomes automatic.
What to measure: A basket about 10 to 12 inches wide and 8 inches deep holds a surprising amount without crowding the bench. It should sit at the bench’s far end so the middle stays clear for sitting.
Materials: A structured woven basket with handles, in seagrass, cotton rope, or felt. Avoid floppy fabric bins here: the basket needs to stand open and look good half full.
Placement: Place it at one end of the bench where you see it as you head for the door. If you always leave through the garage instead, the end nearest that route works better than the end nearest the front door.
Approximate effort: Five minutes to place and stock with the two or three items currently living on your counter.
Lower-cost alternative: A paper grocery bag folded into a neat carrier works as a trial run. If the system sticks for two weeks, invest in the real basket.
Practical tip: Give the basket a weekly empty-or-process rule. A basket that never empties becomes another clutter zone, so clear it every Sunday.
7. A Designated Mail-Sorting Tray

Mail lands by the door, so the door is where it should be sorted. A two-slot tray keeps the daily triage visible: one slot for action items, one for everything else. It replaces the archaeological dig through last week’s catalogs with a glance.
What to measure: The tray needs roughly 10 by 14 inches of bench or shelf space. Letter size is 8.5 by 11 inches, so any tray advertised as a letter tray fits; avoid oversized desk trays that eat the bench.
Materials: A two-tier or two-slot wooden or metal tray. A small stackable letter tray gives you the action-versus-filed split without a special purchase.
Placement: Set it on the bench end or the narrow shelf above the bench, wherever you naturally set mail down when you walk in. Convenience beats aesthetics for this one: the tray only works if it is the closest surface to your hand.
Approximate effort: Ten minutes to place, plus one sorting session to clear the backlog.
Lower-cost alternative: Two shallow cardboard boxes wrapped in kraft paper, labeled with a marker. Upgrade to wood once the habit is solid.
Practical tip: Add a tiny recycling bin or bag within arm’s reach. Half of every mail delivery goes straight to recycling, and a nearby bin makes that a one-second decision.
8. A Repeated Hardware Finish
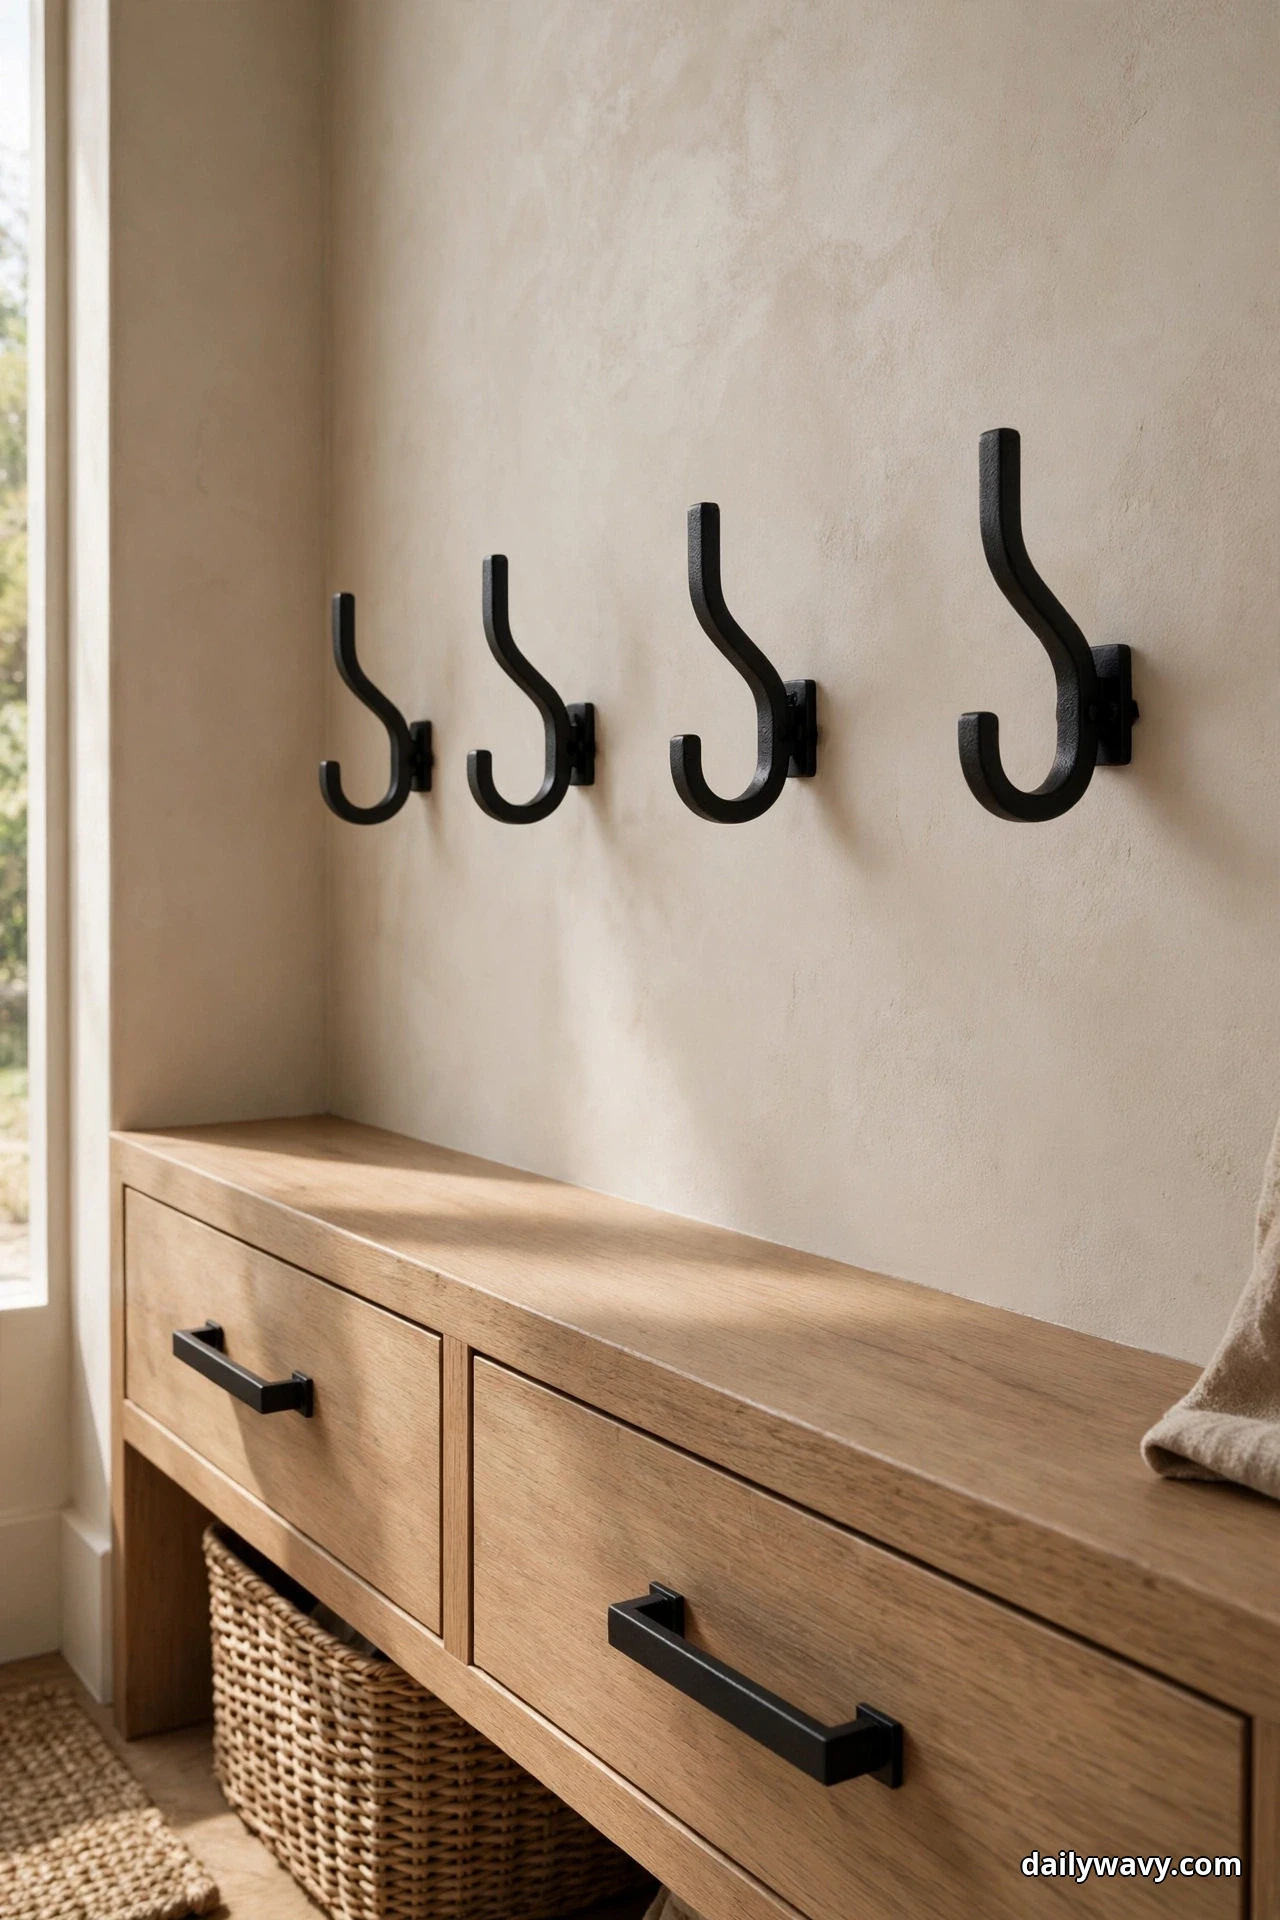
Repeating one metal finish across hooks, drawer pulls, and mirror frames makes mismatched entryway pieces look like a set. It is the cheapest cohesion trick there is: one can of spray paint and an afternoon can unify hardware you already own.
What to measure: Count every visible metal piece within the entryway view: hooks, pulls, hinge plates, mirror edge, light fixture if it is close by. Buy enough paint or replacement pieces for all of them, because three matched and one stray ruins the effect.
Materials: One finish everywhere, matte black, brushed brass, or aged bronze. For spray painting, use a metal primer plus a finish coat rated for metal, and painter’s tape to protect walls and wood.
Placement: Apply the finish to every hook and pull in the entry zone, including the inside of the coat closet if its door stands open. Consistency in the hidden bits matters less, but the visible row should be uniform.
Approximate effort: About two hours of taping, painting, and drying between coats.
Lower-cost alternative: Replace only the hooks with a matching set from a hardware store multipack. New hooks cost little and instantly unify the row.
Practical tip: Pick the finish that matches your door hardware. The front door handle is the largest metal object in the space, and echoing it makes everything else feel chosen.
9. A Shallow Decorative Bowl

A shallow bowl is the prettiest possible key dish. It catches the keys, watch, and sunglasses you empty from your pockets, and it looks like decor doing it. Shallow matters: deep bowls hide contents and turn into junk catchers.
What to measure: A bowl 5 to 7 inches across sits comfortably on a bench without monopolizing it. Anything smaller gets knocked off; anything larger becomes a tray with delusions of grandeur.
Materials: A low ceramic, stone, or wood bowl with a weighted base. Heavy matters more than beautiful here, because a light bowl skids when keys land in it.
Placement: Set it where your hand naturally falls when you walk in: usually the bench end nearest the door. If you share the entry, one small bowl per person beats one crowded bowl.
Approximate effort: Zero installation. The hard part is choosing which bowl leaves the kitchen.
Lower-cost alternative: A small saucer or a ramekin from your kitchen works perfectly as a trial. Upgrade to a hand-thrown bowl when the habit is set.
Practical tip: Empty the bowl into your bag every morning as part of your leaving routine. The bowl is a nightly drop, not a permanent home, which keeps it from filling with dead batteries and mystery keys.
10. A Simple Coat Rail With Clear Spacing

A coat rail above the bench keeps daily jackets off the furniture and off the floor. Clear spacing is the detail that makes it work: hooks crowded together mean coats overlap, wrinkle, and slide off in a heap.
What to measure: Plan 8 to 10 inches of spacing per hook for adult coats, 6 inches for children’s items. Mount the rail 60 to 66 inches from the floor so coats hang clear of the bench seat, and leave at least 4 inches between the rail and any shelf above it.
Materials: A wooden rail with four to six metal hooks, anchored into studs or with heavy-duty wall anchors. A rail rated for 35 pounds or more handles wet winter coats without sagging.
Placement: Center the rail over the bench on the wall behind it, or on an adjacent wall if the bench sits under a window. The rail should be reachable from the door in three steps or fewer.
Approximate effort: About an hour with a stud finder, level, and drill.
Lower-cost alternative: A single row of adhesive-backed hooks rated for 7 pounds each, spaced generously. They hold fall jackets fine and commit to nothing.
Practical tip: Hang only the current season’s coat and one bag per person. Off-season coats go in a closet; a rail with one spare hook each always looks welcoming, never overwhelmed.
11. A Folded Blanket On A Bench Corner
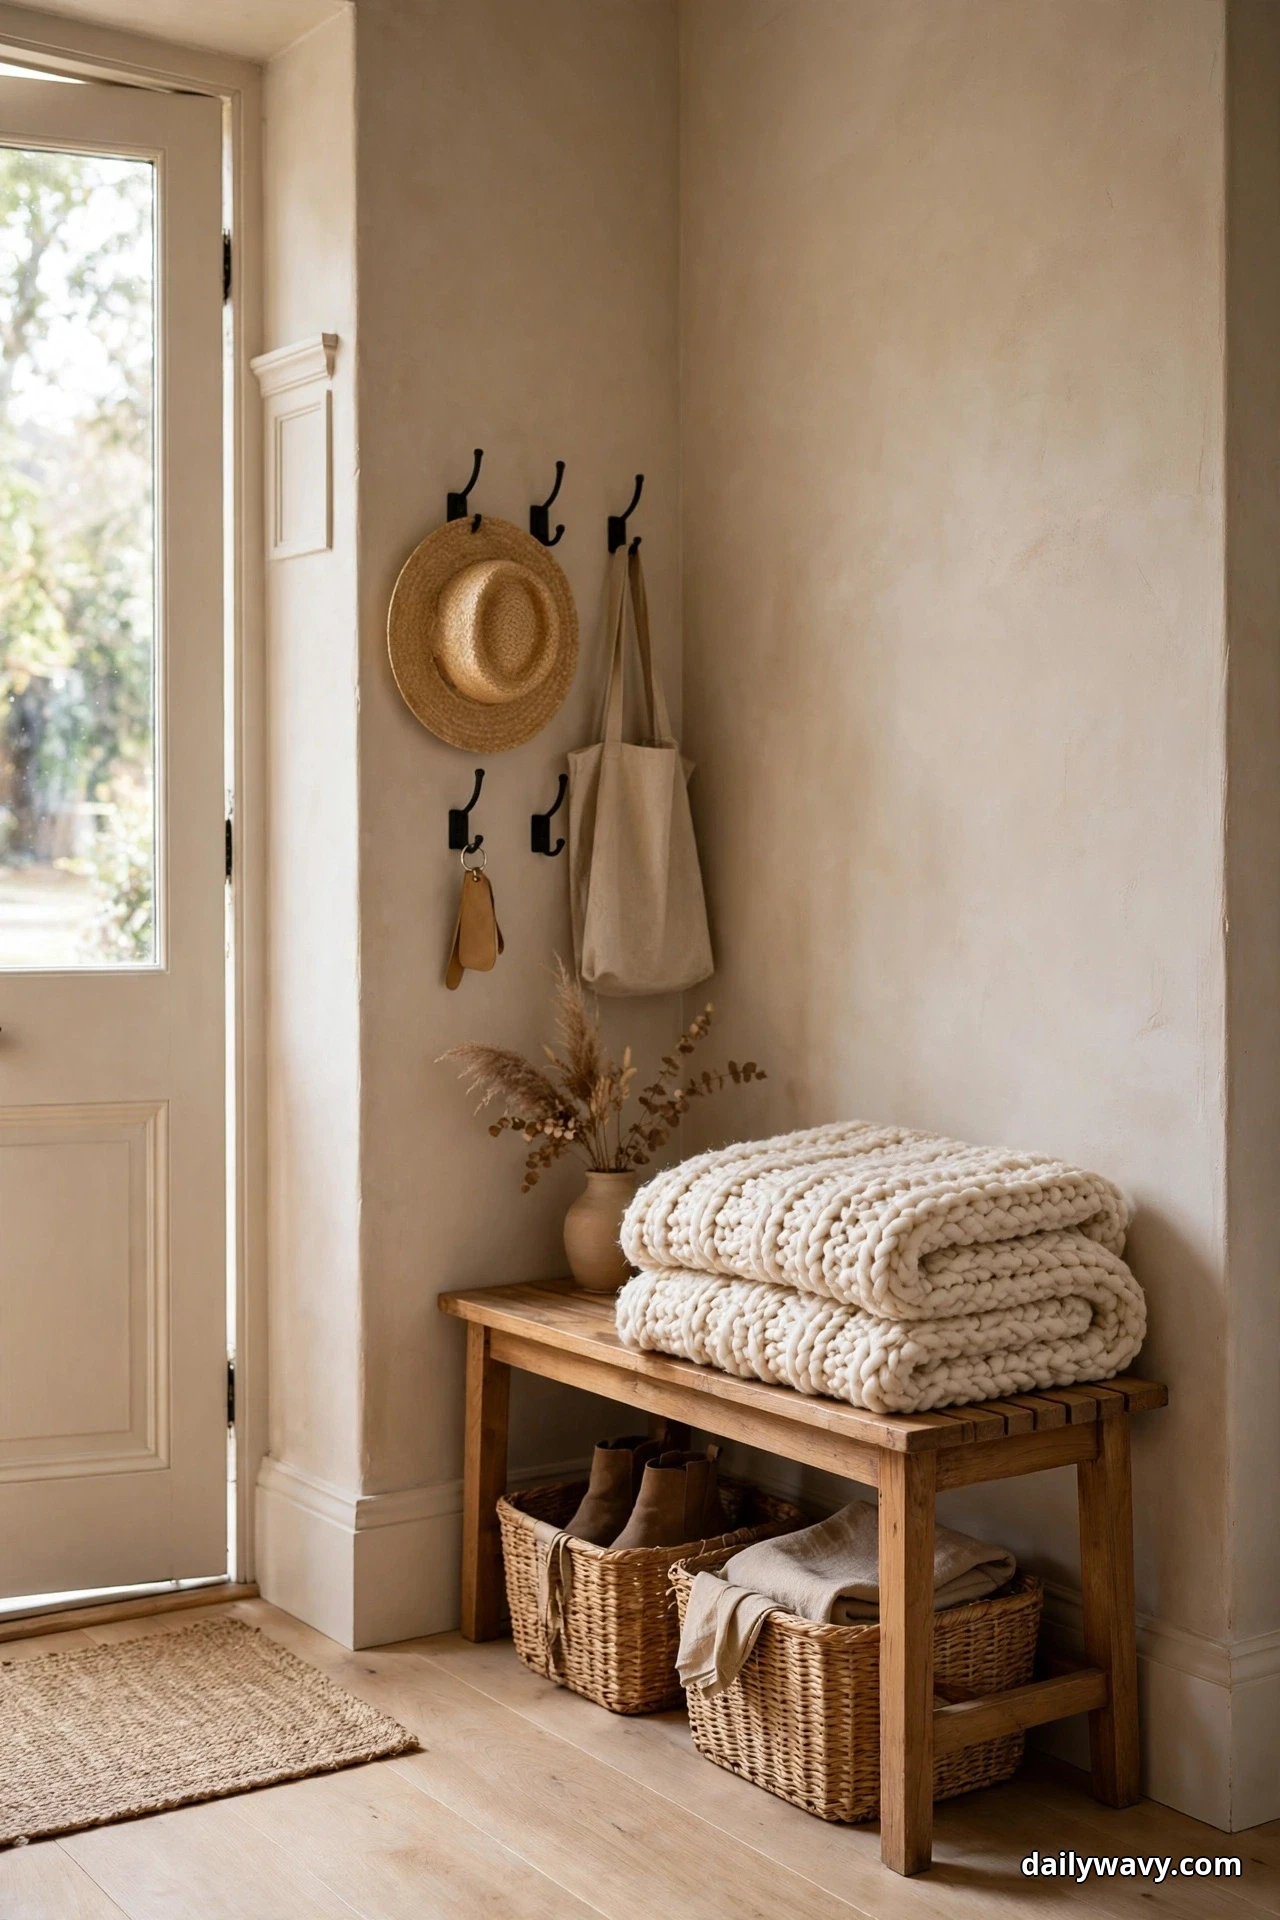
A folded blanket on one bench corner softens the whole composition. It adds color and texture at eye level, and it quietly signals warmth to anyone walking in. A guest who feels chilly grabbing their coat will appreciate finding a lap blanket within reach.
What to measure: A throw blanket 50 by 60 inches folds neatly to a stack roughly 12 by 10 inches, which fits a bench corner without spilling into the sitting zone. Keep at least 18 inches of open bench for sitting.
Materials: A washable throw in a mid-weight weave: cotton, wool blend, or chunky knit. Avoid pure white in the entry unless you enjoy laundry.
Placement: Fold it into thirds lengthwise, then in half, and set it on the corner farthest from the door swing. A blanket near the door gets brushed by coats; one at the far end stays pristine.
Approximate effort: Five minutes of folding, plus the discipline to refold it occasionally.
Lower-cost alternative: Fold a flat bedsheet or a large scarf you already own. The styling principle is the same; only the fiber changes.
Practical tip: Choose a blanket color pulled from your framed print or rug. One repeated color across three objects makes the whole entry look professionally styled.
12. A Narrow Tray For Keys
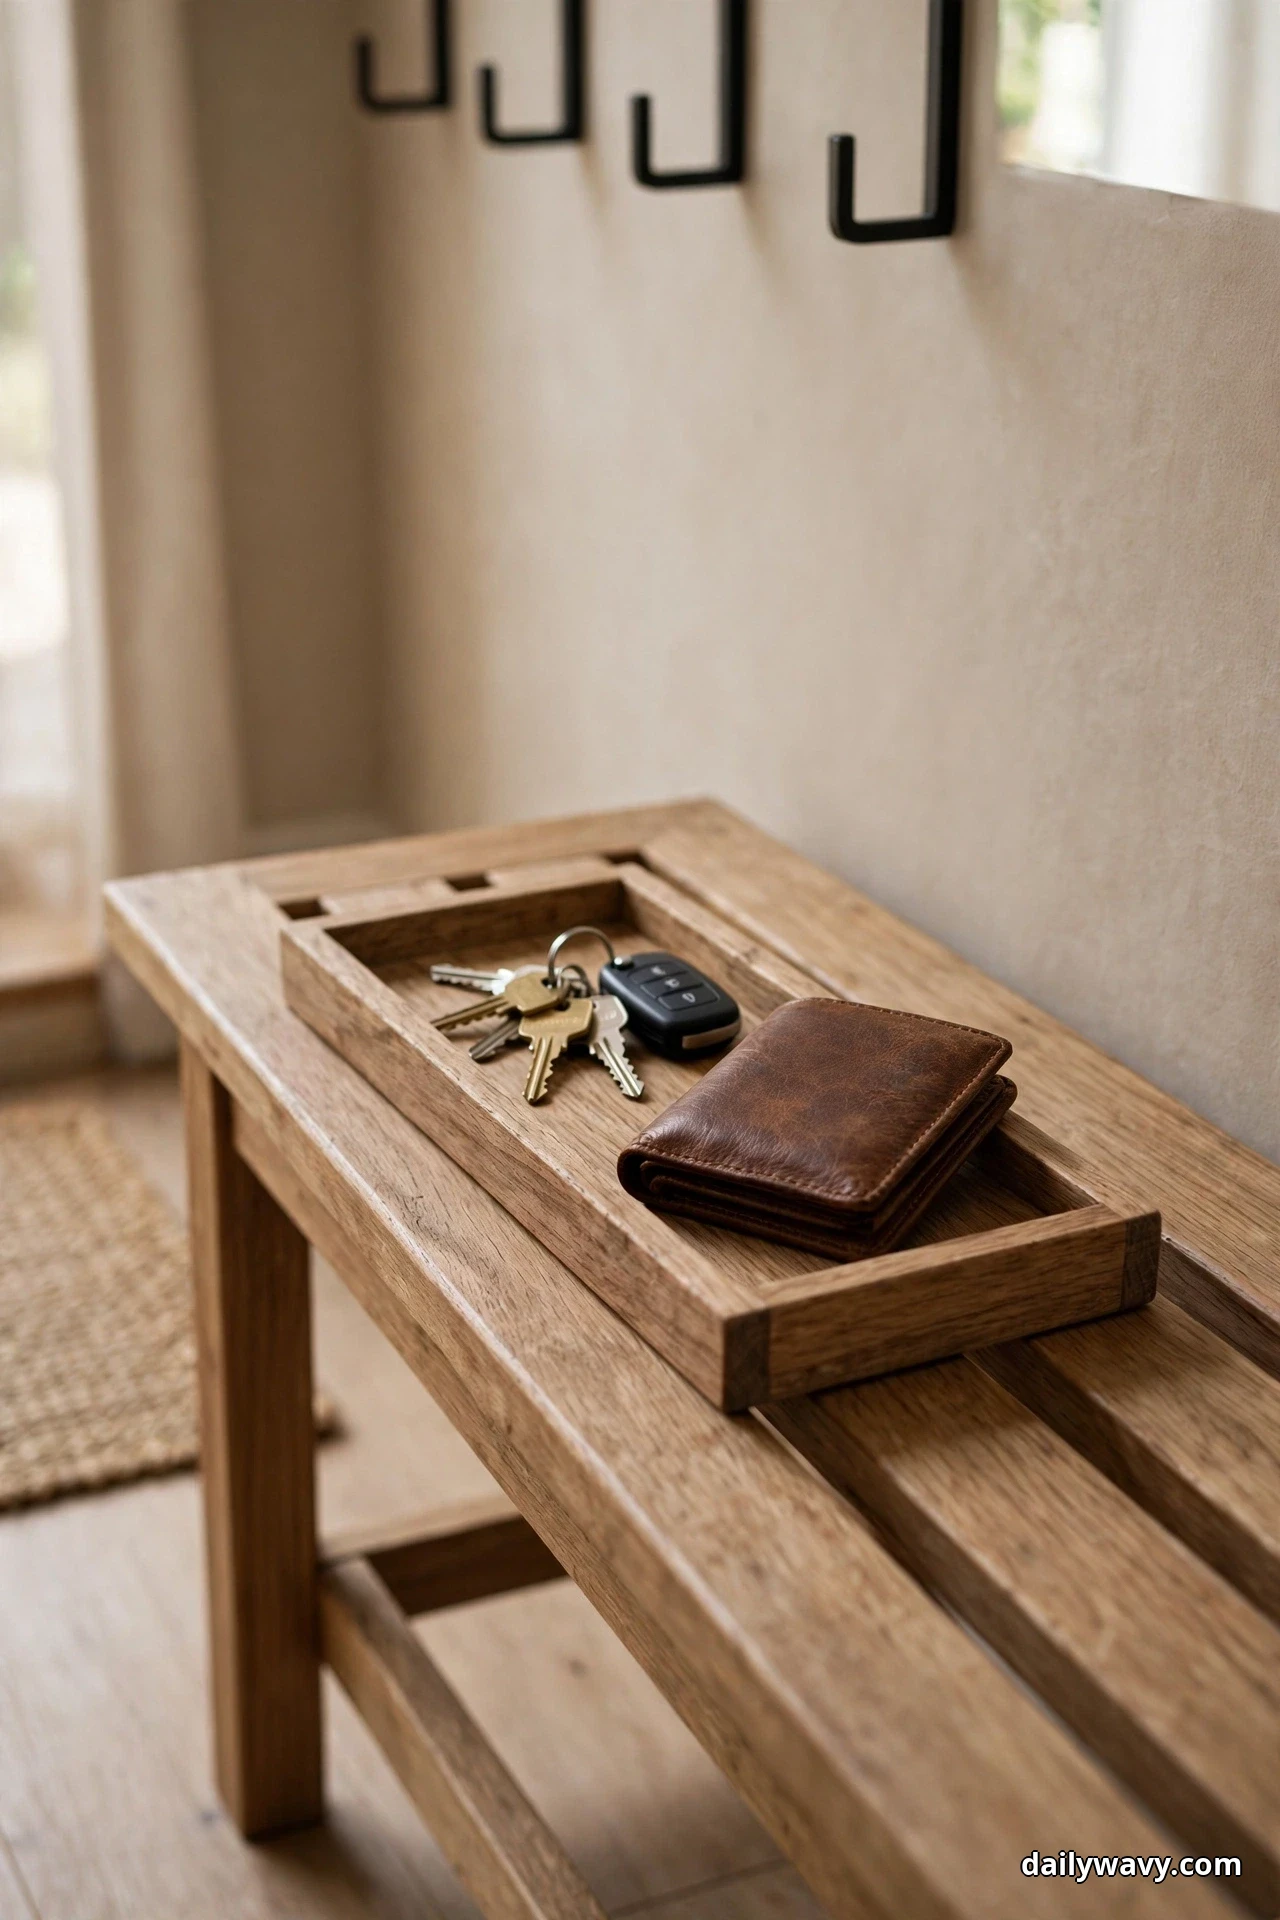
Where a bowl catches, a tray organizes. A narrow tray holds keys alongside a wallet, a garage remote, and the sunglasses, each in its own zone, so nothing hides under anything else. The rectangular shape hugs the back of the bench, wasting no space.
What to measure: A tray about 12 by 4 inches fits the bench’s back edge neatly. It should sit within arm’s reach of the door, because the tray only works if it is easier than tossing keys on the seat.
Materials: A narrow wood, leather, or lacquered tray with low sides. Low sides matter: high-sided trays read as office organizers and discourage quick drops.
Placement: Run the tray along the back of the bench, left or right of center depending on which hand you use at the door. Keep it at least 6 inches from the mail tray so the two jobs do not merge.
Approximate effort: Five minutes to place and load with your current pocket contents.
Lower-cost alternative: A lid from a sturdy shoebox, trimmed and wrapped in contact paper, works as a trial tray.
Practical tip: One tray per driver. Two sets of keys in one tray tangle; two trays side by side keep peace and double the organization.
13. A Basket Tucked Beneath A Bench

The space under the bench is storage gold that most people waste. A basket tucked underneath holds shoes, reusable grocery bags, or the kids’ sports gear, keeping the floor clear and the entry calm. Because the basket sits low, it disappears visually while working hard.
What to measure: Measure the clearance under the bench, then buy a basket 1 to 2 inches shorter so it slides in and out freely. Standard open-frame benches offer 10 to 14 inches of clearance.
Materials: A low, wide basket with handles in seagrass, woven cotton, or canvas. Handles are non-negotiable: you will pull this basket out daily.
Placement: Slide it under the bench’s center or far end, leaving the near end open for feet when someone sits. If the bench is long, two smaller baskets beat one wide one for daily access.
Approximate effort: Ten minutes to measure, buy, and slide into place.
Lower-cost alternative: A sturdy reusable shopping tote with the handles folded inside works as a hidden under-bench bin.
Practical tip: Give the under-bench basket a job with a natural limit, like shoes only or bags only. Mixed contents turn it into a junk drawer on the floor.
14. A Mirror Over A Shallow Surface
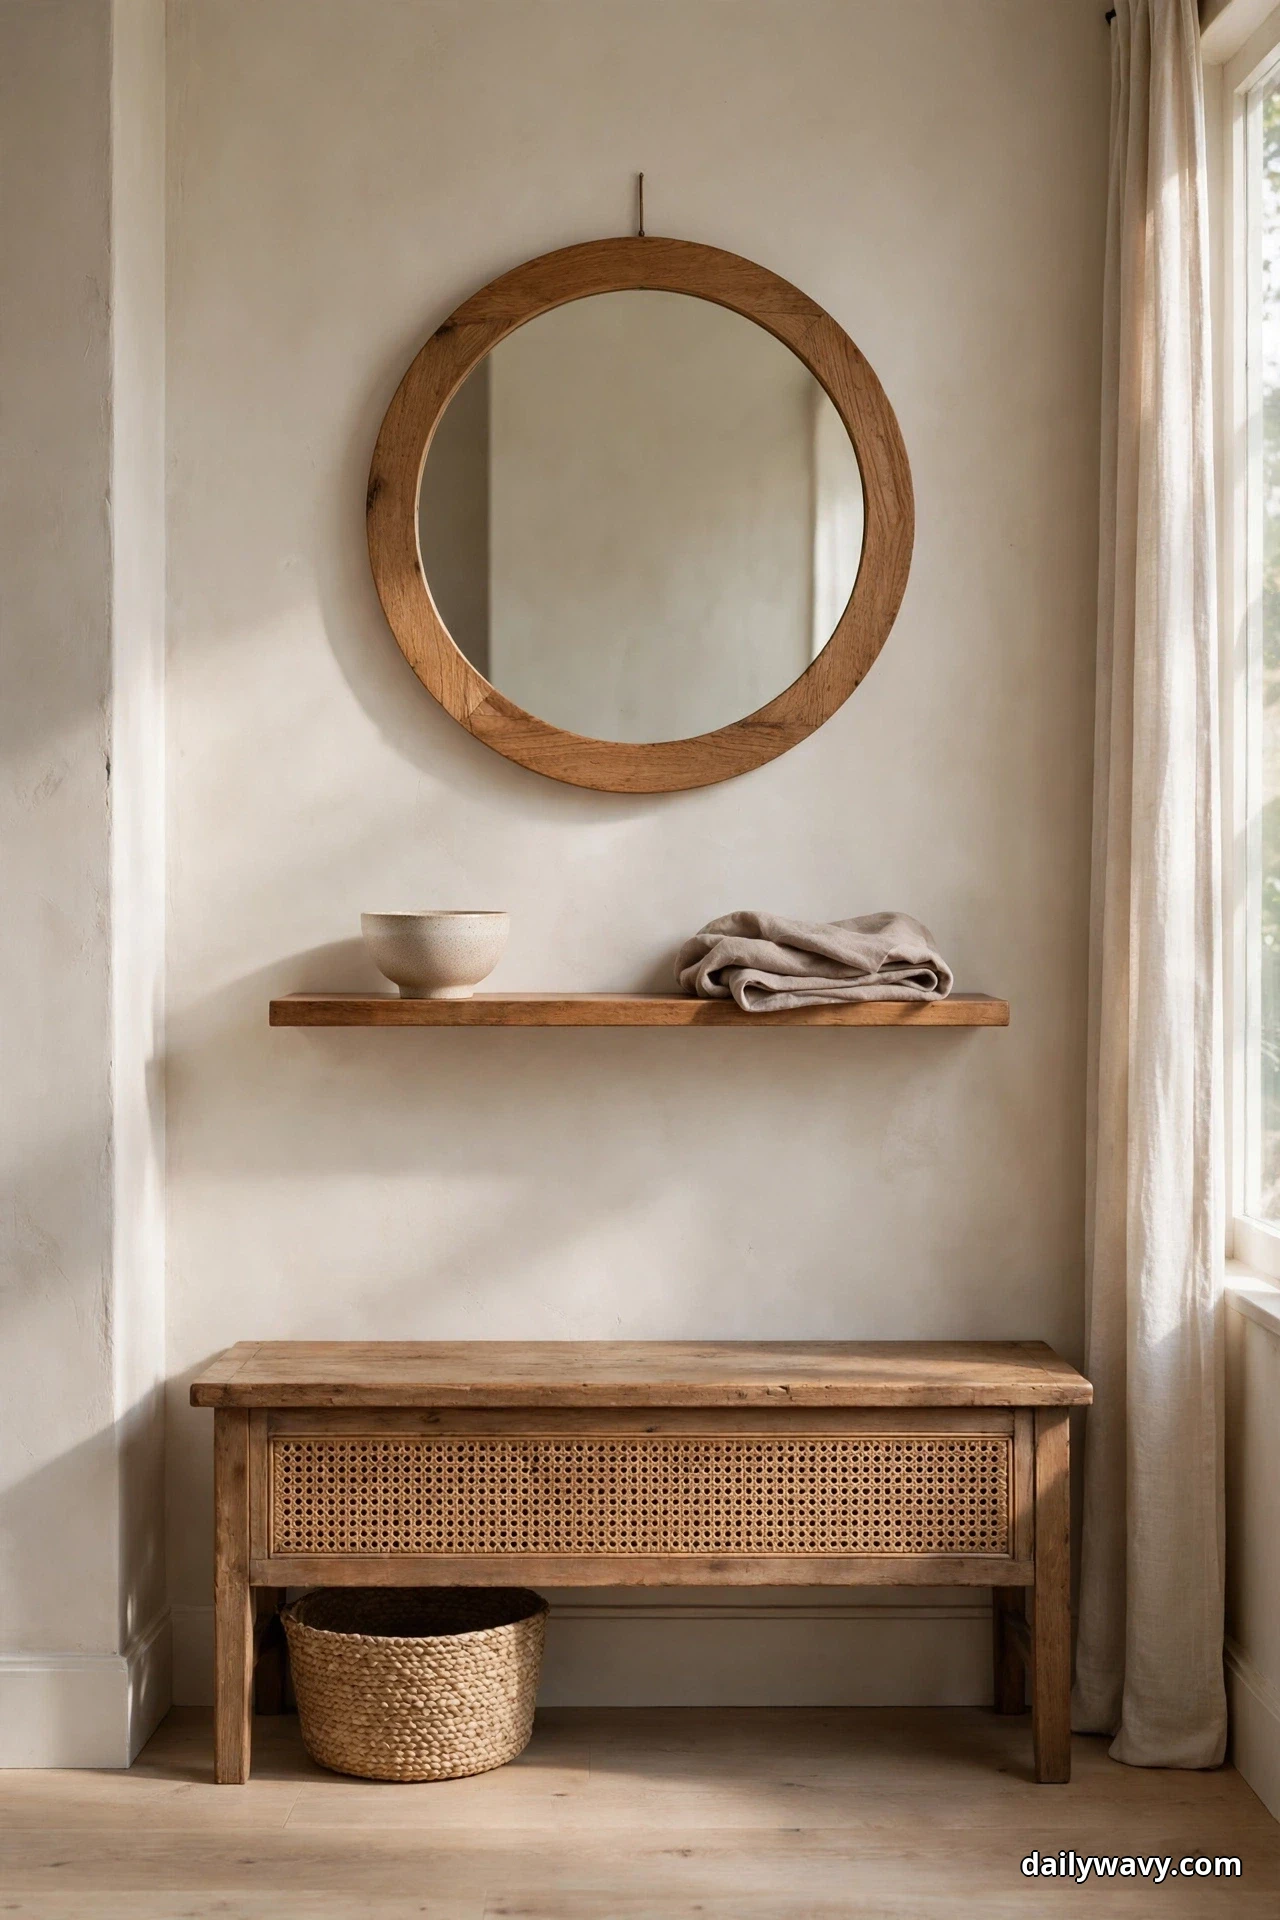
A mirror above the bench does two jobs: it bounces light into the entry and gives everyone a last check before the door. A round or arched mirror softens all the rectangles of the bench, shelf, and door frame.
What to measure: The mirror’s diameter should be about two-thirds the bench’s width. Hang it so its center sits at eye level, roughly 57 to 60 inches from the floor. Keep the bottom edge at least 6 inches above any shelf or the bench back.
Materials: A mirror with a frame in your repeated hardware finish, hung on a wall anchor or stud-rated hook. Entryway mirrors take door-slam vibration, so use hardware rated for twice the mirror’s weight.
Placement: Center it over the bench or over the shallow shelf, never where the open door swings into it. If the bench sits under a window, mount the mirror on the adjacent wall instead.
Approximate effort: About 30 minutes including careful leveling.
Lower-cost alternative: A frameless round mirror tile set from a home store, arranged as one large circle, costs very little and looks surprisingly chic.
Practical tip: Place the mirror opposite or adjacent to a light source. A mirror facing a blank wall reflects a blank wall; one catching a window or lamp doubles your light.
15. A Durable Mat At The Door
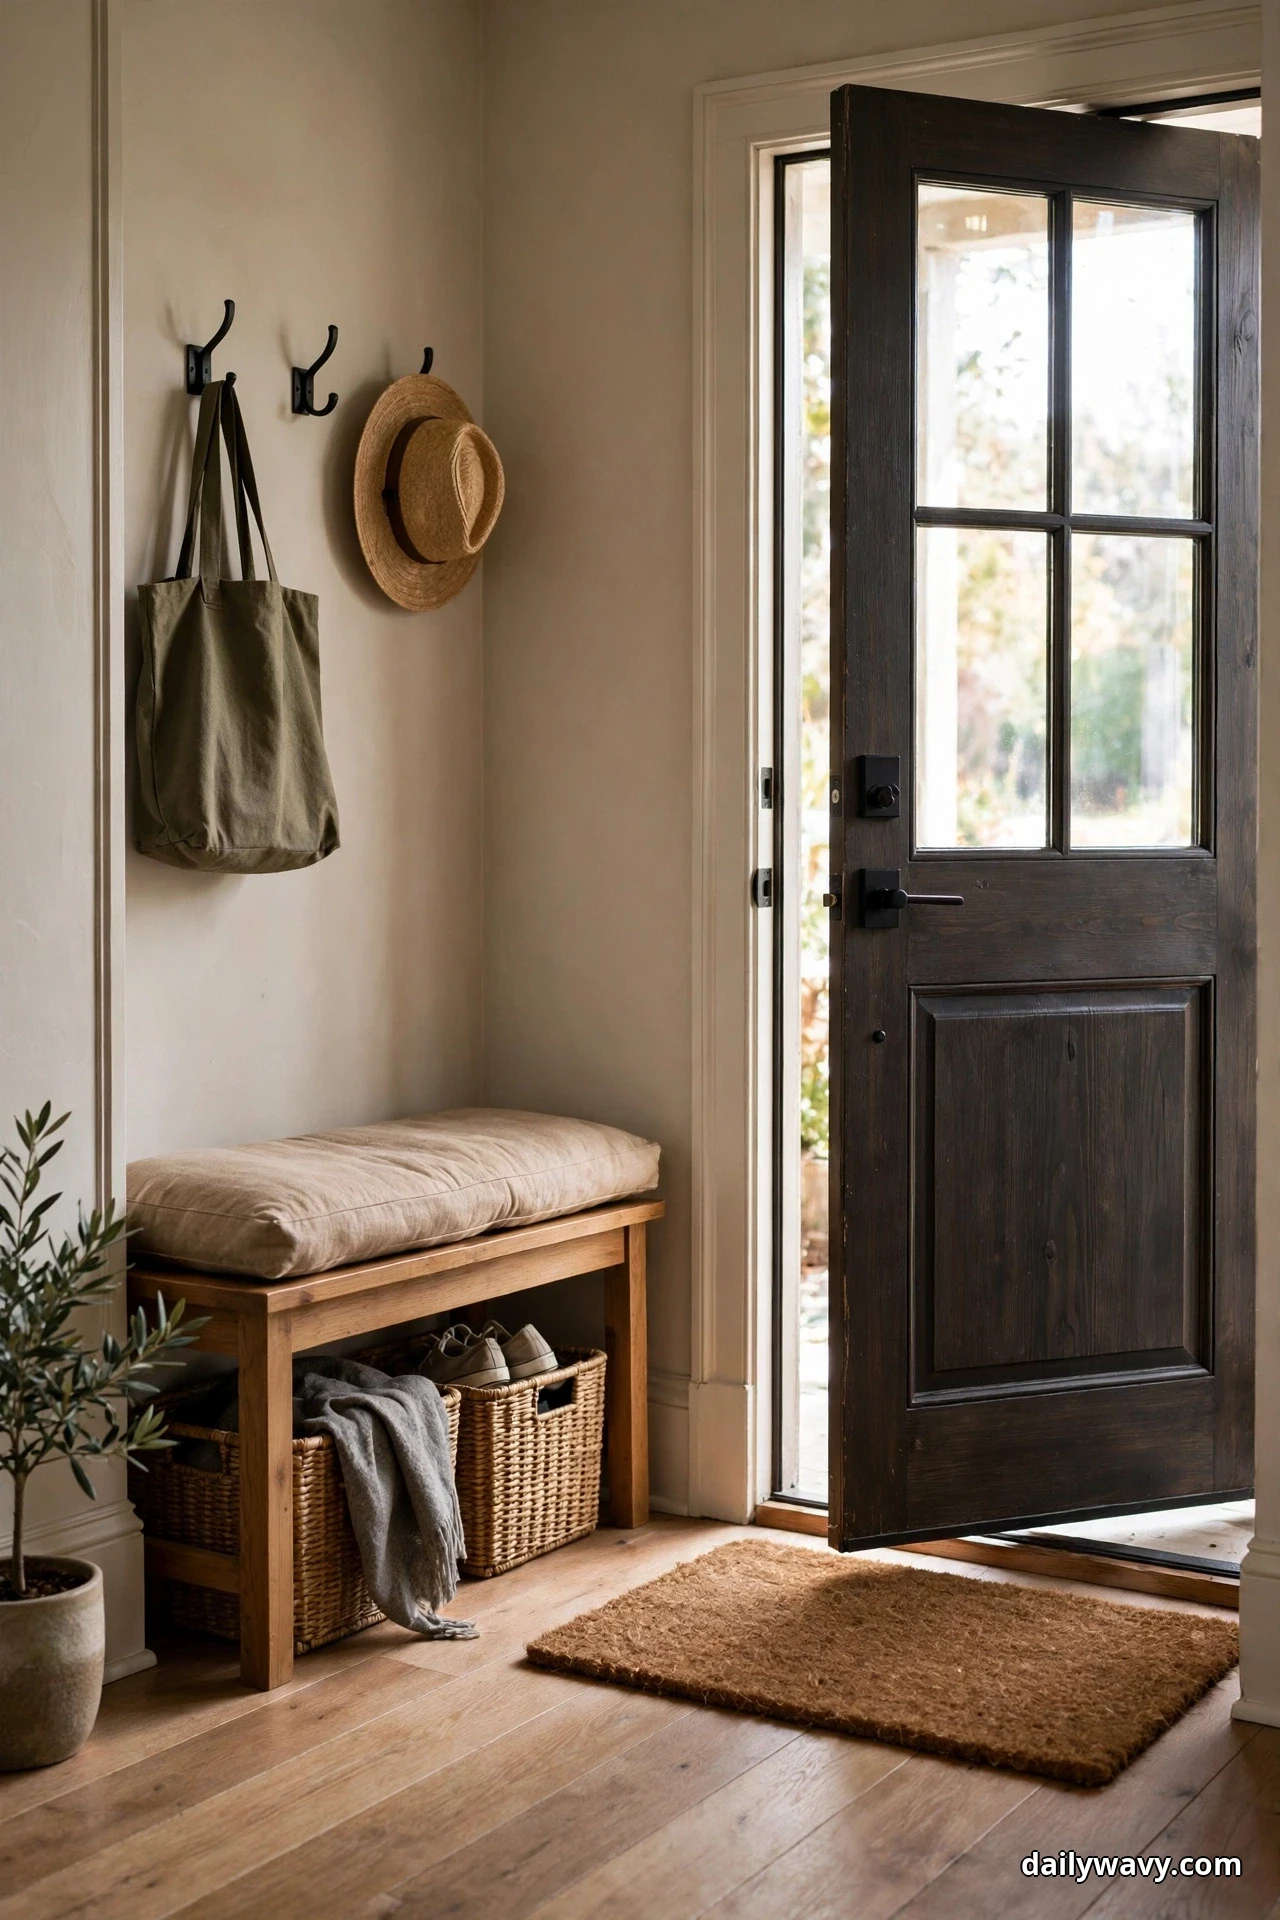
The doormat is the unsung hero of bench styling: it protects everything the bench styling touches. A good mat traps the grit and moisture that would otherwise grind into your rug, cushion, and floor finish. Styling starts at the threshold, not at the bench.
What to measure: The mat should be at least as wide as the door and 24 to 36 inches deep, giving two full steps of wiping room. For a standard 36-inch door, a 24 by 36 inch mat is the minimum that actually works.
Materials: Coir, rubber-backed low-pile, or washable cotton, depending on your weather. Coir scrapes best; washable cotton suits apartments where the mat comes inside for cleaning.
Placement: Outside the door if you have a covered stoop, inside if you do not. Either way, the mat’s inner edge should stop short of the bench’s sitting zone so feet do not overlap it.
Approximate effort: Five minutes to unroll, plus a weekly shake outside.
Lower-cost alternative: Layer two inexpensive flat-weave bath mats end to end. They wash easily and cost less than one premium mat.
Practical tip: Shake or vacuum the mat weekly and replace it yearly. A worn mat stops trapping dirt and starts looking tired, which drags down the whole entry no matter how styled the bench is.
16. A Compact Closed Shoe Cabinet
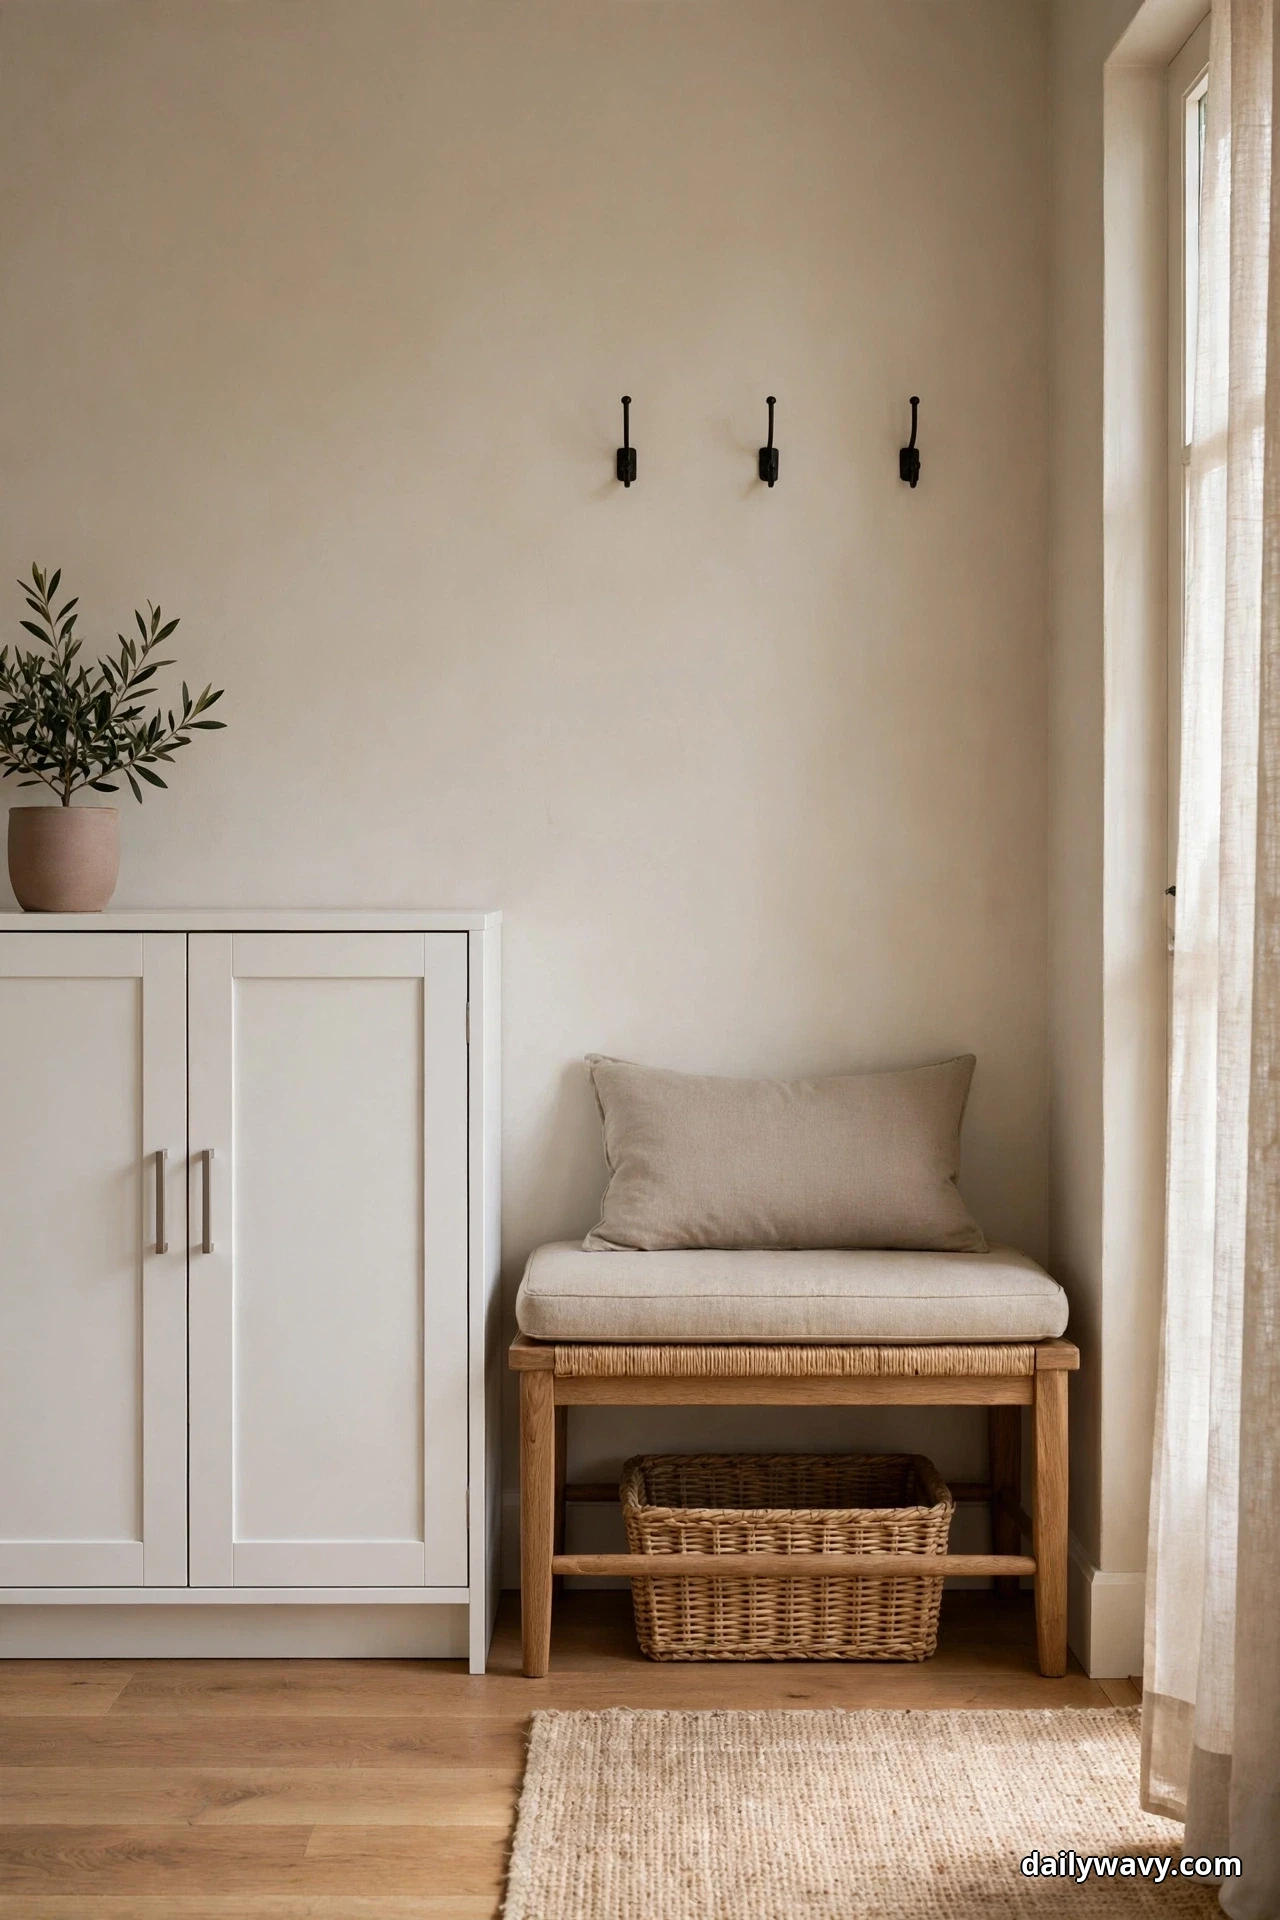
Shoes are the fastest way to wreck a styled entryway. A compact closed cabinet beside the bench hides the daily pile behind clean doors, so the bench area reads calm even when four pairs of shoes live three feet away. Closed beats open: open shoe storage always looks like a shoe store exploded.
What to measure: A cabinet 20 to 24 inches wide and 12 to 14 inches deep holds 6 to 10 pairs in tilt-out or stacked compartments without crowding the bench. Confirm it fits beside the bench with the door swing and walkway still clear.
Materials: A slim shoe cabinet with tilt-out bins or adjustable shelves, in a finish that matches or complements the bench. Wall-anchor it: loaded shoe cabinets are top-heavy.
Placement: Set it at the bench’s far end or on the adjacent wall, close enough that kicking shoes off lands you within one step of the cabinet. Convenience decides whether the cabinet gets used or ignored.
Approximate effort: One to two hours for assembly, anchoring, and shoe loading.
Lower-cost alternative: A lidded storage ottoman or a lidded trunk at the bench’s end hides shoes just as well and doubles as extra seating.
Practical tip: Keep a one-in, one-out rule per person. A cabinet with a fixed capacity stays tidy only if new shoes replace old ones, not pile on top.
Frequently Asked Questions
How do I style an entryway bench if I have almost no wall space?
Focus on the bench itself and the floor. A cushion, a tray for keys, a basket beneath, and a mat at the door transform the bench’s function with zero wall space used. A mirror can go on the back of the door or the adjacent wall.
What is the minimum walkway clearance past a bench?
Aim for 30 to 36 inches from the bench’s front edge to the opposite wall or furniture. Below 30 inches, people turn sideways; above 36, the space starts feeling like a hallway again rather than a cozy entry.
How do I keep the bench from becoming a clutter magnet?
Give every category one home and enforce a weekly reset. The basket holds outgoing items, the tray holds keys, the cabinet holds shoes. Anything without a home gets removed during a two-minute Sunday reset.
Can I style a bench in a rental without drilling?
Yes. Use adhesive hooks rated for the weight, a freestanding shelf unit instead of a floating shelf, and leaning frames instead of hung ones. A tension-rod shelf inside a closet opening works without a single hole.
Should the bench match the rest of the entry furniture?
It should coordinate, not match. One shared element, like the hardware finish or the wood tone, ties mismatched pieces together. Exact matching sets look like a showroom; coordinated pieces look like a home.
How often should I refresh entryway styling?
Seasonally is plenty. Swap the blanket and plant for the season, rotate the framed print, and wash the cushion cover. The structure stays; the textiles change.
A Bench That Works as Hard as You Do
An entryway bench earns its styling when every piece has a job. Start with the landing zone basics: somewhere for keys, somewhere for shoes, somewhere for things leaving the house. Then add one comfort layer, like the cushion or the folded blanket, and one personality piece, like the framed print or the mirror. That is the whole formula. For more small-space entry ideas, see our guide to small entryway decor, and if your entry opens into a tight living area, our narrow living room layout ideas show how to keep the flow going. Browse the Home & Decor collection for the full set of room guides.