14 Kitchen Island Decor Ideas for an Organized Everyday Kitchen
The kitchen island is one of the hardest-working surfaces in the house, which is exactly why decorating it feels so…
The kitchen island is one of the hardest-working surfaces in the house, which is exactly why decorating it feels so tricky. Too much and you lose your chopping zone. Too little and one of the largest visual anchors in the room looks forgotten. The sweet spot is often smaller than expected: a few honest, useful objects that look good and earn their place every single day. These fourteen ideas are built for real kitchens, the kind where homework lands on the counter at four and dinner prep starts at six. Each one names real materials, real placement, and the one habit that keeps it working. Start with the board, and build from there.
Jump to an idea
- A wood board stored upright
- A simple glass jar grouping
- A low bowl for fresh produce
- A washable mat under frequently used items
- A small framed print set safely back
- A slim basket for packets or cloths
- A lidded container with a clean silhouette
- A compact tiered shelf
- A pitcher paired with a low bowl
- A narrow rail for light utensils
- A single decorative vase
- A labeled canister grouping
- A towel hook close to the work zone
- A portable caddy that clears the surface
The island rules that keep every idea working
Before anything goes on the island, agree on the ground rules and every idea below will behave itself. First, protect a prep lane: keep at least 24 inches of completely clear counter where you do the real work, usually the stretch nearest the sink or cooktop. That lane is sacred. Decor lives everywhere else.
Second, keep appliance ventilation and outlets clear. If your island has a downdraft vent, a range, or a pop-up outlet, nothing decor goes within a few inches of it, and nothing tall ever stands where steam or heat will hit it. Third, the one-third rule: styled objects should occupy no more than a third of the island surface. The rest stays open for grocery bags, sheet pans, and real life. Fourth, everything near the food zone should be washable or wipeable, because flour dust and olive oil travel. Fifth, think about weight and the seating edge. Heavy items sit low and stable, and nothing lives within about a foot of the overhang where elbows and backpacks land.
With those five rules in place, the island stops being a decorating dilemma and becomes what it should be: a beautiful surface you can actually cook on.
1. A wood board stored upright

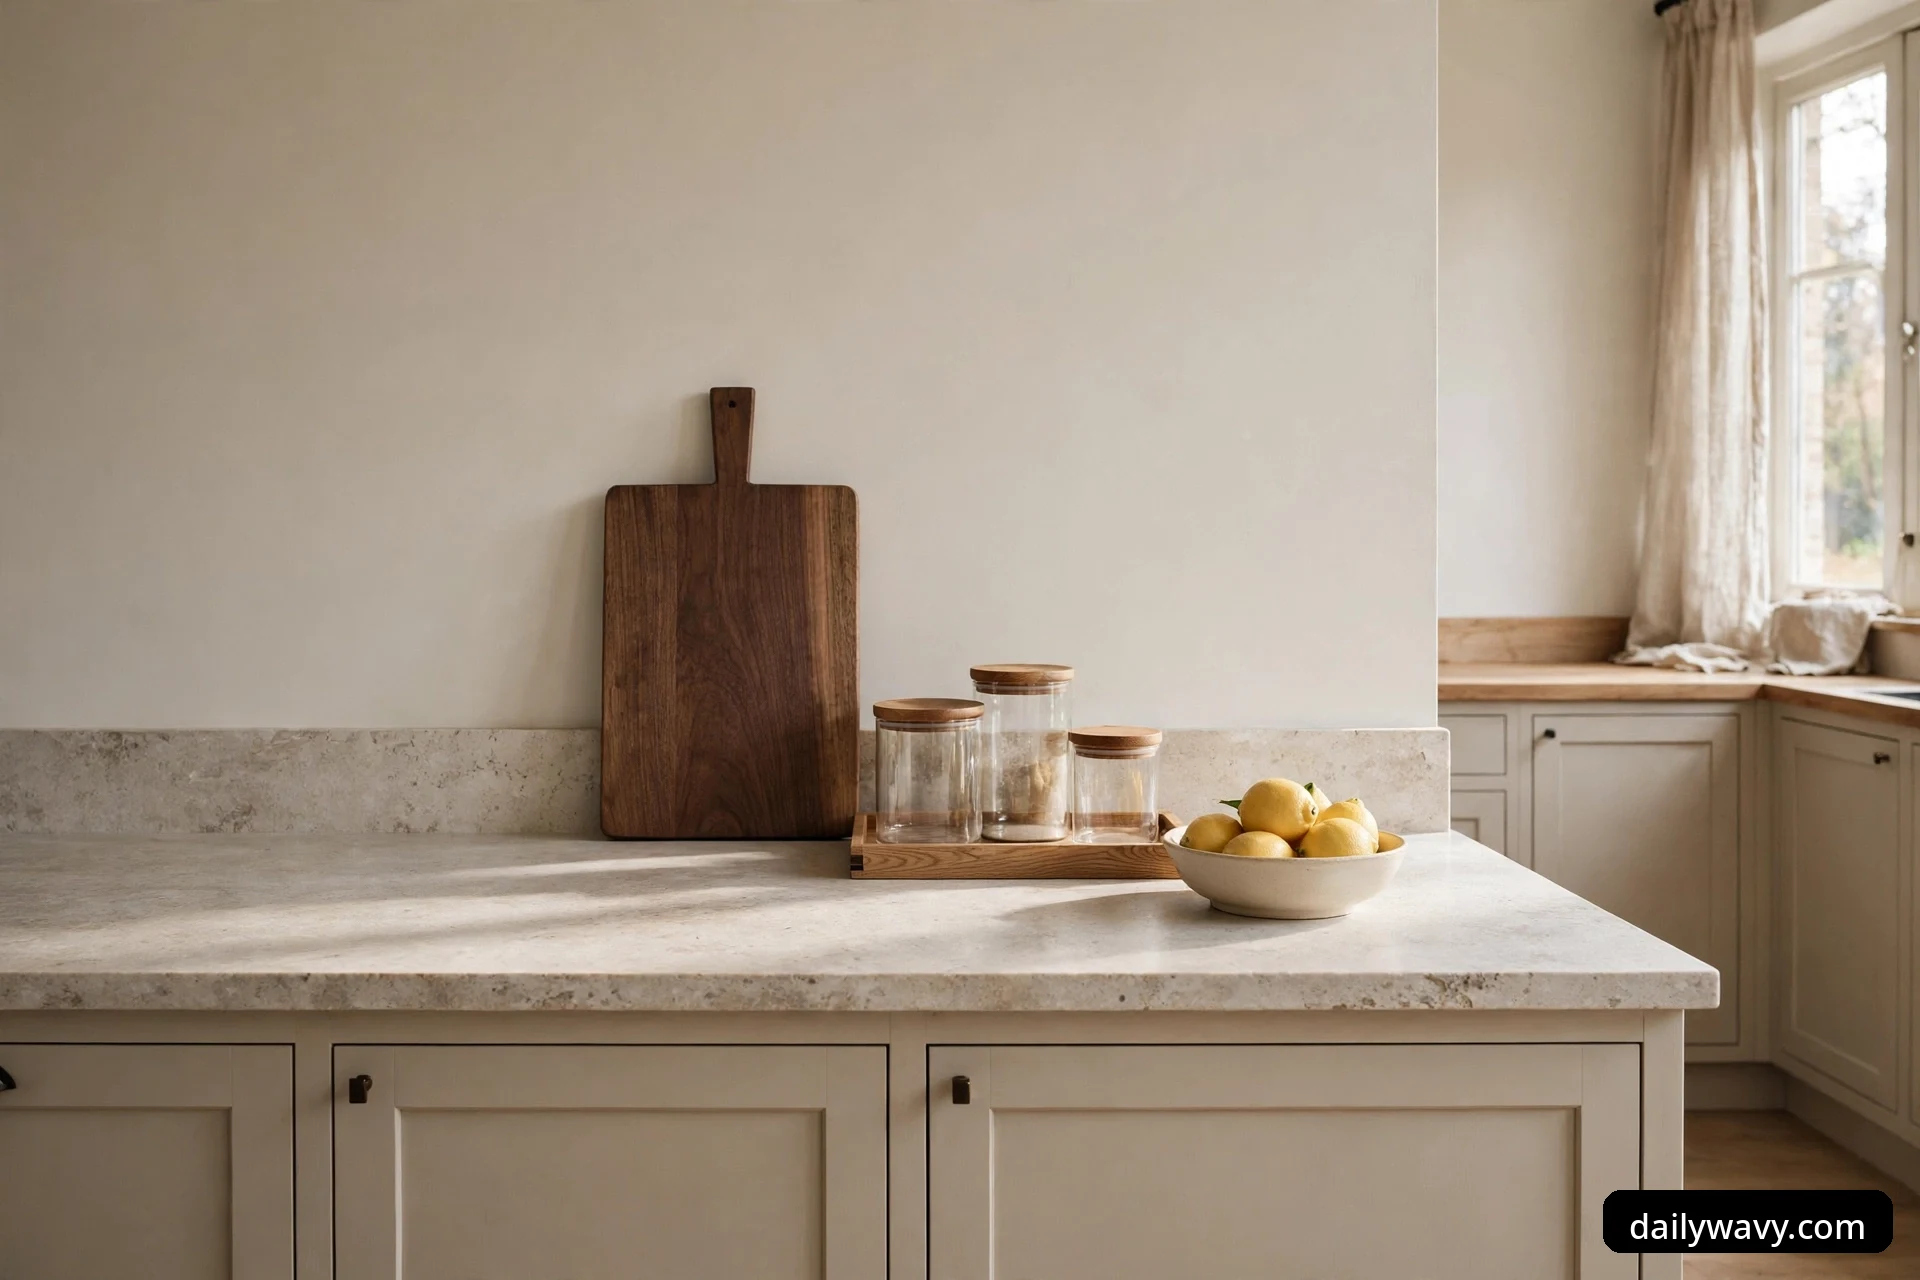
A beautiful wood board is the rare object that is both decor and equipment, and storing it upright on the island takes advantage of both jobs at once. The grain shows, the height adds a vertical moment to a mostly horizontal surface, and the board is right there when you need extra cutting or serving space.
What you need: one large board, roughly 18 by 12 inches, in acacia, walnut, or olive wood, plus something to lean it against. A heavy bookend, a low plate stand, or the island's own backsplash ledge all work. The board should be thick enough, about three quarters of an inch, to stand without bowing.
How to set it up: lean the board against the back edge of the island, near a corner, angled just enough to stay put. If your island has no backsplash, use a bookend-style holder so a bump from the prep lane cannot topple it. Keep the board at the far end of the island, away from the sink splash zone, and oil it with food-safe mineral oil once a month so it stays rich instead of going pale and dry.
The habit that keeps it working: every time you use the board for actual chopping, wash and dry it immediately and return it to its spot. A board that lives upright on the island earns its decor status by being genuinely in service, not by being decorative-only.
2. A simple glass jar grouping
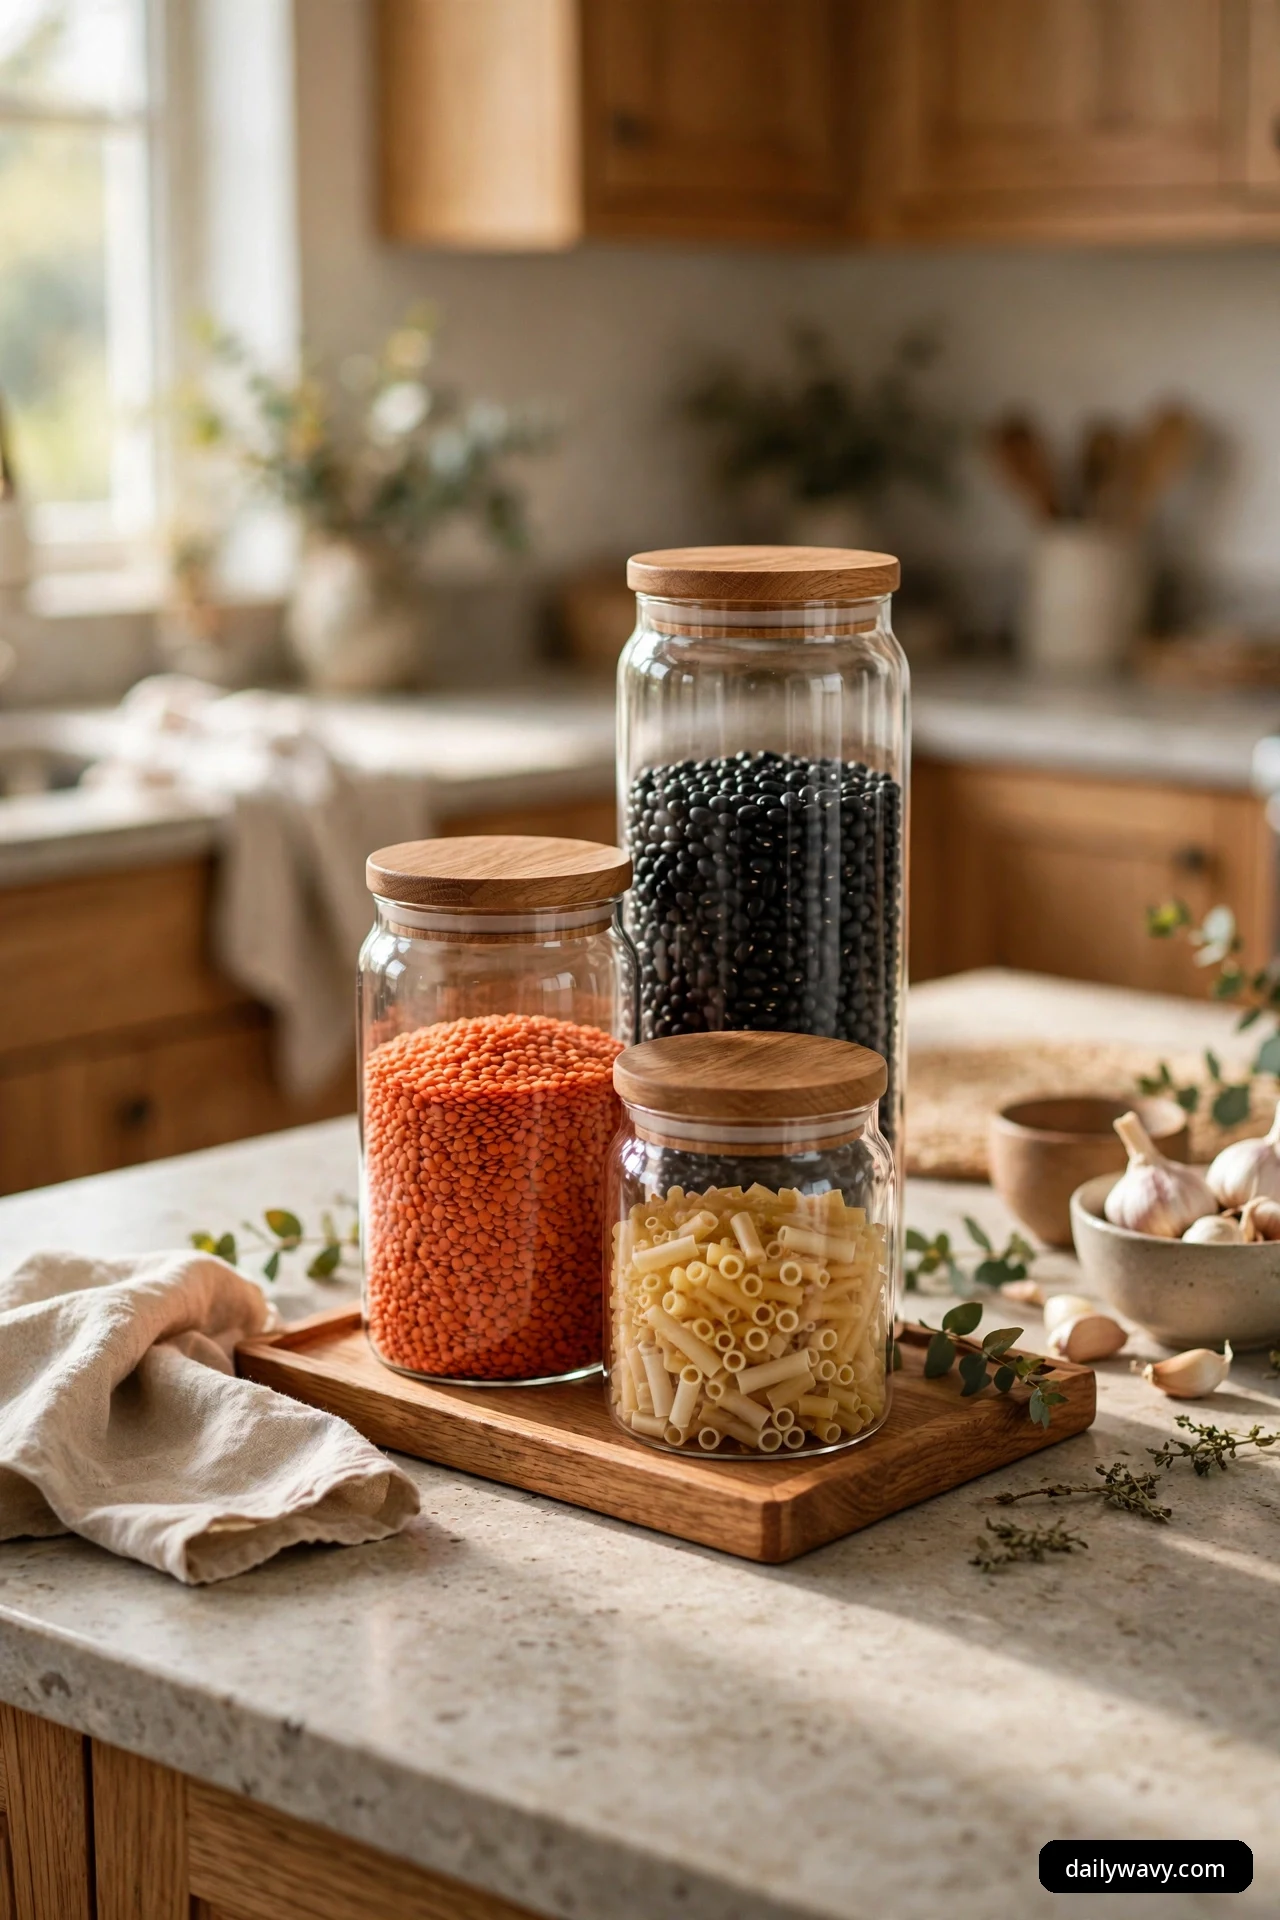
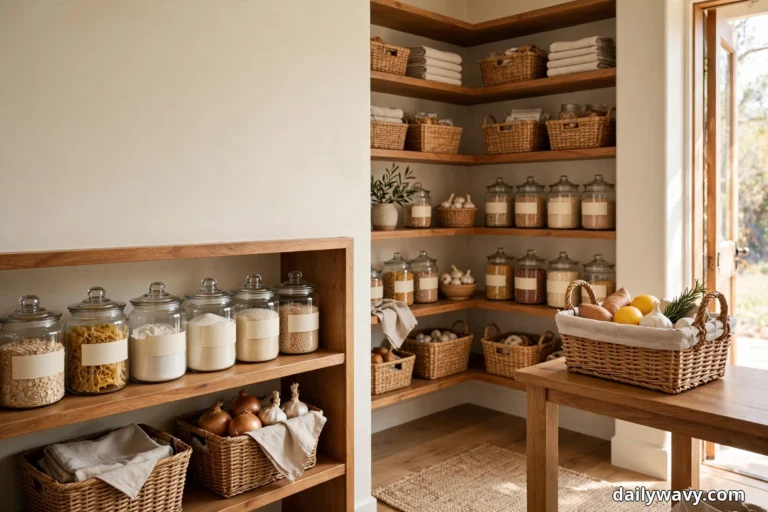
There is something quietly satisfying about seeing pantry staples in glass instead of their loud packaging. A small grouping of jars turns dried beans, lentils, or pasta into texture and color, and because everything is sealed and labeled by sight, it is as practical as it is pretty.
What you need: three glass jars in graduated sizes, roughly 16, 24, and 32 ounces, with wooden or airtight clamp lids. A small oak or walnut tray, about 14 by 8 inches, corrals the group into one visual unit and makes the whole thing liftable for wiping the counter.
How to set it up: place the tray on the island's quiet end, the spot farthest from the main prep lane. Arrange the jars tallest at the back, shortest in front, and fill them with staples you actually use: black beans, farro, red lentils, short pasta. Keep the fill level a couple of inches below the lid so the jars read as full without straining the seals.
The habit that keeps it working: refill from your pantry stock, not the other way around. The jars are the display copy; bulk bags stay in the pantry. When a jar runs low, refill and wipe the glass, and the grouping usually looks intentional.
3. A low bowl for fresh produce
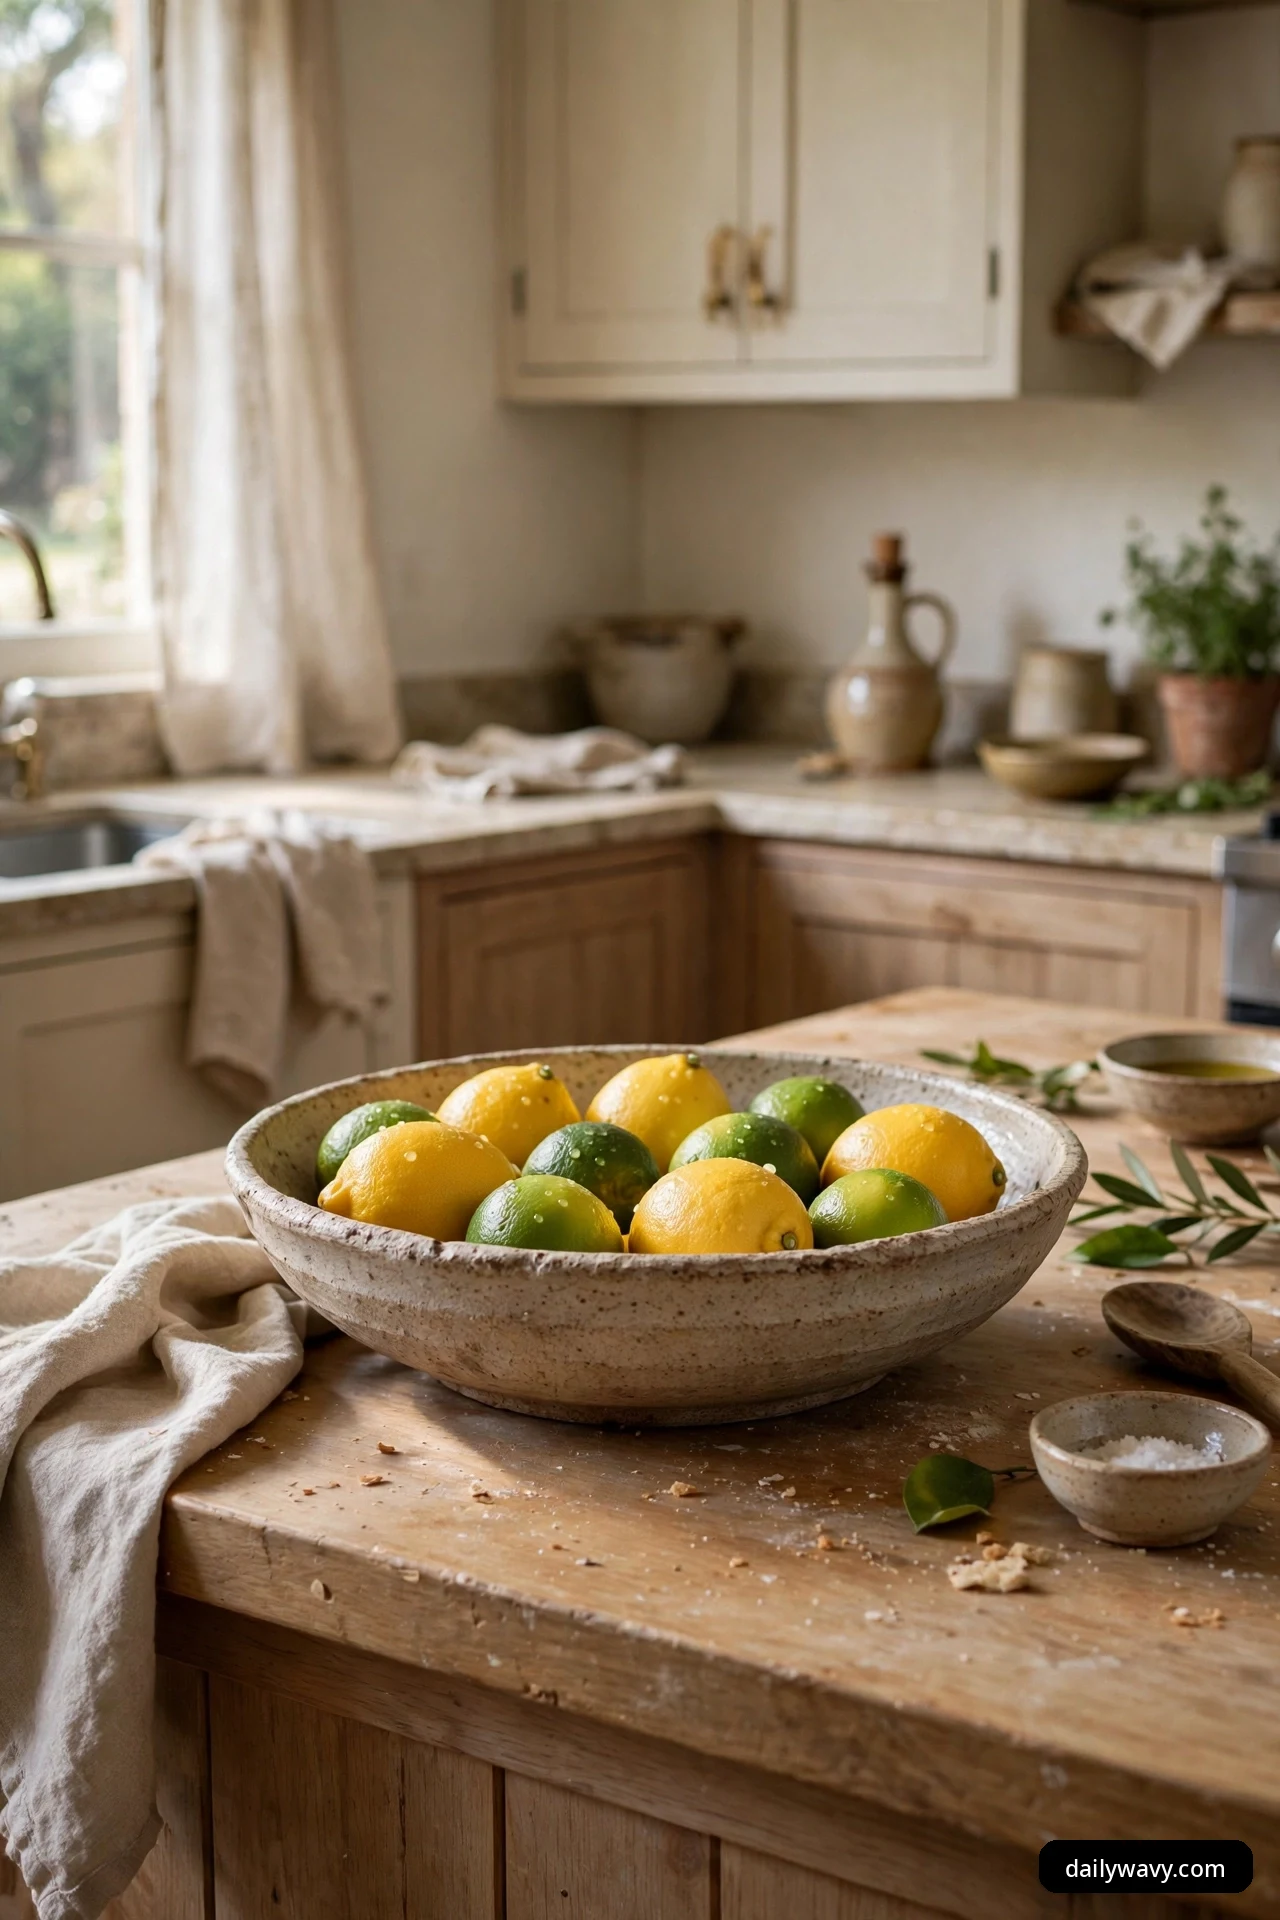
A low bowl of fruit does three jobs: it adds color, it keeps produce visible so it actually gets eaten, and its low profile preserves the sightline across the island. Tall centerpieces make a kitchen feel cluttered and cut the room in half visually. A low bowl does the opposite.
What you need: one shallow bowl, 10 to 12 inches across, in ceramic, wood, or stone. Choose something with a little weight so it does not slide when someone grabs an apple. Keep the contents to fruits that are happy at room temperature: lemons, limes, apples, pears, clementines.
How to set it up: center the bowl on the island or offset it slightly toward the seating side, where it reads as an invitation rather than an obstacle. Limit the pile to a single layer with a few pieces on top; a heaping mound looks abundant for a day and tired by day three. Rotate the bottom pieces to the top when you restock.
The habit that keeps it working: check the bowl when you unpack groceries. Toss anything soft, restock from the new bags, and give the bowl a quick rinse weekly. A produce bowl only looks good when the produce inside is good.
4. A washable mat under frequently used items

This is one of the plainest ideas on the list, and one of the most useful. A washable mat under your coffee corner, tea station, or daily vitamin lineup catches the drips and crumbs that would otherwise stain the stone or seep into grout lines, and it rinses clean in seconds.
What you need: one silicone or woven vinyl mat, about 18 by 12 inches, in a neutral tone that disappears against your counter. Silicone handles heat from a just-poured kettle; woven vinyl looks more like a textile and still wipes down.
How to set it up: define one corner of the island as the beverage zone and lay the mat there. Group the daily items on it: the kettle or coffee carafe, two mugs, the sugar bowl. The mat's edge creates a visual boundary that keeps the zone from spreading across the whole island.
The habit that keeps it working: rinse or wipe the mat every few days, and run silicone mats through the dishwasher weekly. A stained mat defeats the purpose, so treat the mat itself as a cleaning task, not a permanent fixture.
5. A small framed print set safely back

A little art in the kitchen feels like a quiet luxury, and a small framed print is the easiest way to get it. Set safely back from the work zone, it adds personality without asking for any maintenance, and it makes the island feel like part of the home rather than a workstation.
What you need: one framed print, 5 by 7 or 8 by 10 inches, in a simple wood or black frame. Botanical prints, vintage market posters, or a favorite recipe card all work. Keep glass out of the splash zone if your sink is on the island.
How to set it up: prop the frame against something taller and stable, a canister or the upright wood board, at the back edge of the island. Angle it slightly toward the seating side so it reads from across the room. If the island gets heavy cooking use, choose a spot on the far end where steam and splatter never reach.
The habit that keeps it working: dust the frame when you wipe the counters, and swap the print seasonally if you like. A five-minute art rotation keeps the kitchen feeling cared for with almost no effort.
6. A slim basket for packets or cloths

Small loose things are what make an island look messy: tea packets, sweetener sachets, seasoning envelopes, the cloth napkins you meant to put away. One slim basket gathers all of it into a single tidy rectangle, and suddenly the clutter reads as a deliberate collection.
What you need: a narrow basket, roughly 12 by 6 inches, in seagrass, rattan, or woven cotton. Slim is the key word: a wide basket eats counter space, while a narrow one tucks along the back edge or beside the sink.
How to set it up: sort the loose items into the basket by type, with the ones you reach for most at the front. Tea drinkers can stand packets upright like a card file. If you use cloth napkins daily, fold them in a neat stack and let the basket be their home instead of a drawer.
The habit that keeps it working: empty and re-sort the basket once a month. Packets migrate and multiply, and a two-minute purge keeps the basket from becoming the junk drawer of the island.
7. A lidded container with a clean silhouette

Most islands benefit from one strong, simple shape: a lidded canister with a smooth silhouette. It anchors the styling the way a good vase anchors a mantel, and because it holds something you use daily, it rarely feels like pure decoration.
What you need: one ceramic or stoneware canister, about 1.5 quarts, with a fitted lid and no fussy details. Matte glazes in white, cream, or soft gray wipe clean and go with everything. Fill it with flour, sugar, coffee beans, or whatever you reach for most.
How to set it up: place the canister where your hand naturally goes during your morning routine, near the coffee zone or the baking corner. Its job is to be both the visual anchor and the most-used container on the island, so give it the prime position and let smaller items orbit around it.
The habit that keeps it working: wipe the lid and body when you wipe the counters. A canister with a dusty lid or sticky base stops looking like decor, so keep it as clean as the counter it sits on.
8. A compact tiered shelf

A two-tier stand is vertical storage in disguise. It lifts your daily cooking trio, salt, oil, pepper, off the counter while keeping them within arm's reach, and the stacked levels add height and rhythm to the island's profile without taking more footprint than a cutting board.
What you need: a compact two-tier stand, about 10 inches tall and 12 inches wide, in wood, metal, or bamboo. Check that the lower shelf clears your tallest bottle and that the whole thing is stable when you lift items off one-handed.
How to set it up: position the stand at the back corner of the island, on the cooktop side if you have one, so the salt cellar, a small olive oil bottle, and the pepper grinder live exactly where cooking happens. Crucially, keep it clear of any downdraft vent or appliance ventilation, and never let it overhang an outlet or control panel.
The habit that keeps it working: only the daily trio earns a spot on the tiers. The moment a fourth or fifth item joins, the stand becomes clutter. Be strict, and the stand stays as useful as the day you set it up.
9. A pitcher paired with a low bowl
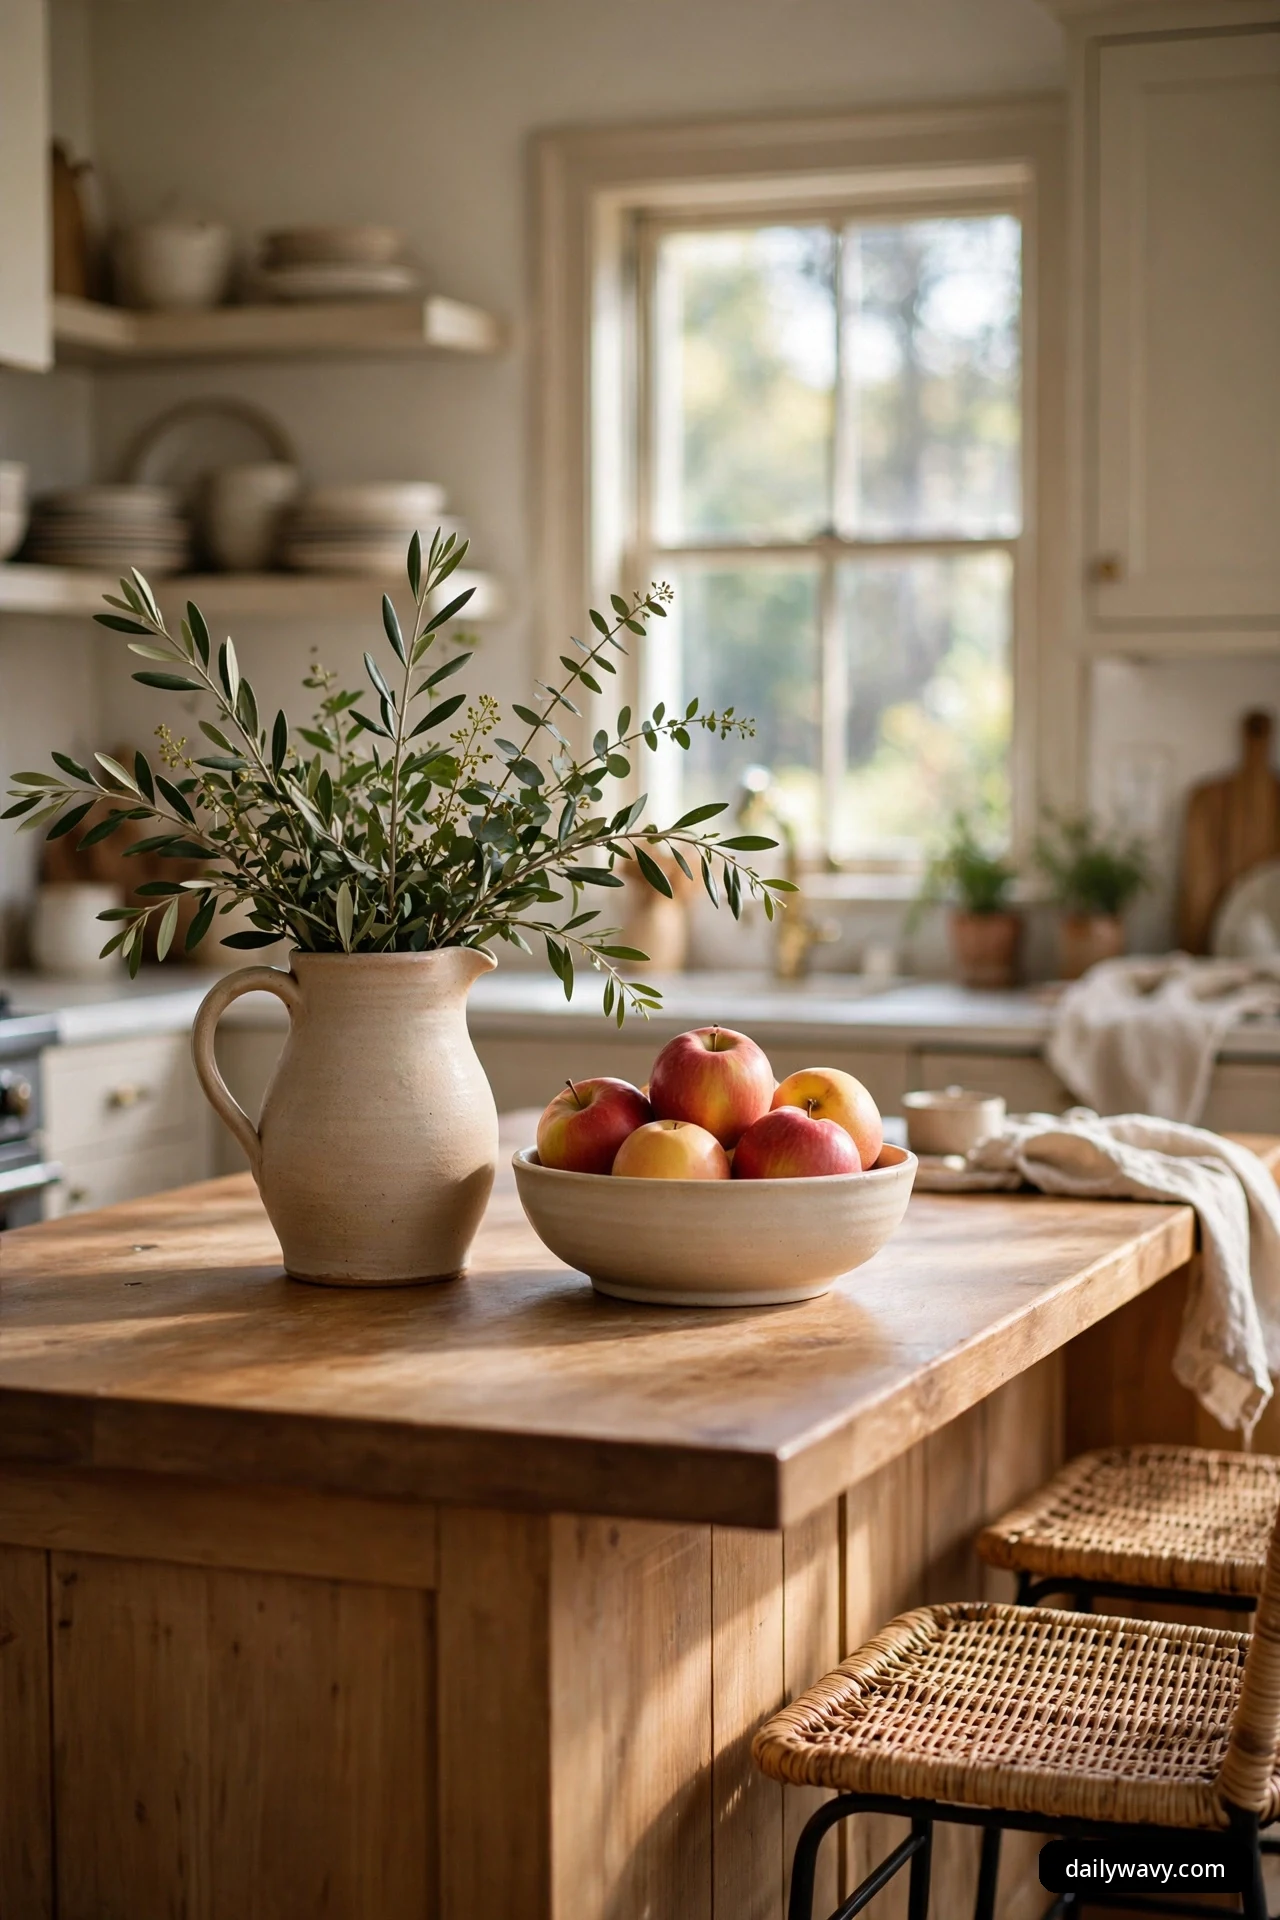
Stylists reach for the tall-and-low pairing because it is a reliable pairing: one vertical shape, one horizontal shape, and the eye relaxes. On a kitchen island, a pitcher with a low bowl beside it brings that classic composition into daily life, and both pieces can hold something real.
What you need: a ceramic pitcher, about 1 liter, plus a low bowl 8 to 10 inches across. They do not need to match, but they should share a color family or material so the pairing looks intentional rather than accidental.
How to set it up: fill the pitcher with water and a few stems, or leave it empty if it is beautiful on its own, and set the low bowl beside it with fruit, wrapped snacks, or nothing at all. Place the pair near the seating side of the island, where it reads as hospitality, and keep the pitcher handle turned inward so it never catches a passing elbow.
The habit that keeps it working: change the pitcher water every couple of days if it holds flowers, and wipe both pieces when you clean the counter. A dusty pitcher and a sticky bowl undo the whole effect, so keep the pair fresh.
10. A narrow rail for light utensils

Counter space is finite, and the utensils you use most, ladles, slotted spoons, measuring cups, tongs, deserve better than a crowded crock. A narrow rail mounted on the island's side panel or under the overhang moves them to the perimeter, freeing the surface while putting tools exactly where the cook stands.
What you need: a slim rail, 12 to 18 inches long, with four or five S-hooks, plus the right mounting for your island. Adhesive-backed rails work on smooth painted panels; screw-mounted rails suit wood. Keep the rail and hooks rated for kitchen weight, not just decoration.
How to set it up: mount the rail on the end panel or the seating-side apron, at a height where utensils hang free without hitting knees or the floor. Hang only light, frequently used tools: a ladle, a slotted spoon, measuring cups, an oven mitt. Heavy cast iron stays in the cabinet.
The habit that keeps it working: the rail holds tools, not storage. If a utensil has not been used in a month, it moves back to the drawer. A rail with five well-chosen tools looks organized; a rail with twelve looks like a hardware display.
11. A single decorative vase
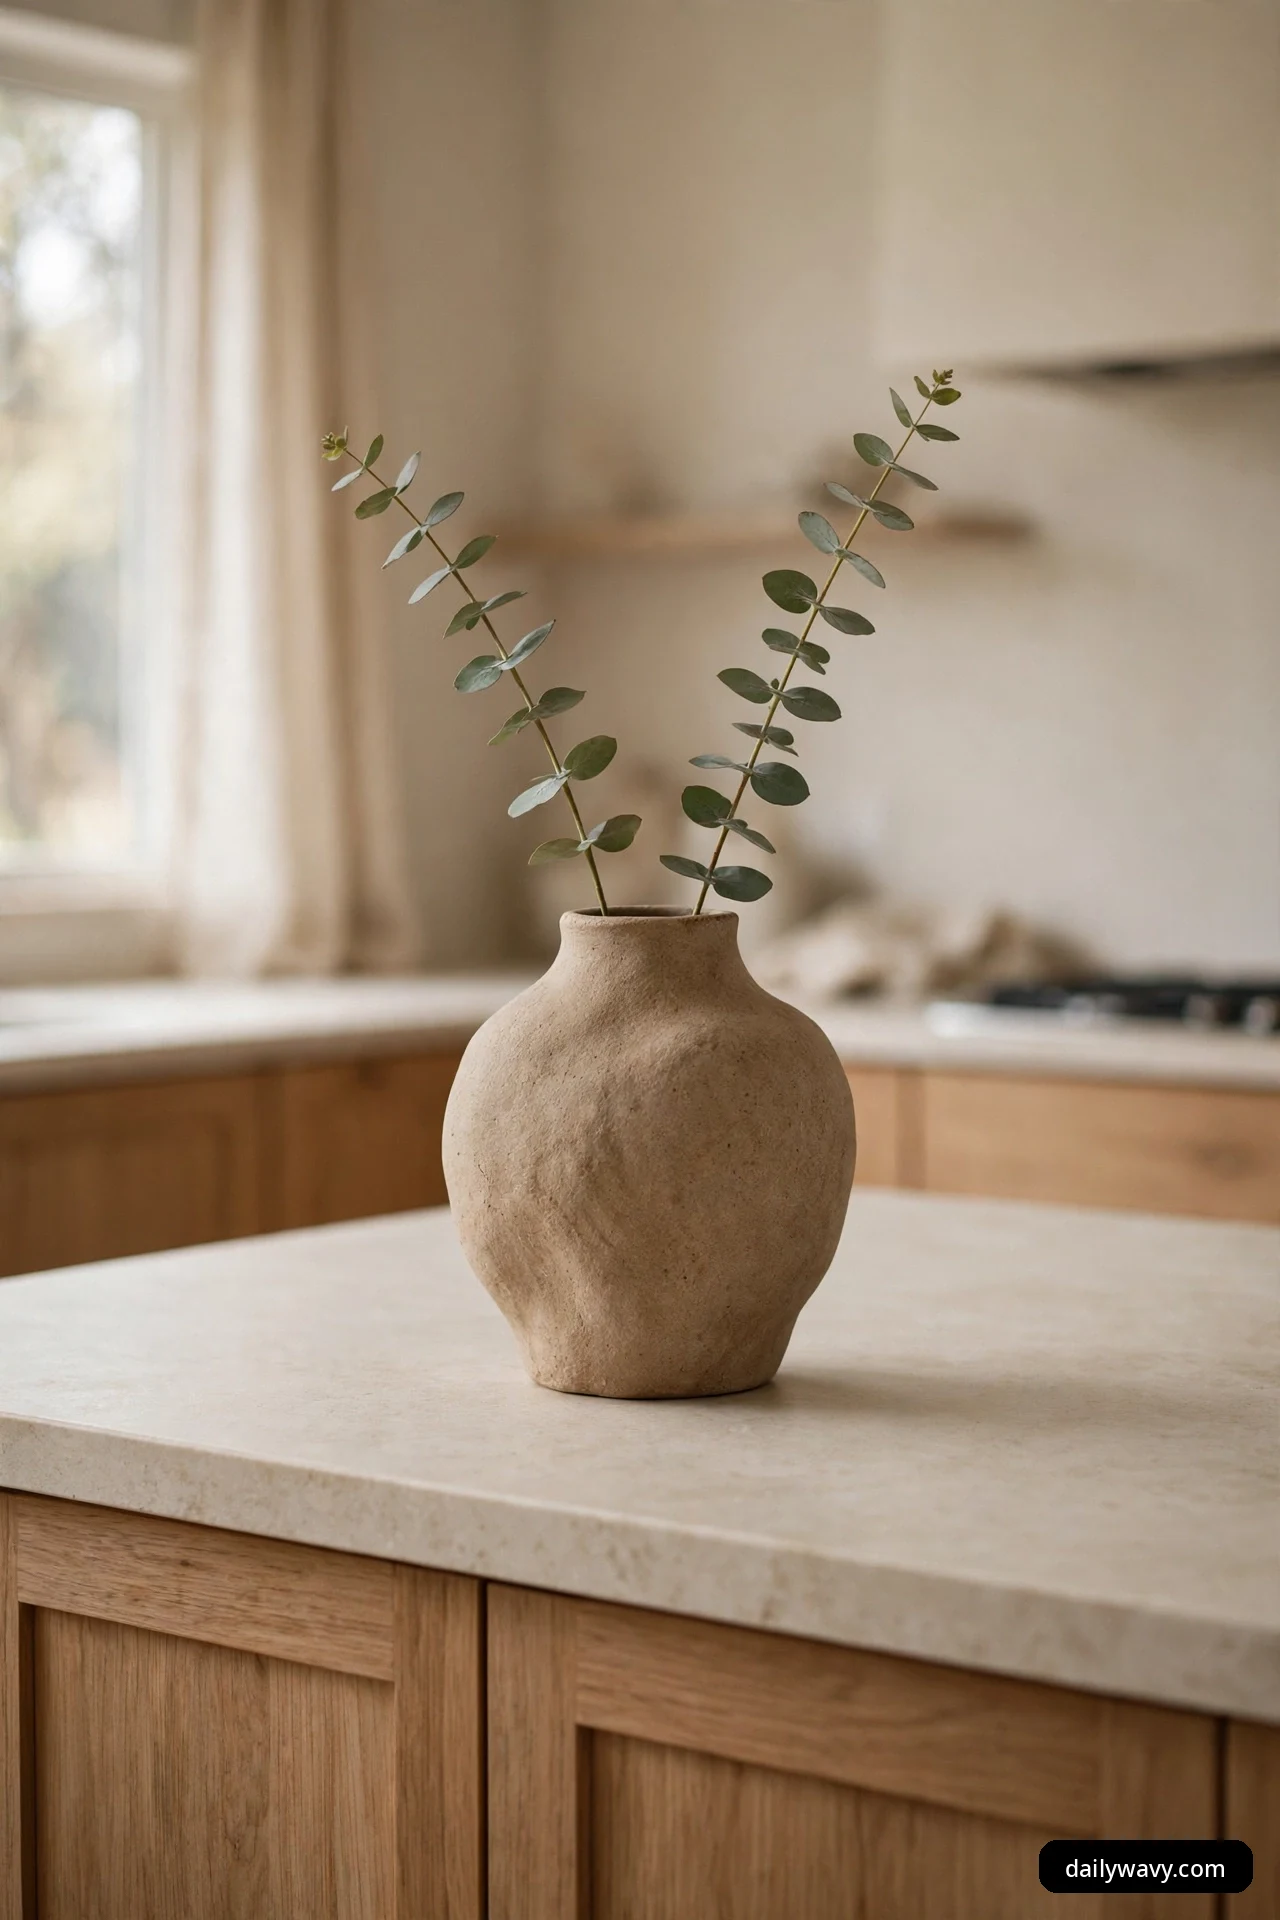
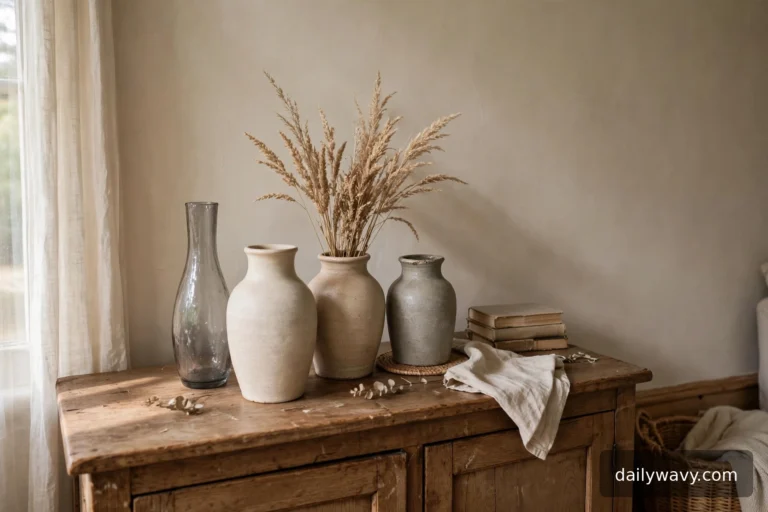
Sometimes the boldest move is restraint. One vase, one arrangement, nothing else competing for attention. A single decorative vase gives the island a focal point without asking for maintenance beyond the occasional stem swap, and it proves that less really can be more.
What you need: one vase with presence, a sculptural ceramic, a hand-thrown stoneware piece, or a simple glass cylinder, sized to the island. On a large island, go bigger, 10 to 14 inches; on a compact one, a 6-inch bud vase is plenty.
How to set it up: give the vase a clear zone, at least 8 inches of empty counter on every side. Fill it with two or three stems, a branch, eucalyptus, or dried grasses, and trim the stems so the arrangement sits slightly above eye level from the seating side without blocking conversation across the island.
The habit that keeps it working: refresh the water and trim the stems weekly, or commit to dried botanicals that need nothing. A vase with murky water or wilted flowers is worse than no vase at all, so choose the option you will actually maintain.
12. A labeled canister grouping

Uniformity is calming. Three matching canisters with simple labels read as one composed unit instead of three separate objects, and the labels mean everyone in the house can find the coffee, the rice, or the flour without opening a single lid.
What you need: two or three canisters in the same material and shape family, ceramic, glass with wood lids, or matte metal, in graduated sizes. Add simple labels: chalkboard tags, printed kraft labels, or a label maker. Keep the wording short and honest.
How to set it up: line the canisters along the back edge of the island, tallest in the middle or at one end, with labels facing the room's main entrance so they read on approach. Fill them with staples you use weekly, and keep a small scoop or clip inside the most-used one.
The habit that keeps it working: relabel the moment a canister's contents change. A jar labeled "flour" that holds rice is a small daily annoyance, so keep the labels truthful and the grouping earns its place.
13. A towel hook close to the work zone

The hand towel is one of the most-used textiles in the kitchen, and it usually lives draped over the oven handle or balled up by the sink. A dedicated hook on the island's end panel puts it within arm's reach of the prep lane, and a good-looking hook with a nice towel reads as intentional design rather than clutter.
What you need: one sturdy hook, adhesive or screw-mounted to suit your island panel, plus one or two hand towels in a washable cotton or linen blend. Choose a towel color that complements the kitchen, because this towel will be visible all day.
How to set it up: mount the hook on the end panel nearest the prep lane, about 40 inches off the floor, where a reaching hand finds it without looking. Hang one towel in use and keep the spare folded in the slim basket or a nearby drawer, not on a second hook that clutters the panel.
The habit that keeps it working: swap the towel every two to three days, and wipe the hook when you clean the panel. A fresh towel on a clean hook looks like decor; a damp, stained towel looks like neglect.
14. A portable caddy that clears the surface
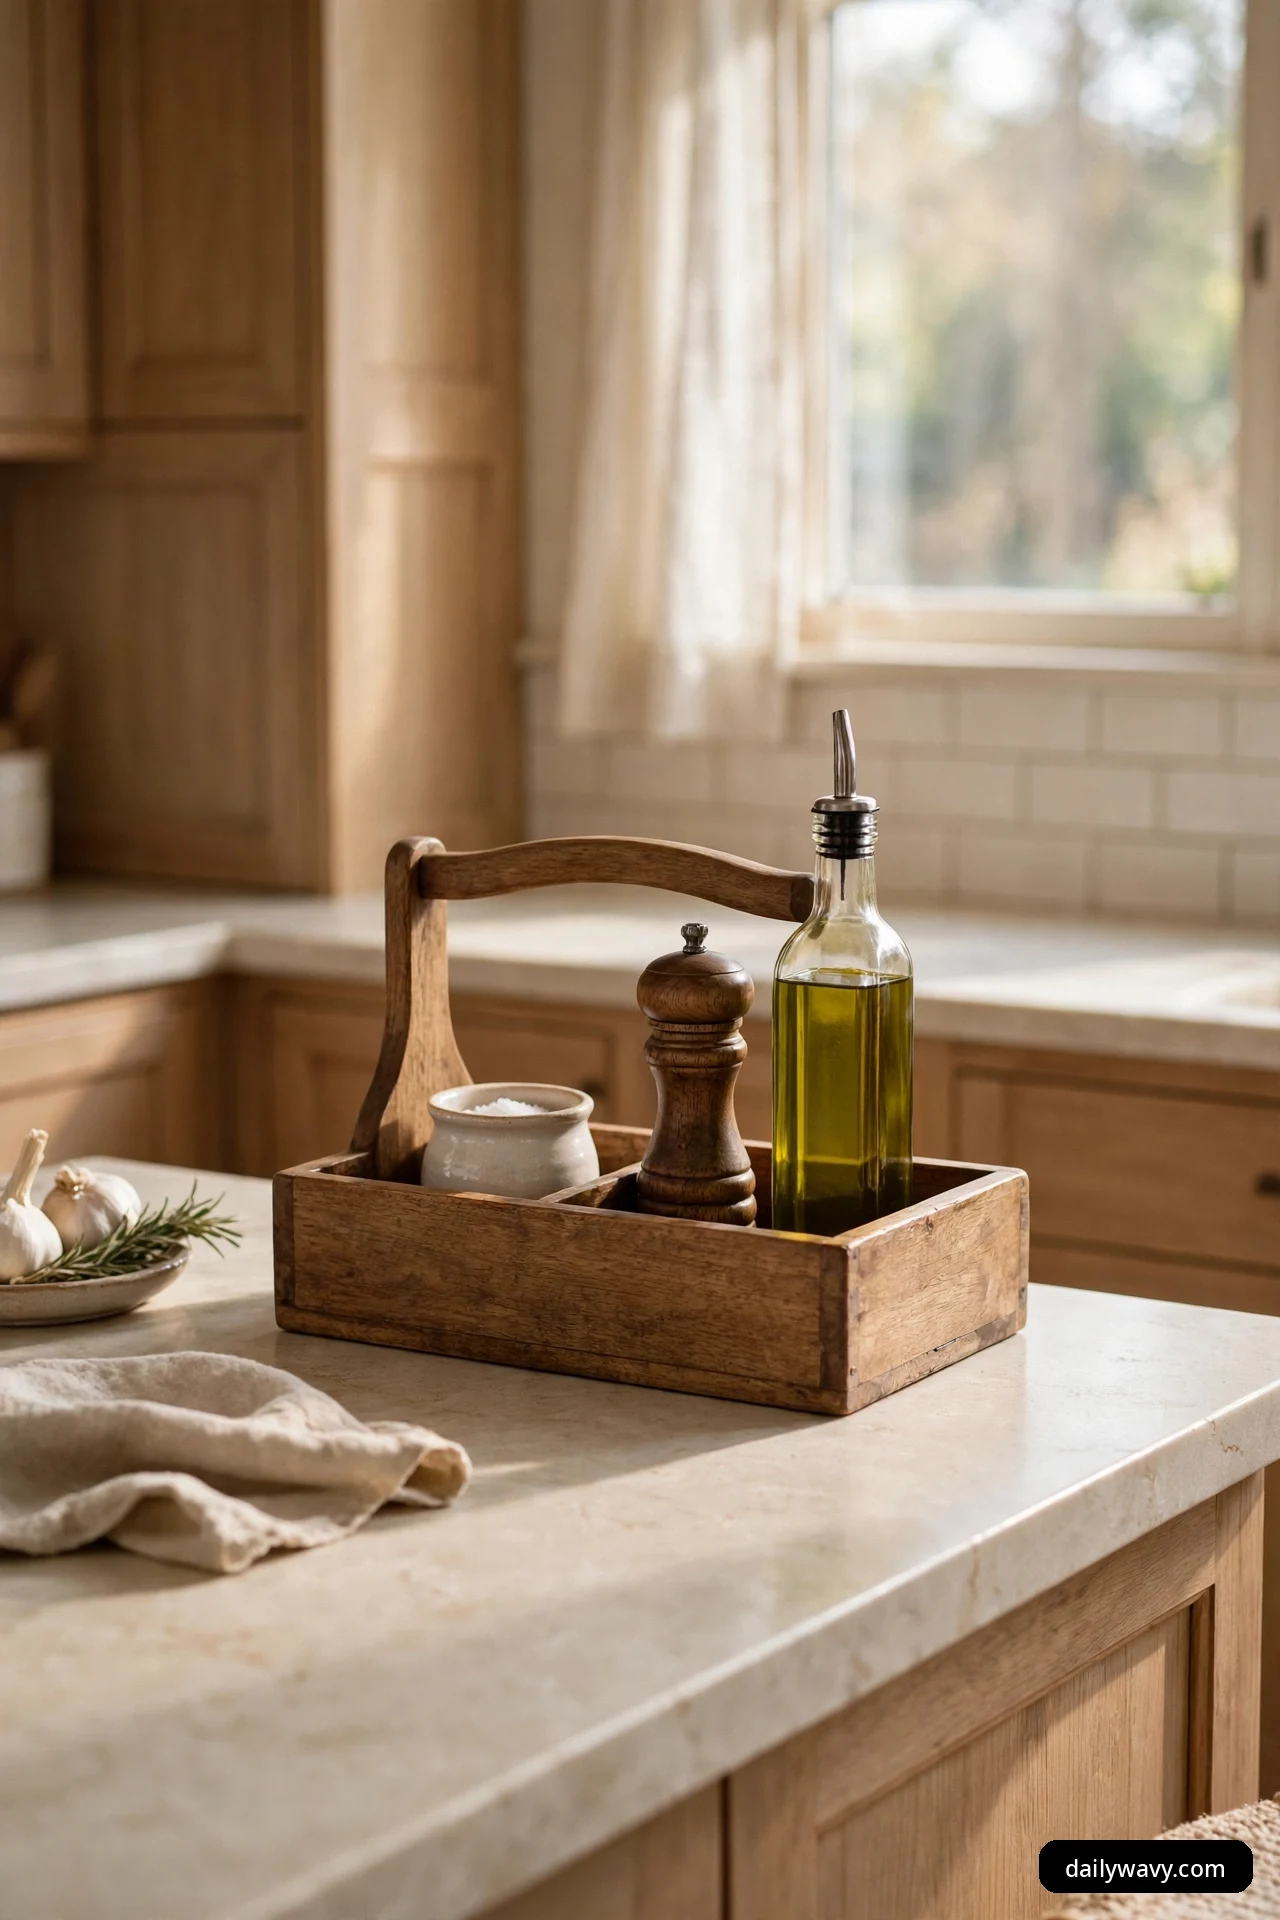
This is the idea for people who love a styled island but also roll out pasta dough. A handled caddy corrals your daily items into one liftable unit, and when a big cooking session needs the whole surface, you pick up the caddy and the island is instantly clear.
What you need: a handled caddy, roughly 12 by 8 inches, in wood, metal, or wipeable woven material. It should feel good to carry one-handed and sit flat without rocking. Inside: the salt cellar, the pepper grinder, a small olive oil bottle, and whatever else you reach for daily.
How to set it up: park the caddy at the back corner of the island during normal days, where it functions like a permanent styling cluster. When you need full surface space, lift it to the pantry shelf or the dining table, cook freely, and return it when the counters are wiped.
The habit that keeps it working: treat the caddy as a one-in, one-out system. If something new joins, something old leaves. A caddy that grows into a junk box loses its magic, so keep it curated to the true daily essentials.
Frequently asked questions
How much of my island should I leave empty?
Aim to keep at least two-thirds of the surface completely clear, and protect a 24-inch uninterrupted prep lane where you chop and plate. If an idea needs more room than your open space allows, it is the wrong idea for your island, not a sign you need a bigger island.
Can I decorate the island and still actually cook on it?
Yes, as long as the decor is clustered and the prep lane is sacred. Group styled items at one end or along the back edge, and choose pieces that lift away easily, like the tray, the caddy, or the basket. If clearing the island for a big cooking session takes more than thirty seconds, you have too much out.
What should never sit on a kitchen island?
Anything that blocks a vent, outlet, or appliance control. Keep tall items away from a cooktop or downdraft vent, never drape fabric near open flame or heating elements, and avoid unstable stacks near the seating overhang where elbows land. When in doubt, put it back in the cabinet.
How do I keep island decor from getting grimy?
Choose washable and wipeable materials, use the mat under the beverage zone, and wipe decor pieces when you wipe the counters. A weekly five-minute pass, dust the frame, rinse the produce bowl, swap the towel, keeps everything looking intentional instead of tired.
My island is small. Which of these ideas scale down?
Pick one cluster, not five. The upright board, the slim basket, or the single vase each work beautifully alone on a compact island. Skip the tiered shelf and the canister grouping until you have more surface, and keep the one-third rule even stricter on a small island.
Won't decor get knocked over by people sitting at the overhang?
Not if you respect the seating edge. Keep everything at least 12 inches back from the overhang, choose stable, weighted pieces, and mount the towel hook and utensil rail on the end panel rather than the seating side. For islands that face the living room, these narrow living room layout ideas cover furniture placement for narrow rooms.
The island you actually want to use
A decorated island should never make cooking harder. Every idea here was chosen because it either helps you cook, holds something you use daily, or lifts away in seconds when the real work begins. Start with one cluster that matches your routine, the board if you chop daily, the jar grouping if you cook from the pantry, the caddy if you need flexibility, and let the island prove the idea before you add another.
If your island has become the overflow zone for a chaotic pantry, sorting the storage behind the scenes makes the surface styling ten times easier. Our small pantry organization ideas walk through the whole system. And for more ways to make every room feel considered, browse the full home decor collection.