
10 Small Pantry Organization Ideas for Easier Everyday Access
A small pantry only works when everything in it earns its spot. When shelves are shallow and space is tight,…
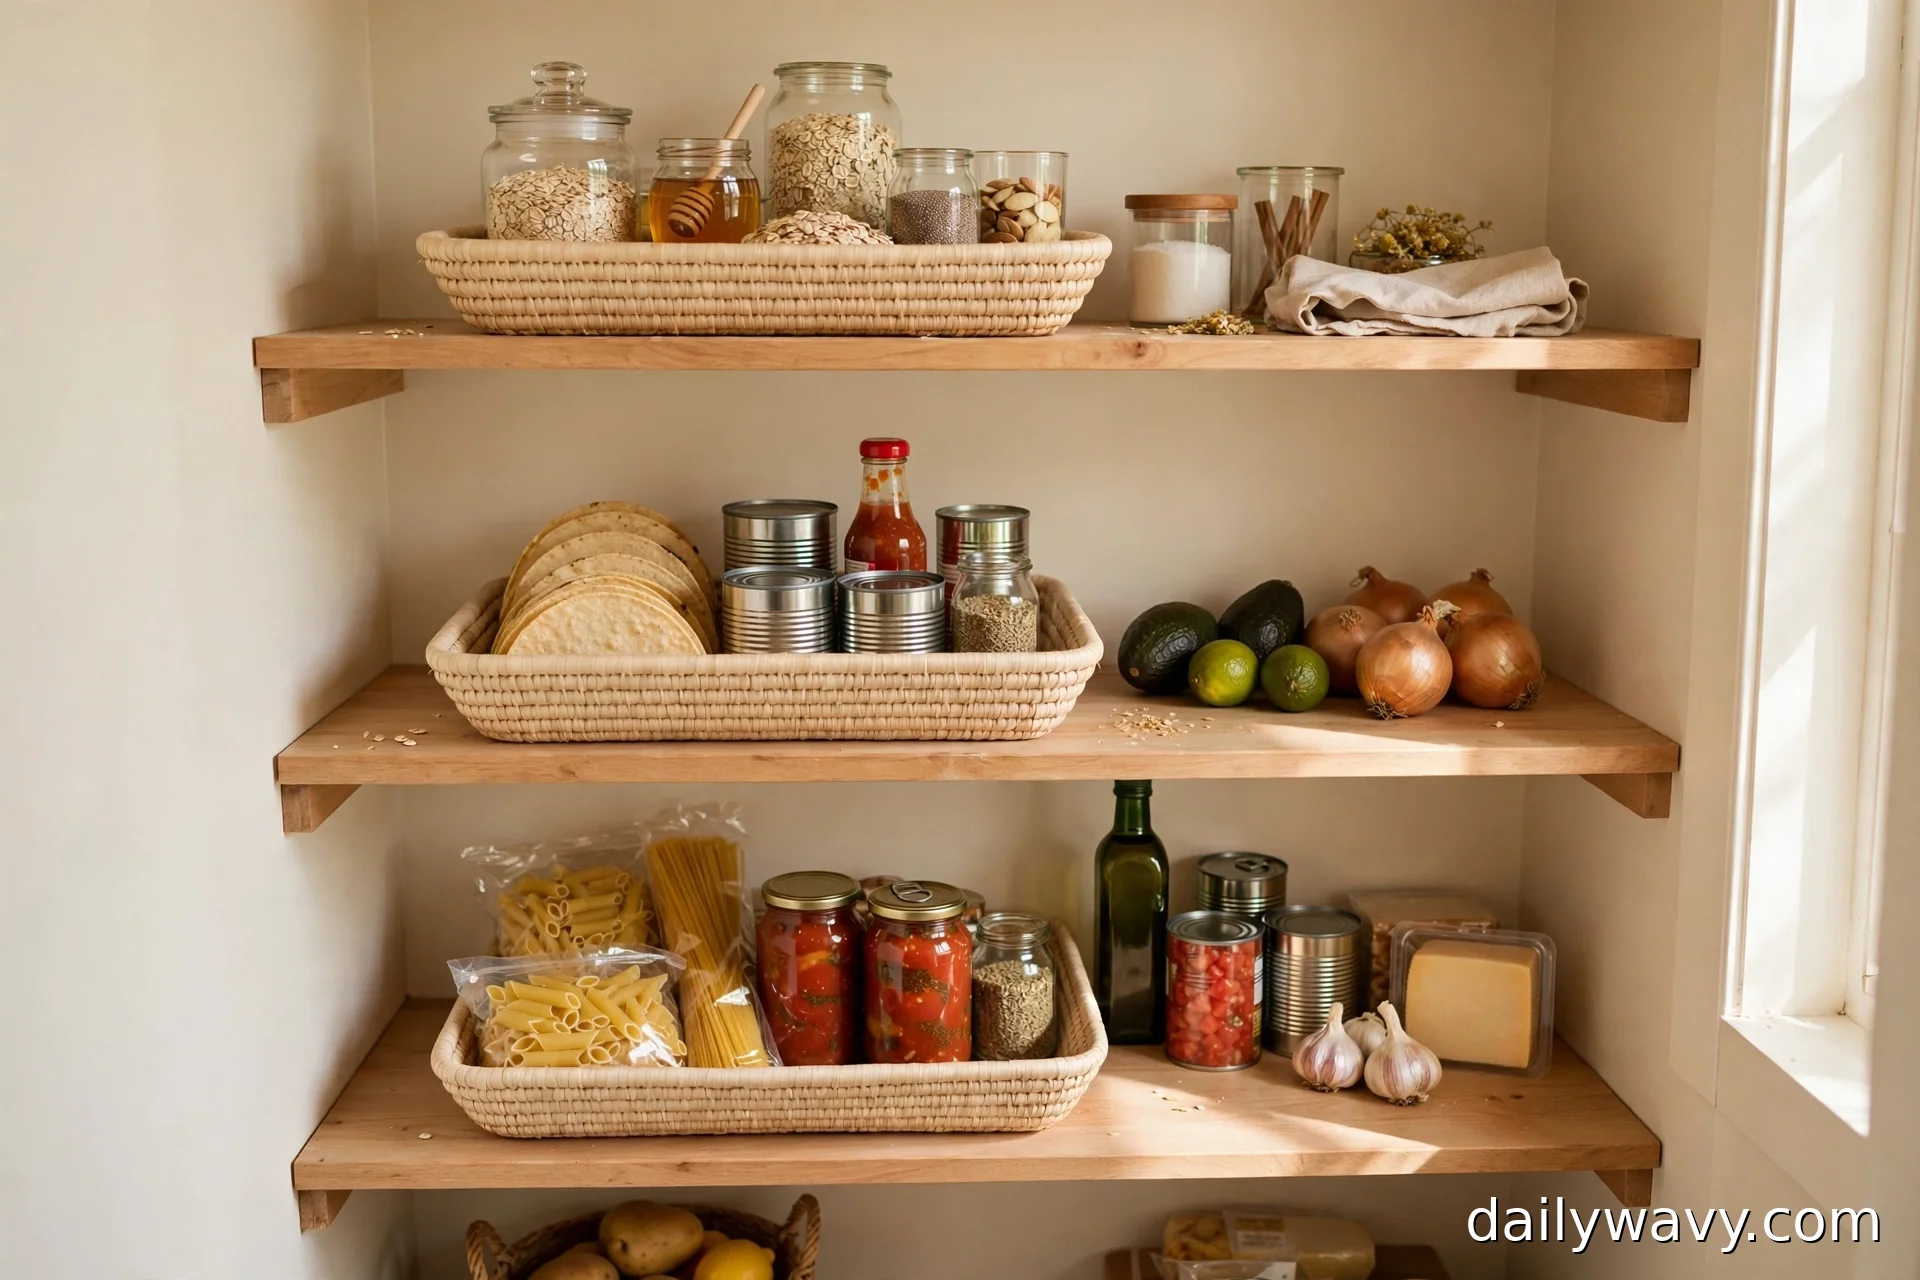
A small pantry only works when everything in it earns its spot. When shelves are shallow and space is tight, one forgotten can in the back can turn into three duplicate purchases and a lot of wasted food. The fix is not a bigger pantry. It is a system where every item is visible, reachable, and easy to put back. These ten ideas are built for real pantries with real groceries: shallow bins, risers, turntables, and a few habits that keep expiry dates in sight. Pick the two or three that fit your shelves and start there.
Jump to an idea:
- Shallow Bins Grouped By Meal Use
- A Riser Making Back Items Visible
- A Turntable Where Depth Allows
- A Narrow Labeled Basket
- Clear Airtight Containers For Suitable Dry Food
- Original Packets Grouped Upright
- A First-In-First-Out Row
- A Small Overflow Bin
- A Pull-Out Tray For Hard-To-Reach Items
- A Designated Weekly-Meal Basket
1. Shallow Bins Grouped By Meal Use
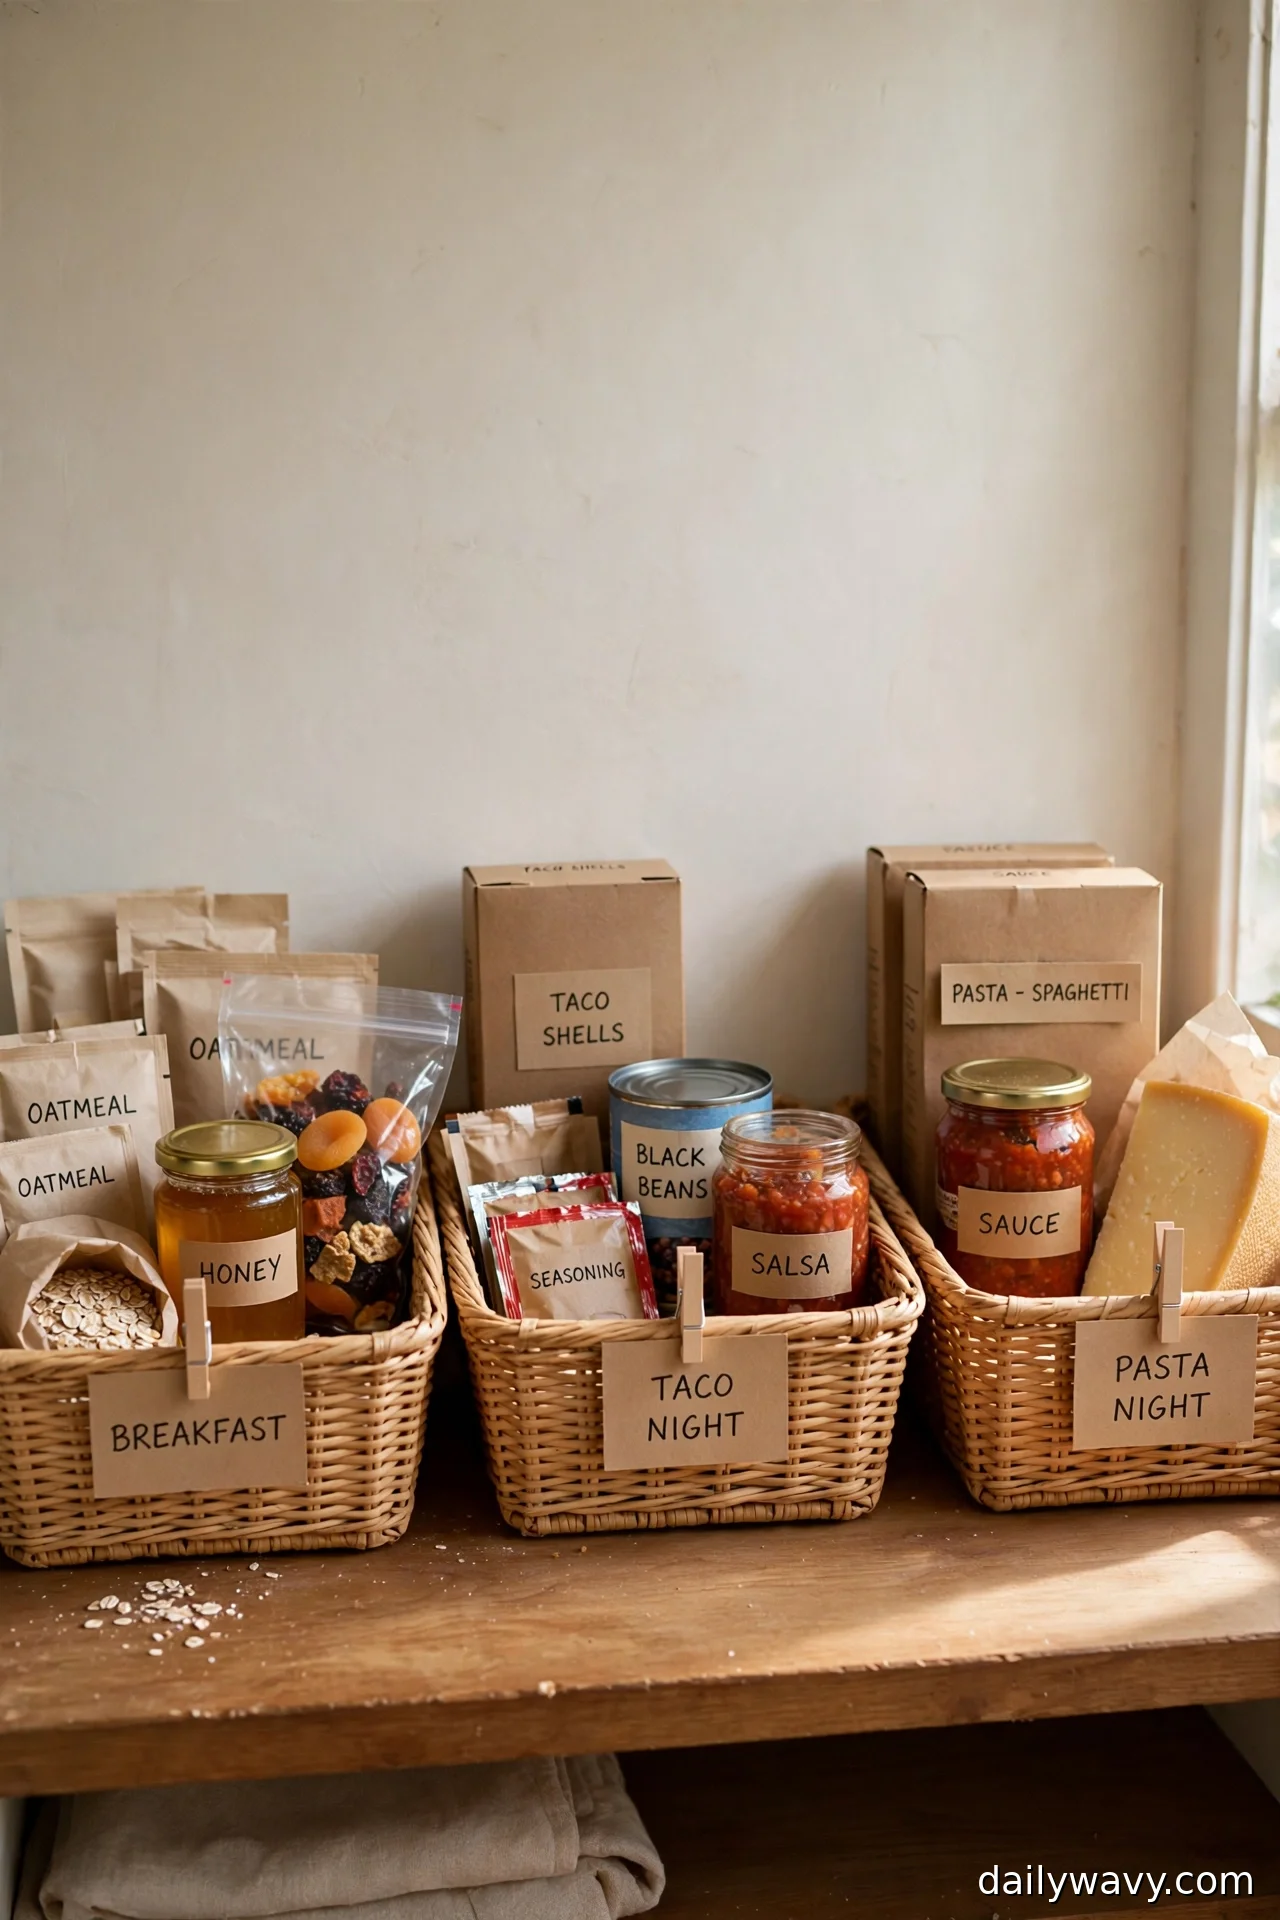
Most of us sort a pantry by food type: cans with cans, boxes with boxes. It looks tidy, but it fights the way you actually cook. You don’t reach for “a can.” You reach for taco night.
Group shallow bins by meal instead. One bin holds the taco shells, seasoning, beans, and salsa. Another holds pasta, sauce, and parmesan. Breakfast gets its own: oats, honey, dried fruit. When it’s time to cook, you pull one bin, not five items from five shelves. Putting groceries away gets faster too, because every item already has a bin waiting.
Measure first. Most reach-in pantry shelves run 12 to 16 inches deep, so pick bins a couple of inches shallower than your shelf. That gap lets your fingers hook the bin to pull it out. Six to eight inches wide is a useful size: big enough for a meal’s worth of dry goods, small enough to lift with one hand. Bins with built-in handles are worth it here.
Place the bins you touch daily at eye level. That is the shelf your hand reaches without thinking, so it should hold breakfast and the two or three dinners you cook on rotation.
A set of plastic or fabric bins costs very little, and this is a one-afternoon job: pull everything out, sort by meal, load the bins, label them. The realistic budget version is cut-down cardboard boxes. Wrap them in kraft paper if you want them to look intentional. A strip of masking tape and a marker works fine for labels.
One caution: keep the original packaging inside the bin with allergen information facing out. The bin organizes; the label protects.
2. A Riser Making Back Items Visible
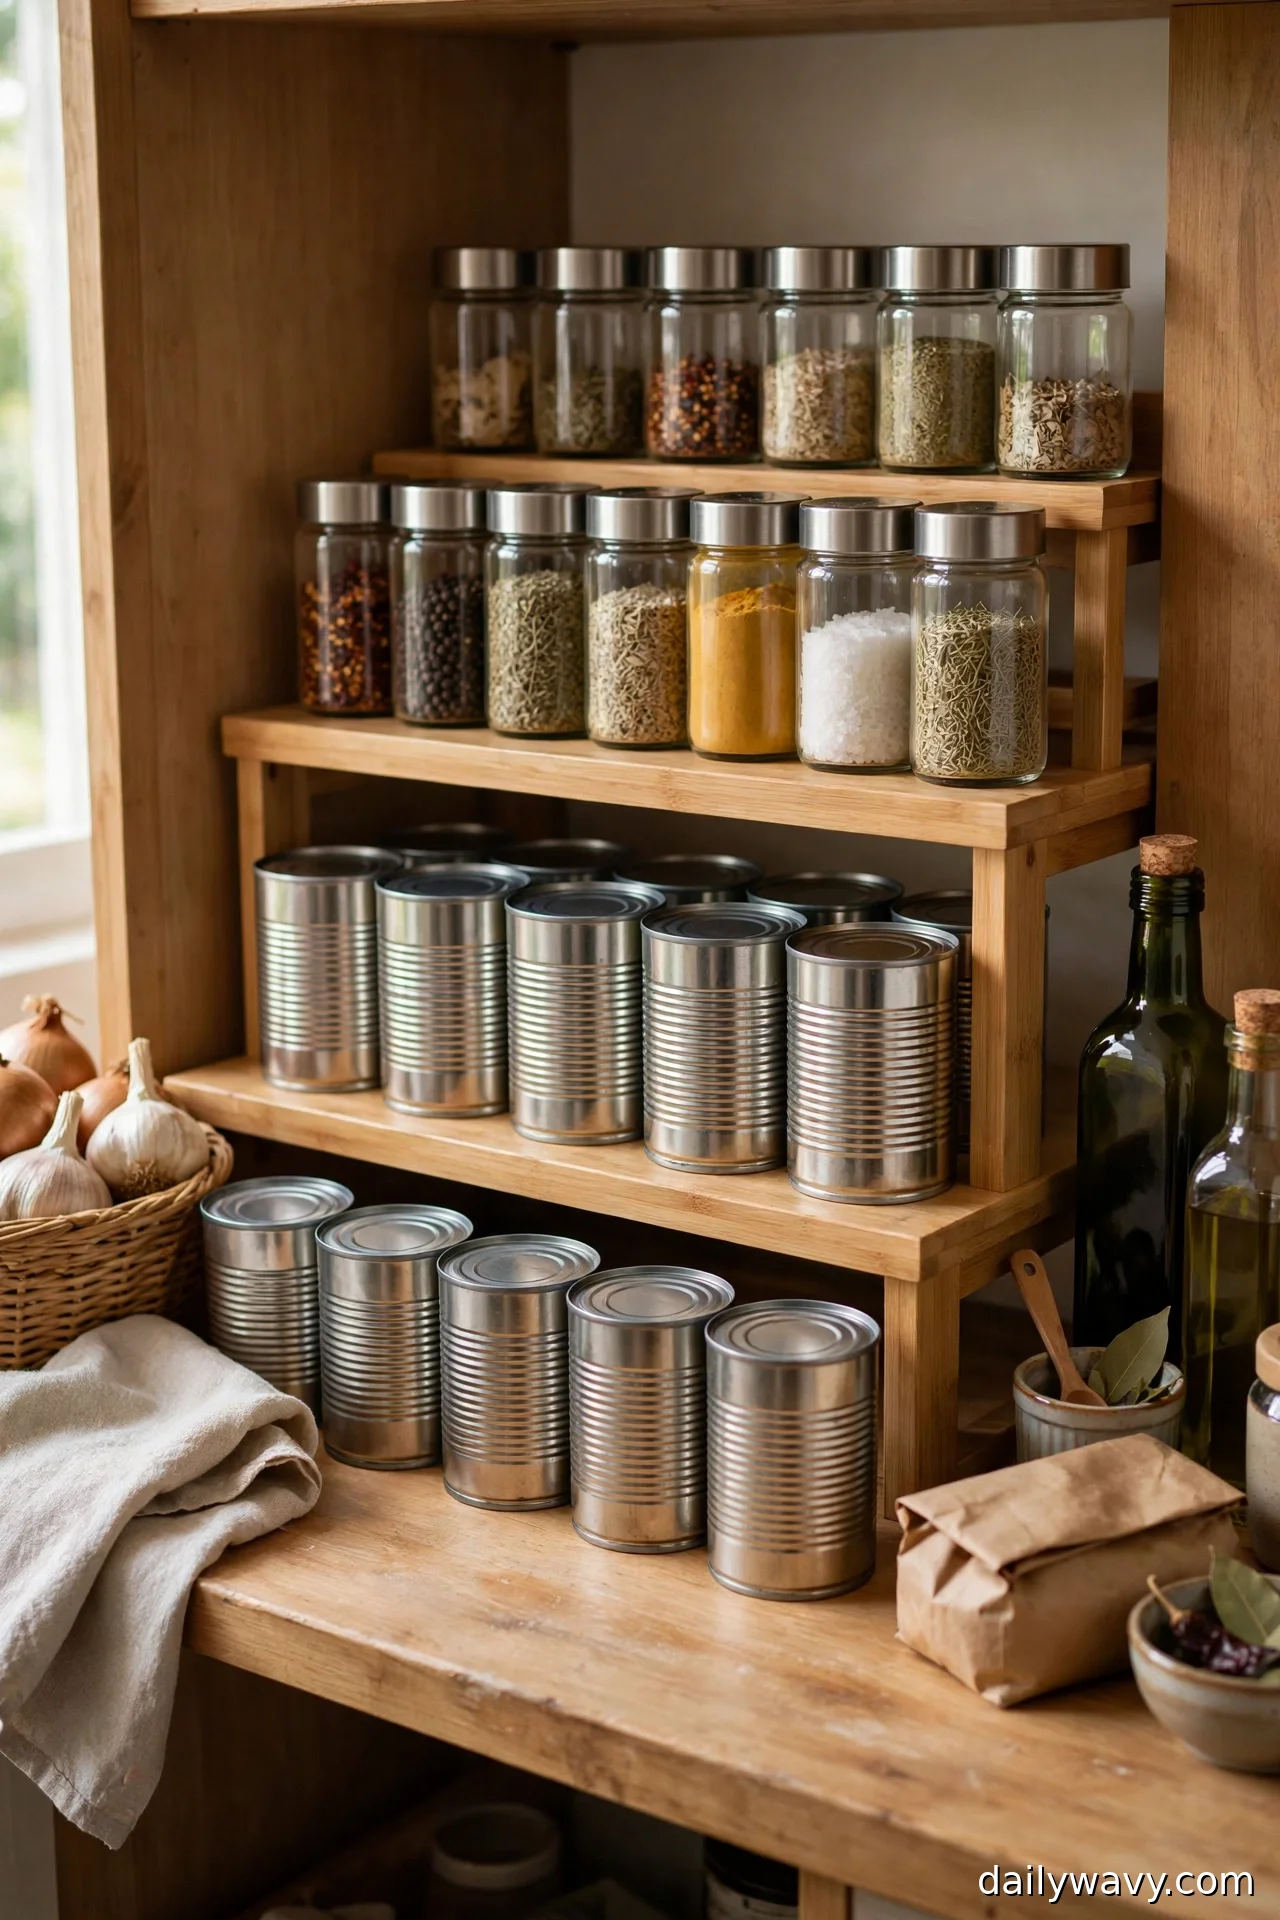
The back half of a deep shelf is where food goes to expire quietly. A riser fixes that with simple physics: it lifts the back row three to four inches above the front row, so you can see every can and jar without moving anything.
This is the highest-impact, lowest-effort idea on this list. Measure the distance between your shelves first, because the riser plus your tallest jar has to fit. Most canned goods need about five inches of clearance on the riser tier, so check before you buy. A two-tier bamboo or metal riser slides onto the back half of the shelf in seconds.
Put cans, small jars, and spice containers on it. Keep anything heavy on the shelf itself, not on the riser. The day you install it, pull everything forward and check expiry dates. You will probably find at least one thing to toss, and that is the whole point: from now on, the back row is visible, so nothing hides long enough to expire.
Cost is modest for a basic riser, and the free version works fine: a sturdy small box or a short wooden crate turned on its side. Just make sure whatever you use sits flat and doesn’t wobble when you grab a can.
3. A Turntable Where Depth Allows
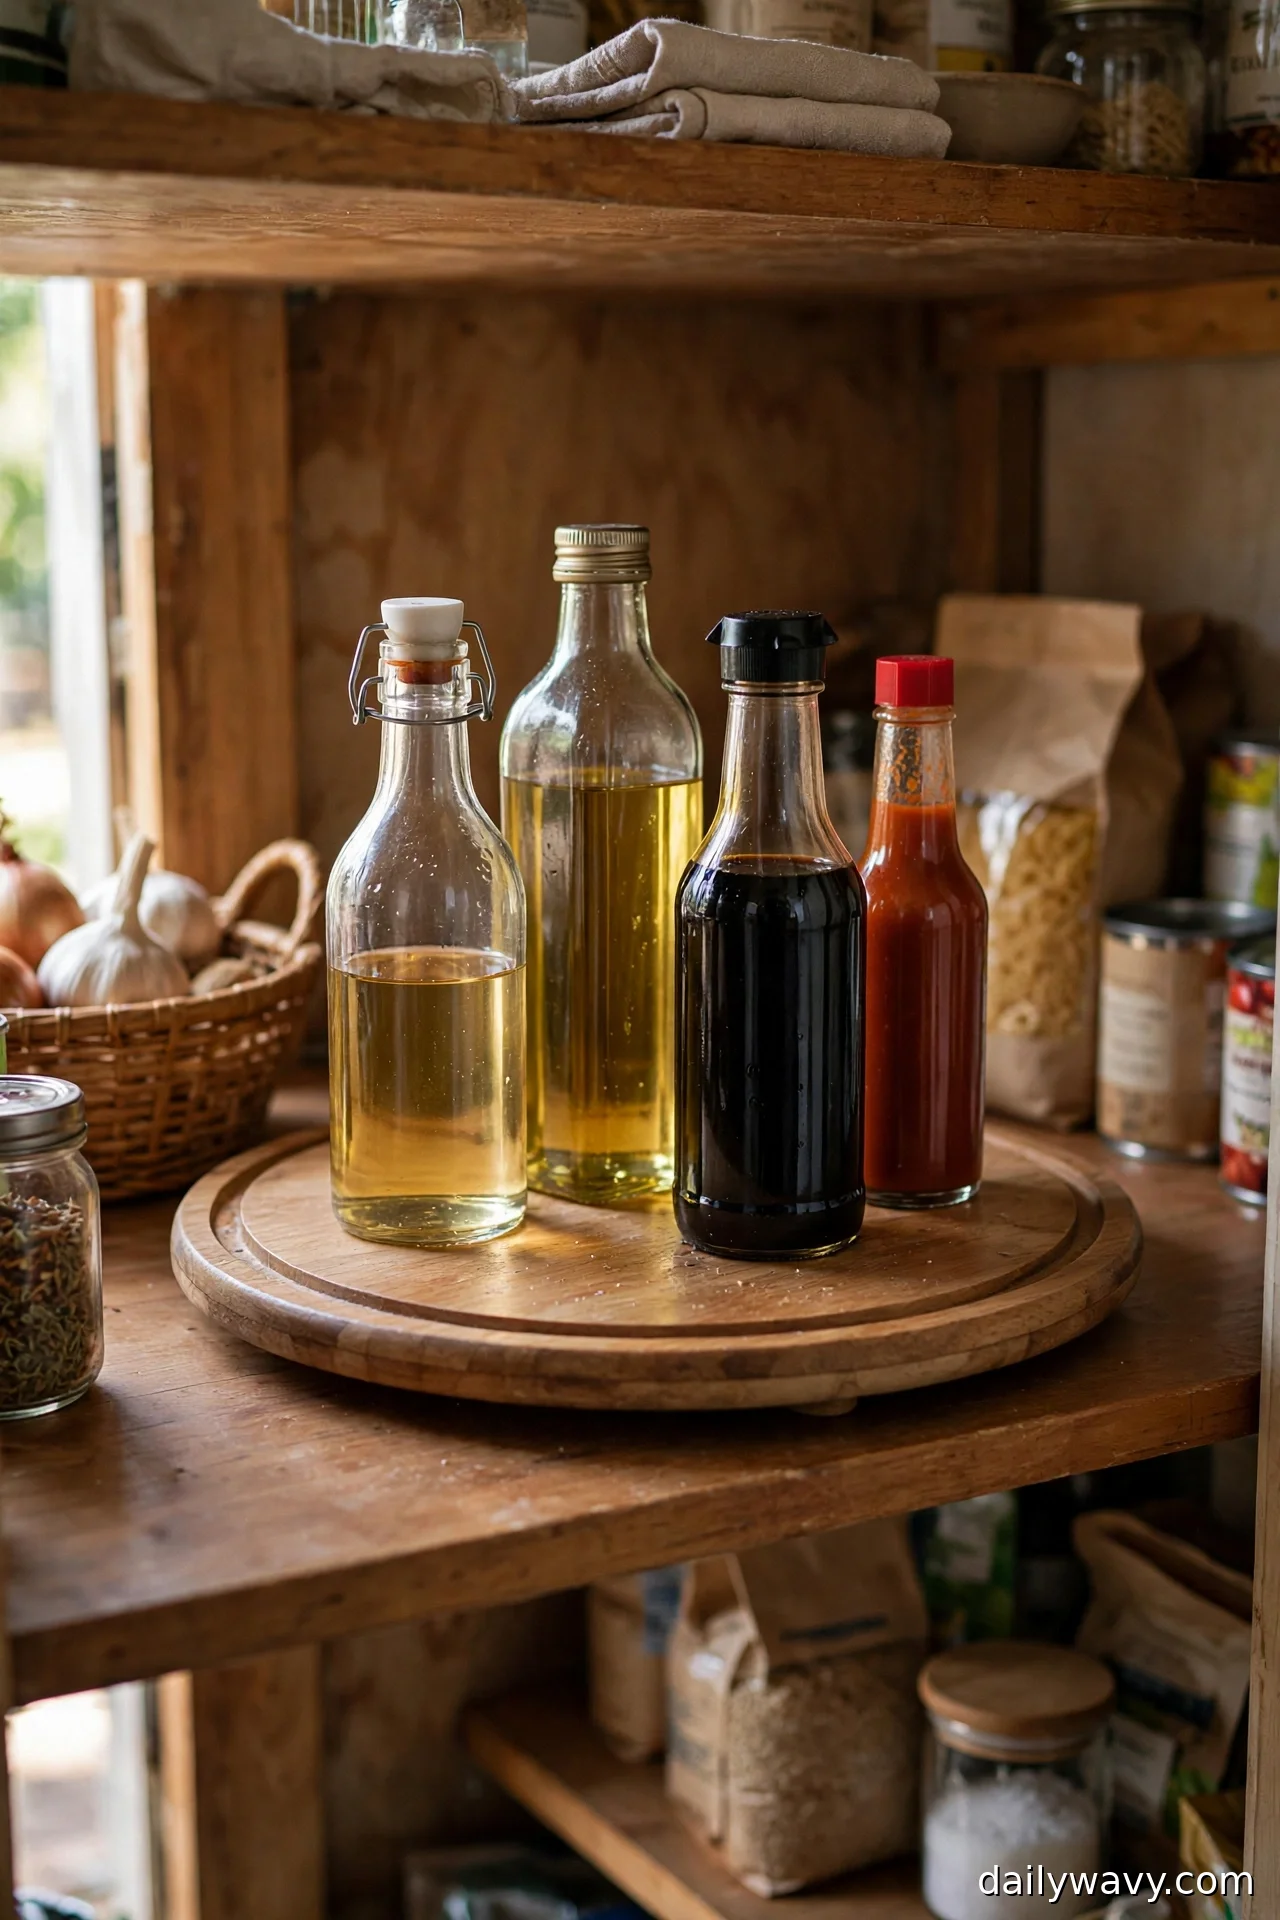
Oils, vinegars, soy sauce, hot sauce. They live on the same shelf, they migrate to the back, and retrieving one means knocking over three others. A turntable ends that. You spin, you grab, done.
Depth decides whether this works. Measure your shelf: the turntable needs about two inches of clearance around it to spin freely. A 10-inch turntable, the most common size, fits shelves 12 inches deep and up. If your shelf is shallower than that, skip this idea and use a narrow basket instead.
Place it where the bottles already gather, usually a middle or lower shelf. Corral the whole cooking-oil-and-sauce family on it and nothing else. The boundary matters: a turntable with random items on it is just a spinning pile of clutter.
Installation takes about five minutes, which is mostly wiping the shelf. The budget alternative is a shallow tray you can slide out, which gives you most of the benefit. And if depth is the defining feature of your whole pantry rather than one shelf, the home organization ideas on DailyWavy build on the same principles for shelves you can barely reach into.
4. A Narrow Labeled Basket
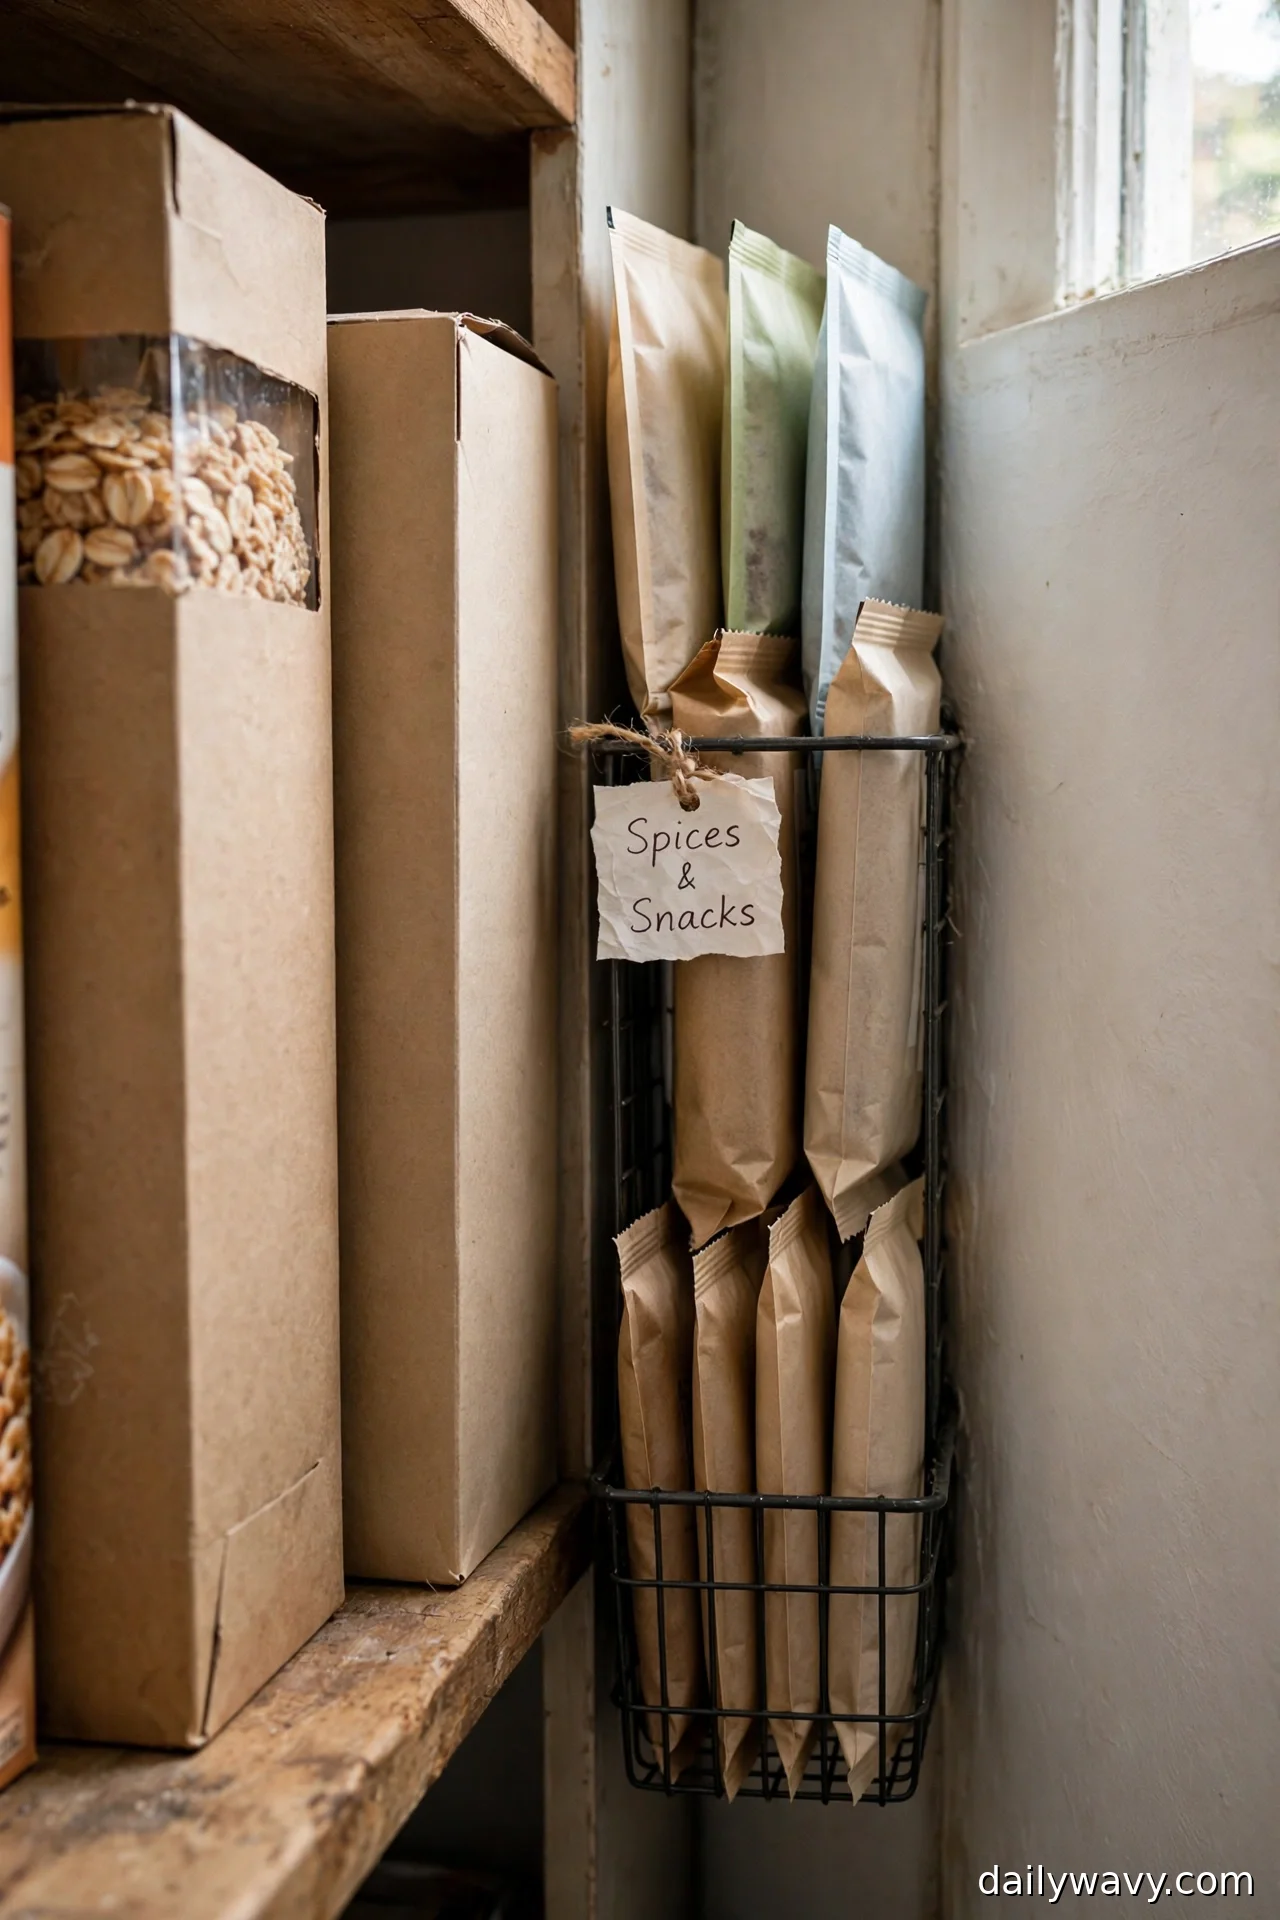
Every pantry has dead zones: the four-inch gap between the cereal boxes and the wall, the sliver beside the shelf bracket. A narrow basket turns that wasted strip into storage for the small things that otherwise scatter: seasoning packets, snack bars, tea bags, sauce sachets.
Measure the gap exactly and buy a basket about an inch narrower, so it slides in and out without scraping. Wire baskets work well here because you can see what’s inside from the side. Woven ones look warmer but hide contents, so only use them for things you grab daily and know by position.
Label the basket, not each packet. A chalk label or a strip of tape reading “snacks” or “seasonings” is enough. Keep the original packets inside with their labels, especially allergen information, facing outward. The whole point of keeping packets in original packaging is that the safety info stays with the food.
This is a twenty-minute project. The free version is a tall, narrow cardboard box; a cereal box with the top cut at an angle works surprisingly well. Replace it when it gets soft.
5. Clear Airtight Containers For Suitable Dry Food
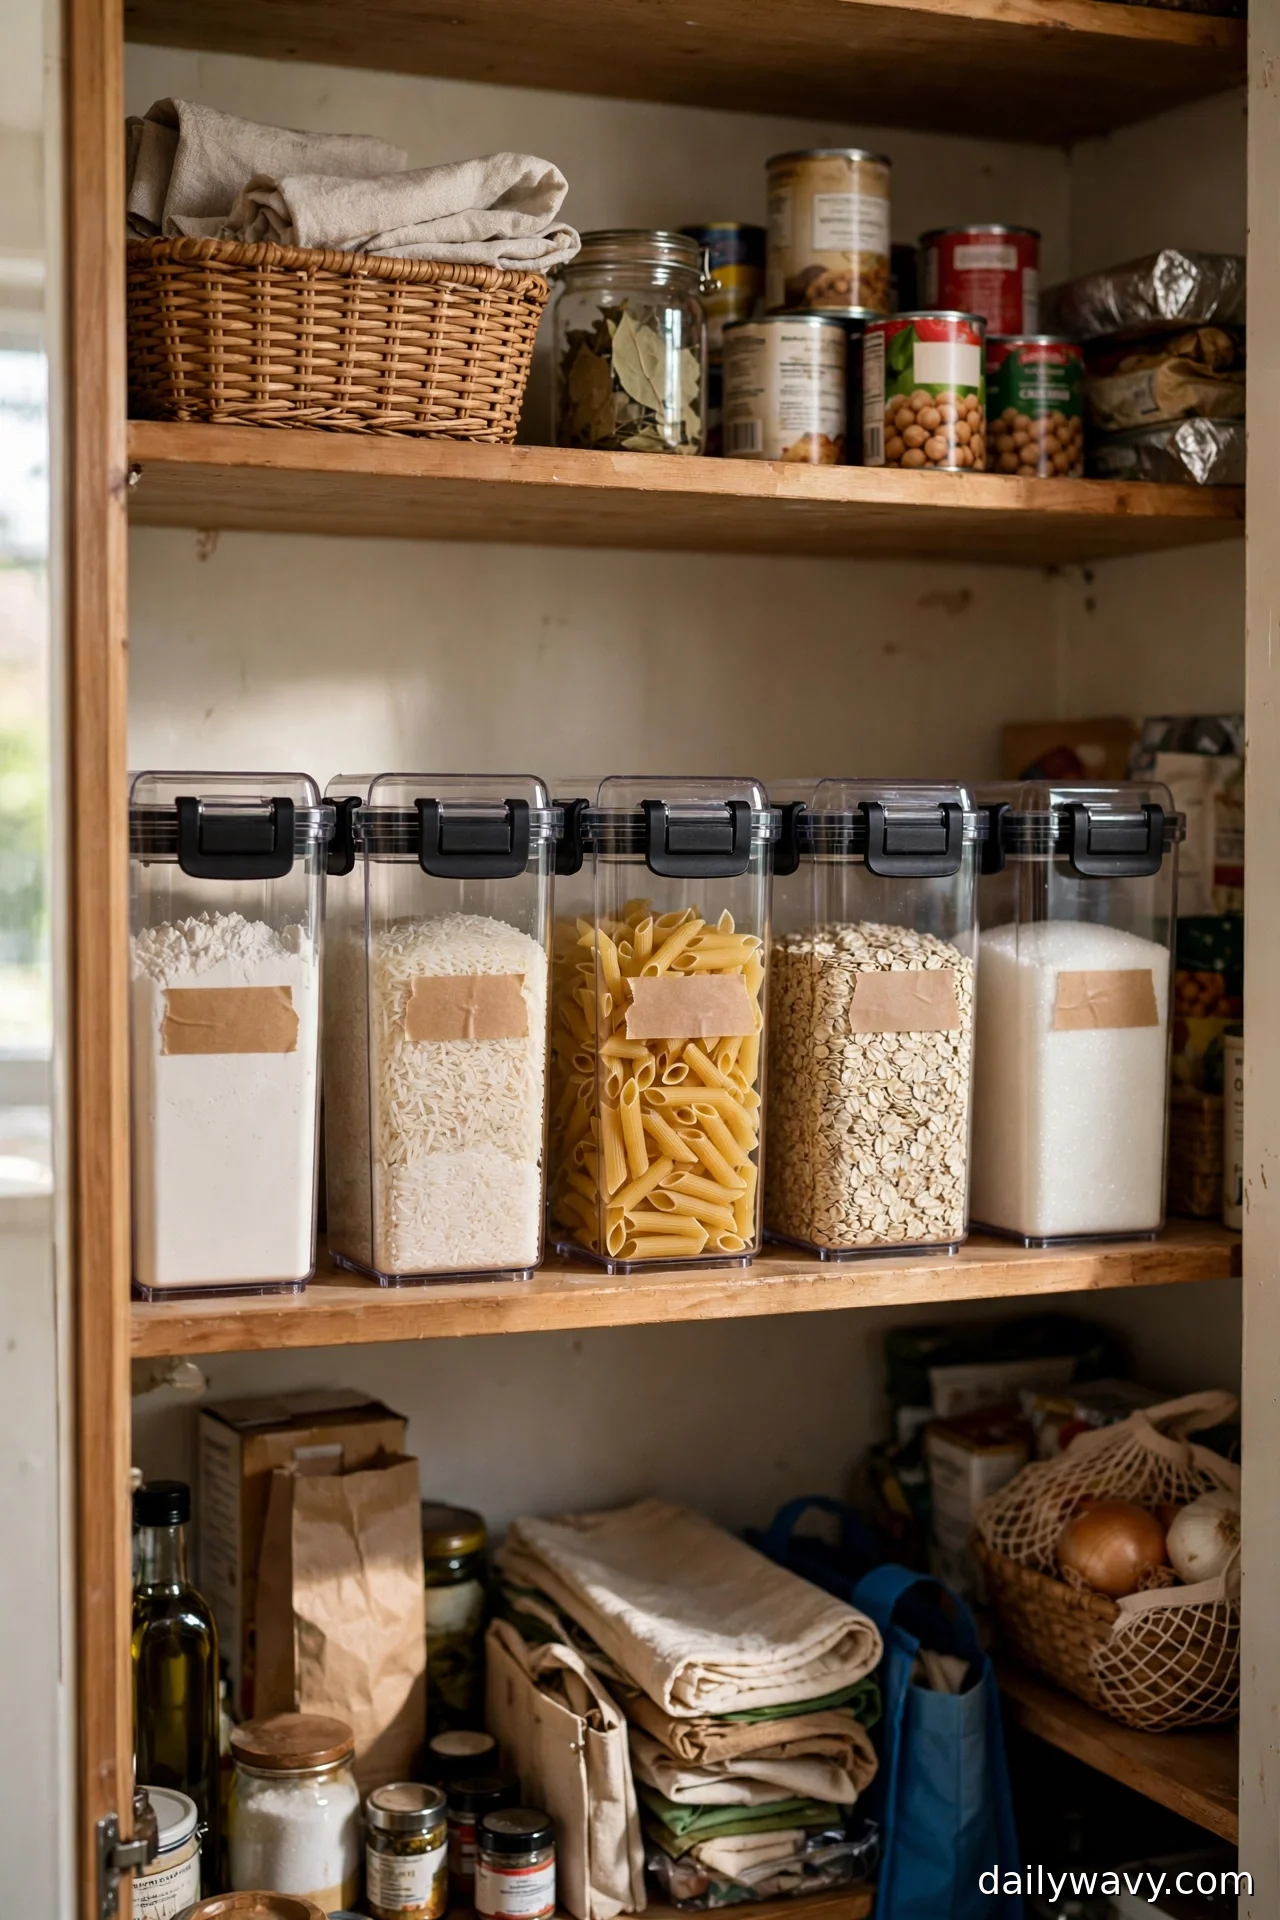
Decanting everything is a trap. Decanting the right things is a genuine upgrade. Flour, rice, pasta, oats, sugar, lentils: dry goods you buy repeatedly and use steadily. In clear airtight containers, you see levels at a glance, the food stays fresher, and half-open bags stop avalanching off the shelf.
The keyword is suitable. Don’t decant specialty flours you use twice a year, baking powder, or anything with detailed preparation instructions on the box. And never throw away the original label information. Cut out the panel with ingredients, allergen warnings, and the expiry date, and tape it to the container. For flour and similar staples, write the purchase date on the tape. This keeps you honest about freshness and keeps allergen info where you can find it.
Measure the vertical space between shelves before buying containers. Tall containers look satisfying but won’t fit under a low shelf. Square containers use shelf space better than round ones.
A basic set of containers is reasonably priced, but the free version is already in your kitchen: large glass jars from pasta sauce or pickles, washed well and dried completely. They seal well enough for dry goods and cost nothing.
6. Original Packets Grouped Upright
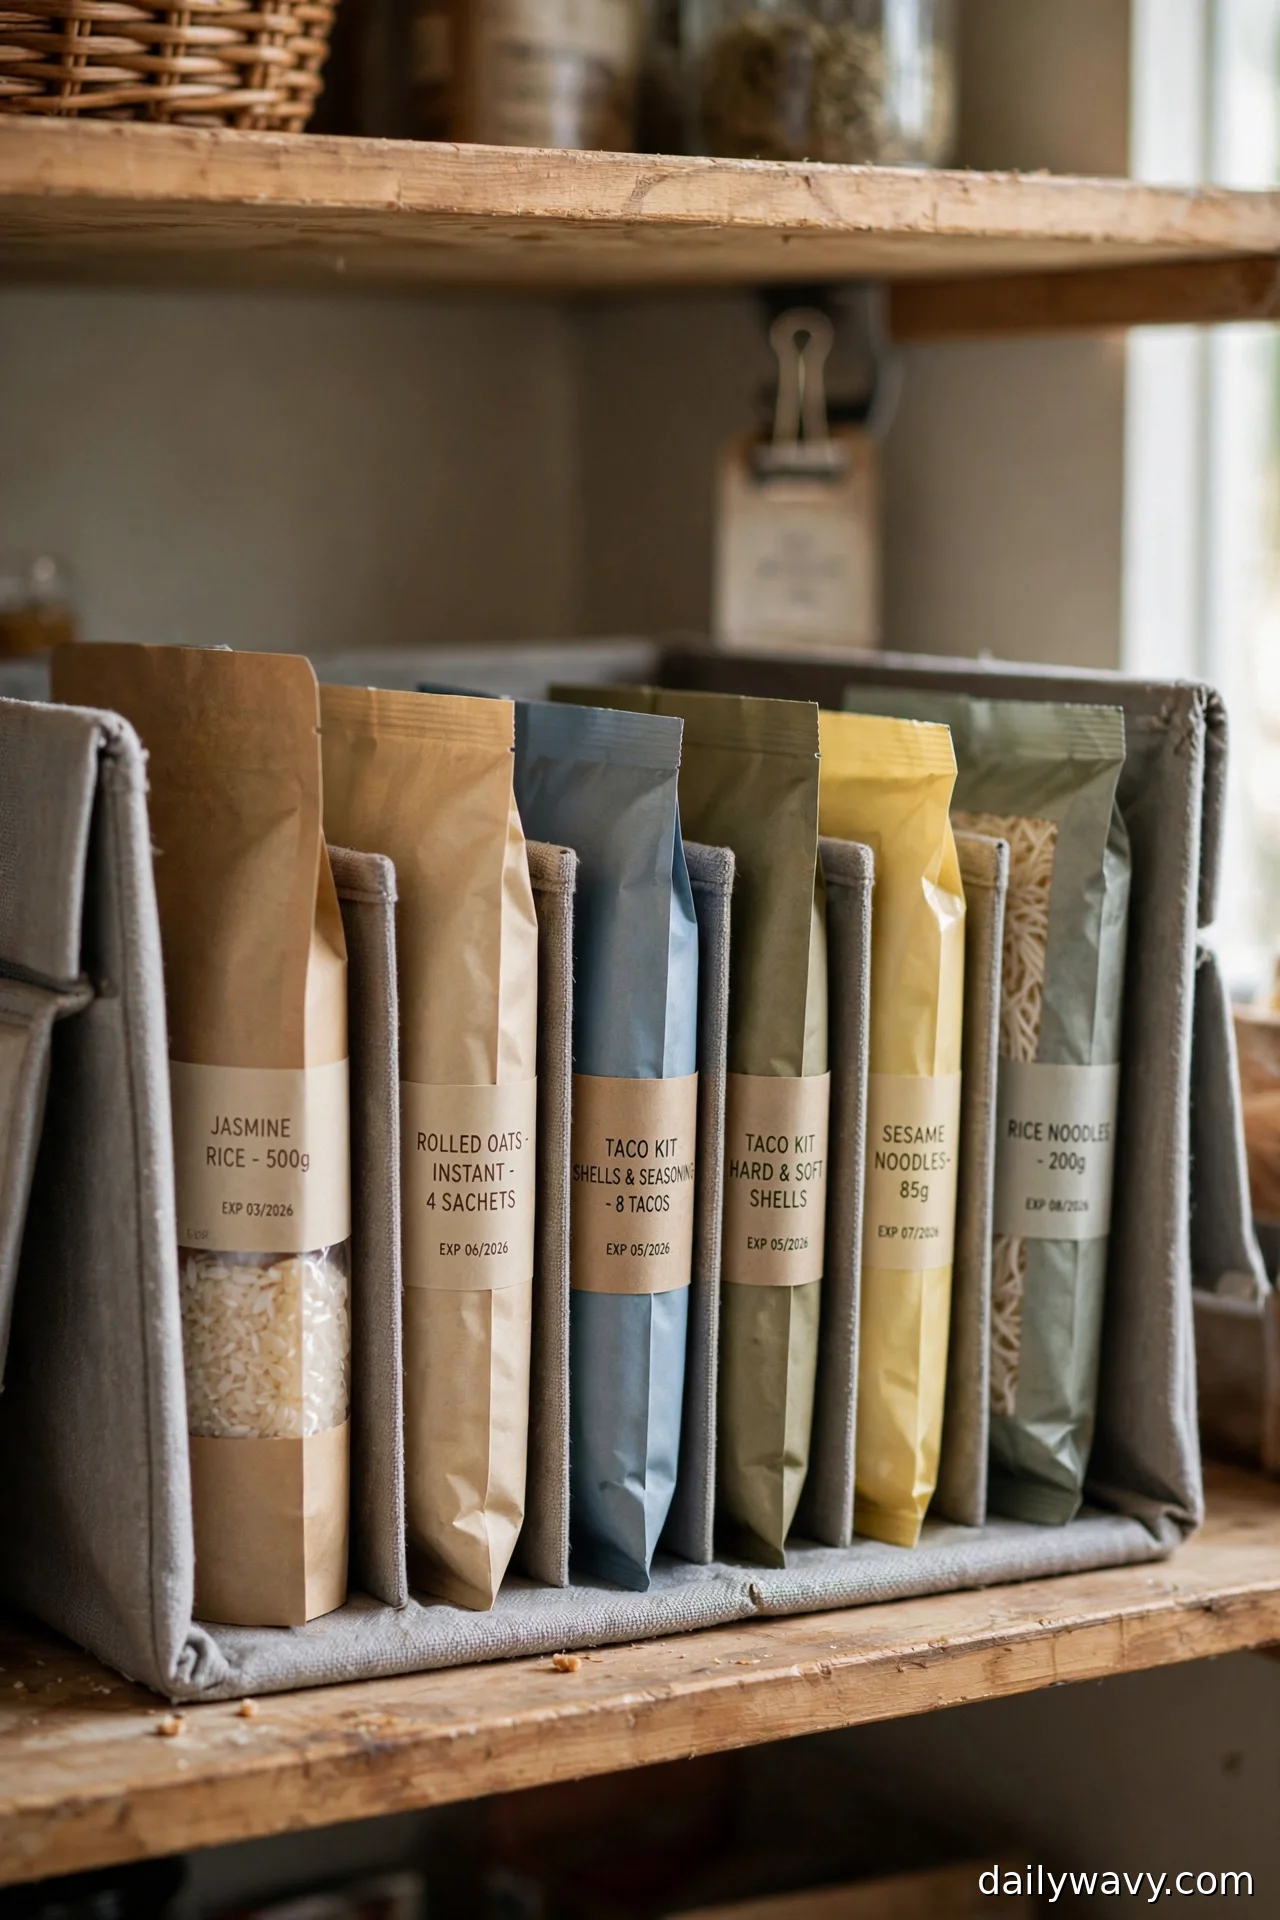
Here is the counterpoint to decanting: for most packaged food, the original packet is the best container it will ever have. It carries the expiry date, the allergen statement, the cooking instructions, and a seal designed for that exact product. Filing packets upright, like books on a shelf, keeps all of that intact and readable.
Use an open bin or a magazine file as the “bookshelf.” Stand the packets up with the front labels facing you. Group them loosely: breakfast things together, dinner things together, snacks together. When you need something, you flip through like a filing cabinet instead of digging through a horizontal pile.
This works best for flat packets: rice pouches, taco kits, oatmeal sachets, spice refills, noodles. Measure your bin against the tallest packet so nothing flops over the edge.
There is almost no cost here. A magazine file from the office aisle works, and a cut-down cereal box does the same job for free. The habit to build: when you unload groceries, face the expiry dates forward. It takes two extra seconds and it is the single easiest freshness system there is.
7. A First-In-First-Out Row
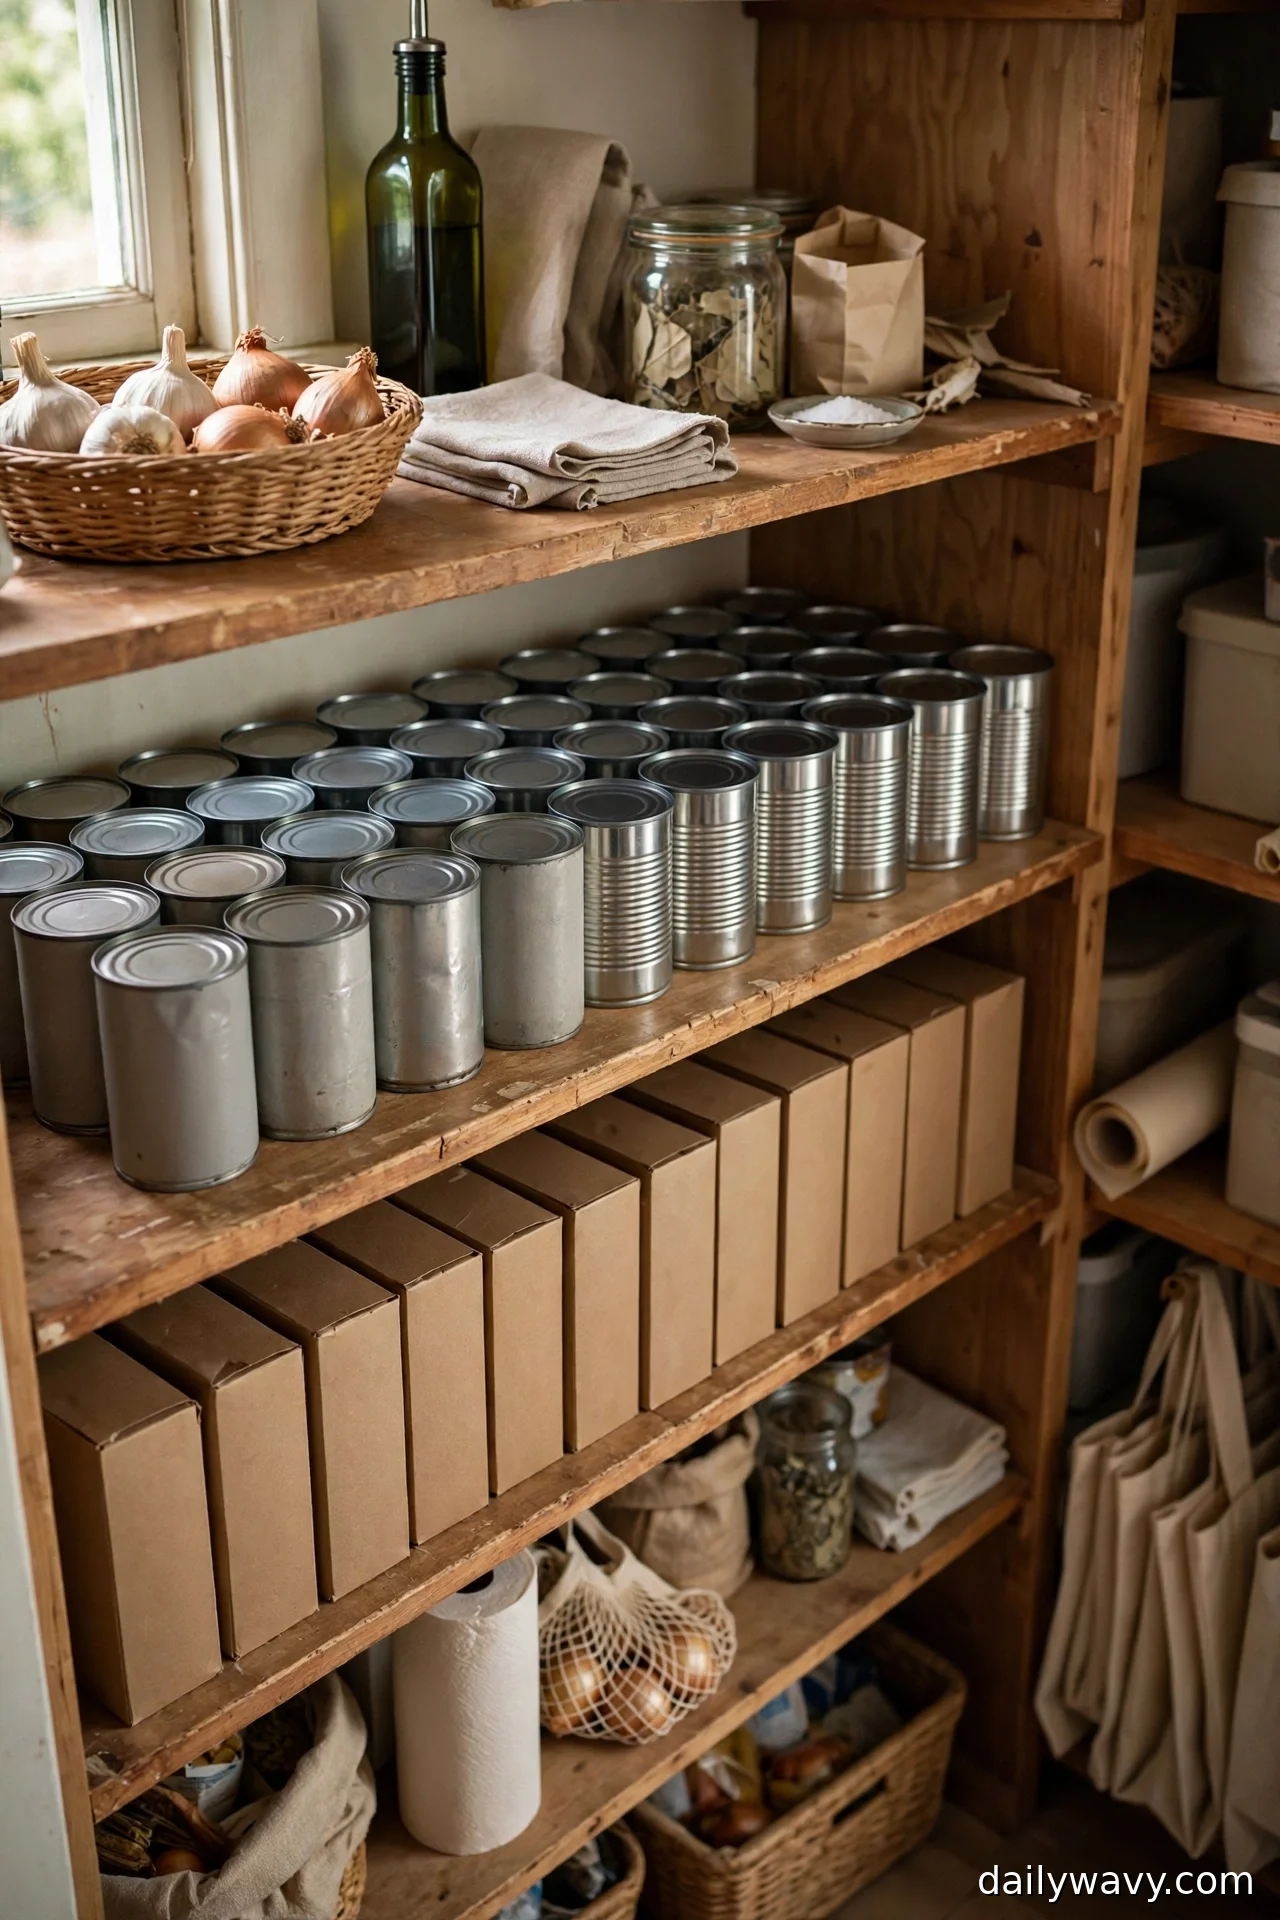
Grocery stores run on one rule: the oldest stock sells first. Steal it. When you bring home new cans or boxes, put them behind the ones already on the shelf. The oldest item is always the one you grab next. Nothing ages quietly in the back anymore.
You don’t need to buy anything for this. Dedicate one row per category: one row for canned tomatoes and beans, one for pasta and grains, one for broth and sauces. The row is the system. When you restock, take ten seconds to move the old items forward and slide the new ones behind.
It works because it removes decisions. You never have to remember which can is older or squint at date codes on a crowded shelf. The position tells you.
Pair it with a quick monthly check. Once a month, spend five minutes scanning the front of each row for anything within a month or two of its date, and plan a meal around it. That is the entire maintenance routine, and it genuinely cuts the number of expired things you throw away.
8. A Small Overflow Bin
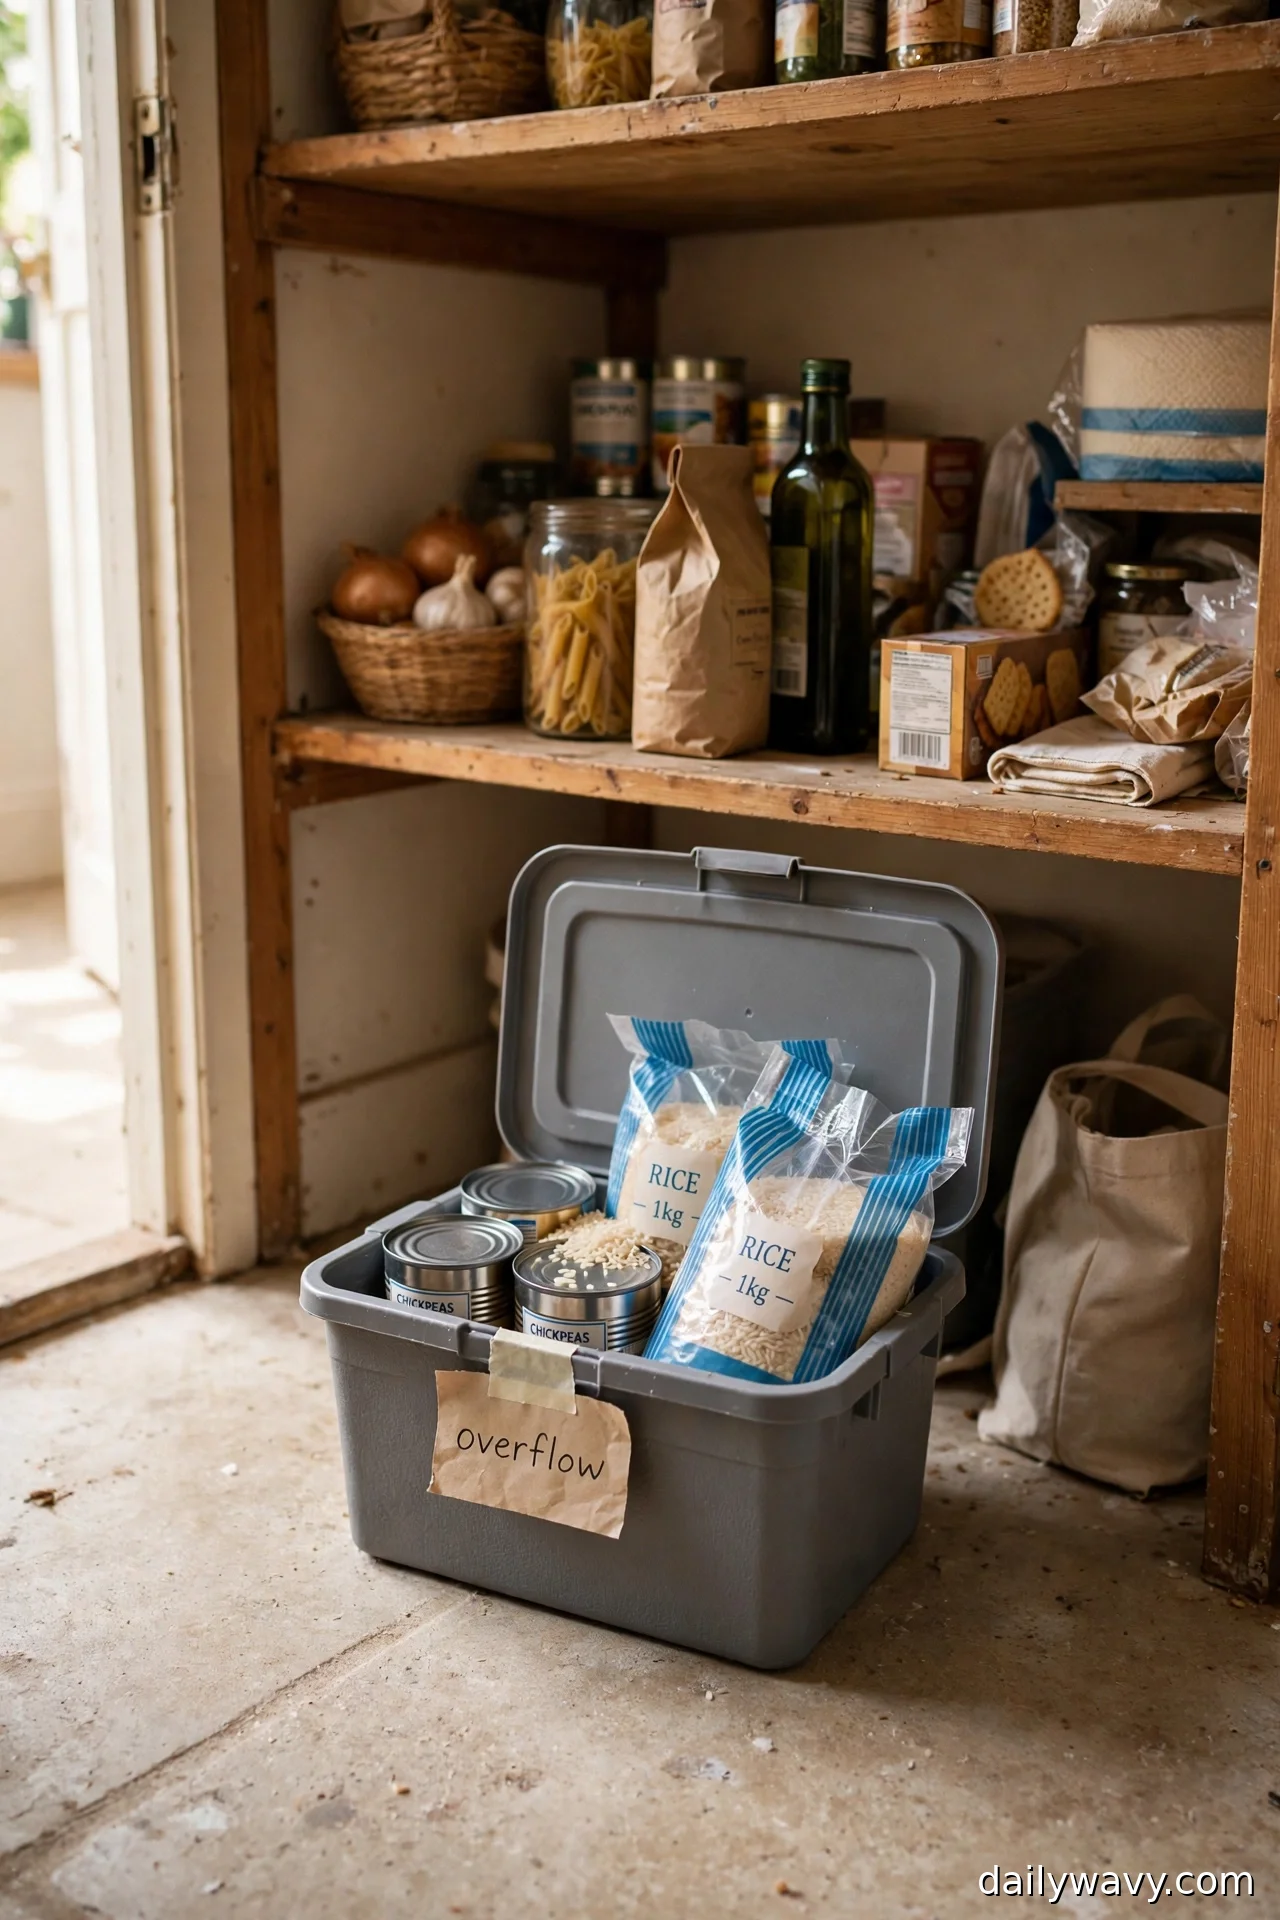
Every small pantry has the same enemy: the second jar of pasta sauce with nowhere to live. It sits on the counter, then migrates to the top of the fridge, then you buy a third because you forgot about the first two. A small overflow bin ends the cycle.
Pick one lidded bin and give it a home outside the daily shelves: the pantry floor, the top shelf, or a nearby closet. Everything that doesn’t fit the main system goes here: duplicate cans, bulk buys, the extra bag of rice. The rule that makes it work: the main shelves get refilled from the overflow bin, and you don’t buy more of something until the overflow is empty.
Size it honestly. If the bin is huge, it becomes a second pantry and the system collapses. A bin that holds a week’s worth of extras is about right for most households. Label it “overflow” so everyone in the house knows the rule.
A lidded plastic bin is inexpensive; any sturdy box with a lid does the same job. Set it up in twenty minutes, mostly spent gathering the strays from around the kitchen.
9. A Pull-Out Tray For Hard-To-Reach Items
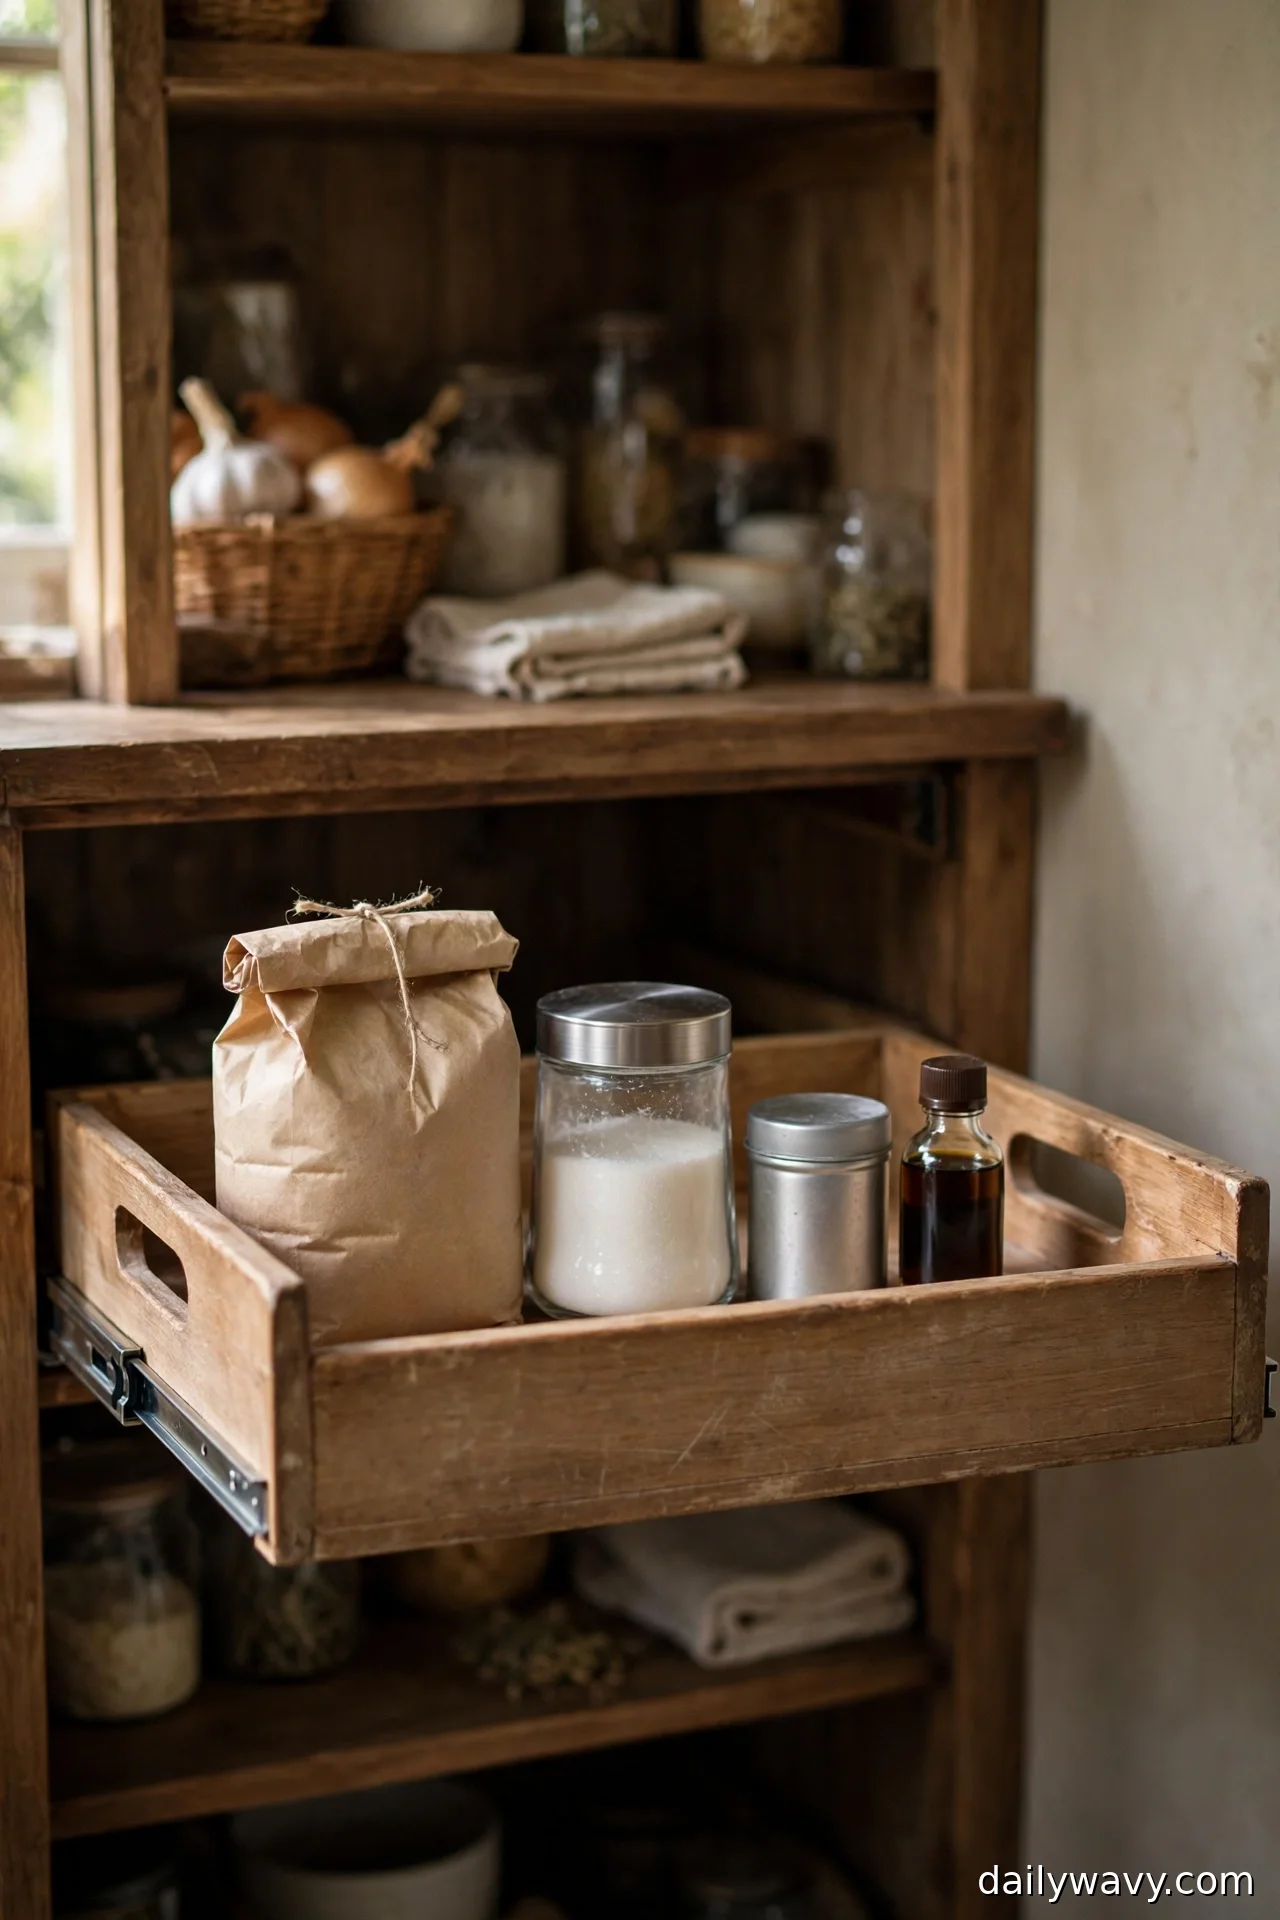
Deep shelves and high shelves share a problem: the back is a rumor. A shallow pull-out tray turns the shelf into a drawer. You pull, the whole contents come to you, you push it back. No more kneeling with a flashlight.
Measure the shelf’s depth and width, then choose a tray one to two inches smaller on every side so it glides without catching. Low sides matter: high sides hide the contents and defeat the purpose. Trays with cutout handles are easiest to grab. Wire slide-out baskets made for cabinets work the same way and ventilate better.
This is the right fix for the shelf above the fridge-adjacent zone, the deep bottom shelf, or anywhere you currently avoid storing things because retrieval is annoying. Load it with a single category so the tray stays coherent: baking supplies, canned goods, or lunch-packing items.
A basic tray costs little, and the honest budget version is a rimmed baking sheet you already own. It slides fine on a smooth shelf and the rim keeps jars from wandering. If the hard-to-reach spot in your kitchen is a corner rather than a straight deep shelf, corners need their own approach: see the storage ideas in Home & Decor.
10. A Designated Weekly-Meal Basket
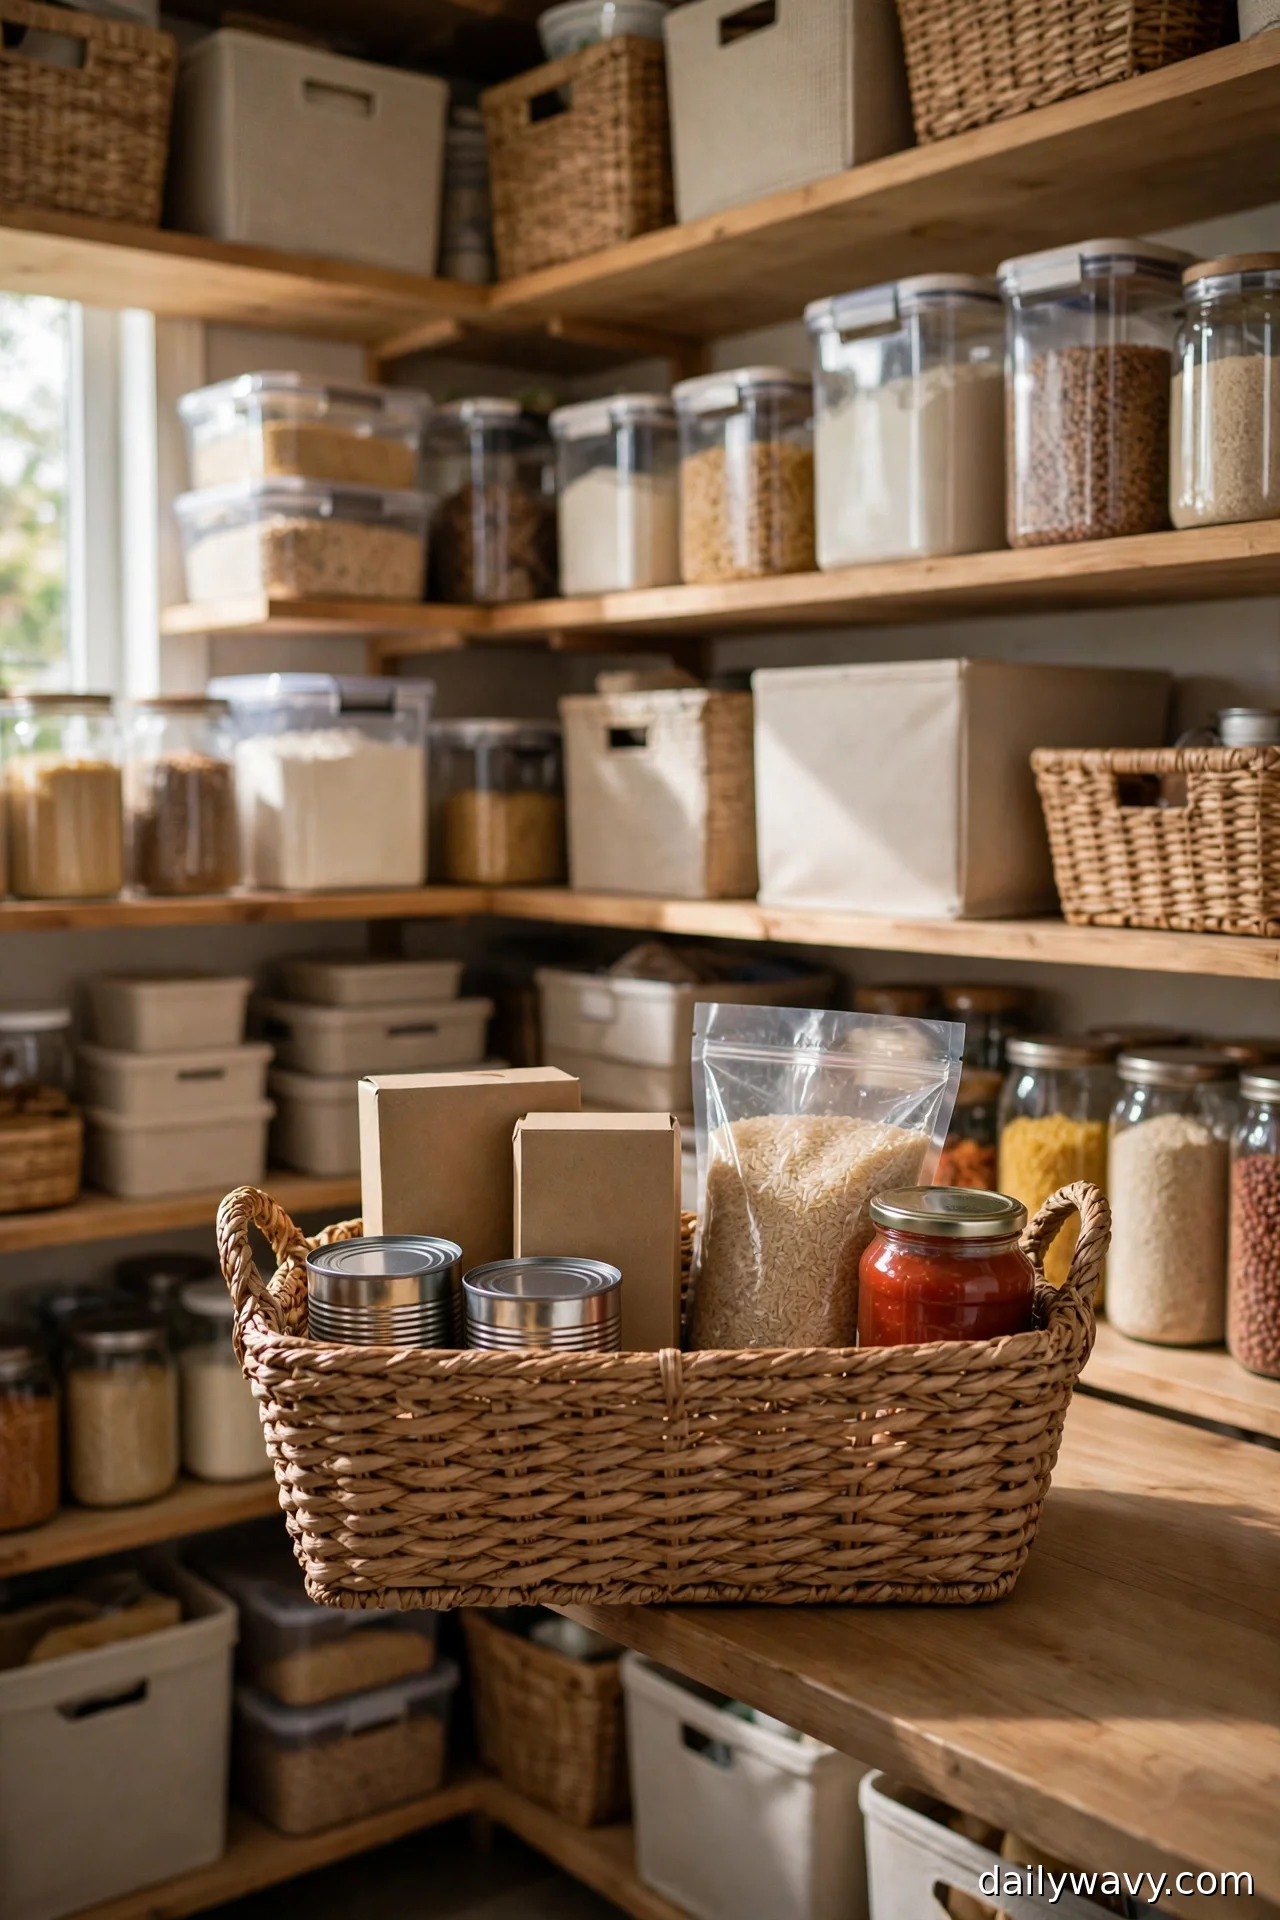
This one is less about storage and more about behavior, which is why it might be the most useful idea here. Once a week, when you plan meals, pull the non-perishable ingredients for those meals into one basket and park it at the front of the middle shelf.
The effect is immediate. Weeknight cooking stops involving a scavenger hunt. You see at a glance whether you actually have everything the plan needs, which means the grocery list writes itself: if the chickpeas aren’t in the basket, they go on the list. It also stops the slow drift where planned meals never happen because one ingredient was hiding.
Use a medium basket or tote, something you can carry to the counter in one trip. Reset it every week when you plan. The old week’s leftovers go back to their bins first, then the new week’s ingredients go in. Fifteen minutes, once a week, and it doubles as your pantry reset: anything that doesn’t belong gets noticed and put right.
Any tote bag works to start. The system matters more than the container.
Frequently Asked Questions
Where do I start if my pantry is a complete mess?
Work one shelf at a time. Pull everything off, toss anything expired, wipe the shelf, then put back only what belongs, grouped by meal or category. Don’t try to reorganize the whole pantry in one go. One shelf per evening gets it done in a week without burnout.
Should I decant everything into matching containers?
No. Decant only the dry staples you use steadily: flour, rice, pasta, oats, sugar. Keep everything else in its original packaging, filed upright, so expiry dates, allergen info, and instructions stay intact. Matching containers look nice on camera; original packets work better in real kitchens.
How do I keep expiry dates visible?
Face dates forward when you unload groceries, run a first-in-first-out row for cans and boxes, and do a five-minute scan once a month for anything nearing its date. If you decant, tape the cut-out label panel with the expiry date to the container.
What if my shelves are deeper than average?
Lean on risers, turntables, and pull-out trays: the three tools built for depth. For more depth-taming ideas, browse Home & Decor.
How do I handle food allergies in a shared pantry?
Keep original labels visible at all times, and consider one clearly labeled basket or shelf zone for allergen-free items so there’s no mix-up. When decanting, transfer the full ingredient and allergen panel to the new container. Don’t rely on memory.
How often should I redo all of this?
You shouldn’t have to. Do a ten-minute reset weekly when you fill the meal basket, and a deeper seasonal check where you pull everything out, check dates, and wipe shelves. Systems beat overhauls.
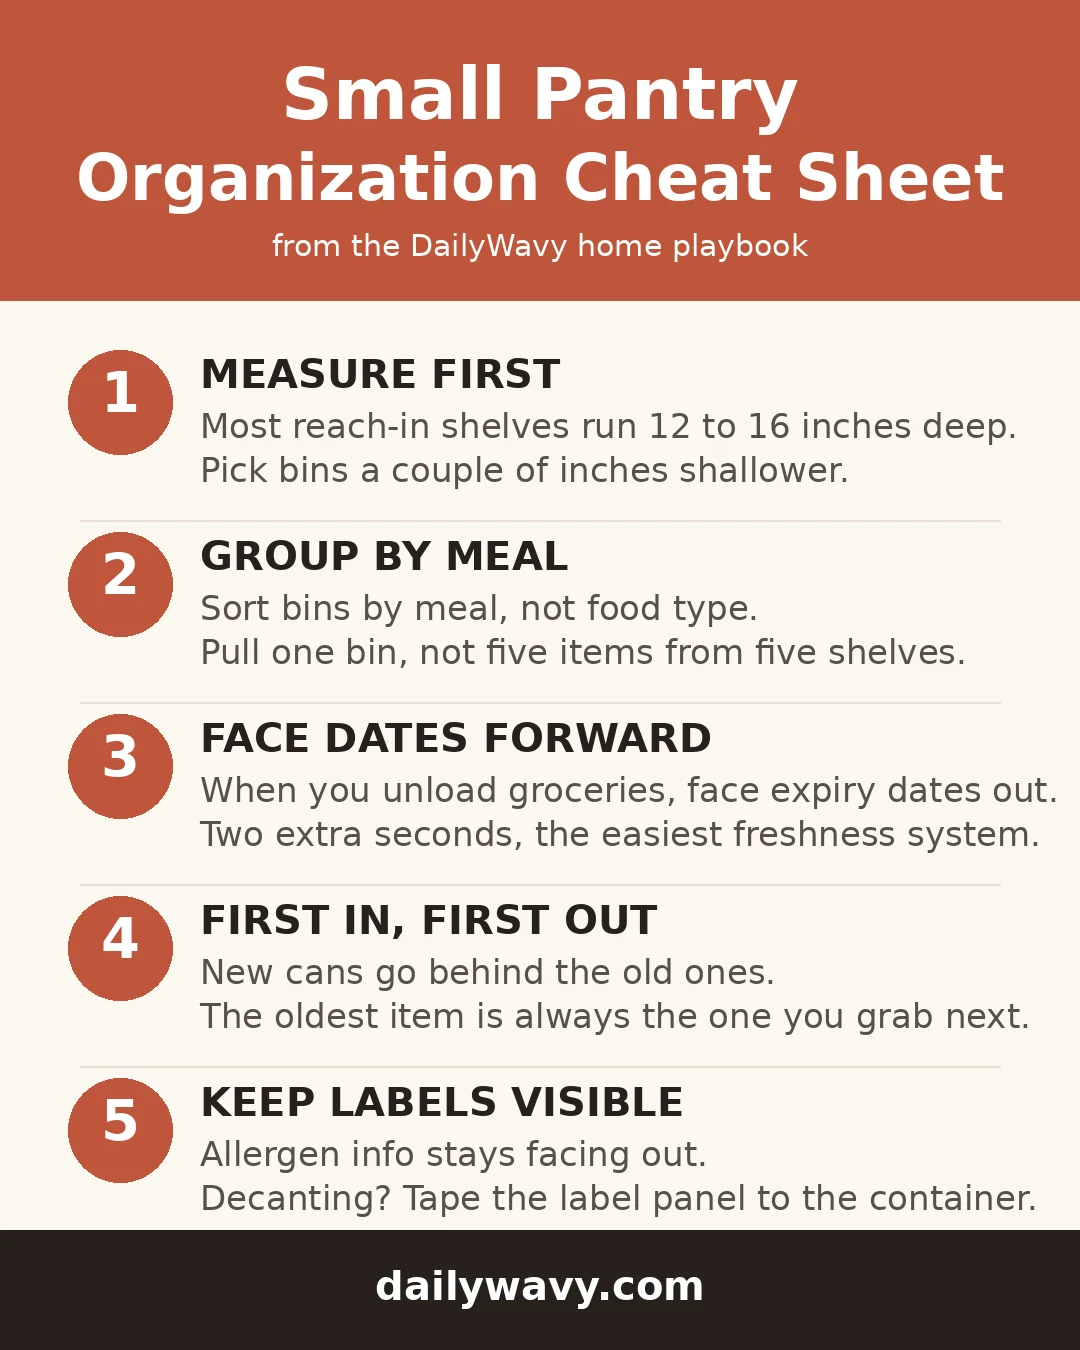
The cheat sheet: measure first, group by meal, face dates forward, first in first out, and keep labels visible.
Start with the two ideas that solve your biggest annoyance. If it’s the back of the shelf, get a riser and a turntable. If it’s the chaos of packets, file them upright and add a narrow basket for the gaps. Small pantries don’t need more space. They need every inch to have a job, and these ten ideas give each inch one.


5 Comments