15 Small Bathroom Storage Ideas to Keep Essentials Within Reach
A small bathroom forgives nothing. One stray bottle on the counter makes the whole room feel chaotic, and digging through…
A small bathroom forgives nothing. One stray bottle on the counter makes the whole room feel chaotic, and digging through a dark cabinet every morning gets old fast. The good news is that small bathrooms respond beautifully to small, specific fixes. You do not need a renovation. You need the right container in the right spot, measured to fit.
These 15 ideas work in real bathrooms: rentals with zero drilling allowed, family bathrooms shared by four people, and tiny powder rooms with barely a vanity. Each one tells you what to measure, what to buy, and what it costs to do it on a budget.
Jump to an idea
- A Narrow Basket Grouping Daily Items
- A Divider Separating Small Essentials
- A Shallow Tray For Quick Access
- A Labeled Closed Container
- A Compact Shelf Riser
- A Small Pull-Out Caddy
- A Hook Solution Suited To The Surface
- A Clear Bin With Visible Contents
- A Standing Organizer With Open Drainage
- A Vertical Arrangement Saving Width
- A Low Basket For Backup Supplies
- A Separate Zone For Wet Items
- A Removable Insert For Easier Cleaning
- A Compact Rack At Reachable Height
- A Closed Box For Rarely Used Items
1. A Narrow Basket Grouping Daily Items
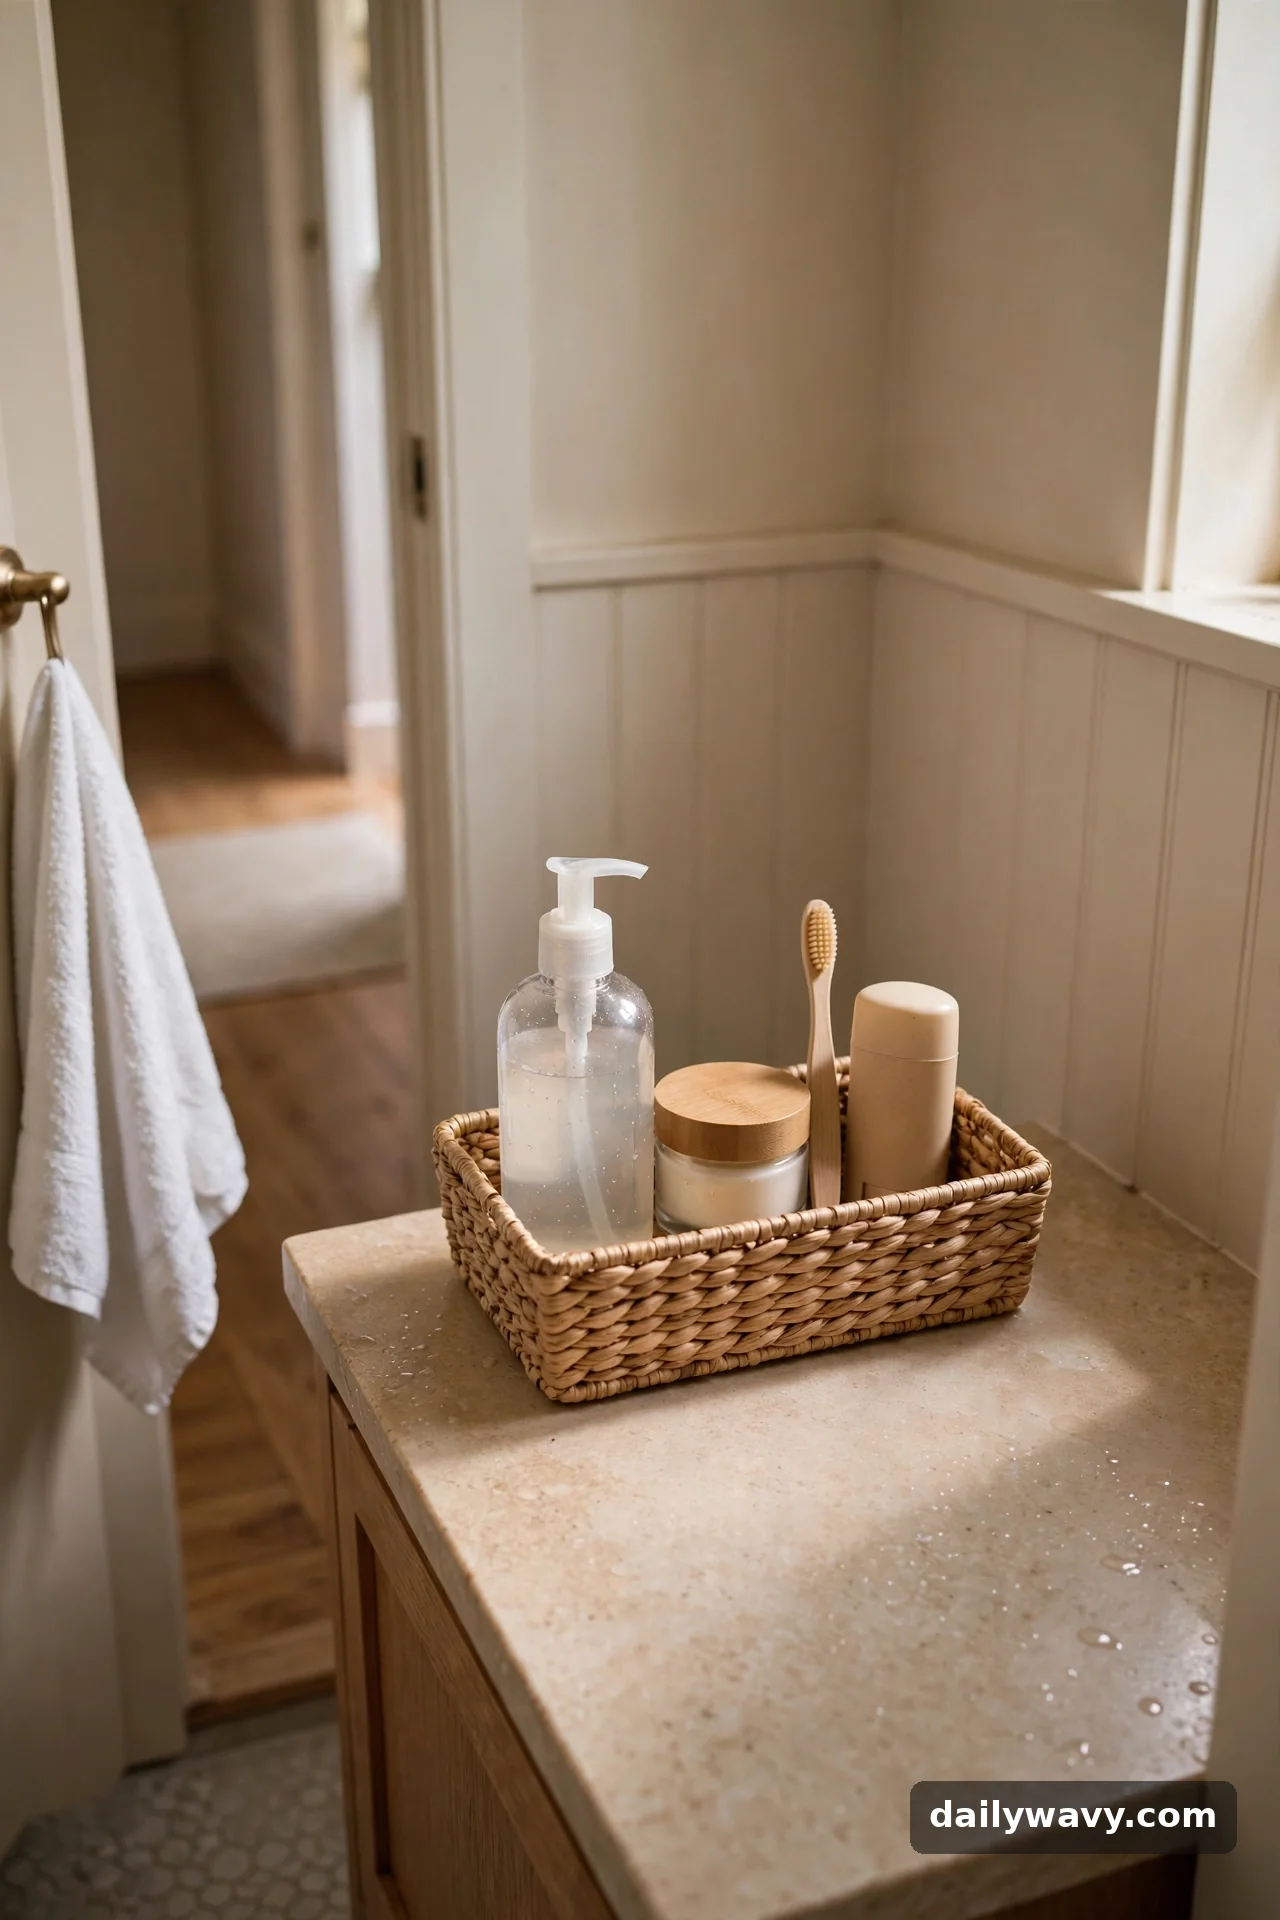
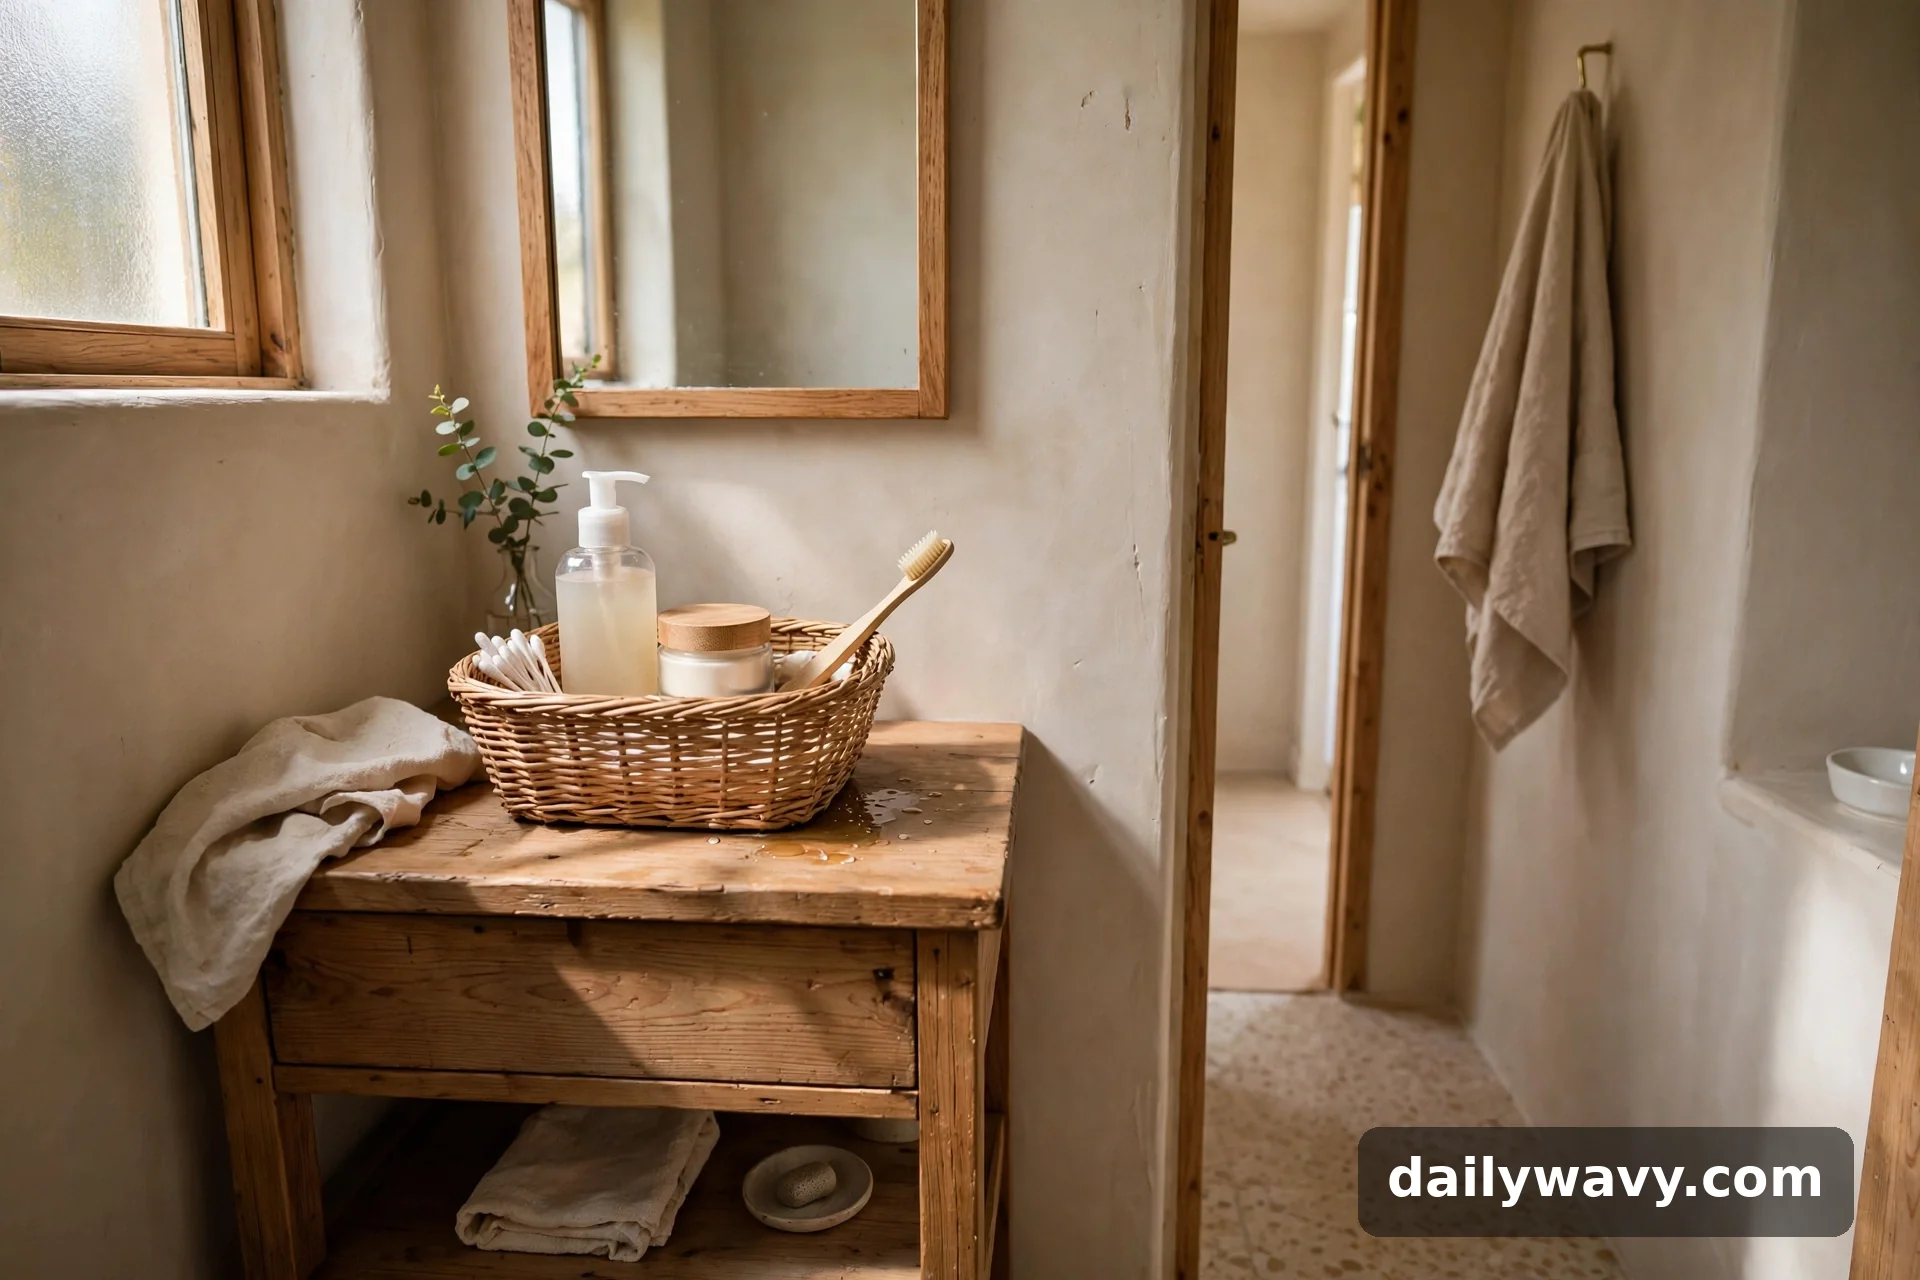
The fastest win in a small bathroom is corralling the daily scatter. A narrow basket on the vanity holds your cleanser, moisturizer, toothbrush, and deodorant in one grabbable group, so the counter stays clear and your routine stays in one place.
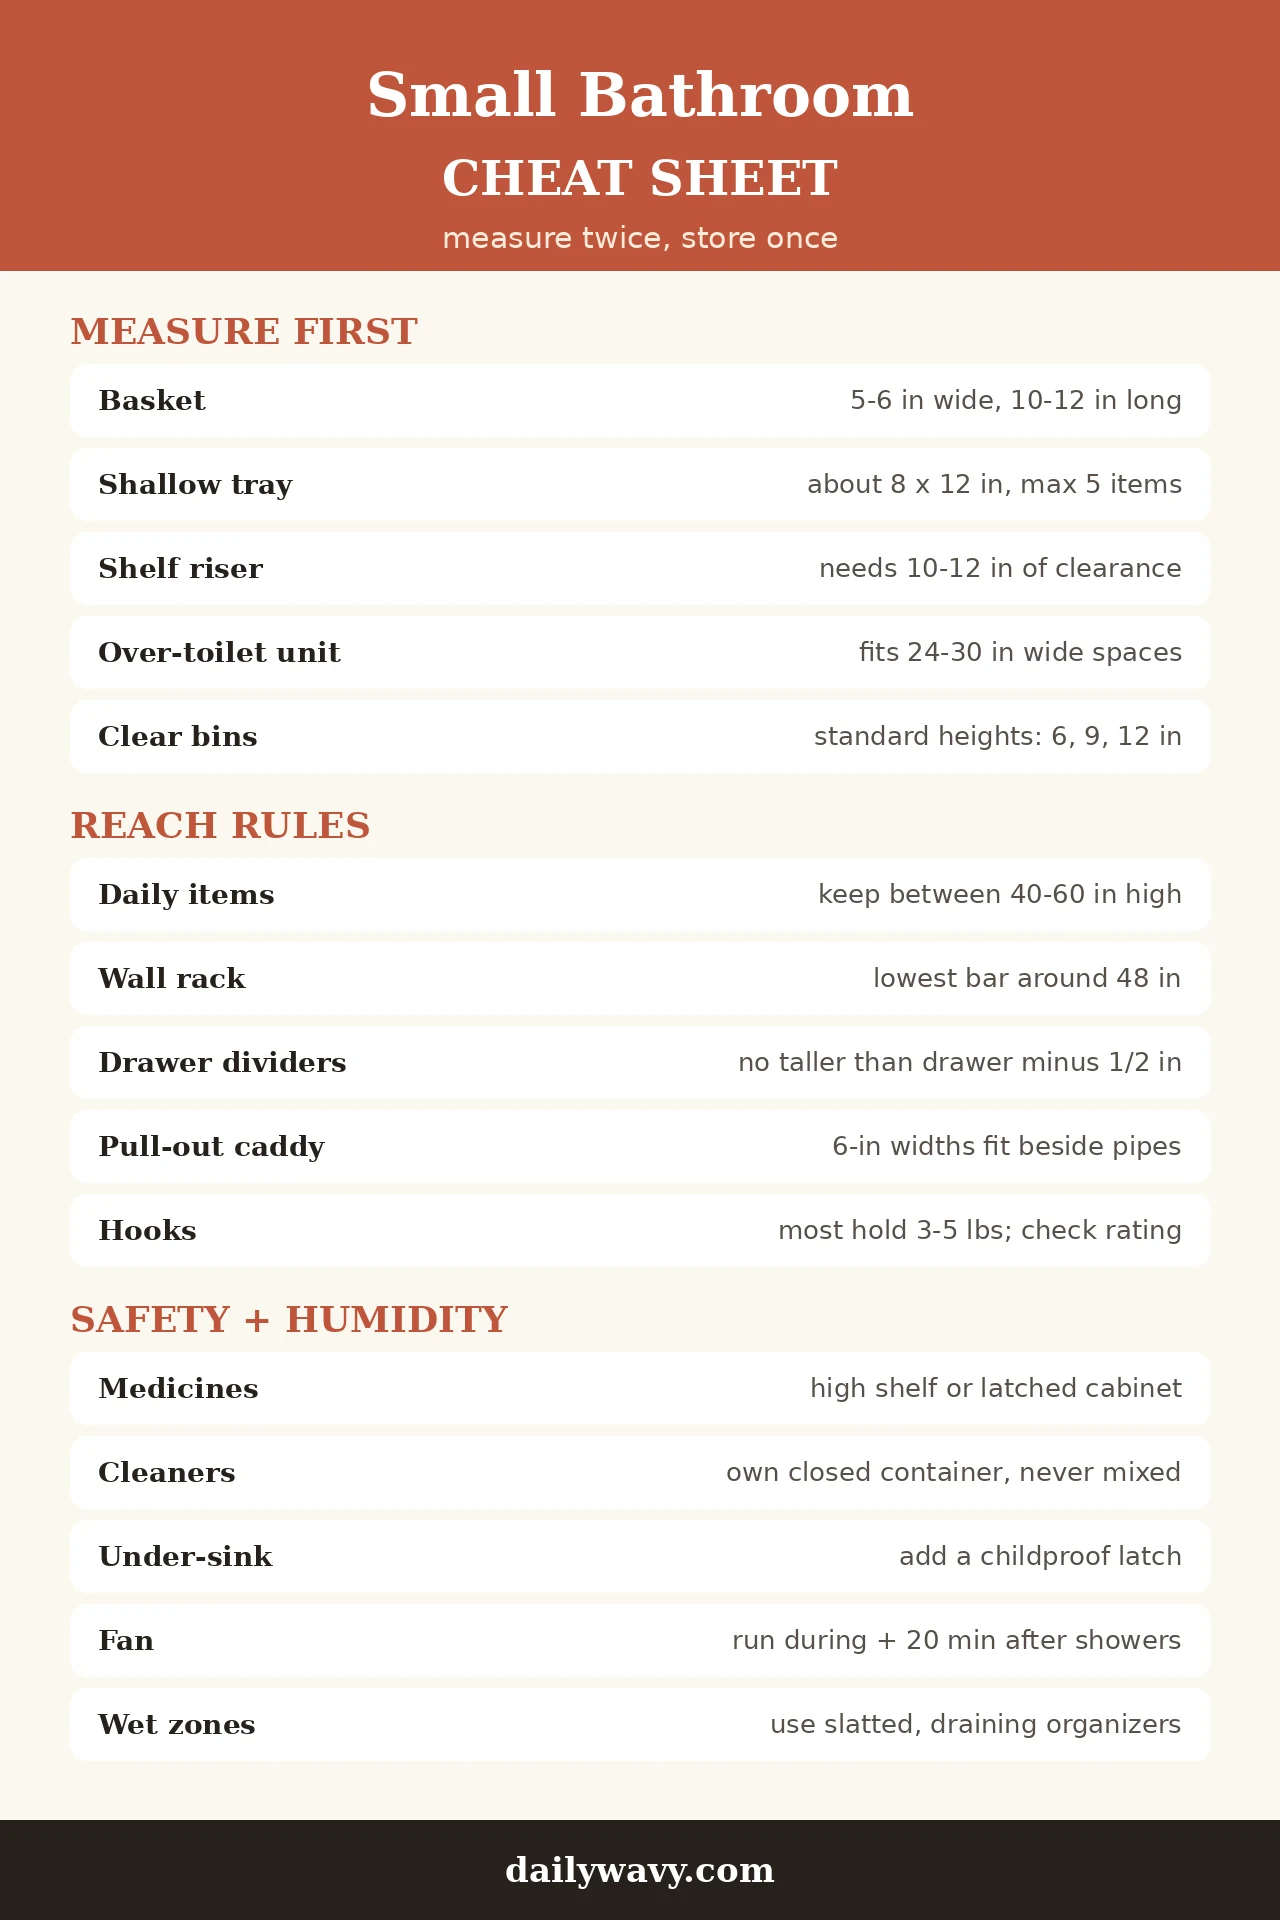
What to measure: Your counter depth. A standard vanity runs about 21 to 22 inches deep, and you want the basket to sit in the back third without crowding the faucet. Look for a basket roughly 5 to 6 inches wide and 10 to 12 inches long.
Materials: Choose something moisture-tolerant. A woven seagrass basket with a wipeable liner looks warm and survives steam, while a powder-coated wire basket dries fastest and never warps. Keep anything electric, like a hair dryer, out of the basket and away from the sink edge.
Placement: Back corner of the vanity, on the side of your dominant hand. Daily items only. The moment a rarely used bottle creeps in, move it out.
Effort: About 10 minutes to gather your daily items and arrange them by height, tallest in back.
Lower-cost alternative: A plastic dollar-store bin in a neutral color does the same job for a couple of dollars. Drill or poke a few drainage holes in the bottom if it will catch drips.
2. A Divider Separating Small Essentials
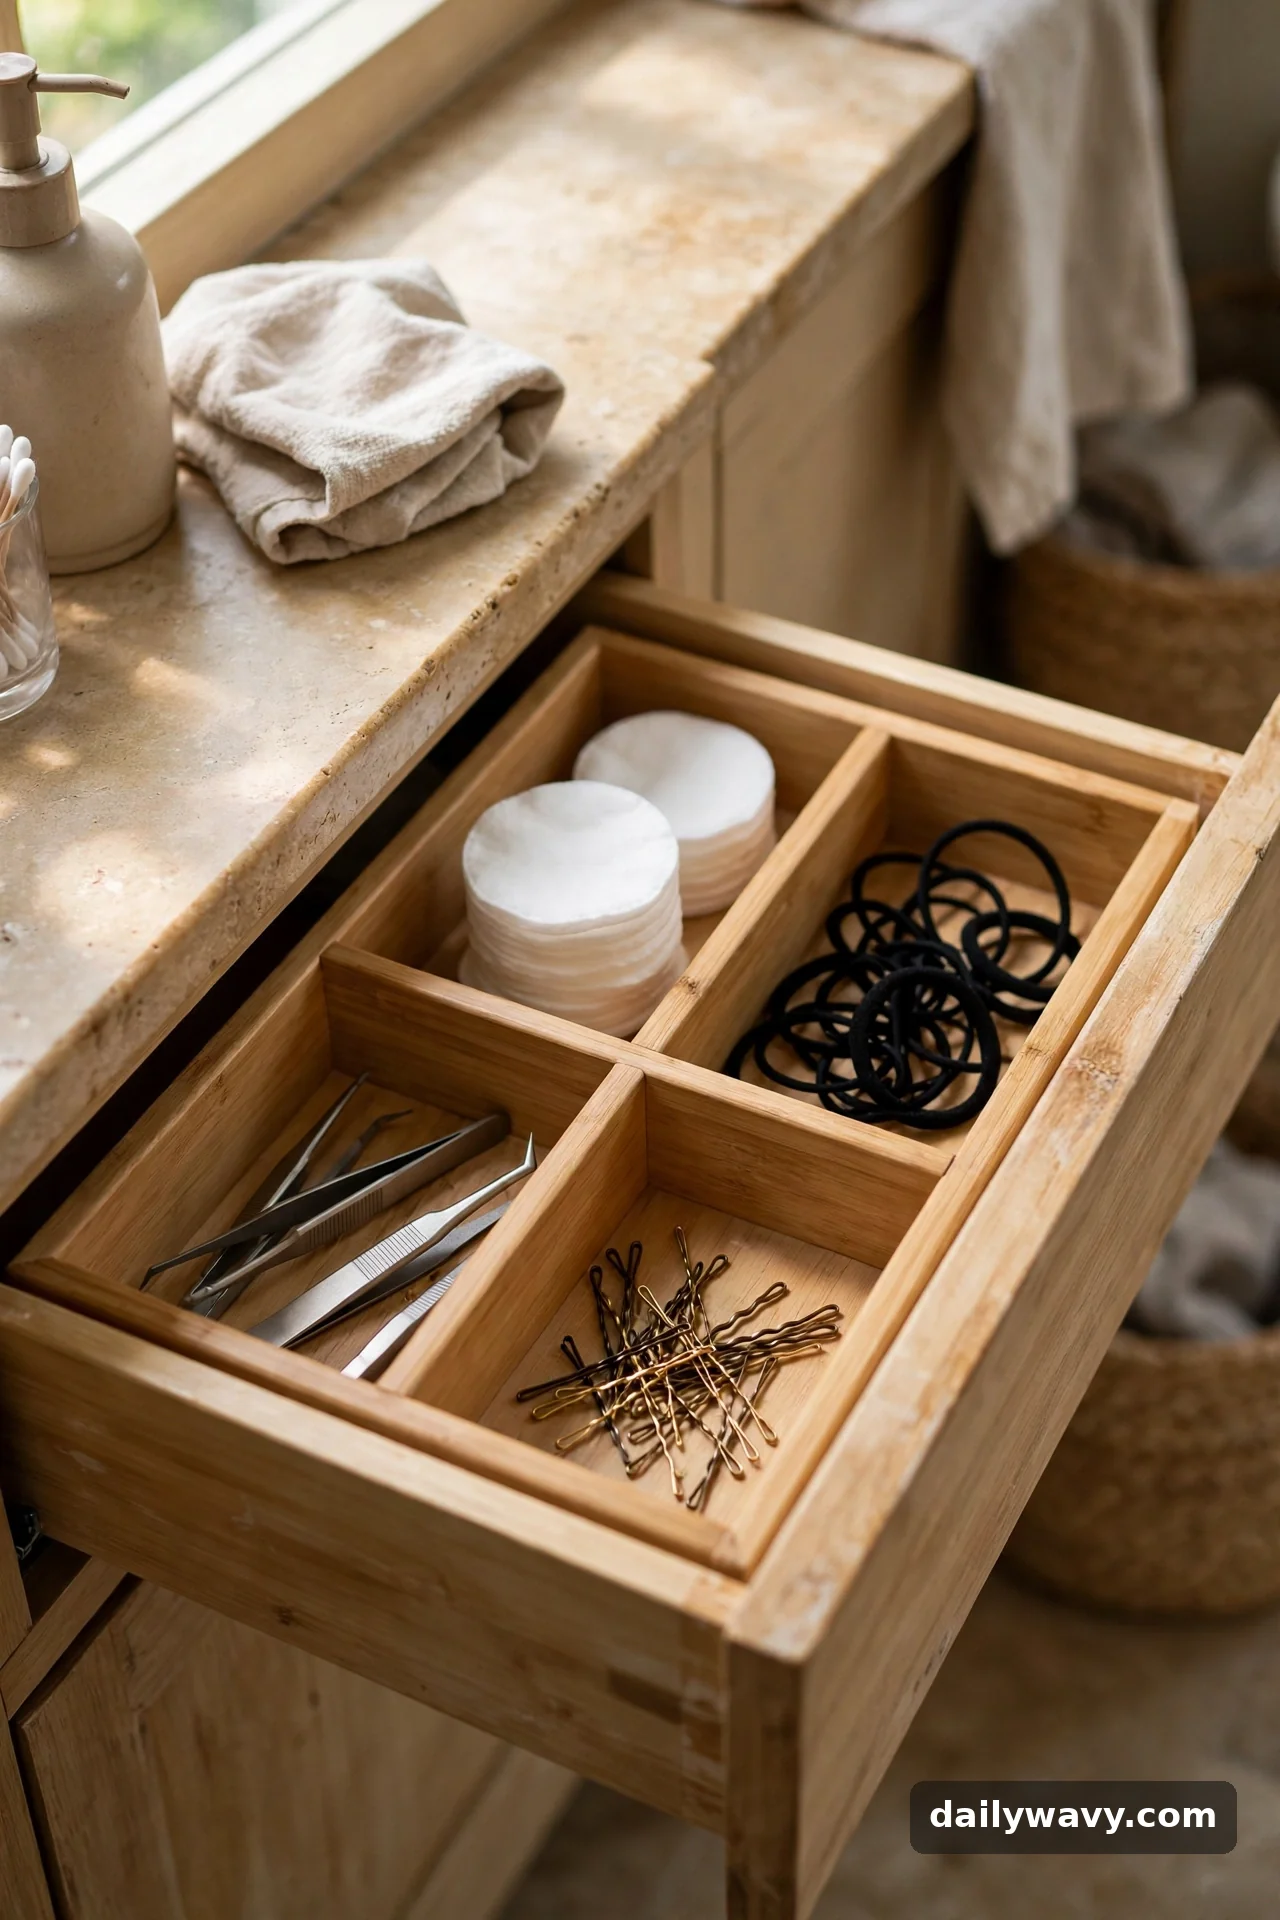
Bathroom drawers turn into junk drawers fast because small items migrate. Cotton pads end up under hair ties, tweezers vanish behind bobby pins. A divider keeps every category in its lane so you can see everything at a glance.
What to measure: The inside of your drawer: width, depth, and height. Most vanity drawers are 4 to 6 inches deep, so choose dividers no taller than the drawer box minus half an inch, or the drawer will not close.
Materials: Adjustable bamboo dividers expand to fit and handle humidity well. Spring-loaded drawer dividers work when you want zero installation. For a custom fit, cut foam board to size; it is cheap, light, and easy to replace.
Placement: Inside the top vanity drawer, which is usually the shallowest and closest to hand. Group by routine: morning items in front, evening items in back.
Effort: About 15 minutes to measure, fit the dividers, and sort everything into zones.
Lower-cost alternative: Small boxes you already own, like phone boxes or jam jars, make free compartments. Line them up inside the drawer and you are done.
If your drawers need a full system rather than one divided tray, our small pantry organization guide applies the same zone-and-label thinking to shelves and deep cabinets.
3. A Shallow Tray For Quick Access
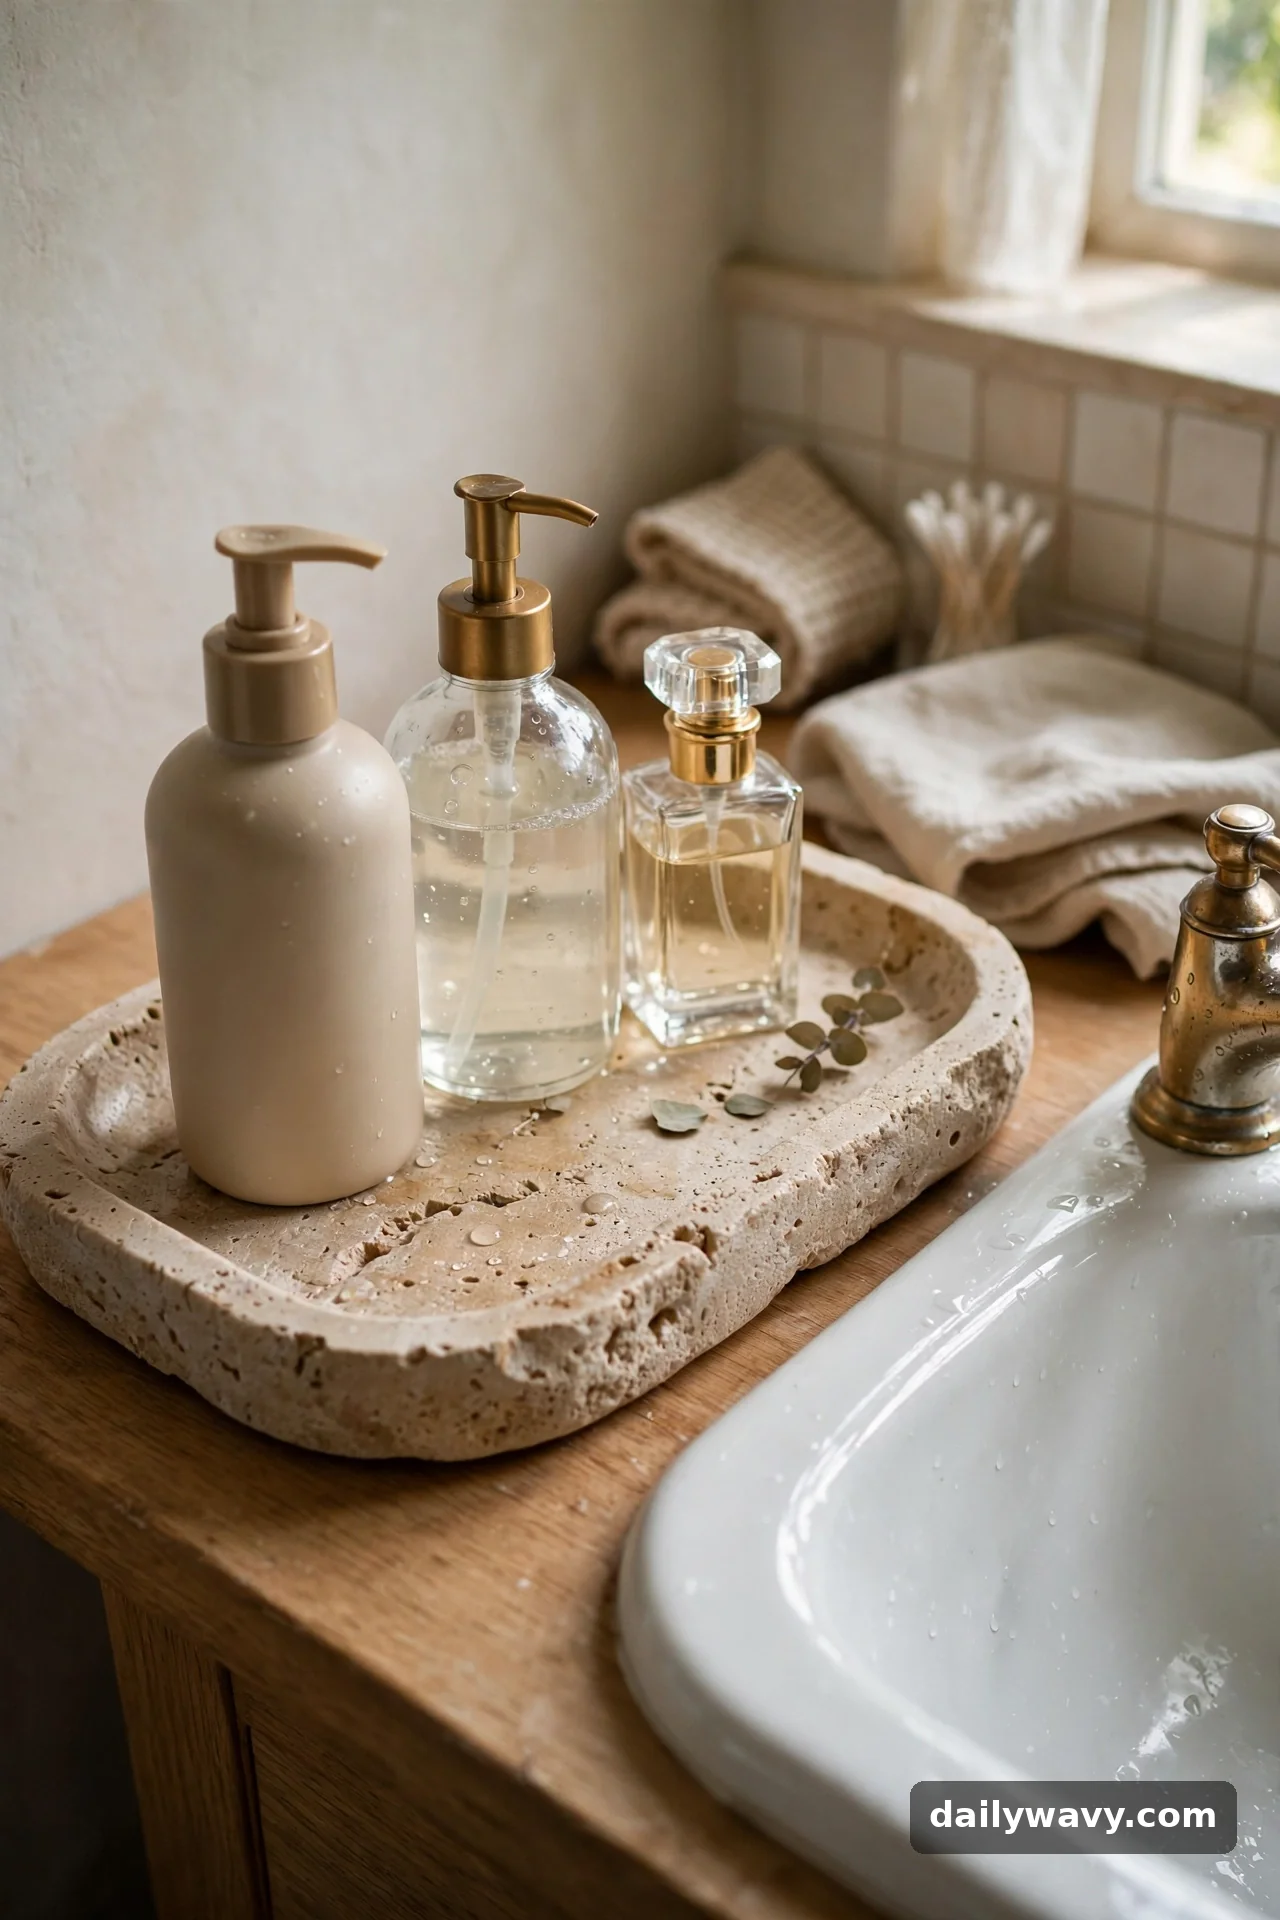
A shallow tray is the difference between a tidy counter and a cluttered one. It gives your daily bottles a defined home, catches drips and spills, and you can lift the whole tray to wipe the counter in seconds.
What to measure: The clear counter space beside your sink. A tray around 8 by 12 inches fits most vanities without crowding the faucet handles.
Materials: Stone, ceramic, or sealed wood all work. Stone stays put and shrugs off water rings. If the tray will hold anything that leaks, pick one with a raised lip.
Placement: Beside the sink on your dominant-hand side, close enough to reach without stretching. Keep it to five or fewer items or it becomes clutter with a border.
Effort: About 5 minutes. Set the tray down, arrange the bottles, done.
Lower-cost alternative: A thrifted serving tray, a baking sheet, or even a large dinner plate works as a catch-all tray for almost nothing.
4. A Labeled Closed Container
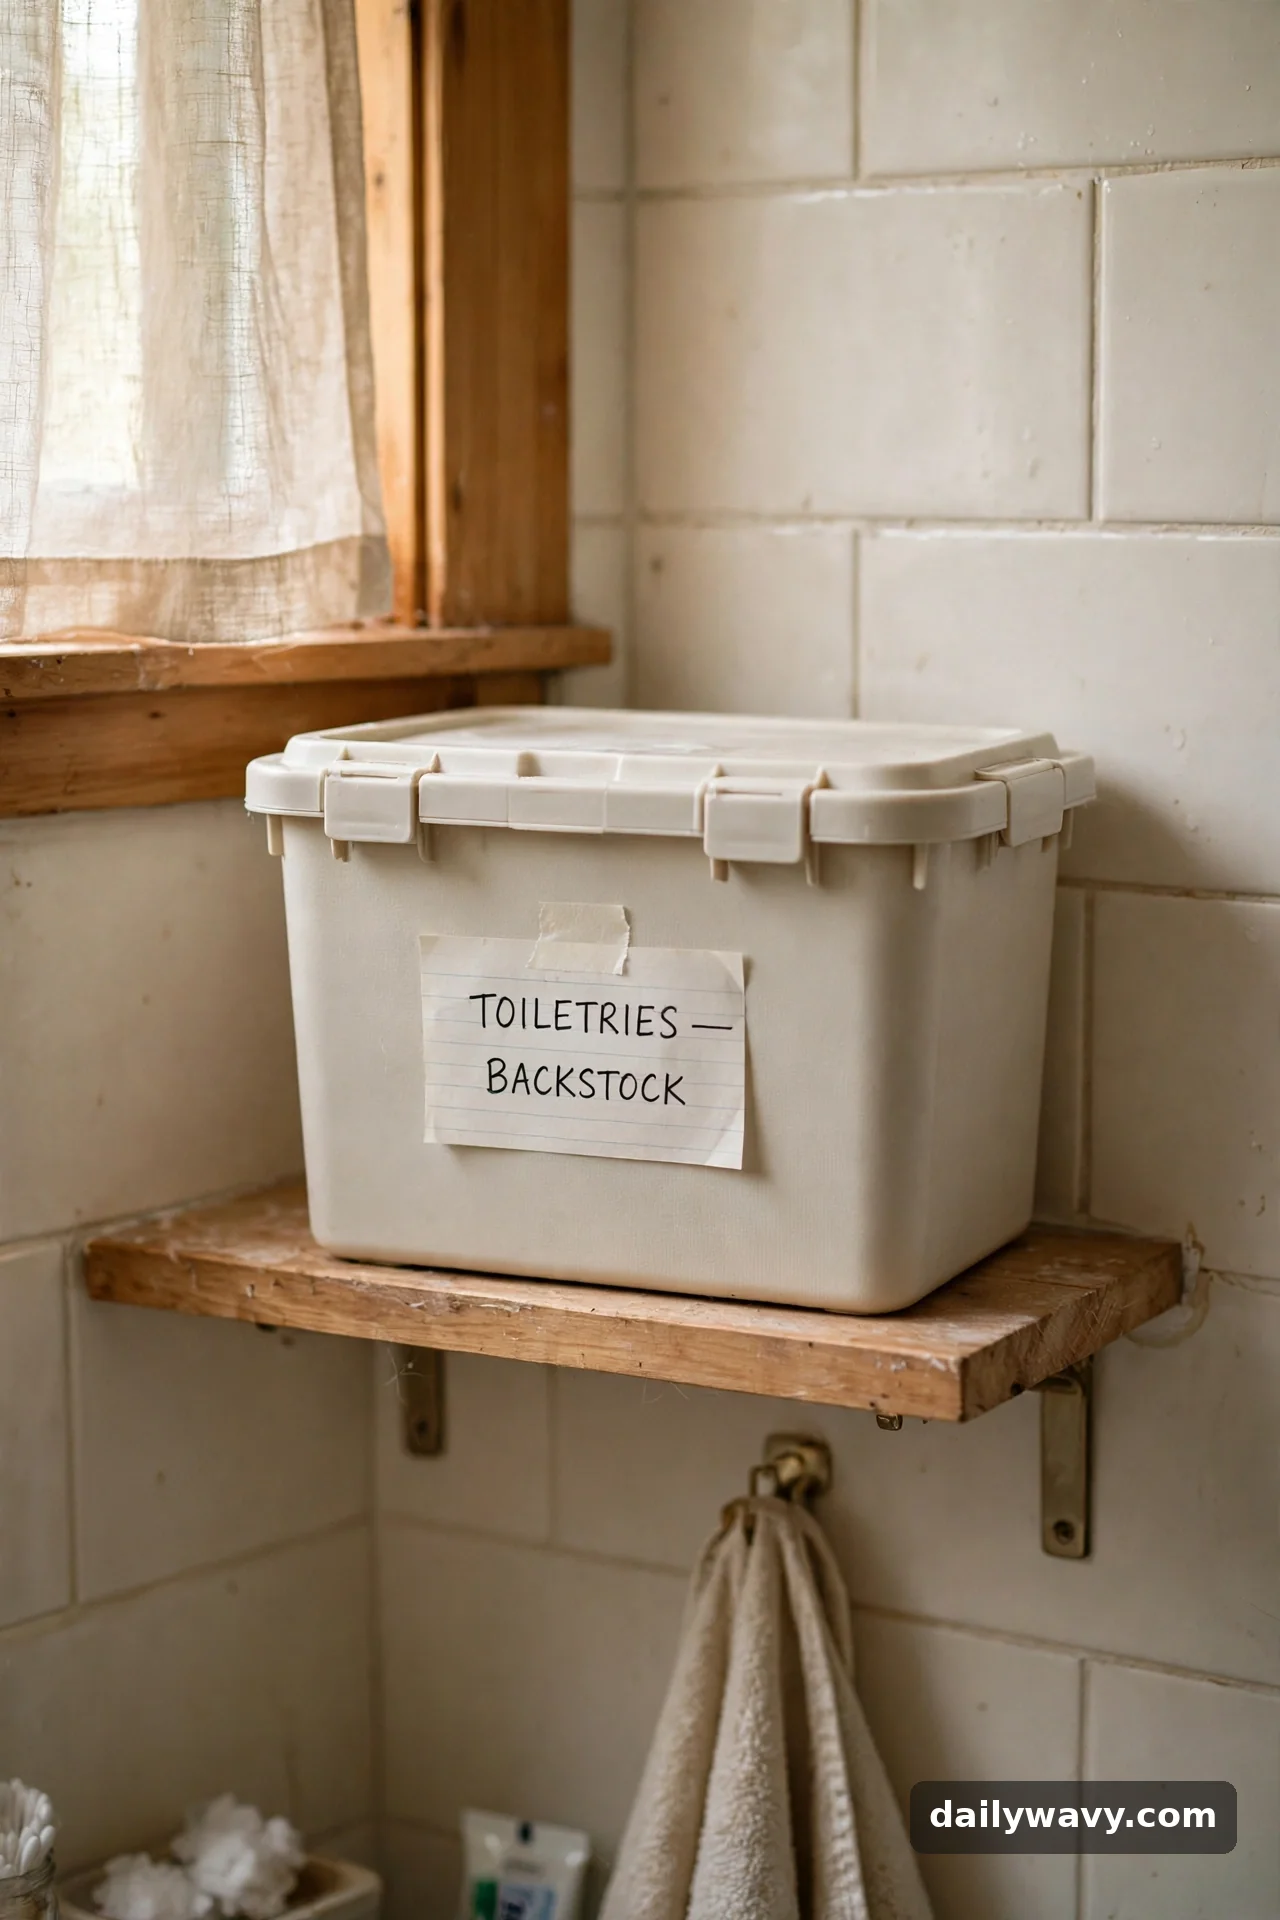
Open baskets look nice but closed containers do the real work in a humid bathroom. They keep backstock, first-aid supplies, and medicines dust-free and dry, and a simple label means nobody has to open three boxes to find the bandages.
What to measure: Your shelf or cabinet opening, then buy containers that stack neatly inside it. Square containers waste less space than round ones.
Materials: Opaque plastic bins with snap lids protect contents from steam and light. Add labels with a label maker, masking tape and a marker, or simple hang tags.
Placement: On a shelf or inside a cabinet. Here is the safety rule that matters: keep medicines, vitamins, and anything toxic on a high shelf or in a latched cabinet, well out of children’s reach. Cleaners always go in a separate closed container from personal-care items, never mixed together.
Effort: About 20 minutes to sort, box, and label a shelf.
Lower-cost alternative: Shoe boxes wrapped in contact paper, labeled with a marker. They stack well and cost almost nothing.
5. A Compact Shelf Riser
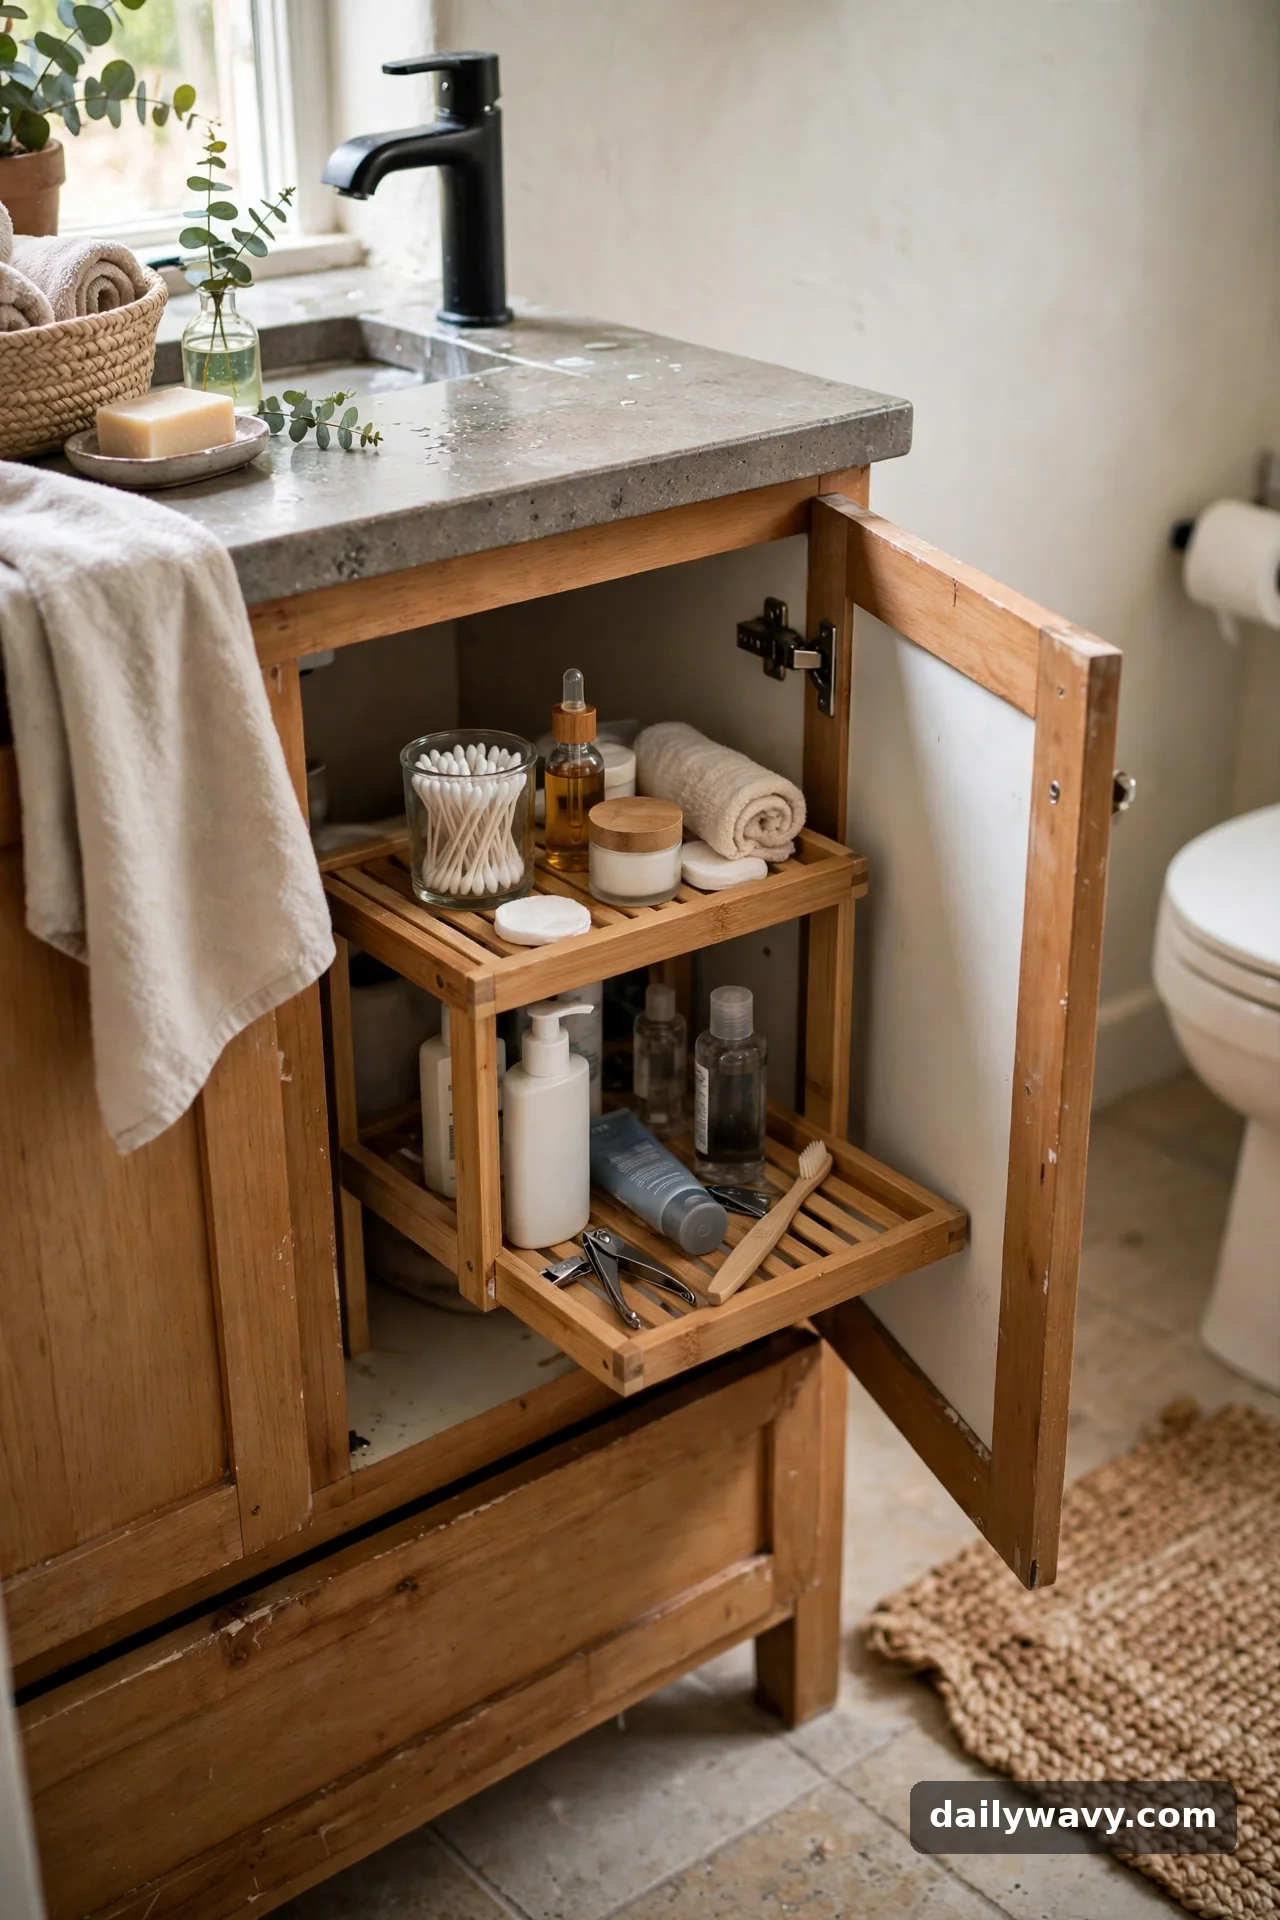
Most bathroom cabinets waste their vertical space. A shelf riser adds a second tier inside the cabinet or on the counter, instantly doubling the usable surface without any installation.
What to measure: The interior height of your cabinet or the clear space above your counter. You need roughly 10 to 12 inches of clearance for two useful tiers.
Materials: A bamboo or powder-coated metal riser resists humidity and wipes clean. Freestanding risers need no tools; screw-mounted ones hold heavier items like full shampoo bottles.
Placement: Inside the vanity cabinet for cleaning supplies below and daily items above, or on the counter to lift small bottles over the faucet splash zone.
Effort: About 5 minutes for a freestanding riser, 20 minutes if you are screwing one to a shelf.
Lower-cost alternative: A sturdy overturned storage bin or a small wooden crate creates a free second tier. Make sure it is stable before loading it.
6. A Small Pull-Out Caddy
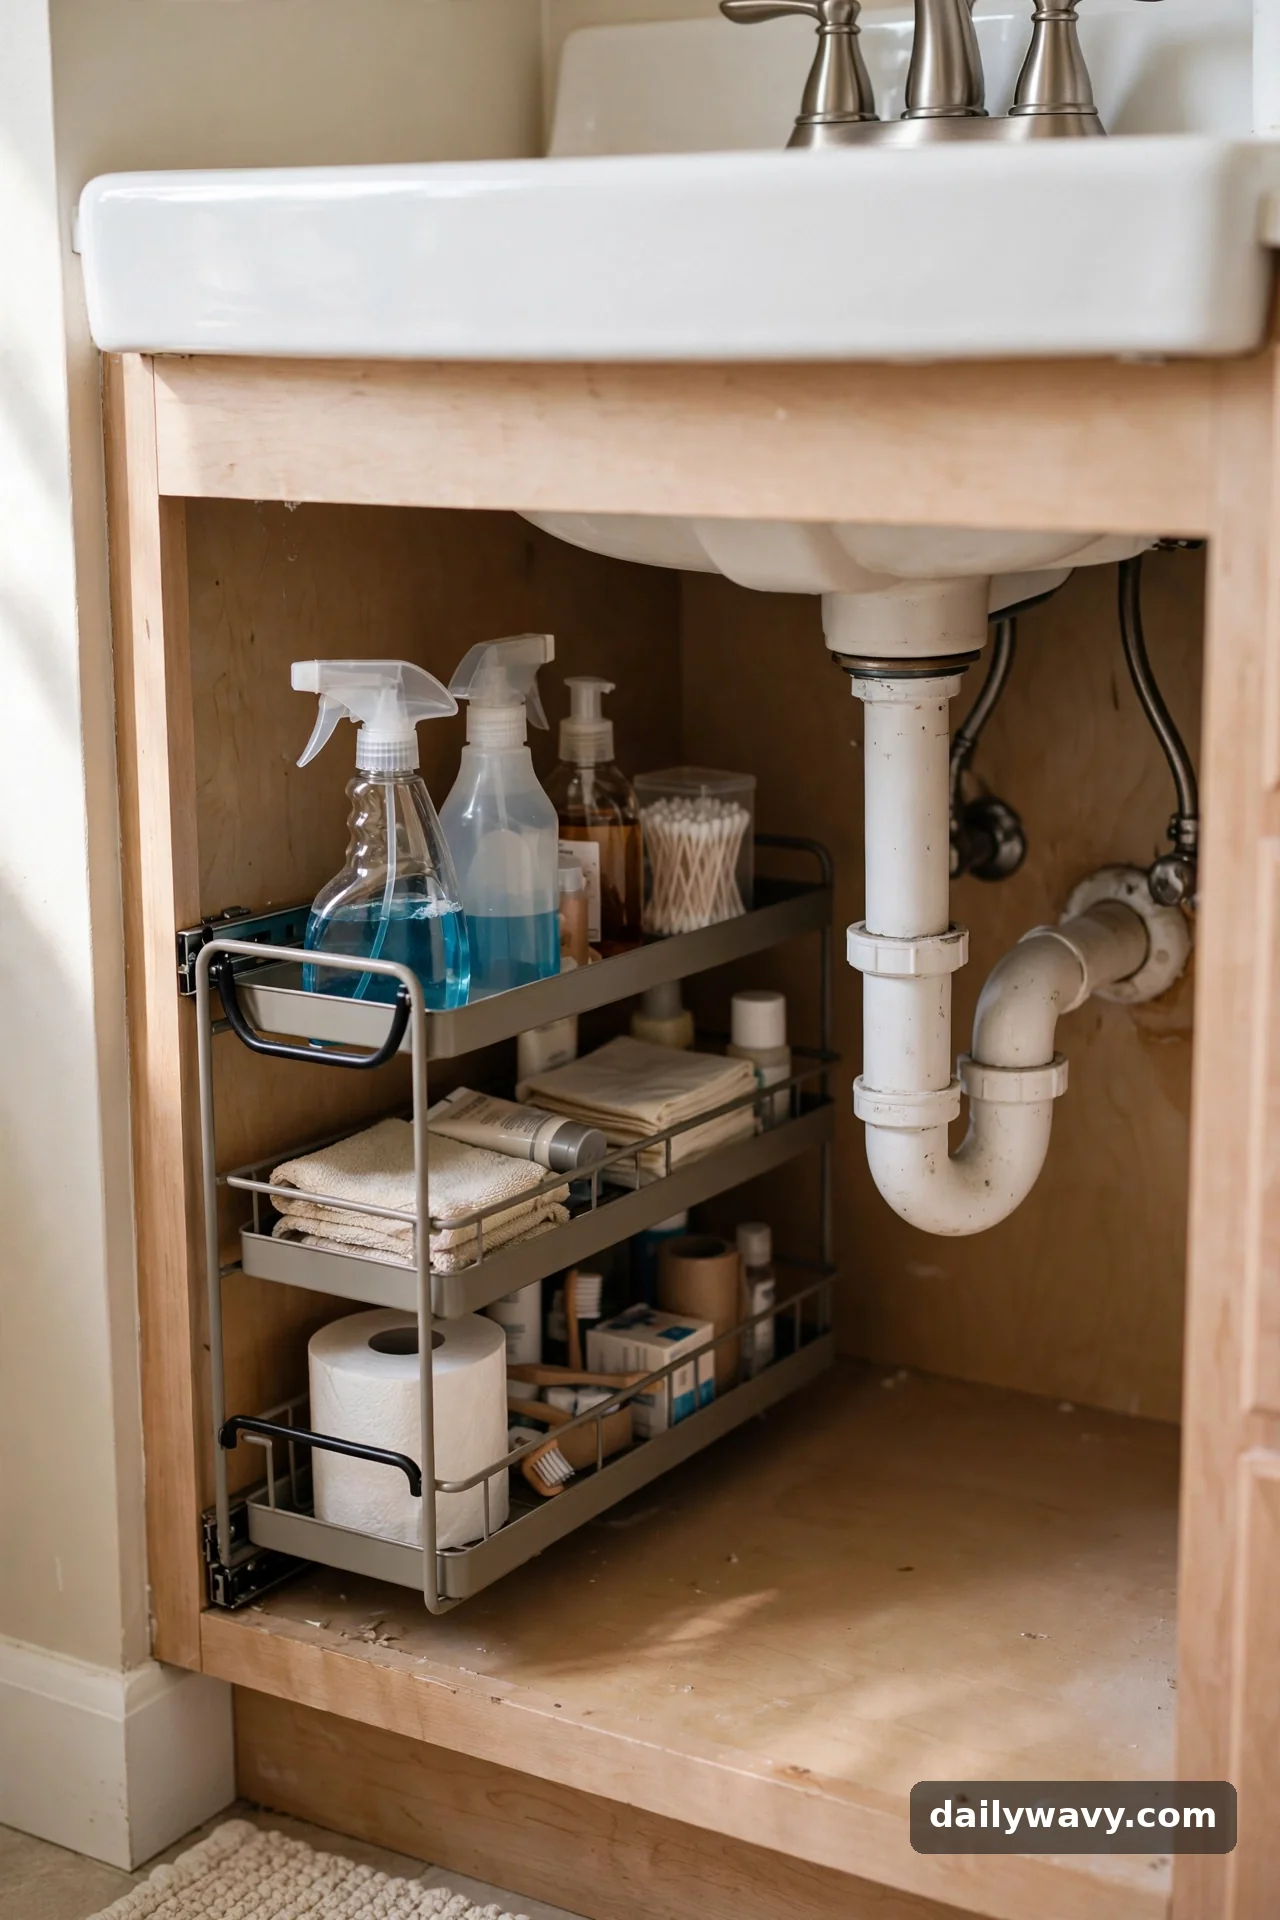
The cabinet under the sink is prime real estate ruined by plumbing. A narrow pull-out caddy slides into the awkward space beside the pipes and brings everything to you, so nothing gets lost in the dark back corner.
What to measure: The clear space around your pipes: width between the pipe and the cabinet wall, and the full depth of the cabinet. Many under-sink caddies come in U-shapes designed to straddle the drain pipe, or in narrow 6-inch widths that fit alongside it.
Materials: Plastic or powder-coated metal stands up to the occasional leak. Choose a caddy with a handle or pull so you are not reaching blindly.
Placement: Under the sink, positioned to clear the pipes and the door swing. Safety note for families: if cleaning products live here, add a childproof latch to the cabinet doors. Cleaners stay in this zone; personal-care items go elsewhere.
Effort: About 15 minutes to measure, position, and load the caddy.
Lower-cost alternative: A narrow plastic tote or a handled cleaning caddy from the dollar store slides in and out just as well.
One caddy is a strong start. For a full cabinet system, zone it around the pipes: cleaners on one side, backstock on the other, and daily items in front where you can grab them.
7. A Hook Solution Suited To The Surface
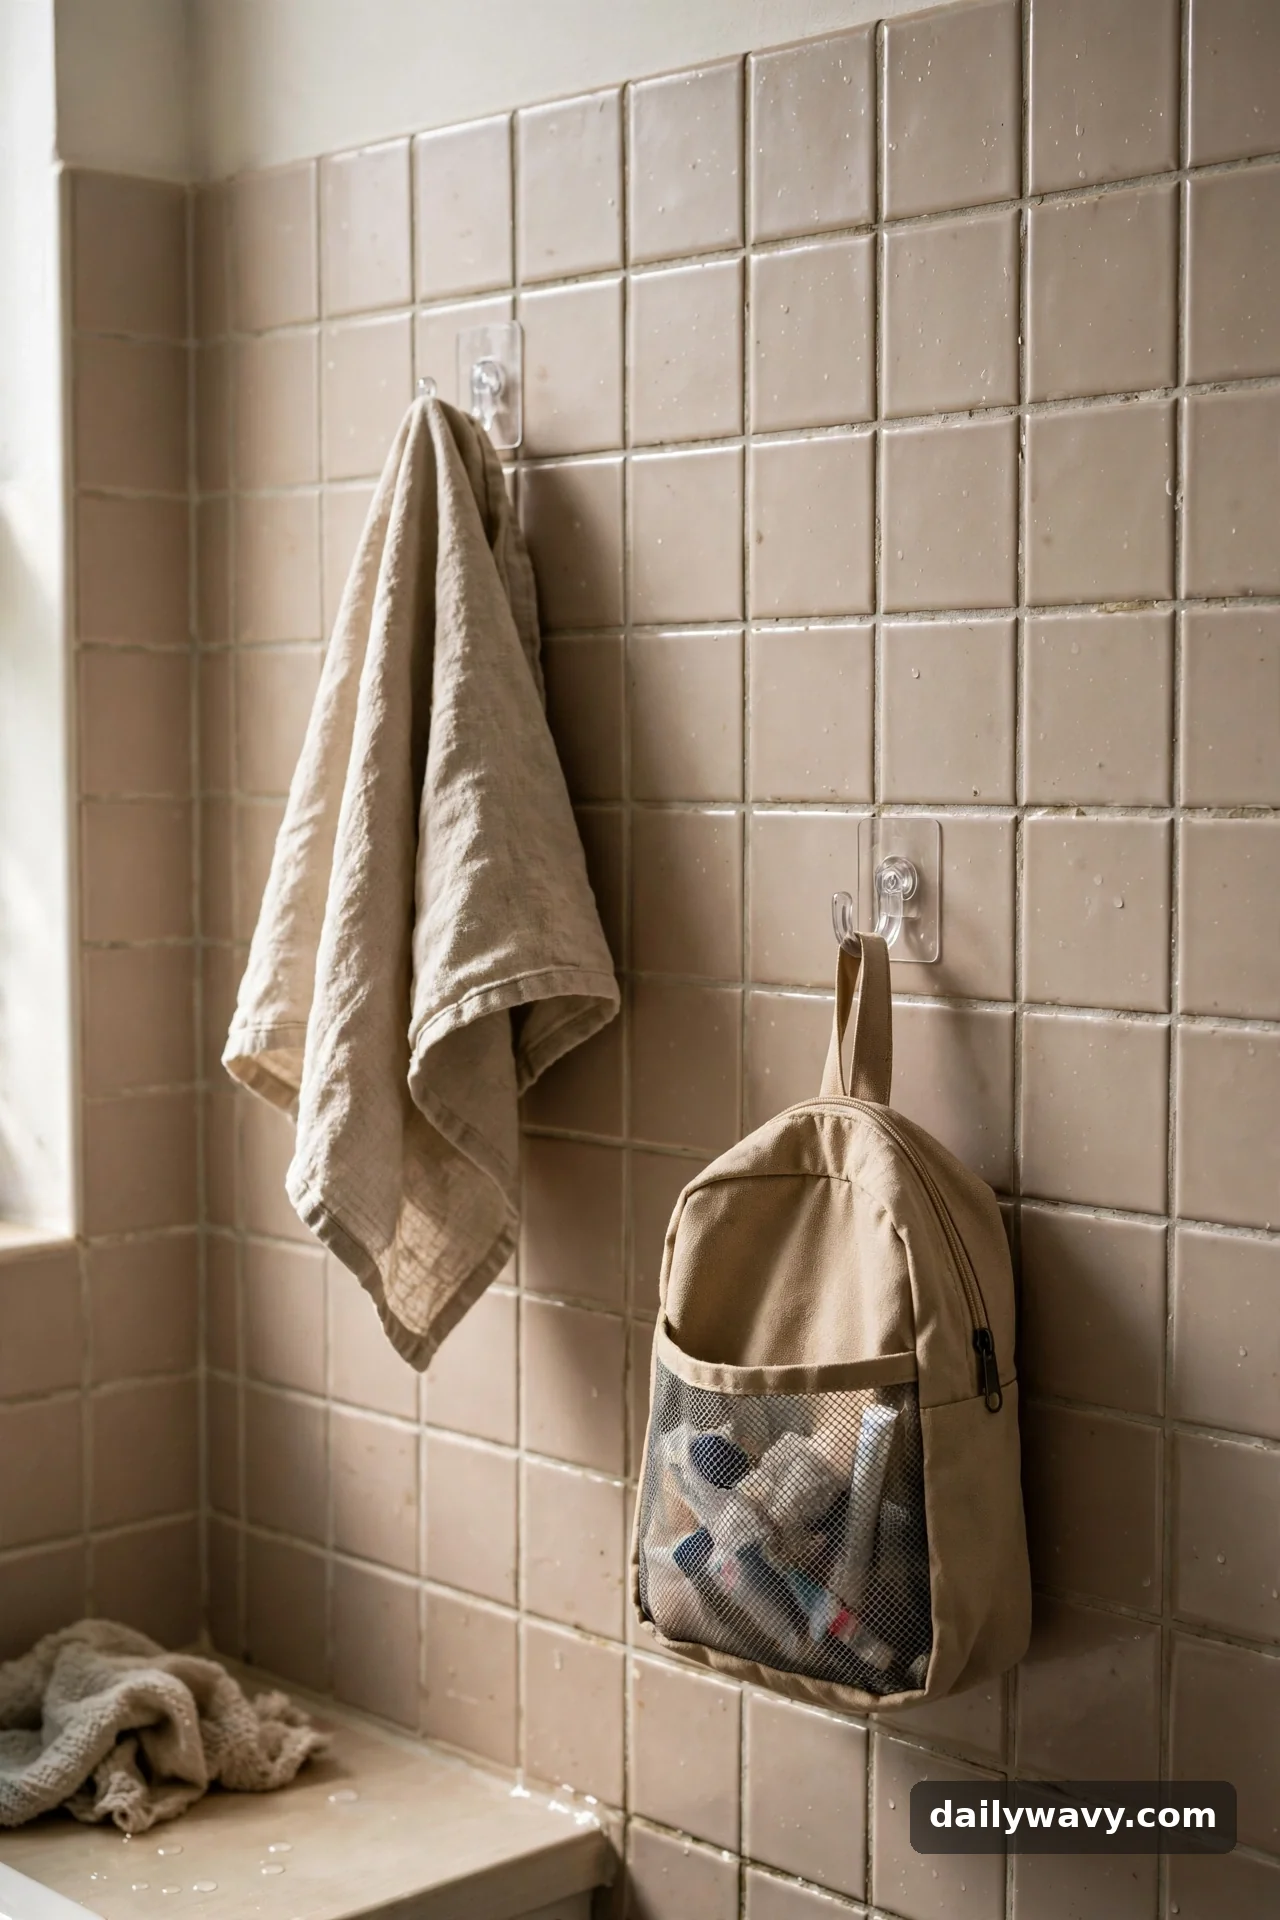
Walls are free storage in a small bathroom, and hooks are the simplest way to claim them. Towels, robes, wash bags, and hair tools all hang neatly instead of draping over every surface.
What to measure: Nothing to measure, but check the surface. Adhesive hooks bond well to tile, glass, and mirrors, and poorly to textured paint or wallpaper. Check the weight rating on the package; most hold 3 to 5 pounds, which covers a towel but not a heavy robe.
Materials: Adhesive hooks for tile and glass, over-the-door hooks for the bathroom door, and suction hooks for the shower wall. For heavy items, use screw-in hooks anchored properly; in tile, that means a masonry bit and a steady hand, so renters should stick with adhesive.
Placement: Inside the shower for wash tools, on the back of the door for robes, beside the sink for a hand towel. Clean the surface with rubbing alcohol before sticking anything down, and wait the full cure time on the package before hanging weight. The same hook logic works beyond the bathroom: our small entryway decor ideas show how wall hooks claim dead space by the front door.
Effort: About 10 minutes for a set of adhesive hooks.
Lower-cost alternative: A single over-the-door multi-hook rack, usually under ten dollars, adds five or six hanging spots with zero installation.
8. A Clear Bin With Visible Contents
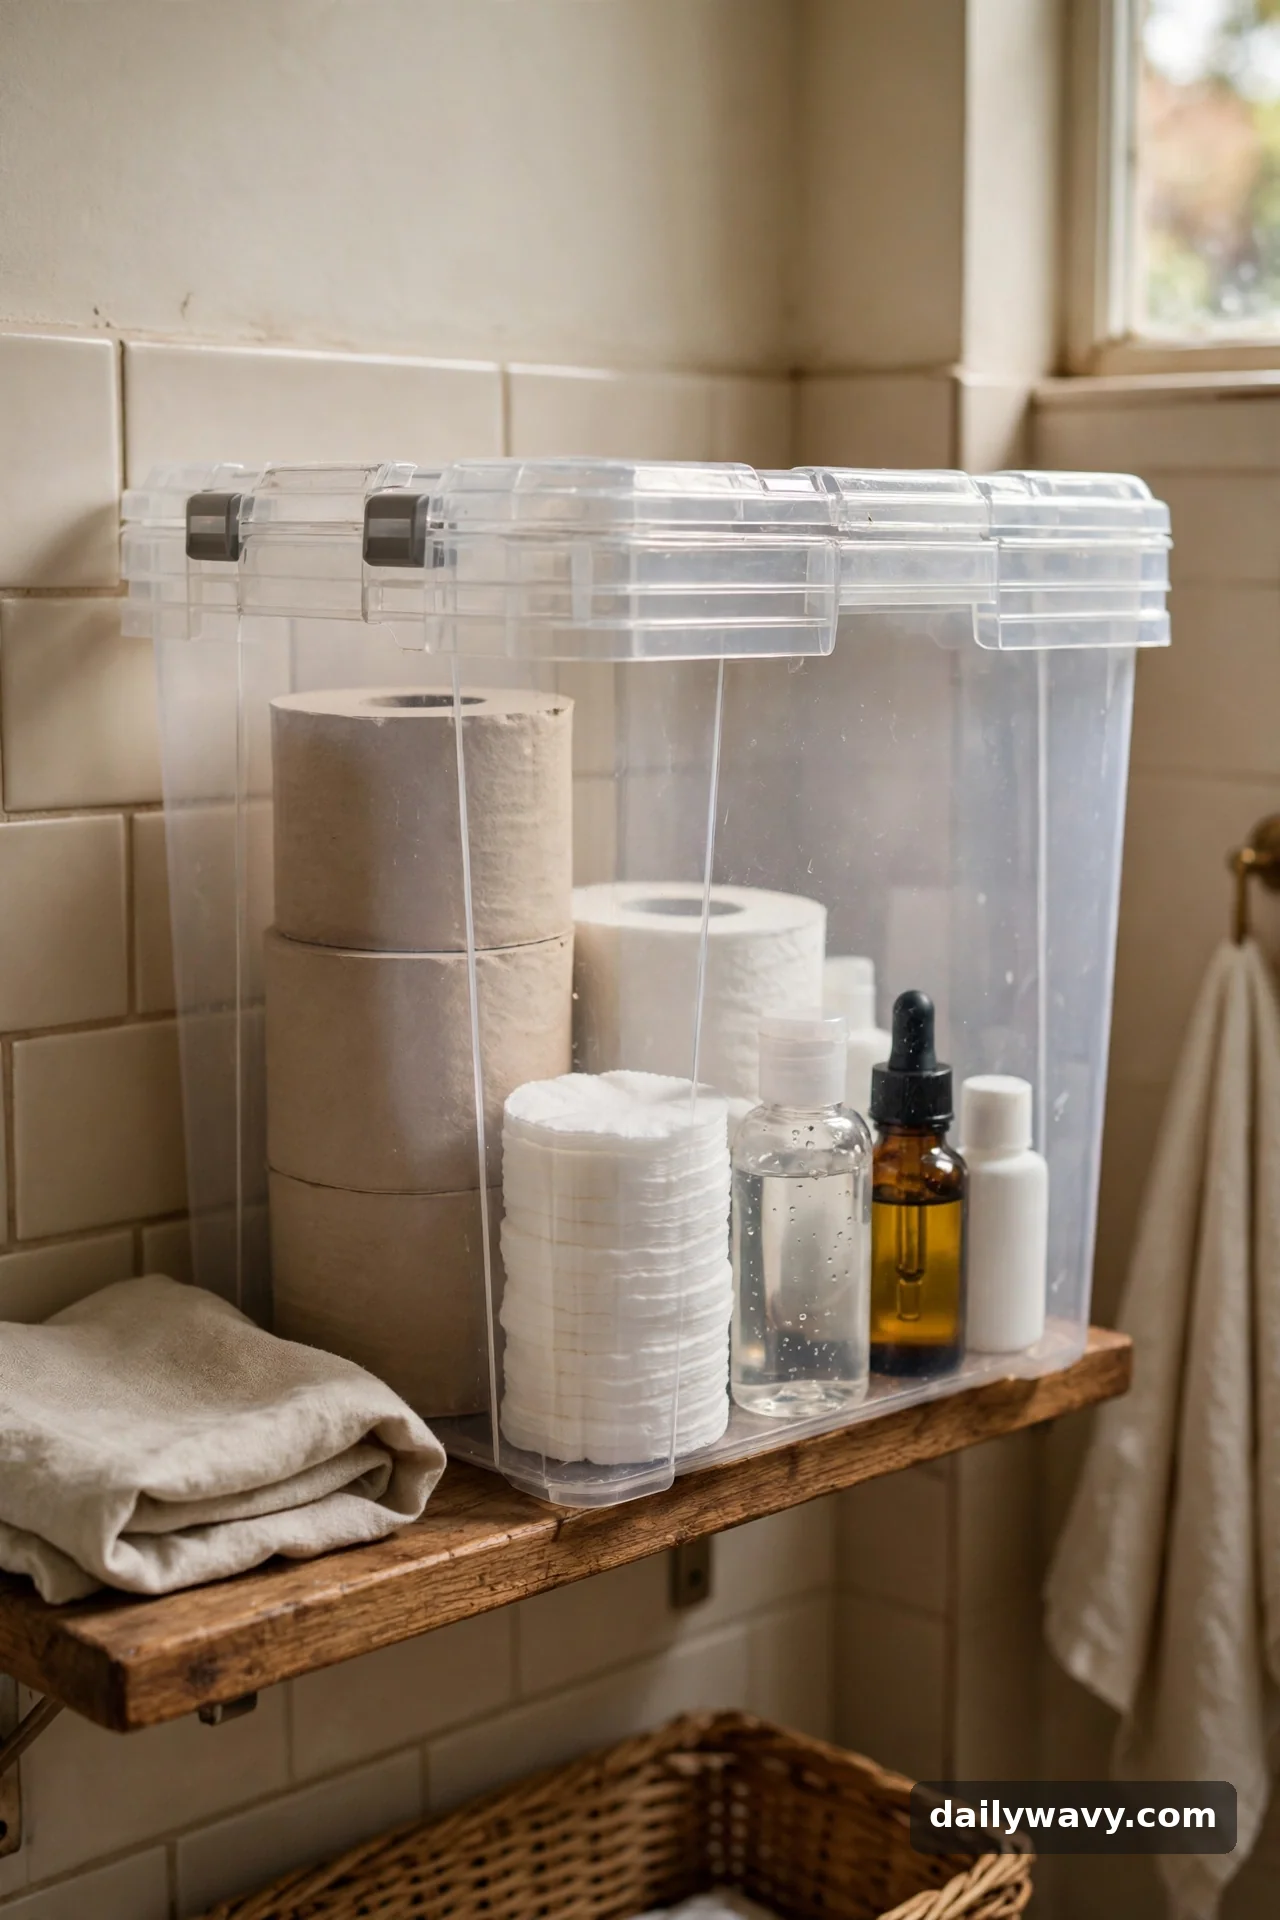
Opaque bins hide things, and hidden things get re-bought. Clear bins let you see your backstock at a glance, so you know you are out of cotton rounds before you run out.
What to measure: Your shelf spacing, so the bins stack without wasted headroom. Standard clear bins come in 6, 9, and 12-inch heights.
Materials: Clear stackable plastic bins with lids. Lids keep out dust and steam; open-front bins work for items you grab daily.
Placement: Under the sink for cleaning backstock, on open shelves for towels and toiletries, or inside a linen closet. Group like with like and face the labels forward.
Effort: About 10 minutes to sort items into bins and stack them.
Lower-cost alternative: Clear zip bags or repurposed clear food containers work for small categories like cotton pads and hair accessories.
9. A Standing Organizer With Open Drainage
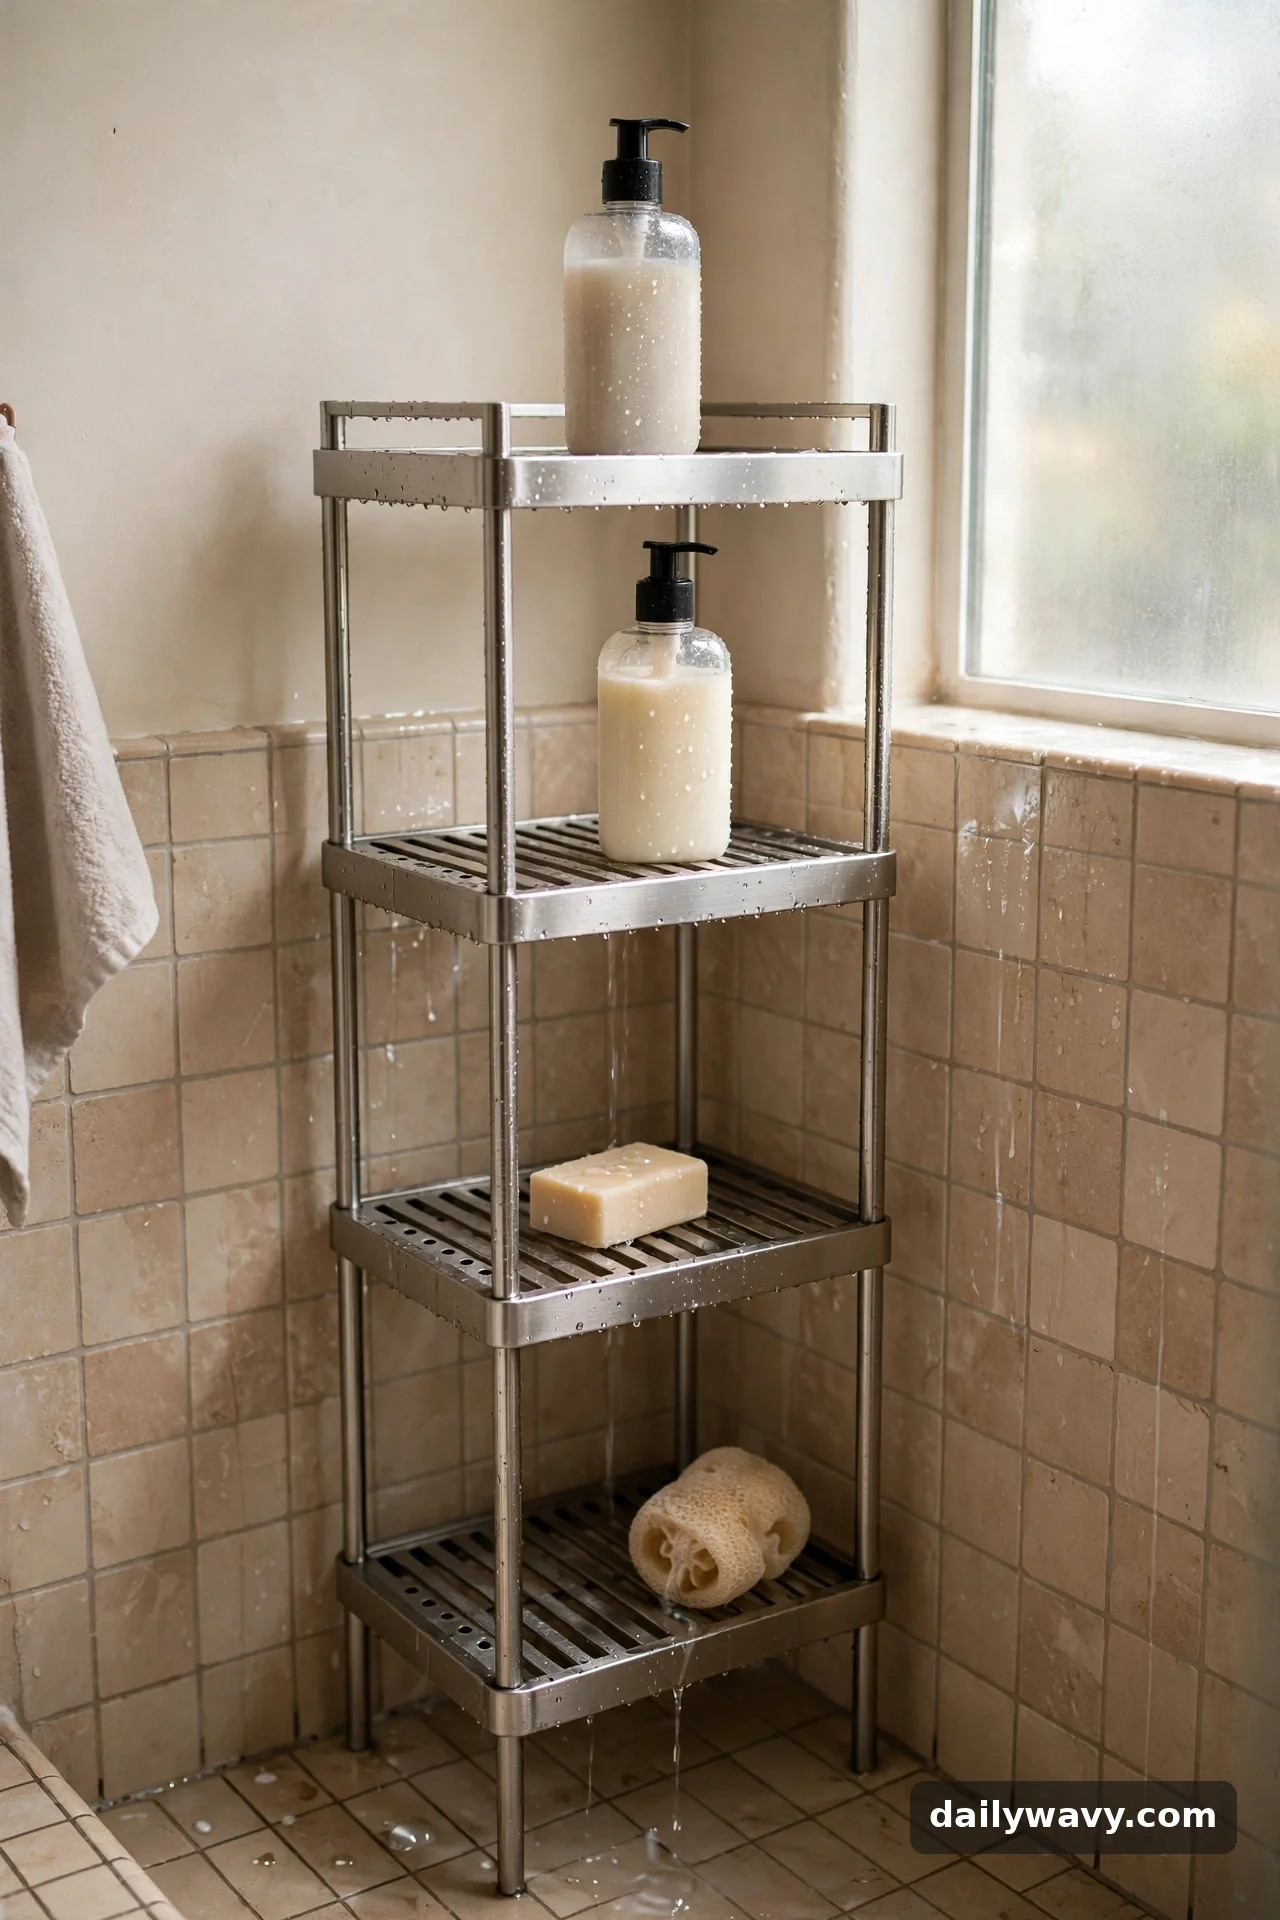
Wet items need airflow, not sealed boxes. A standing organizer with open drainage, slatted shelves or holes in the base, lets shower items dry between uses instead of sitting in a puddle and growing mildew.
What to measure: The footprint where it will stand: beside the tub, in the shower corner, or on the vanity. Keep it narrow enough that it does not block movement.
Materials: Stainless steel, sealed bamboo, or sturdy plastic. All three resist rust and wipe clean. Avoid untreated wood and uncoated metal in constant wet zones.
Placement: In the shower corner for shampoo and soap, or on the tub edge for bath toys and washcloths. Keep it where splashes already land so drainage is not an issue.
Effort: About 5 minutes to position and load.
Lower-cost alternative: A plastic dish rack from the kitchen aisle makes an excellent ventilated bathroom organizer for a few dollars.
10. A Vertical Arrangement Saving Width
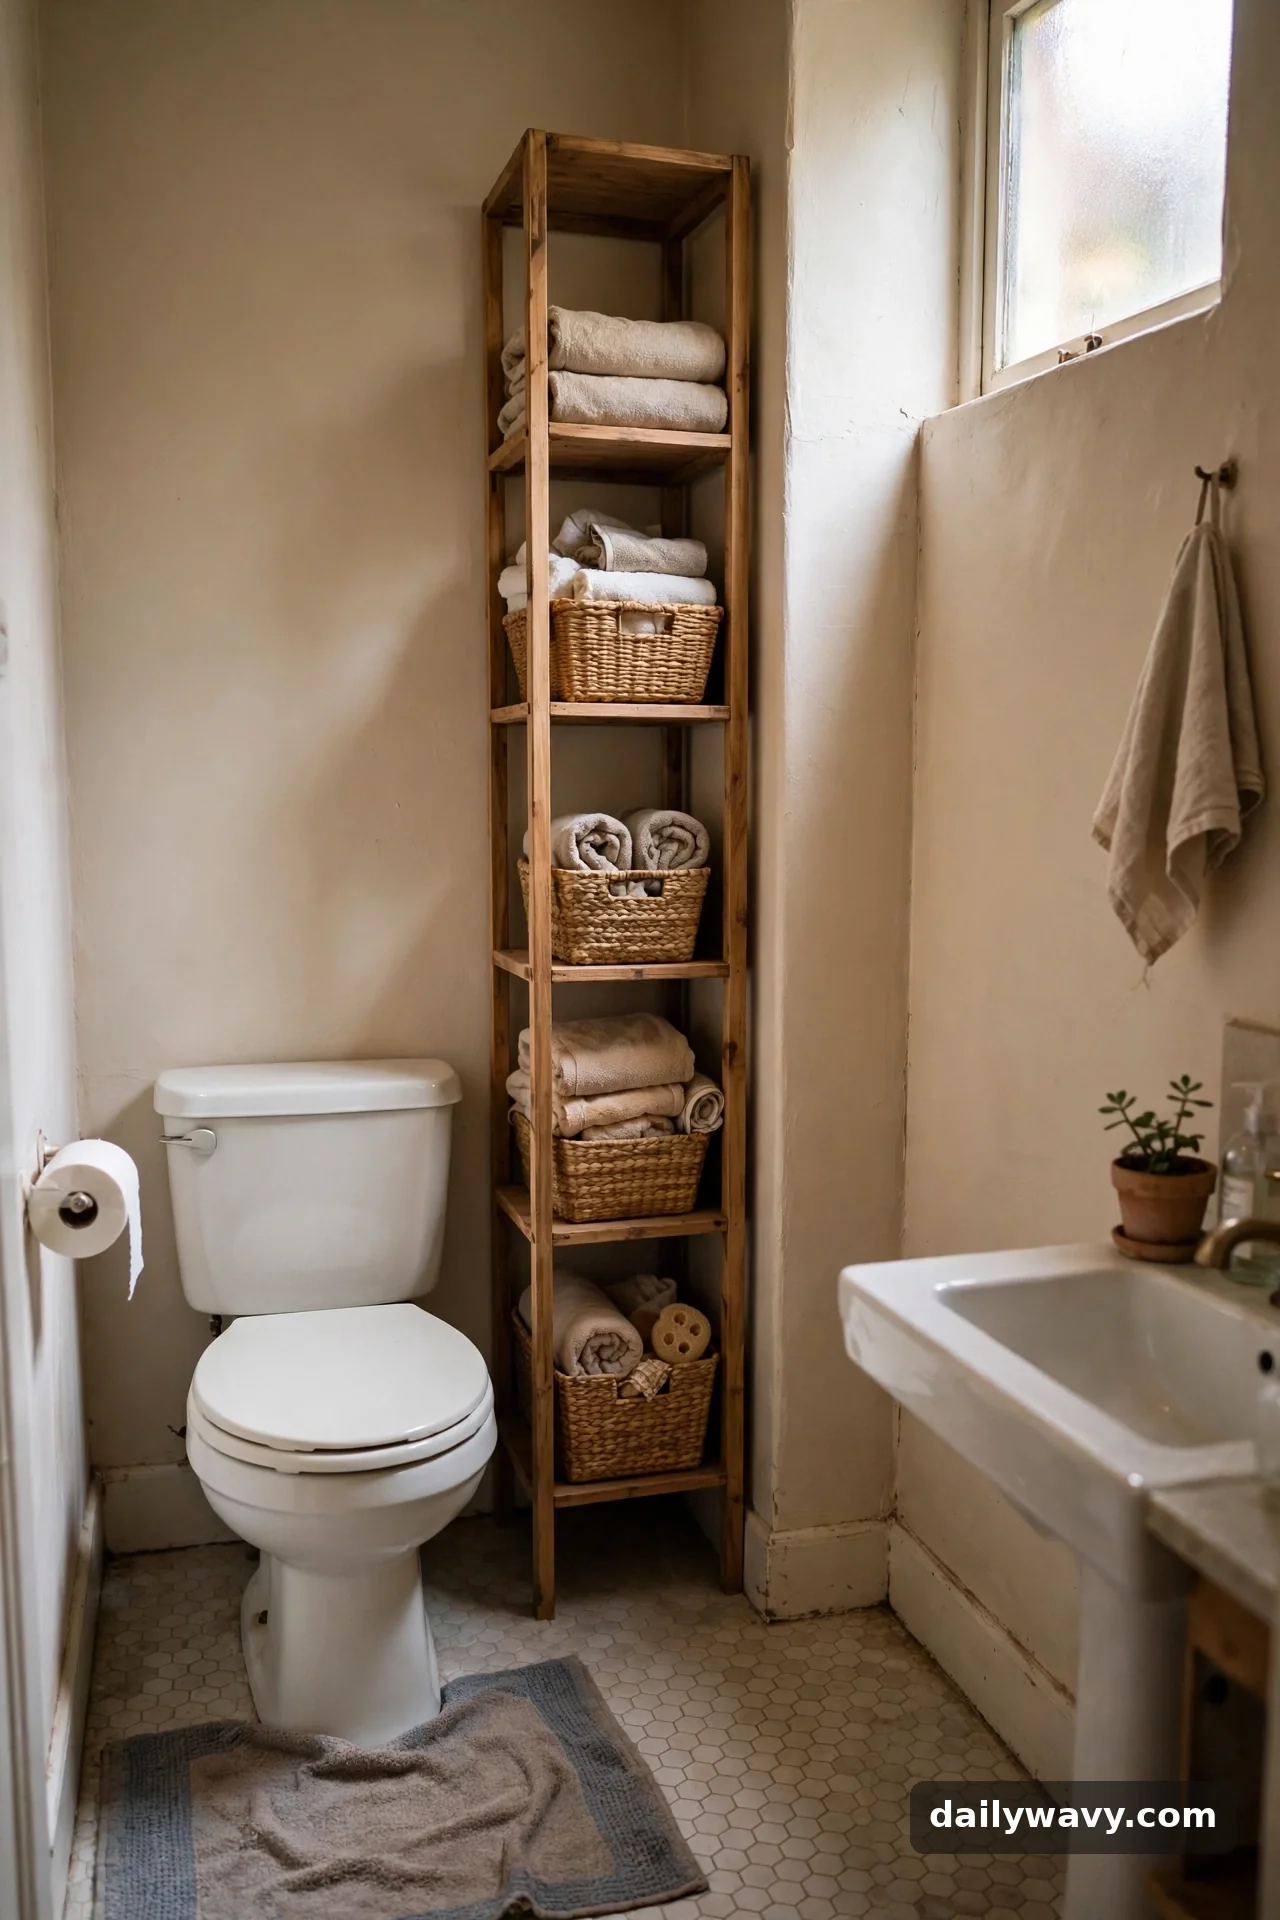
Small bathrooms are usually short on width but have unused height. A tall, narrow tower or over-the-toilet shelving unit turns that vertical space into storage for towels, backstock, and baskets.
What to measure: The width between fixtures. The space over most toilets fits a unit 24 to 30 inches wide. Measure floor to ceiling too, and leave clearance for the toilet lid.
Materials: A freestanding over-toilet etagere, a narrow tower cabinet, or simple floating shelves. Anchor any tall freestanding unit to the wall with anti-tip hardware; a loaded tower is top-heavy.
Placement: Over the toilet is the classic spot. Keep daily items between 40 and 60 inches high, where they are easy to reach, and relegate backstock to the top shelf. Small bedrooms run on the same go-vertical logic: our small bedroom with a queen bed ideas show how tall, narrow pieces earn their floor space.
Effort: About 30 to 45 minutes to assemble and anchor a shelving unit; 20 minutes per floating shelf including anchors.
Lower-cost alternative: Two or three simple floating shelves with sturdy brackets, installed with drywall anchors, cost far less than a furniture unit.
11. A Low Basket For Backup Supplies
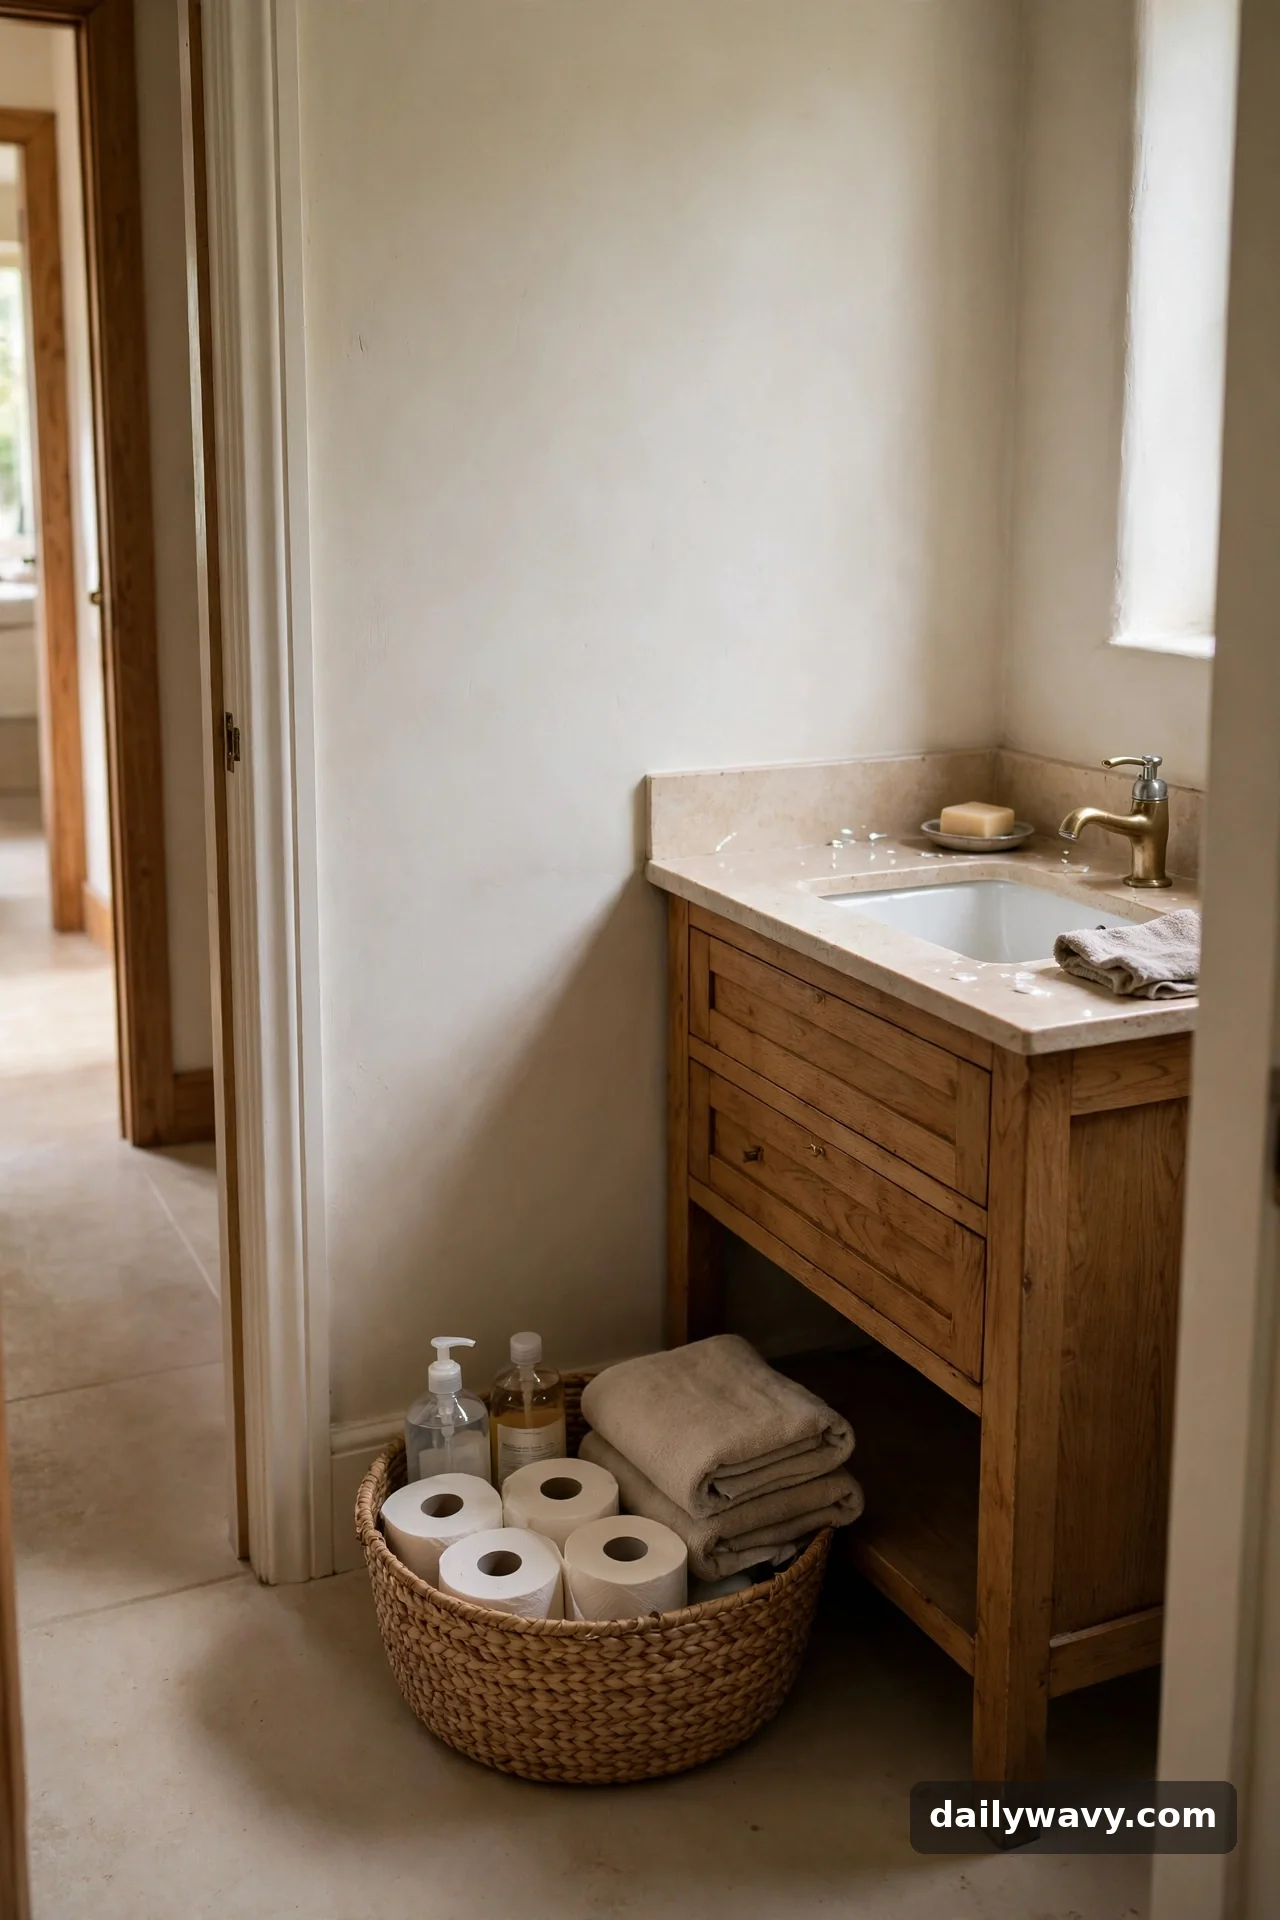
Backstock does not need prime real estate, but it should not live on the bare floor either. A low, wide basket tucked beside the vanity or under a shelf holds toilet paper, spare towels, and refill bottles where you can grab them.
What to measure: The floor or shelf space available: width, depth, and the height you can spare. Low baskets around 10 to 12 inches tall slide under most wall-hung vanities.
Materials: Woven baskets look warm; plastic ones survive mopping and splashes. If your bathroom floor gets wet regularly, choose plastic or set any basket on a small riser or shelf rather than directly on the tile.
Placement: Beside the vanity, under an open shelf, or in the corner by the toilet. Keep it out of the main walking path.
Effort: About 5 minutes to position and fill.
Lower-cost alternative: A sturdy cardboard box or paper grocery bag, replaced when it wears out, holds backstock just fine.
12. A Separate Zone For Wet Items
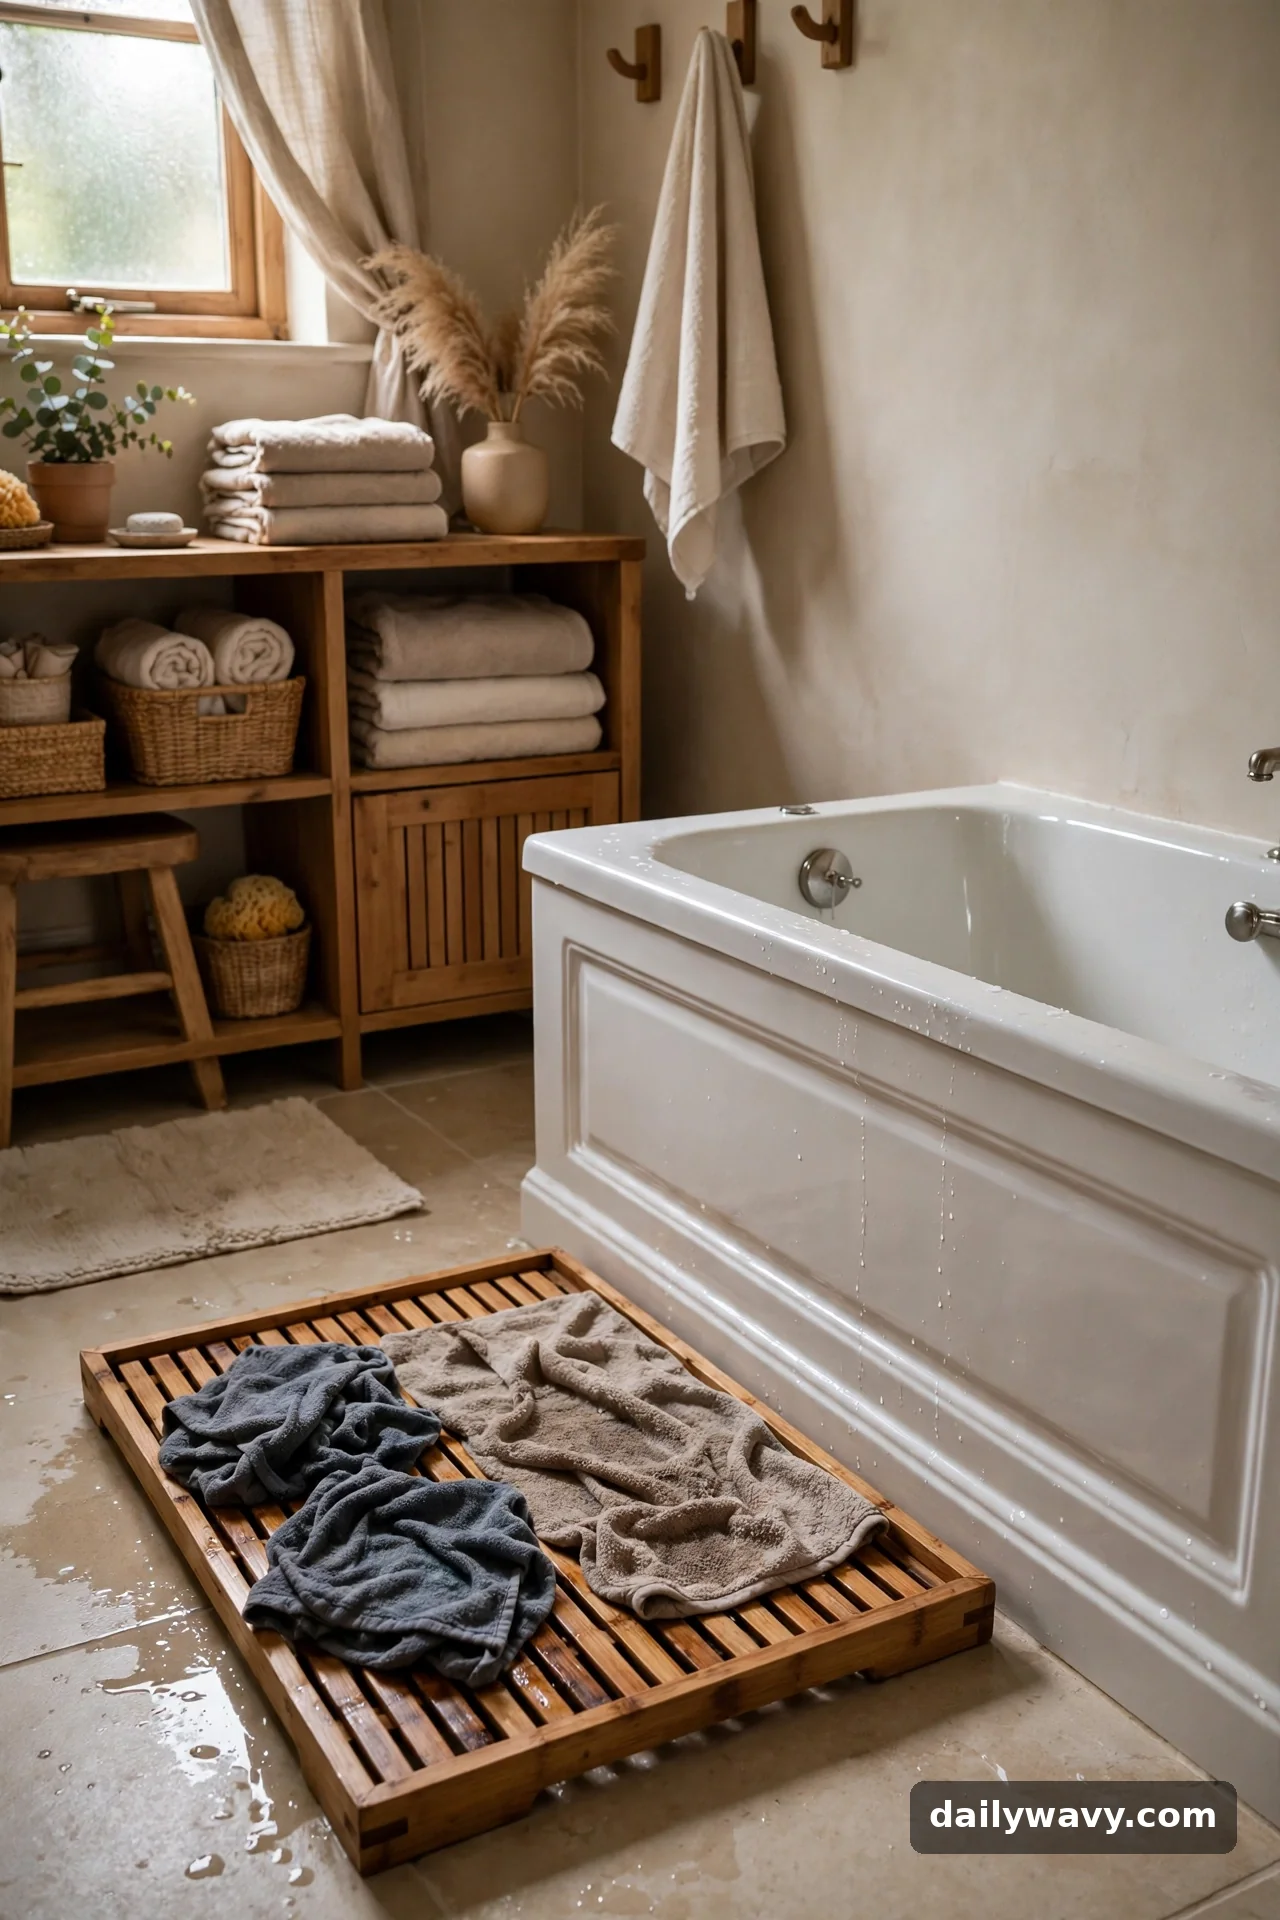
Wet and dry storage should never share a container. Giving damp items their own zone, a slatted tray, a drip mat, or a ventilated corner, keeps everything else dry and stops mildew before it starts.
What to measure: The area where wet items land: under the sink, beside the tub, or on the vanity near the faucet. Size the tray or mat to that footprint.
Materials: A slatted bamboo or teak tray, an absorbent stone bath mat, or a simple plastic drip tray. All three let water drain or evaporate instead of pooling.
Placement: Wherever water actually lands in your routine. Under-sink plumbing drips go on a small absorbent mat; bath-side items go on the slatted tray.
Effort: About 10 minutes to define the zone and set the tray or mat.
Lower-cost alternative: A boot tray or a rimmed baking sheet catches drips for almost nothing.
13. A Removable Insert For Easier Cleaning
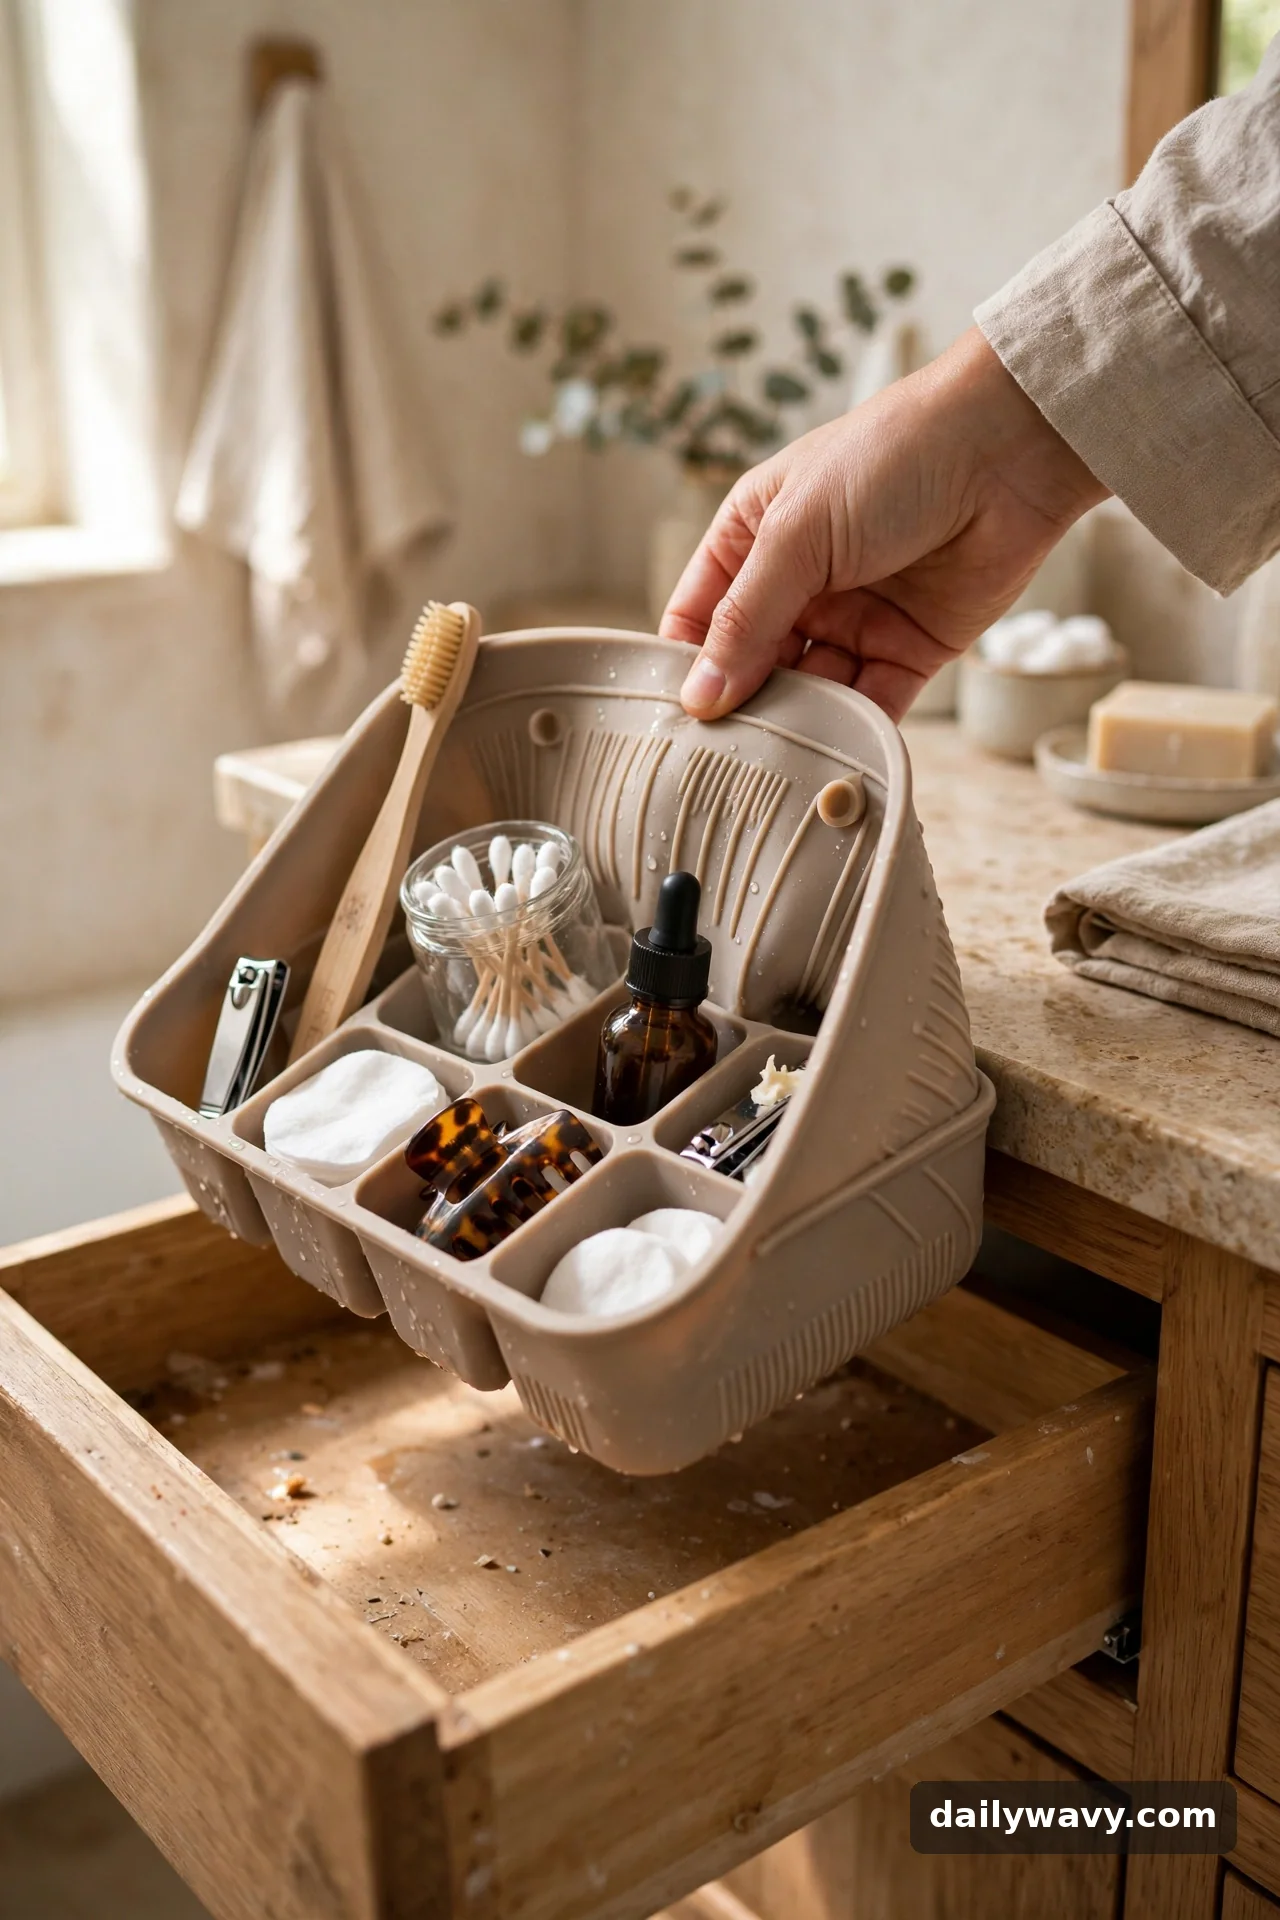
Bathroom drawers and cabinets get grimy, and scrubbing around fixed organizers is miserable. Removable inserts, washable liners and lift-out trays, let you pull everything out, rinse it, and drop it back in.
What to measure: Each drawer and shelf you want to line. Cut liners about a quarter inch smaller than the space so they lift out easily.
Materials: Washable silicone drawer liners, removable plastic trays, or wipeable shelf paper. Avoid paper liners in wet zones; they disintegrate.
Placement: In every drawer and on every cabinet shelf that holds toiletries. The five minutes of measuring pays off every time you clean.
Effort: About 20 minutes to measure, cut, and fit liners for a typical vanity.
Lower-cost alternative: Cut-up yoga mats or placemats make grippy, washable drawer liners for very little money.
14. A Compact Rack At Reachable Height
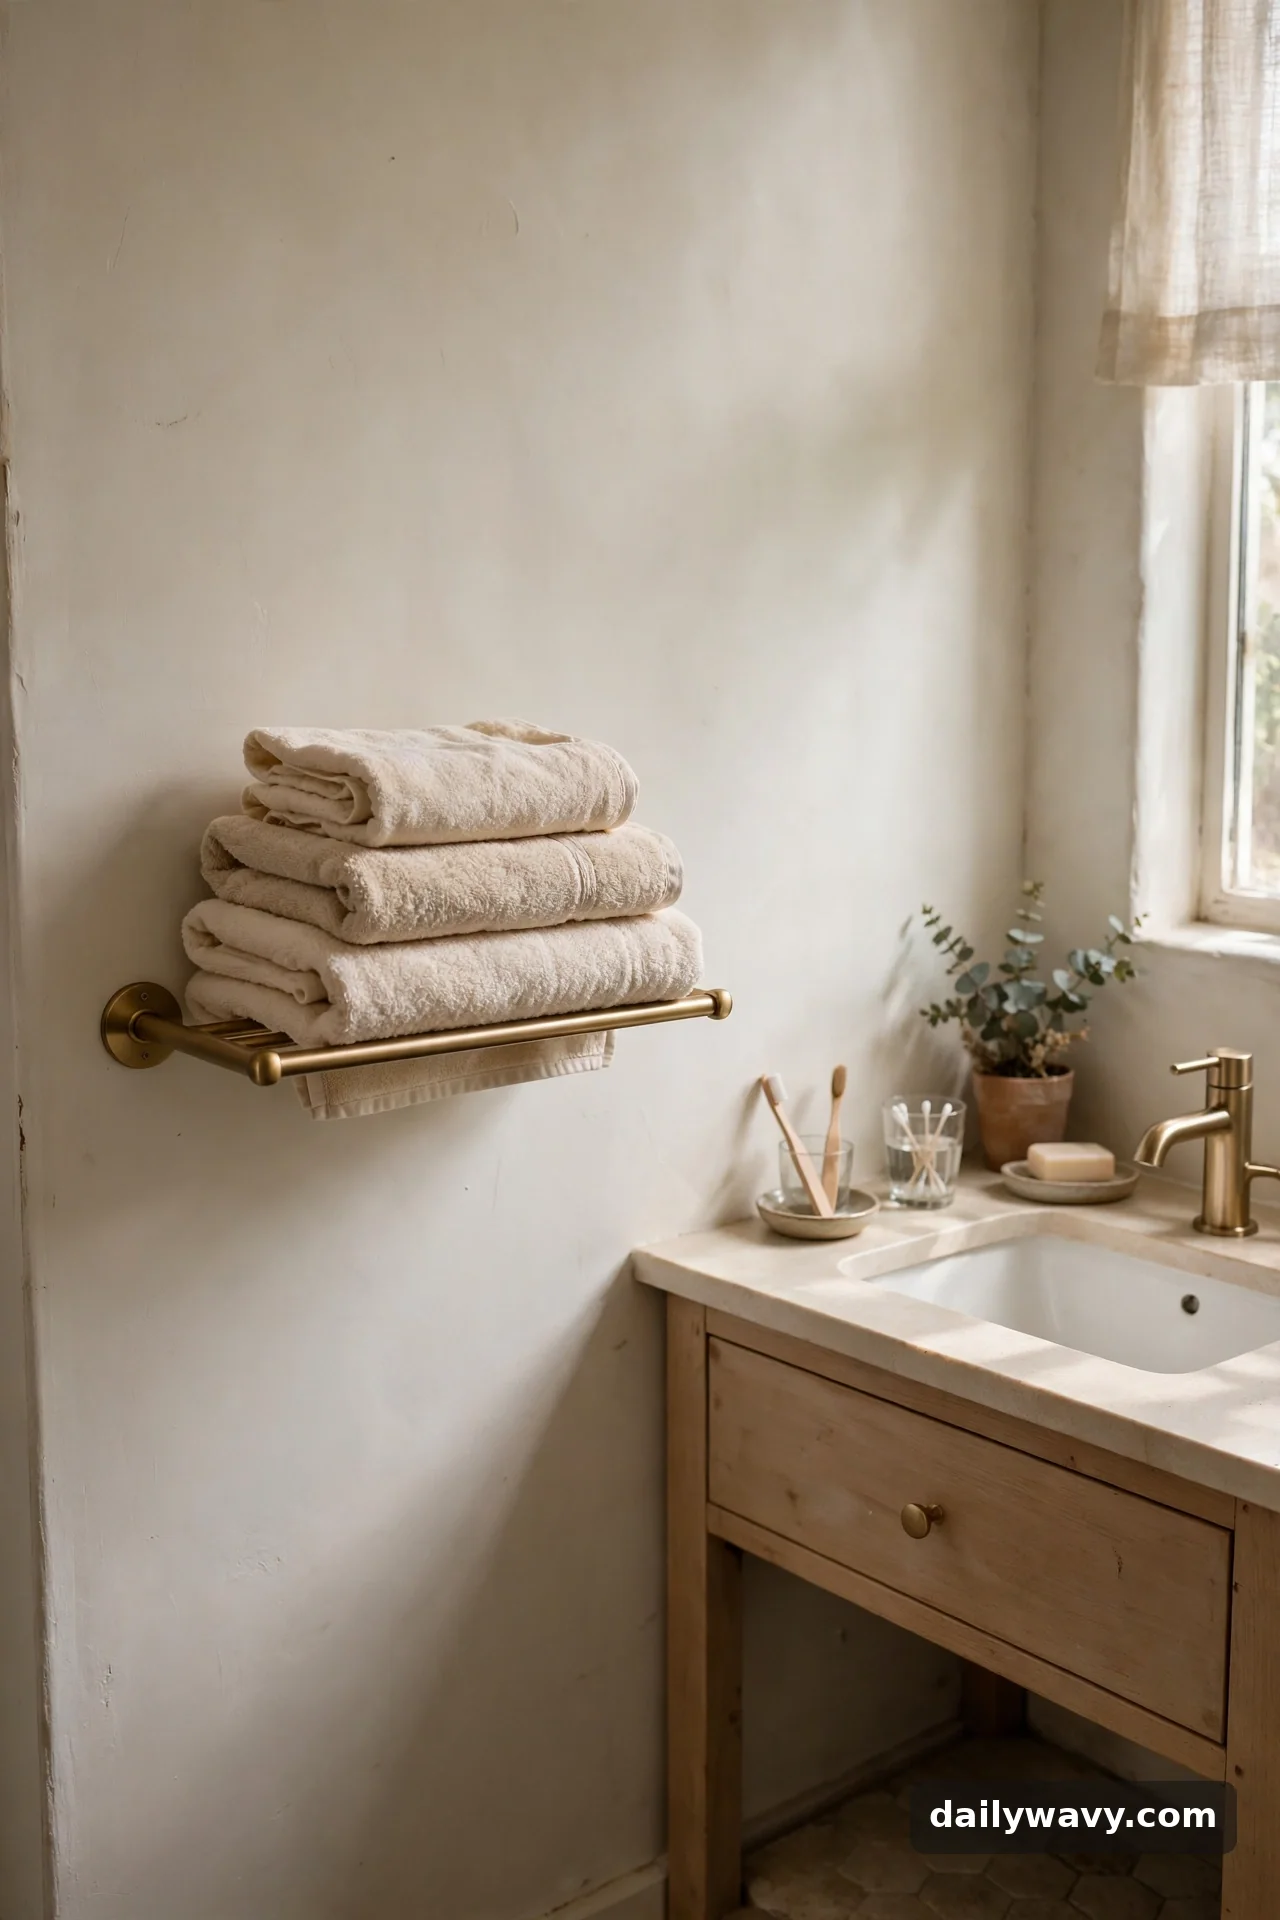
A small wall rack keeps towels and daily items off the counter and exactly where you reach for them. The key is mounting it at a height that works for everyone in the household and anchoring it so it never wobbles.
What to measure: Mount the rack so its lowest bar sits around 48 inches from the floor for adults, lower if kids use the bathroom. Find studs with a stud finder; where there is no stud, use toggle bolts or high-quality drywall anchors rated for the load.
Materials: A compact towel rack, a small multi-bar rack, or a wall-mounted basket set. Stainless steel and powder-coated metal handle humidity best.
Placement: Beside the vanity or on the nearest clear wall section. Avoid placing it where the shower door swings.
Effort: About 20 to 30 minutes including finding studs and drilling.
Lower-cost alternative: A row of sturdy adhesive hooks at the same height gives you a rack-like row with no drilling, as long as you respect the weight ratings.
15. A Closed Box For Rarely Used Items
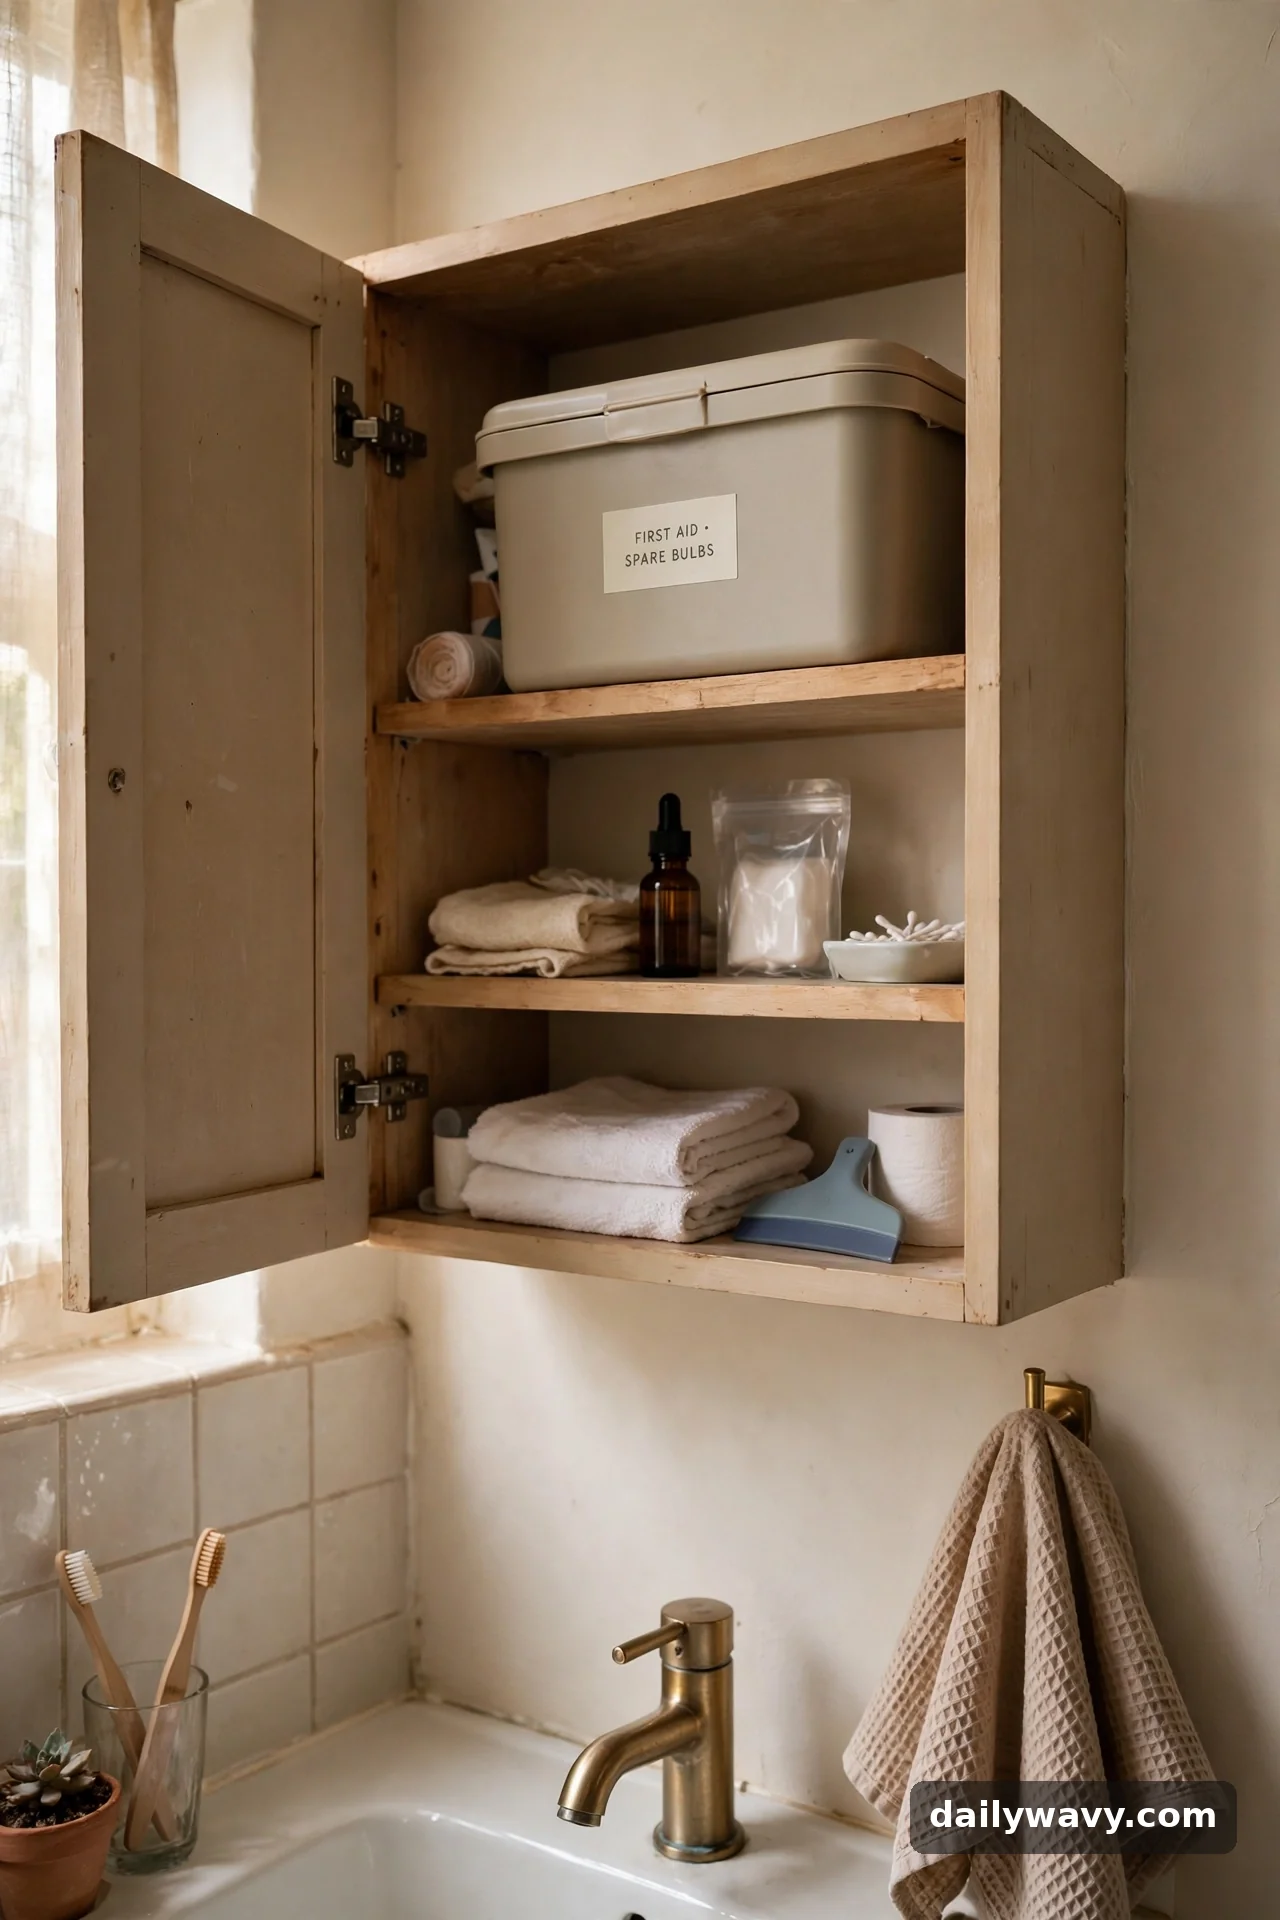
Every bathroom has items you need twice a year: the first-aid kit, spare bulbs, seasonal products. A closed box on a high shelf keeps them dust-free, dry, and out of your daily way, with a label so you can find them when it counts.
What to measure: Your highest reachable shelf. The box should fit with the lid on and still clear the shelf above.
Materials: A lidded plastic or fabric box with a label on the front. A sealed lid matters in a steamy bathroom; open boxes collect dust and moisture.
Placement: Top shelf of a cabinet or closet. Label the outside clearly, first aid, spares, seasonal, so nobody has to open it to remember what is inside.
Effort: About 10 minutes to gather rarely used items, box them, and label.
Lower-cost alternative: Any lidded box you already own, with a piece of masking tape as the label.
Frequently asked questions
How do I stop baskets from getting moldy in a humid bathroom?
Run the exhaust fan during and for 20 minutes after every shower, and choose moisture-tolerant materials like plastic, sealed bamboo, or powder-coated metal for anything that lives near water. Wipe baskets down monthly. If a natural-fiber basket starts smelling musty, it is telling you it needs more airflow or a drier spot.
Where should I keep cleaning products if I have small children?
In a locked cabinet or on a high shelf they cannot reach, never under an unlocked sink. Keep cleaners in their own closed container, completely separate from personal-care items, and keep the original labels facing forward so you always know what you are grabbing.
Will adhesive hooks damage my tile?
Not if you remove them correctly. Most release cleanly when you warm the adhesive with a hair dryer and pull the tab slowly, or slide dental floss behind the pad. Respect the weight rating on the package, and never hang anything heavier than rated; that is what causes failures, not the adhesive itself.
My bathroom has no vanity at all. Where do I start?
Go vertical. An over-the-toilet shelf, a row of hooks, and a narrow rolling cart beside the toilet cover most needs without a single cabinet. A shallow tray on the windowsill or a wall-mounted basket can stand in for counter space.
What if the pipes eat all of my under-sink space?
Measure around them rather than giving up on the cabinet. Narrow caddies and U-shaped organizers are made for exactly this situation.
How often should I declutter bathroom storage?
Do a two-minute check monthly: toss empties, wipe the tray, evict anything that migrated. Do a full reset twice a year, pulling everything out, wiping the shelves, and re-sorting. Small bathrooms stay organized through maintenance, not one heroic clean.
A small bathroom does not need more space. It needs every item to have a measured, sensible home. Start with one basket and one tray this weekend, and build from there.