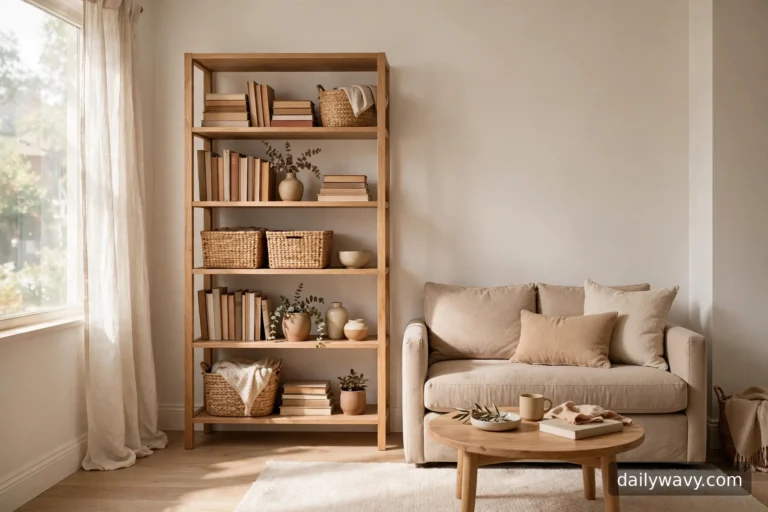
10 Scandinavian Kitchen Ideas with Character and Practical Details
Scandinavian kitchens are calm on the surface and hardworking underneath. The pale wood, soft whites and simple lines are not…
Scandinavian kitchens are calm on the surface and hardworking underneath. The pale wood, soft whites and simple lines are not just a look; they are a system that makes a small room easier to cook in and actually enjoy. If your kitchen feels busy even when it is tidy, the culprit is usually visual noise: too many finishes and objects fighting for attention. These ten ideas borrow the best of Nordic style, light, texture and restraint, and translate it into finishes you can recreate at home, one decision at a time. If your cabinets need attention first, our small pantry organization ideas will sort the hidden clutter before the visible details go in.
Jump to an idea
- A washable runner along the work zone
- A pendant over a clear surface
- A ceramic utensil crock
- A small herb pot near daylight
- A framed print away from splashes
- A stool pair at a compact counter
- A backsplash with subtle texture
- A shade framing the kitchen window
- A glass jar grouping in one corner
- A pitcher holding cooking tools
The Scandinavian starting point
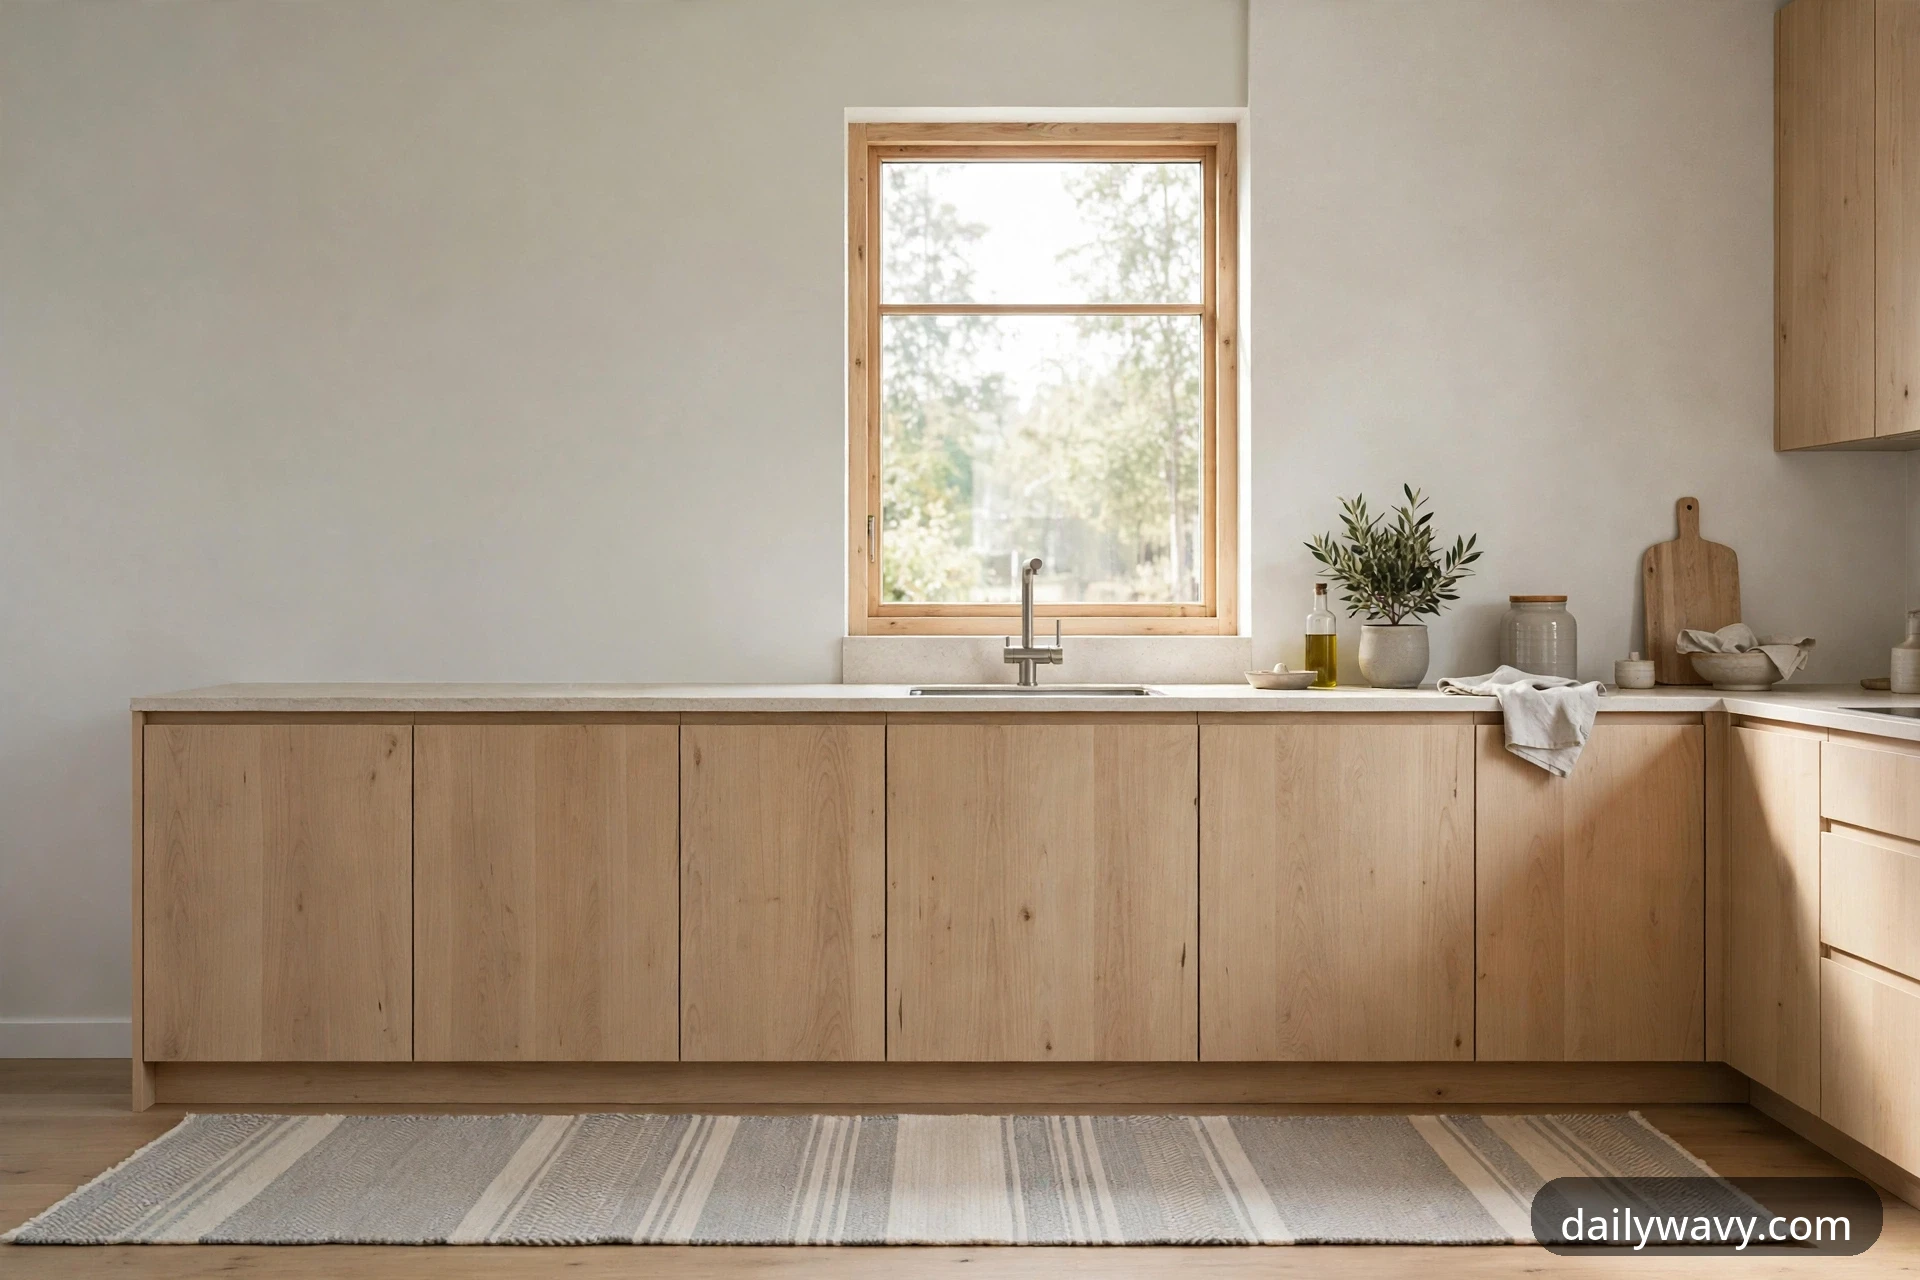
Before the ten ideas, it helps to know what makes this style feel right instead of just pale. Scandinavian kitchens rest on three decisions. First, the palette stays close: light wood (birch, ash or white oak), one soft neutral (warm white, soft gray or pale greige) and a single dark note used sparingly, like a black faucet or dark-stained stool legs. Two finishes doing the heavy lifting, one accent, nothing more.
Second, texture does the talking. Wool, linen, unfinished wood grain and matte ceramic add the warmth that keeps a light kitchen from feeling cold or clinical. Third, every object earns its place. If something sits on the counter, it should be used daily or be genuinely beautiful, ideally both. Keep these three ideas in mind and each detail below will fall into place.
1. A washable runner along the work zone
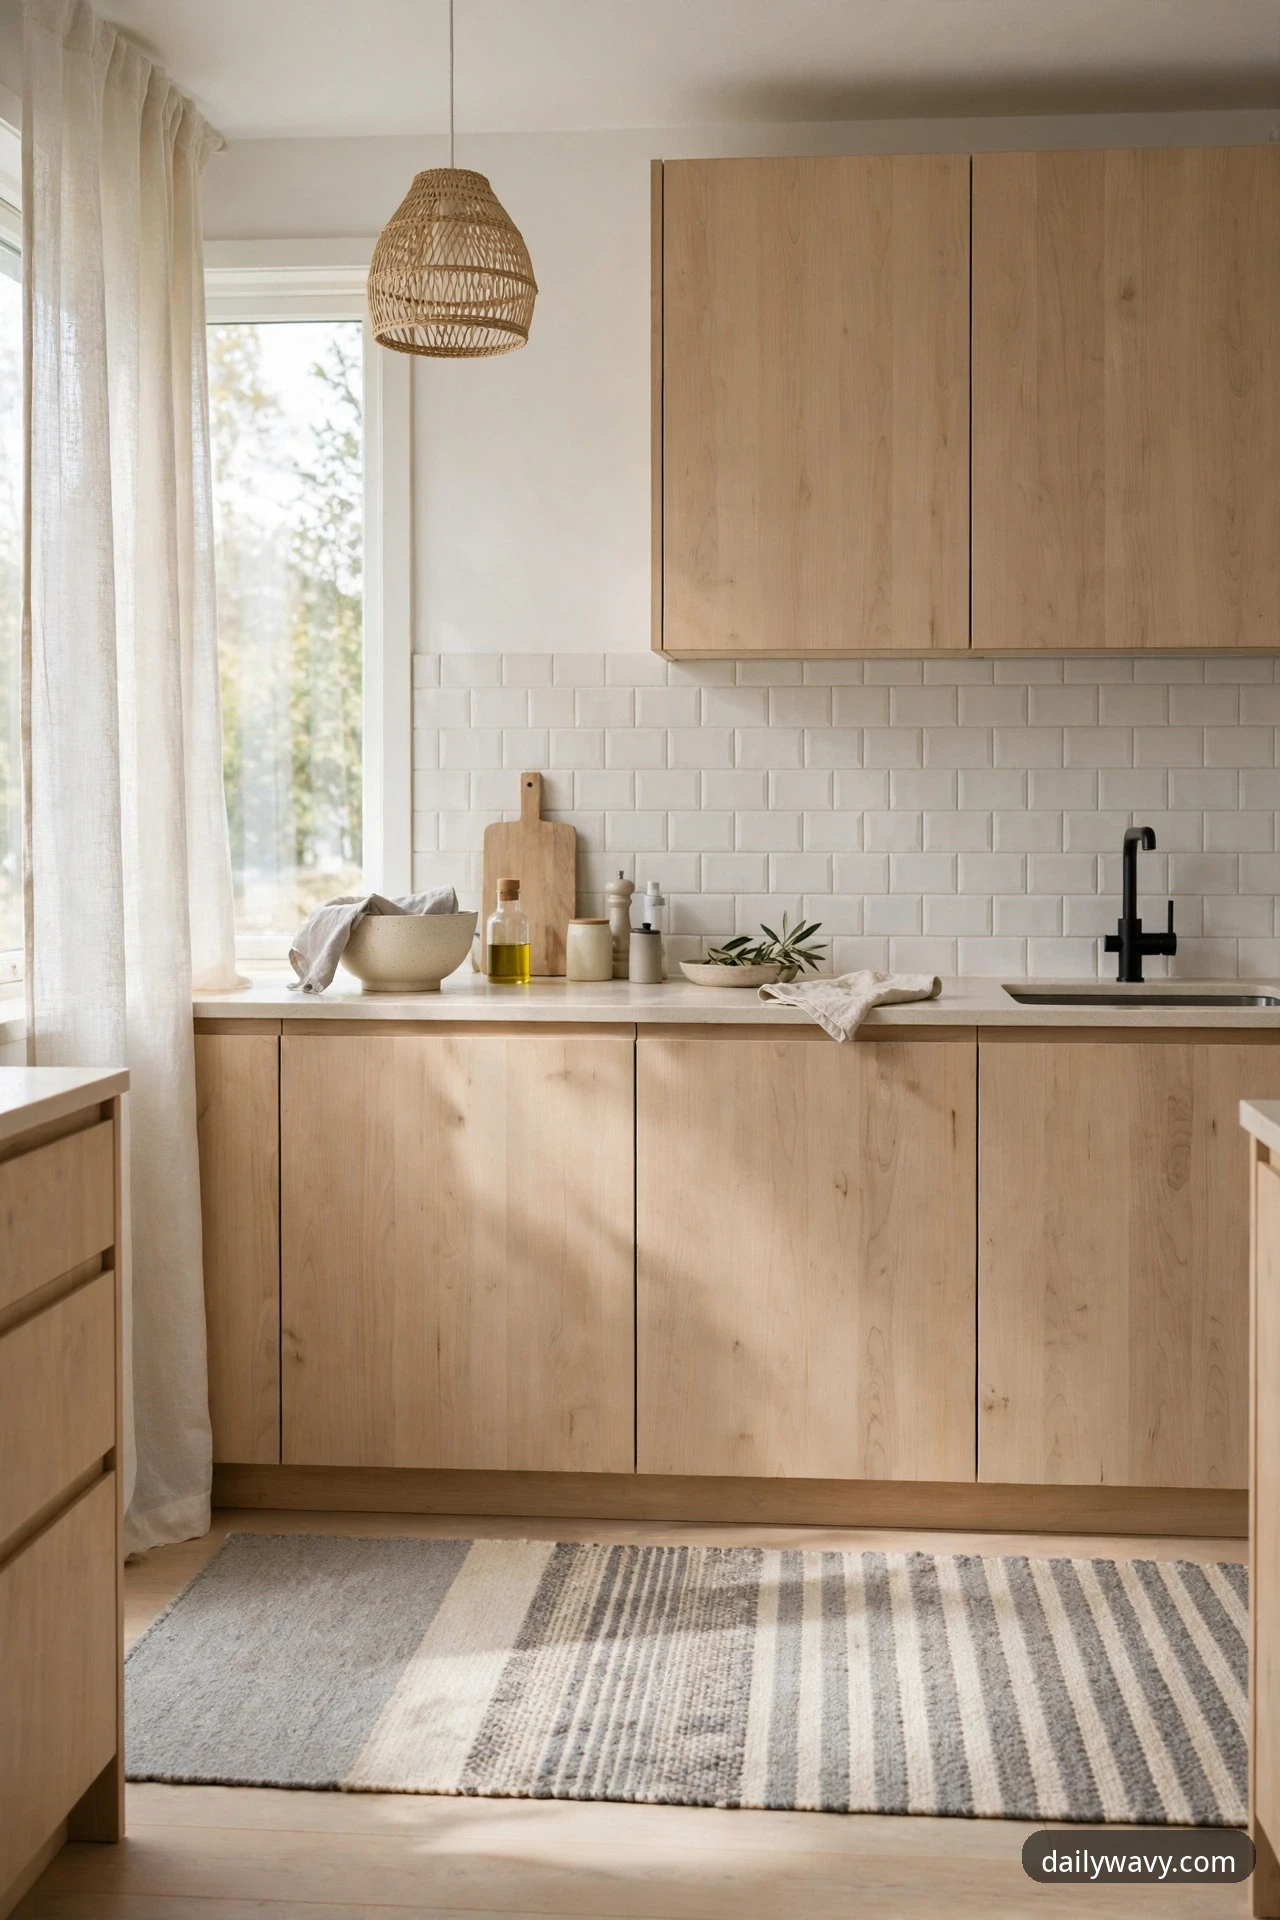
There is a particular pleasure in stepping onto something soft at six in the morning, when the kitchen floor is at its coldest and the coffee is still brewing. A runner along the work zone does more than warm your feet. It marks the cooking area visually, quiets the hard clatter of a busy kitchen and gives the whole room a finished, intentional feeling, the way a rug finishes a living room.
The one decision that matters most is washability. Kitchens spill. Choose a flat-weave cotton or wool runner that can go straight into the washing machine, and skip anything with a high pile or a backing that traps moisture. A low pile of about a quarter inch stays put, dries fast and slides easily under the edge of the toe kick.
What to measure: the floor run in front of your sink and stove, which is where you stand the longest. A standard width of 2 feet 6 inches suits most kitchens; leave 4 to 6 inches of floor visible on each side so the runner reads as an accent, not wall-to-wall carpet. Length should cover the work zone plus about 12 inches on each end.
For materials, a cotton flat-weave in a soft gray, cream or simple stripe is the classic choice, and a thin non-slip rug pad underneath keeps it from creeping. Center the runner on the main work triangle rather than hugging the cabinets, and keep it clear of the oven door swing so the door never catches the edge.
Expect about 30 minutes of measuring and ordering, with good washable runners running $60 to $140. The realistic lower-cost alternative is a washable flat-weave runner from a big-box store for $20 to $35. As long as the pile stays low and the backing is machine-washable, it will do the same visual work.
2. A pendant over a clear surface
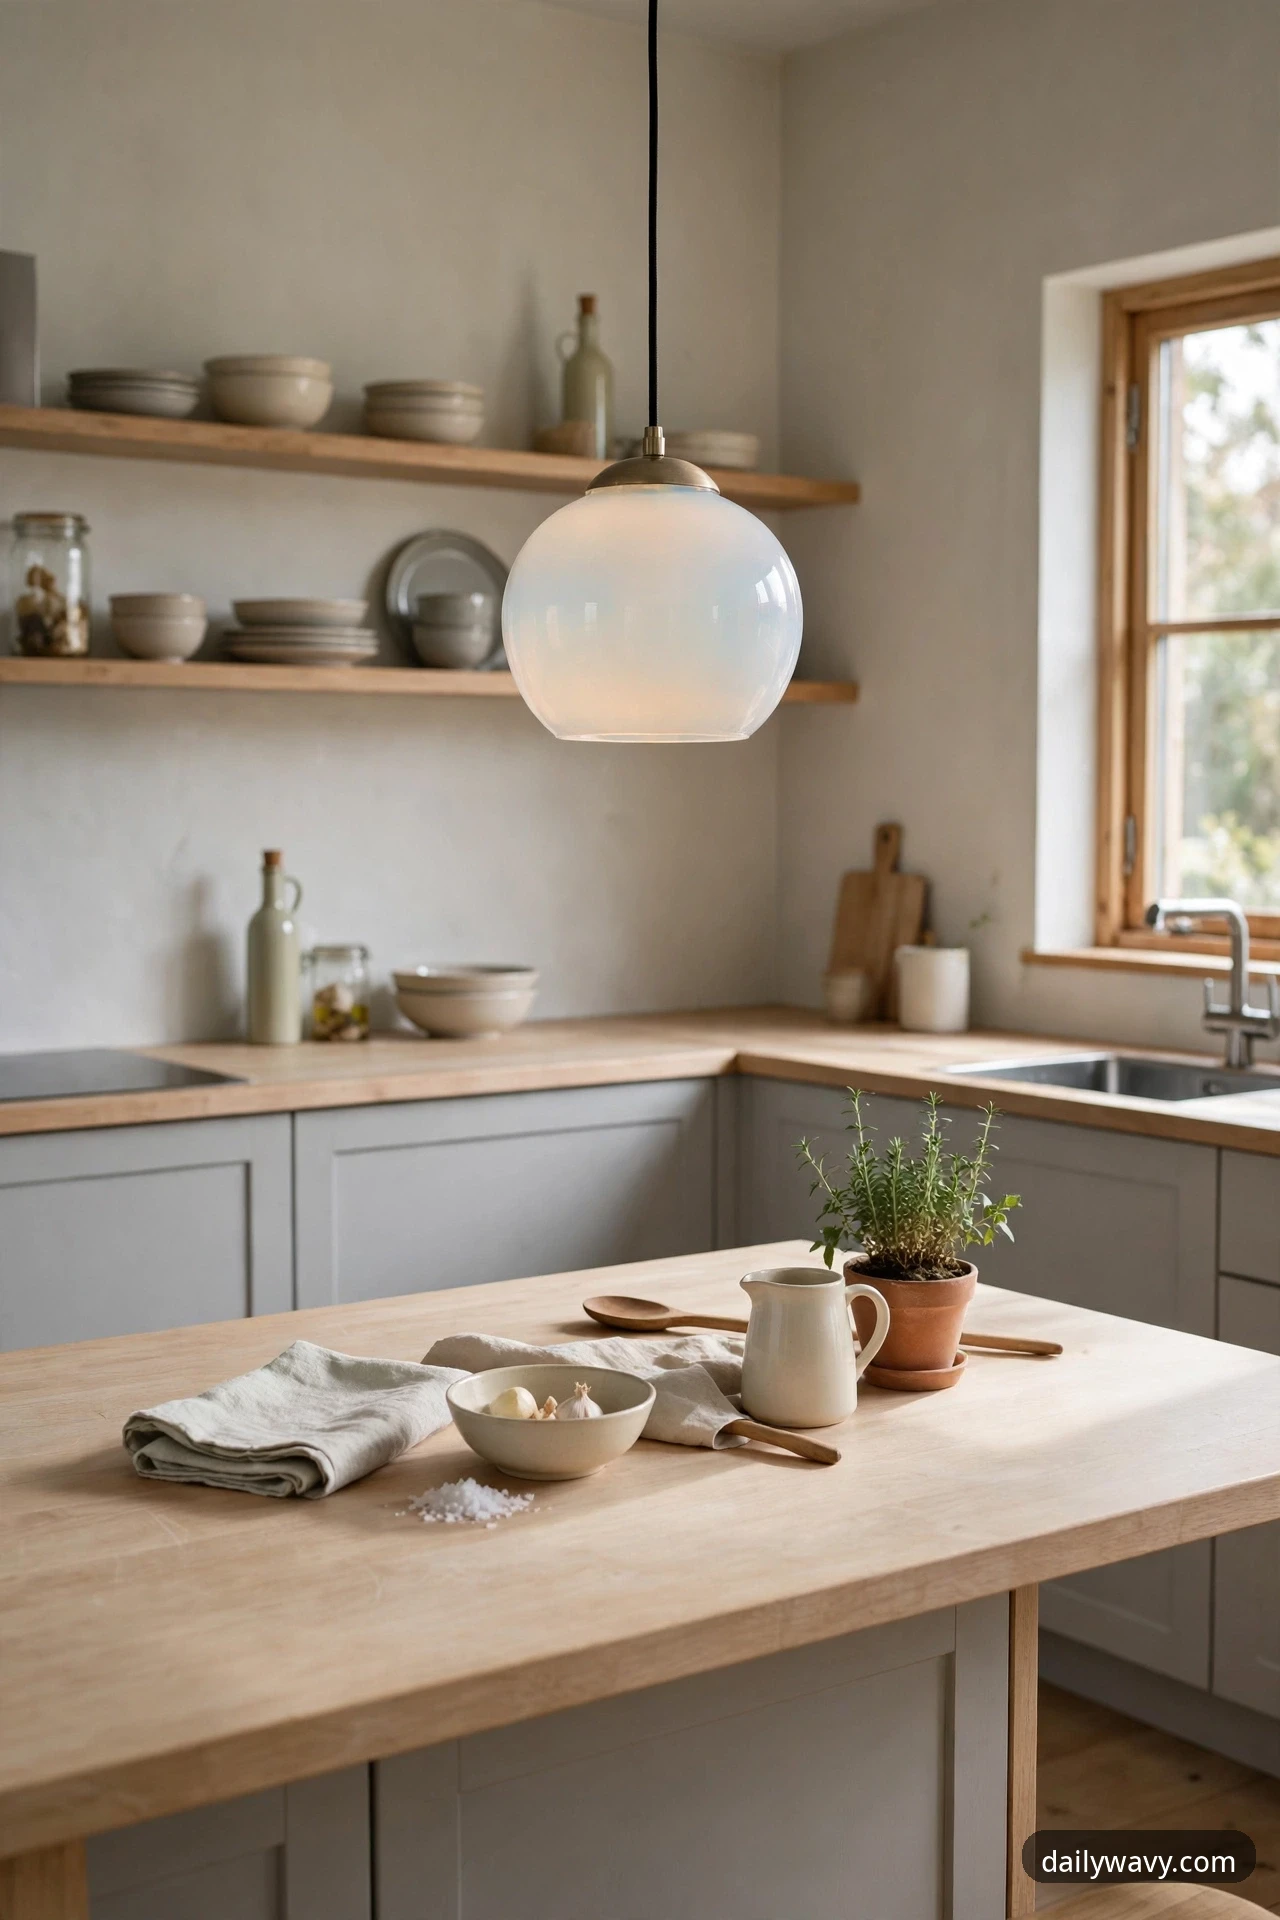
Switch on a pendant over the island at dusk and the whole kitchen changes. The general overhead light flattens everything; a pendant drops a warm pool of light exactly where the work happens, and suddenly the counter becomes one of the best seats in the house. Scandinavian interiors lean on this kind of layered lighting, one clear, considered light source instead of a grid of recessed spots.
The key decision is restraint. One pendant over a clear surface has more presence than two competing ones, unless the counter is long enough to need both. Keep the surface beneath it genuinely clear, not a second landing zone for mail and keys, so the light reads as intentional.
What to measure: hang the shade 30 to 36 inches above the counter surface, measured from the counter to the bottom of the shade. If you do need two pendants, space them 24 to 30 inches apart, center to center. Stand in the room’s entry and check the sightlines; you should be able to see across the room under the shade without it blocking your view.
Materials are simple: an opal glass globe or a linen drum shade, a warm 2700K to 3000K dimmable bulb, and a cord or stem in black or brass to match your other hardware. Place it centered on the island or over the clearest stretch of counter you have.
Budget for an electrician’s visit of one to two hours ($150 to $300) plus the fixture itself ($80 to $250). The lower-cost alternative is a plug-in swag pendant kit for $40 to $70, which hooks into the ceiling and drapes the cord to the nearest outlet. No wiring, no electrician, same warm pool of light.
3. A ceramic utensil crock
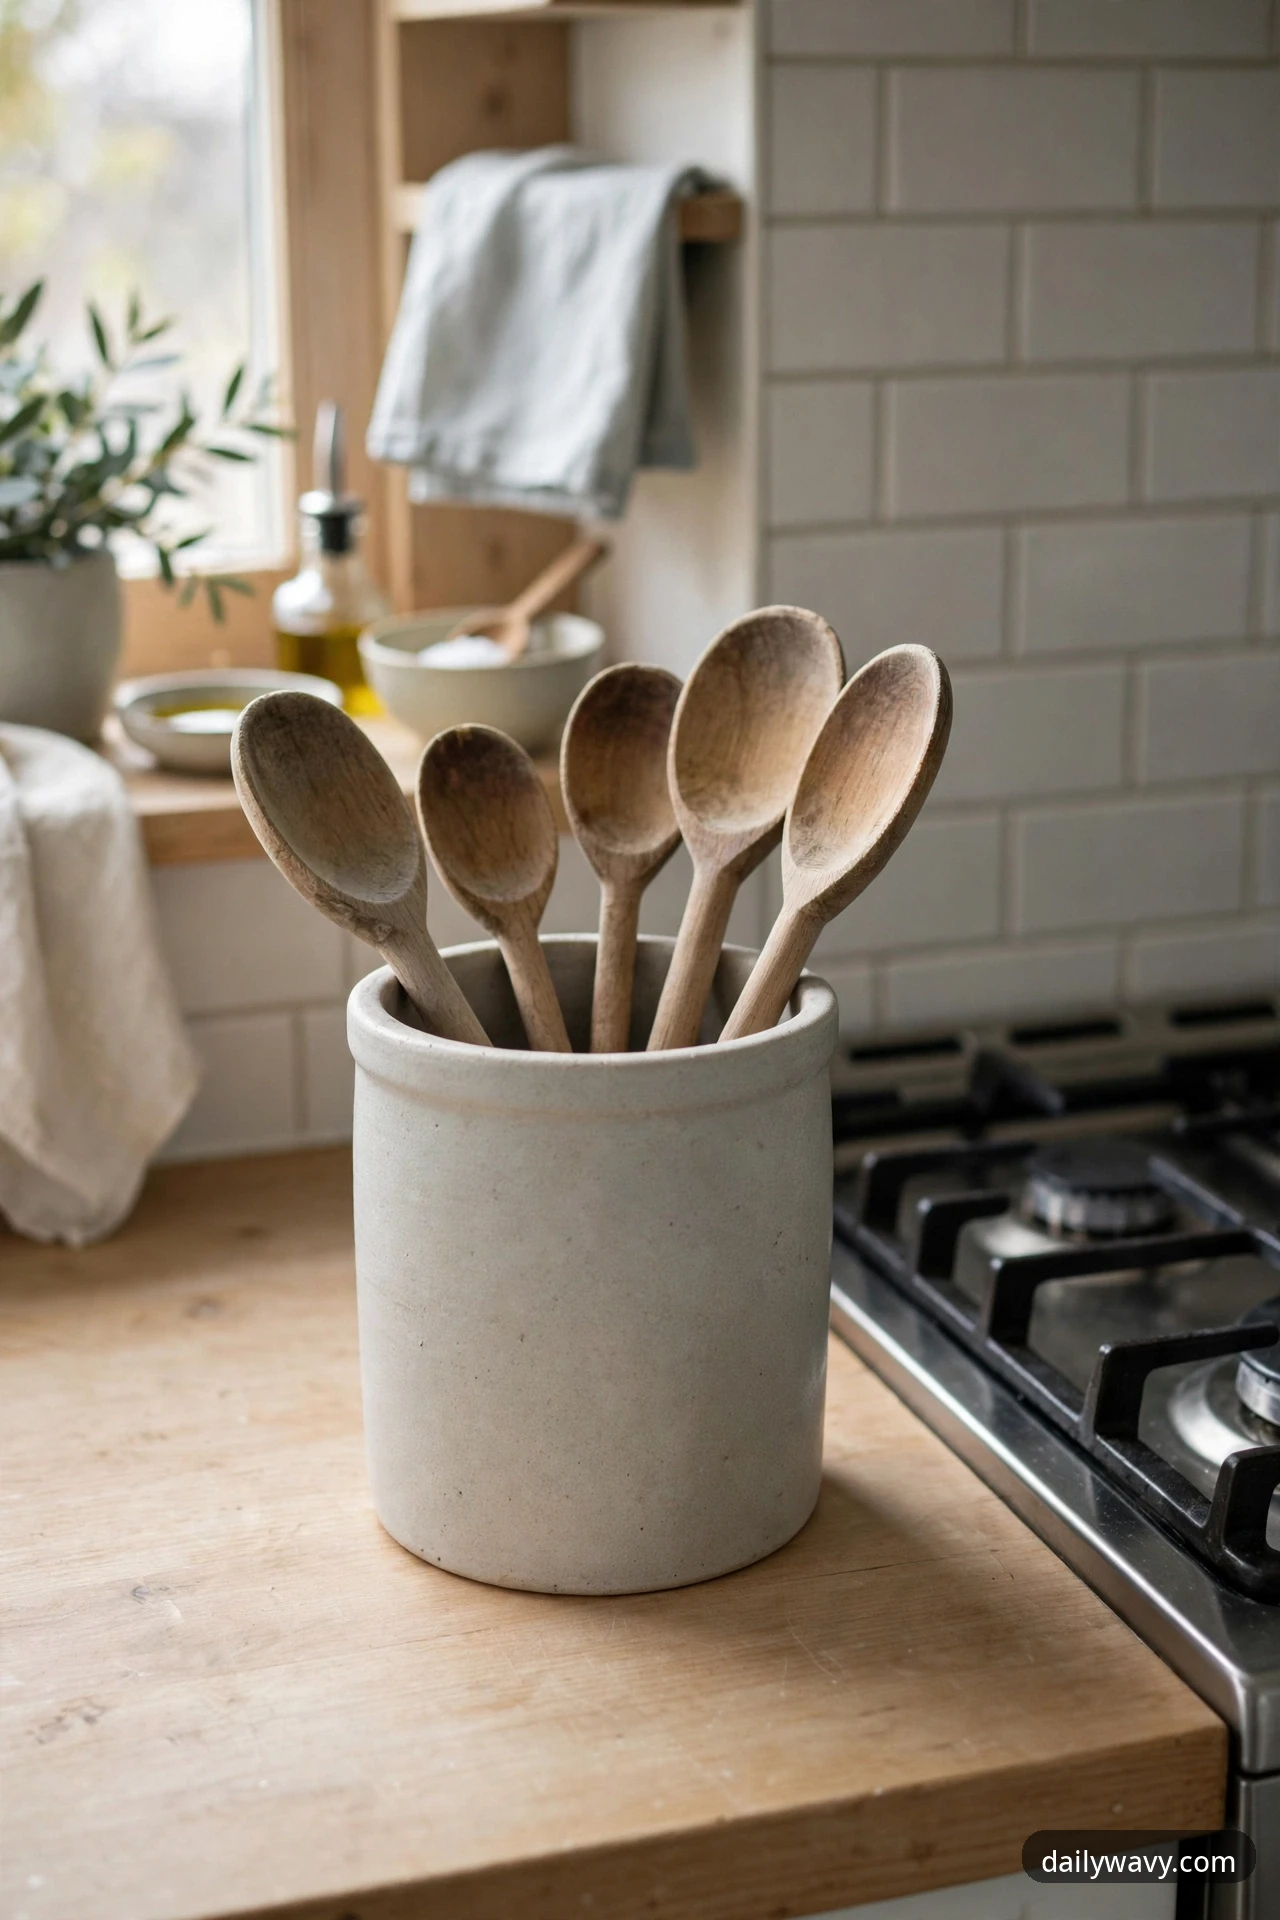
There is a small, satisfying sound when a wooden spoon lands in a heavy ceramic crock, a soft clunk that says the tools have a home. Scandinavian kitchens favor one generous container over a scatter of small ones, and a single stoneware crock gathers every spatula, spoon and whisk into one quiet, good-looking object.
The decision to get right is size. Too small and the tall tools topple; too tall and you cannot see what you are grabbing. A crock 5 to 6 inches wide and 6 to 7 inches tall holds 12 to 15 tools comfortably and sits stably on the counter.
What to measure: your counter depth and the space beside the stove. The crock should sit within arm’s reach of the cooking zone on your dominant-hand side, with enough clearance that the cabinet door above opens freely.
Choose matte stoneware in white, soft gray or oatmeal, with a wide mouth and a heavy base that will not tip when you yank out the tongs. Keep only the tools you use weekly; the rest belong in a drawer, where they stop adding visual noise to the room.
This is a one-shopping-trip project at $25 to $55 for a good stoneware crock. The lower-cost alternative is already in your cabinet: a large wide-mouth glass jar or a thrifted ceramic pitcher for $0 to $10 does the same job while you hunt for the perfect piece.
4. A small herb pot near daylight
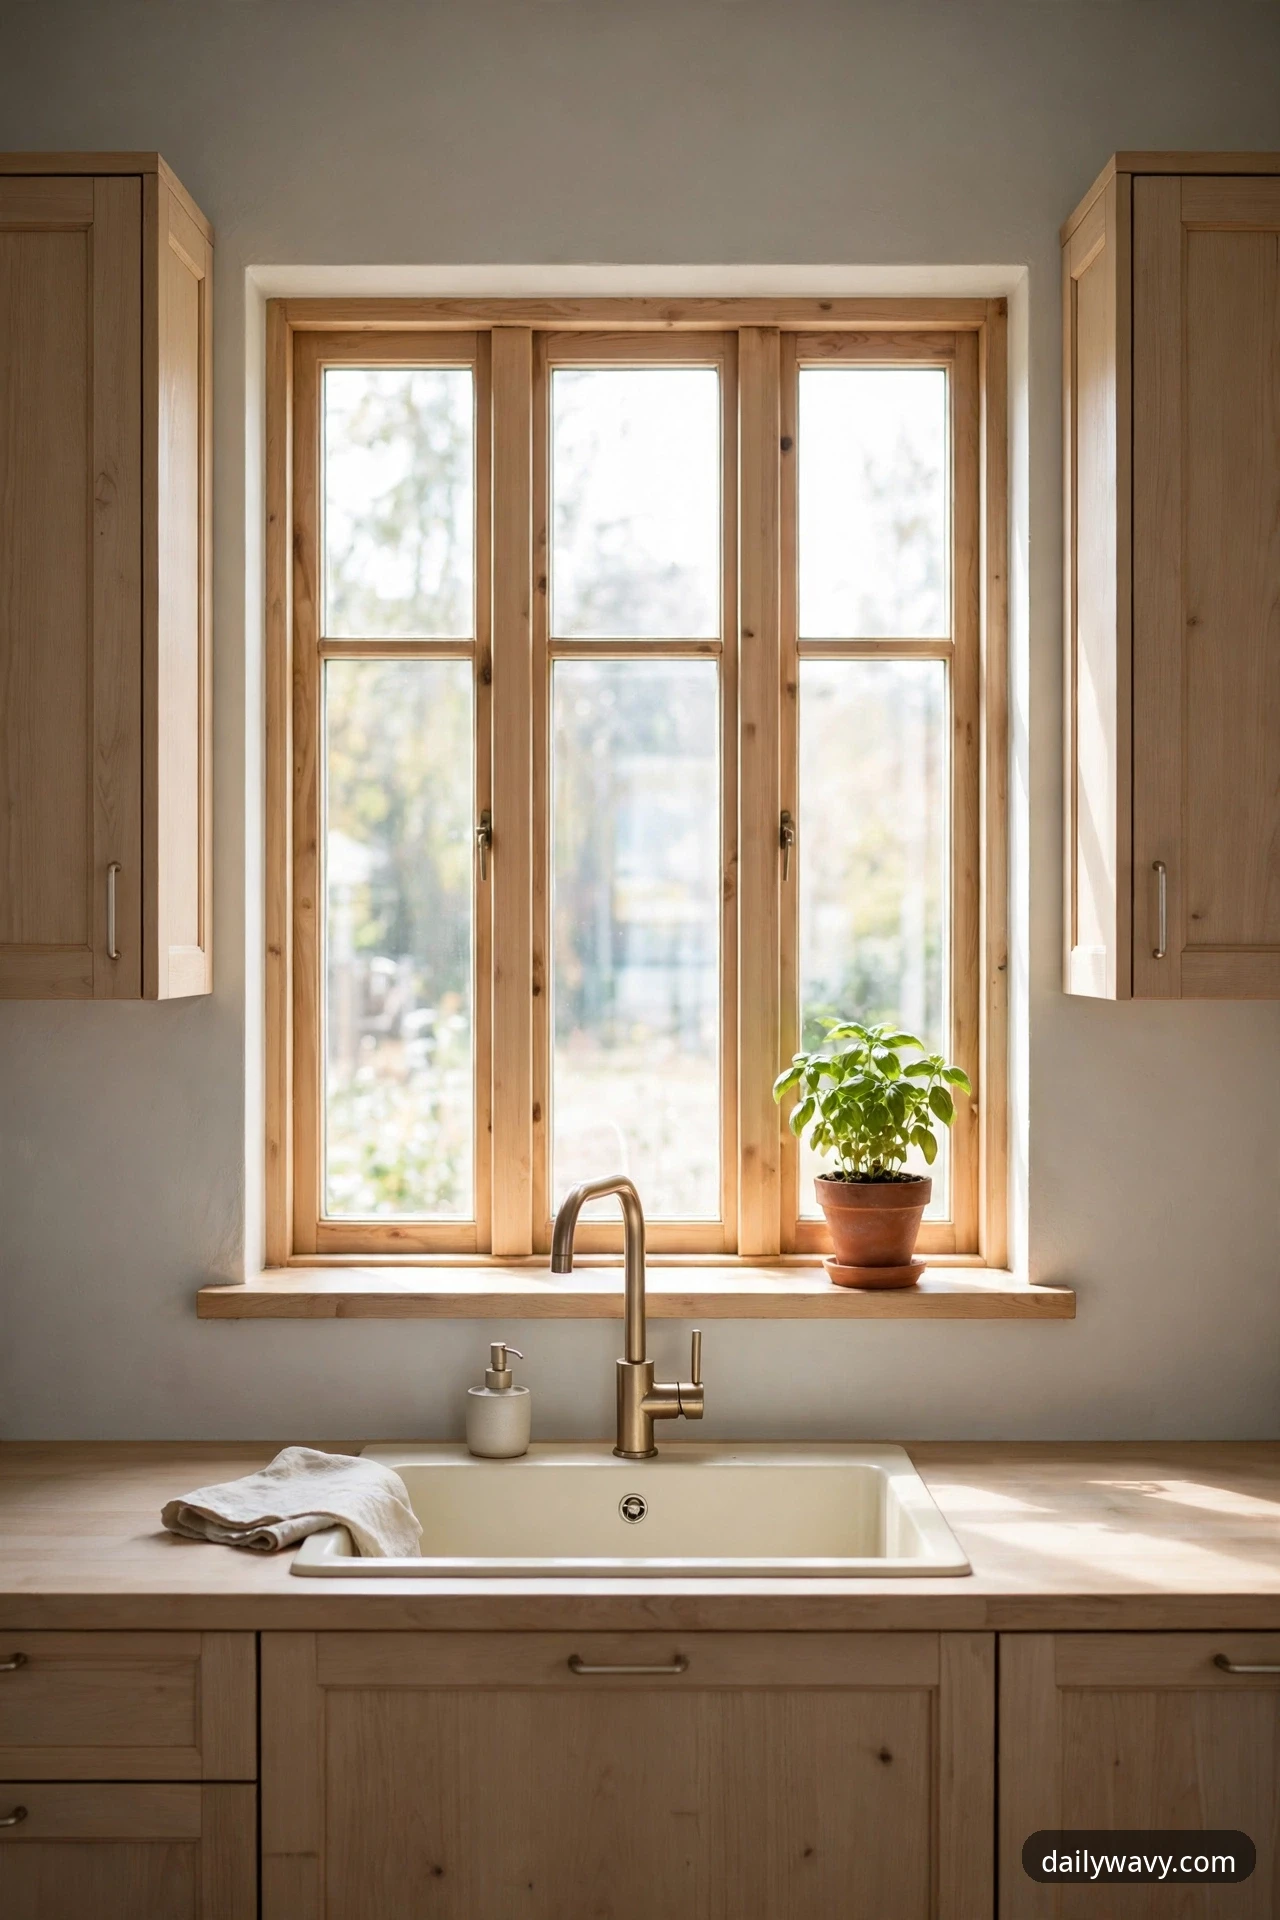
Brushing past basil on the way to the sink releases a breath of scent that no candle quite matches, and snipping fresh chives over dinner feels like a small luxury that costs almost nothing. A small herb pot near daylight is one of the liveliest details in this roundup, a reminder that the kitchen is a place where things grow, not just where things get cooked.
The practical decision is location over quantity. One or two thriving pots beat a crowded sill of struggling ones. Herbs need the brightest spot you have, ideally within a couple of feet of the sink so watering and snipping happen in one motion instead of becoming a chore.
What to measure: the sill or counter depth. Four to five inch diameter pots fit most sills without crowding the window crank or blocking the glass. Check that the spot gets at least four hours of direct or bright indirect light.
Terracotta or simple ceramic pots with a drainage saucer work best; plastic nursery pots dry out too fast on a sunny sill. Start with basil, parsley or chives, three herbs many home cooks reach for, and water when the top inch of soil feels dry.
Plan on 20 minutes and $8 to $20 per finished pot. The lower-cost alternative is a $4 living herb plant from the grocery store, split into two smaller pots. It will look a little sparse for two weeks, then fill in.
5. A framed print away from splashes
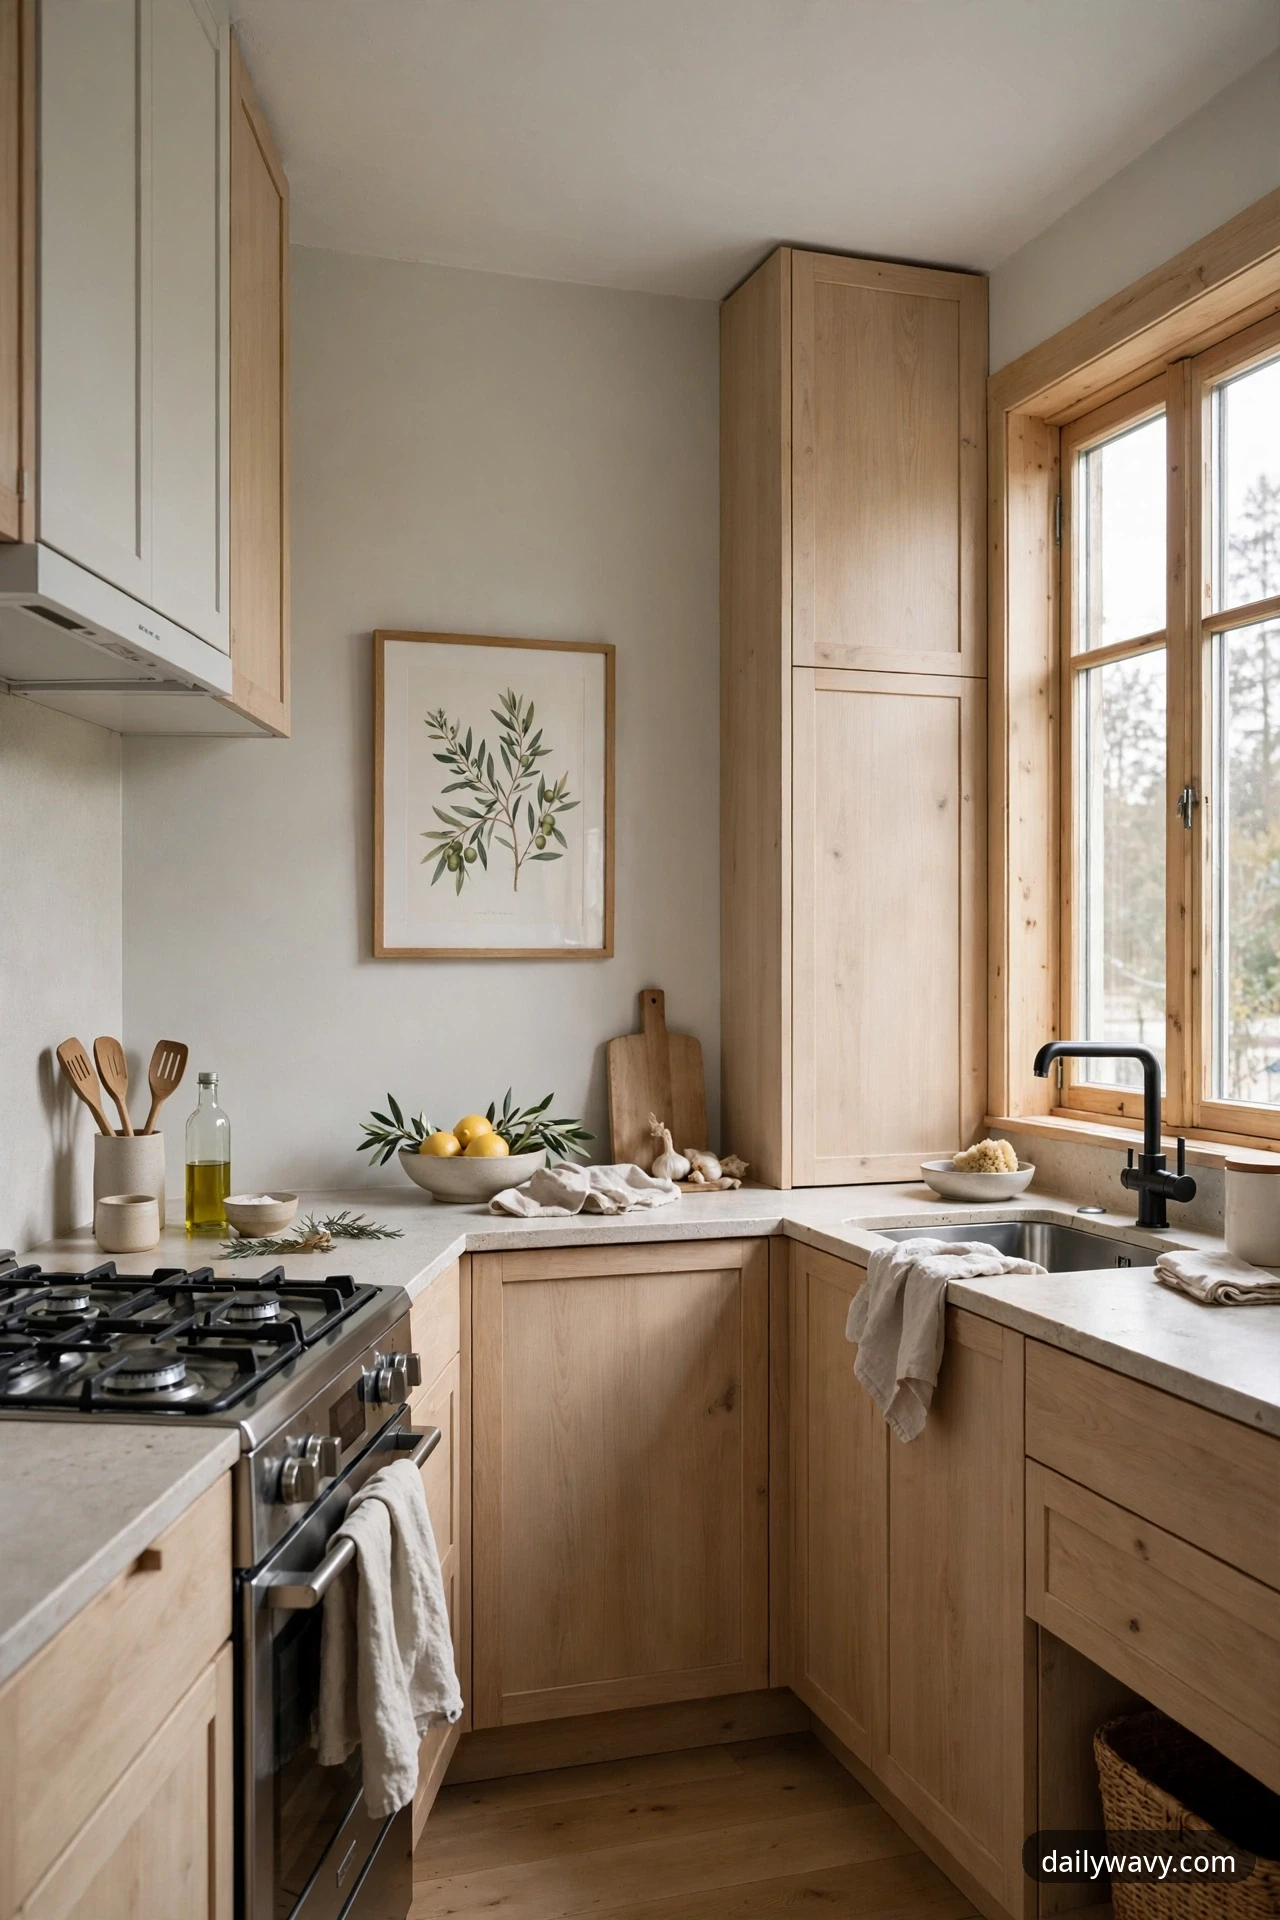
Art in the kitchen feels unexpected, which is exactly why it works. A single framed print on a quiet stretch of wall tells visitors that this room was considered, not just equipped. The Scandinavian approach keeps it simple: one frame, muted tones, nothing competing with the cooking.
The decision that protects the print is placement away from splashes, steam and heat. Never hang art behind the stove or the sink, where grease and moisture will damage it. Choose a dry wall, a stretch of wall between cabinets, or the side of a tall cabinet.
What to measure: find a spot at least 12 inches from any water source, and hang the frame with its center 57 to 60 inches from the floor, standard gallery height. An 8 by 10 or 11 by 14 inch frame balances well beside upper cabinets without overwhelming them.
A simple wood or thin black frame with a glass or acrylic front keeps dust off the print. Botanical studies, soft landscapes and abstract line work all sit comfortably in this palette; keep the tones muted so the art whispers instead of shouting.
Expect 30 minutes and $20 to $60. The lower-cost alternative is a favorite photo printed at the drugstore for about $5, slipped into a thrifted frame. The personal connection can make it a favorite.
6. A stool pair at a compact counter
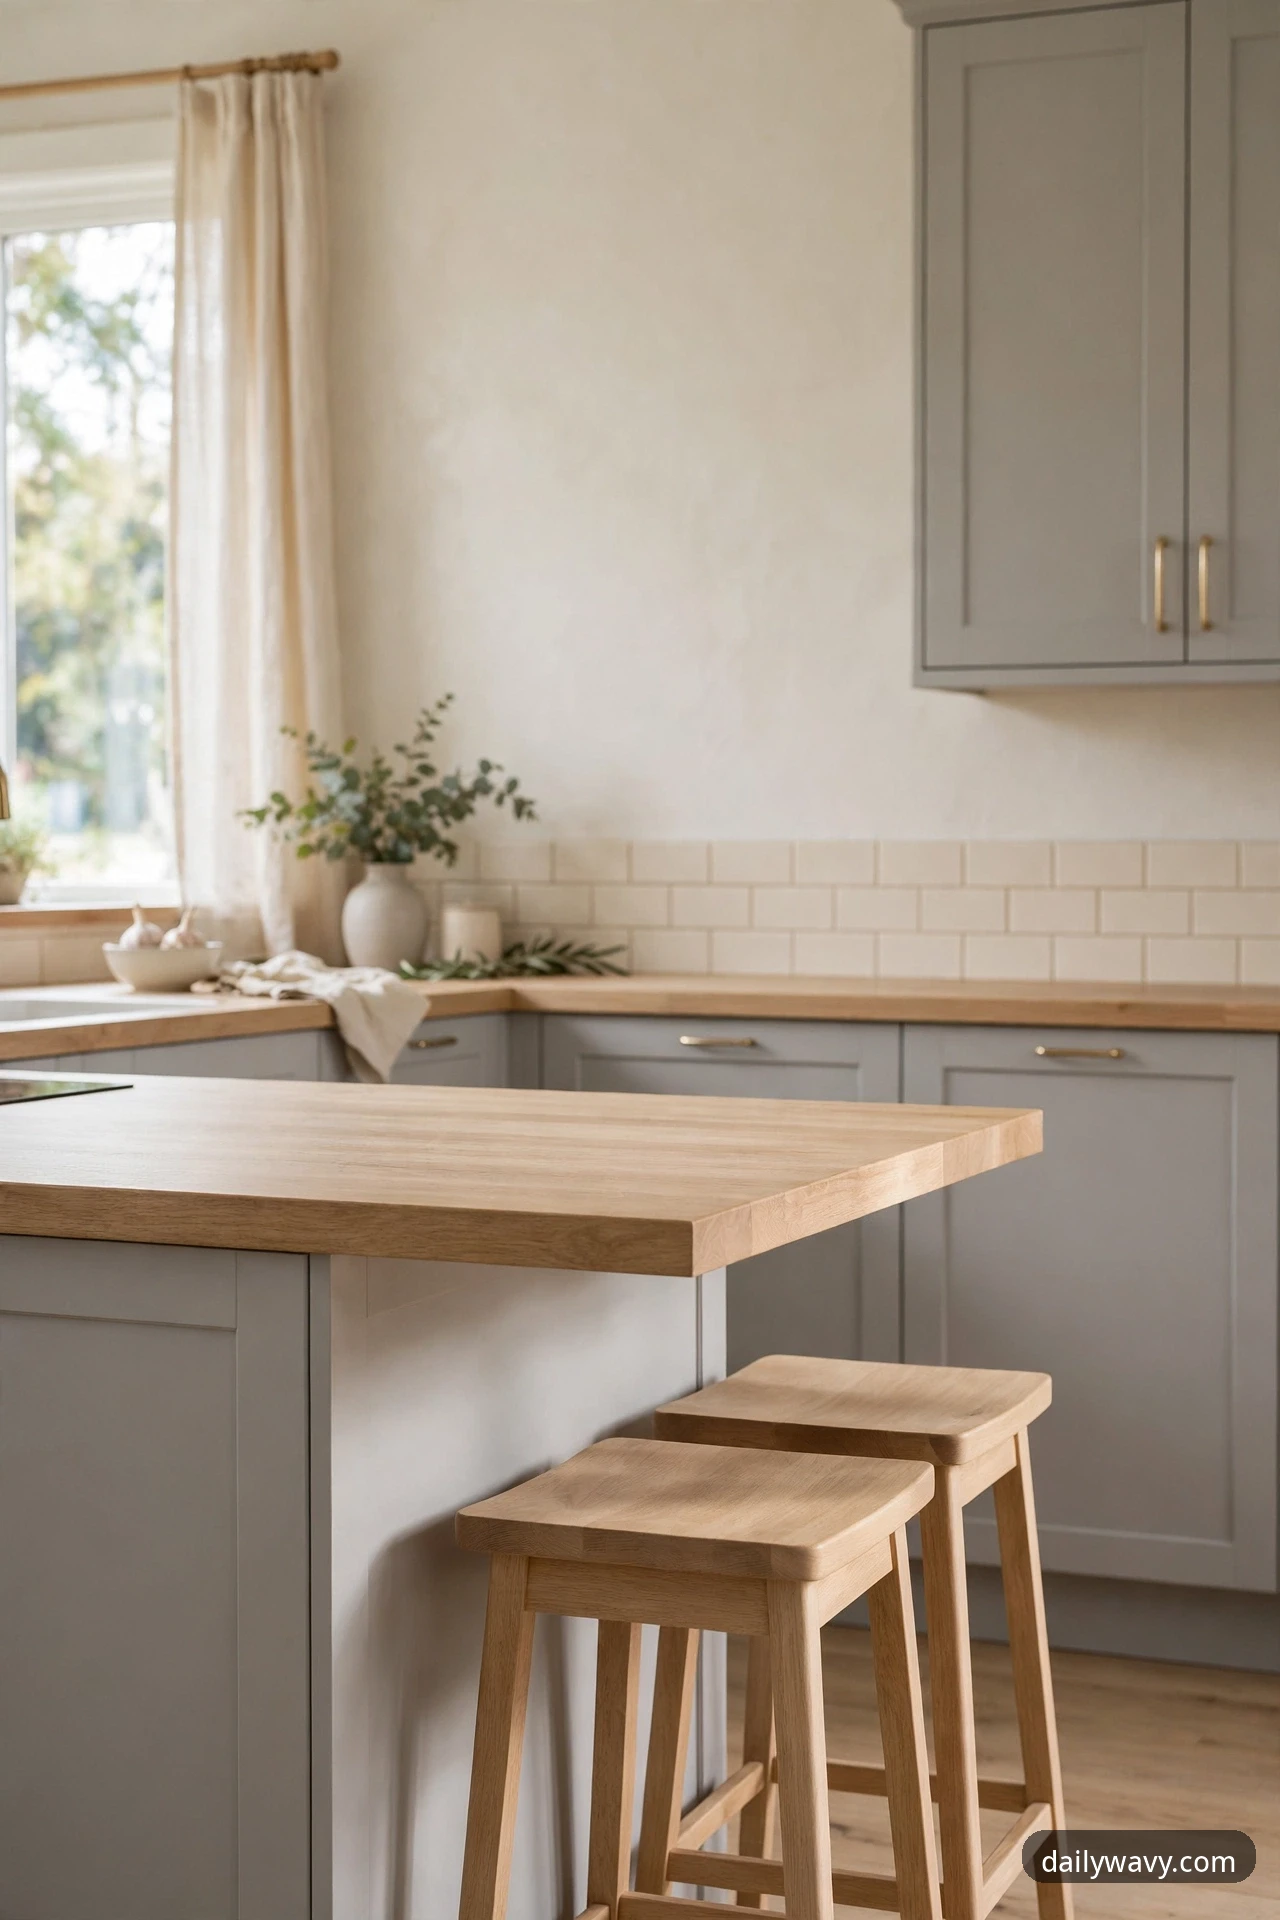
A compact counter with two stools turns a kitchen from a workroom into a gathering place. Morning coffee, homework supervision, a friend perched with a glass of wine while you cook; some of the most memorable kitchen moments happen at the counter, not the table. The Scandinavian version keeps the stools simple, light and able to disappear under the counter when the cooking gets serious.
The decision to get right is the seat height and the tuck. Stools that stick out into the walkway defeat the purpose, so measure carefully before you buy.
What to measure: allow 24 inches of counter width per stool. For a standard 36 inch high counter, choose a 24 inch seat height, which leaves the ideal 10 to 12 inches between the seat and the counter underside. Backless or low-back stools tuck fully under the overhang; a full back needs a deeper overhang to clear.
Light wood, molded plywood or a simple upholstered seat all work; a footrest makes a tall stool comfortable for long sits, and felt pads under the legs protect the floor. Place the pair at the overhang end of the island or peninsula, leaving the main prep zone completely clear.
Budget one afternoon for assembly and $80 to $200 per stool for good ones. The lower-cost alternative is buying one stool now and the second later, or refinishing a pair of secondhand wooden stools with light paint for under $60 total.
7. A backsplash with subtle texture
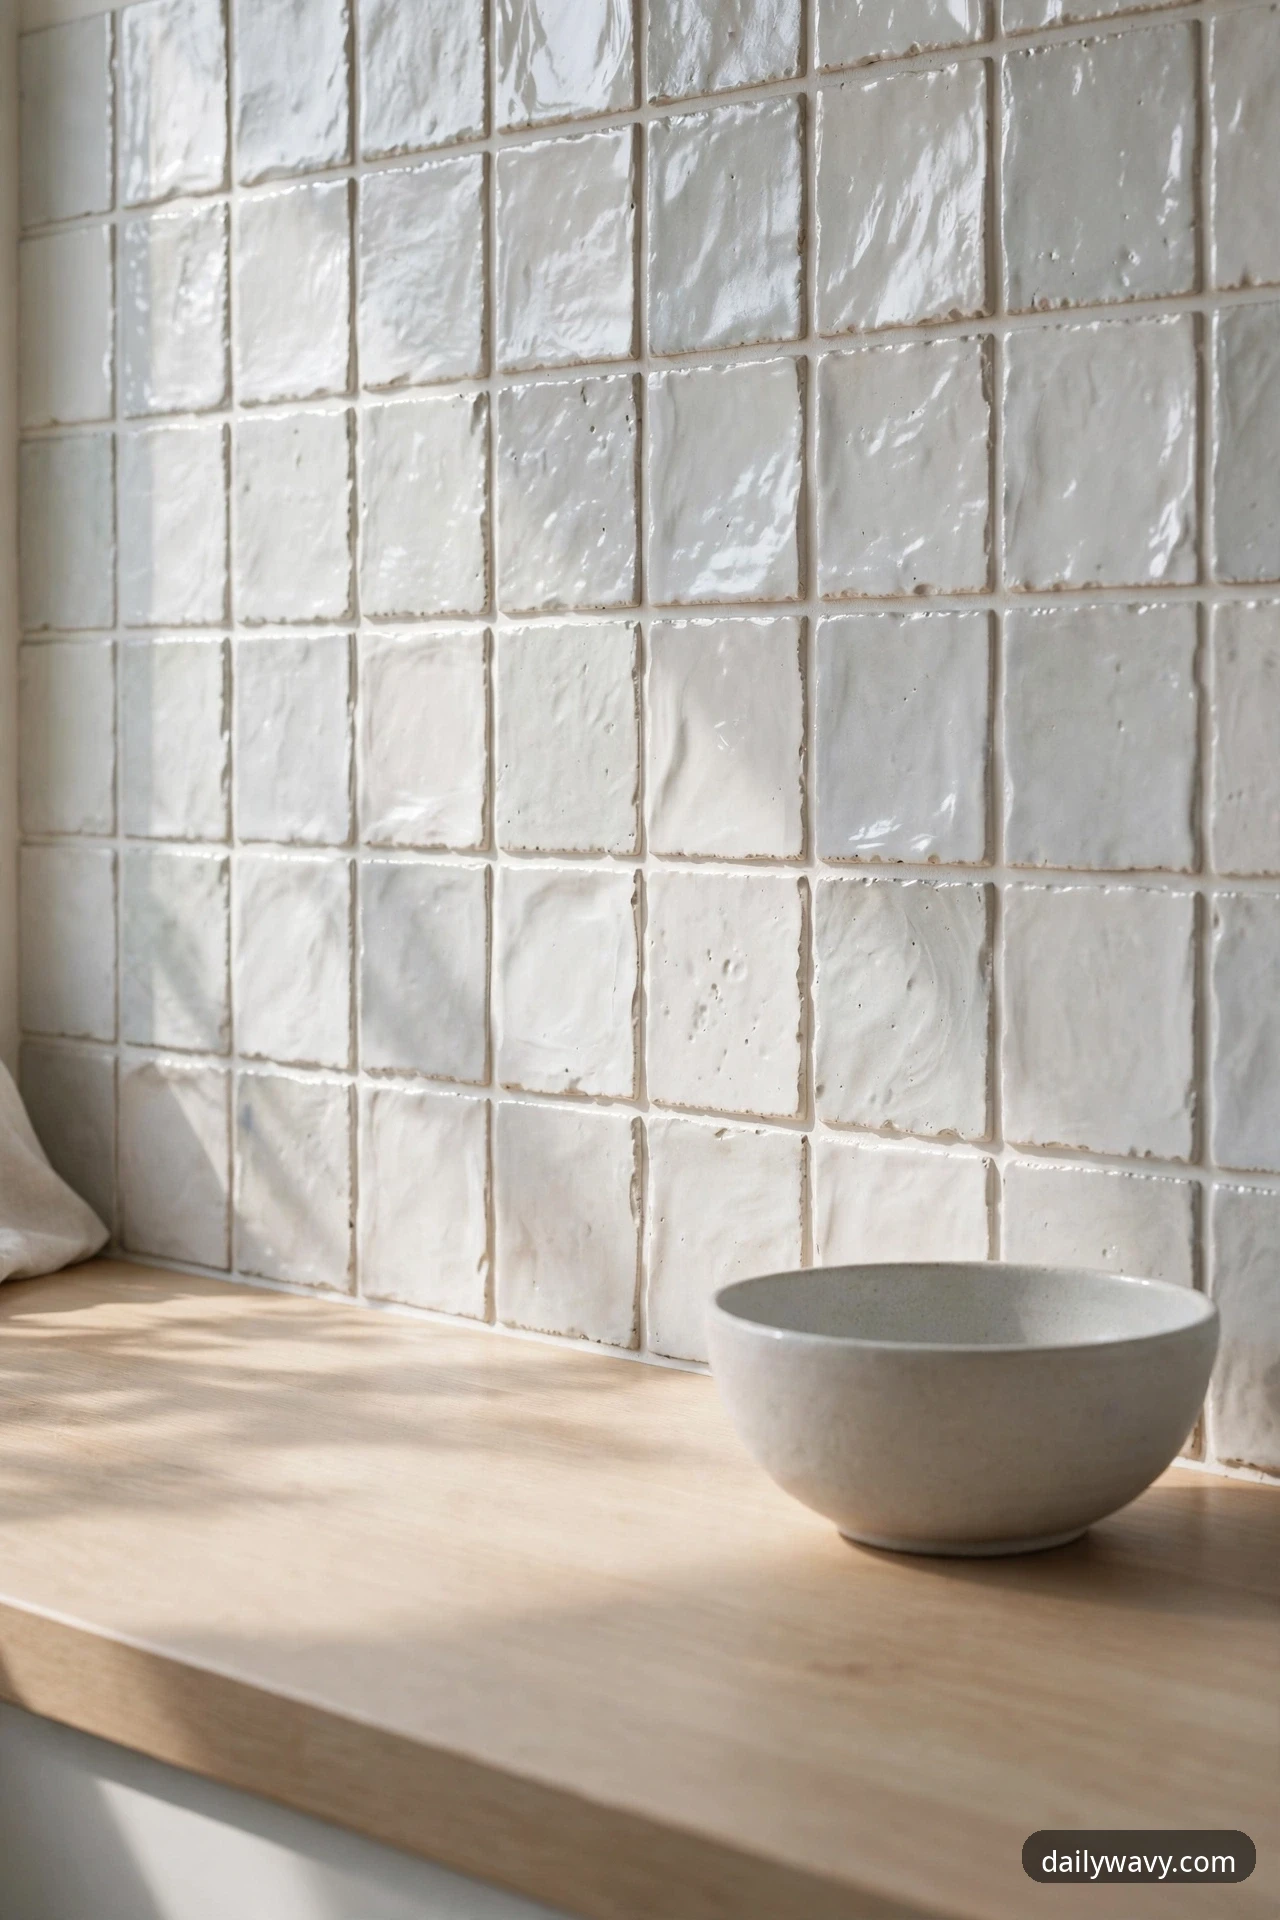
Run your fingertip across a handmade-look tile and you will feel tiny ripples that catch the light differently from every angle. That subtle texture is the difference between a kitchen that looks clean and a kitchen that looks considered. In a light Scandinavian palette, the backsplash is one of the few places where a little surface interest pays off, because the surrounding finishes are deliberately quiet.
The decision is texture, not color. Stay in the same light family as the walls, white, warm white or pale gray, and let the surface do the work. Zellige-look squares, handmade subway tiles or softly fluted tiles all bring the handmade variation this style loves.
What to measure: the area between the counter and the upper cabinets, usually 18 inches high, across the full run. Order 10 to 15 percent extra tile for cuts and breakage, and decide the layout before you buy; a simple stacked or running bond pattern shows off the texture best.
Pair the tile with a light grout in warm white or light gray so the grout lines recede and the tile faces come forward. The two places texture matters most are behind the range and behind the sink, where the light rakes across the surface.
For a professional install, budget tile at $8 to $25 per square foot plus labor at $10 to $20 per square foot, usually a one-day job. The lower-cost alternative is peel-and-stick textured-look tiles at $30 to $60 for the whole run. They will not fool a close look, but they buy you the effect while you save for the real thing.
8. A shade framing the kitchen window
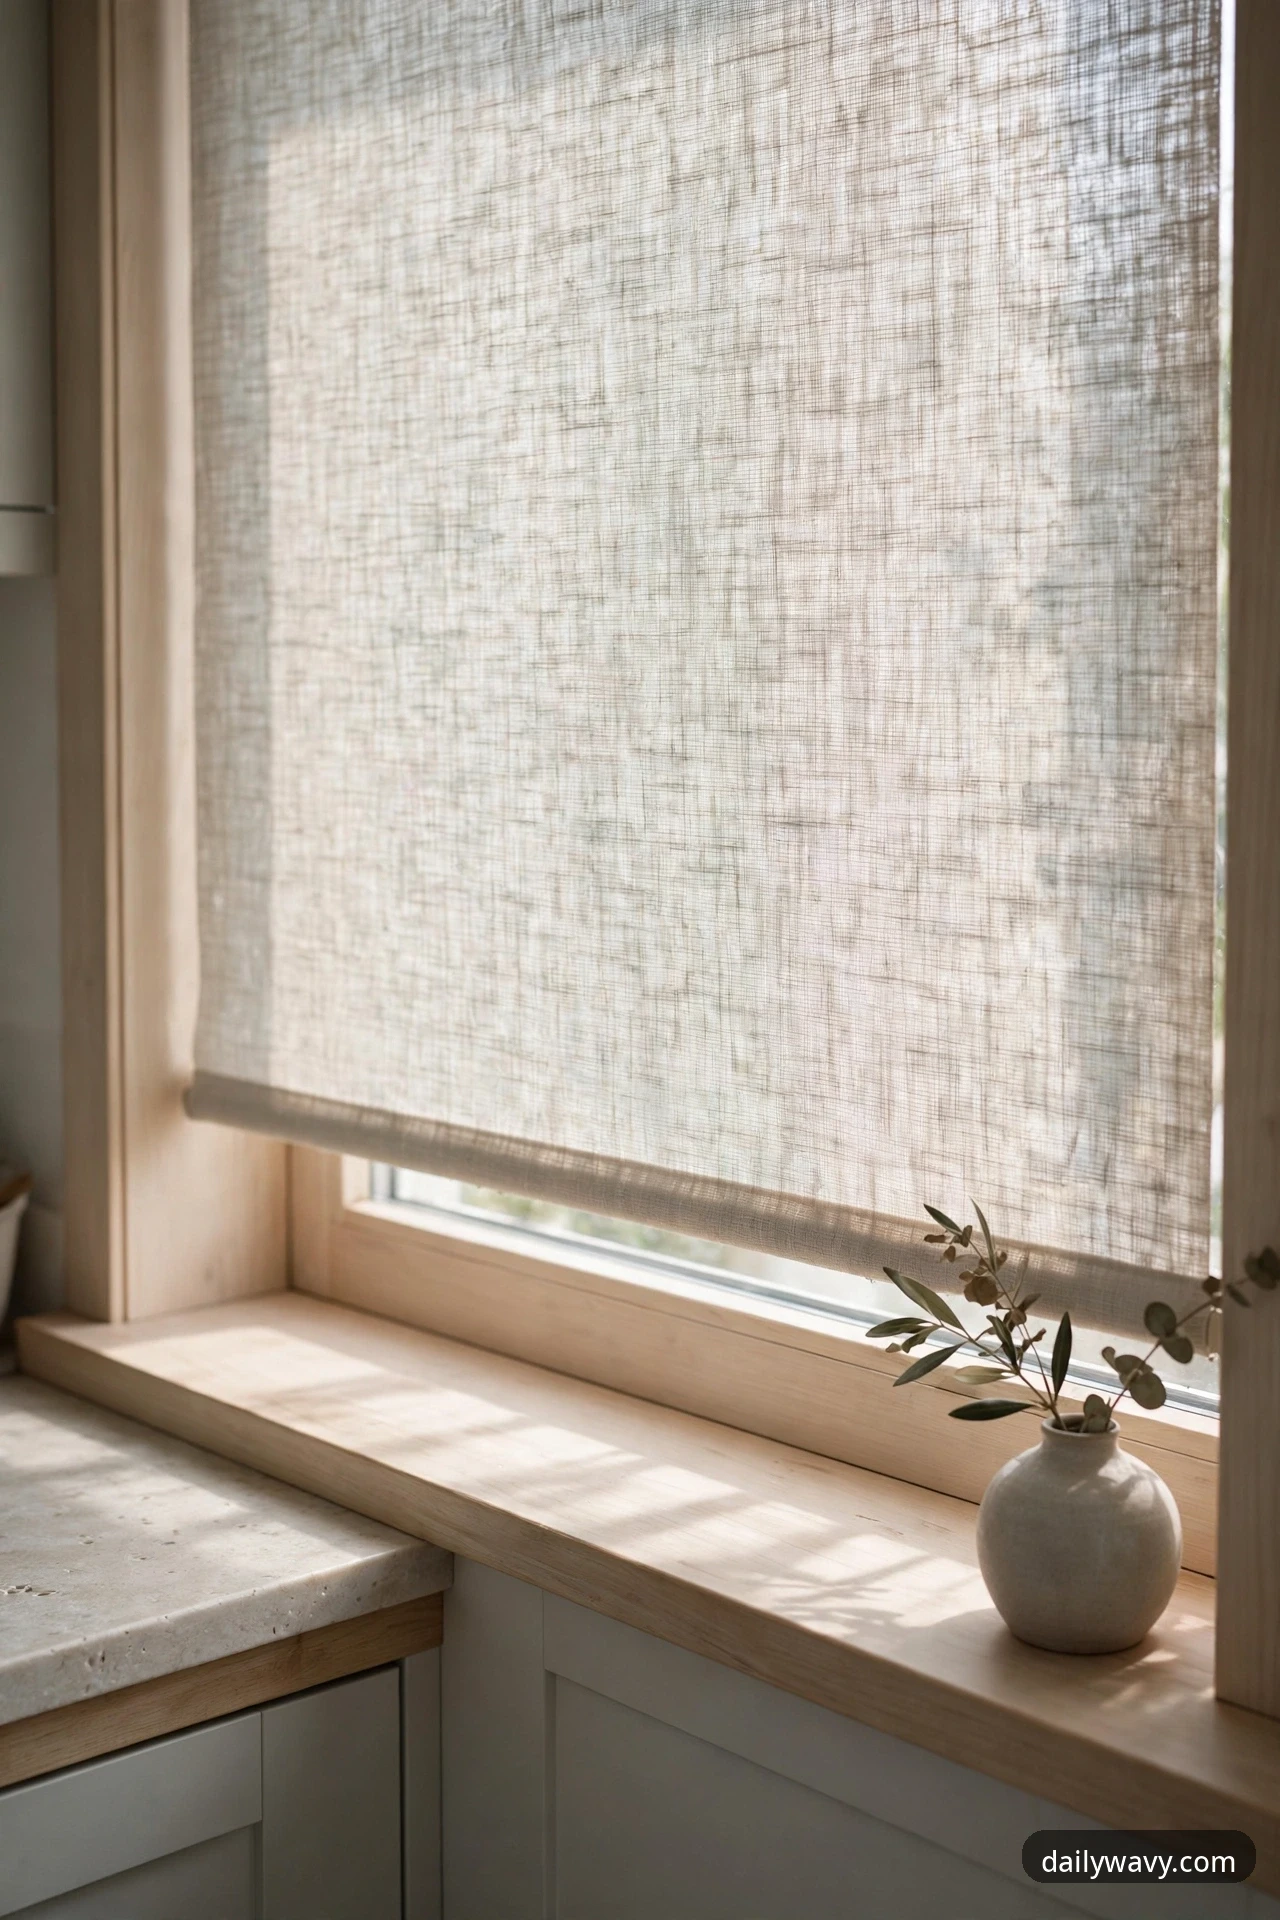
Kitchen windows live a hard life: morning glare on the counter, neighbors across the alley, steam from the kettle. A simple shade framing the window helps with all three without the heaviness of curtains, and in linen-look fabric it adds exactly the softness a hardworking kitchen needs. Light filters through, the room stays bright, and the window gets a finished edge.
The decision is the mount. An inside mount sits within the window frame for the cleanest line and the most Scandinavian look; an outside mount works when the frame is too shallow to hold the hardware.
What to measure: for an inside mount, measure the width and height of the window opening to the nearest eighth of an inch, in three places, and use the smallest measurement. Note the frame depth; most shades need 2 to 3 inches of flat mounting surface.
Light-filtering linen-look fabric in white or oatmeal keeps the daylight soft, and cordless operation is the safer, cleaner choice. Top-down, bottom-up shades are worth considering if you want privacy at the sink without giving up the sky.
Measure and install in about an hour, at $60 to $180 for a quality cordless shade. The lower-cost alternative is a tension rod inside the frame with a linen cafe curtain for $20 to $40. It softens the window the same way, with a slightly more cottage feel.
9. A glass jar grouping in one corner
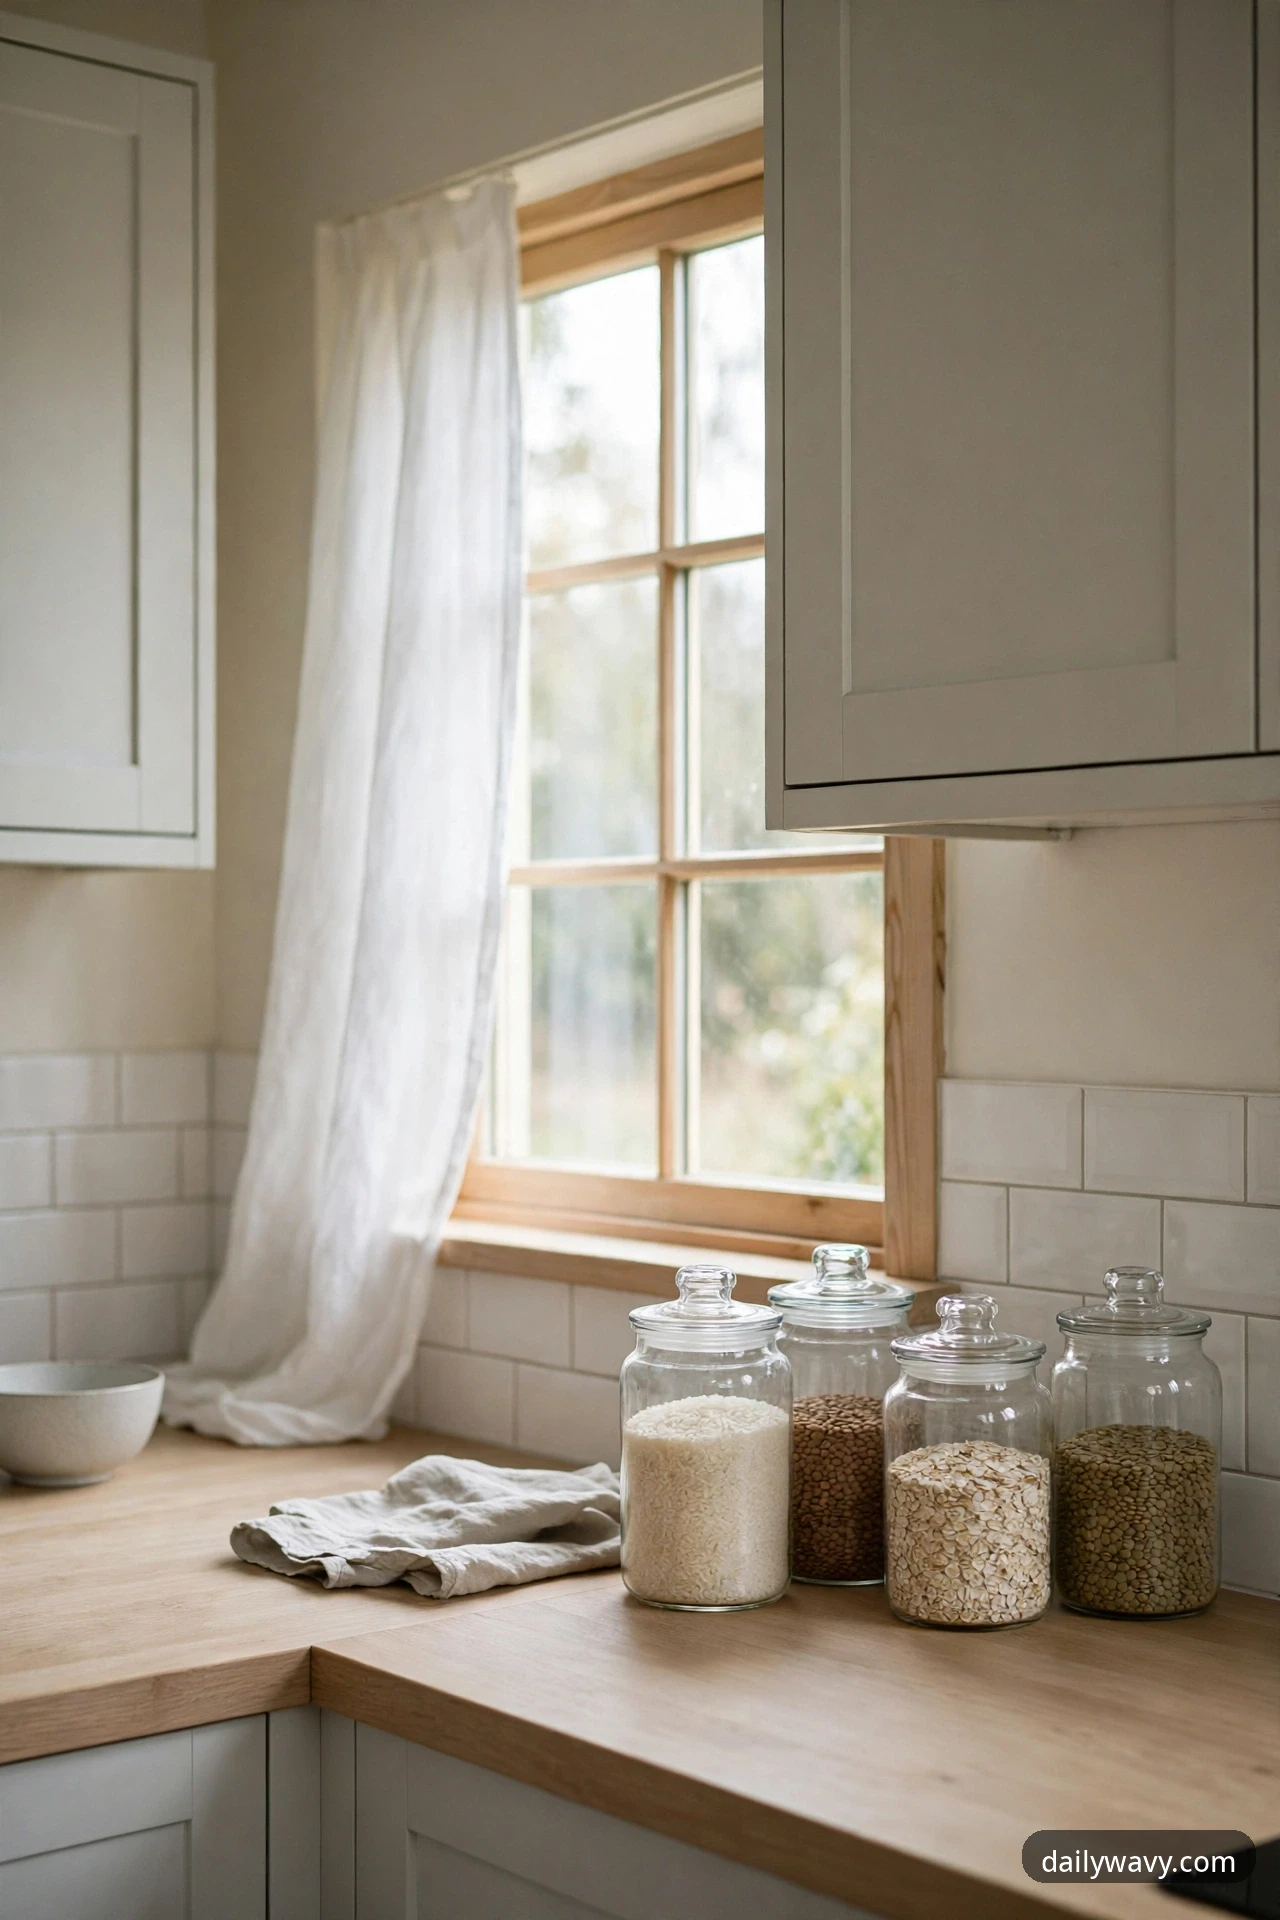
Morning light through a row of glass jars turns rice, lentils and oats into something unexpectedly beautiful, amber and gold and cream lined up like a quiet still life. Decanting staples into glass is the Scandinavian answer to counter clutter: instead of a dozen crinkly packages, one calm grouping in a single corner.
The decision is containment. Limit the jars to one corner zone rather than spreading them along the whole counter, and the effect stays serene instead of busy. Three to five jars is the sweet spot.
What to measure: claim a corner footprint of about 12 by 18 inches, keeping the grouping inside that zone. Choose jars 6 to 10 inches tall so they clear the upper cabinets, and keep the heaviest jars, flour and sugar, at the back where they will not be lifted often.
Glass jars with airtight lids keep staples fresh; simple chalk or kraft paper tags identify the contents without visual shouting. Place the grouping in the corner nearest your prep zone, so reaching for rice or pasta is a one-step motion.
One hour of decanting and $15 to $40 for a set of jars gets it done. The lower-cost alternative is free: save large glass pasta sauce jars, soak off the labels in warm soapy water, and you have perfectly good storage for $0.
10. A pitcher holding cooking tools
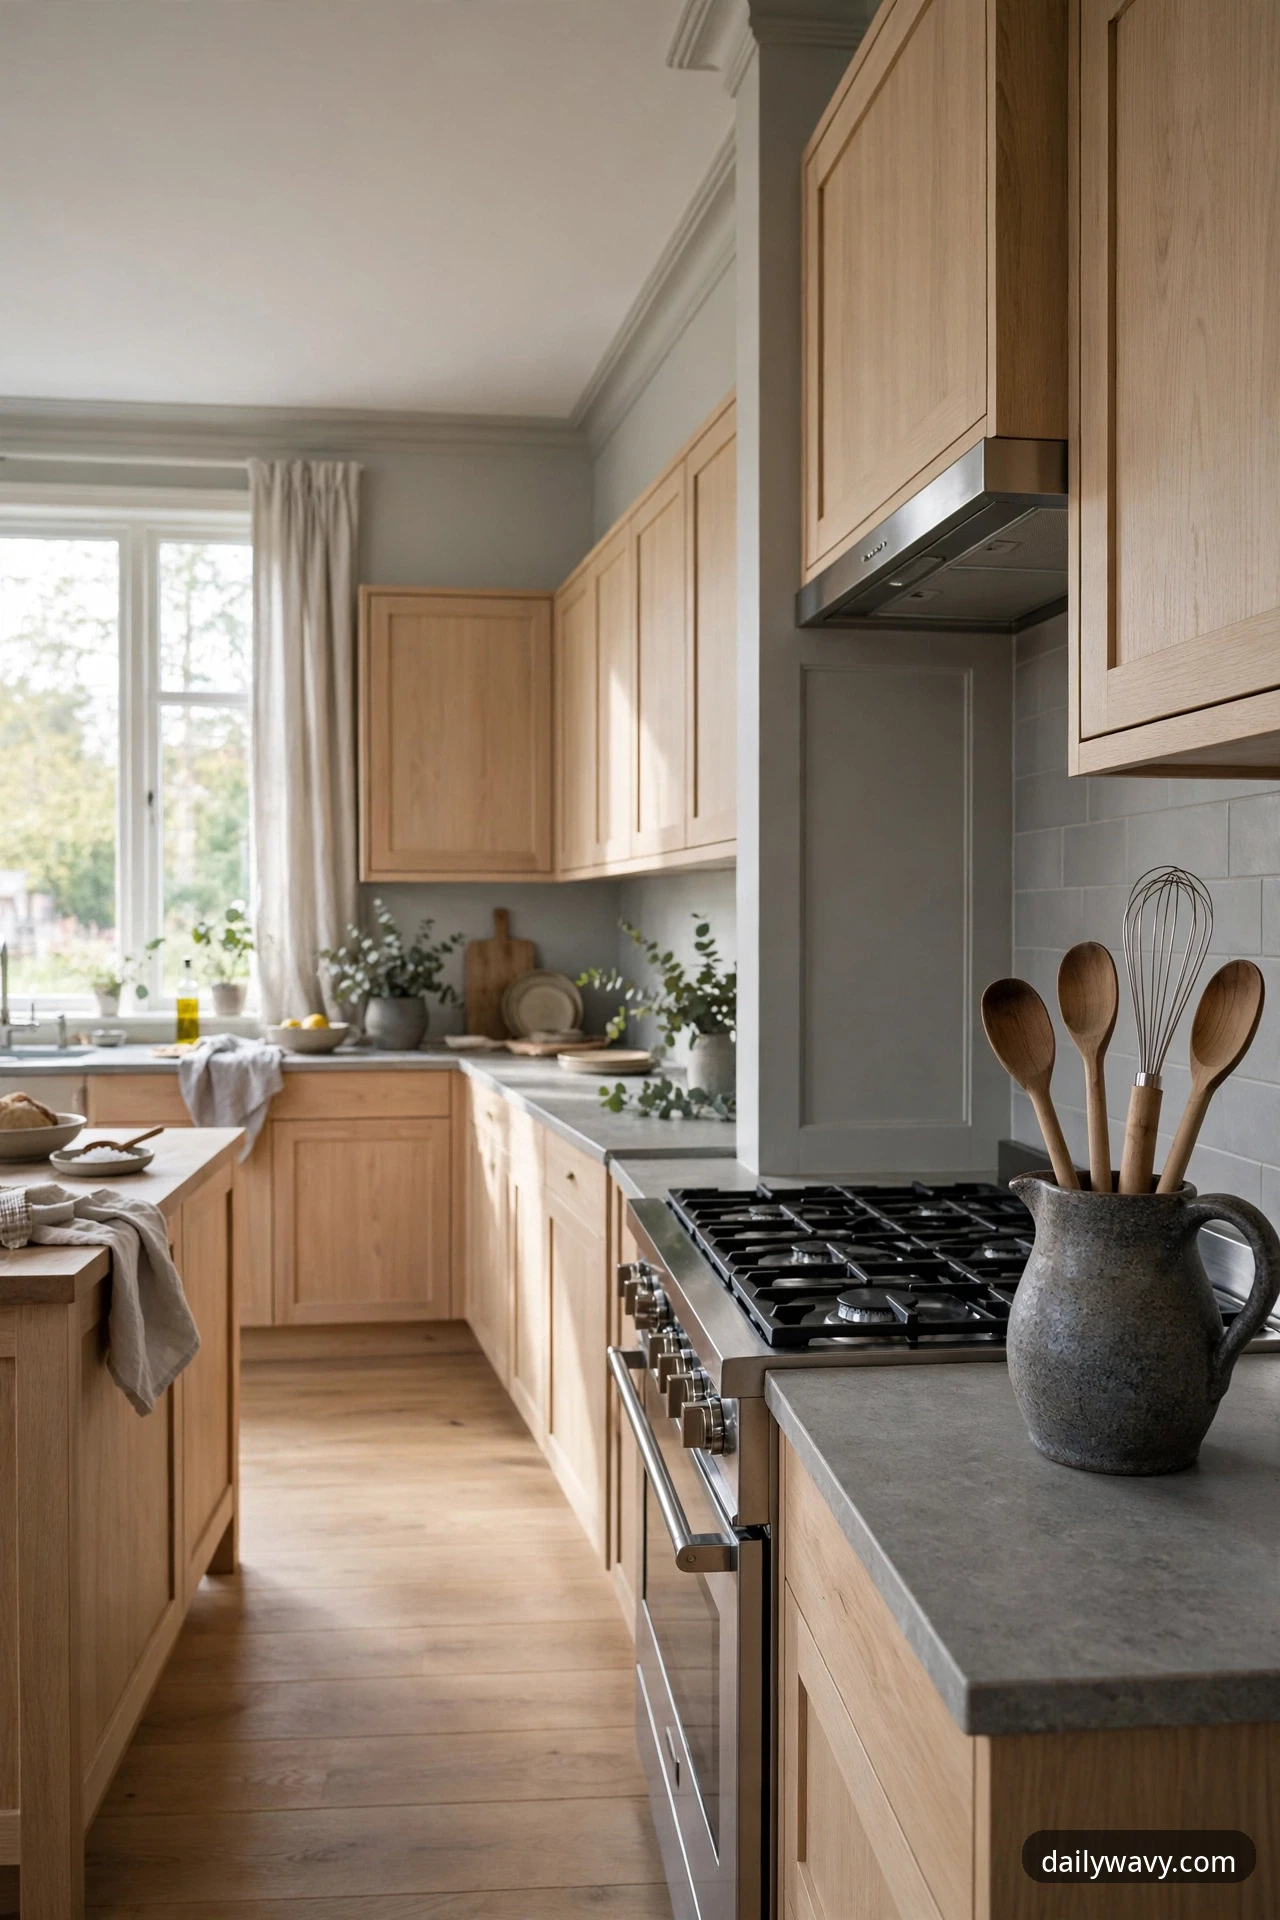
Tall wooden spoons, a whisk, a couple of long-handled spatulas, every kitchen has tools too tall for the crock. A pitcher standing in the corner by the range holds them like flowers in a vase, turning a storage problem into a styling moment. It is the companion piece to the utensil crock from idea 3, and together they give every tool a home.
The decision is stability. A pitcher full of tall tools is top-heavy, so the base matters more than the looks. Choose a pitcher 8 to 10 inches tall with a wide, heavy bottom that will not wobble when you grab the whisk in a hurry.
What to measure: your longest tools, usually 14 to 16 inches. The pitcher should be roughly half the tool length so the tools stand proud but stay put.
Stoneware or enameled pitchers in white or soft gray match the palette; a sturdy handle is a bonus for the occasional move. Place it in the corner by the range, opposite the utensil crock, where tall tools stay within reach but never block the window light.
Expect one purchase at $20 to $45. The lower-cost alternative is a tall thrifted vase for about $5, weighted at the bottom with a handful of dry beans so it stands as solidly as stoneware.
Practical FAQ
Does a Scandinavian kitchen have to be all white?
No, and the best ones are not. White is the base, not the rule. Light wood, warm beige, soft gray and pale greige all belong, and a single dark note, a black faucet, dark-stained stool legs, a charcoal frame, keeps the lightness from feeling washed out. The goal is a narrow, calm palette, not a color ban.
How do I keep a light kitchen from feeling cold?
Texture is the answer. A wool runner underfoot, a linen shade at the window, visible wood grain on the stools and matte ceramic on the counter add the warmth that color alone cannot. Warm lighting helps too: keep bulbs at 2700K for the evening hours and the room will glow instead of glare.
My kitchen gets almost no daylight. Will this style still work?
Yes, with adjustments. Keep the palette light so it bounces what light you have, choose the subtly textured backsplash from idea 7 to catch and scatter light, and layer your lighting: the pendant over the counter, under-cabinet strips for the work surface and one warm ambient source. Light finishes multiply small light sources in a way dark ones never will.
Are open shelves required for this look?
Not at all. Open shelves tend to photograph well but they demand constant editing, and this roundup deliberately favors closed storage with a few small, deliberate groupings. The jar corner, the crock and the pitcher give you the styled, lived-in feeling without the daily dusting duty.
How do I style a small kitchen without cluttering it?
Pick three ideas and stop. The washable runner, the utensil crock and the herb pot transform a small kitchen for under $100 with the lower-cost alternatives, and restraint is the whole point of the style. The same small-space discipline that makes a narrow living room work applies here: every object earns its spot, and clear surfaces count as decor.
What is the cheapest way to start?
Begin with ideas 1 and 3, the washable runner and the ceramic utensil crock. Together they cost under $100 with the lower-cost alternatives, and they deliver a strong visual change per dollar: softness underfoot, order on the counter, and the unmistakable feeling that the kitchen was thought about.
Bringing it home
A Scandinavian kitchen is not bought in a single shopping trip; it is built one honest detail at a time. Start with the runner and the crock, add the light and the texture, and let the room settle into its new calm. Save the ideas that spoke to you, and when you are ready for the next room, browse our Home & Decor ideas for the same considered approach everywhere else.